
How to Fix Grainy Photos: Remove Noise and Restore Image Details
Learn how to fix grainy photos, reduce noise, sharpen details, and make grainy images clearer with practical editing methods and AI enhancement tools online.

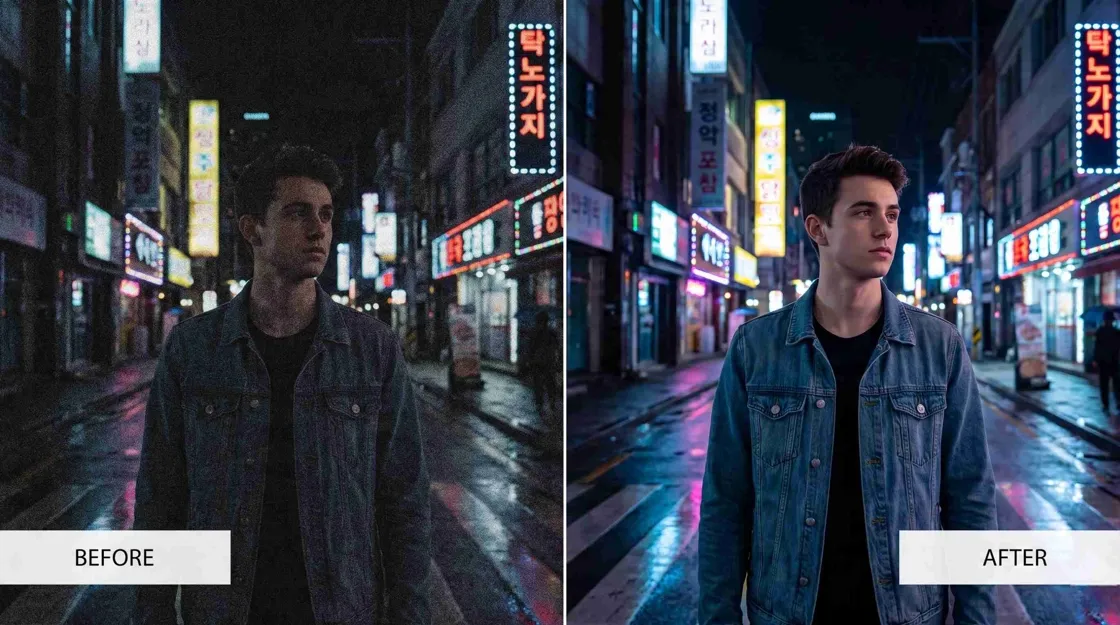
A grainy picture can make an otherwise good photo look old, blurry, or poorly exposed. There might be some light speckling in dark spots, a rough skin texture, and a loss of detail in hair, clothes, and textures. This is usually down to the camera working with limited light, a high ISO, or an underexposed shot, though cropping and compression can make the problem more obvious later on. If you're wondering how to fix grainy photos, the right approach depends on where the grain came from and how much detail the original image still contains. You can manually correct exposure and noise, use AI enhancement to speed up cleanup, or improve your shooting and file-handling habits to avoid the problem in the first place.
Quick Summary
-
Graininess in photos is usually caused by high ISO, low light, underexposure, cropping, or compression
-
Noise reduction can remove unwanted grain, but excessive editing may make images look overly smooth
-
Manual editing gives you more control over exposure, shadows, noise reduction, and sharpness
-
AI image enhancement can speed up the process by reducing noise and improving clarity automatically
-
Better lighting, lower ISO settings, and high-quality original files help prevent grainy images
Why Are My Photos Grainy?
A grainy image contains visible noise that appears as tiny dots, rough textures, or uneven color patches. You may notice it most in darker areas, such as shadows, night scenes, or underexposed parts of a photo.
Grain is not always caused by a bad camera. Modern cameras and phones often increase ISO automatically when there is not enough light, which helps you capture the shot but can introduce digital noise. Editing choices, such as brightening shadows, cropping heavily, or repeatedly compressing an image, can also make existing grain much more noticeable.
Understanding the reason behind the grain helps you choose the right way to fix it.
High ISO settings
A high ISO will make your camera more sensitive to light. This is useful in darker conditions, but can also increase the amount of visible noise. If you have enough light, then a lower ISO will give you a cleaner picture.
Low-light conditions
Less light means less information for the camera to capture, which can make noise more noticeable. You see this in night shots, indoor shots, and other low-light scenes.
Underexposure
An underexposed photo may look fine until you brighten it during editing. Raising the exposure or shadows can make existing noise in darker areas much more visible, making the image appear grainier.
Cropping and enlarging images
Heavy cropping removes part of the original image, leaving fewer pixels to represent the subject. Enlarging that cropped area can make existing grain and loss of detail more obvious.
Compression and heavy editing
Compression can lose fine image detail, and repeated editing or excessive sharpening can make noise more apparent. Working from the best quality original file helps to keep detail and gives you more options when editing.
How to Fix Grainy Photos Manually
With manual editing, you control the amount of noise you remove and the details you keep. The trick is to do it slowly, not to try to get rid of all the grain at once. Exposure first, noise second, sharpness third, and then a close eye on the image.
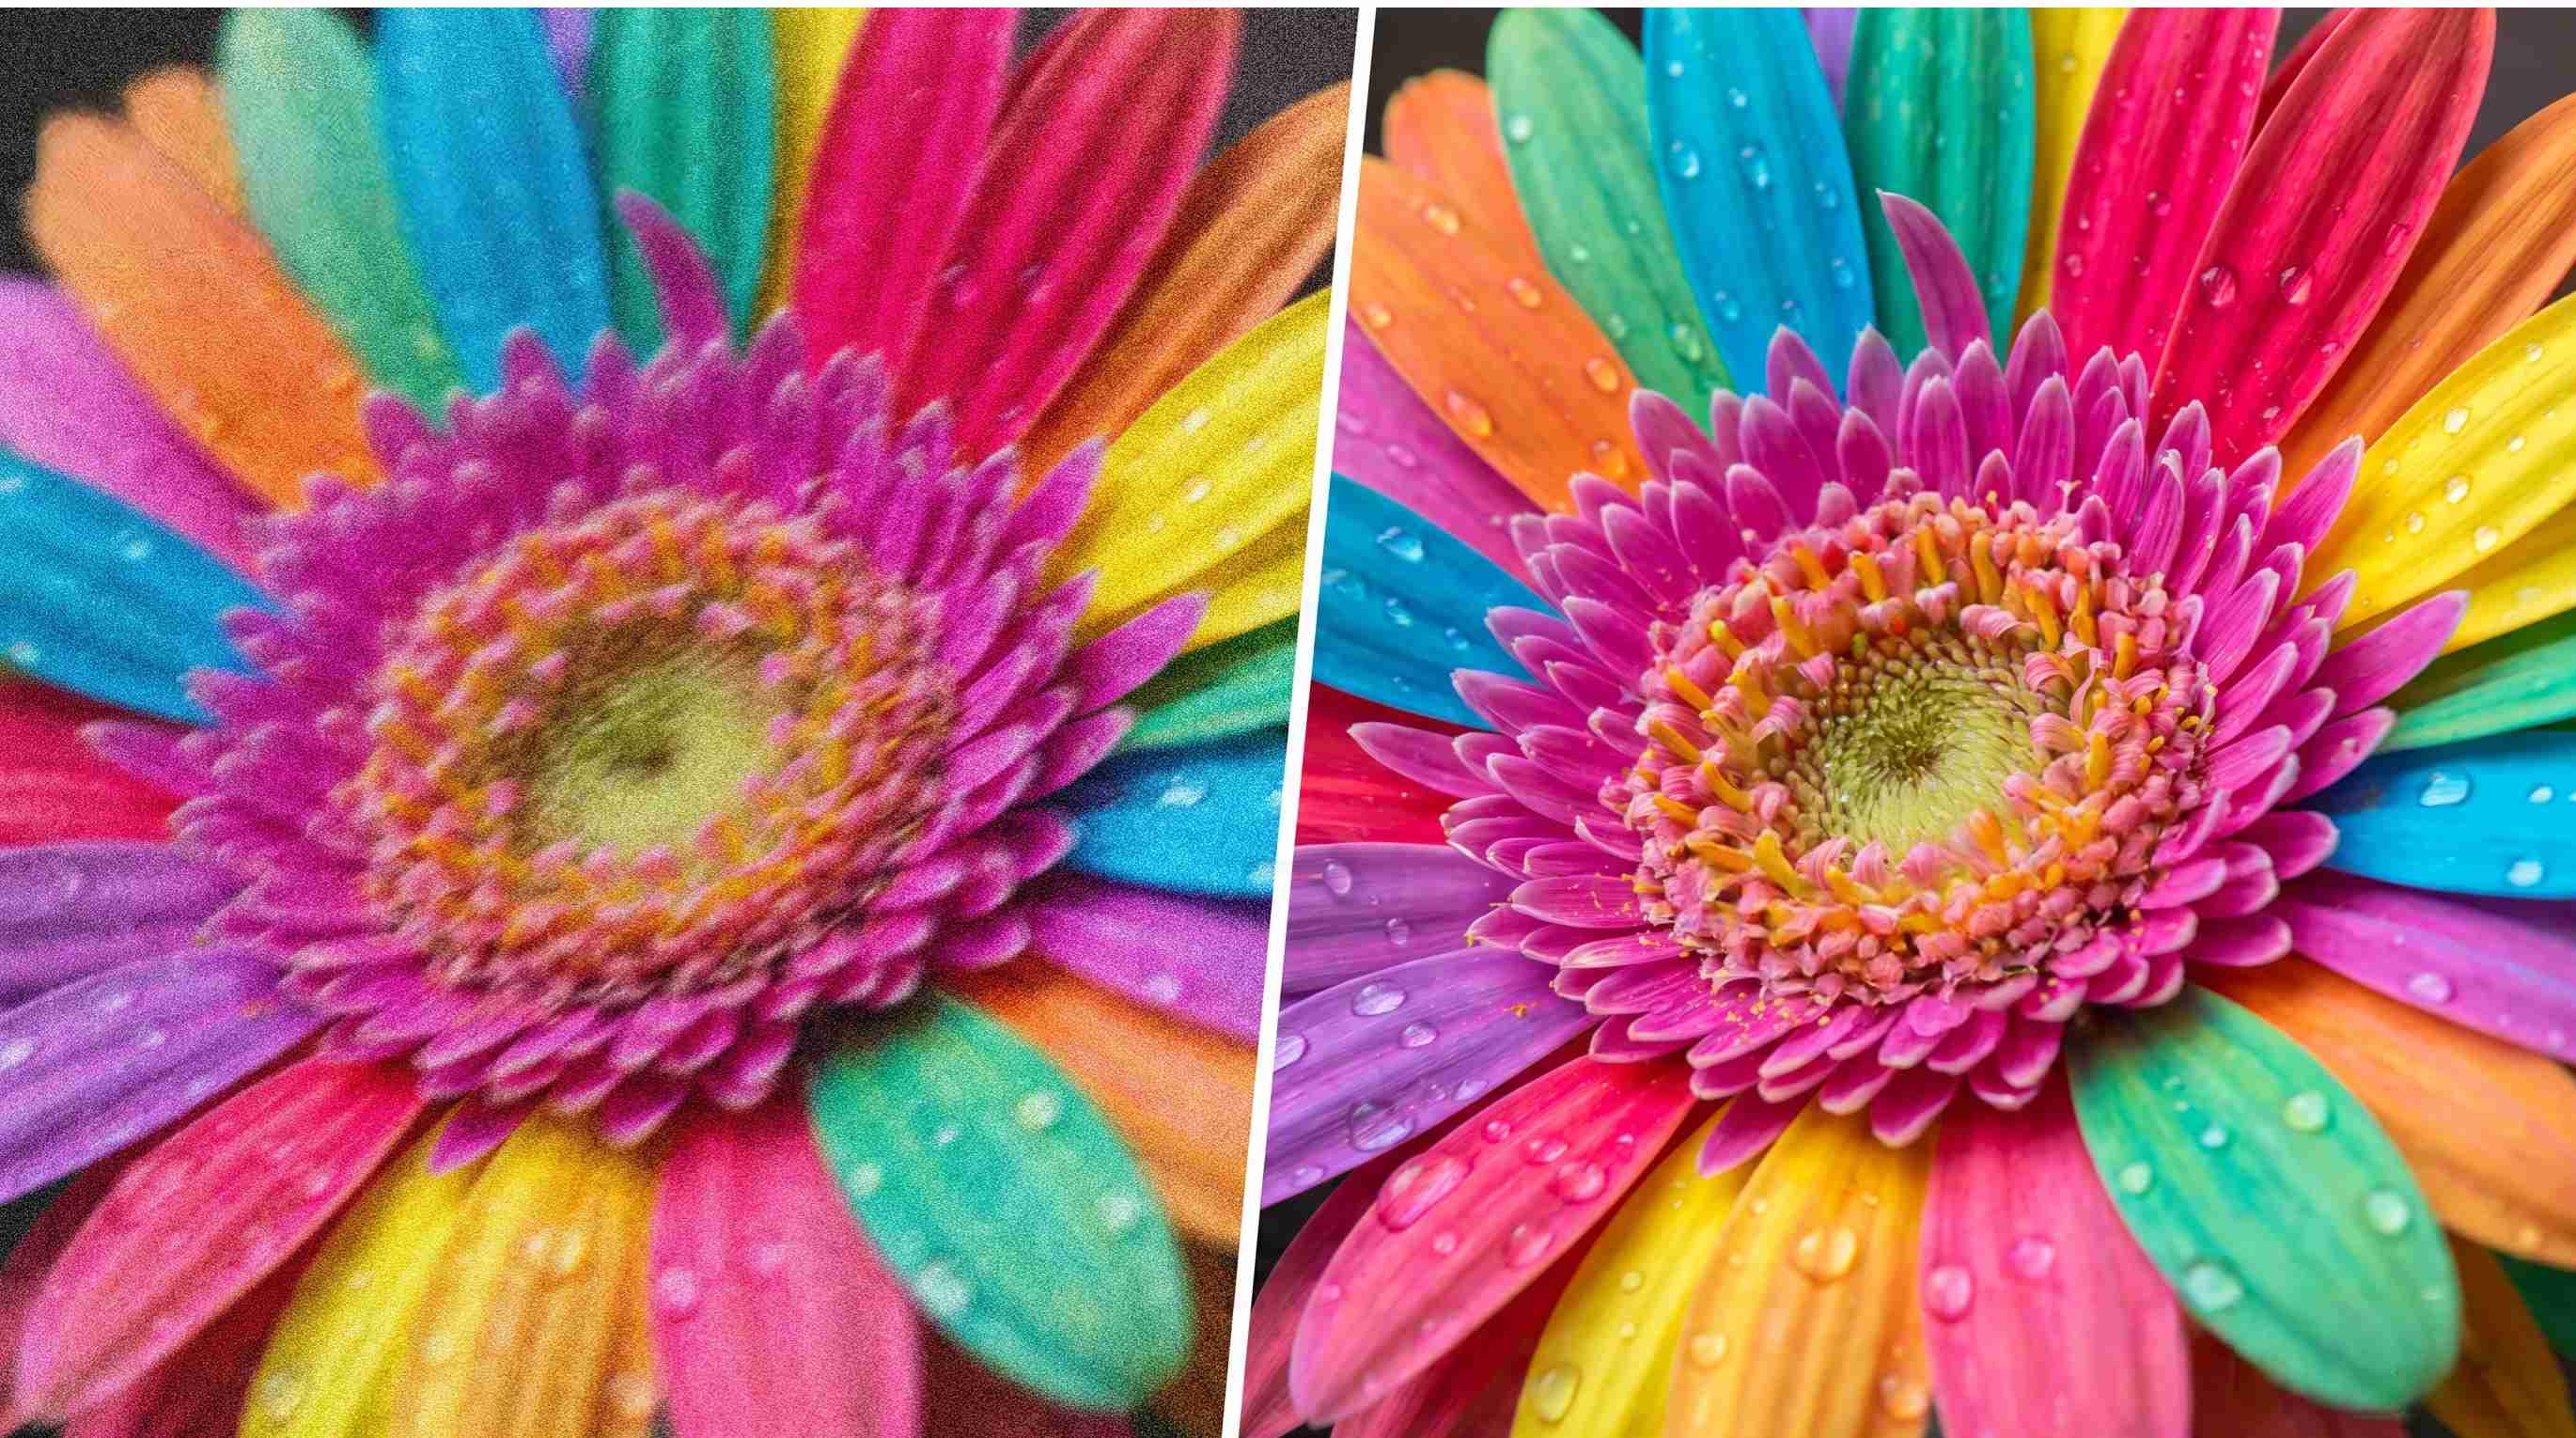
Step 1: Adjust Exposure and Shadows First
Before applying noise reduction, correct the brightness of your image. If the photo is too dark, slowly increase exposure and adjust shadows carefully. Brightening a heavily underexposed image too much can reveal more grain, so avoid making large corrections all at once. The goal is to create a balanced image before removing noise.
Step 2: Reduce Noise Gradually
Most photo editors provide controls for reducing luminance noise and color noise.
-
Luminance noise appears as rough black-and-white texture
-
Color noise appears as unwanted colored dots or patches
Start with a low adjustment and increase gradually. Too much noise reduction can make faces look plastic, remove hair details, or make product textures appear flat.
Step 3: Restore Detail With Care
After noise reduction, some sharpness may be lost. A small amount of sharpening can help bring back definition around edges and important details. But avoiding excessive sharpening can make the remaining grain more visible and create an unnatural processed look. For portraits, focus on keeping eyes, hair, and facial features clear. For product images, preserve edges, labels, and surface textures.
Step 4: Check the Image at 100% Zoom
Always review the image closely before exporting. At 100% zoom, check faces, hair, textures & edges for any noise or lost detail. Then zoom back out and check the overall look. If important details look too smooth or artificial, dial back the noise reduction or sharpening until the image looks natural.
How to Remove Grain From a Photo With AI Tools
Manual editing gives you detailed control, but it can take time, especially when you need to fix multiple images. AI image enhancement provides a faster way to reduce visible grain and improve image clarity by analyzing the photo and adjusting different elements automatically.
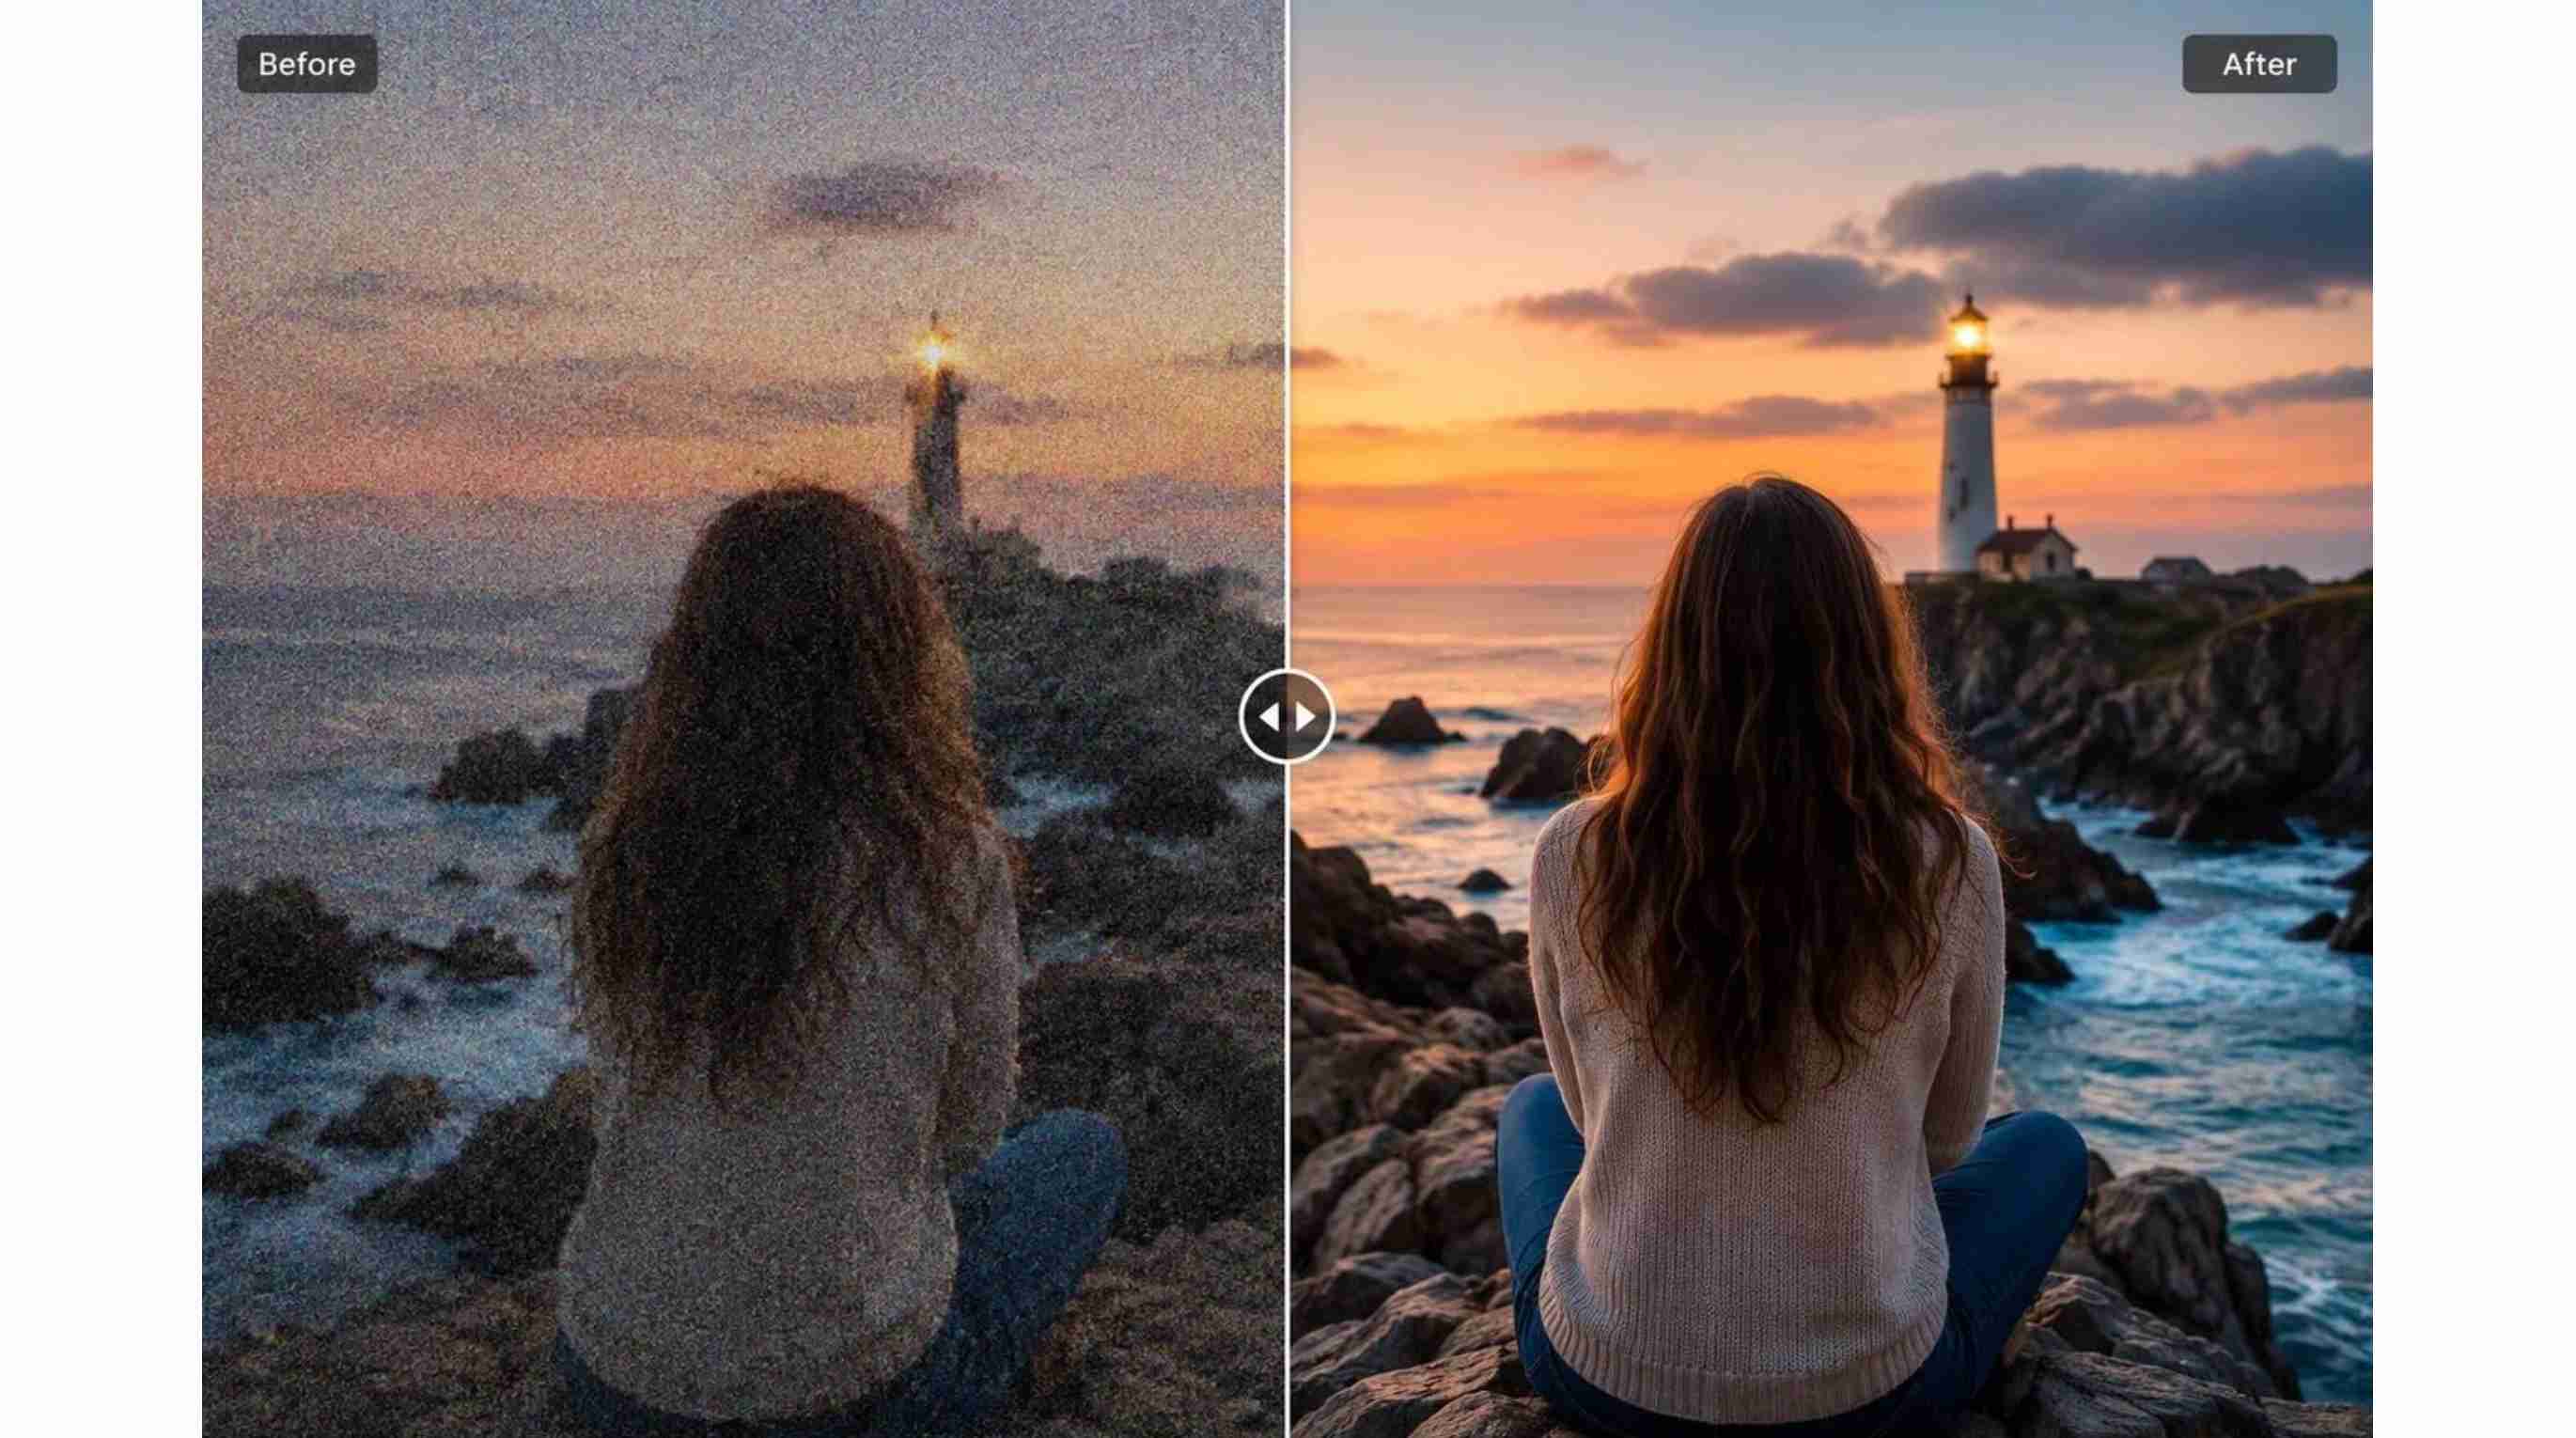
Step 1: Upload the Original Image
Start with the highest-quality version of the photo you have. Avoid using a screenshot or repeatedly compressed copy when the original is available, as additional image information gives the AI more detail to work with.
Step 2: Apply AI Enhancement and Noise Reduction
Use the tool's noise reduction or enhancement feature to clean up visible grain and improve clarity. Start with the standard or moderate setting if options are available, then increase the strength only if the image still looks noticeably noisy.
Step 3: Review Important Details
Post-enhancement, check faces, hair, product edges, text, and fine textures. Watch for over-smoothing, artificial details, or artefacts, particularly in areas already of low quality. Then compare it to the original and decide if the enhancement is appropriate.
Step 4: Export the Improved Image
Export the result in a format and at a resolution appropriate for the intended use, when the result looks natural. Keep the improved high-quality version as your master copy, then make smaller versions for social media, websites, or other platforms if needed.
How to Make Grainy Pictures Clear in Different Situations
The best way to make a grainy image clear depends on the type of photo and where the noise appears. Use a lighter touch for faces and product details, while darker or heavily compressed images may need more careful enhancement.
-
Grainy portraits: Reduce noise around the skin, but keep eyes, hair, and facial features. Don't over-smooth and lose the natural texture of skin.
-
Grainy night photos: Adjust exposure and shadows carefully before reducing noise. Brightening dark areas too much can make existing grain more noticeable.
-
Grainy product photos: Focus on preserving product edges, labels, and surface textures. Excessive noise reduction can make materials look unnaturally smooth.
-
Grainy old or low-resolution photos: Start with the best quality source you have. AI enhancement can help to clarify images, but very small or heavily damaged images may still have limited de
-
Grainy screenshots and compressed images: Use the original file, if possible. If you only have a compressed copy, use noise reduction sparingly and do not save the image repeatedly in a compressed format.
How to Prevent Graininess in Photos
You can fix grain after you have taken a photo, but it is generally easier to avoid too much noise. A few changes to your camera settings, lighting and the way you handle files can lead to cleaner images and less editing later on.
Use a lower ISO when possible
A lower ISO usually produces cleaner images with less visible noise. When there is enough light, keeping ISO low can help preserve details and reduce grain. In darker environments, increasing ISO may still be necessary. A slightly noisy but sharp photo is often better than a clean but blurry one.
Improve Lighting Conditions
More light gives your camera more information to capture. Natural light, additional lighting equipment, or simply moving closer to a light source can reduce the need for high ISO settings. This is especially important for portraits, product photography, and indoor photos.
Avoid Heavy Cropping
Try to capture the subject with enough space in the original frame. Heavy cropping reduces image information and can make noise and softness more noticeable. If you know the image will be used for different formats, leave some extra space during shooting.
Keep the Original Image File
Always keep the highest-quality version of your photo before editing or uploading. A RAW file or original high-resolution image gives you more flexibility for correcting exposure, reducing noise, and improving quality later.
Improve Grainy Photos with Designkit
Fixing grain is often only the first step in improving an image. After reducing noise, you may still need to enhance details, refine portraits, remove distractions, or adjust the overall look before using the image. Designkit provides a complete AI image editing workflow that helps improve photo quality with tools such as AI Image Enhancer, Face Enhancer, AI Retouching, Blemish Remover, and background editing. Whether you are cleaning up a low-light portrait, improving an old photo, or preparing a product image, you can refine different parts of the image without relying on complicated manual adjustments.
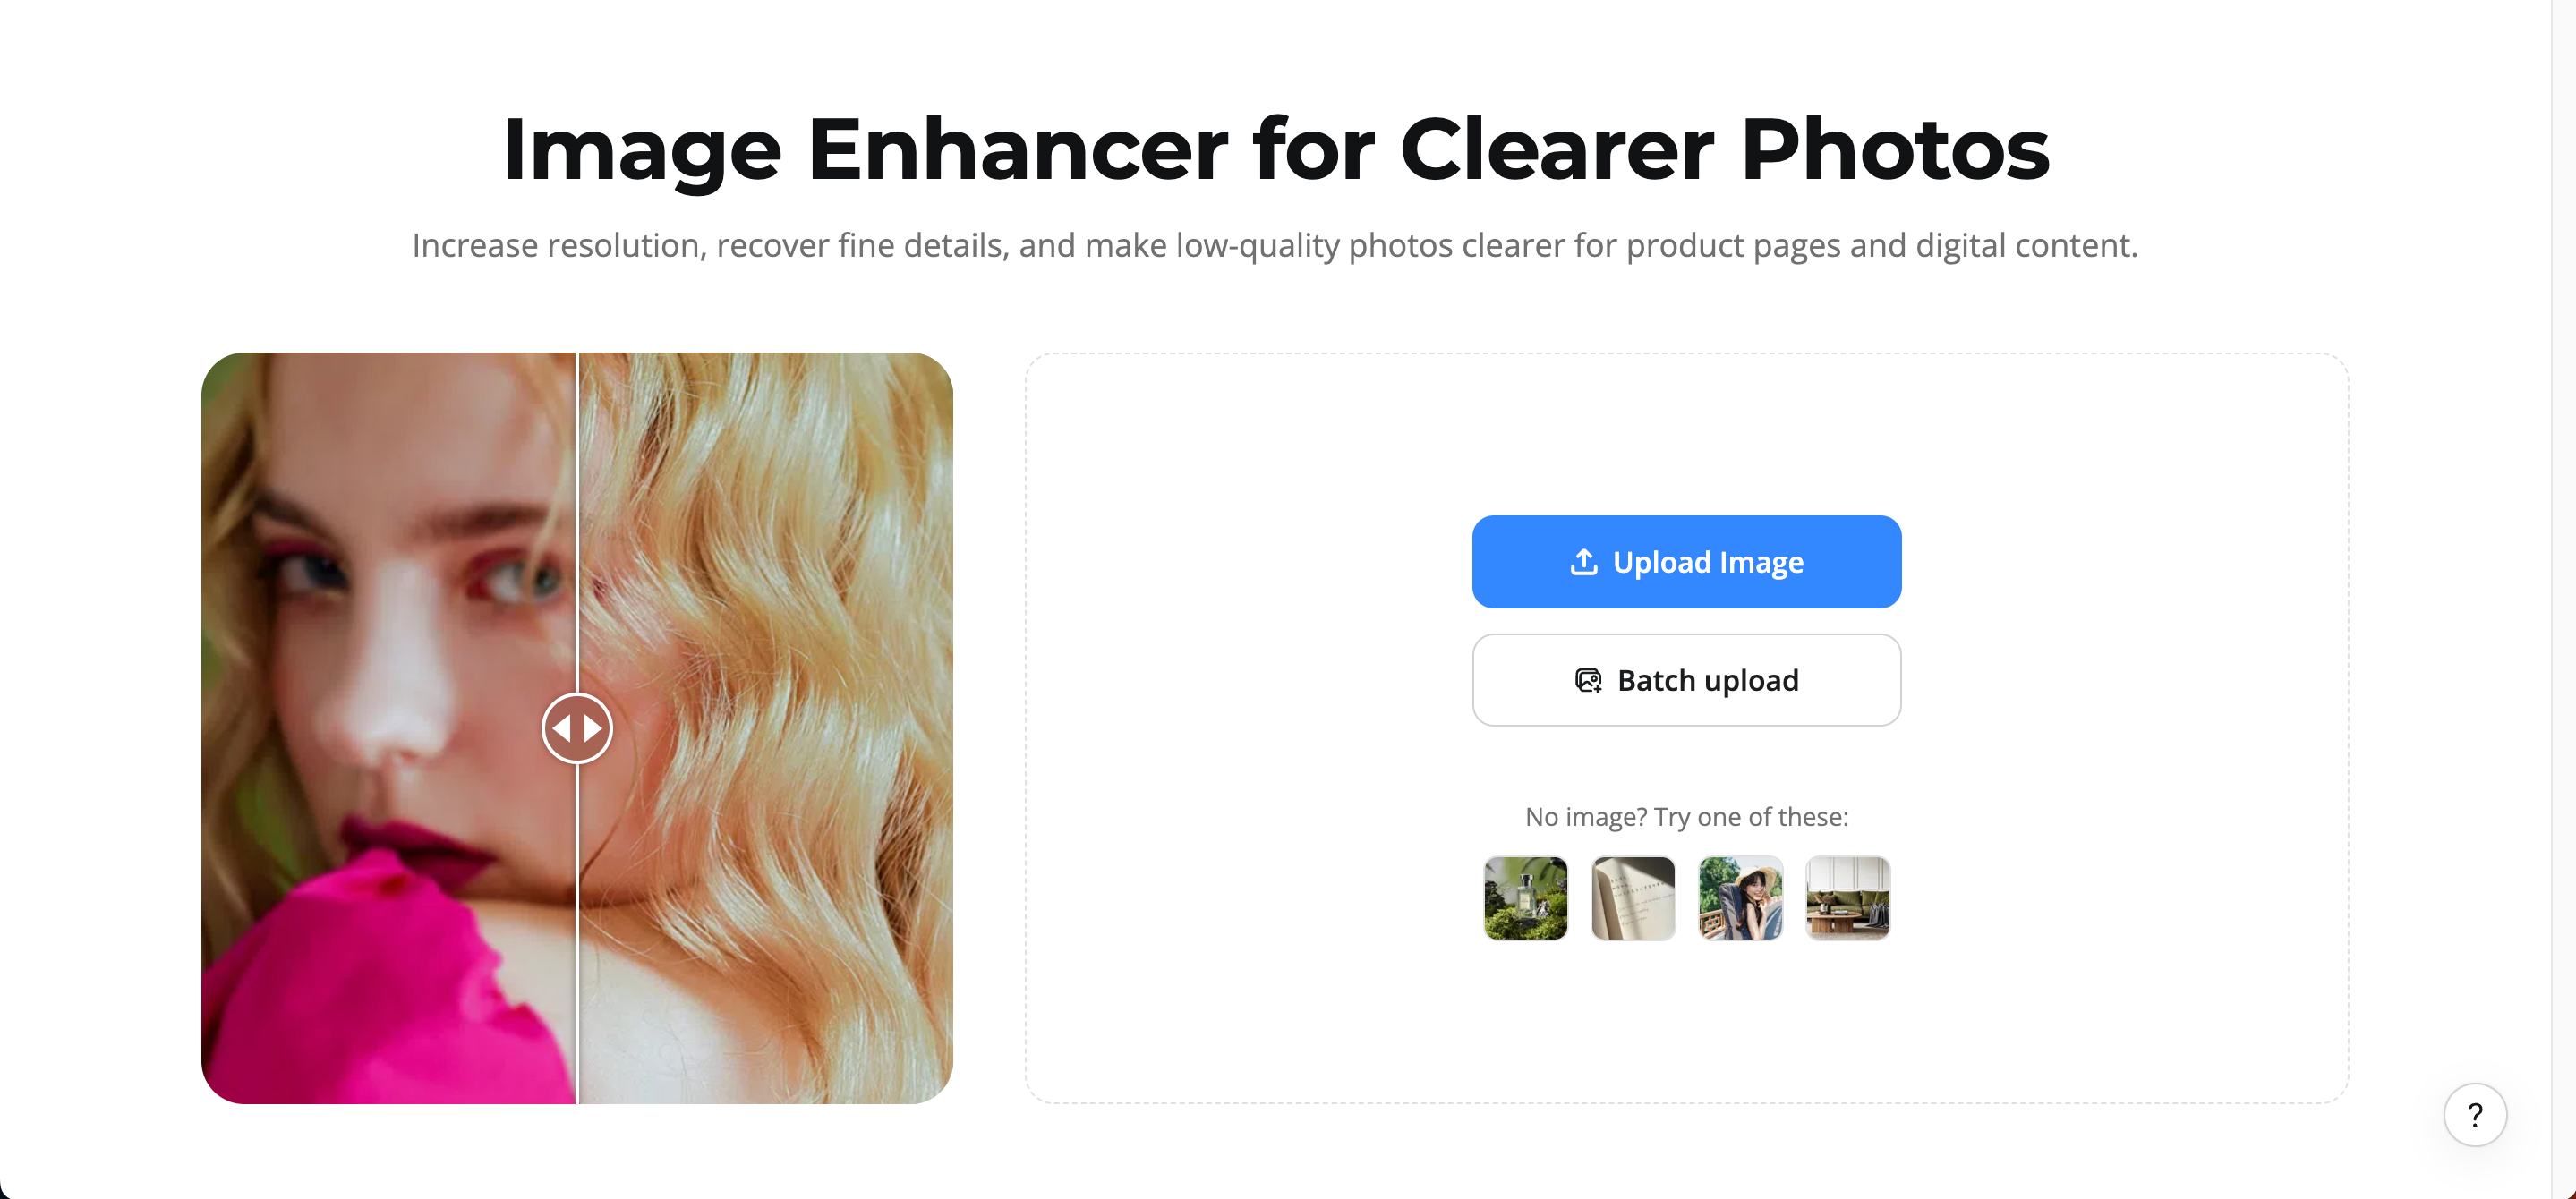
How Designkit Helps Fix Grainy Images
Designkit combines image enhancement and AI editing tools to help you reduce noise, improve image clarity, and clean up imperfections
Improve Image Clarity with AI Image Enhancer
A grainy photo often looks unclear because noise affects fine details and overall sharpness. Designkit's AI Image Enhancer helps improve image clarity by refining details, enhancing definition, and making the photo look cleaner. It works well for images that need a quality boost before being used for social media, websites, presentations, or creative projects.
Refine Portrait Details with AI Retouching
Portrait photos can be challenging because reducing grain too aggressively may remove natural facial details. Designkit's AI retouching tools help refine portraits by improving skin appearance, enhancing facial details, and creating a cleaner look while keeping important features recognizable.
Remove Imperfections with Blemish Remover
Some grainy portraits also contain distractions such as temporary skin imperfections, small marks, or unwanted details. With the Blemish Remover, you can clean up specific areas and create a more polished portrait without manually editing every spot.
Enhance Different Types of Images in One Workflow
A grainy image often needs more than noise reduction to achieve the final result. Designkit allows you to further improve your images by adjusting backgrounds, removing unwanted objects, refining visual details, and creating different styles based on your needs. Whether you are enhancing a portrait, improving a product image, or preparing a visual for online use, Designkit helps you complete the editing process from image cleanup to final customization in one place.
How to Fix Grainy Photos with Designkit
Without adjusting multiple settings manually, you can enhance details, refine the image, and customize the final look based on your needs.
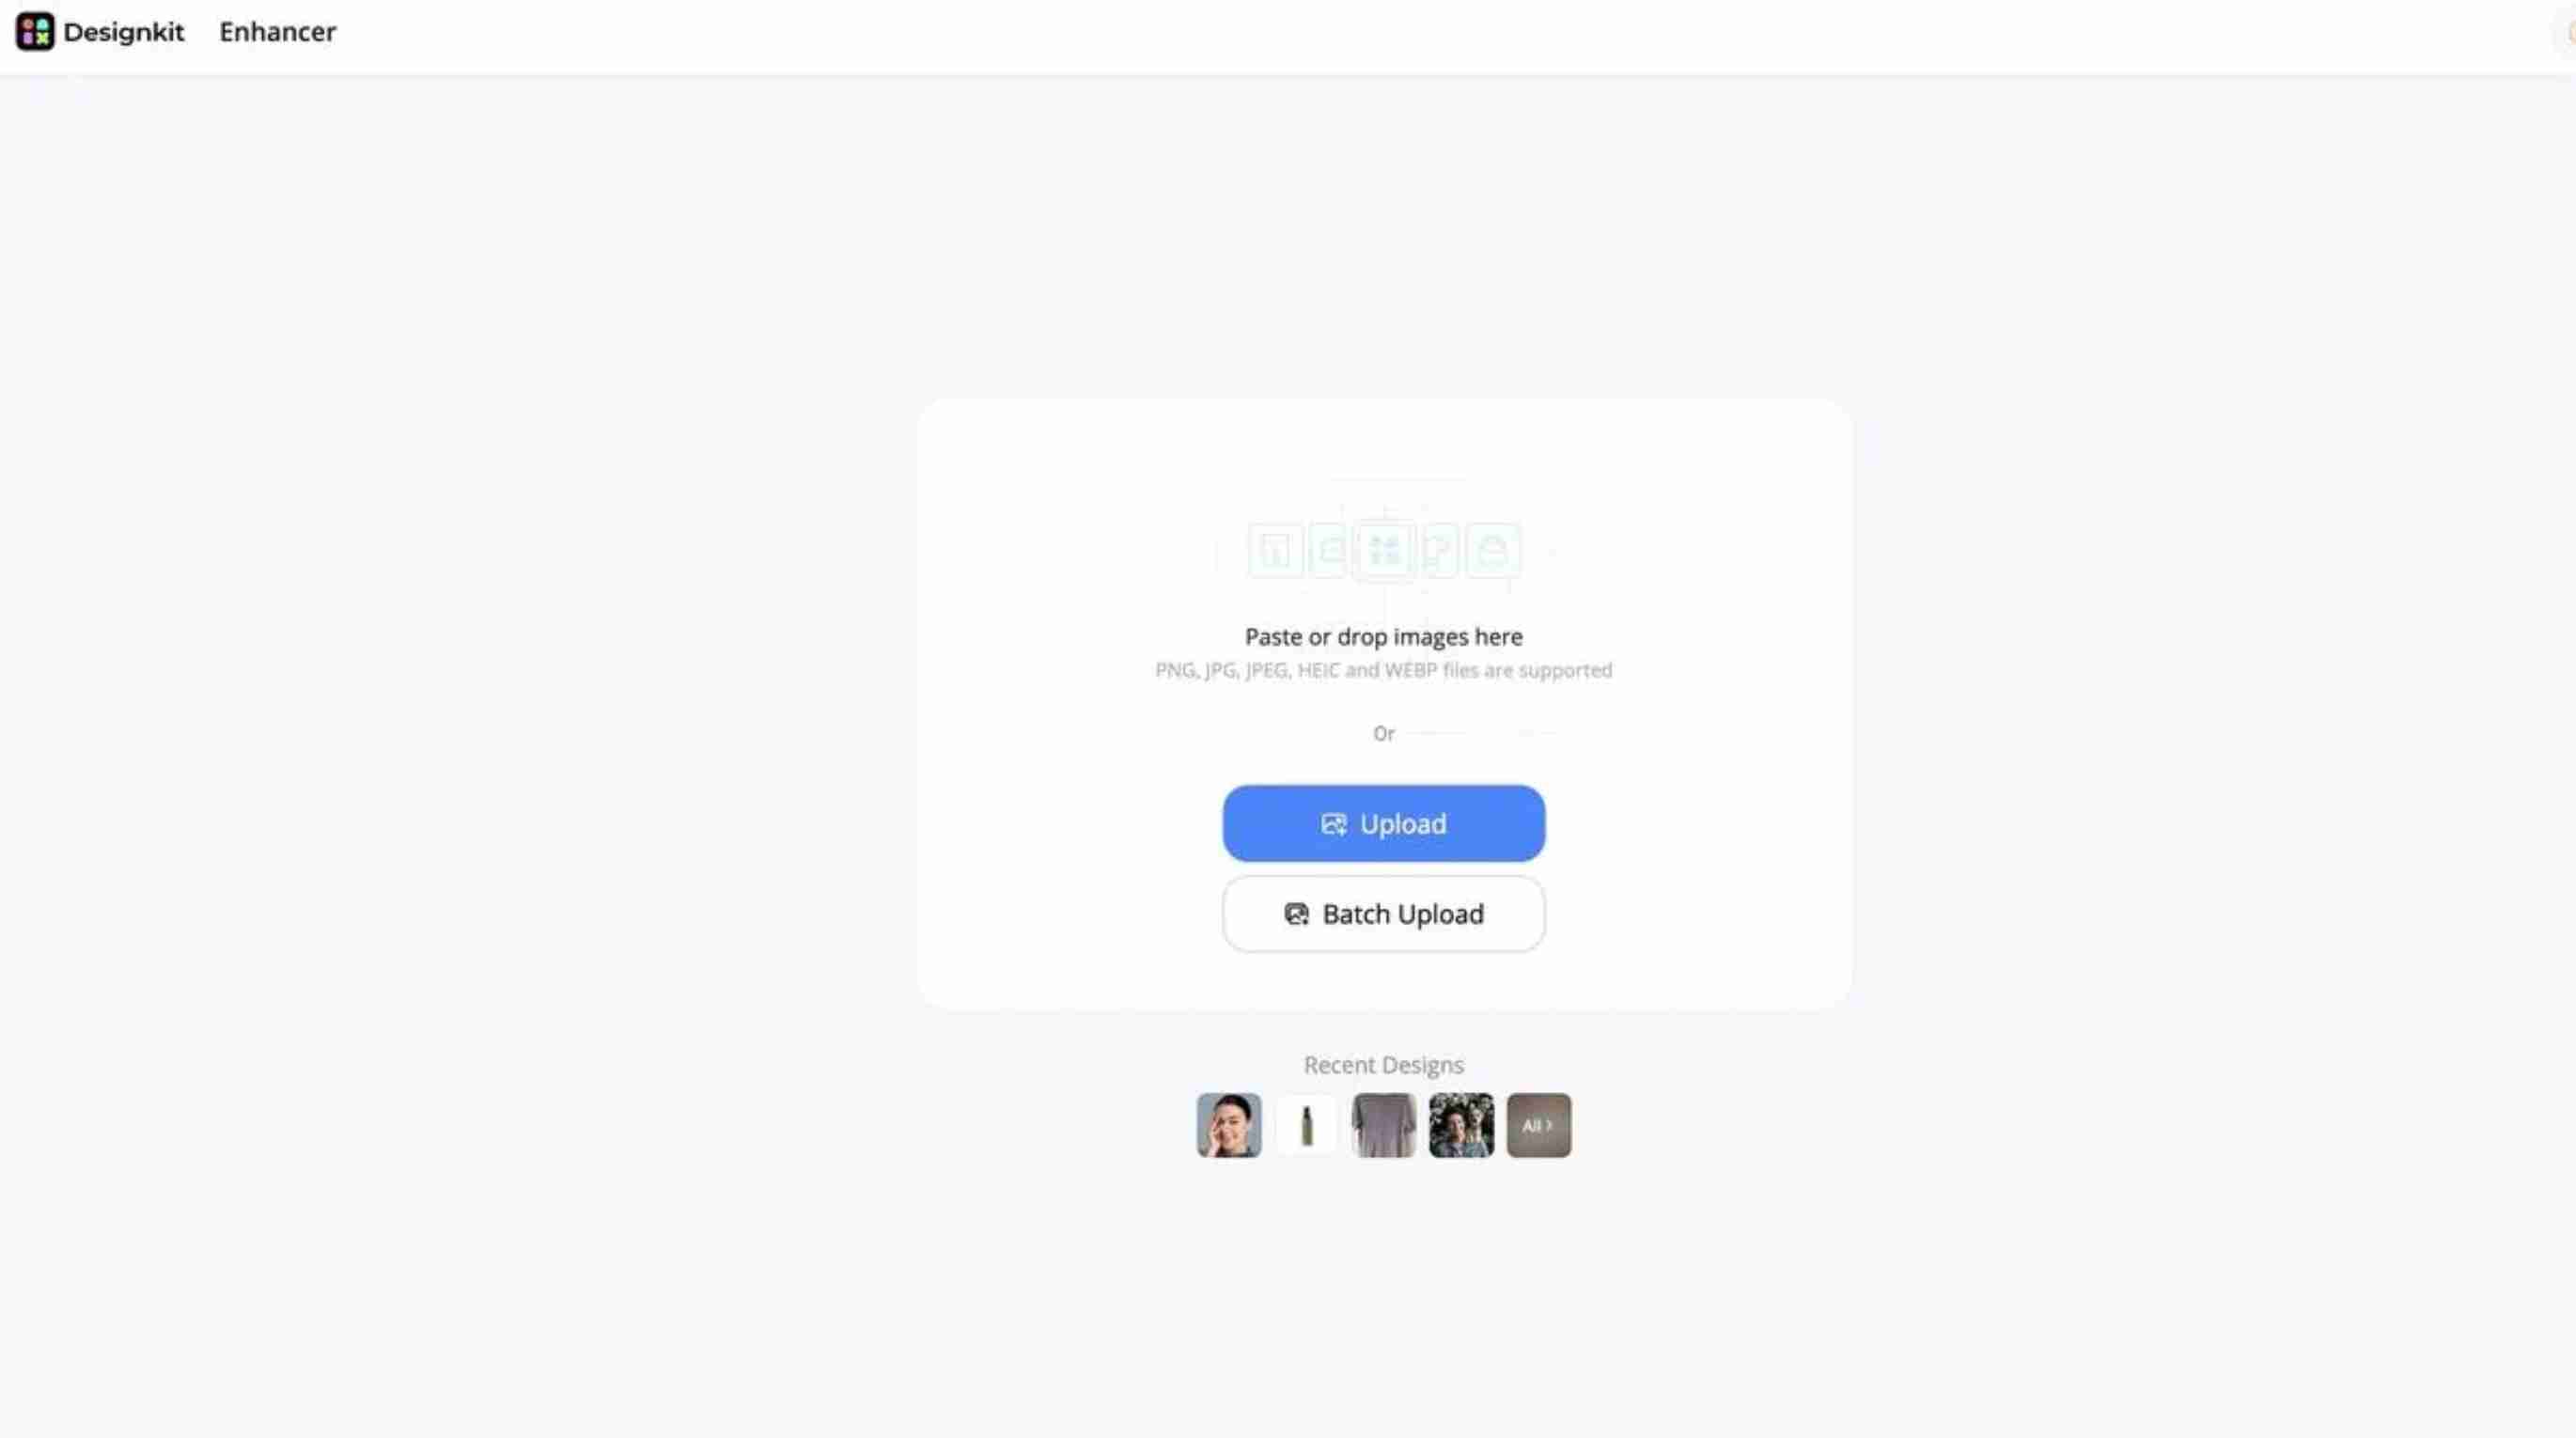
Step 1: Upload Your Grainy Image
Upload the original grainy photo or the highest-quality version you have. For better results, use the original file instead of a screenshot or compressed image, as more image information helps preserve details during enhancement.
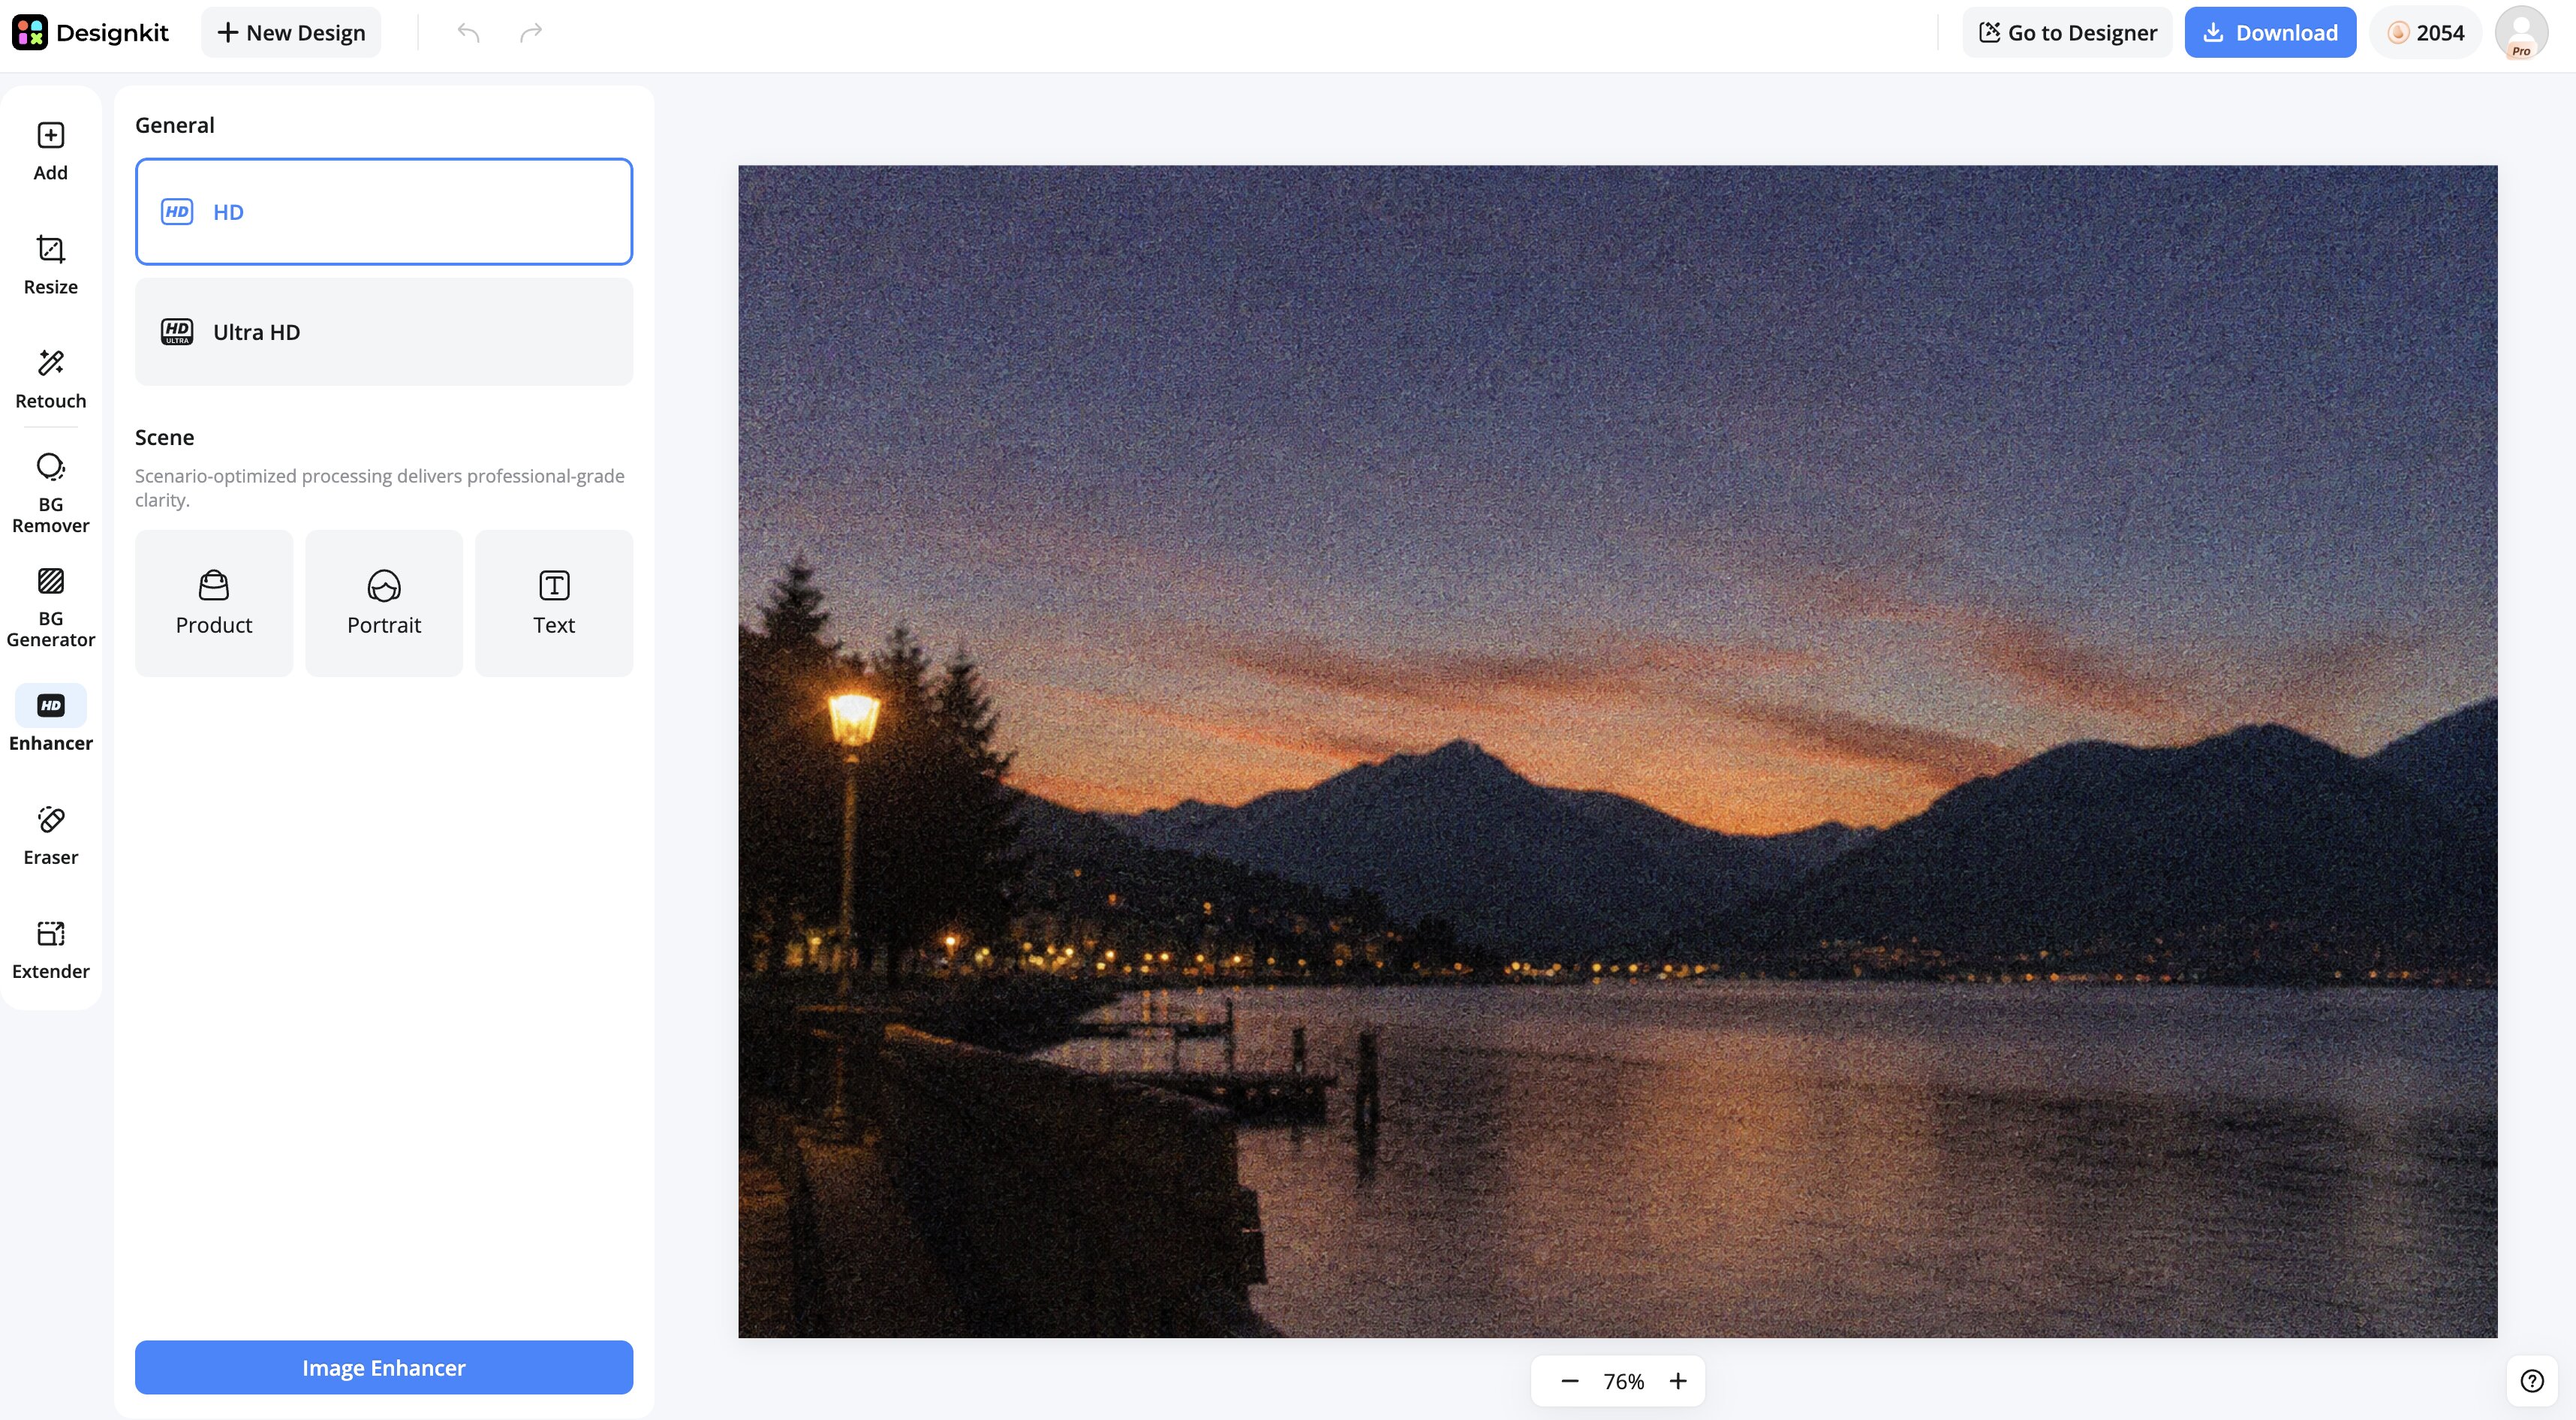
Step 2: Enhance and Refine Your Image
Designkit's image enhancement and editing tools can be used to improve clarity and detail in the visual. Look at areas like the edges of the product, textures, and labels to make sure the result looks natural.
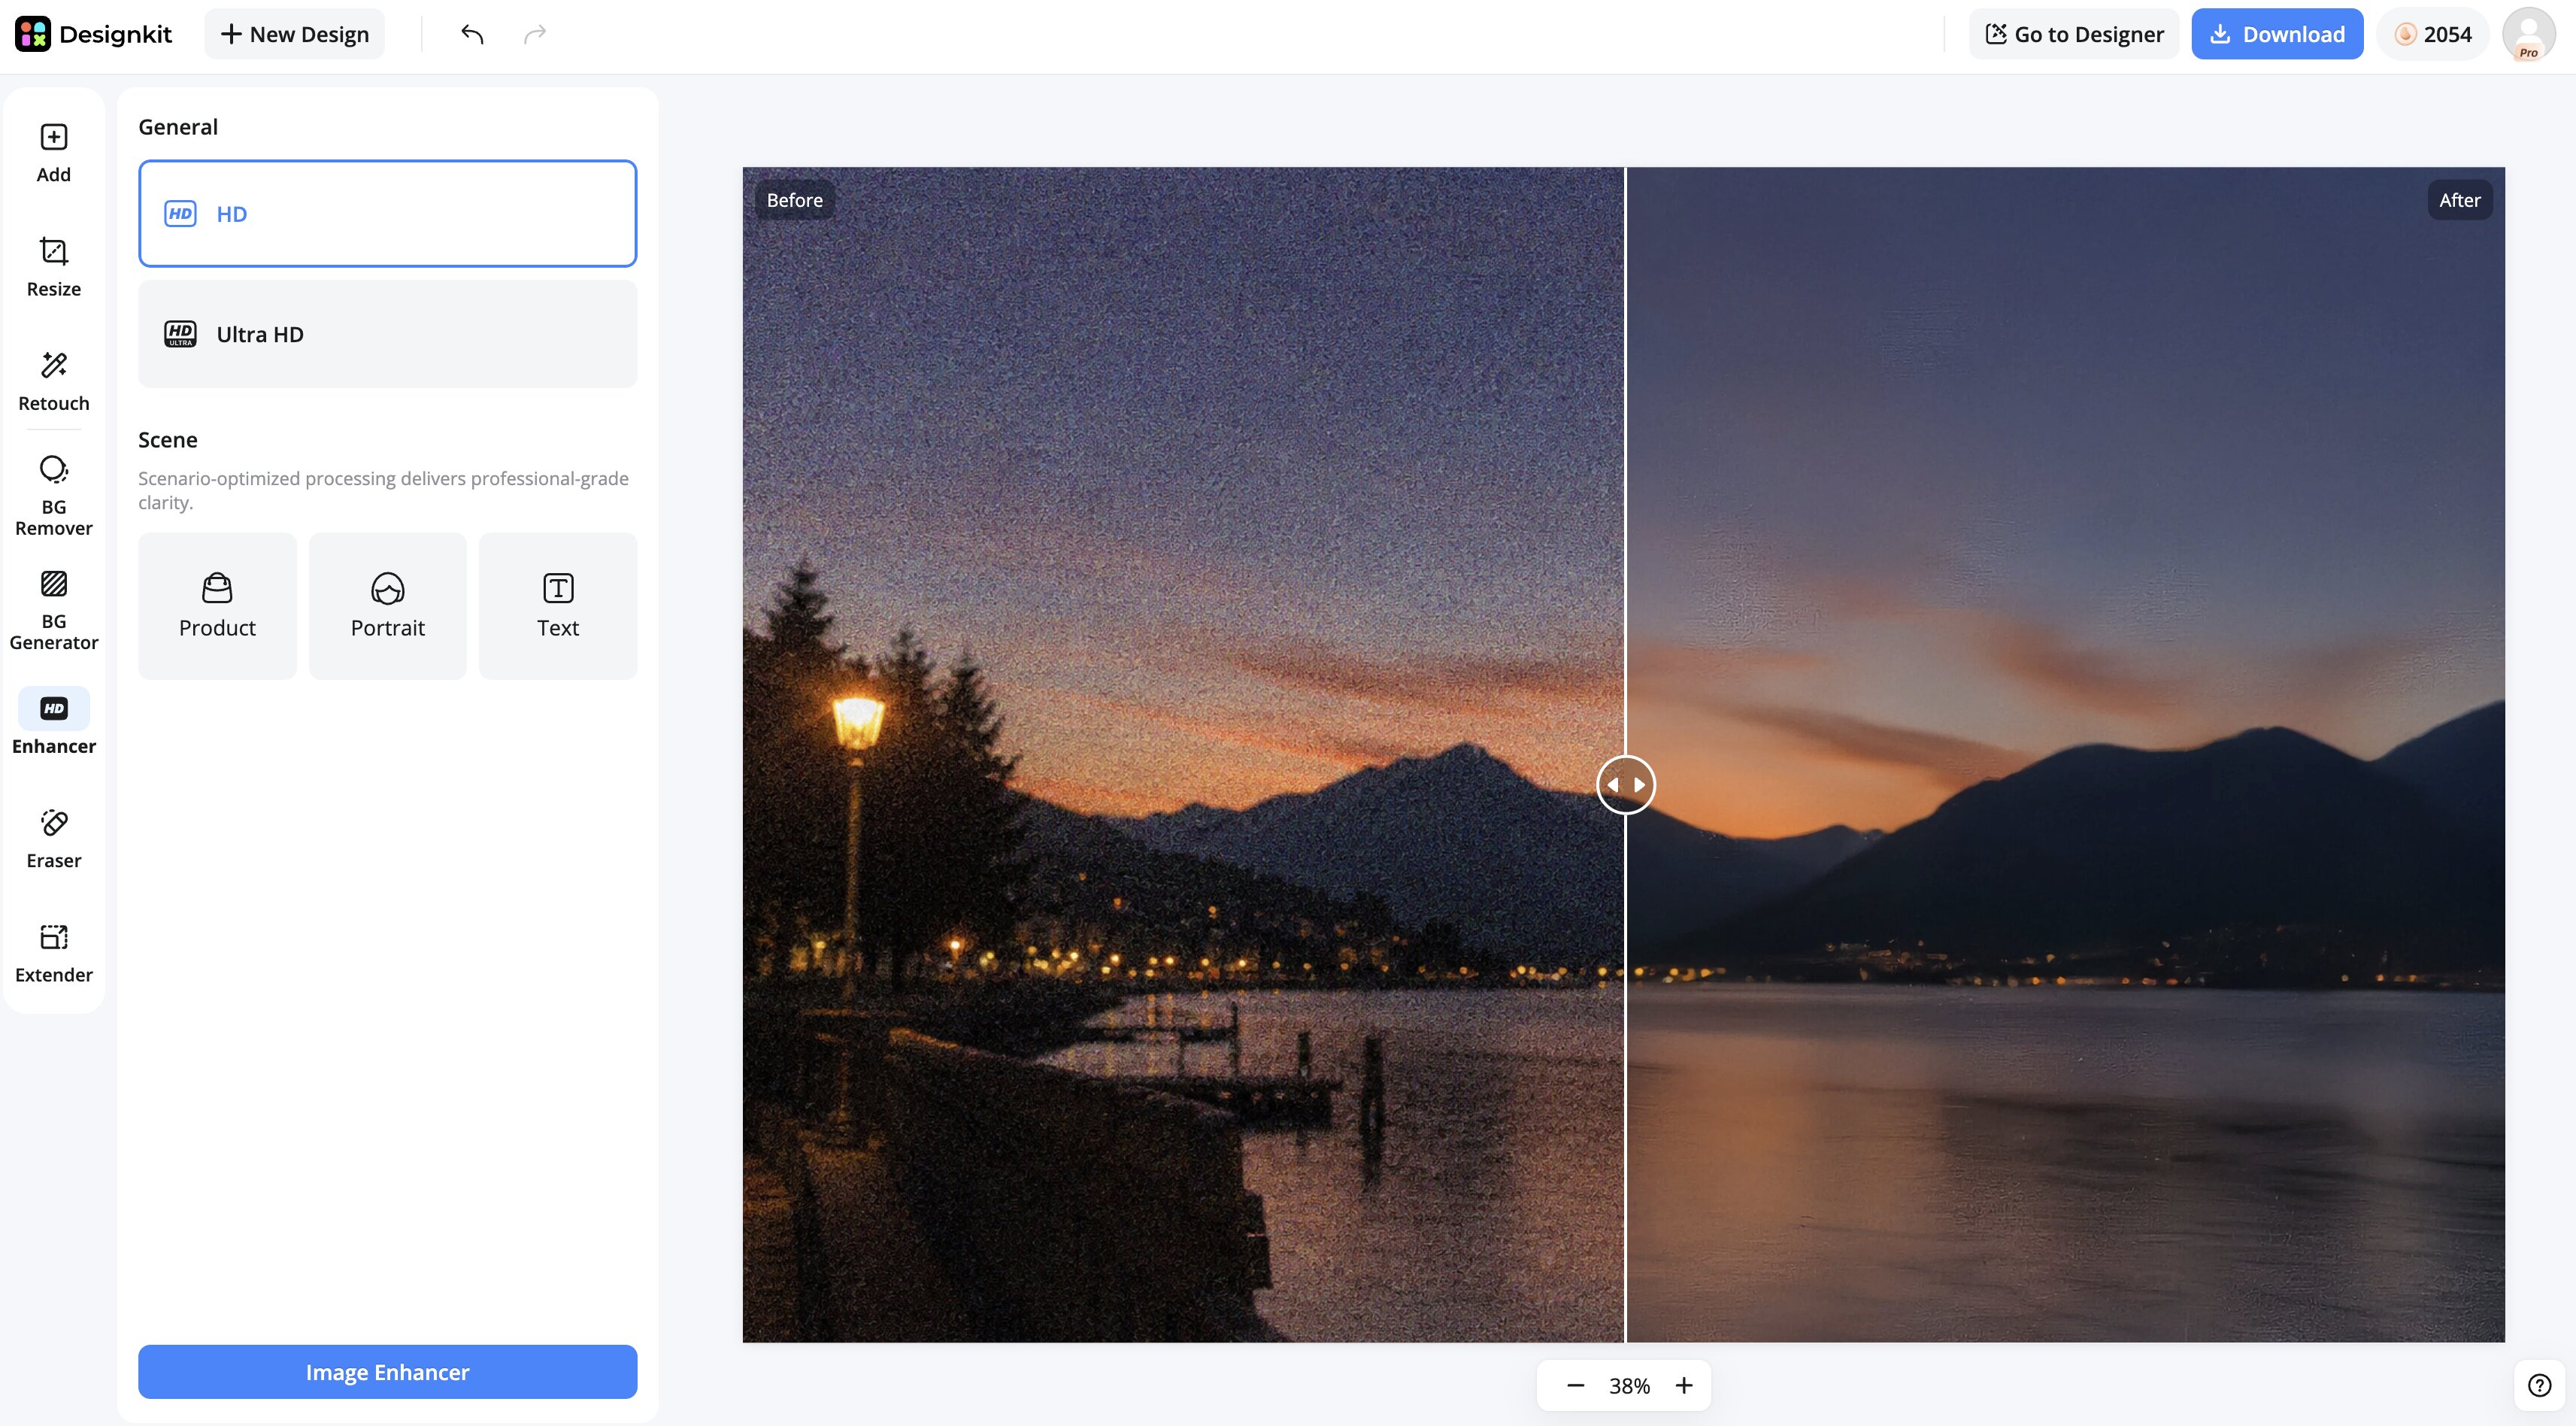
Step 3: Review and Export the Improved Image
Compare the enhanced image with the original and check important details such as faces, textures, edges, and colors. Once the result looks natural, export the improved image for social media, websites, creative projects, product visuals, or other uses.
Final Thoughts
Grainy photos are usually caused by high ISO, low light, underexposure, cropping, or compression. The best way to fix them is to reduce noise carefully while keeping important details natural. Manual editing gives you more control, while AI enhancement can make the process faster when you need to improve multiple images or work with lower-quality sources. Designkit offers additional editing tools such as image enhancement, retouching, and creative adjustments to help turn a rough image into a cleaner, more polished visual.
Frequently Asked Questions
Why do my photos look grainy?
How do I fix grainy photos without losing quality?
Start with the highest-quality original image and apply noise reduction gradually. Too much noise removal can make faces, hair, and textures look unnatural, so balance cleanup with detail preservation. AI enhancement tools like Designkit can help improve clarity while reducing the need for manual adjustments.
How do I make a photo less grainy?
You can make a photo less grainy by adjusting exposure, reducing noise, and adding moderate sharpening when needed. For quick results, AI image enhancement can automatically improve clarity and reduce visible grain. The best results usually come from combining noise reduction with careful detail refinement.
What is the best way to fix grainy portrait photos?
Portrait photos need careful noise reduction because aggressive cleanup can remove natural skin texture and facial details. The best approach is to reduce grain while keeping important features like eyes, hair, and skin texture recognizable. Designkit's AI Retouching and Face Enhancer tools can help refine portraits while maintaining a more natural appearance.
Can I fix a grainy product photo for my online store?
Yes, grainy product photos can often be improved by reducing noise, enhancing details, and adjusting image quality. When editing product images, it is important to preserve edges, labels, colors, and material textures. Designkit can help improve image clarity and continue editing the image for product visuals, listings, and other creative uses.
You May Also Like

Remove.bg Shutting Down Dec 1, 2026: What Users Are Saying

7 Best Remove.bg Alternatives in 2026: Free & Paid Tools

Instagram Carousel: What It Is, How to Post & Create One

Nano Banana Prompts: 20+ Examples for Better AI Images

Ideogram AI Review 2026: Features, Pricing & Alternatives

Free Mac Photo Editor: 5 Tools Compared for Mac Users

How to Crop a Photo Into a Circle Online (Keep Quality)

How to Make an Image Transparent Online (AI Guide)

Pixlr Background Remover Review 2026: Features, Pricing & Alternatives

How to Fix Overexposed Photos: Recover Highlights Fast

OpenArt AI Review 2026: Features, Pricing & Alternatives

Best AI Headshot Generator: 9 Tools Compared for 2026

Best Stencil Maker Tools 2026: Turn Photos Into Stencils

Pixelbin Watermark Remover Review: Image & Video Results Tested

How to Make a Sticker on iPhone: Easy Step by Step Guide

Best AI Logo Generator in 2026: 10 Tools Compared

How to Turn a Photo Into a Cartoon: A Beginner-Friendly Guide

Landscape vs Portrait: Key Differences & Best Uses in 2026

How to Remove Watermark From Photo: AI, Photoshop & More

How to Fix Pixelated Photos: Photoshop, AI Tools & Tips

Bing Image Creator: How It Works, Features, Uses & Alternatives

How to Remove People from Photos with AI: A Step-by-Step Guide

How to Increase Image Resolution: AI, Photoshop & PPI

How to Add Text to a Photo: 8 Tips for Better Results

How to Fix Grainy Photos: Easy Ways to Clear Images

Creative Profile Picture Ideas for Every Style and Platform

Evoto AI Review 2026: Features, Pricing, Pros & Cons

Pixlr Photo Editor Review: Features, Pricing & Alternatives

Best AI Image Extender Tools in 2026: Expand Photos with AI

How to Make a Collage on iPhone: Easy Guide for 2026

How to Sharpen an Image in Photoshop (Smart Sharpen and Unsharp Mask)

Best Image Background Remover Tools in 2026: AI Tools Compared

How to Make Transparent Background in Paint: Step-by-Step Guide

How to Resize an Image: Best Methods, Tools & Quality Tips

Best AI Image Generator Tools in 2026: Top AI Platforms Compared

Remove.bg Review 2026: Features, Pricing & Is It Worth It?

Luminar Neo Photo Editor Review 2026: AI Features, Price & Pros

How to Post Multiple Photos on Instagram (2026 Guide)

25 Facebook Cover Photo Ideas for Personal & Business Pages

What Is a PFP? Meaning, Examples & How to Create One

Can You Edit an Instagram Post After Posting?

11 Best Canva Alternatives in 2026 for AI Design & Marketing

8 Best Midjourney Alternatives in 2026: Features, Pricing & Comparison

How to Restore Old Photos: AI Tools, Tips & Best Methods

Pixelcut AI Review 2026: Features, Pricing, Pros, Cons & Alternatives

How to Apply Watermark to Photos: Methods, Tips & AI Tools

How to Remove a Background in Illustrator: 4 Easy Methods

How to Change Background Color on Instagram Story (Easy Guide)

8 Best AI Poster Generators in 2026: Create Posters Faster with AI

10 Best AI Image Enhancers in 2026: Tested & Compared

10 Best AI Image Editors in 2026: Features, Pricing & Comparison

7 Best AI Background Changer in 2026: Remove & Replace Photo Backgrounds

Luminar Neo vs Lightroom: Features, Pricing & Comparison 2026

Kittl Review 2026: Is It Worth It? Features & Pricing

How to Make a Blurry Image Clear: 5 AI & Manual Ways

How to Remove Background on iPhone: 5 Easy Methods (2026)

Photoroom Background Remover Review 2026: Features & Alternatives

How to Remove Background in Canva: A Step-by-Step Guide

How to Remove Background in GIMP: Beginner-Friendly Guide

Funny Dog Memes to Try: Doge Meaning and 10 Original Ideas

Back to School Checklist 2026: Supplies, Timeline, and Planning

Recraft AI Review 2026: Features, Pricing, Pros, Cons & Alternatives

How to Make an Image Transparent in Google Slides: Opacity & Background Removal

VanceAI Photo Enhancer Review: Features, Pricing & Alternatives in 2026

What Does Emojify Mean? Text, Photos, & Emoji Art Explained

Top 8 Online Background Removers for Ecommerce Photos (2026)

How to Remove Background in Photoshop: 7 Easy Methods

6 Best AI Image Upscalers 2026: Tools Tested & Compared

Project Indigo Review: Is It Better Than iPhone Camera?

How Big Is an 8x10 Photo? Size, Pixels & Frame Guide

How Big Is a 4x6 Photo? Dimensions, Pixels & Printing Tips

Picsart AI Review: Features, Pricing, Pros, Cons & Alternatives

Lovart AI Review: AI Design Agent Features, Pricing & Alternatives

Fotor AI Image Generator Review: Features, Pricing & Alternatives

How to Add Emoji to Photo Online for Free

Emoji Wallpaper Ideas & How to Make One Online (2026)

Minimalist Poster Design: How to Make a Clean Poster (2026)

How to Make a Custom Poster That Is Ready to Print

Instagram Image Size Guide 2026: Post, Reel, Story & Carousel Specs

LinkedIn Image Size Guide: Profile, Post & Banner Dimensions

YouTube Profile Image Size: Best Dimensions & Safe Area 2026

How to Edit Amazon Product Photos That Boost Sales Fast
Make Grainy Photos Look Clearer
Clean up noisy images, improve photo details, and create polished visuals with Designkit's AI image enhancement and editing tools.
