
How to Fix Overexposed Photos: A Complete Guide
Fix overexposed photos by pulling down blown highlights, restoring contrast, and recovering usable detail. Learn manual edits and AI tools to improve washed-out images quickly.

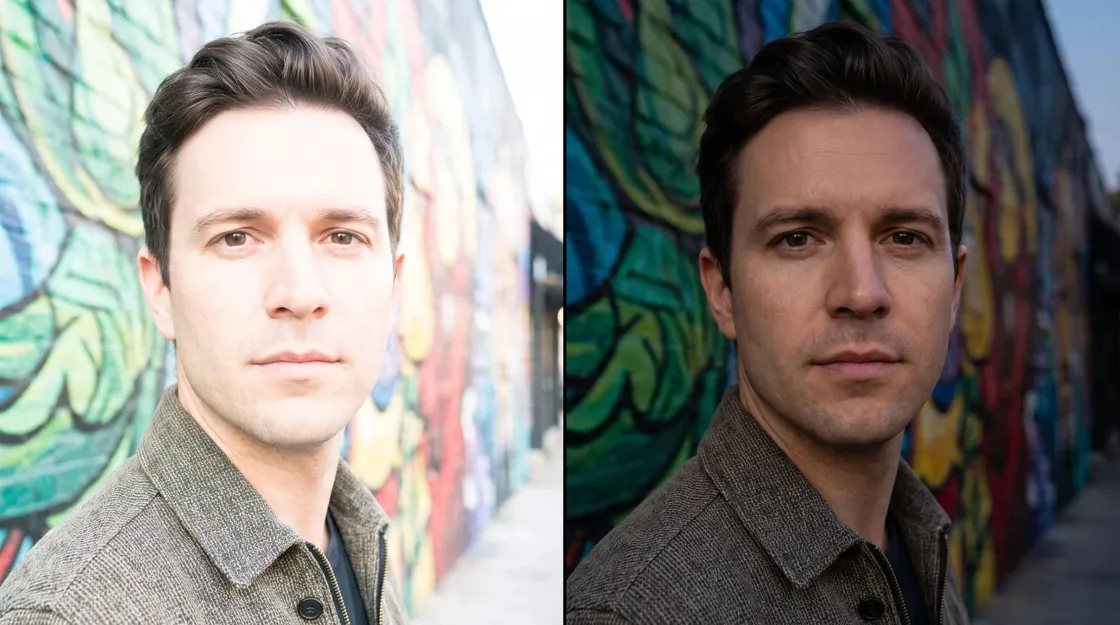
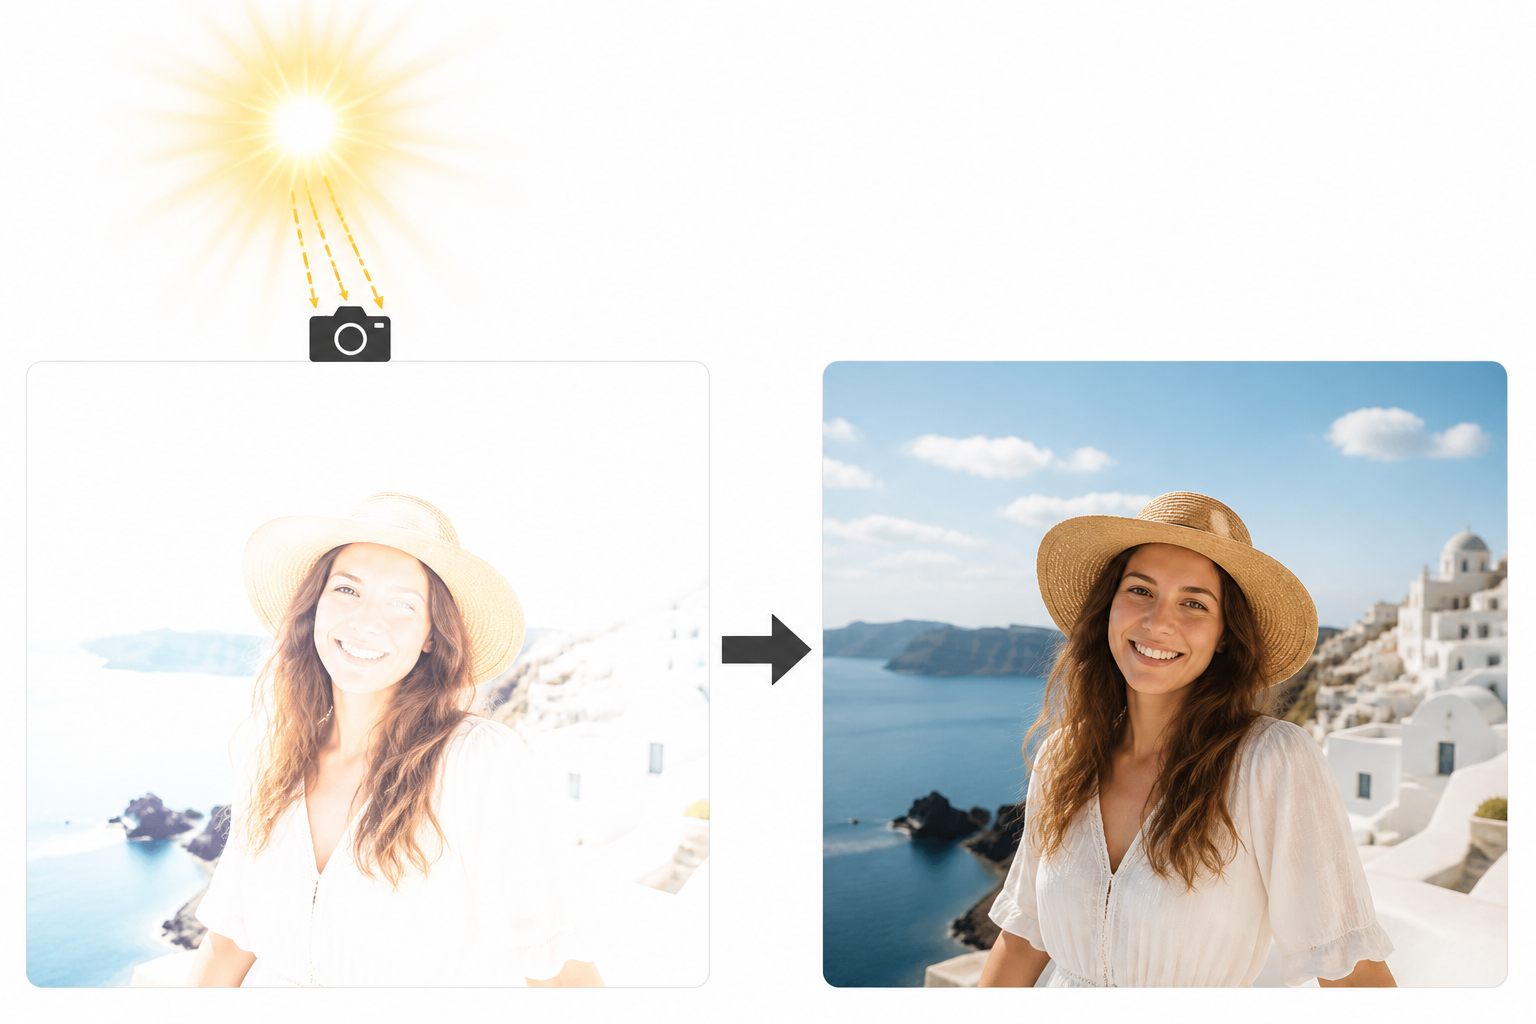
Overexposing can cause highlights to lose detail and skies, skin, clothing, and product highlights to be washed out or completely white. If the original image still has some highlight information, you can usually rescue it with a little judicious editing.
The best approach depends on how much detail was captured before the image got too bright. You can adjust each tone manually, or use AI tools to speed up correction when you have lots of images to process. Follow this guide to learn how to fix overexposed photos, what you can realistically recover, and how to avoid the problem in future shots.
Key takeaways
-
Learn what causes overexposure and how to identify clipped highlights.
-
Understand how RAW and JPEG files differ when recovering bright areas.
-
Follow a practical order for adjusting highlights, whites, exposure, contrast, and color.
-
Compare manual editing with AI photo enhancement for different correction needs.
-
Fix overexposed photos online with Designkit when you want a simpler workflow.
What causes photos to become overexposed?
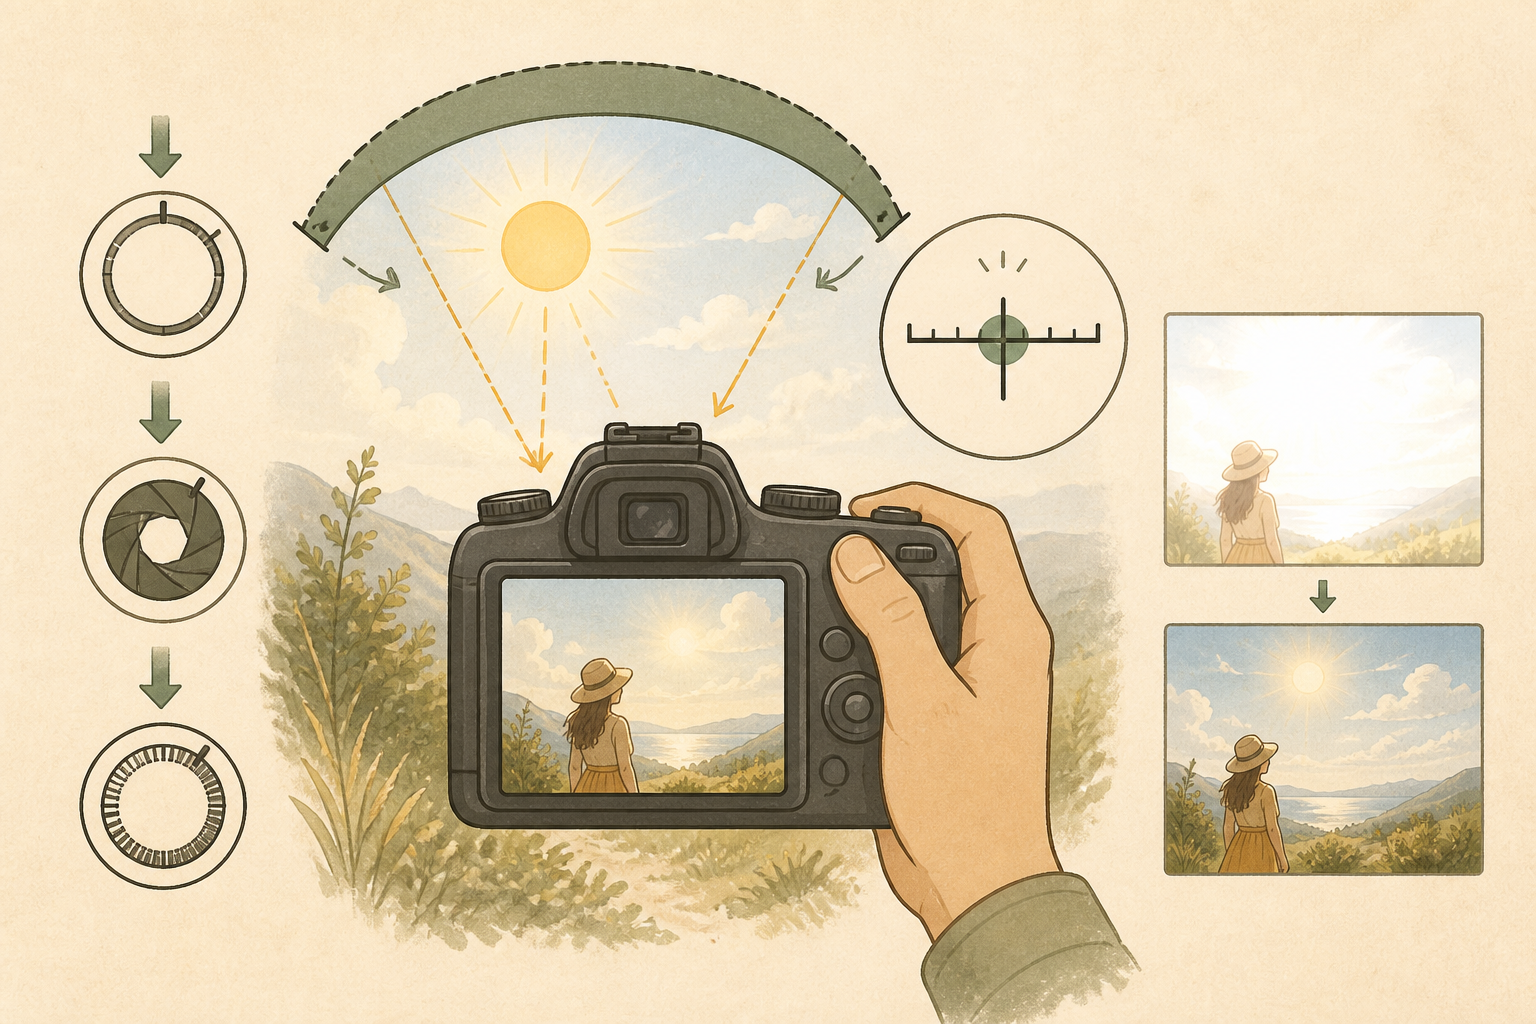
In overexposed photography, too much light reaches the camera sensor, causing bright areas to lose detail and appear washed out. Incorrect exposure settings, harsh lighting, or excessive editing can also push highlights beyond their usable range.
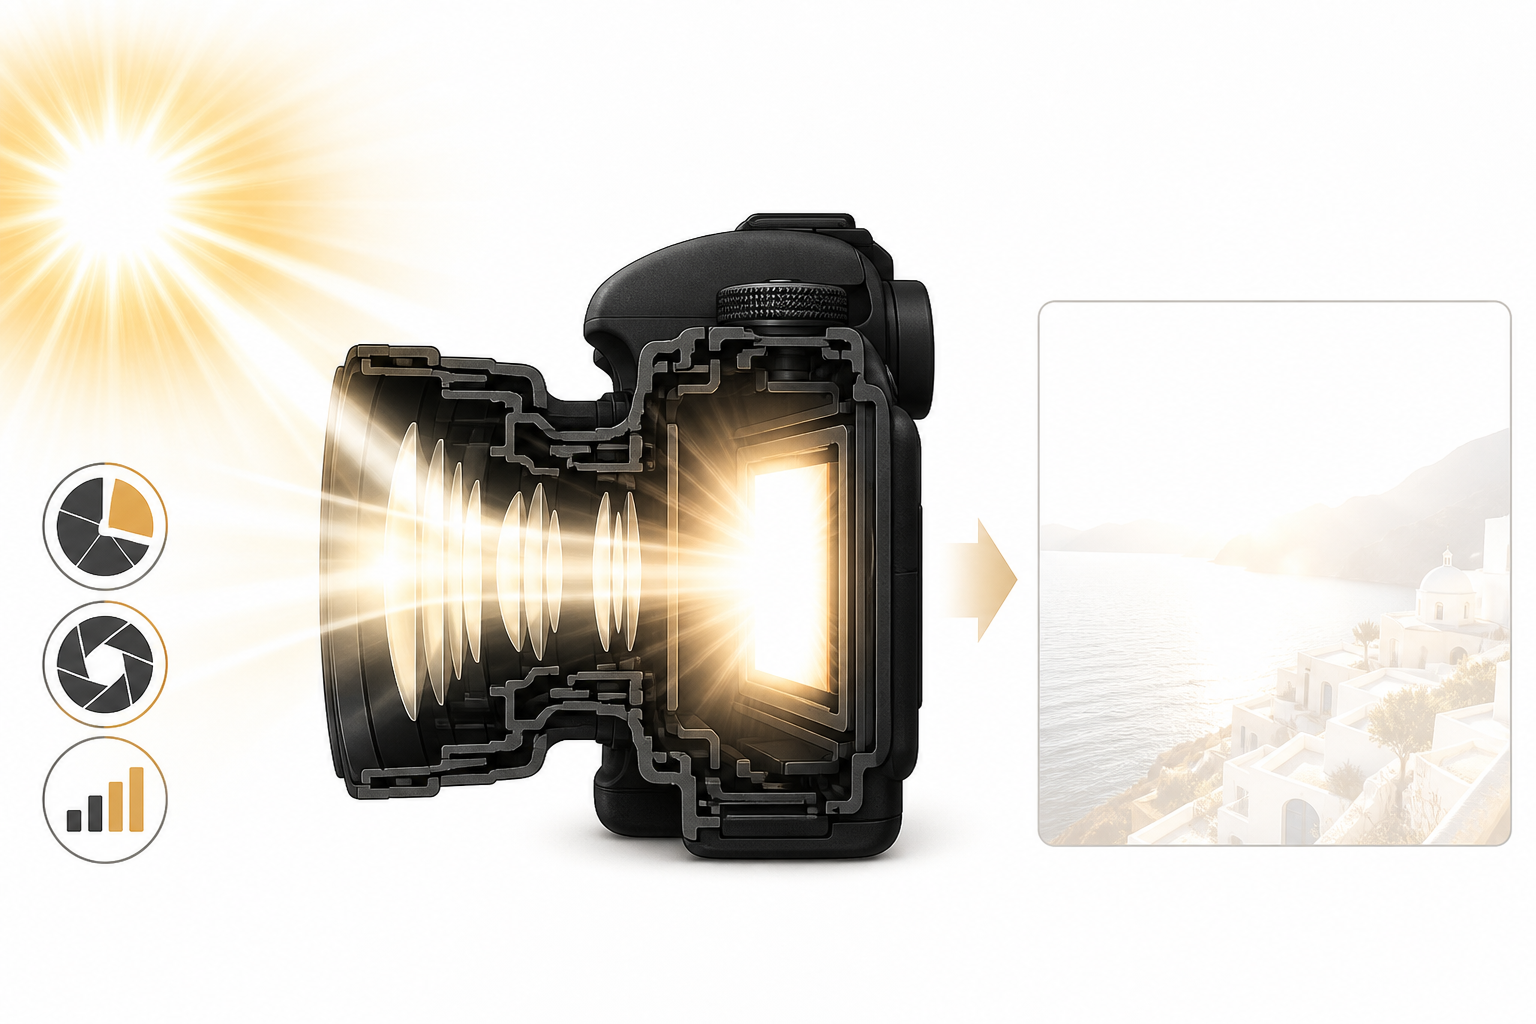
Common causes include:
-
Too much light entering the camera: Excessive light can overwhelm the sensor, especially in bright outdoor conditions.
-
An exposure setting that is too bright: Incorrect exposure settings can make the entire image appear brighter than intended.
-
A shutter speed that is too slow: A slow shutter lets in more light, which can cause overexposure in bright conditions.
-
An aperture that is too wide: A wider aperture allows more light to reach the sensor, increasing the risk of overexposure.
-
ISO set higher than necessary: A high ISO can make the image brighter than needed when there is already plenty of available light.
-
Incorrect exposure compensation: Positive exposure compensation can intentionally brighten the image but may push highlights too far.
-
Strong sunlight or artificial lighting: Harsh or intense light can create excessively bright areas that are difficult to balance.
-
Camera metering that misjudges the scene: High-contrast scenes can cause the camera to choose an exposure that makes some areas too bright.
-
Excessive brightness or highlight adjustments: Pushing these settings too far during editing can clip highlights and remove visible detail.
How to recognize an overexposed image
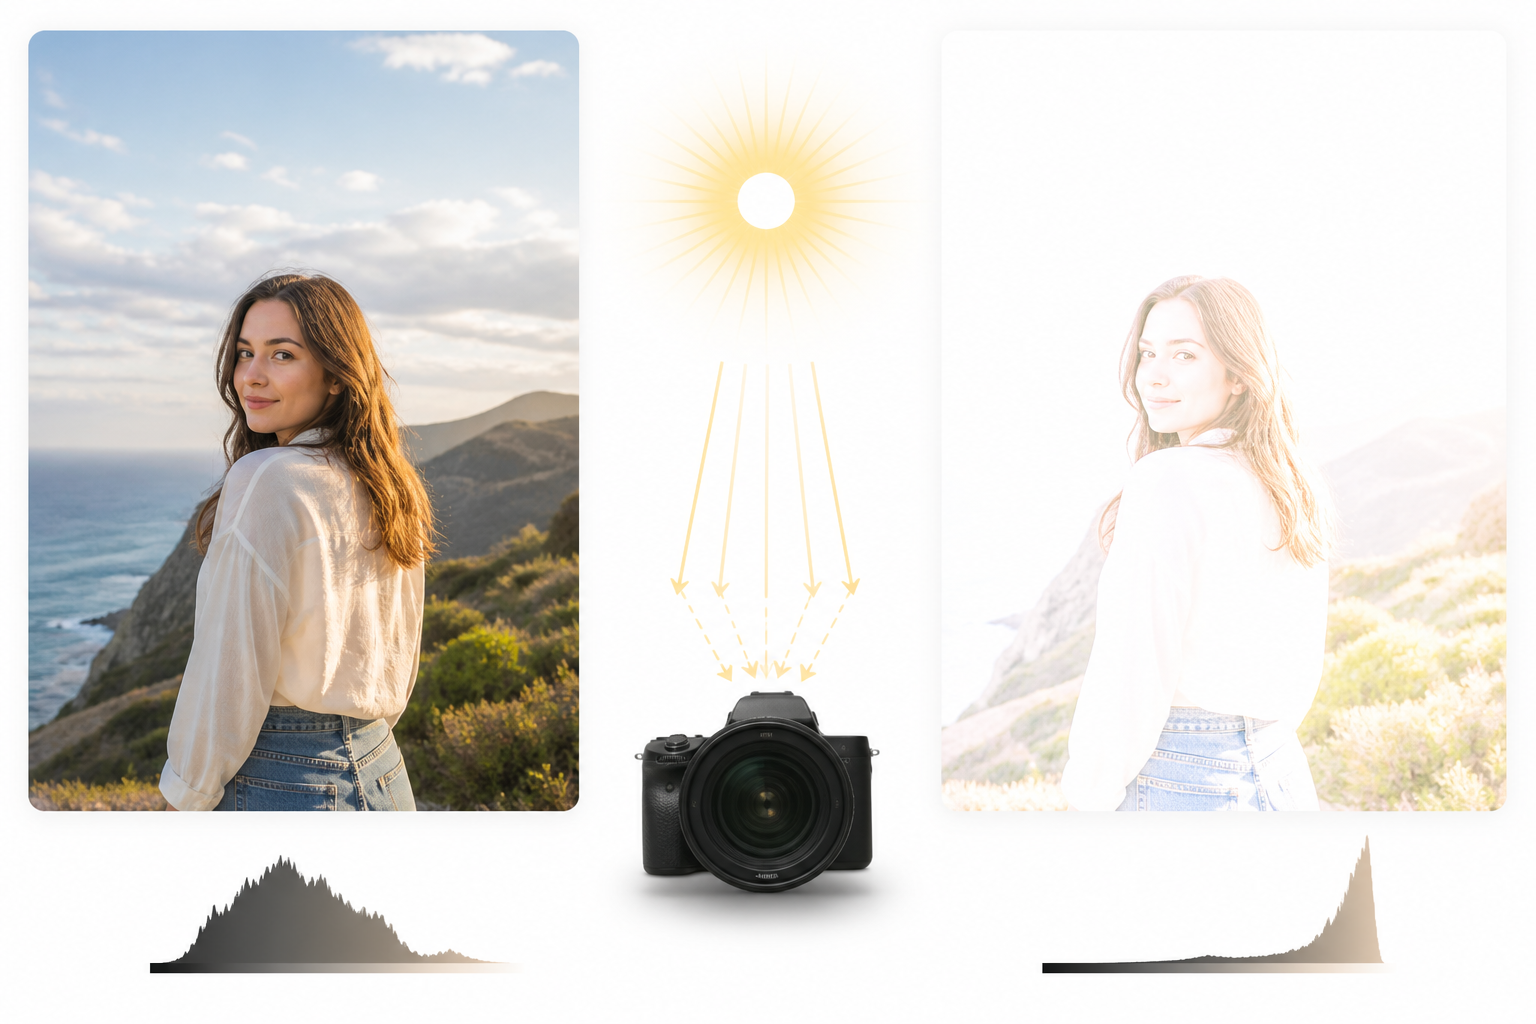
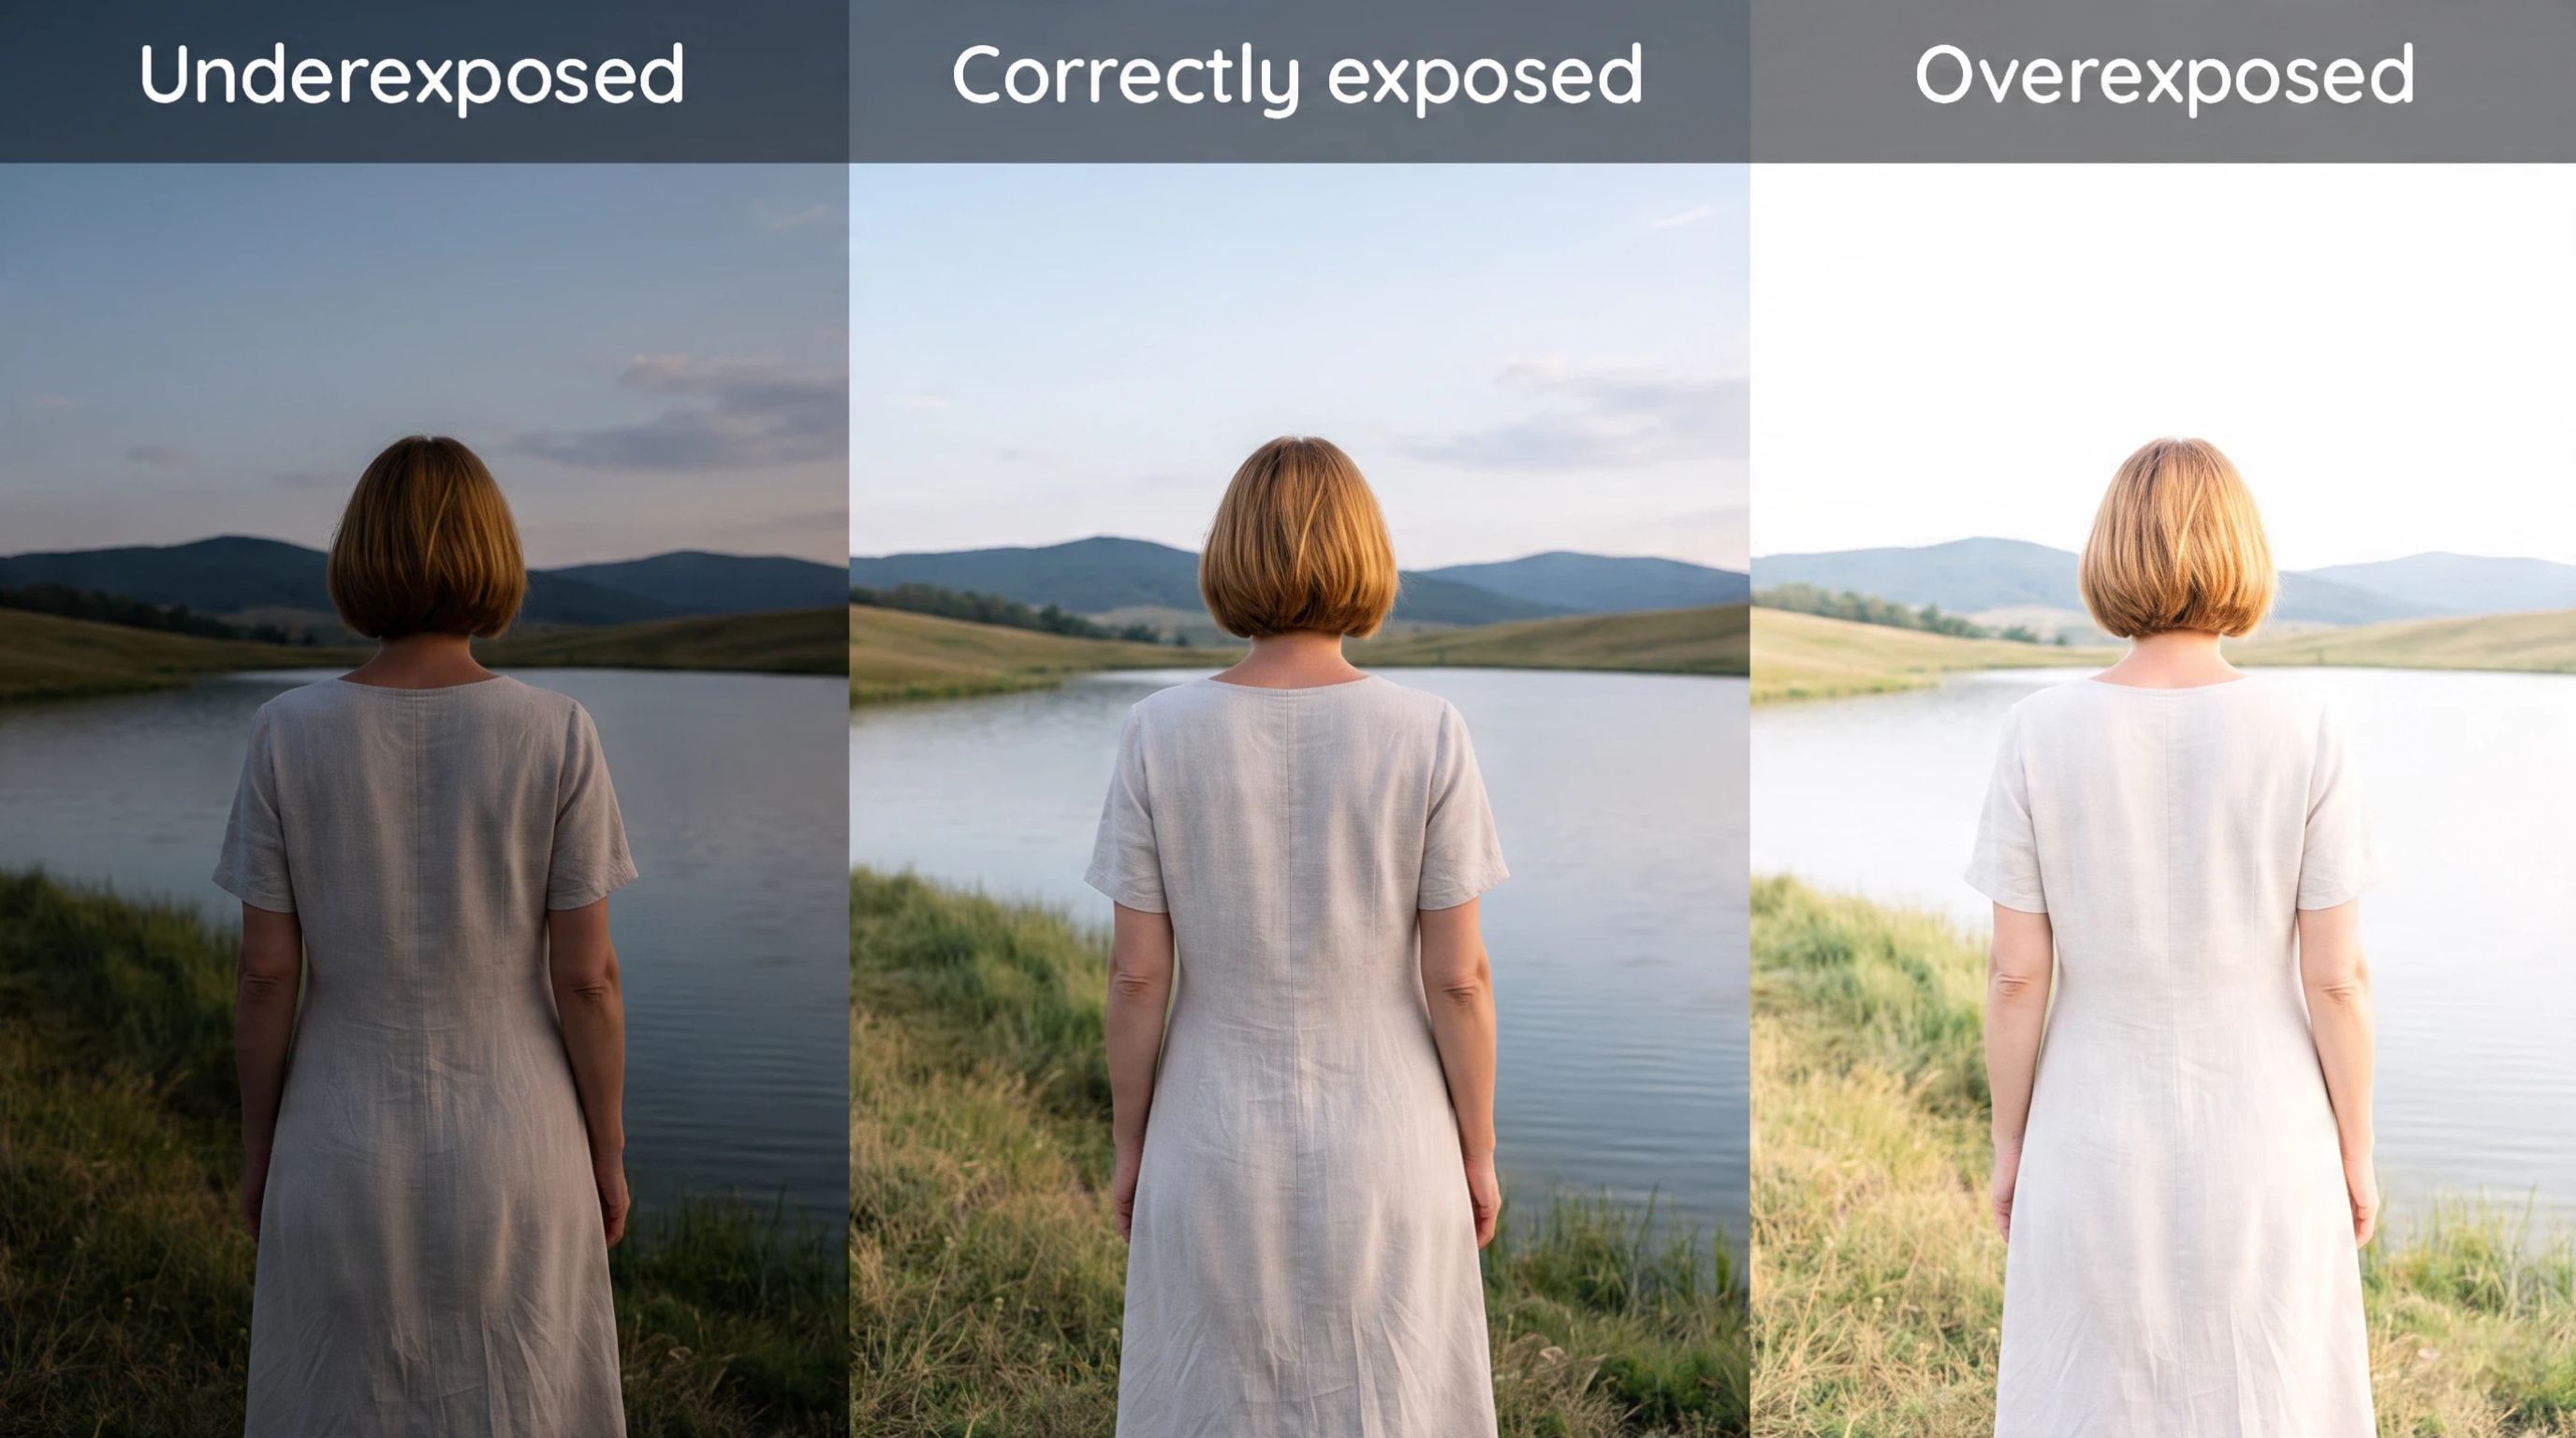
An overexposed picture typically shows some areas much brighter than they should be. Skin tones may be lost. Texture may be lost in white clothing. Skies may appear almost totally white. Look for clipped highlights, washed-out colors, loss of texture, and areas that still look pure white after you've reduced brightness. Appearance alone can be a less reliable check than a histogram. Push the graph hard against the right side, and some highlights could get cut off.
Can an overexposed photo be fully recovered?
Recovery depends on whether the original file still has information in the bright areas. Slightly overexposed tones may still have enough color and texture to bring detail back, but clipped highlights have no information to work with. Once a pixel has become pure white, there is no original texture or color value left for an editor to restore. The AI could produce a believable alternative, but that is detail, not a recreation of the original scene.
RAW vs JPEG: what you can actually recover
The same can be said for overexposure, and it is easier to fix in RAW files because those files contain more information that is stored by the camera sensor. Depending on the camera, sensor, and exposure, a RAW file may give you 1-2 stops of usable highlight recovery.
JPEG files have less leeway, because the image has already been processed and compressed by the camera. Screenshots and reposts on social media can leave even less room for recovery after resizing, compression, and repeated processing.
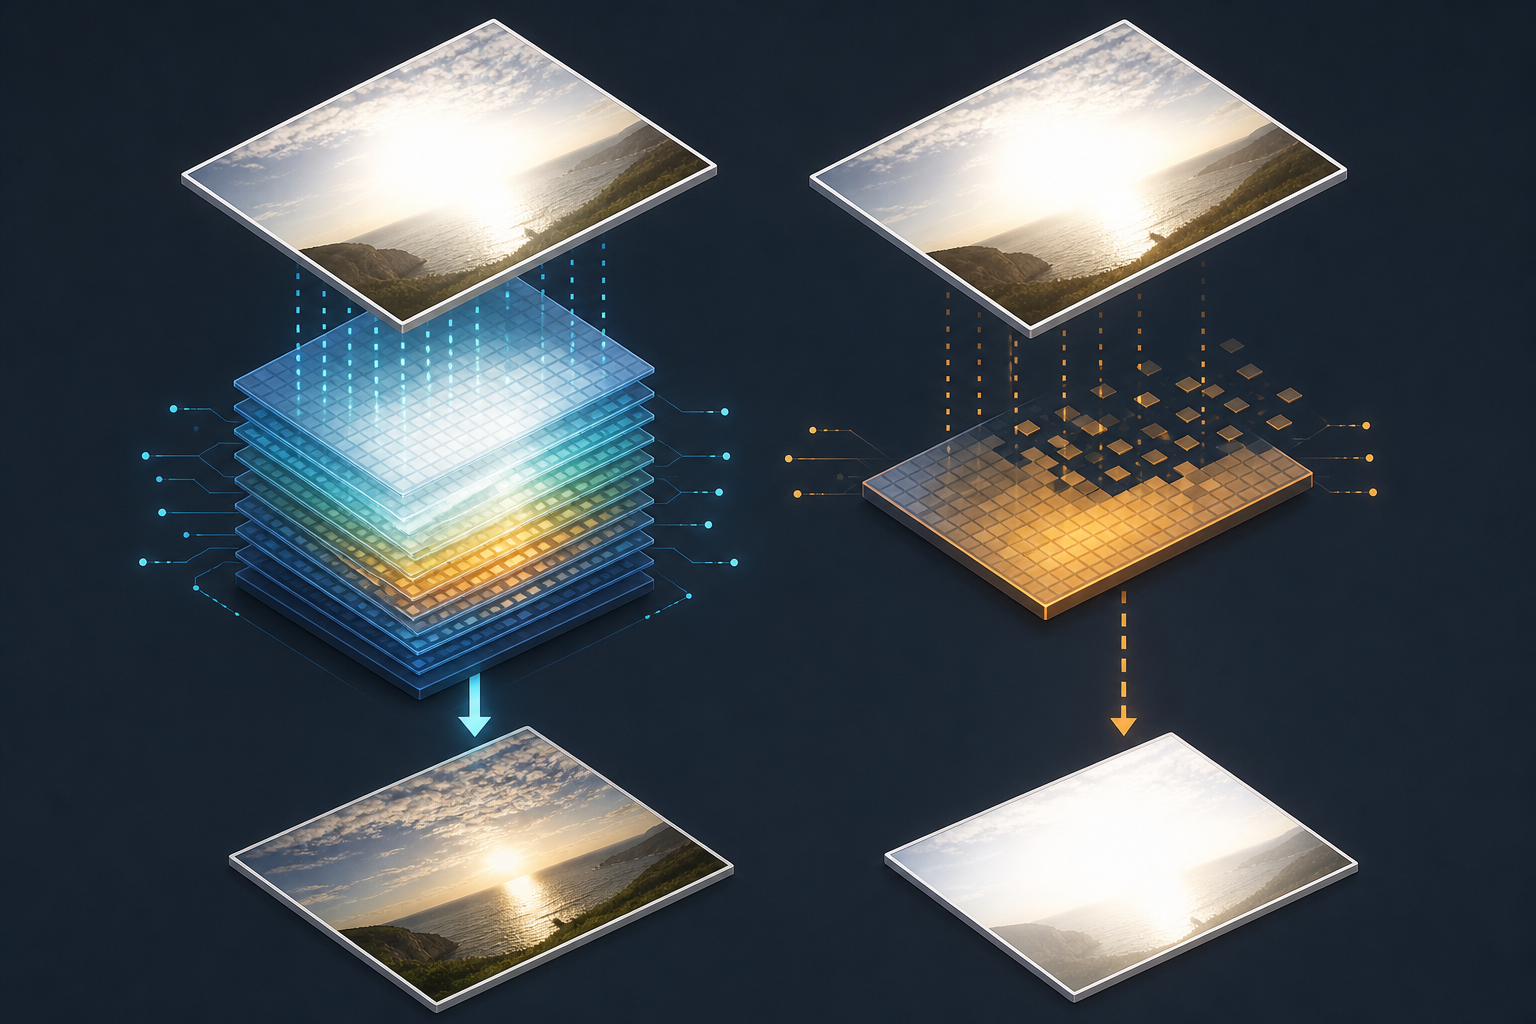
Pure white clipped pixels are not the same as just bright pixels. When information is highlighted and clipped, the texture that was never recorded cannot be recreated by pulling down a slider. AI tools can produce a visually convincing approximation, but this should not be described as recovering the original information.
Check highlight clipping before editing
Use the histogram to check whether the brightest tones are reaching the edge of the available range. Many cameras and editing apps also provide highlight warnings, sometimes called "blinkies," that show clipped areas. This check helps you distinguish between an image that is simply bright and one with permanently clipped highlights. That distinction is useful before you start editing.
How to edit overexposed photos with manual adjustments
Manual editing works best when the original image still contains useful information in its brighter areas. Rather than immediately lowering overall exposure, correct the brightest tones first and then adjust the rest of the image.
Lower highlights and whites, then exposure
Start with Highlights to bring down bright areas while leaving the rest of the image relatively unaffected. Next, adjust Whites to control the brightest tones and establish a suitable white point.
If the entire frame is still too bright after those adjustments, lower exposure gradually. This order helps prevent the whole image from becoming unnecessarily dark.
-
Lower Highlights to recover definition in bright areas.
-
Adjust Whites to control the brightest tones and set the white point.
-
Reduce exposure only if the overall image remains too bright.
Make small changes and check the image after each adjustment. The goal is to restore balance without making the photo look dull.
Restore contrast and color
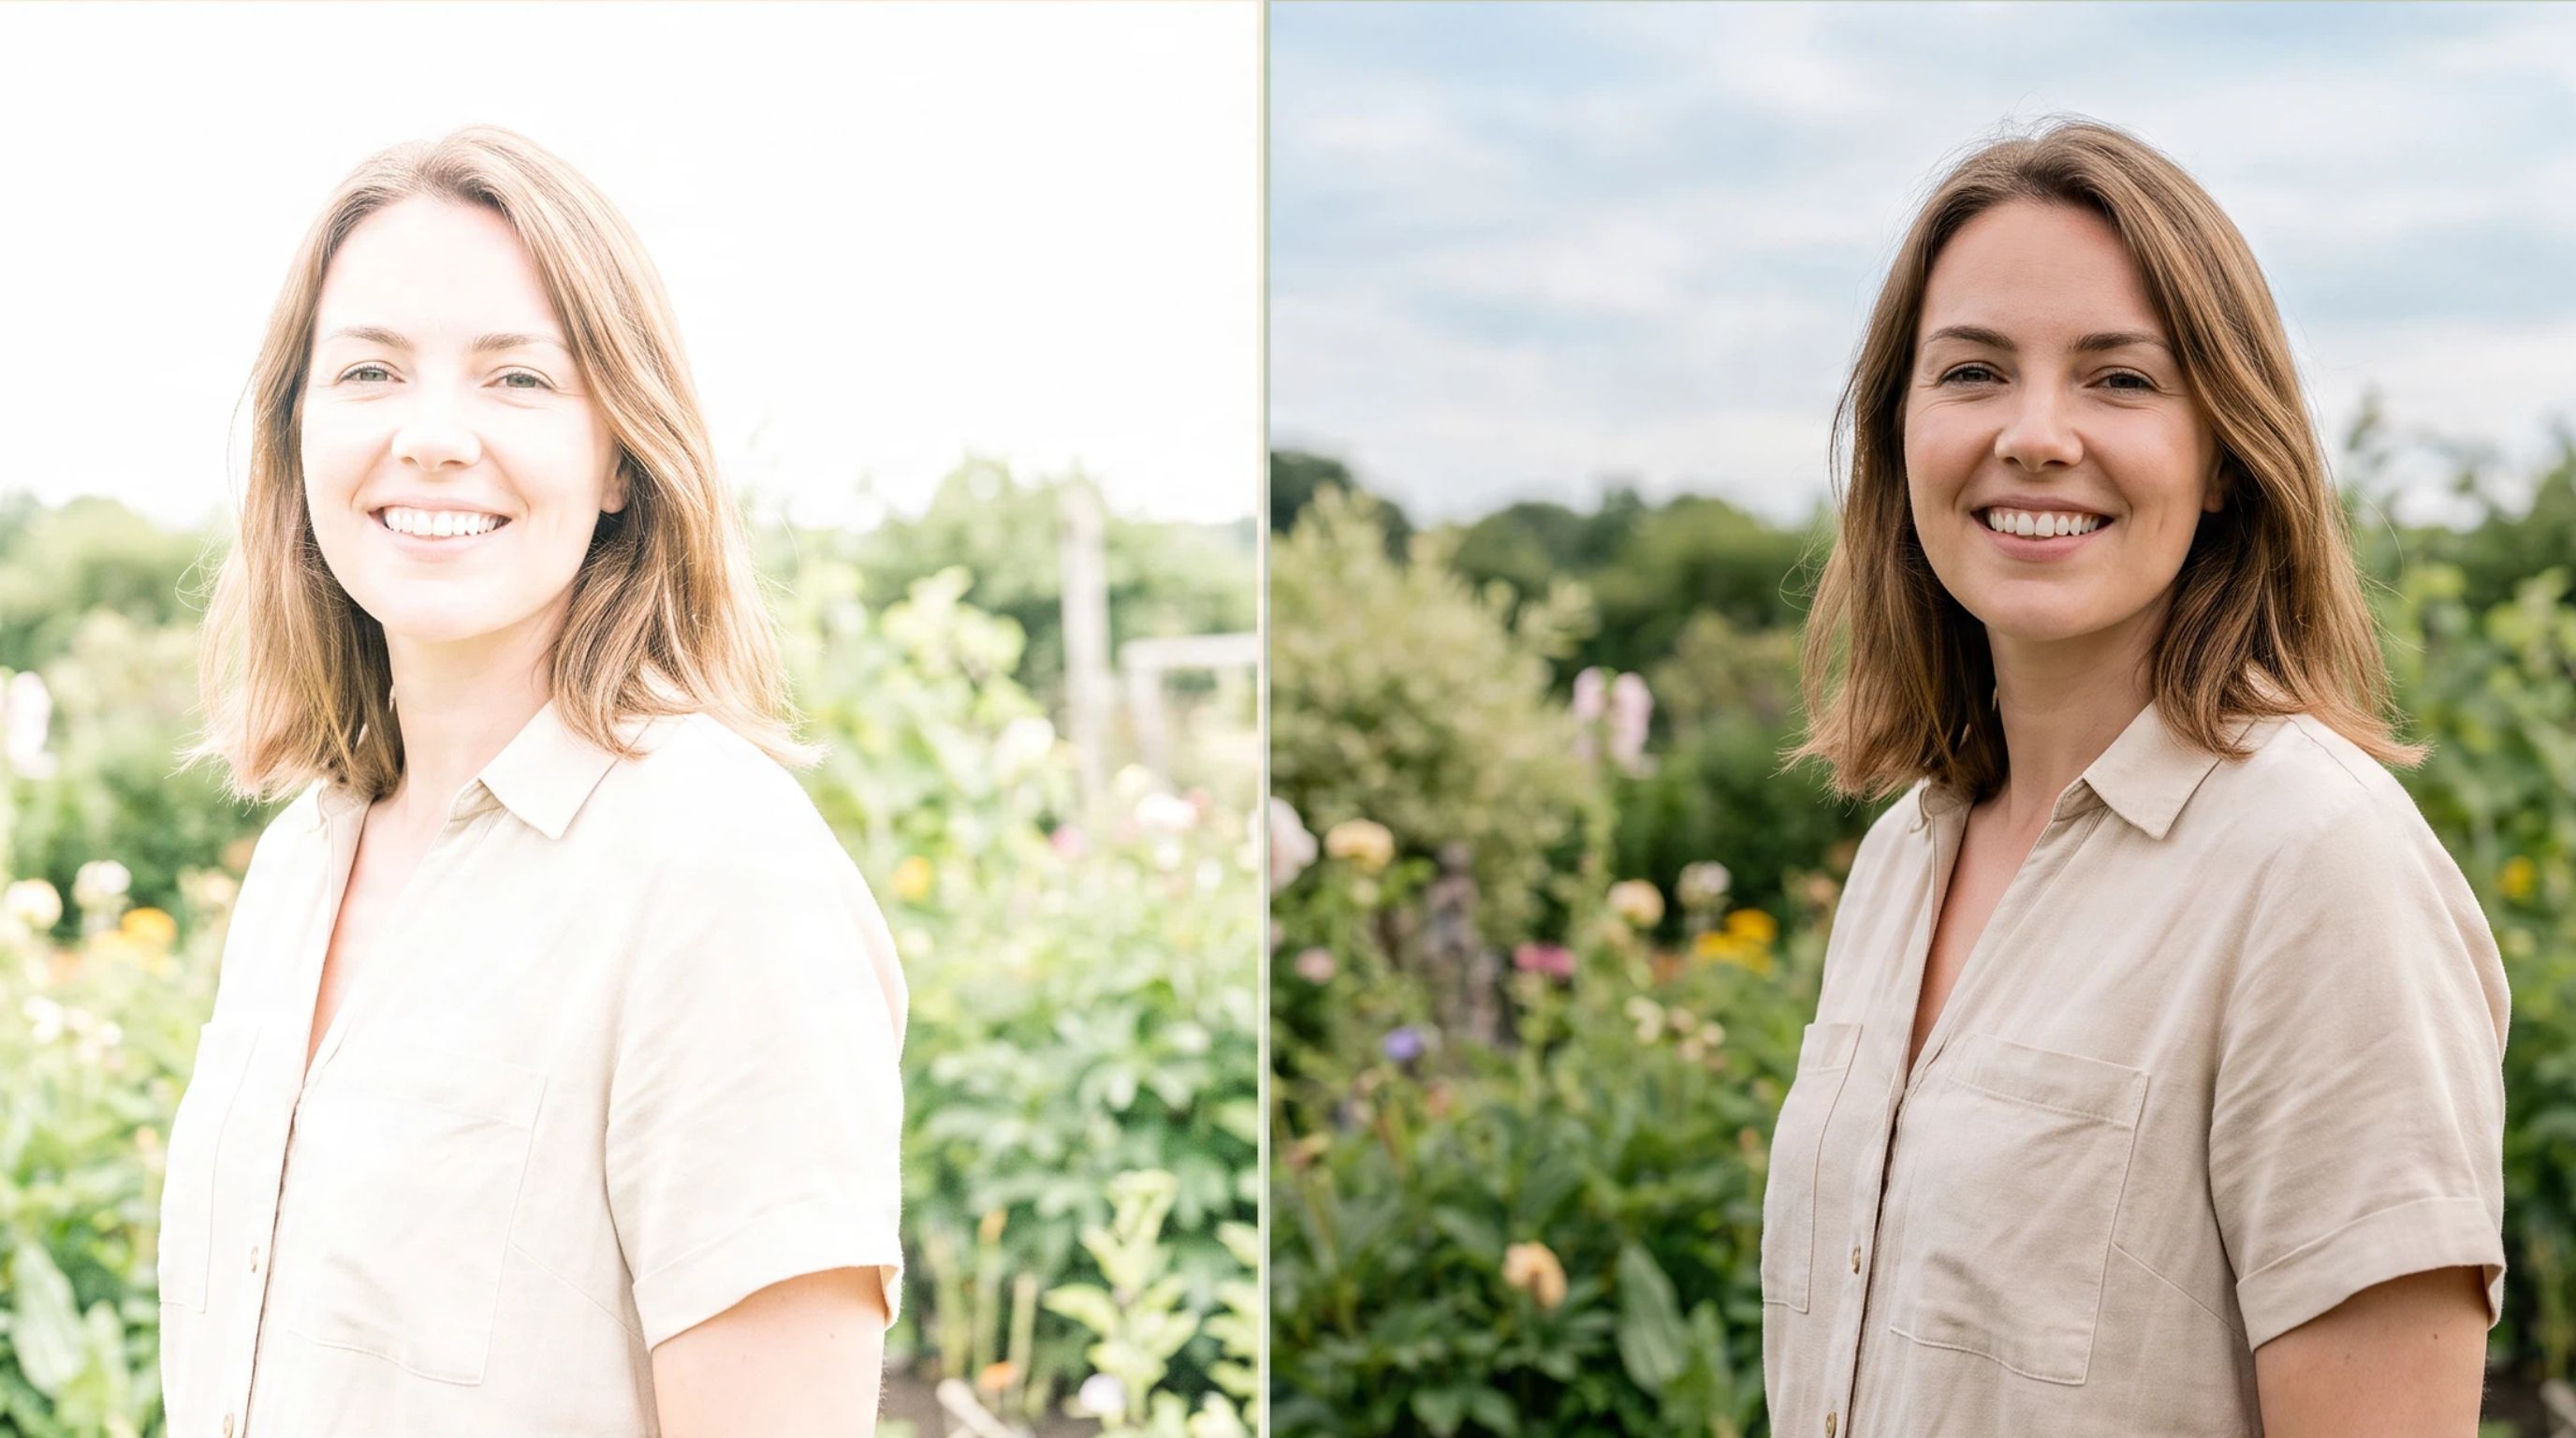
Sometimes reducing bright tones results in a flat image. A moderate contrast adjustment brings back separation between light and dark areas without creating harsh highlights. Then check the color temperature, tint, and saturation. Overexposure can make colors look washed out, but adding too much saturation can make skin, products, or other subjects look unnatural. Make minor corrections and compare them to the original image.
Adjust shadows and fine details
After correcting the highlights and overall exposure, check the darker parts of the image. If they look too heavy, raise the shadows slightly. If they already look balanced, leave them alone. Clarity, texture, or similar detail controls can help restore definition, but use them carefully. Strong adjustments can create halos, emphasize noise, or make a corrected image look overly processed.
How to fix an overexposed photo with AI
AI photo editors can evaluate an image and change bright areas, contrast, color, and visible detail. They can be useful if you have a lot of similar images to work on and manual adjustments are too time-consuming. There are limits to AI – it can't actually re-create knowledge that was never documented in the first place. An AI photo editor may create plausible detail, rather than restoring the original texture, when highlights are fully clipped.
Why choose AI for overexposed photo correction?
AI can reduce the amount of manual adjustment needed while helping keep the subject and overall image balanced. It is particularly useful when you need a quick correction or have many images that require similar treatment.
Automatically detect bright areas
An AI photo editor can identify overly bright regions and apply targeted corrections instead of requiring you to adjust every part of the image manually. This can be useful for portraits where the face is properly exposed, but the background is too bright.
Recover more natural-looking details
A photo enhancer can improve washed-out areas when the original image still contains usable information. It can also improve overall clarity after exposure correction. Completely clipped highlights remain a limitation. AI may create plausible-looking detail in those areas, but the result is a reconstruction rather than recovery of the original image data.
Maintain subject and color balance
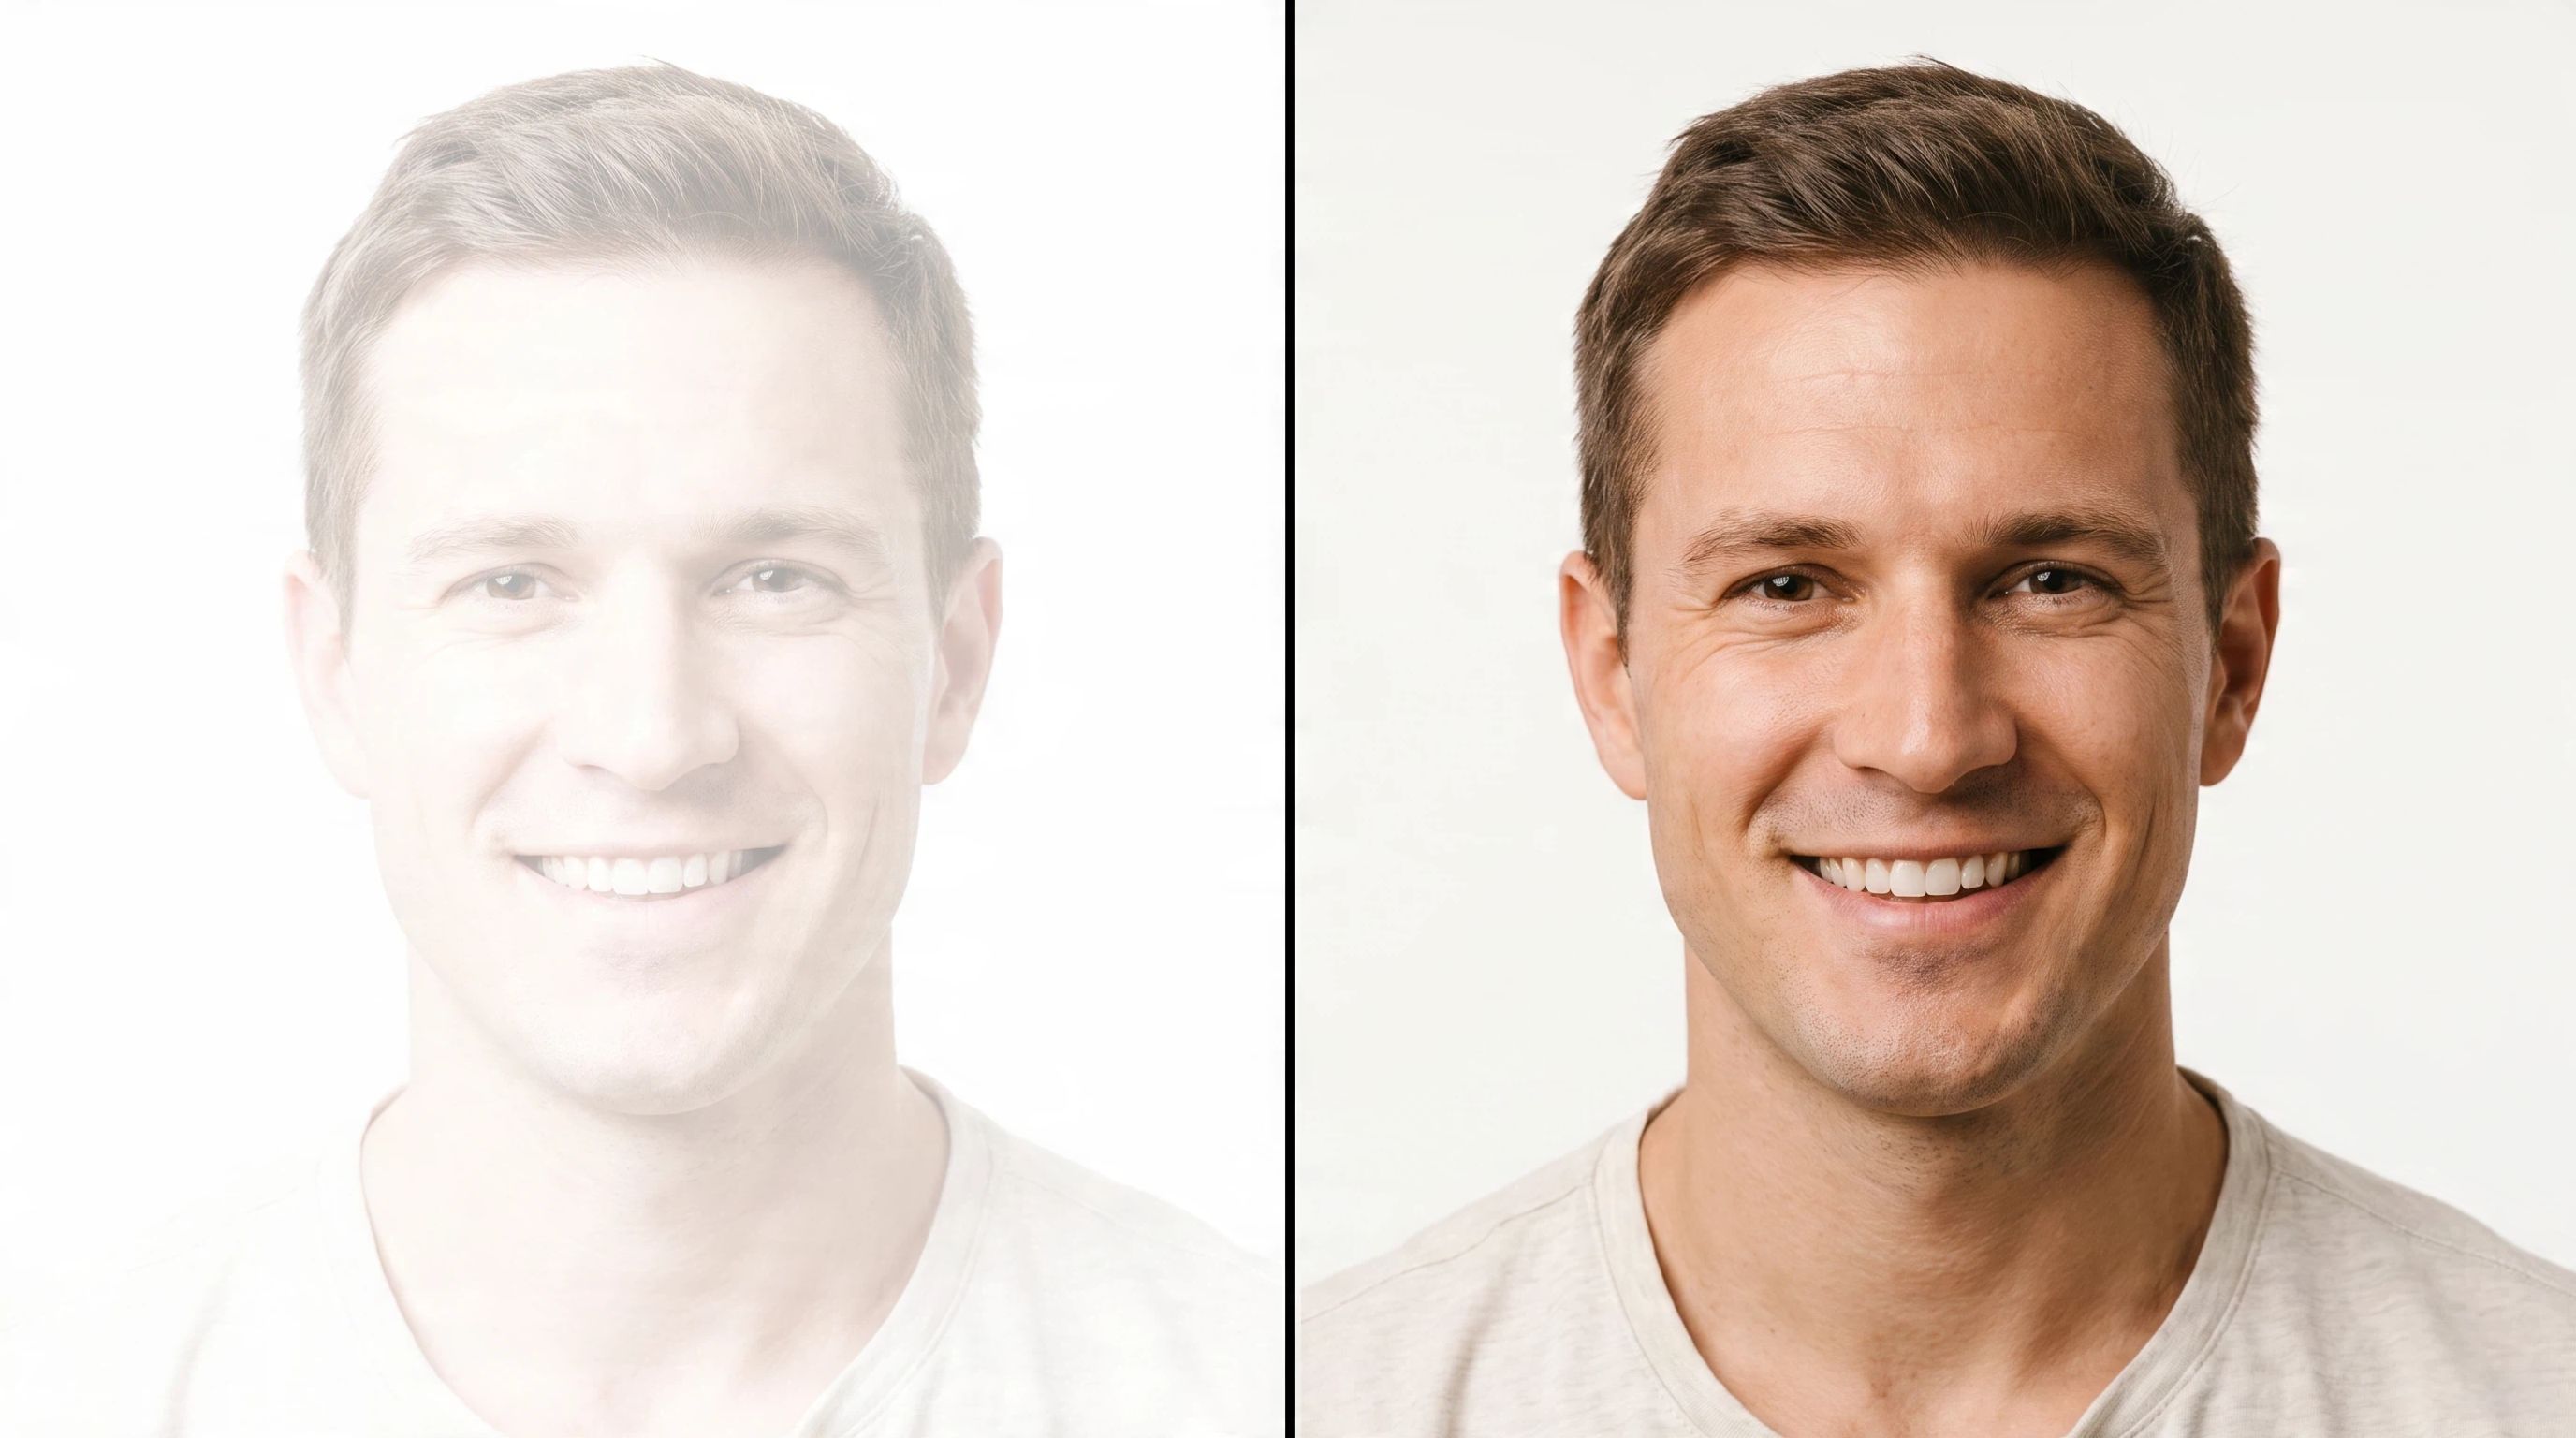
An AI image editor can help preserve facial appearance, product details, and colors while correcting excessive brightness. If individual areas still need work, photo retouching can provide more targeted control.
Fix multiple photos more efficiently
AI batch editing can be useful when correcting a group of portraits, product photos, or marketing images. Instead of repeating the same basic adjustments on every file, you can apply an AI-based workflow across a larger collection and review the results afterward. If you want to apply these AI-based corrections without adjusting each setting manually, an online photo editor can simplify the process. Designkit provides a straightforward workflow for improving overexposed images online.
Fix overexposed photos online with Designkit
If an image looks too bright or has washed-out colors, Designkit's photo editor and AI retouching can help correct the appearance without requiring multiple manual edits. Its color correction controls let you adjust the image's color balance and reduce the overly bright look, making it more suitable for portraits, product photos, social media, and marketing materials.

How to fix an overexposed photo online with Designkit
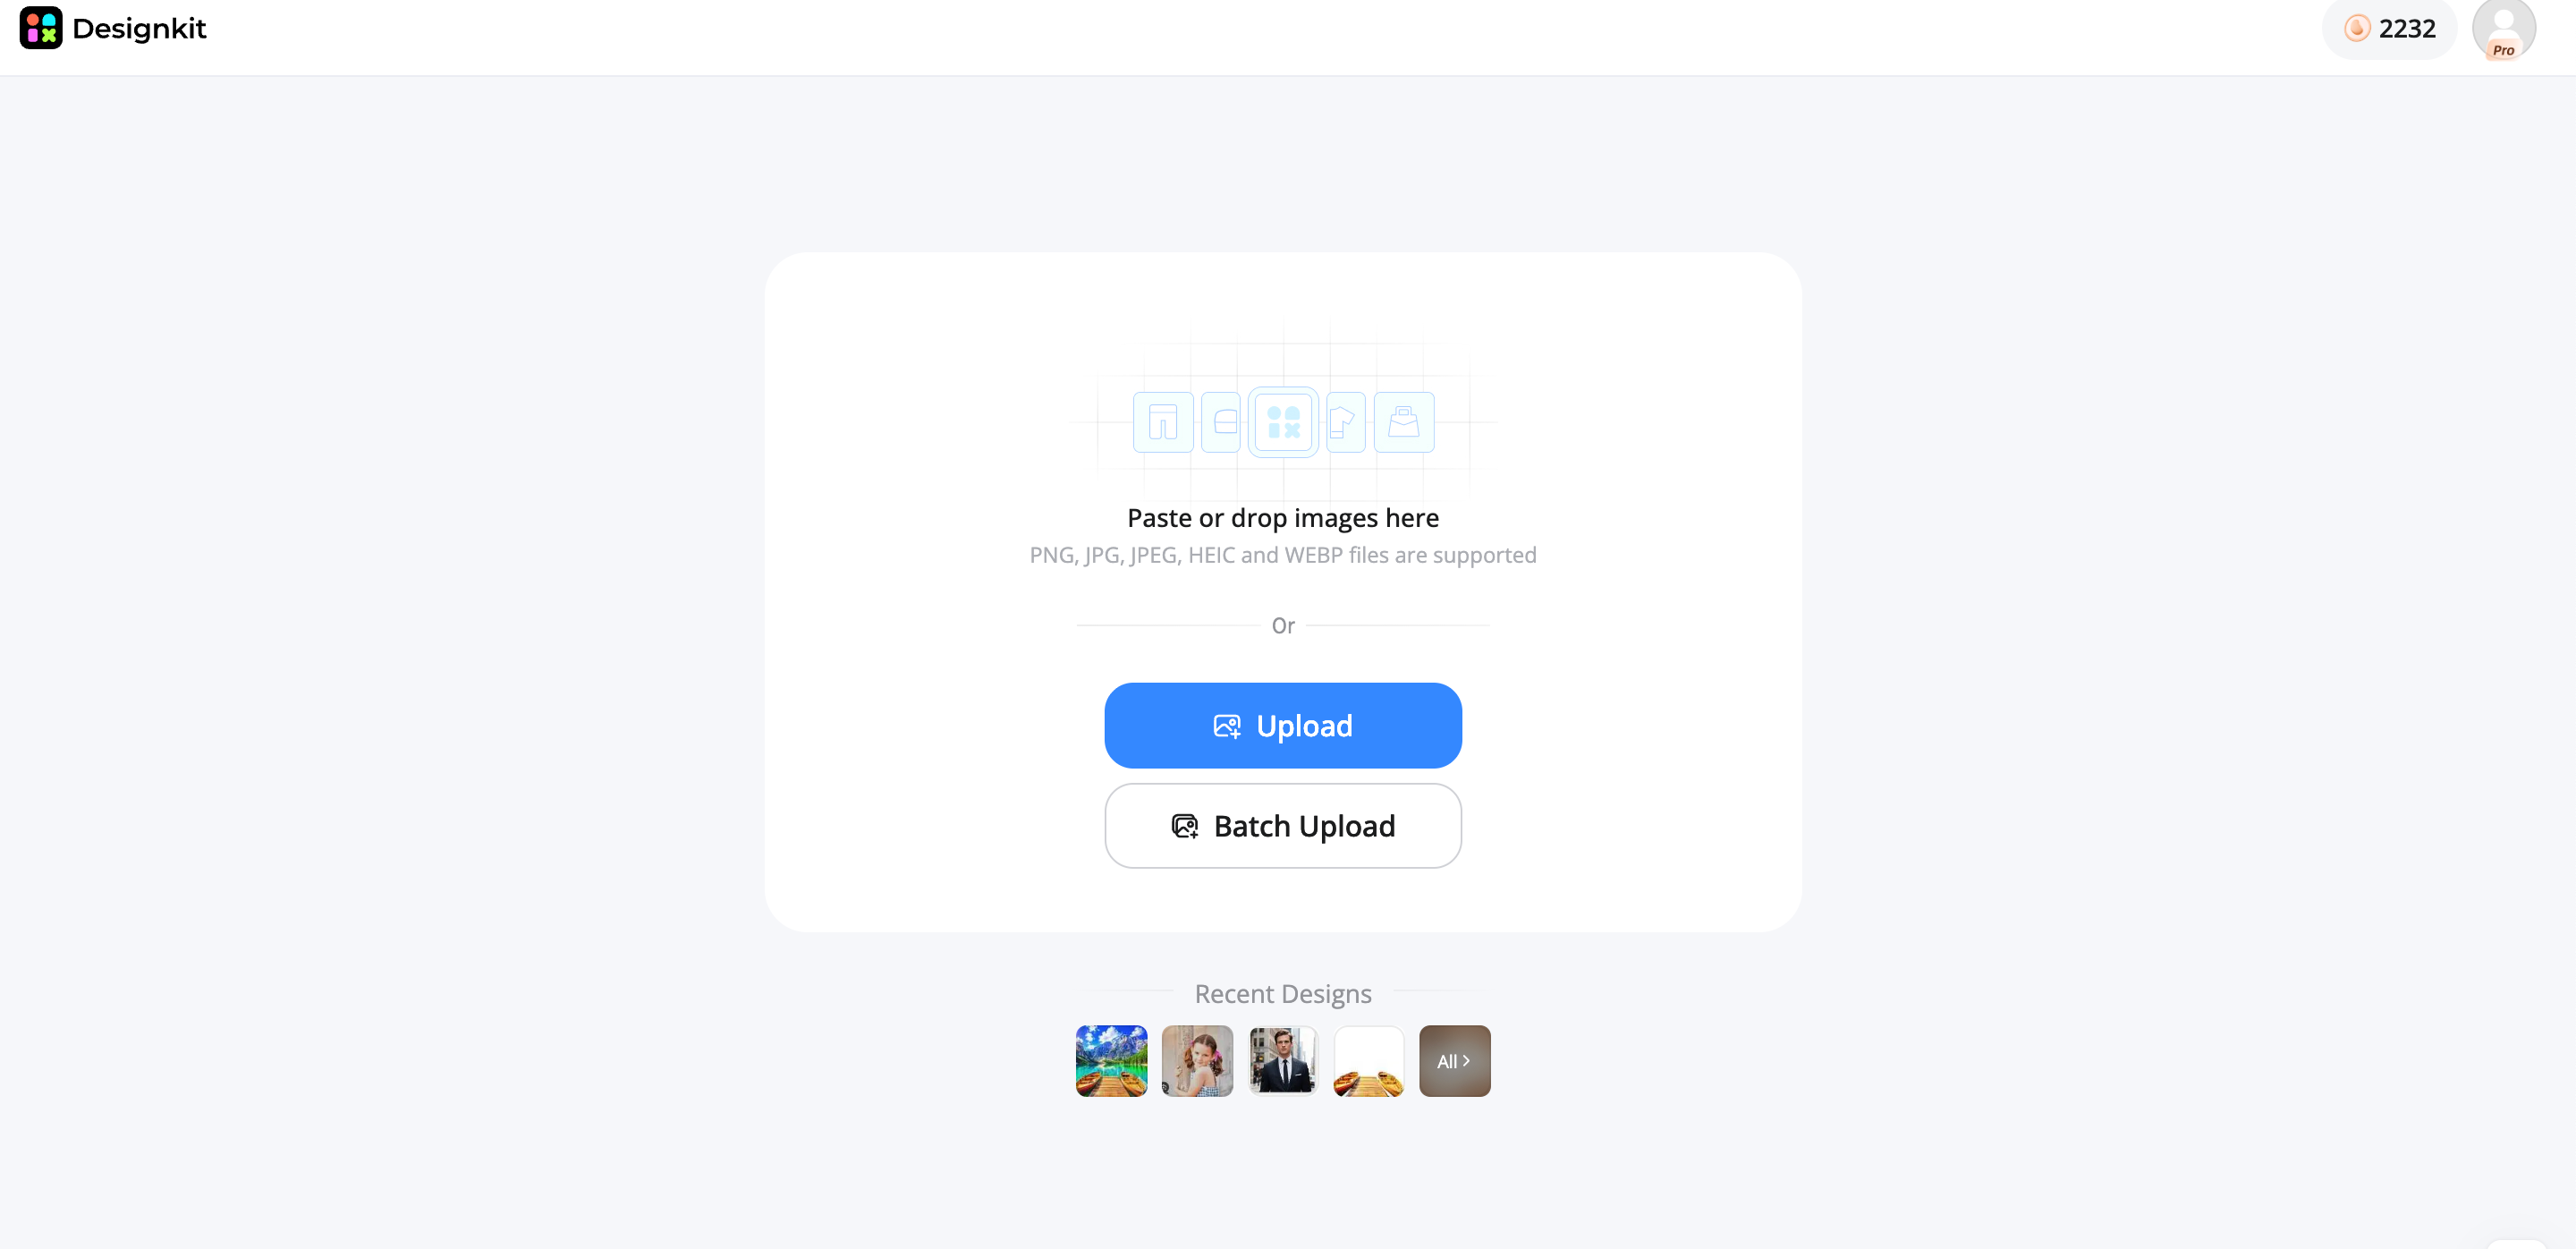
Step 1: Upload your photo
Upload the portrait, product photo, landscape, or other image you want to correct. Use the highest-quality version available to preserve as much detail as possible during editing.
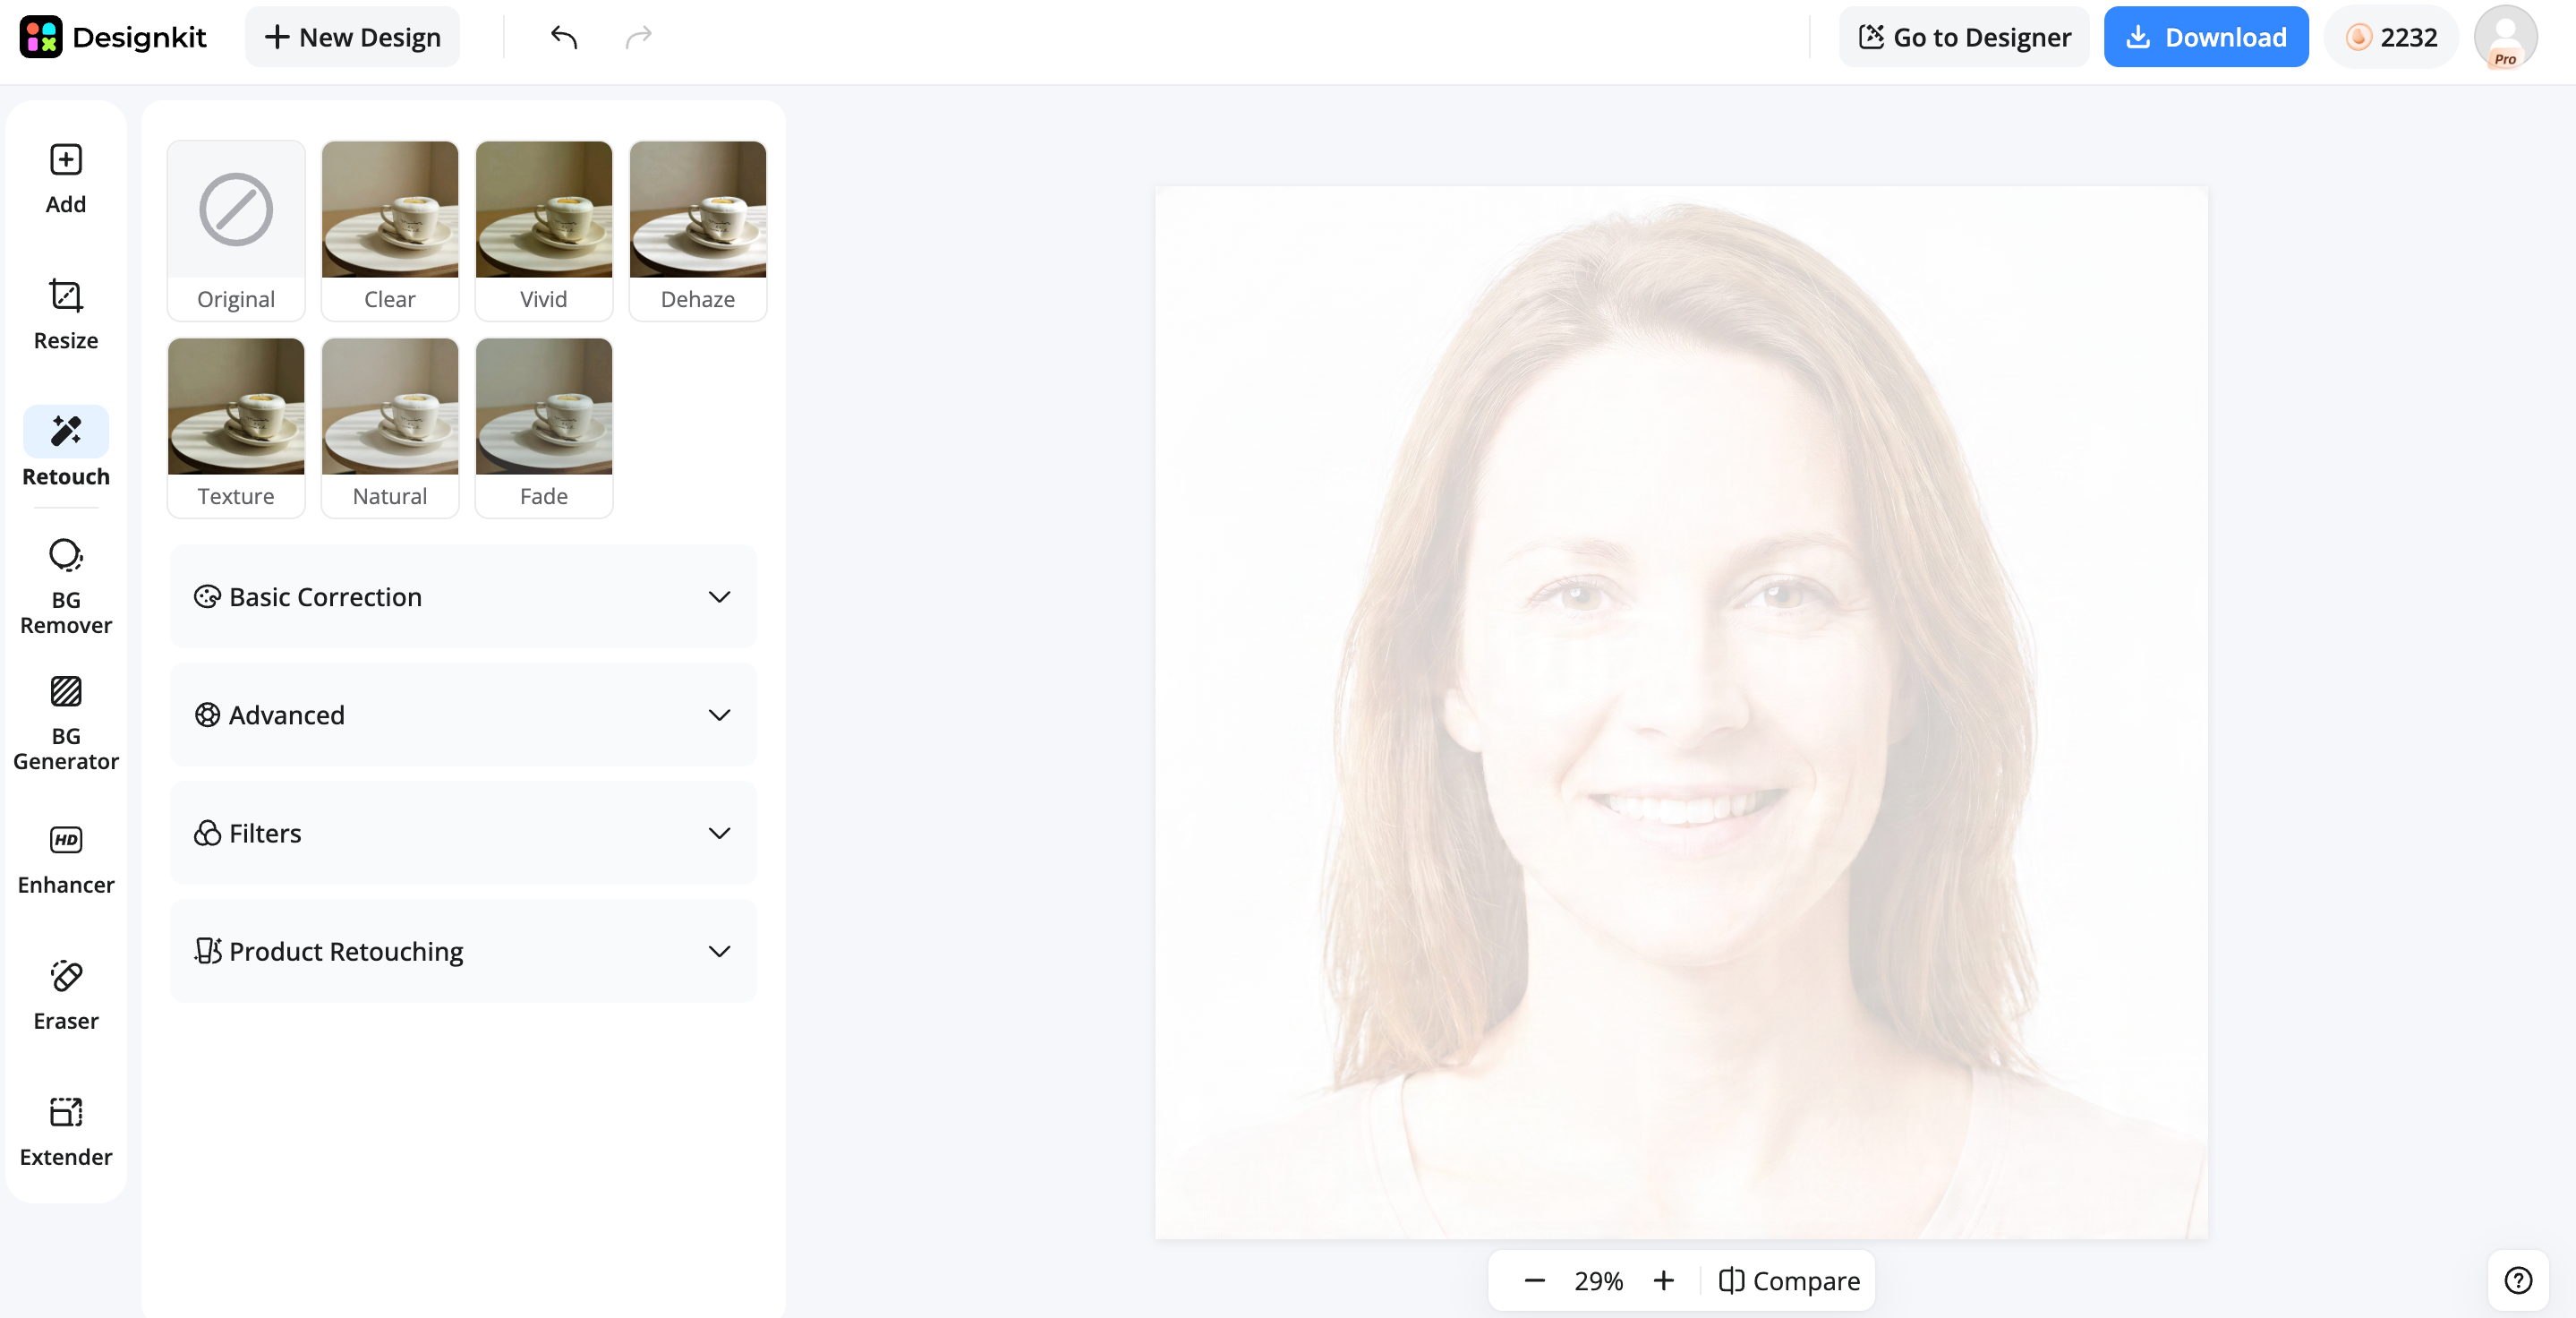
Step 2: Enhance and adjust the image
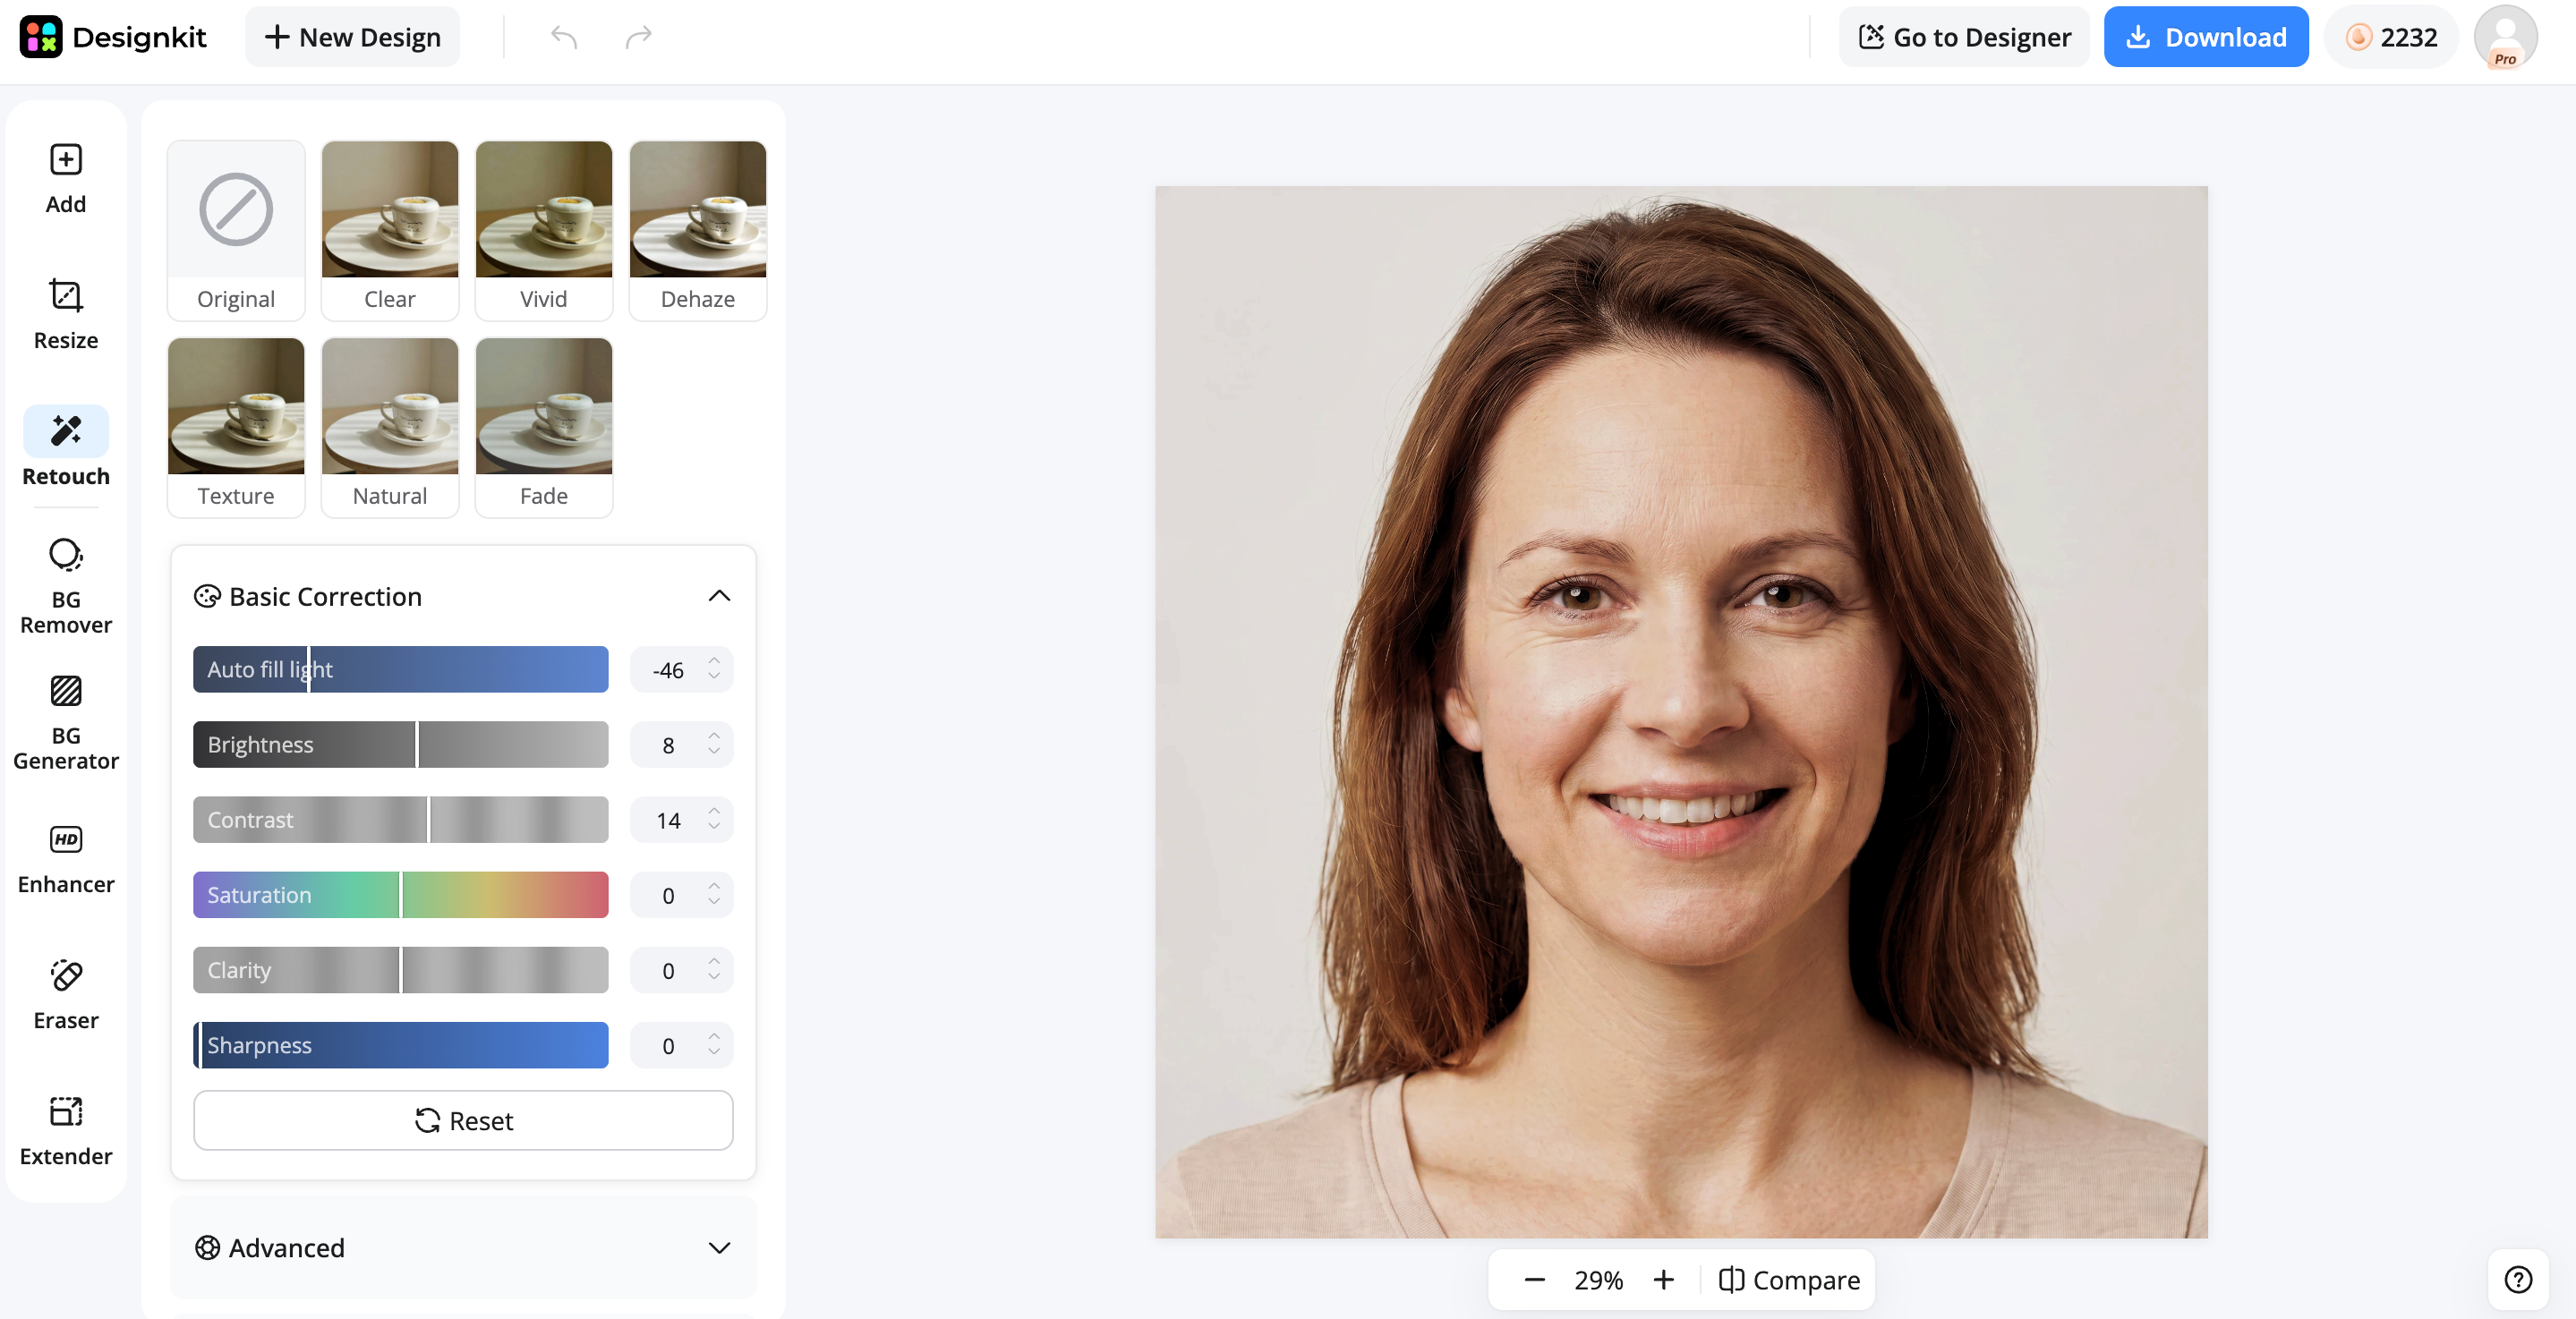
Open the Retouch tool and use its color correction controls to correct the overexposed appearance. Adjust the relevant color and lighting settings to bring back a more balanced look, then preview the result and fine-tune the image as needed.
Step 3: Export the improved photo
Once the photo looks balanced, export the finished image and use it for your ecommerce listing, website, social media post, or marketing campaign.
Manual editing vs AI for correcting overexposed photos
Manual editing and AI correction operate in different contexts. Manual controls come in handy when you want to decide exactly how highlights, whites, exposure, shadows, and color should shift. And if speed or volume is a factor, AI is more convenient.
|
Factor |
Manual editing |
AI photo enhancement |
|---|---|---|
|
Control over adjustments |
High |
Moderate |
|
Learning curve |
Higher |
Lower |
|
Minor exposure corrections |
Excellent |
Excellent |
|
Severe brightness issues |
Depending on source detail |
Can improve visible detail |
|
Batch editing |
Time-consuming |
Faster |
|
Creative control |
Strong |
More automated |
|
Beginner-friendly |
Moderate |
High |
How to prevent overexposure in future photos
Good exposure at the time of shooting can reduce the amount of recovery needed later. A few habits can help protect highlight detail:
-
Check exposure before taking photos: Review the histogram and highlight warnings when available.
-
Protect highlight details in bright scenes: Watch areas such as skies, white clothing, reflective surfaces, and light-colored products.
-
Use proper camera settings: Adjust shutter speed, aperture, and ISO based on the available light.
-
Avoid over-editing brightness: Increasing exposure, whites, or highlights too aggressively can create clipping during post-processing.
-
Shoot RAW when possible: RAW files generally provide more flexibility for recovering highlight information than JPEG files.
Final thoughts
To learn how to fix overexposed photos, start by checking to see if the bright areas still contain recoverable information. If they do, work on Highlights and Whites first, then Exposure if the whole frame is still too bright. Adjustments of contrast, color, shadows, and detail can complete the correction. AI tools can make the process faster, especially when you need to correct several images. For creators, photographers, and businesses working with product or marketing visuals, Designkit offers an online workflow for improving overexposed images without requiring a detailed manual editing process.
Frequently Asked Questions
Why is my photo so bright and washed out?
Can you fix an overexposed photo after taking it?
Yes, if the bright areas still contain image information. RAW files usually provide more recovery flexibility than JPEG files. Completely clipped white areas cannot be restored to their original texture. For less severe cases, tools such as Designkit's AI photo enhancement can provide a simpler way to improve an overly bright image.
Can AI restore details from an overexposed photo?
If usable source information exists, artificial intelligence can improve the quality of bright parts. For regions that are entirely clipped, AI may produce plausible detail, but it cannot recover the original information that was never recorded. If there's still some recoverable detail in the image, Designkit's AI-powered editing tools can help improve the overall appearance.
What is the fastest way to fix overexposed photos online?
An AI photo editor can be faster than manually adjusting each exposure. Then upload the image and apply the AI enhancement. Check the results and export the corrected version. Designkit offers an online workflow for enhancing overexposed photos without boring manual work.
How can I prevent overexposure when taking photos?
Check the histogram or highlight warnings, protect highlights, and adjust shutter speed, aperture, and ISO for lighting conditions. Shooting RAW can also give you more flexibility later on when you are making corrections. If you still need to fix an image afterward, an AI editor like Designkit can help speed up the editing process.
Can I fix multiple overexposed photos at once?
Yes. AI batch editing can help process multiple photos more quickly than correcting each image individually. You should still review the results to make sure important highlights, colors, and subjects look natural. For larger image collections, Designkit can provide a faster AI-based workflow for preparing photos for ecommerce, social media, and marketing.
You May Also Like

Remove.bg Shutting Down Dec 1, 2026: What Users Are Saying

7 Best Remove.bg Alternatives in 2026: Free & Paid Tools

Instagram Carousel: What It Is, How to Post & Create One

Nano Banana Prompts: 20+ Examples for Better AI Images

Ideogram AI Review 2026: Features, Pricing & Alternatives

Free Mac Photo Editor: 5 Tools Compared for Mac Users

How to Crop a Photo Into a Circle Online (Keep Quality)

How to Make an Image Transparent Online (AI Guide)

Pixlr Background Remover Review 2026: Features, Pricing & Alternatives

How to Fix Overexposed Photos: Recover Highlights Fast

OpenArt AI Review 2026: Features, Pricing & Alternatives

Best AI Headshot Generator: 9 Tools Compared for 2026

Best Stencil Maker Tools 2026: Turn Photos Into Stencils

Pixelbin Watermark Remover Review: Image & Video Results Tested

How to Make a Sticker on iPhone: Easy Step by Step Guide

Best AI Logo Generator in 2026: 10 Tools Compared

How to Turn a Photo Into a Cartoon: A Beginner-Friendly Guide

Landscape vs Portrait: Key Differences & Best Uses in 2026

How to Remove Watermark From Photo: AI, Photoshop & More

How to Fix Pixelated Photos: Photoshop, AI Tools & Tips

Bing Image Creator: How It Works, Features, Uses & Alternatives

How to Remove People from Photos with AI: A Step-by-Step Guide

How to Increase Image Resolution: AI, Photoshop & PPI

How to Add Text to a Photo: 8 Tips for Better Results

How to Fix Grainy Photos: Easy Ways to Clear Images

Creative Profile Picture Ideas for Every Style and Platform

Evoto AI Review 2026: Features, Pricing, Pros & Cons

Pixlr Photo Editor Review: Features, Pricing & Alternatives

Best AI Image Extender Tools in 2026: Expand Photos with AI

How to Make a Collage on iPhone: Easy Guide for 2026

How to Sharpen an Image in Photoshop (Smart Sharpen and Unsharp Mask)

Best Image Background Remover Tools in 2026: AI Tools Compared

How to Make Transparent Background in Paint: Step-by-Step Guide

How to Resize an Image: Best Methods, Tools & Quality Tips

Best AI Image Generator Tools in 2026: Top AI Platforms Compared

Remove.bg Review 2026: Features, Pricing & Is It Worth It?

Luminar Neo Photo Editor Review 2026: AI Features, Price & Pros

How to Post Multiple Photos on Instagram (2026 Guide)

25 Facebook Cover Photo Ideas for Personal & Business Pages

What Is a PFP? Meaning, Examples & How to Create One

Can You Edit an Instagram Post After Posting?

11 Best Canva Alternatives in 2026 for AI Design & Marketing

8 Best Midjourney Alternatives in 2026: Features, Pricing & Comparison

How to Restore Old Photos: AI Tools, Tips & Best Methods

Pixelcut AI Review 2026: Features, Pricing, Pros, Cons & Alternatives

How to Apply Watermark to Photos: Methods, Tips & AI Tools

How to Remove a Background in Illustrator: 4 Easy Methods

How to Change Background Color on Instagram Story (Easy Guide)

8 Best AI Poster Generators in 2026: Create Posters Faster with AI

10 Best AI Image Enhancers in 2026: Tested & Compared

10 Best AI Image Editors in 2026: Features, Pricing & Comparison

7 Best AI Background Changer in 2026: Remove & Replace Photo Backgrounds

Luminar Neo vs Lightroom: Features, Pricing & Comparison 2026

Kittl Review 2026: Is It Worth It? Features & Pricing

How to Make a Blurry Image Clear: 5 AI & Manual Ways

How to Remove Background on iPhone: 5 Easy Methods (2026)

Photoroom Background Remover Review 2026: Features & Alternatives

How to Remove Background in Canva: A Step-by-Step Guide

How to Remove Background in GIMP: Beginner-Friendly Guide

Funny Dog Memes to Try: Doge Meaning and 10 Original Ideas

Back to School Checklist 2026: Supplies, Timeline, and Planning

Recraft AI Review 2026: Features, Pricing, Pros, Cons & Alternatives

How to Make an Image Transparent in Google Slides: Opacity & Background Removal

VanceAI Photo Enhancer Review: Features, Pricing & Alternatives in 2026

What Does Emojify Mean? Text, Photos, & Emoji Art Explained

Top 8 Online Background Removers for Ecommerce Photos (2026)

How to Remove Background in Photoshop: 7 Easy Methods

6 Best AI Image Upscalers 2026: Tools Tested & Compared

Project Indigo Review: Is It Better Than iPhone Camera?

How Big Is an 8x10 Photo? Size, Pixels & Frame Guide

How Big Is a 4x6 Photo? Dimensions, Pixels & Printing Tips

Picsart AI Review: Features, Pricing, Pros, Cons & Alternatives

Lovart AI Review: AI Design Agent Features, Pricing & Alternatives

Fotor AI Image Generator Review: Features, Pricing & Alternatives

How to Add Emoji to Photo Online for Free

Emoji Wallpaper Ideas & How to Make One Online (2026)

Minimalist Poster Design: How to Make a Clean Poster (2026)

How to Make a Custom Poster That Is Ready to Print

Instagram Image Size Guide 2026: Post, Reel, Story & Carousel Specs

LinkedIn Image Size Guide: Profile, Post & Banner Dimensions

YouTube Profile Image Size: Best Dimensions & Safe Area 2026

How to Edit Amazon Product Photos That Boost Sales Fast
Fix overexposed photos with AI
Fix images that are too bright with AI photo enhancement. Create cleaner visuals and improve visible detail with accurate exposure for e-commerce, social media, websites, and marketing projects.
