
How to Restore Old Photos and Improve Their Quality with AI
Old photos often fade, blur, or become damaged over time. Learn how to restore old photos with smart digitizing, repair techniques, and AI enhancement.

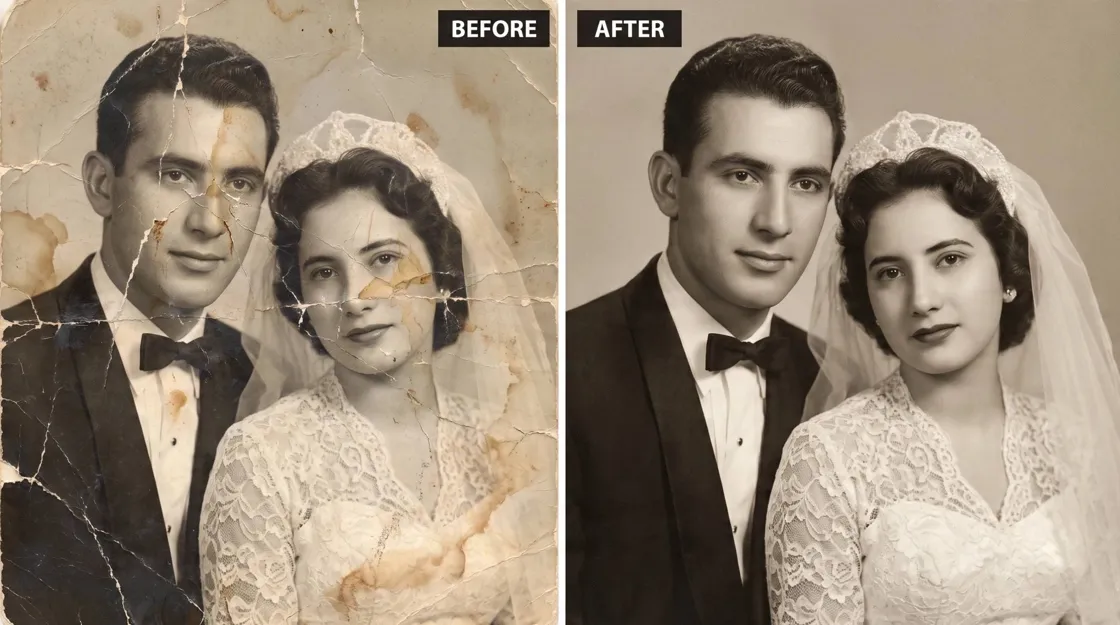
Old photos hold memories we simply cannot replace. But time is notoriously rough on paper and ink. Years go by, and suddenly your favorite prints look faded, scratched, or totally blurry. Thankfully, modern restoration tricks, from careful flatbed scanning to smart AI enhancement, make it way easier to figure out how to recover old pictures and save them for good. Learning how to restore old photos is pretty much an essential skill now. Maybe you just want to digitize a family archive, or perhaps you need to prep some vintage brand assets for a campaign.
Let's break down how to fix these images step by step, what damage you can actually save, the real difference between DIY editing and AI workflows, and when to just pay a pro.
What types of damage can photo restoration fix?
Before jumping in and trying to fix an image, you have to understand the specific problem at hand. Different types of degradation require entirely different approaches. Treating a blurry photo the same way you treat a scratched one will usually just ruin the file.
Faded colors and poor contrast
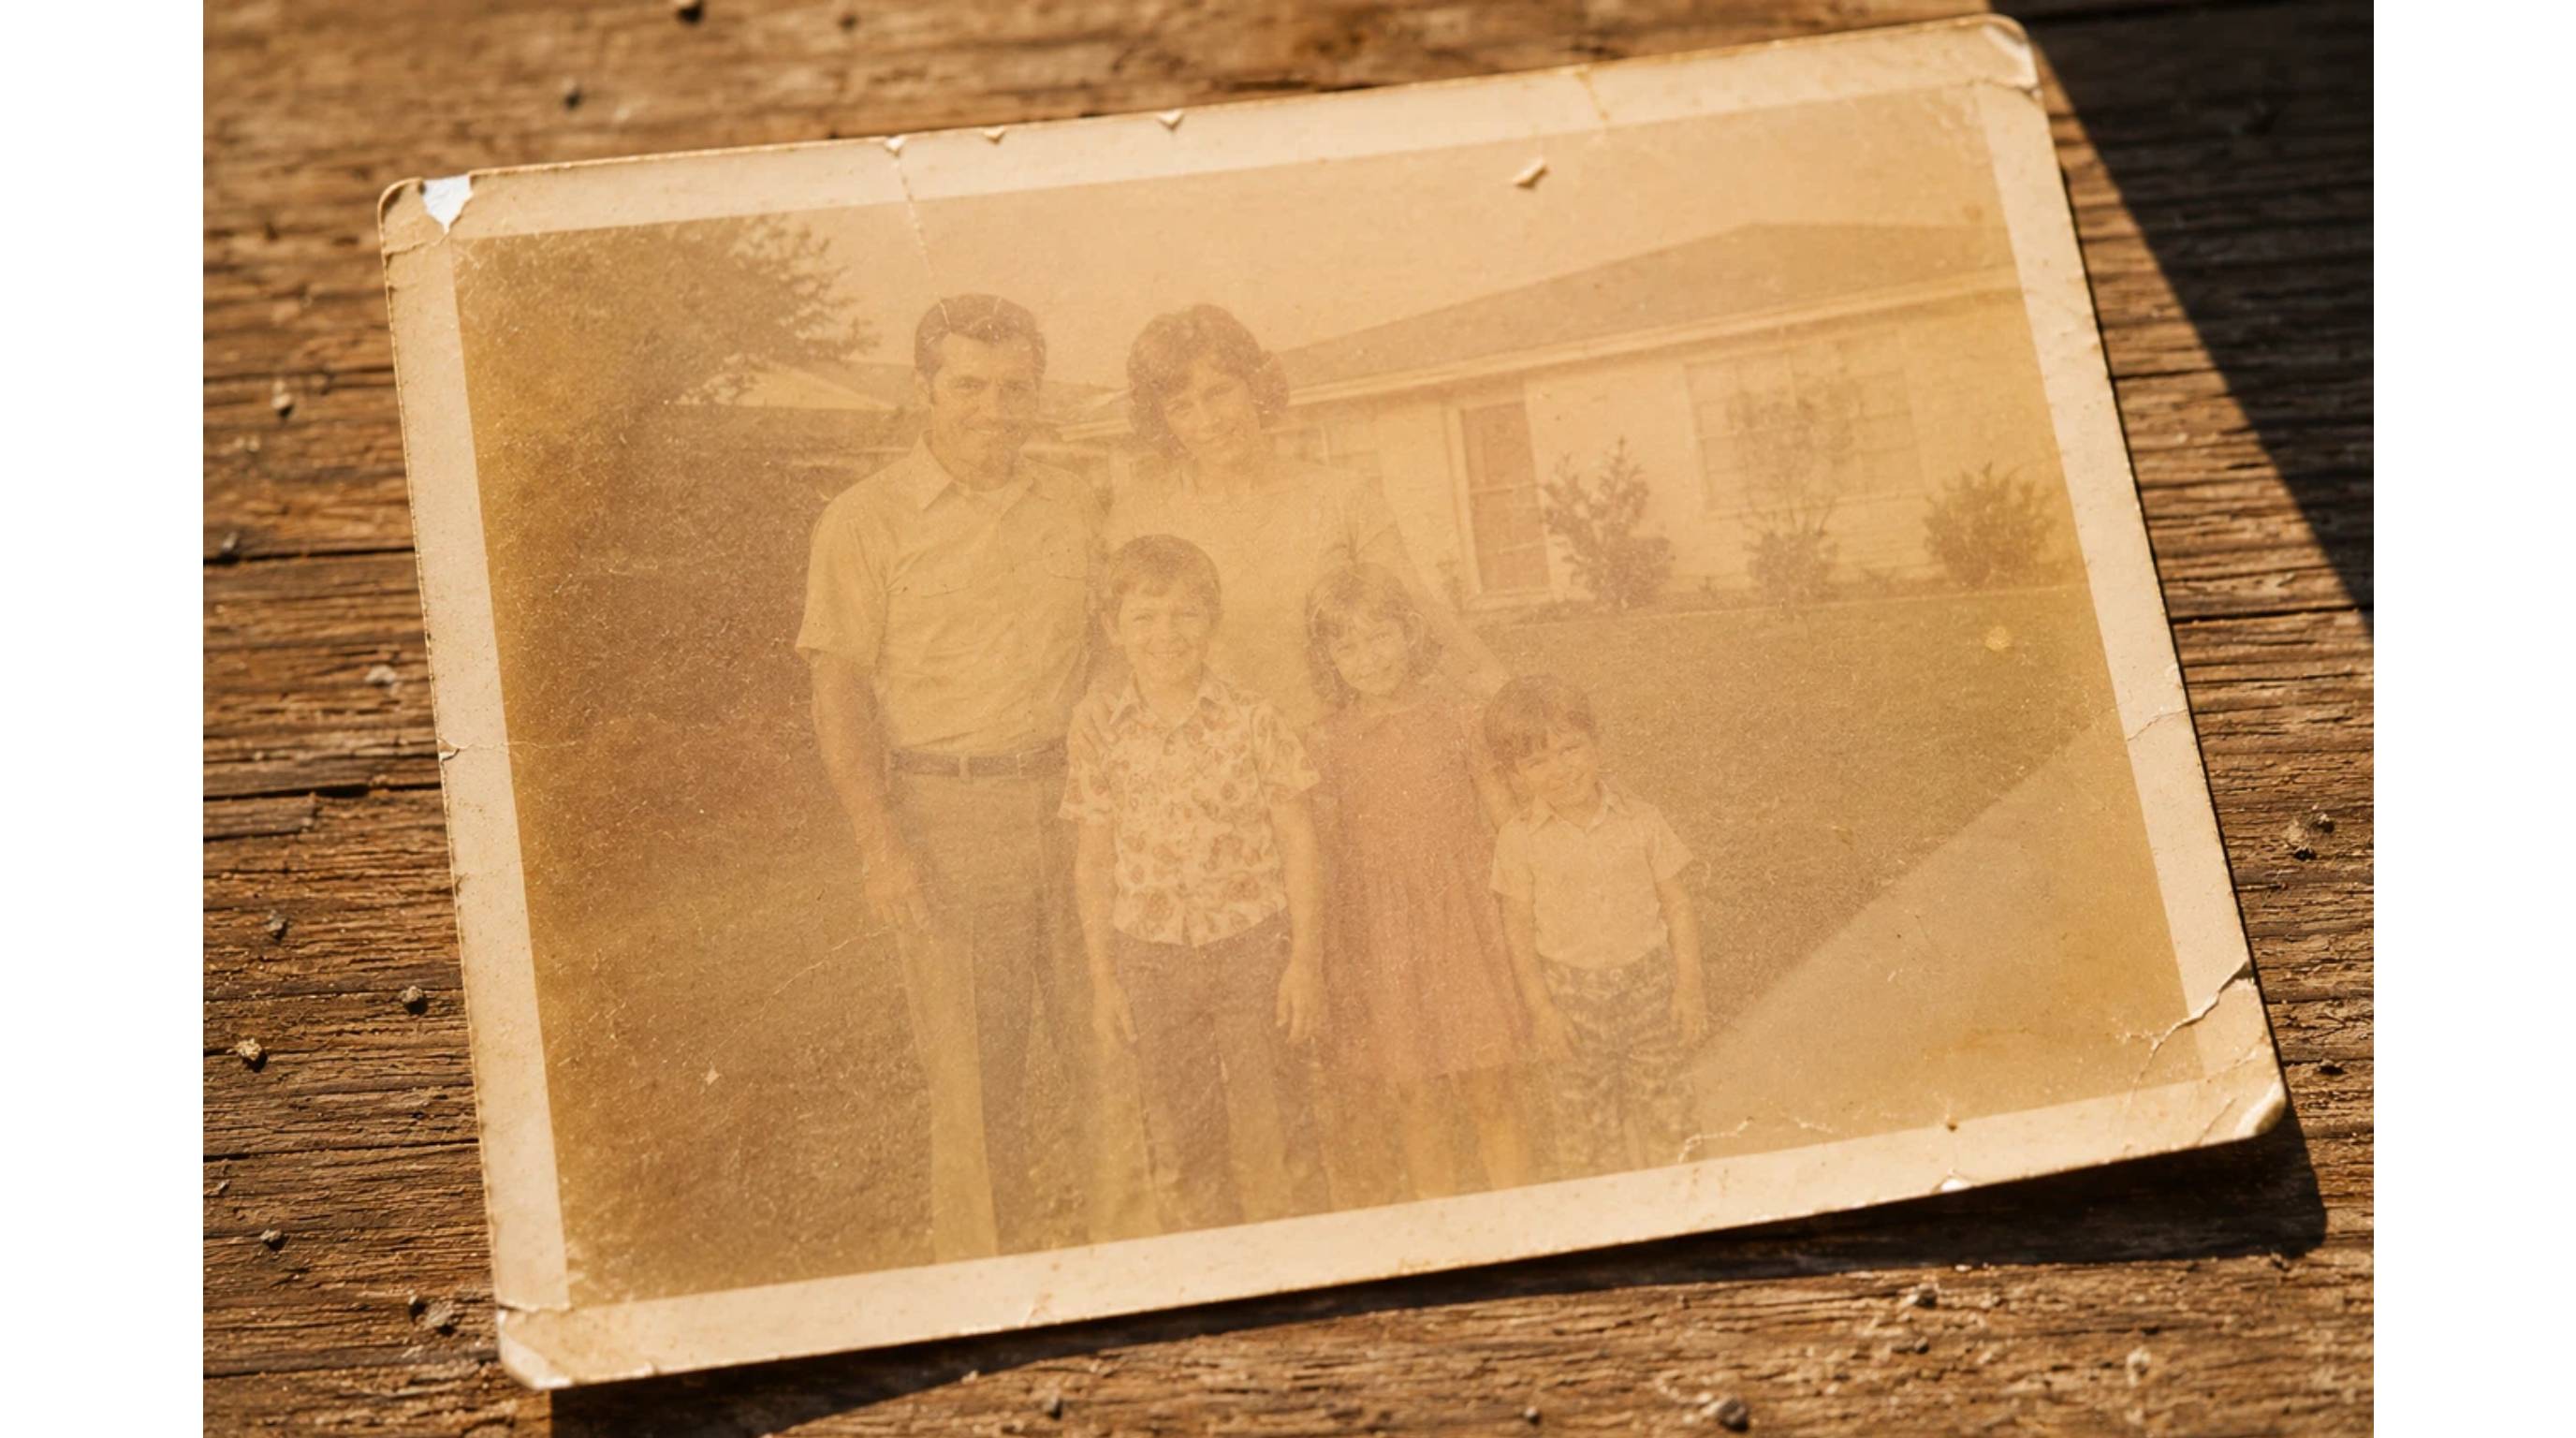
Think about how sunlight eats away at the chemical dyes in photo paper. Decades sitting in a humid basement or a sunny hallway will leave a picture yellowed and completely washed out. Old-school photo editors lean on complex curve adjustments to balance the light by hand. Now, AI tone recovery tools spot that faded color data and push it right back to its original vibrancy.
Scratches, dust, and physical damage
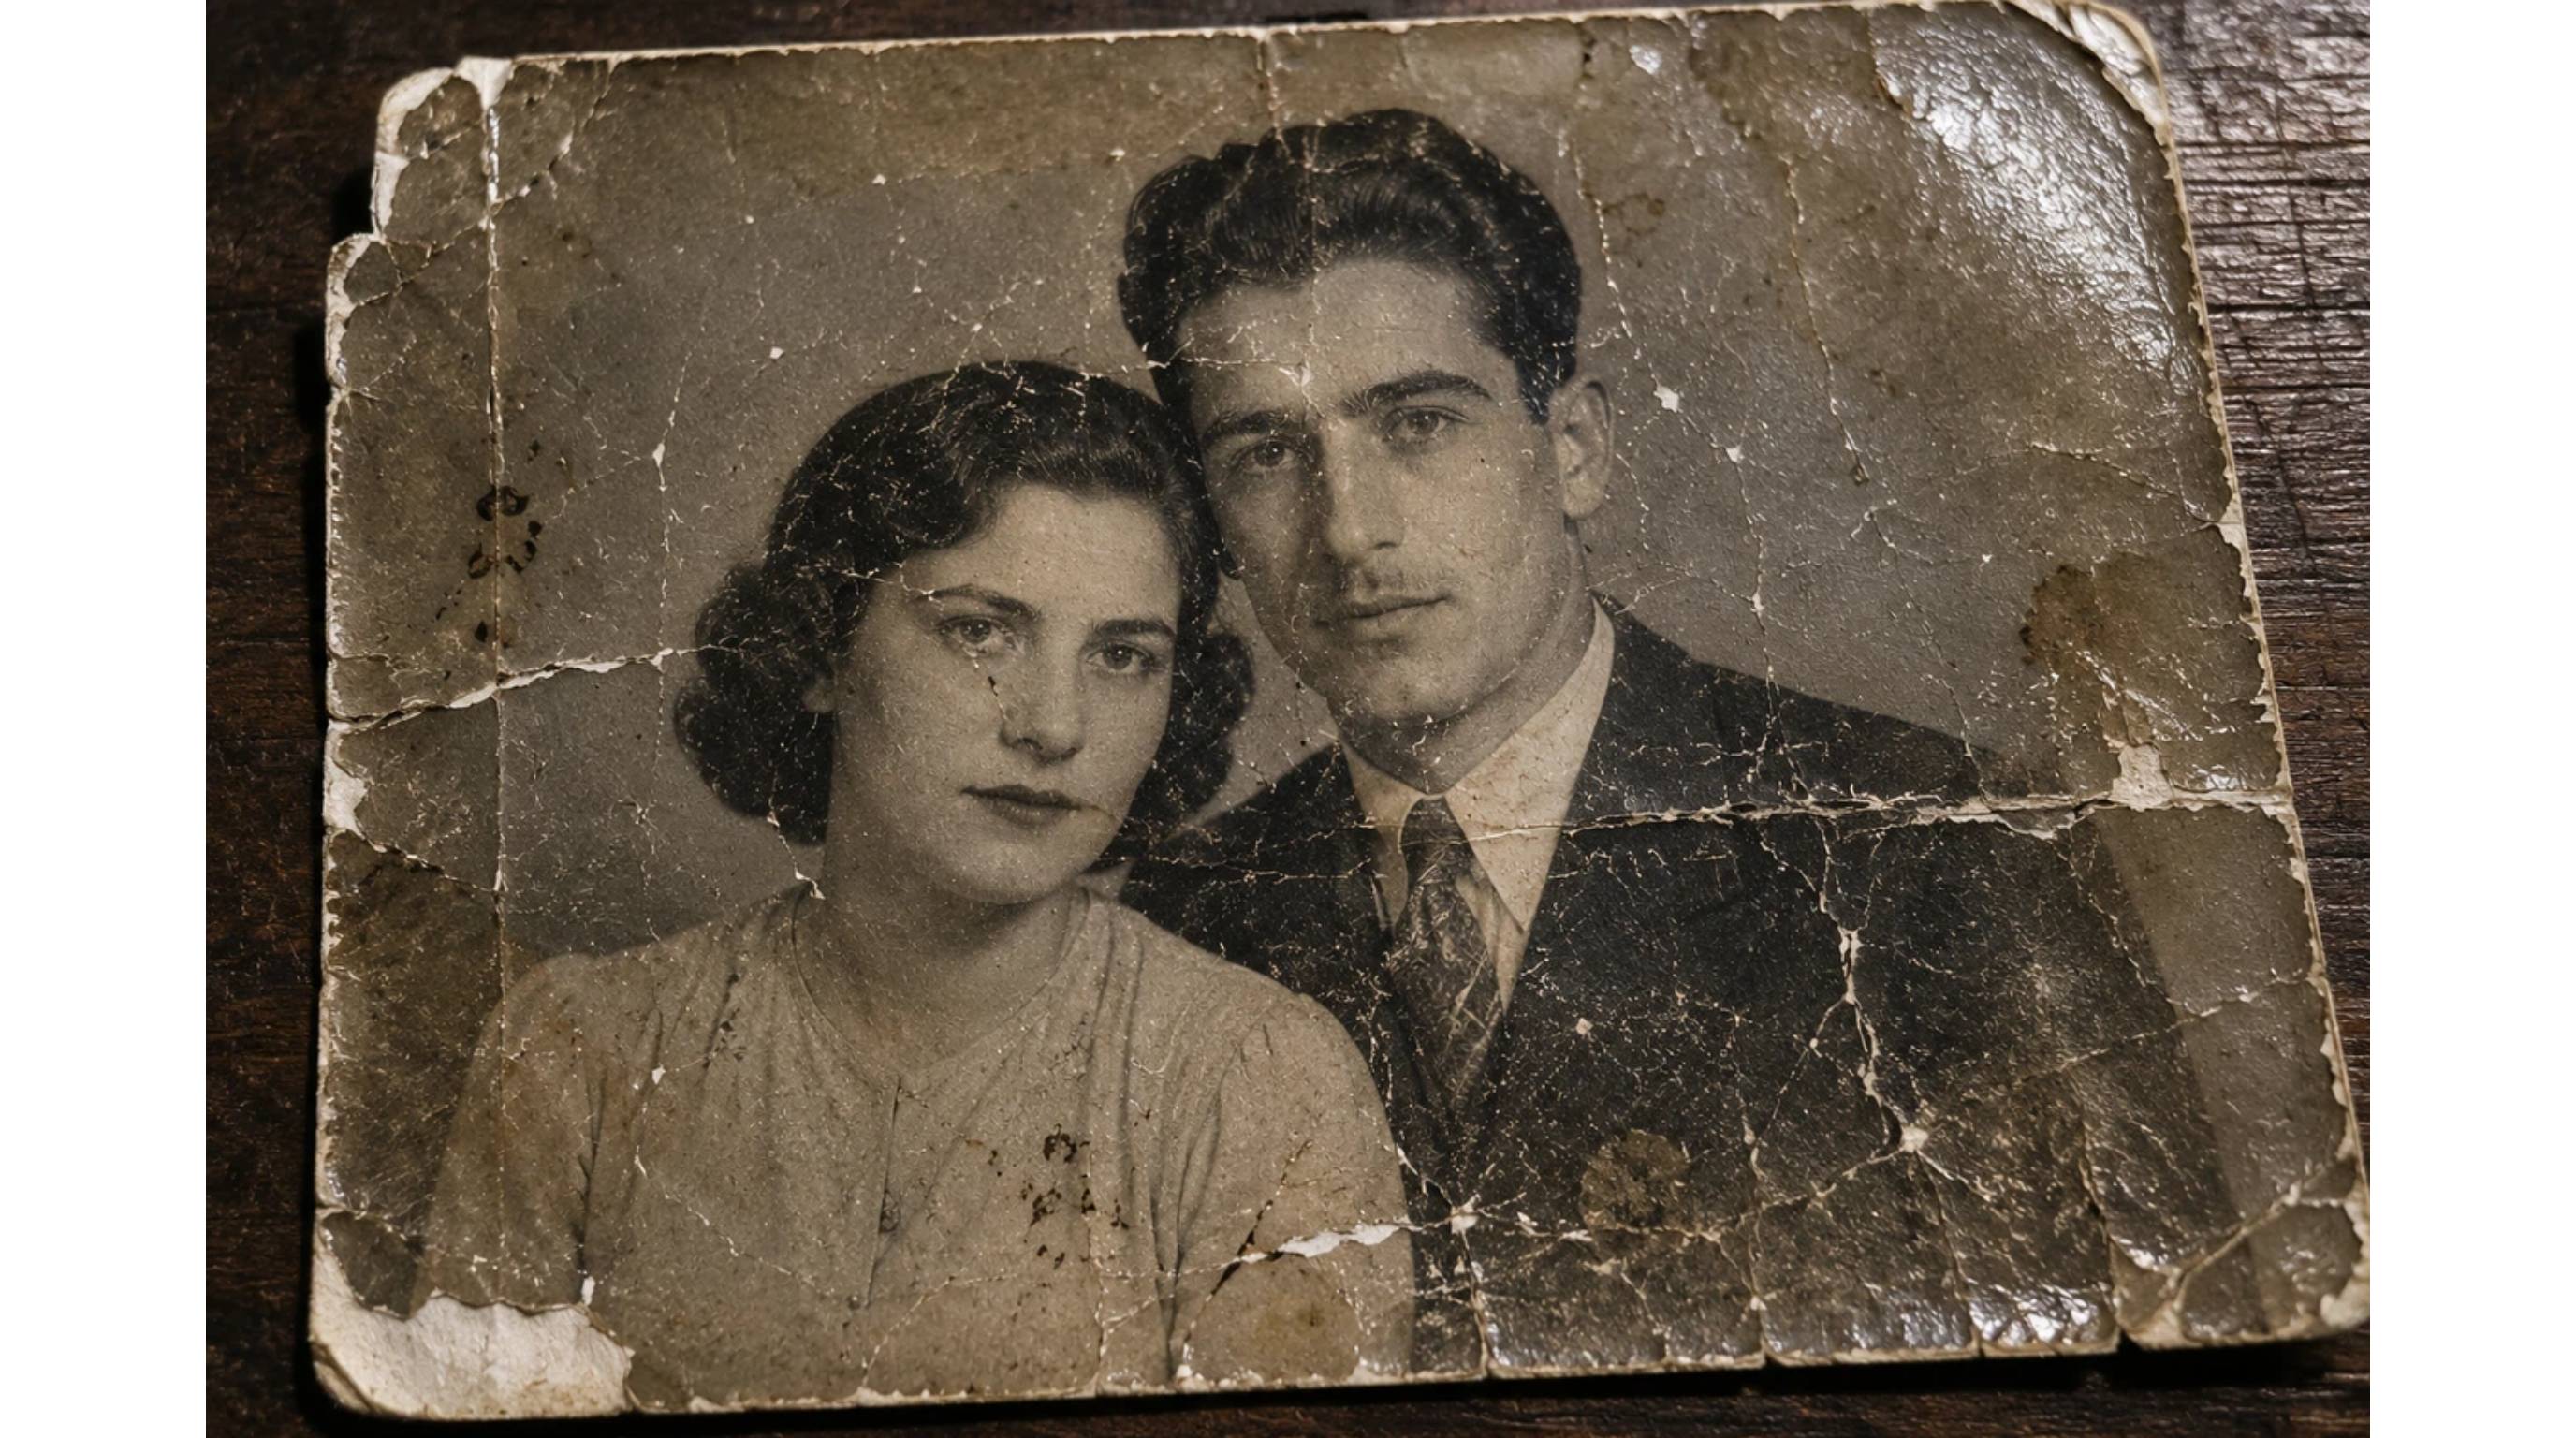
Physical prints take a massive beating over the years. You will constantly find creases, deep tears, dust specs, and water stains covering the surface. To fix this mess, you have to repair the actual structure of the image first. You can do this by hand, painting over the blemishes with a healing brush. Or, you can run a solid object remover to automatically fill the gaps using the surrounding pixels. If the print is literally missing chunks of paper, call a professional archivist.
Blurry or low-resolution prints
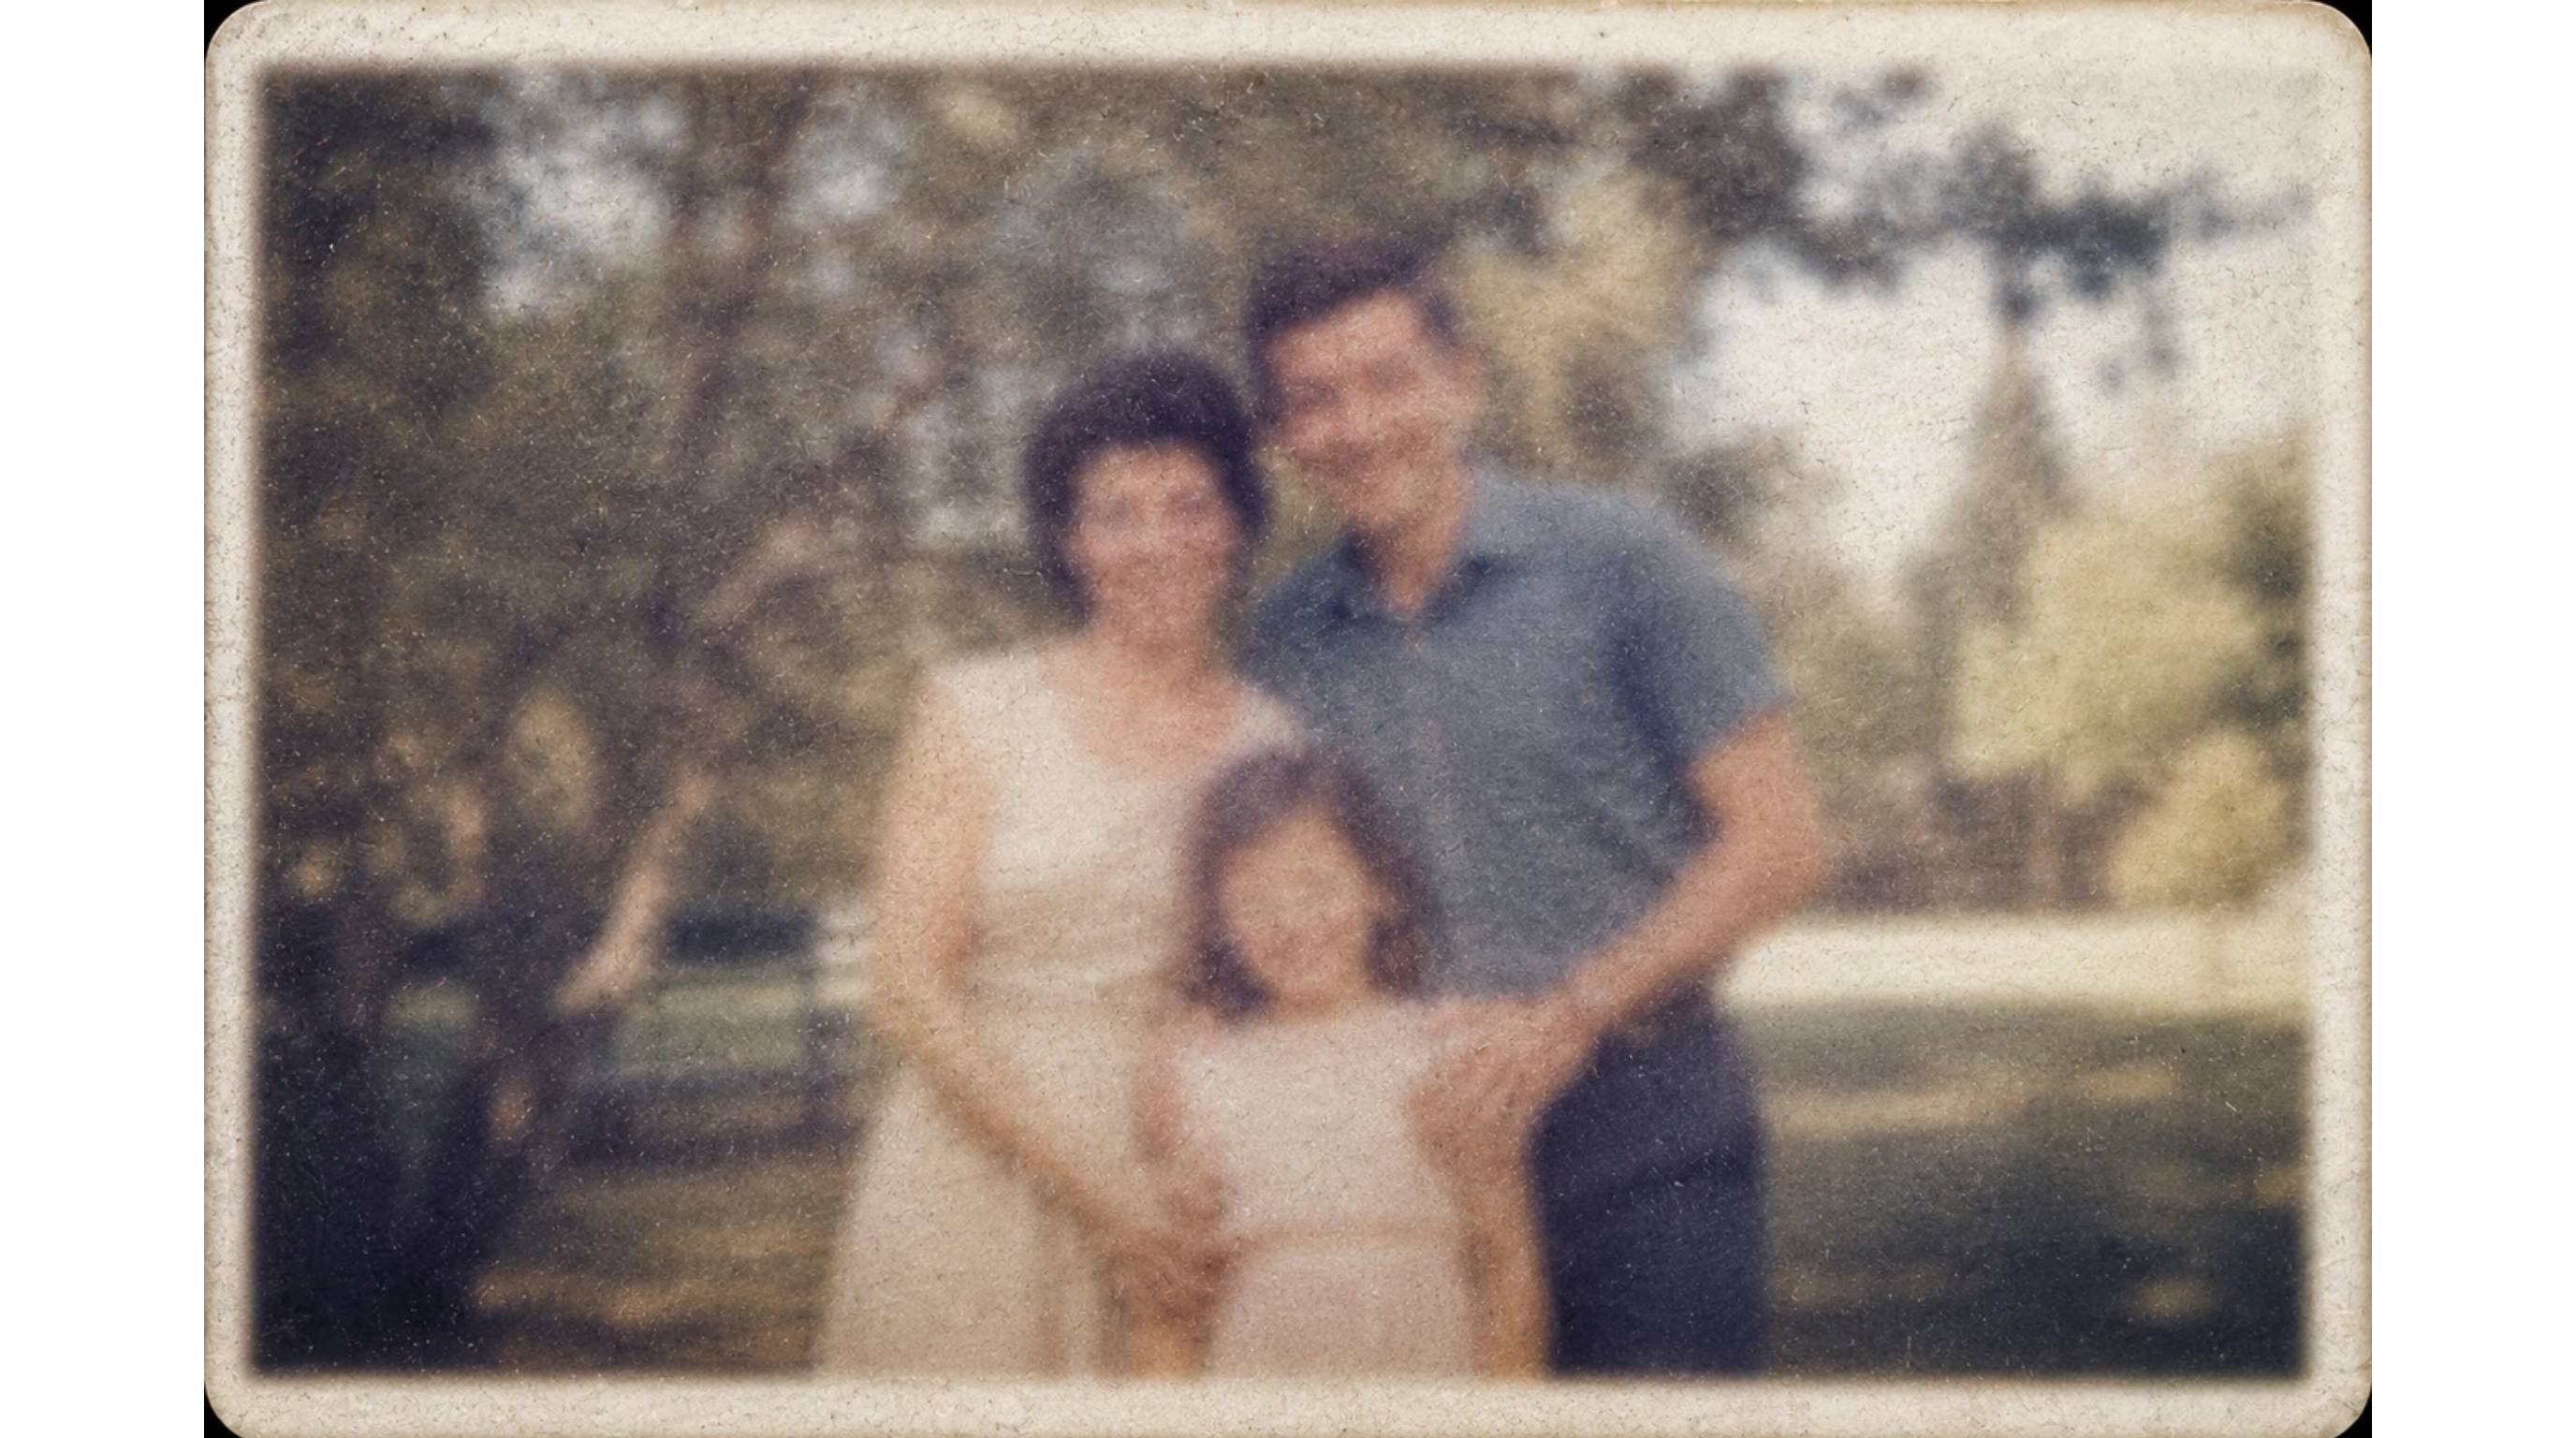
Vintage cameras were notorious for soft focus. Plus, those tiny wallet-sized prints never had enough resolution for modern screens anyway. When you are figuring out how to improve the quality of old photos, remember this one rule: fixing blur is your absolute last step. AI upscaling only belongs at the very end, long after the physical damage is gone.
Black-and-white photos that need color restoration
A huge chunk of historical photos are strictly black and white. Neural filters make coloring these images super easy, but colorization is always an optional extra. Do your scratch cleanup and contrast balancing on the black-and-white file first. Keep a true grayscale copy safe in your archive, and just make colorized versions for fun.
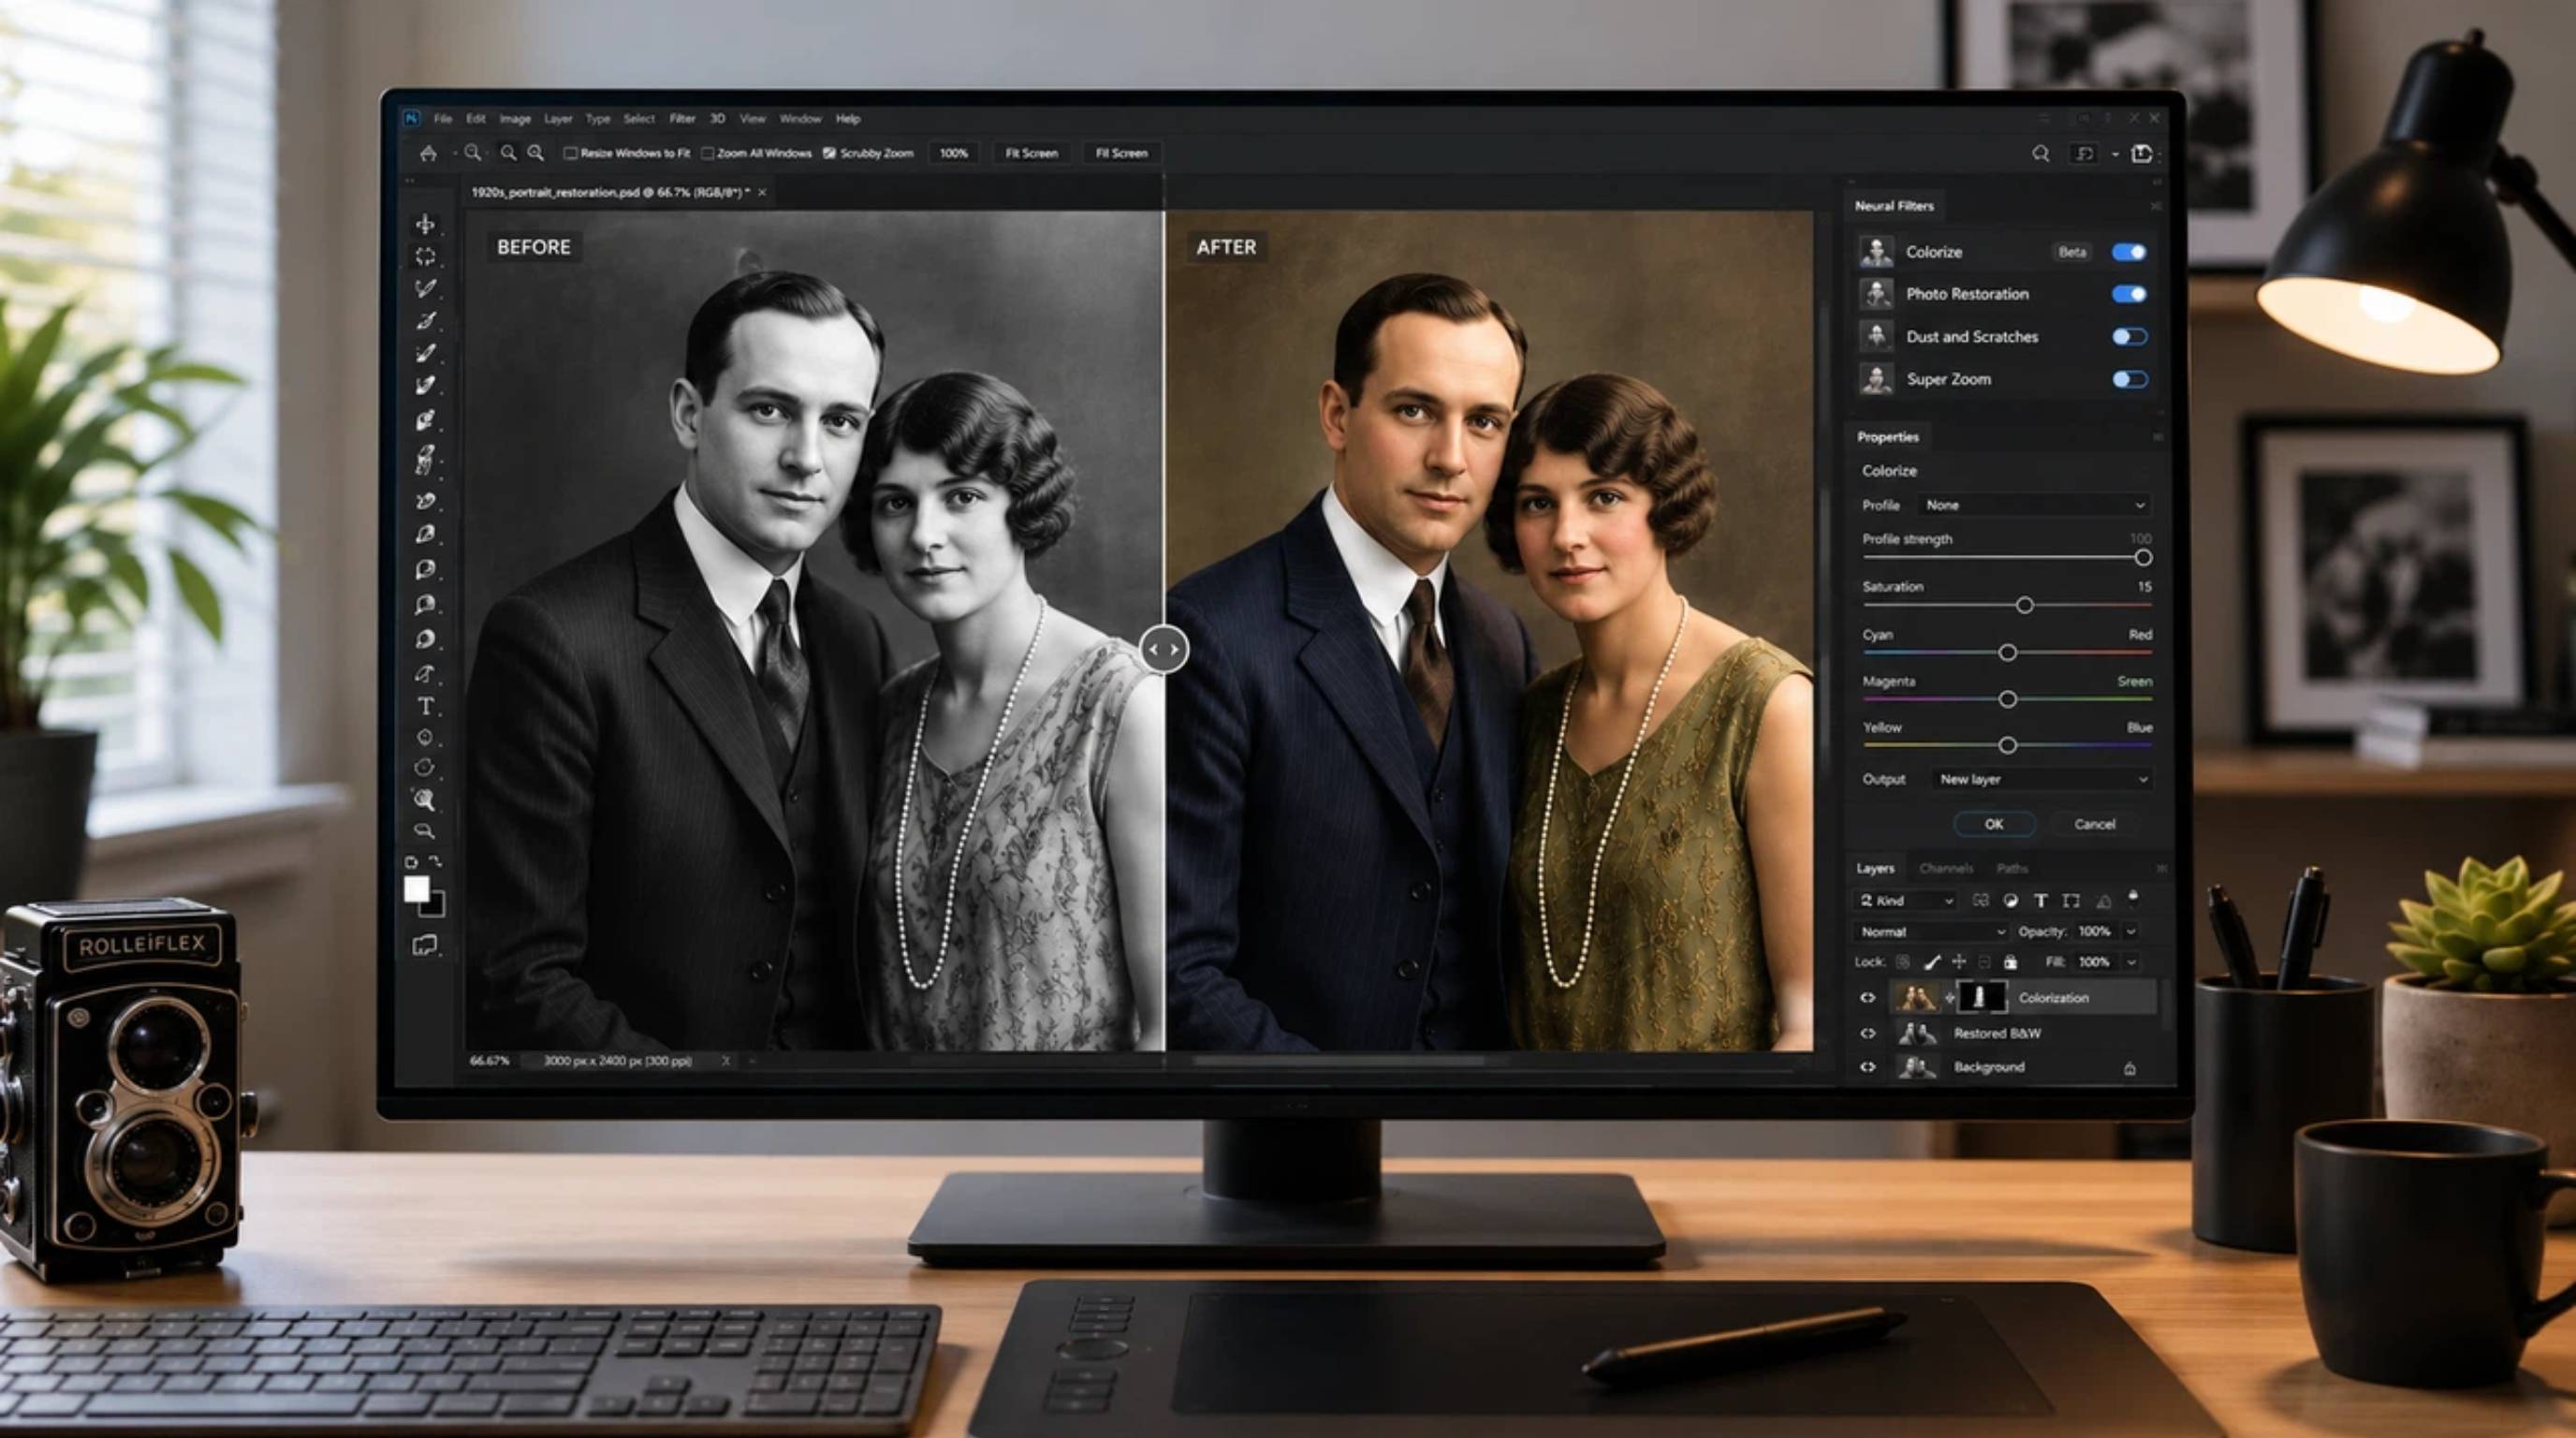
How to restore old photos step by step
Restoring pictures means following a strict order of operations. Doing things backward just makes the damage worse. Here is the exact workflow to restore your images without trashing the original data.
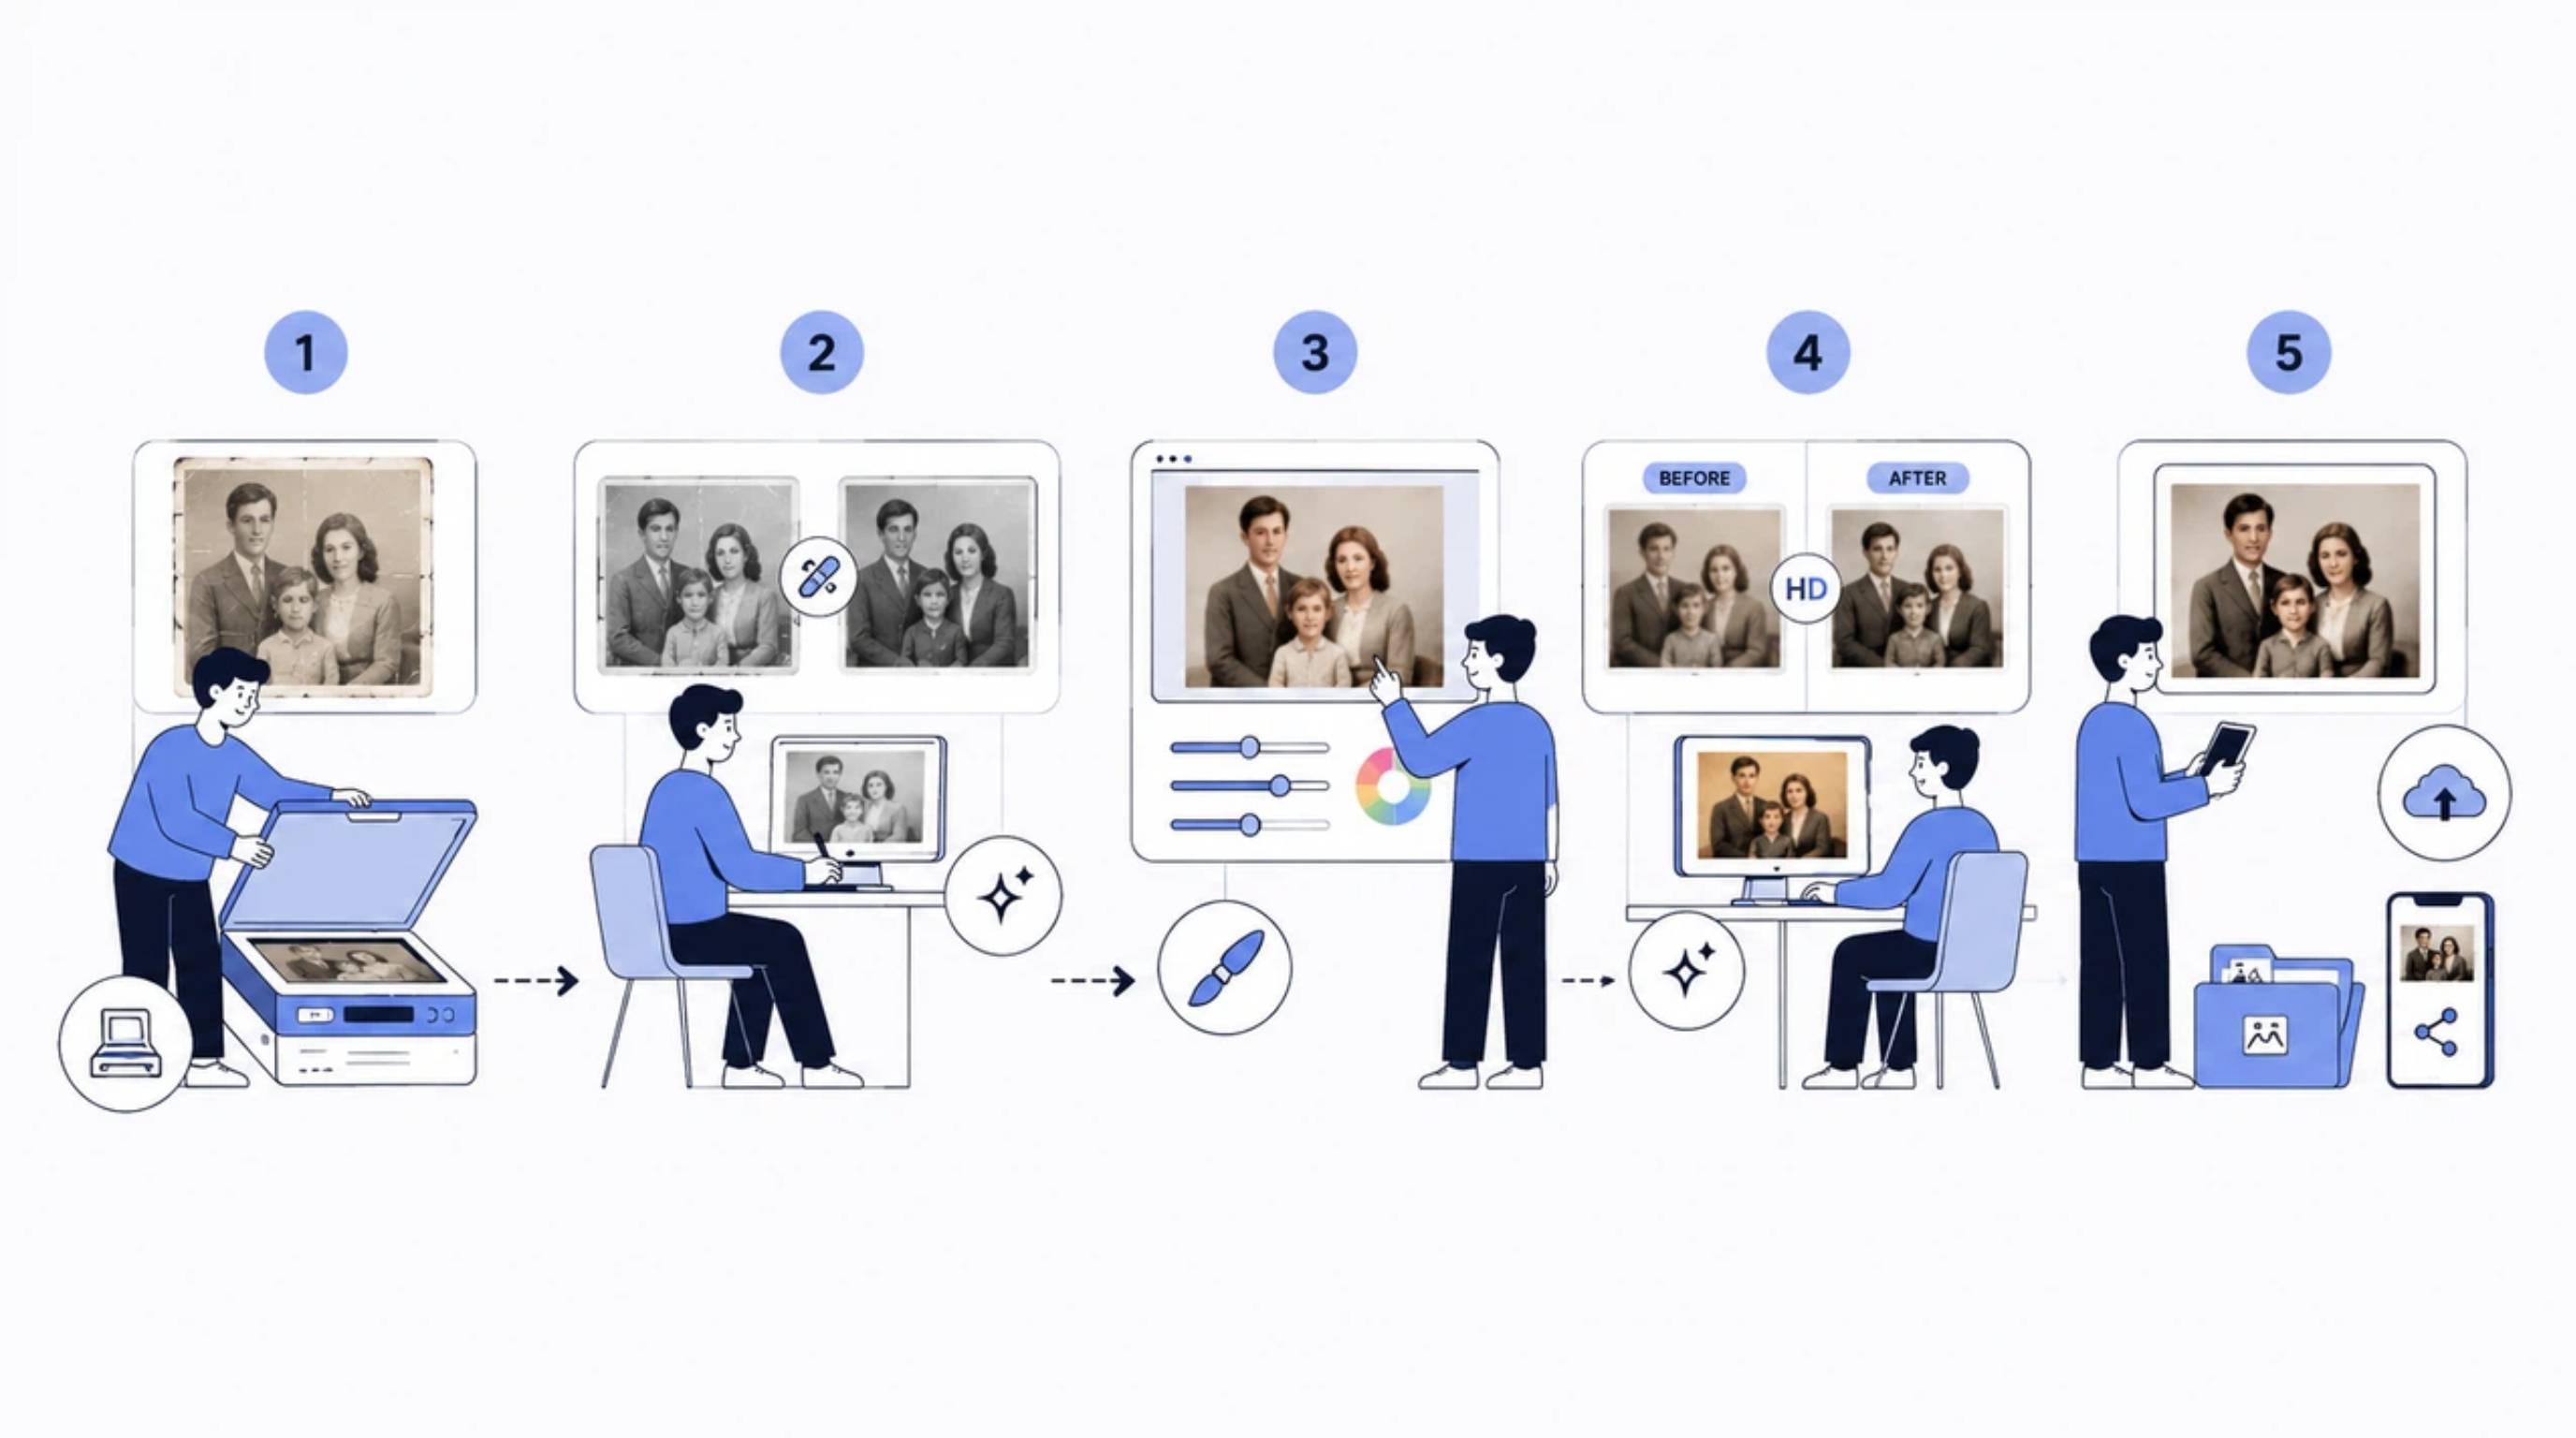
Step 1: Digitize your old photo
Grab the physical print. Your first real action is scanning it, ideally on a flatbed scanner set to at least 600 DPI. Make sure the lighting in the room is even and wipe away any glare on the glass. Turn off any "auto-enhance" features on the scanner software, as these have a bad habit of clipping highlight details. If a flatbed scanner is unavailable, try a mobile phone scanning app that captures multiple angles to reduce glare. The output will be a raw PNG or TIFF file. Always duplicate this digital file before editing begins so a safe backup is available.
Step 2: Fix scratches and remove unwanted damage
Pull that raw, unedited scan into your workspace. The goal here is fixing the physical structure before you even think about colors. Patch over the creases, dust spots, and tears using a healing brush or an AI inpainting tool. You want a clean, blemish-free digital file as the output. This repair stage is a huge deal. If you upscale a photo that still has scratches all over it, the AI permanently bakes those scratches into the high-res image.
Step 3: Restore colors and improve contrast
Now grab your scratch-free photo. It is time to fix the color cast and correct the exposure. Strip away the yellow fading using auto-color correction tools, or manually push the white balance. If the image is black and white, this is the moment to try colorization. The output should have natural skin tones and realistic clothes. Keep comparing your edits to the raw scan so you do not accidentally push the saturation into cartoon territory.
Step 4: Enhance resolution and sharpen details
With the photo clean and color-corrected, use it as the input for the final polish. The action is running the image through an AI upscaler or lightly applying a sharpening filter. The output is a crisp, high-resolution image ready for printing or digital sharing. Apply this sharpening very lightly. Faces are incredibly easy to overcook, which often results in a plastic, unnatural look.
Step 5: Save, archive, and share
The final input is your beautifully completed restoration. The action is saving multiple versions of the file. Keep the original raw scan, the working file, and the final restored version. Note the names, dates, and locations in the file metadata if you happen to know them. The output is a neatly organized archive. Export large, uncompressed files for physical prints, and create smaller JPEG versions to share on social media.
Traditional photo restoration vs AI photo restoration
Choosing the best way to restore old photos depends heavily on skill level and just how severe the damage is.
|
Feature |
Traditional editing |
AI restoration |
|---|---|---|
|
Skill required |
High |
Low |
|
Time |
Hours per photo |
Minutes |
|
Scratch removal |
Manual |
Automatic / assisted |
|
Color correction |
Manual |
AI-assisted |
|
Batch processing |
Limited |
Easier |
|
Best for |
Heirlooms, severe damage, museum-grade control |
Everyday family photos, light–moderate damage |
How to improve old photo quality with Designkit
Dedicated restoration labs absolutely need to handle heavy structural damage, complex scratch rebuilds, and sensitive face recovery. However, once a structurally clean digital version is ready, clearer detail and flexible export sizes might still be needed for sharing or printing.
Designkit helps significantly with AI enhancement and upscaling-style cleanup for modern use. As a powerful AI photo editor, it excels at generating multi-size creatives and improving overall visual clarity. While it is not a specialist archival lab, it serves as the perfect tool to prepare a clean presentation version of restored images.
3 simple steps to improve old photo quality with Designkit
Step 1: Upload your old photo
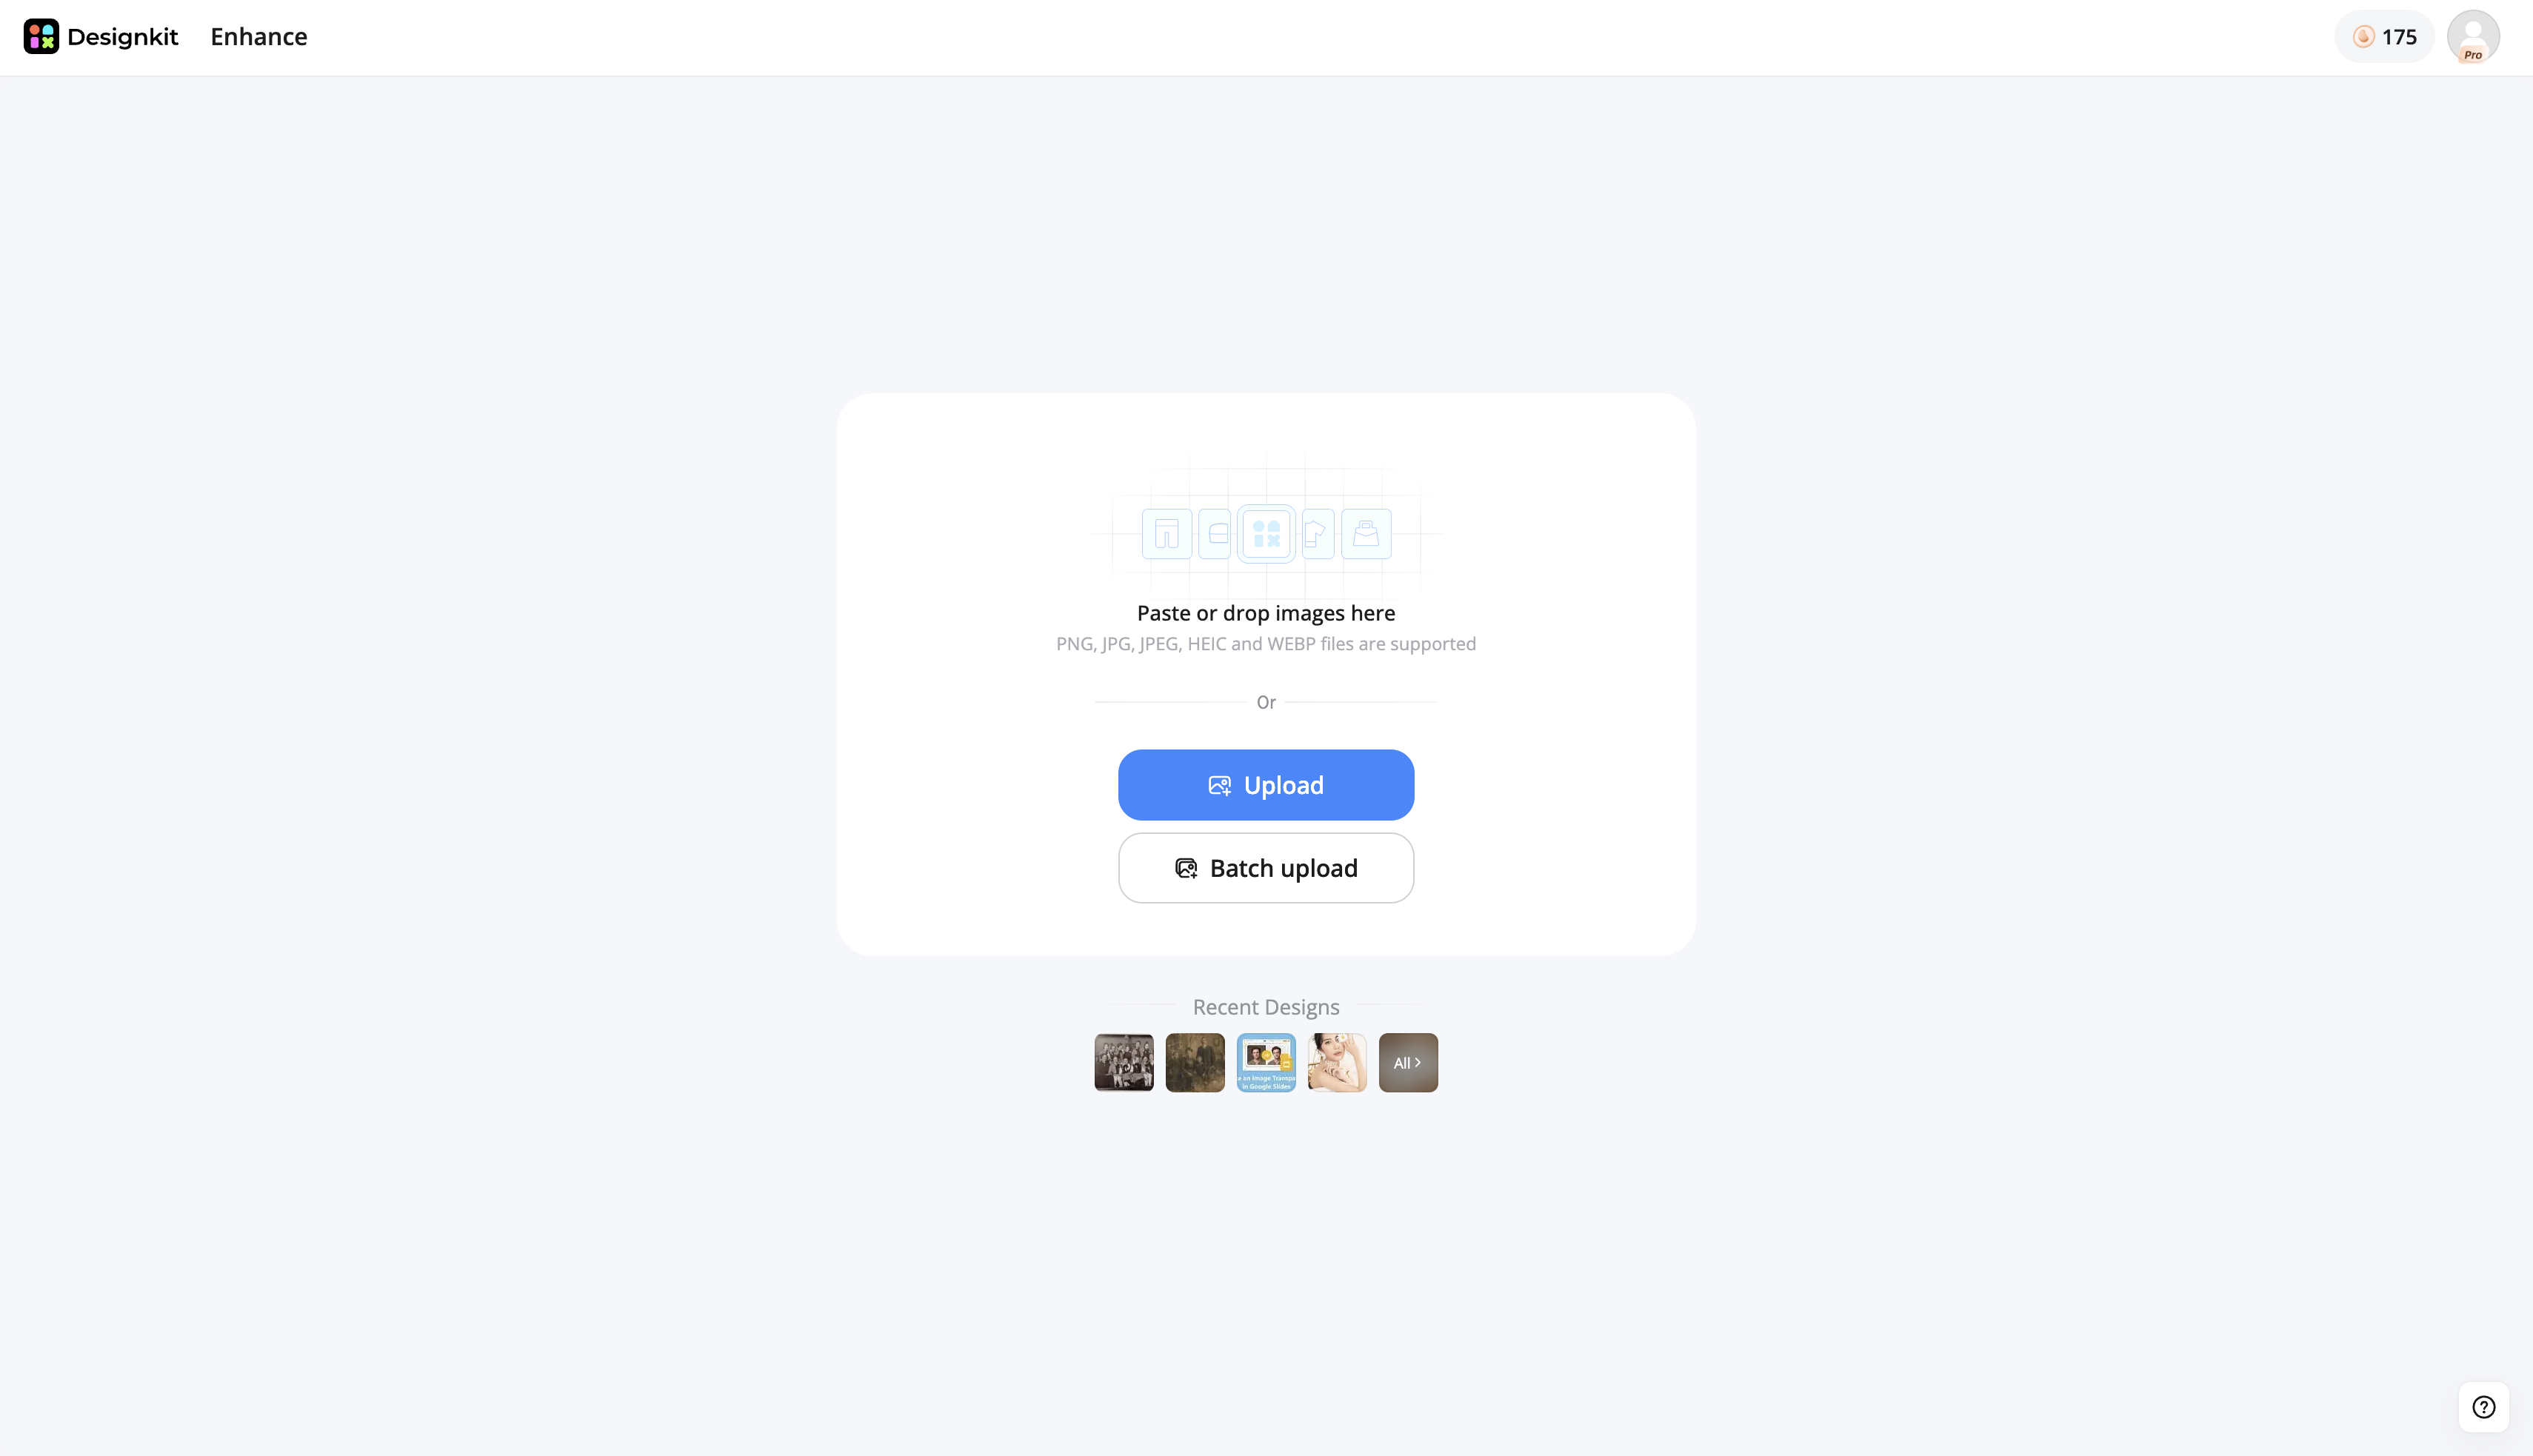
Open the Designkit Enhance workspace and click the "Upload" button to bring your digital file onto the canvas. You can also paste or drag and drop your image directly. Ensure your file is in a supported format (PNG, JPG, JPEG, HEIC, or WEBP).
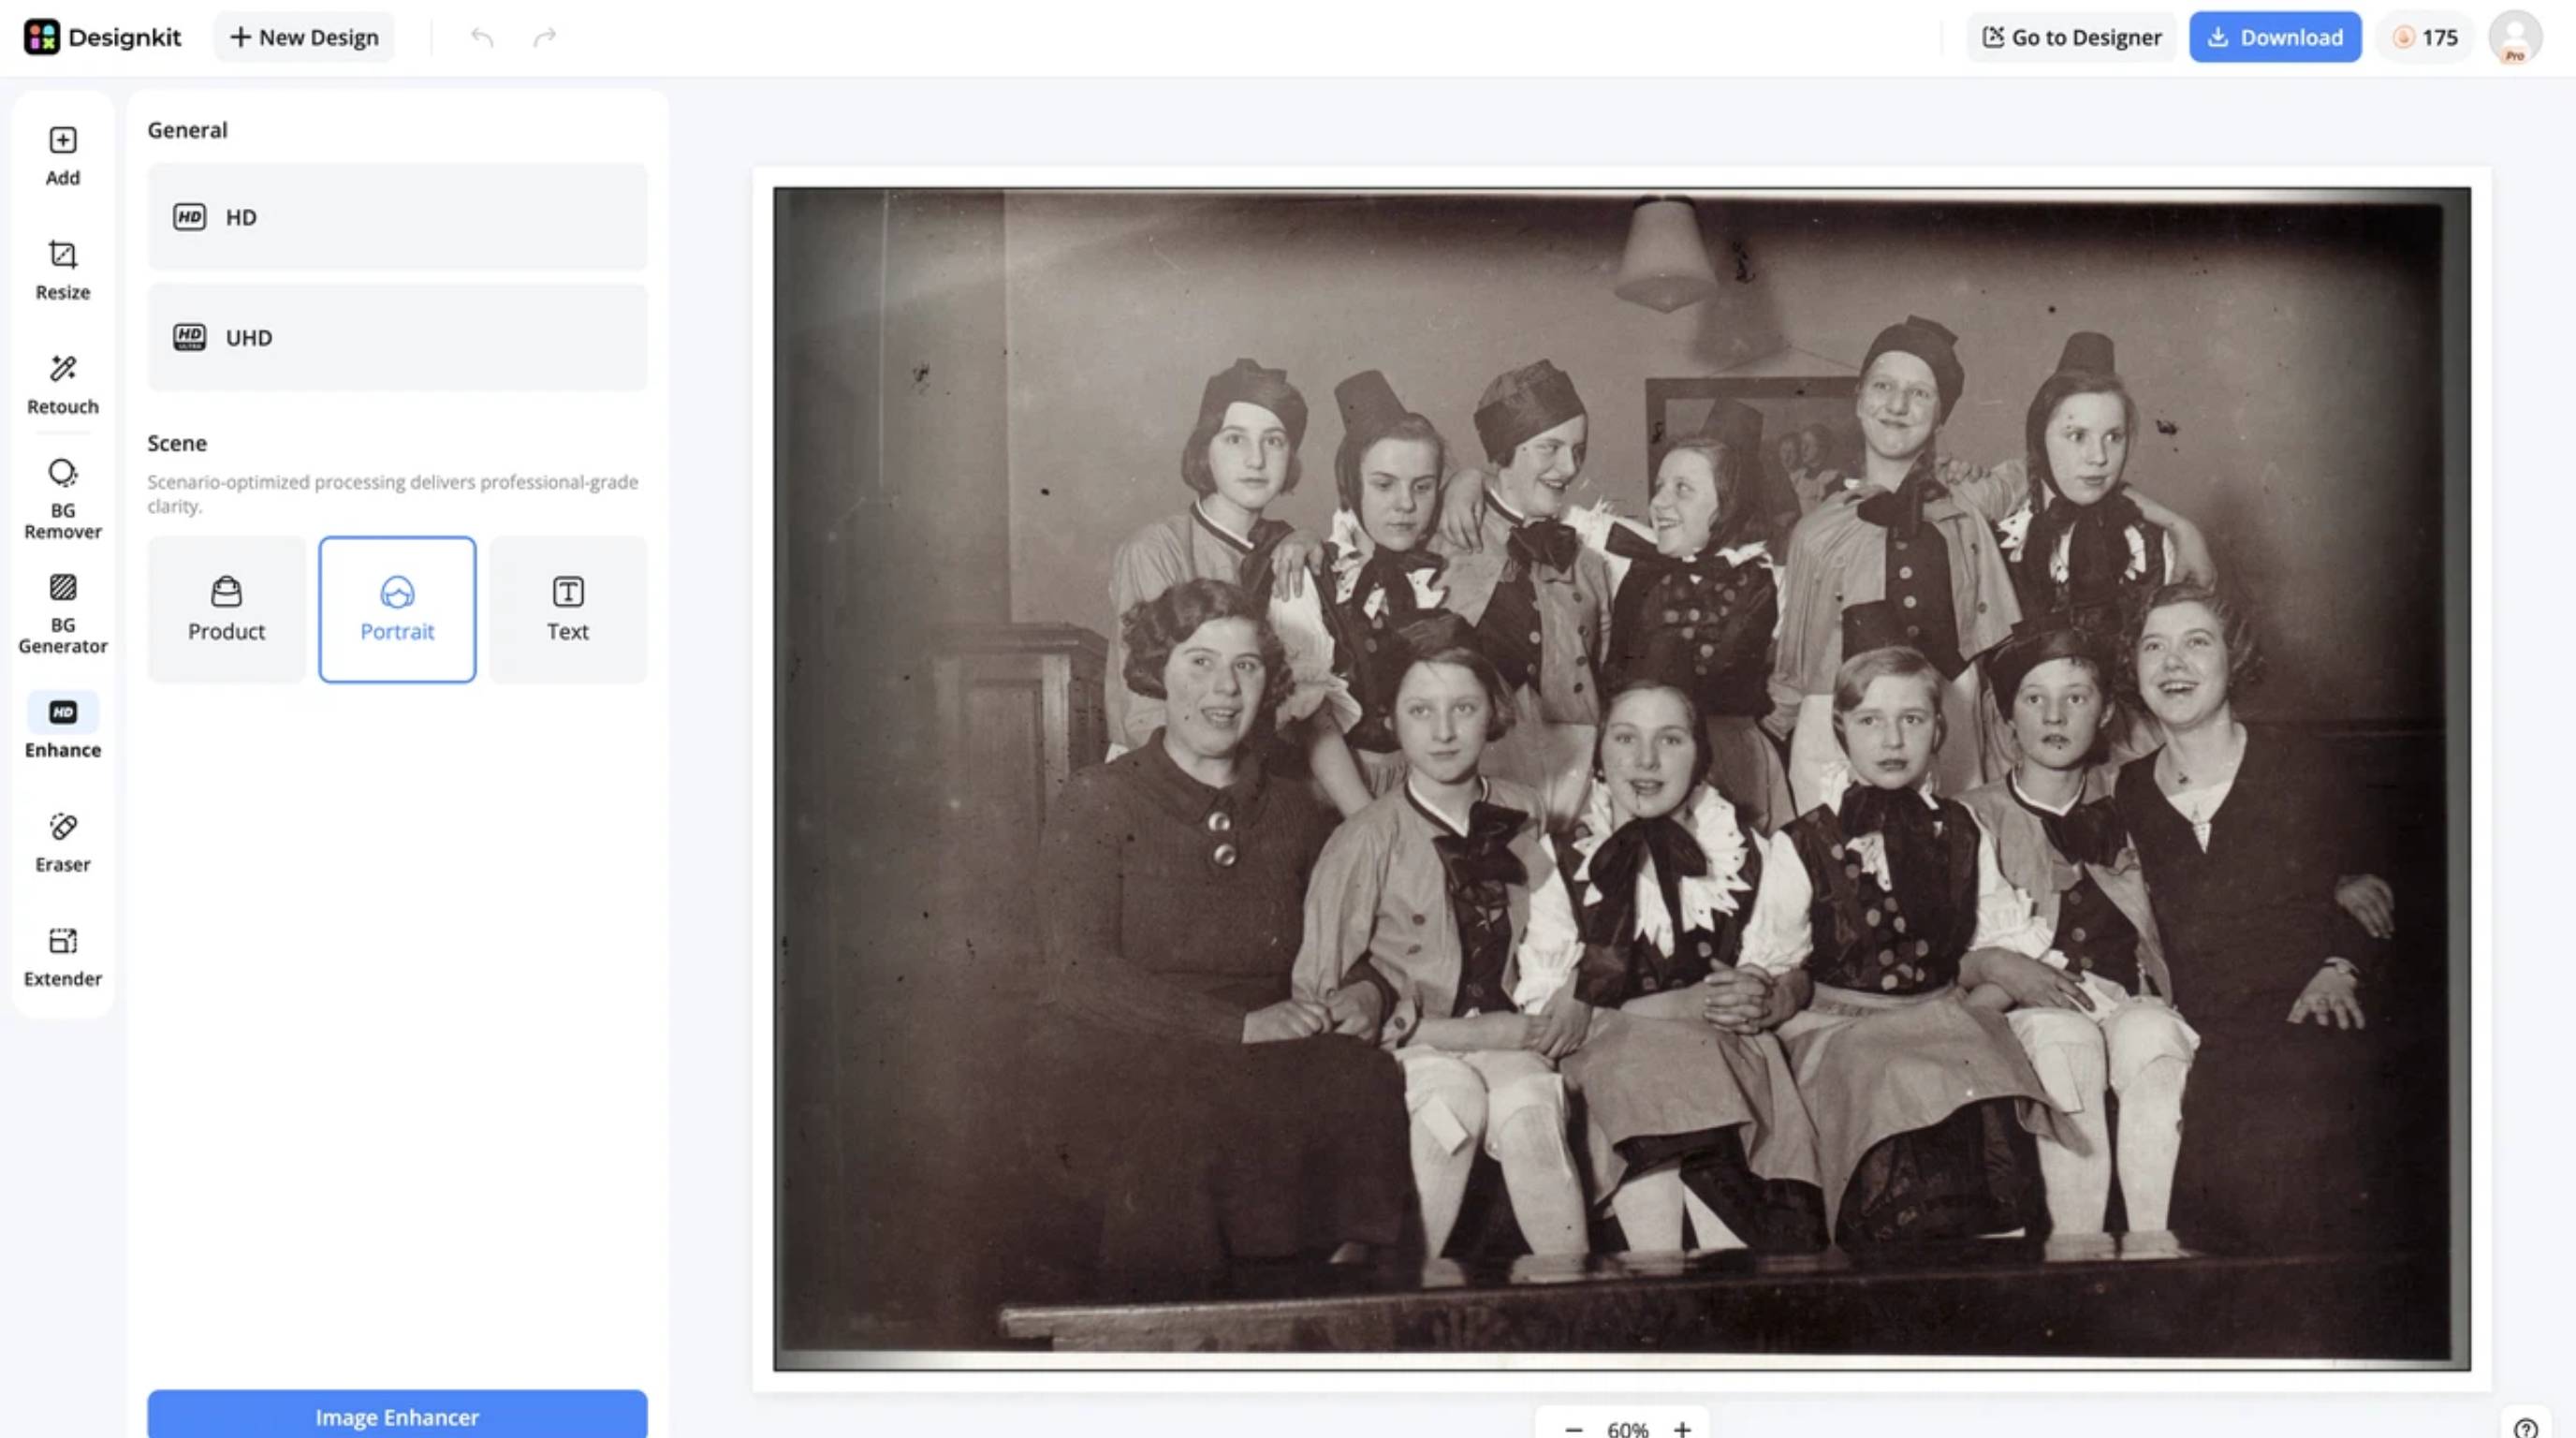
Step 2: Enhance and restore image quality
Once the image is loaded, navigate to the settings panel on the left side of the screen. Choose your desired output quality (HD or UHD) and select the appropriate "Scene" optimization, such as "Portrait" for photos of people. Then, click the blue "Image Enhancer" button at the bottom of the panel to process the image.
Step 3: Download your restored photo
After the enhancement process is complete, you can use the center slider to compare the "Before" and "After" versions of your vintage photo. Once you are satisfied with the improved clarity, click the "Download" button in the top right corner of the workspace to save your restored image.
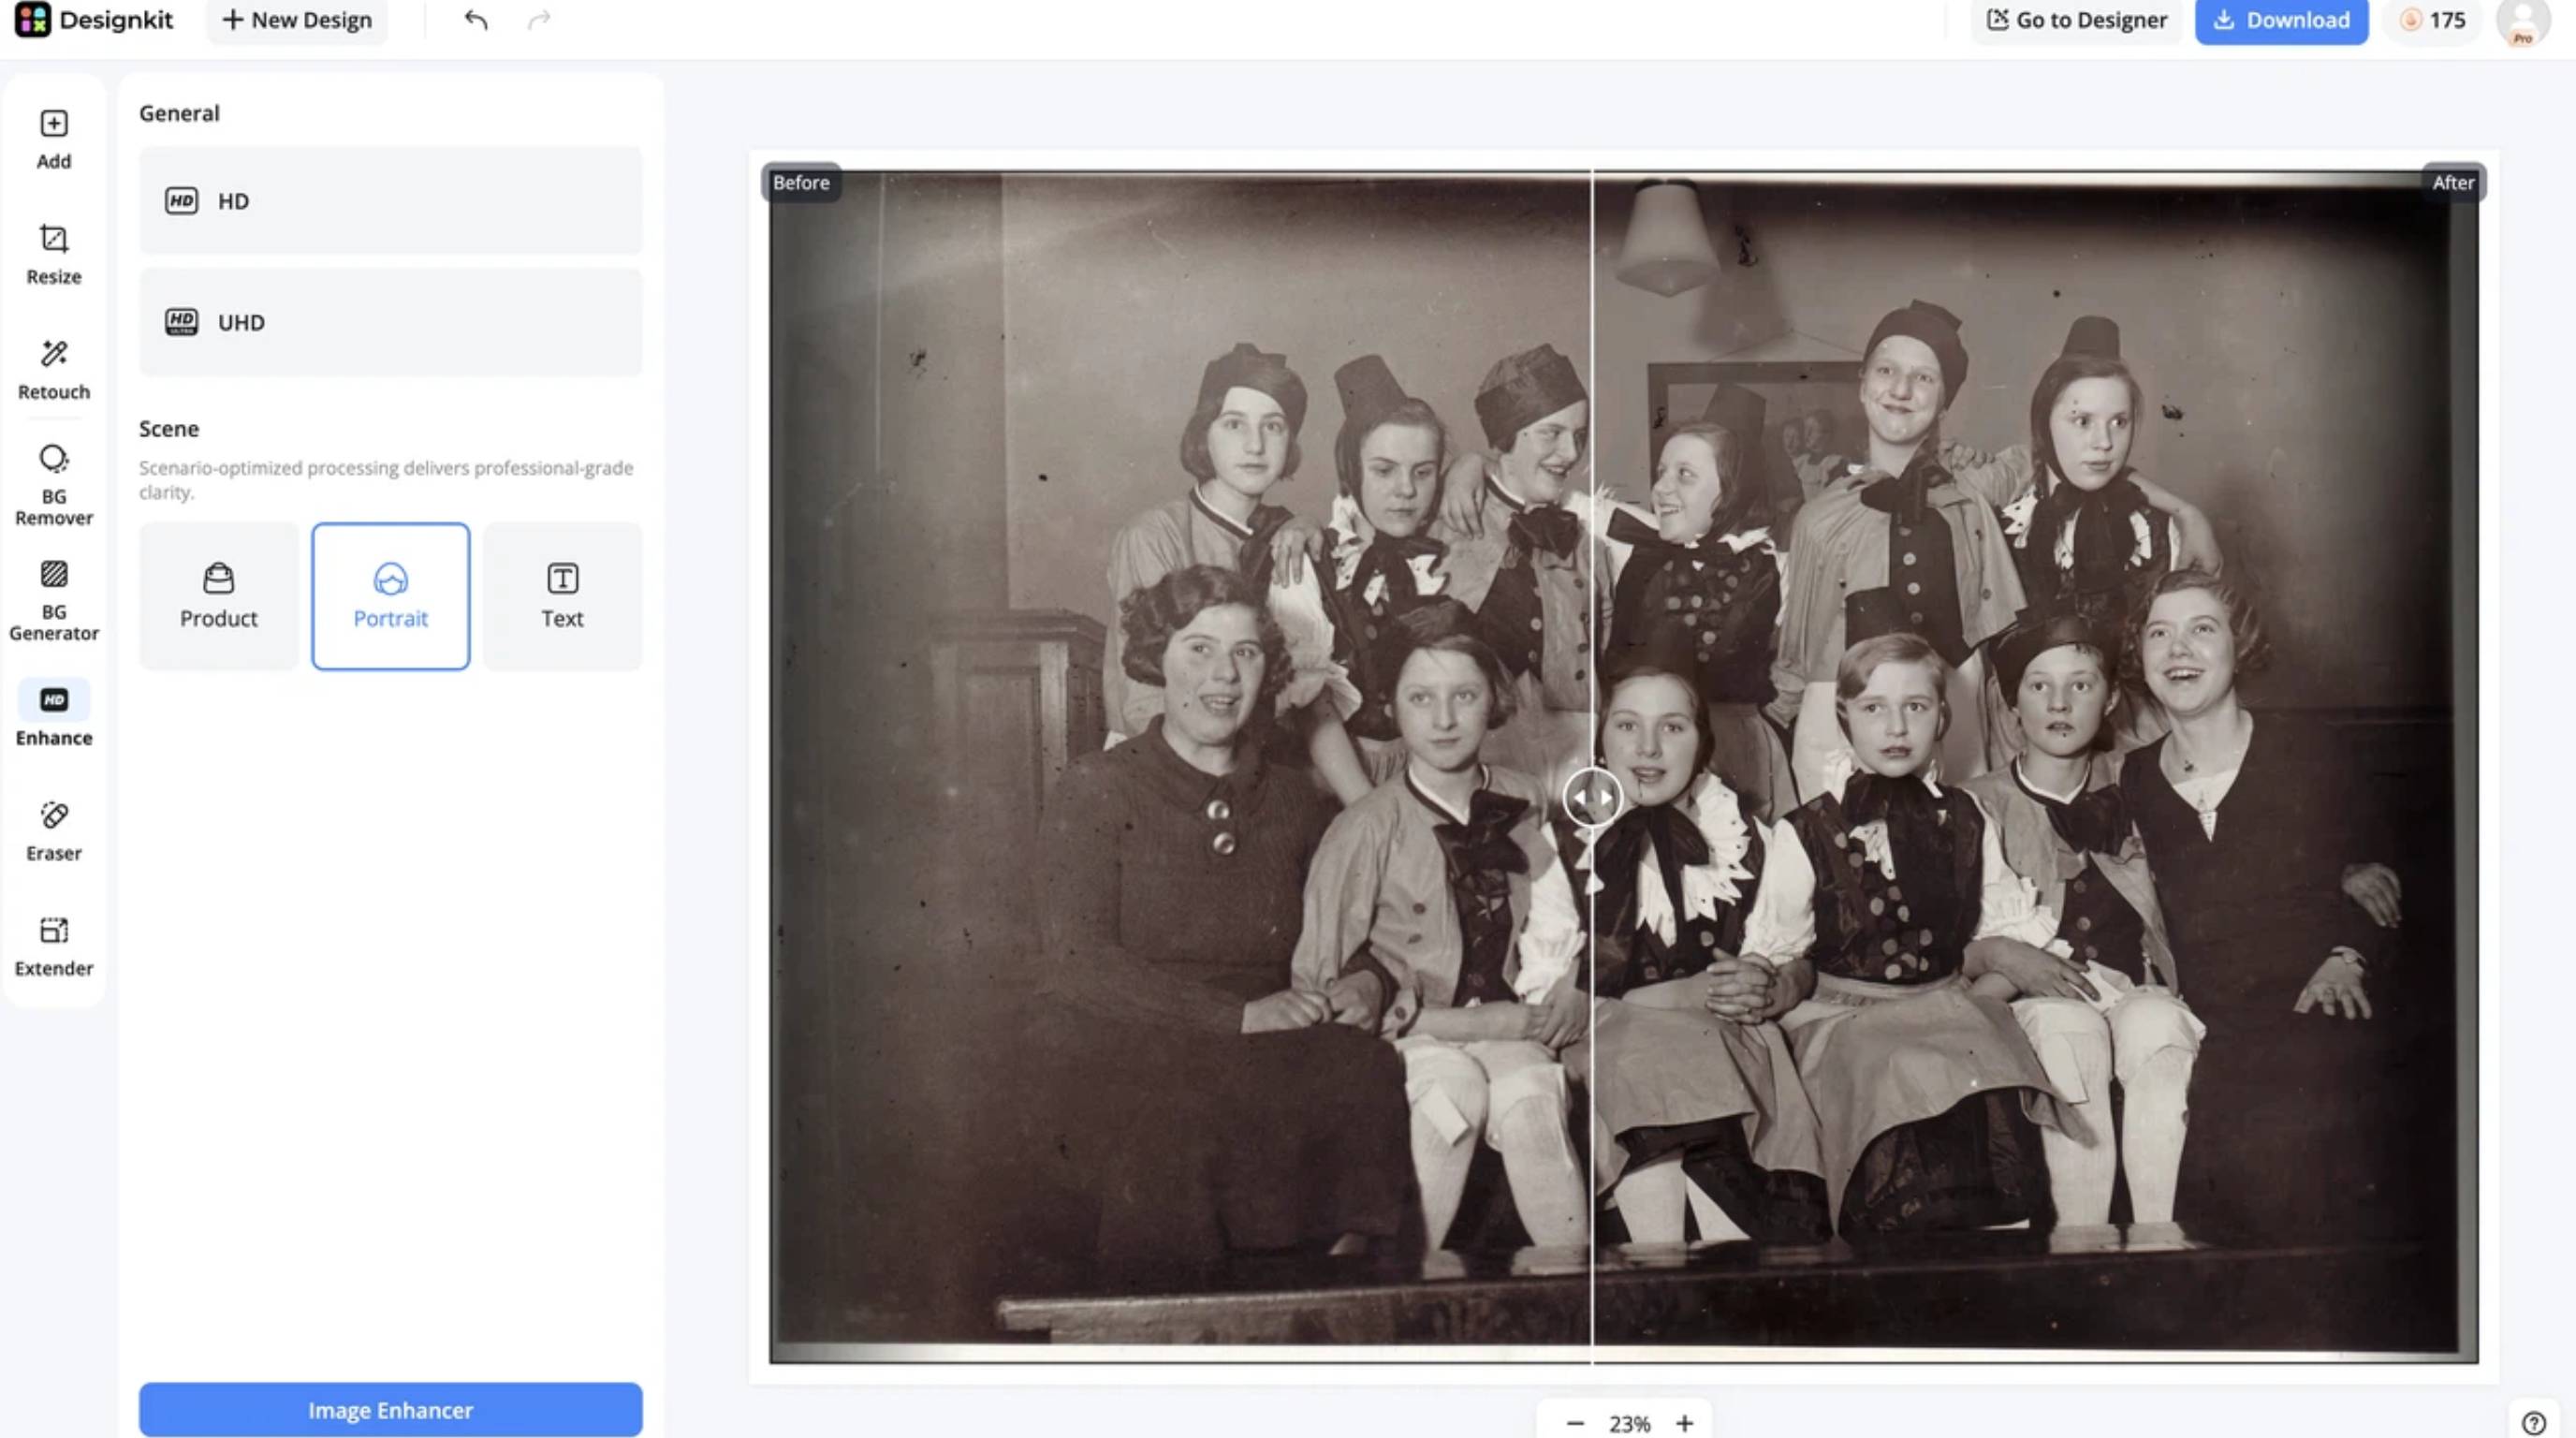
Improve old photo quality Online
Designkit features for old photo restoration
-
AI image enhancement: Designkit utilizes advanced algorithms to clarify digital copies, bringing out lost details in faces and textures without introducing heavy artifacts.
-
Upscaling-oriented export: Images can easily scale up for larger display sizes, ensuring that tiny vintage prints look beautiful as modern wall art.
-
Quick edits: When it is necessary to retouch a photo for a clean presentation, the platform offers rapid adjustments for contrast and lighting.
-
Multiple export sizes: Generate an entire set of assets from a single photo, providing the exact dimensions needed for sharing on different platforms or sending to a professional print shop.
Common mistakes when restoring old photos
Even when knowing how to restore old photos in theory, making permanent errors during execution is frustratingly easy. Avoid these frequent pitfalls to properly protect original memories.
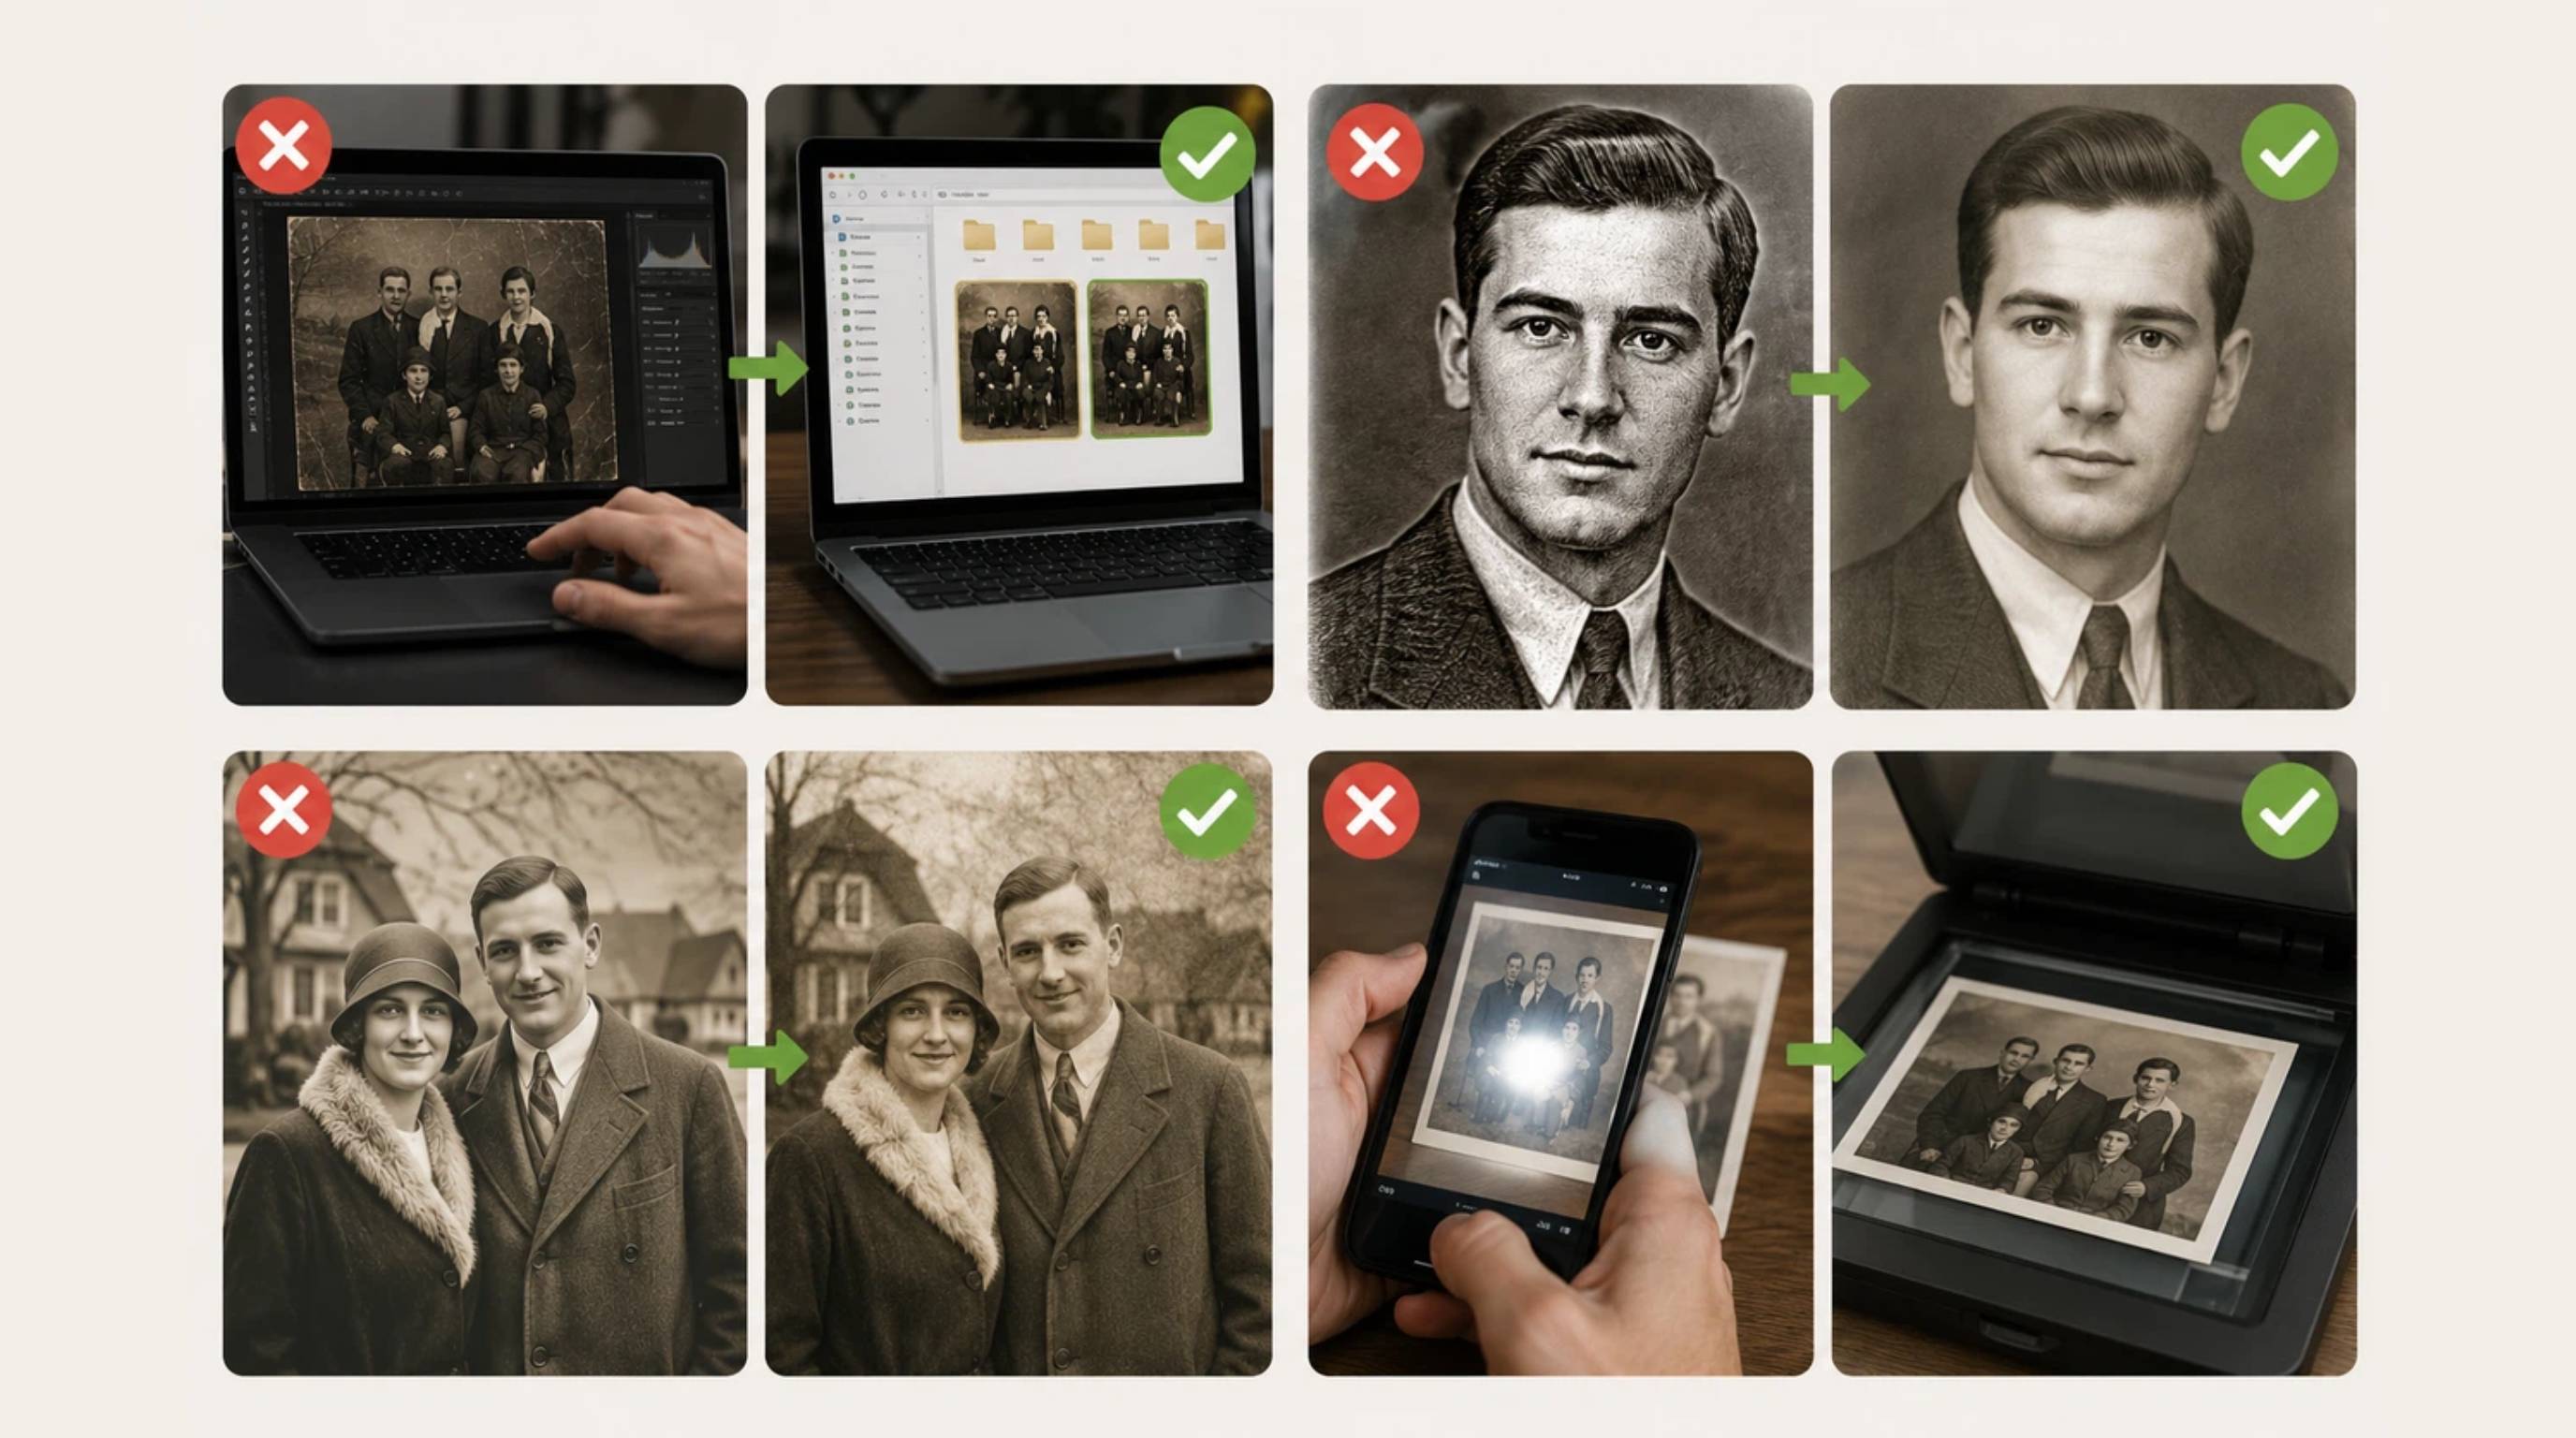
Editing the original photo directly
Never open the only digital scan available and click save after making edits. Always duplicate the file and work on a copy. Keep the raw scan in a separate, secure folder. If a mistake is made, or if restoration technology improves in five years, having that untouched raw data is crucial.
Over-sharpening faces and details
Pushing the clarity slider too far results in glowing halos around objects and plastic-looking skin on faces. Sharpening should always be the absolute last step, and it should be applied sparingly. If a vintage photo looks like a modern digital painting, the AI has simply been pushed too far.
Changing historical details too much
Aggressive AI tools will sometimes try to reinvent faces, clothing patterns, or background architecture that they cannot clearly recognize. Prioritize the accurate likeness of the subject over making the photo look traditionally "prettier."
Using low-quality scans
Taking a crooked photo of a glossy print with a smartphone under a desk lamp will create glare, shadows, and awful resolution. Bad phone glare and low DPI scanning limits the effectiveness of every single tool downstream. Always start with the highest quality flatbed scan possible.
Final thoughts
Old photo restoration is no longer a tedious process limited exclusively to professional editors. Start the process with a careful, high-resolution scan. Always repair the physical damage before touching the color grading or attempting any upscaling. Choose AI workflows for everyday fixes and rapid batch processing, but trust a professional archivist for severely damaged family heirlooms.
Once the photo is structurally sound, modern workflows can be used confidently to finalize the image. Tools like Designkit help seamlessly enhance clarity, refine contrast, and export photos in multiple sizes for sharing. Take your time, work on digital copies, and enjoy bringing those vintage memories back to life.
Frequently Asked Questions
What is the best way to restore old photos?
Can AI restore old photos automatically?
Yes, AI can handle many aspects of old photo restoration automatically, such as fixing faded colors, reducing grain, and upscaling low resolutions. However, for deep tears or severe structural damage, manual intervention is almost always required before applying AI.
How can I improve the quality of old photos?
To improve the quality, first ensure a clean digital scan is available. Then, use an AI image enhancer, like the one found in Designkit, to automatically clarify soft edges, reduce visual noise, and scale up the image resolution for modern screens.
Can old damaged photos be restored?
Yes, old damaged photos can almost always be restored digitally. Even if a physical print is torn in half or heavily water-stained, careful digital scanning and targeted inpainting can seamlessly reconstruct the missing pieces in the digital file.
Can AI restore faces in old photos accurately?
AI is highly capable of restoring faces by analyzing surrounding pixels and standard facial structures. However, these tools must be applied gently. Overusing AI face recovery can easily alter the person's true likeness, making them look like a completely different individual.
Where can I restore old photos professionally?
Professional digital archivists and photo restorers can be hired through specialized online labs, local photography studios, or freelance platforms. For photos requiring only digital enhancement, they can easily be processed at home using accessible AI platforms like Designkit.
How much does old photo restoration cost?
Professional manual restoration can cost anywhere from $35 to $200+ per photo, heavily depending on the severity of the damage. DIY AI software subscriptions generally range from $10 to $30 a month, making them a highly cost-effective alternative for moderate damage.
Can I restore black and white photos?
Yes, restoring old photos that are black and white follows the exact same structural repair process. Once the scratches and contrast are fixed, the image can be left in its original monochrome format, or AI colorization tools can be used to accurately add lifelike colors.
You May Also Like

7 Best Remove.bg Alternatives in 2026: Free & Paid Tools

Instagram Carousel: What It Is, How to Post & Create One

Nano Banana Prompts: 20+ Examples for Better AI Images

Ideogram AI Review 2026: Features, Pricing & Alternatives

Free Mac Photo Editor: 5 Tools Compared for Mac Users

How to Crop a Photo Into a Circle Online (Keep Quality)

How to Make an Image Transparent Online (AI Guide)

Pixlr Background Remover Review 2026: Features, Pricing & Alternatives

How to Fix Overexposed Photos: Recover Highlights Fast

OpenArt AI Review 2026: Features, Pricing & Alternatives

Best AI Headshot Generator: 9 Tools Compared for 2026

Best Stencil Maker Tools 2026: Turn Photos Into Stencils

Pixelbin Watermark Remover Review: Image & Video Results Tested

How to Make a Sticker on iPhone: Easy Step by Step Guide

Best AI Logo Generator in 2026: 10 Tools Compared

How to Turn a Photo Into a Cartoon: A Beginner-Friendly Guide

Landscape vs Portrait: Key Differences & Best Uses in 2026

How to Remove Watermark From Photo: AI, Photoshop & More

How to Fix Pixelated Photos: Photoshop, AI Tools & Tips

Bing Image Creator: How It Works, Features, Uses & Alternatives

How to Remove People from Photos with AI: A Step-by-Step Guide

How to Increase Image Resolution: AI, Photoshop & PPI

How to Add Text to a Photo: 8 Tips for Better Results

How to Fix Grainy Photos: Easy Ways to Clear Images

Creative Profile Picture Ideas for Every Style and Platform

Evoto AI Review 2026: Features, Pricing, Pros & Cons

Pixlr Photo Editor Review: Features, Pricing & Alternatives

Best AI Image Extender Tools in 2026: Expand Photos with AI

How to Make a Collage on iPhone: Easy Guide for 2026

How to Sharpen an Image in Photoshop (Smart Sharpen and Unsharp Mask)

Best Image Background Remover Tools in 2026: AI Tools Compared

How to Make Transparent Background in Paint: Step-by-Step Guide

How to Resize an Image: Best Methods, Tools & Quality Tips

Best AI Image Generator Tools in 2026: Top AI Platforms Compared

Remove.bg Review 2026: Features, Pricing & Is It Worth It?

Luminar Neo Photo Editor Review 2026: AI Features, Price & Pros

How to Post Multiple Photos on Instagram (2026 Guide)

25 Facebook Cover Photo Ideas for Personal & Business Pages

What Is a PFP? Meaning, Examples & How to Create One

Can You Edit an Instagram Post After Posting?

11 Best Canva Alternatives in 2026 for AI Design & Marketing

8 Best Midjourney Alternatives in 2026: Features, Pricing & Comparison

How to Restore Old Photos: AI Tools, Tips & Best Methods

Pixelcut AI Review 2026: Features, Pricing, Pros, Cons & Alternatives

How to Apply Watermark to Photos: Methods, Tips & AI Tools

How to Remove a Background in Illustrator: 4 Easy Methods

How to Change Background Color on Instagram Story (Easy Guide)

8 Best AI Poster Generators in 2026: Create Posters Faster with AI

10 Best AI Image Enhancers in 2026: Tested & Compared

10 Best AI Image Editors in 2026: Features, Pricing & Comparison

7 Best AI Background Changer in 2026: Remove & Replace Photo Backgrounds

Luminar Neo vs Lightroom: Features, Pricing & Comparison 2026

Kittl Review 2026: Is It Worth It? Features & Pricing

How to Make a Blurry Image Clear: 5 AI & Manual Ways

How to Remove Background on iPhone: 5 Easy Methods (2026)

Photoroom Background Remover Review 2026: Features & Alternatives

How to Remove Background in Canva: A Step-by-Step Guide

How to Remove Background in GIMP: Beginner-Friendly Guide

Funny Dog Memes to Try: Doge Meaning and 10 Original Ideas

Back to School Checklist 2026: Supplies, Timeline, and Planning

Recraft AI Review 2026: Features, Pricing, Pros, Cons & Alternatives

How to Make an Image Transparent in Google Slides: Opacity & Background Removal

VanceAI Photo Enhancer Review: Features, Pricing & Alternatives in 2026

What Does Emojify Mean? Text, Photos, & Emoji Art Explained

Top 8 Online Background Removers for Ecommerce Photos (2026)

How to Remove Background in Photoshop: 7 Easy Methods

6 Best AI Image Upscalers 2026: Tools Tested & Compared

Project Indigo Review: Is It Better Than iPhone Camera?

How Big Is an 8x10 Photo? Size, Pixels & Frame Guide

How Big Is a 4x6 Photo? Dimensions, Pixels & Printing Tips

Picsart AI Review: Features, Pricing, Pros, Cons & Alternatives

Lovart AI Review: AI Design Agent Features, Pricing & Alternatives

Fotor AI Image Generator Review: Features, Pricing & Alternatives

How to Add Emoji to Photo Online for Free

Emoji Wallpaper Ideas & How to Make One Online (2026)

Minimalist Poster Design: How to Make a Clean Poster (2026)

How to Make a Custom Poster That Is Ready to Print

Instagram Image Size Guide 2026: Post, Reel, Story & Carousel Specs

LinkedIn Image Size Guide: Profile, Post & Banner Dimensions

YouTube Profile Image Size: Best Dimensions & Safe Area 2026

How to Edit Amazon Product Photos That Boost Sales Fast
Restore Your Old Photos with AI-Powered Enhancement
Enhance faded photos with sharper details, richer colors, and improved clarity using AI tools built for restoration and sharing.
