
How to Make an Image Transparent Without Editing Skills
Remove unwanted backgrounds and create transparent images with simple AI tools. Learn the best methods for clean cutouts, better quality, and flexible designs.

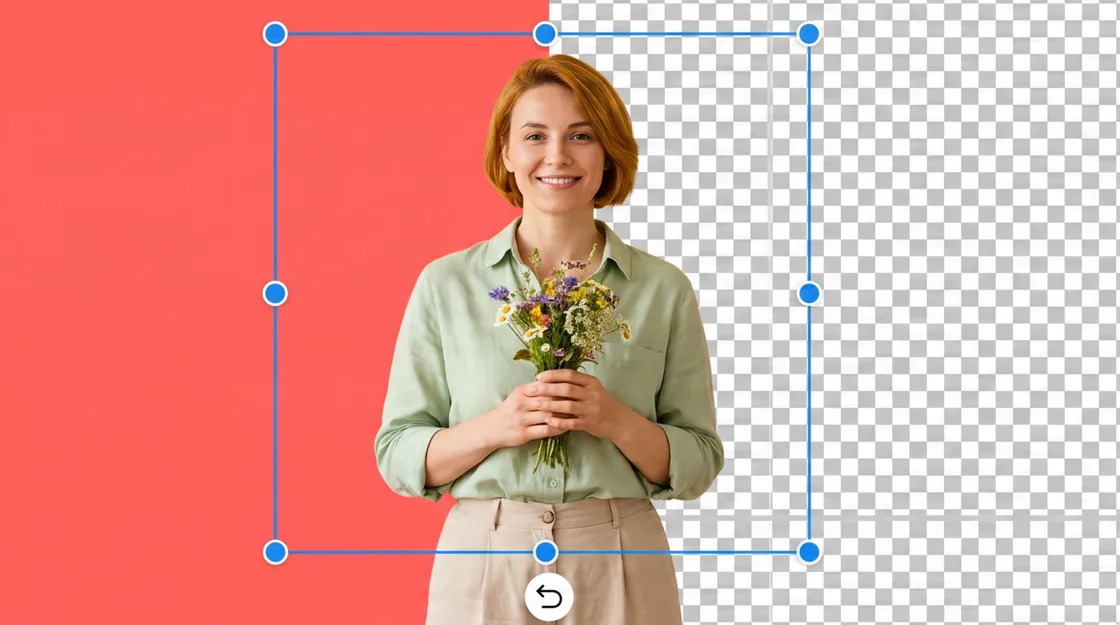
Creating a transparent image lets you remove an unwanted background while keeping the main subject visible. This is useful for product photos, logos, marketing graphics, and other visuals that need to work across different layouts.
If you're learning how to make a photo transparent, online AI tools can make the process much easier. This guide covers background removal, image quality, file formats, selective transparency, and how Designkit can help you prepare transparent product visuals.
Key Takeaways
-
Understand how transparent backgrounds differ from image opacity.
-
Learn how to make an image transparent online with AI-powered tools.
-
Preserve image quality by starting with a good source and checking difficult edges.
-
Choose PNG or another format that supports transparent areas.
-
Learn how to make selected areas of an image transparent.
-
Use Designkit to prepare transparent product visuals for e-commerce.
What is a transparent image?
In a transparent image, there are some parts that do not have a colored background; the background shows through where the parts lack a colored background. It becomes easy to use the subject in various applications.
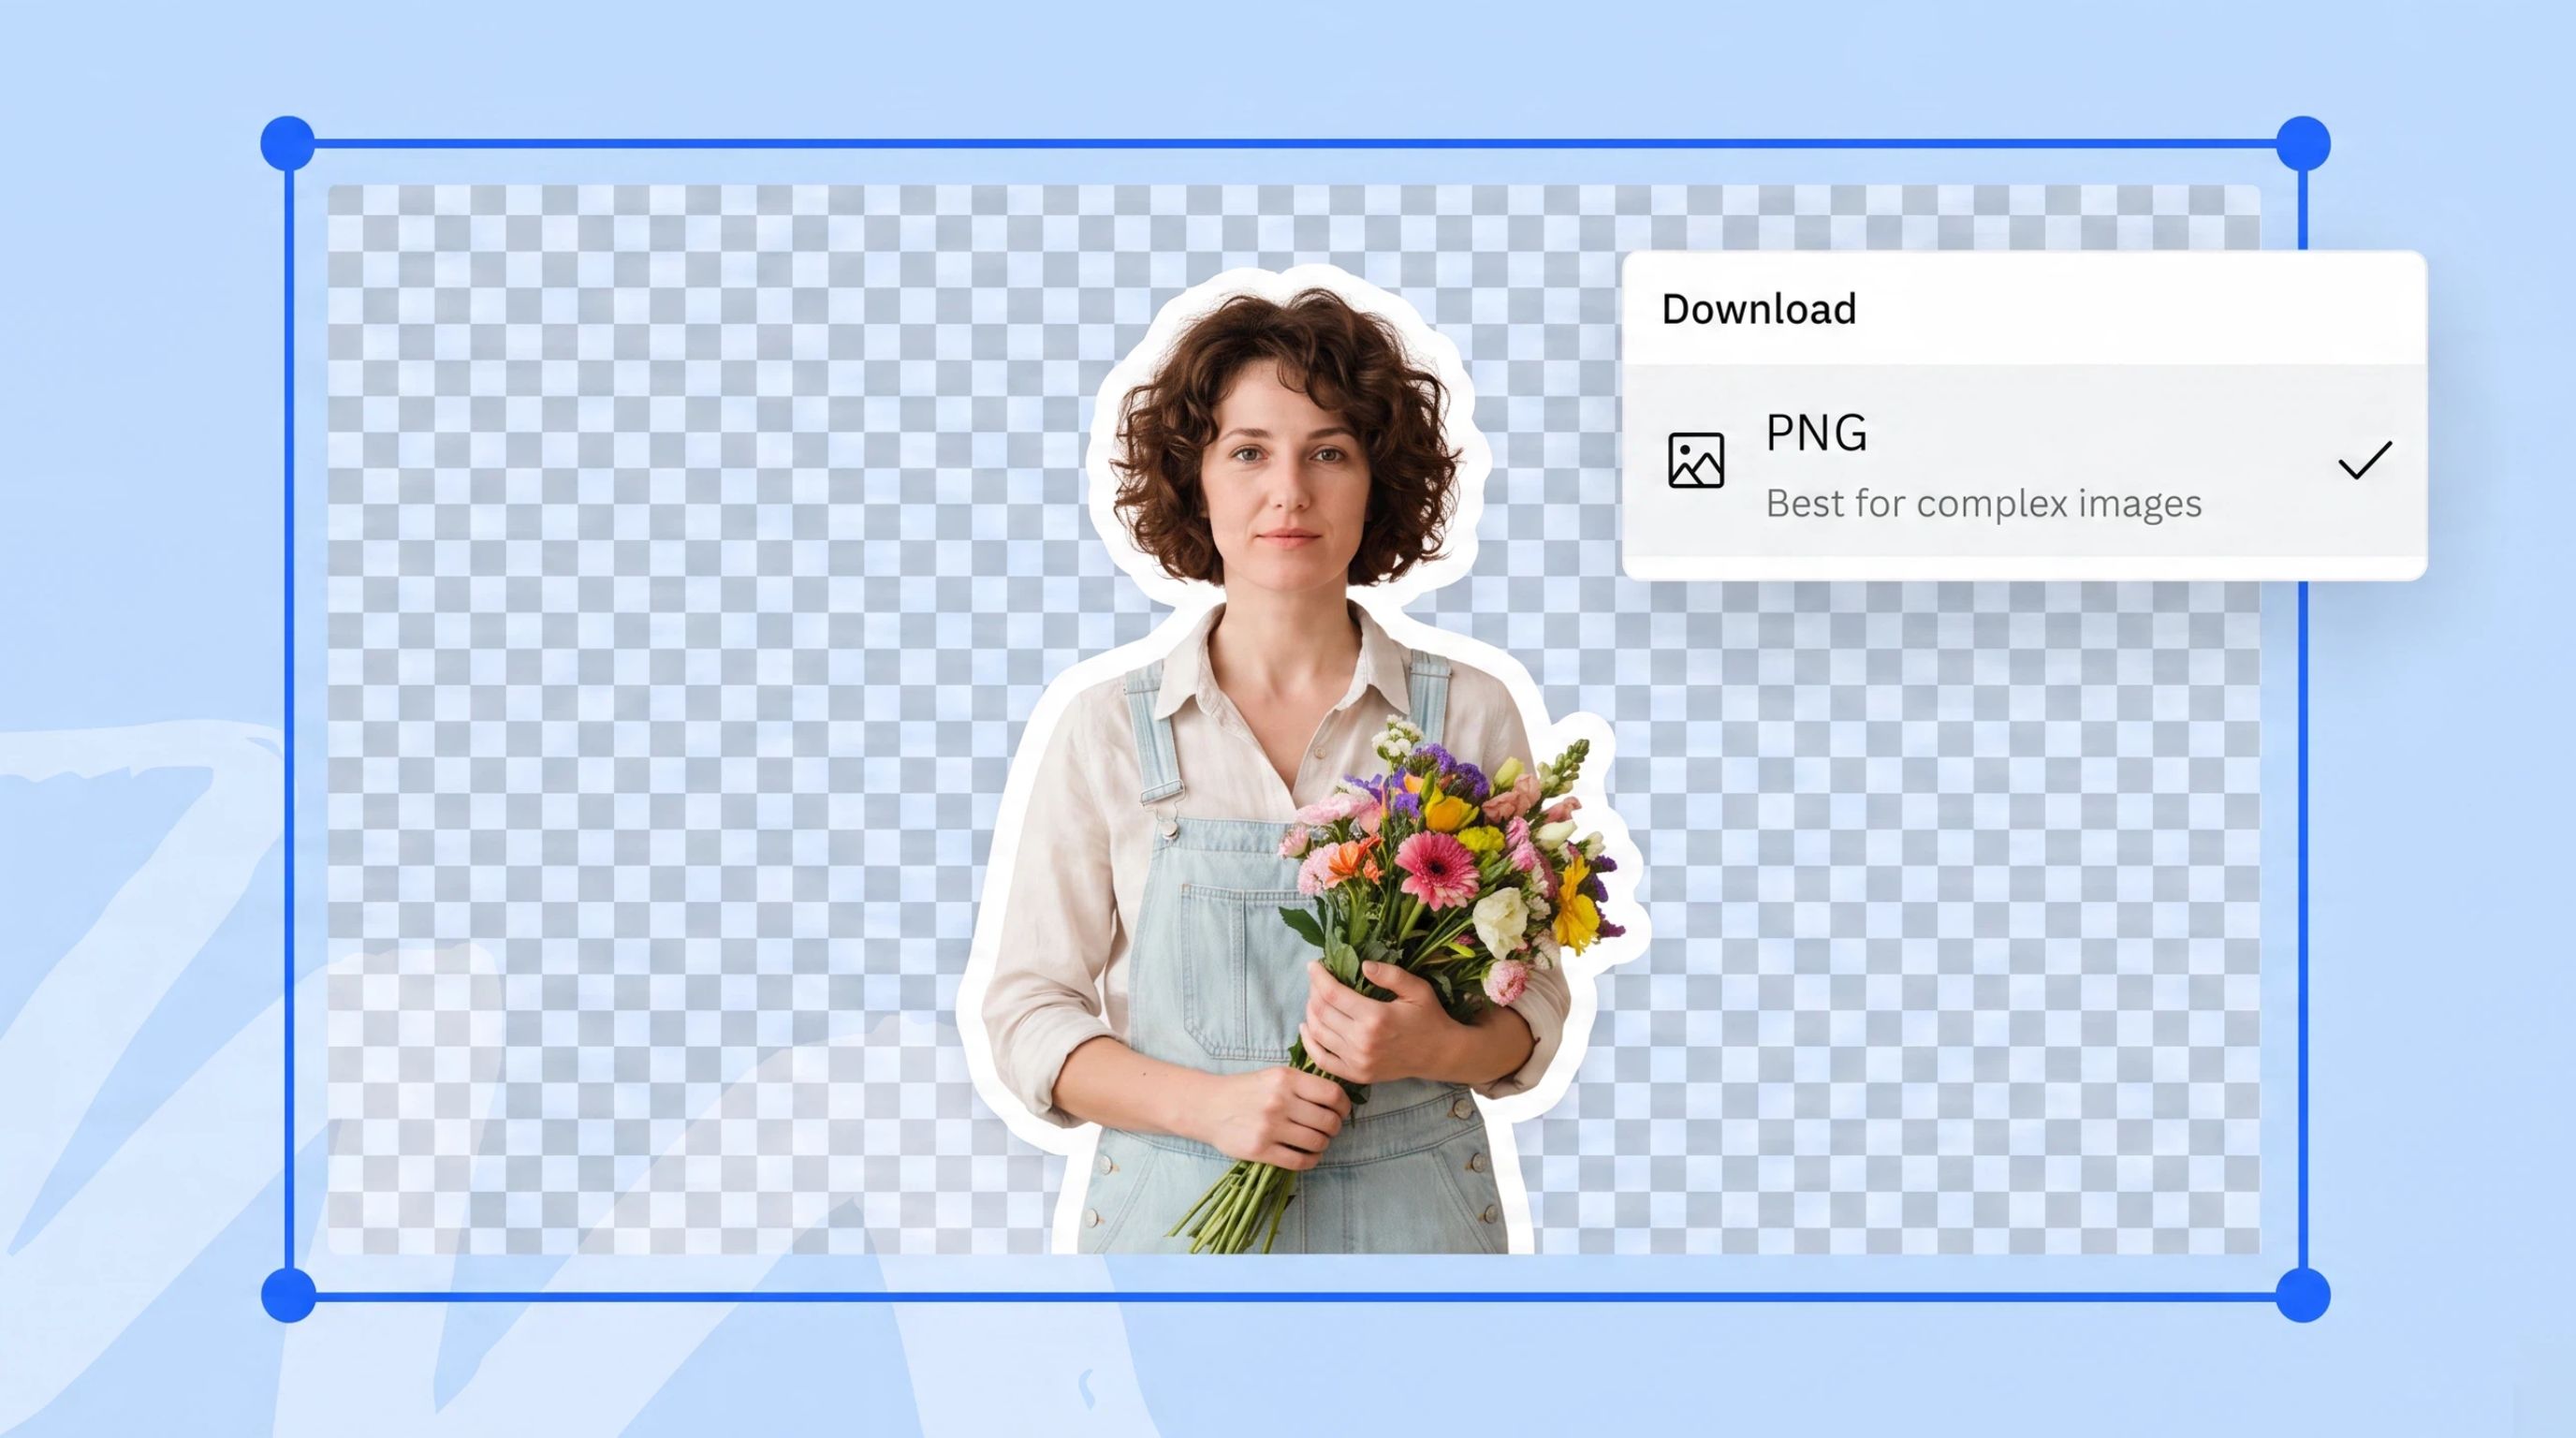
How transparency works in images
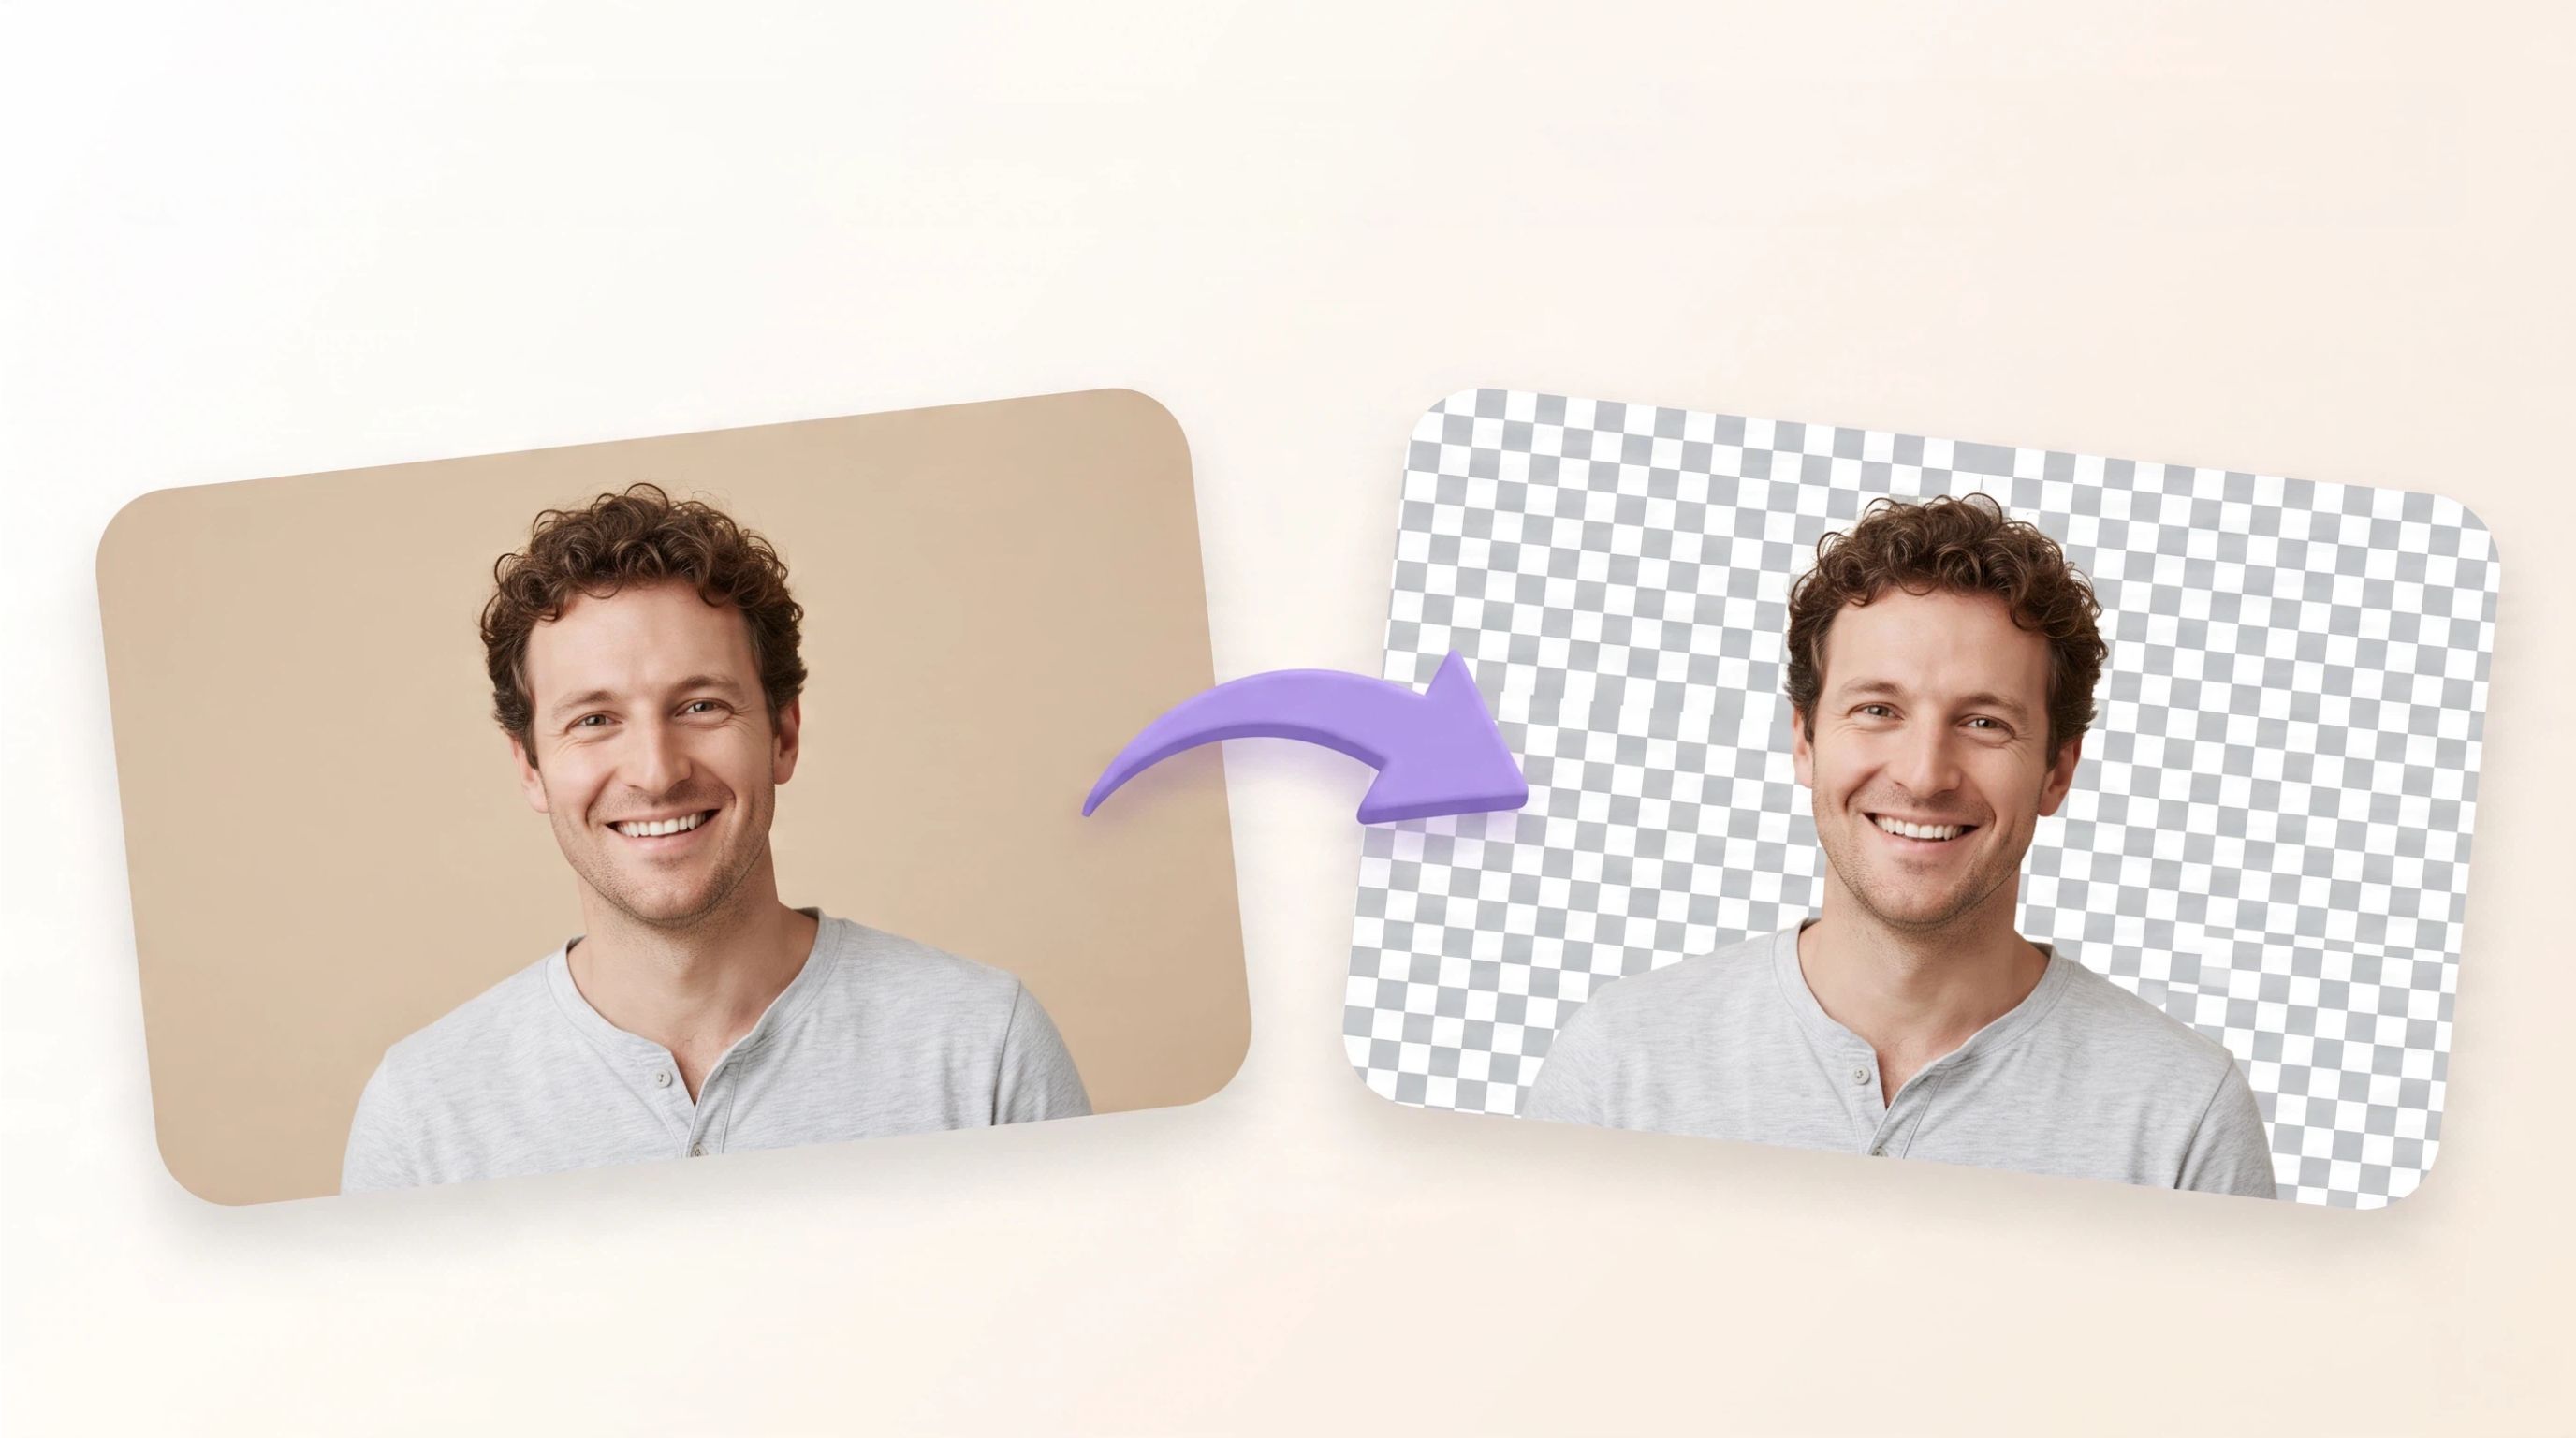
When you remove a background from a product photo, the product remains visible while the surrounding area becomes transparent. You can then place the product in a new background without bringing the original setting along with it. For example, a product photographed on a white table can become an isolated product cutout. That cutout can then be placed over a lifestyle scene, promotional graphic, or another e-commerce design.
Image Opacity vs Transparent background
A transparent background refers to the removal or making transparent of particular areas of the image. The subject matter will still be completely visible.
On the other hand, opacity is when you make the whole image or particular layers more translucent. This does not include any removal of the background. You require a background remover if you wish to highlight your product or object.
For reusable product images, logos, or isolated objects, a transparent background is usually the better choice because you can place the subject over different designs. Opacity works better when you want to make an image or layer lighter while keeping its original background visible.
How to make an image transparent without losing quality
When creating a transparent image, there is no guarantee that its quality will decrease because everything depends on the initial file, the process of its manipulation, and the format. Choose a high-quality image initially, be careful with its borders, and use a suitable format.
Start with a high-quality original
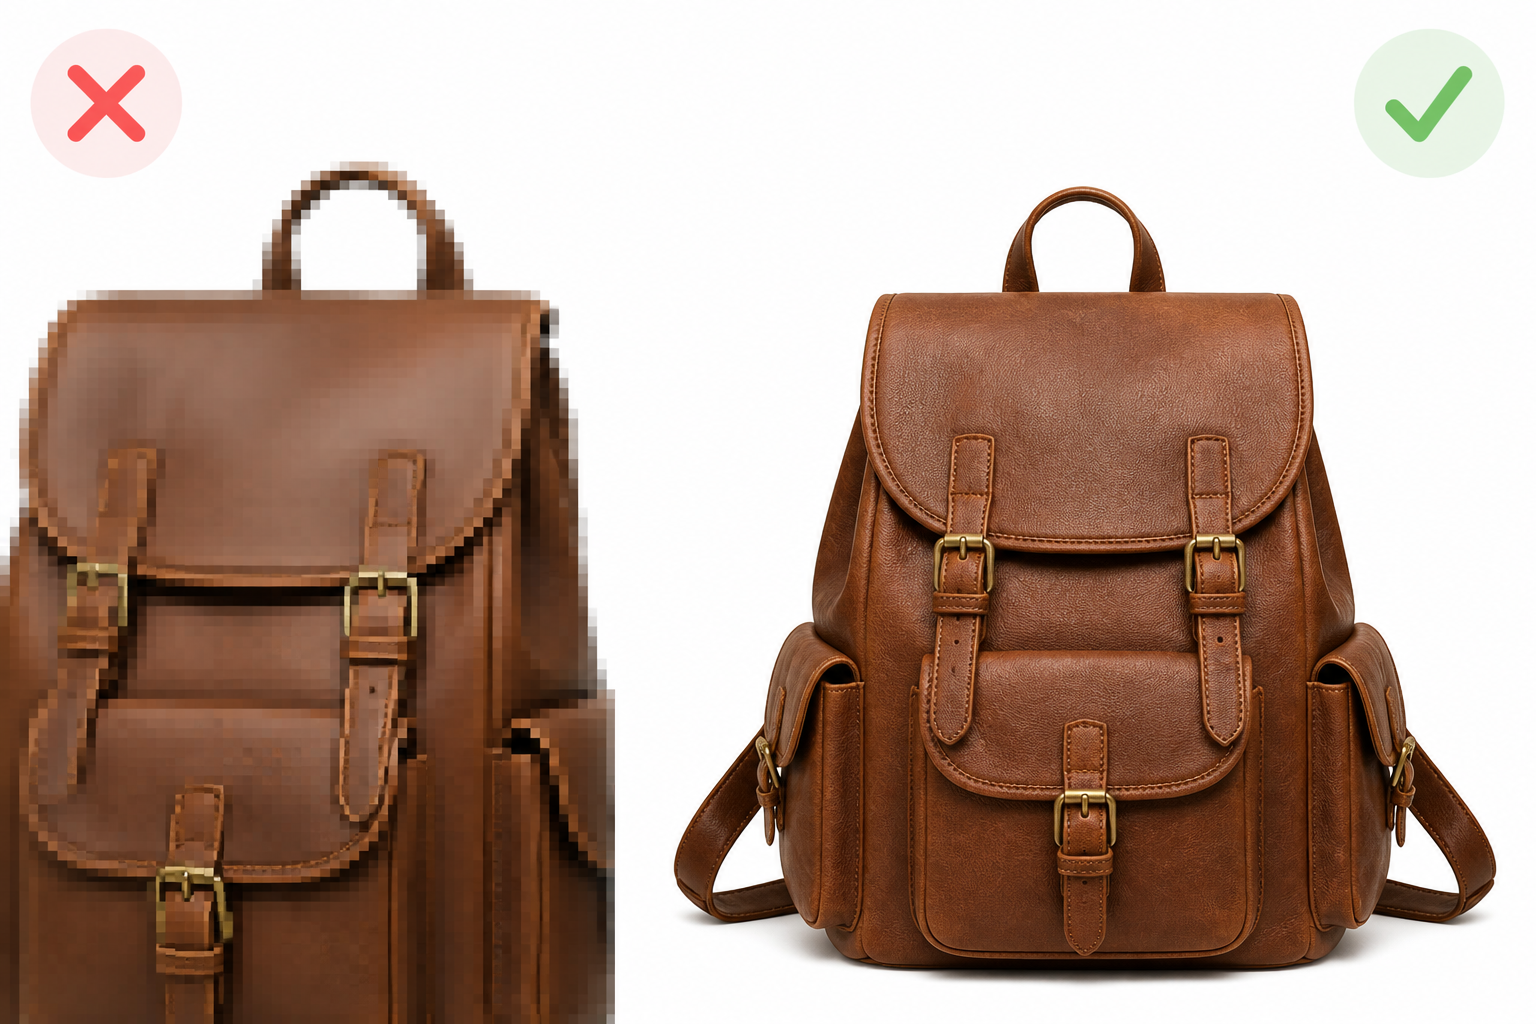
You should always start with your original picture, or the best quality copy that you have. The best-quality original will allow you to get more detail around product edges, hair, fine lines, and textures.
Avoid excessive cropping and compression
Do not crop and compress your image excessively before converting it into a transparent image. These modifications may delete important data from your image and create artifacts, which become visible around the subject.
Refine complex edges carefully
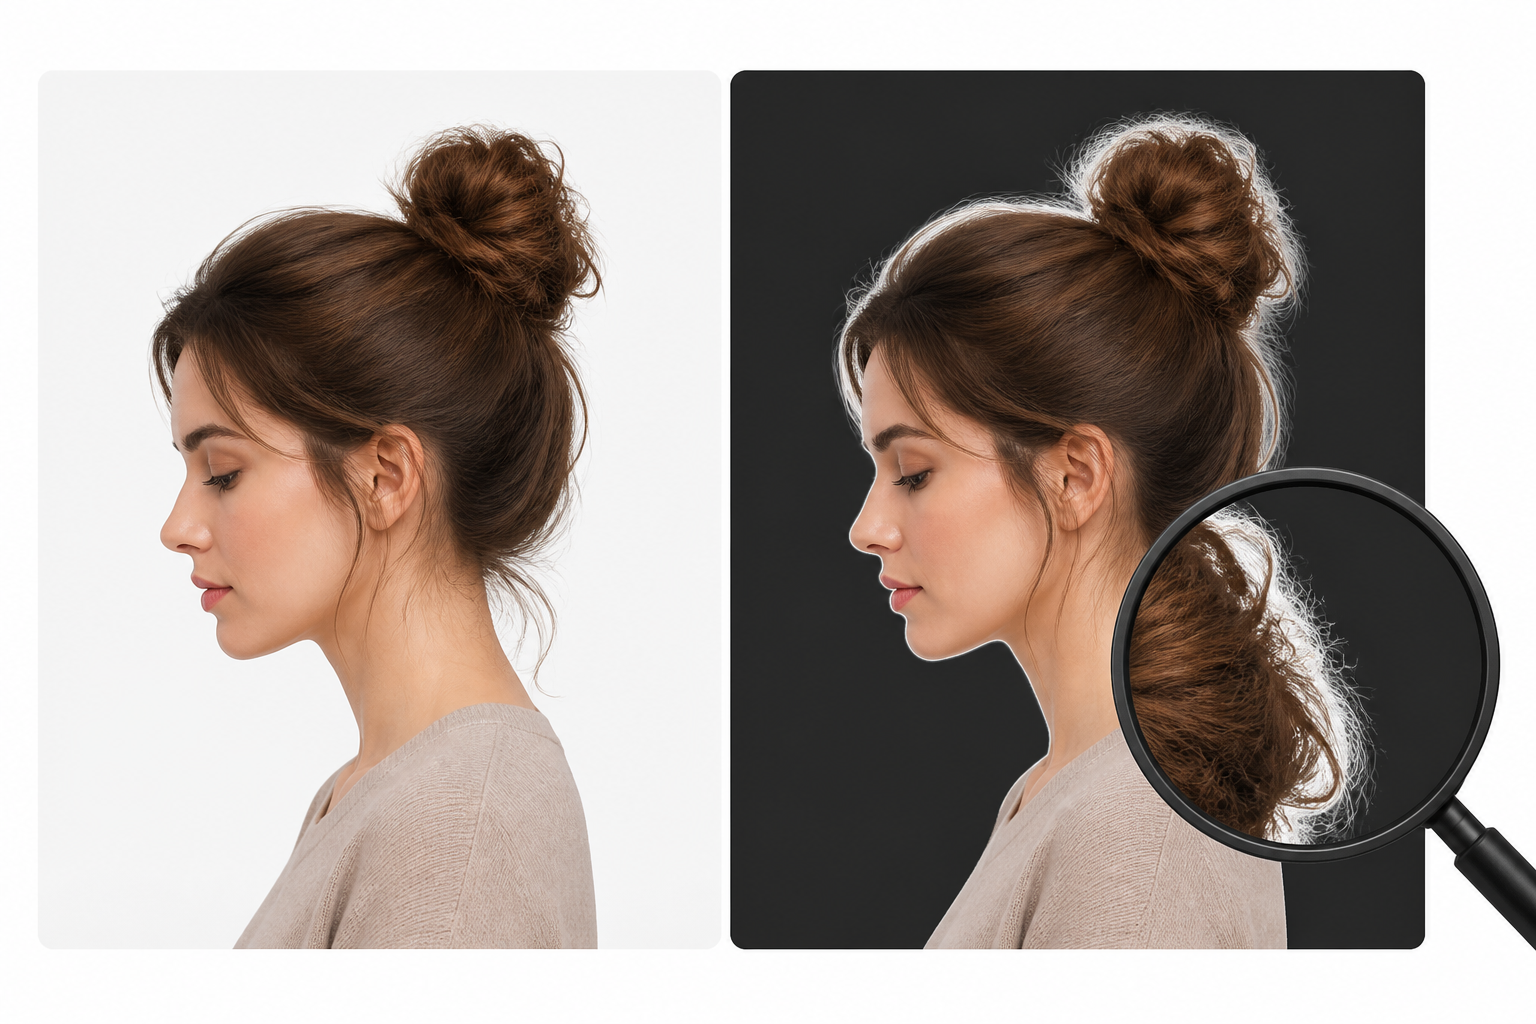
Be very careful while dealing with complicated edges like hair, fur, straps, curved edges of products, and other things with fine textures. Make sure that no part of the background is left behind, and no part of the subject is missing.
Choose the right file format for transparency
The file format you choose when exporting determines whether transparent areas are preserved.
-
PNG: A common choice when you need to preserve transparent areas.
-
JPG/JPEG: Does not support transparency, so it is not suitable when the final image needs a transparent background.
-
WebP: Can support transparency and may be useful when the intended platform or workflow supports it.
Changing the extension of the JPG file to PNG will not produce any transparency. This is because the background has to be taken out of the picture or rendered transparent before exporting into another format.
Preview the image on different backgrounds
It is recommended that you preview the image before using it. It can be seen on a bright background as well as on a dark background. This will help to identify any white halos, sharp edges, and also some remnants of the original background colors.
How to make an image transparent online
Making an image transparent online is a simple option when you want to remove an unwanted background without learning complex editing software. An online transparent image maker can identify the main subject, remove the surrounding background, and leave you with a reusable cutout. If you need to make image transparent quickly, an AI background-removal tool can handle most of the process automatically.
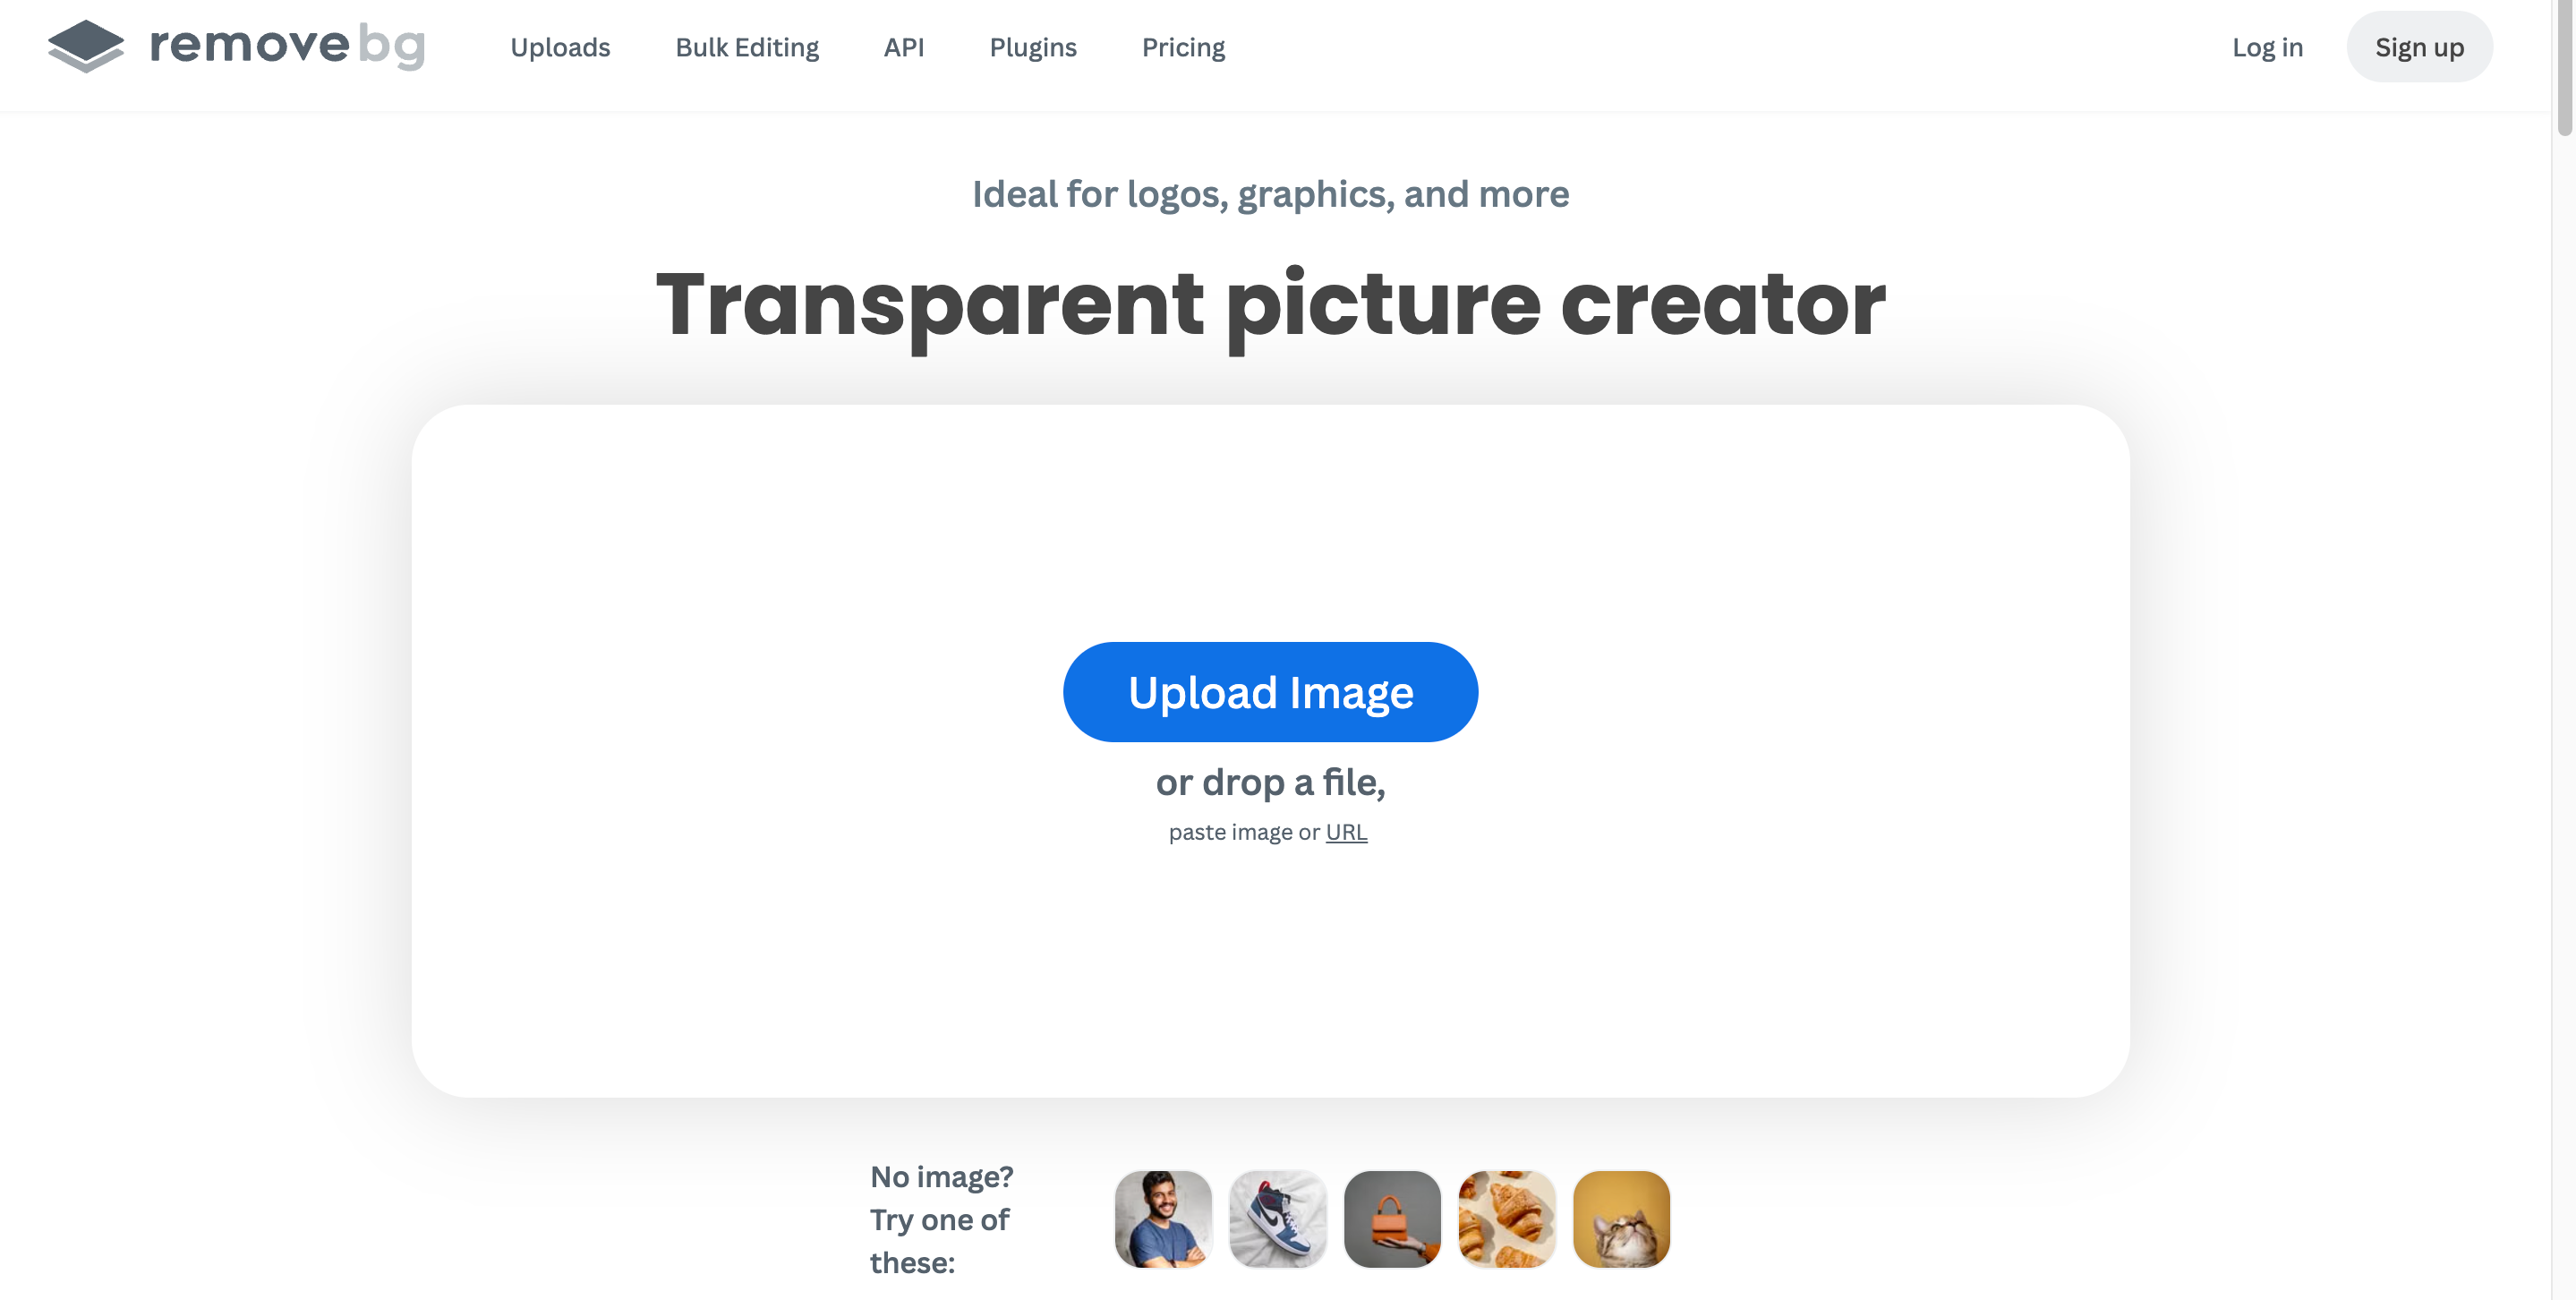
Upload your image
It is advised to choose the image that has the highest resolution and upload it to the website. The presence of a clearly defined subject and strong contrast with the background may help to achieve better results.
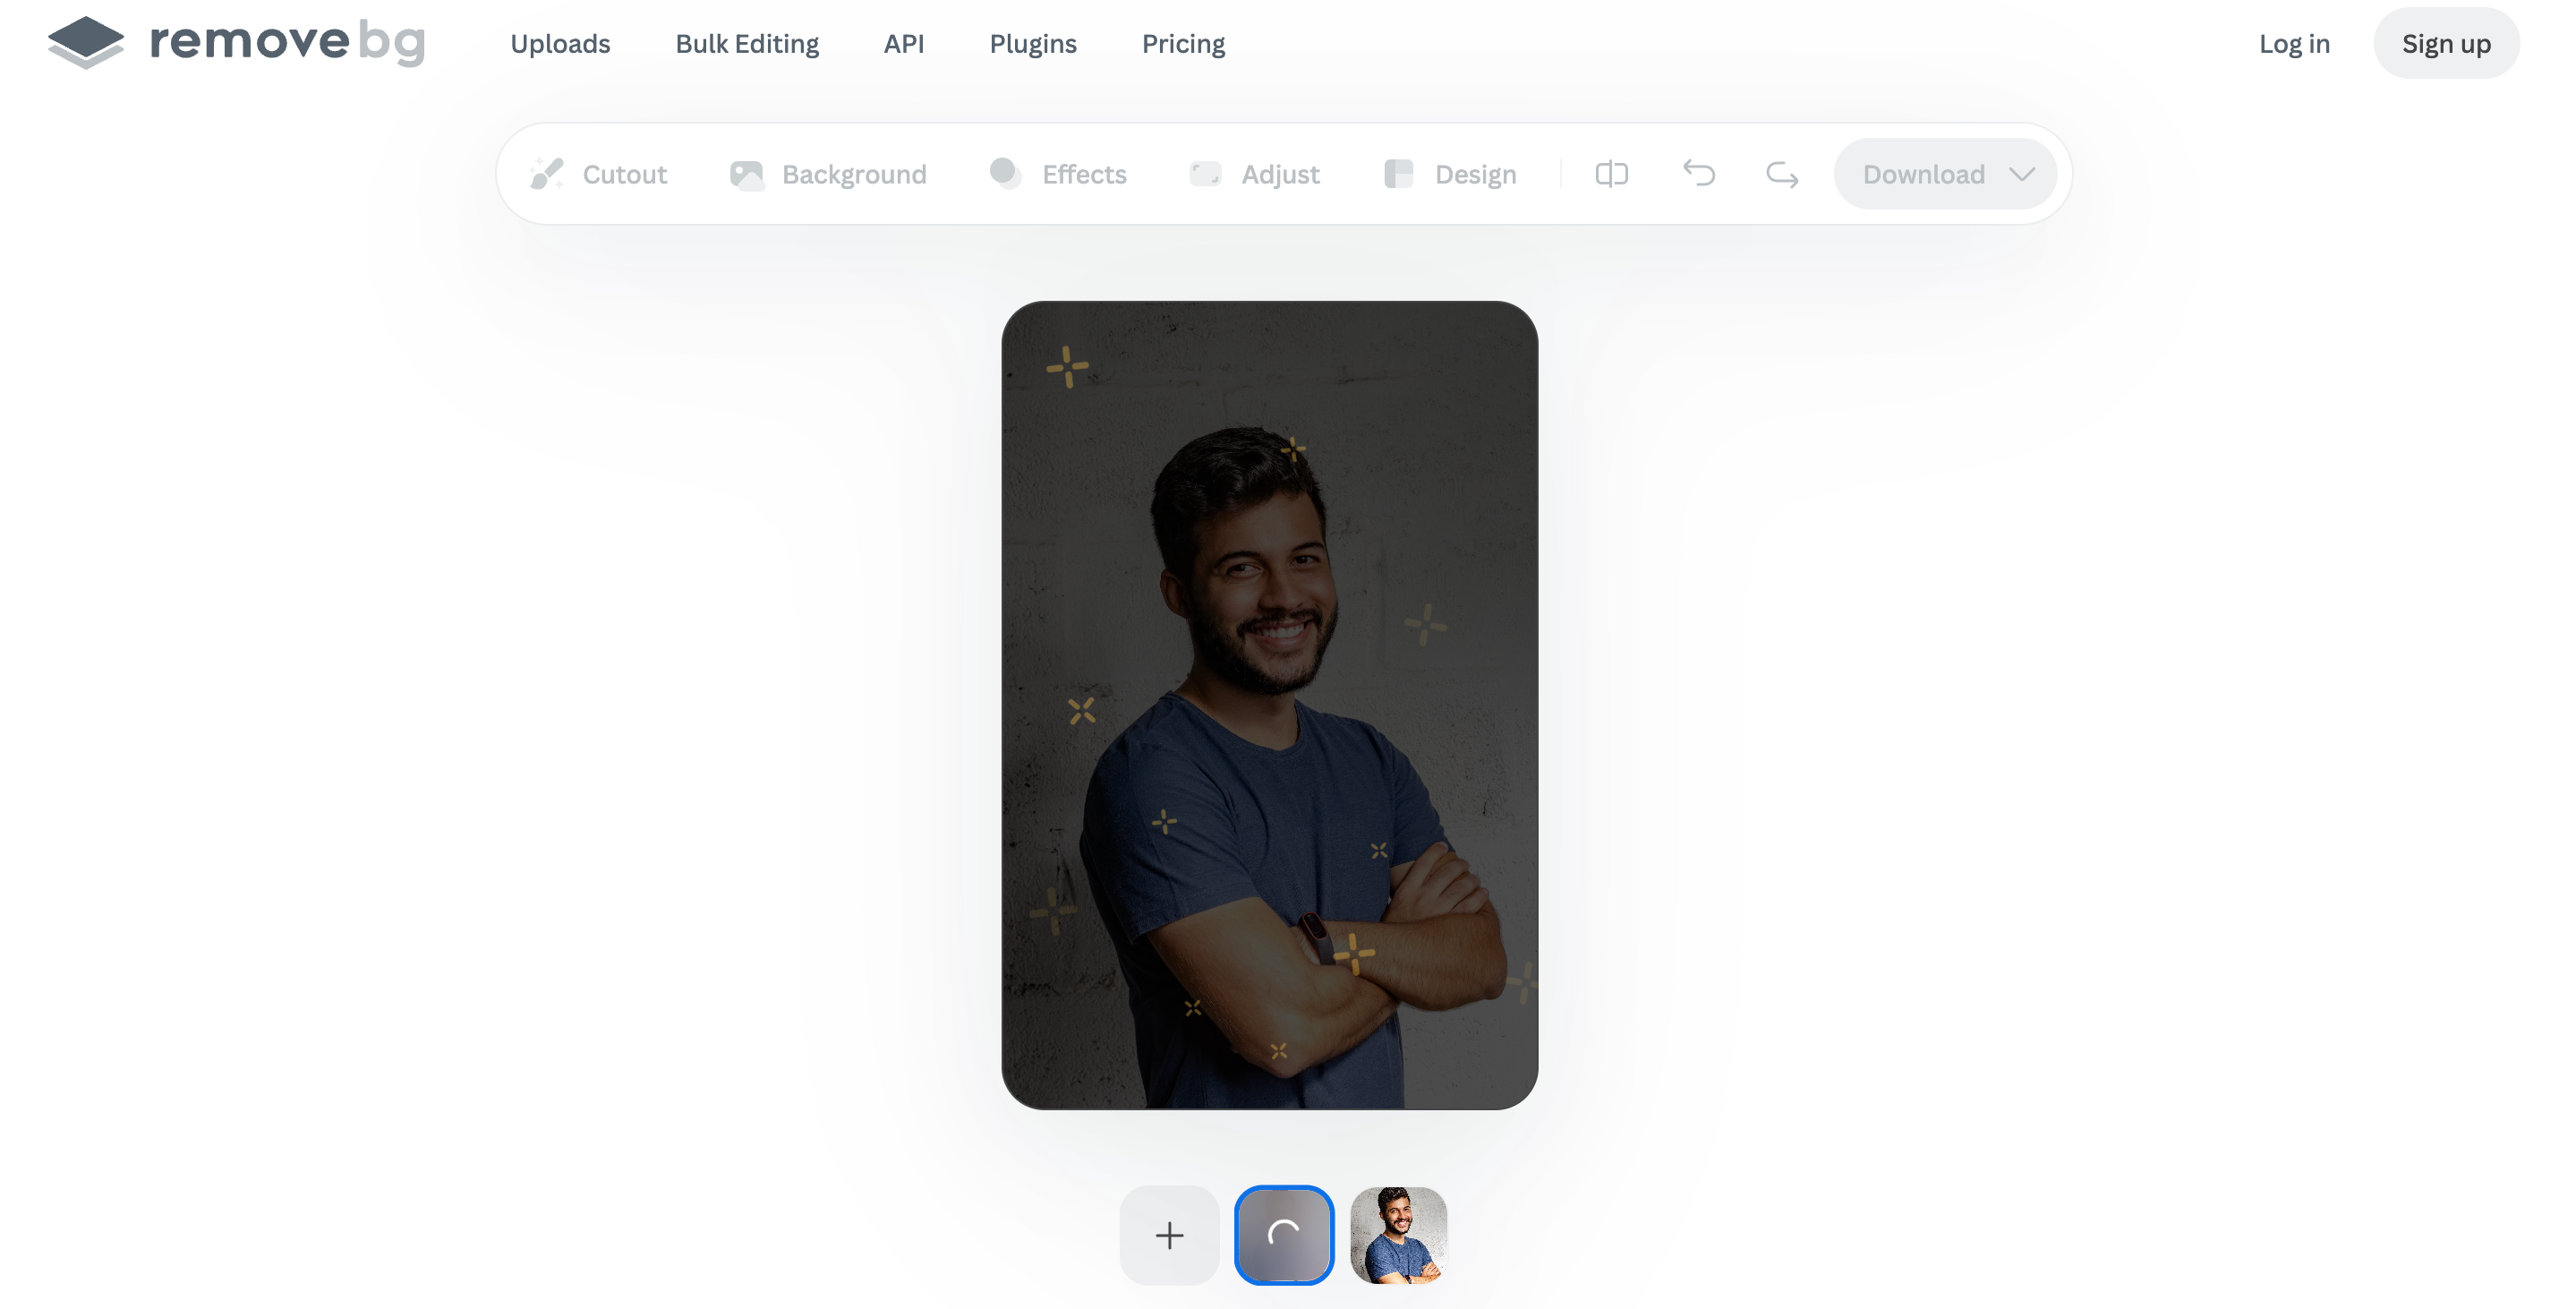
Remove the background automatically
Use the tool's background-removal feature to separate the main subject from its surroundings. AI-powered tools can handle much of this process automatically, but detailed images may still require some refinement around edges. If your goal is to make the image background transparent, check the result carefully before moving to the export step.
Review and refine the transparent result
Check the result closely before downloading it. Look at product contours, hair, thin objects, shadows, and other fine details to make sure the subject has not been cut off and unwanted background pixels have not been left behind.
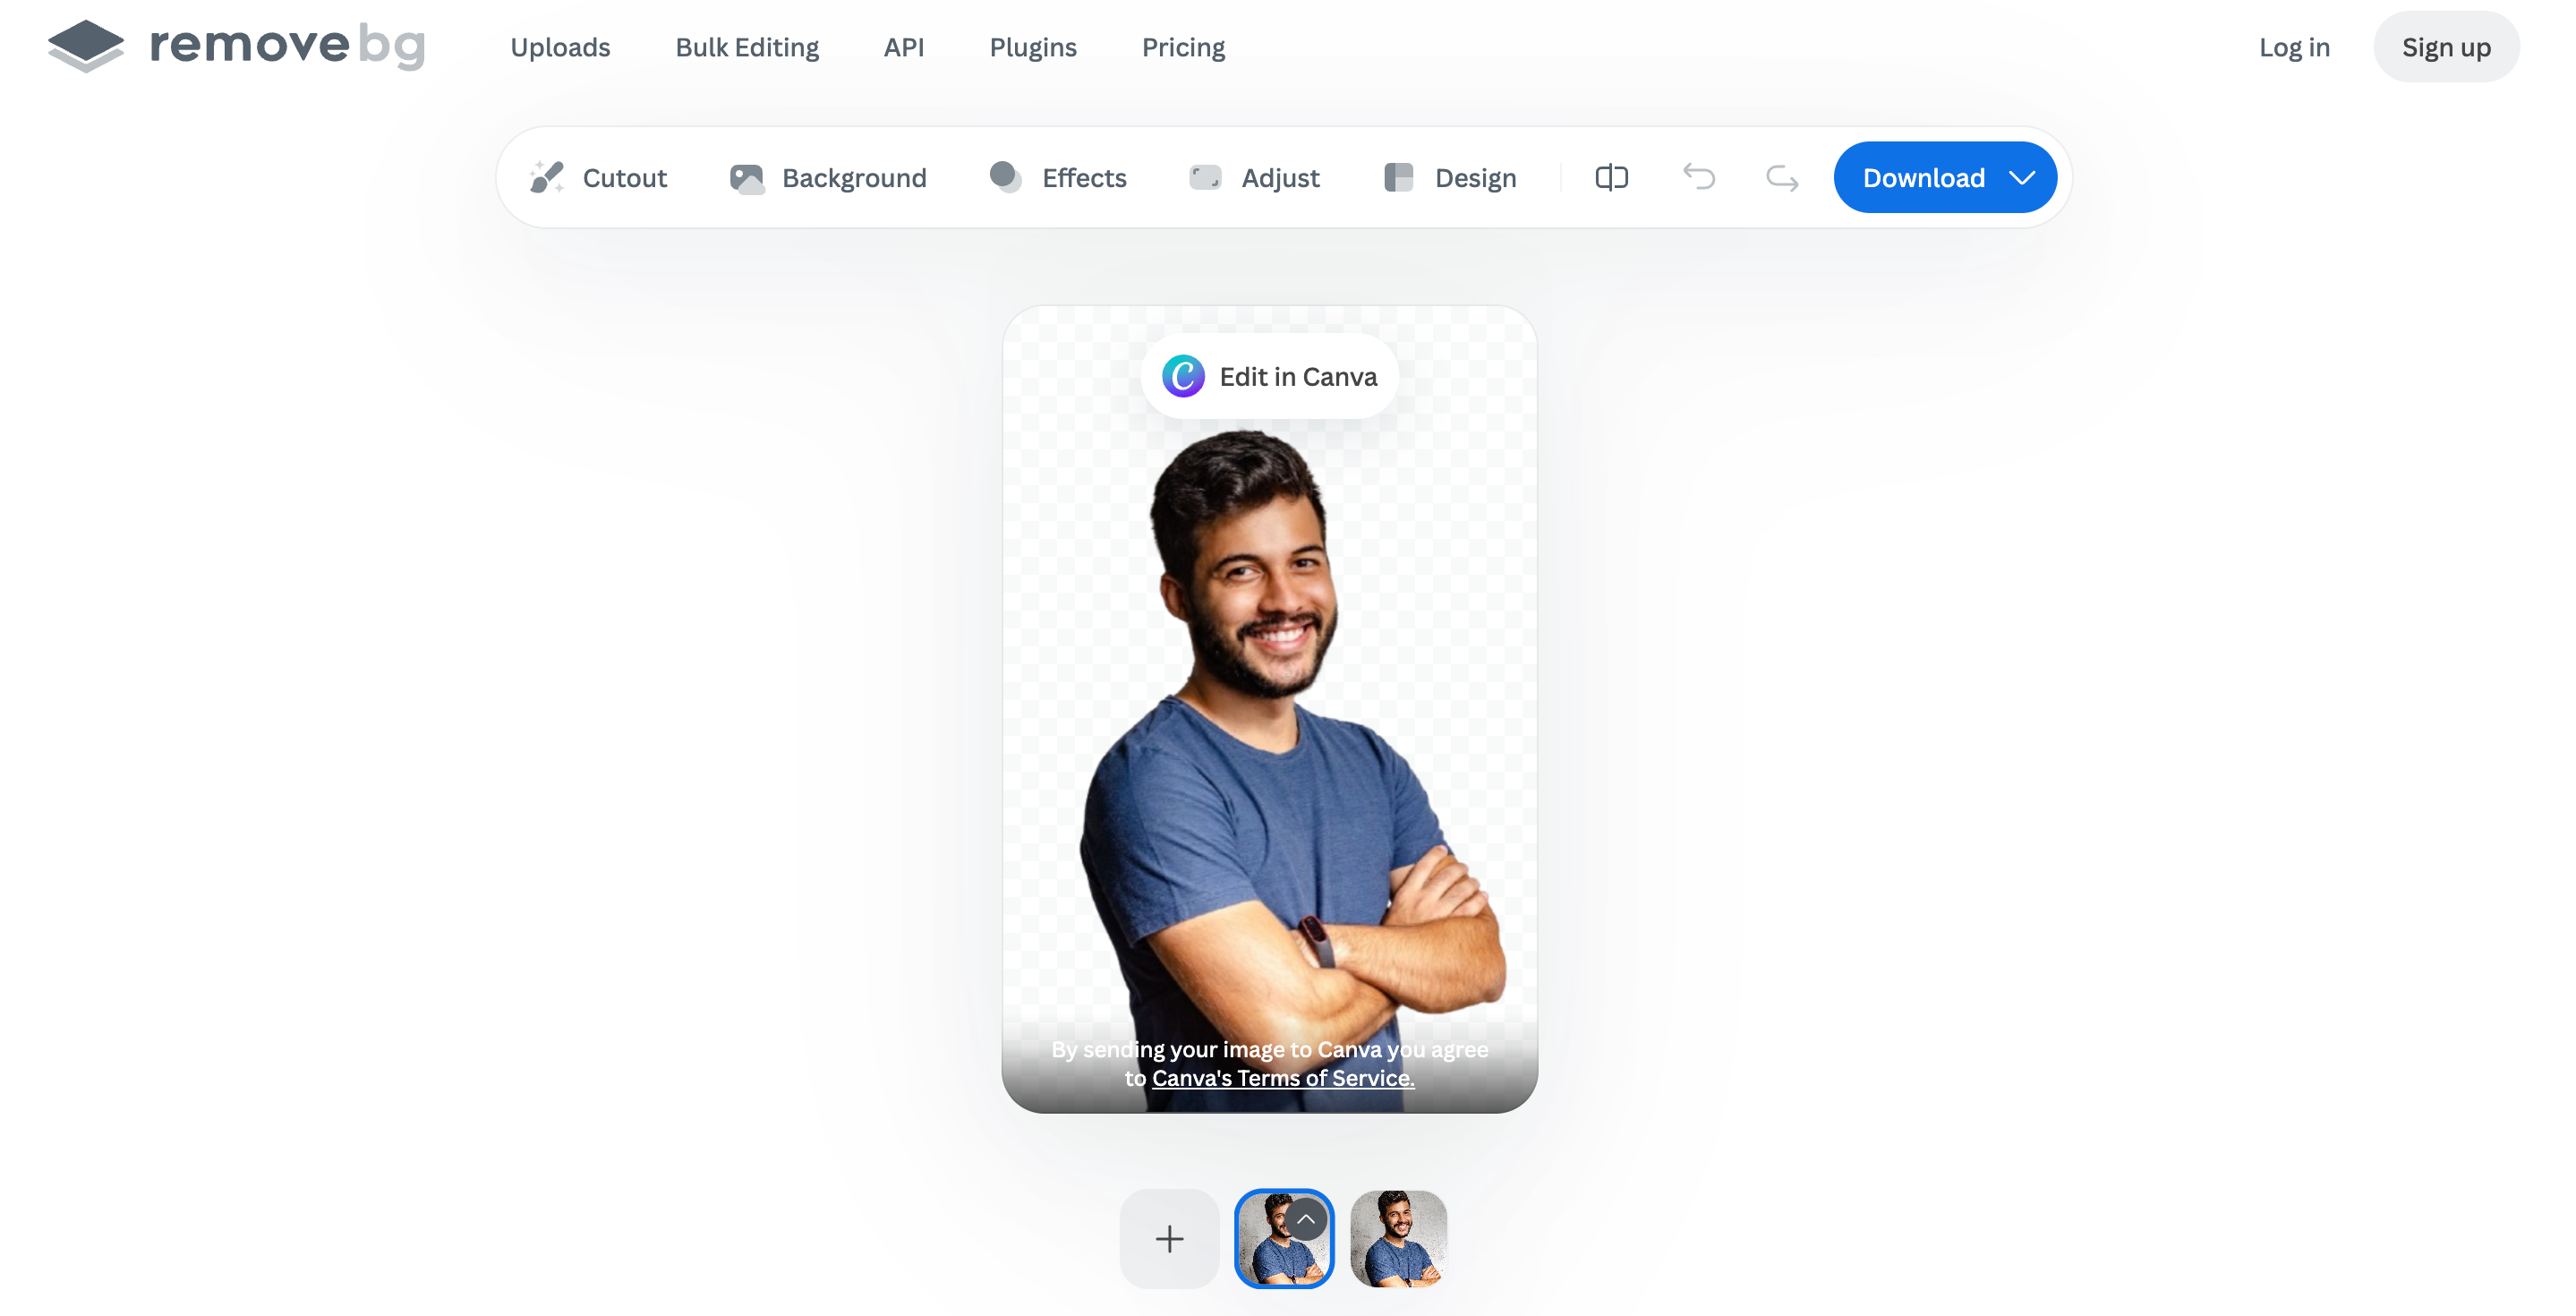
Download the transparent image
Once the cutout looks clean, export it in a format that supports transparency, such as PNG. Keep the original file separately so you can create another version later without losing the source image.
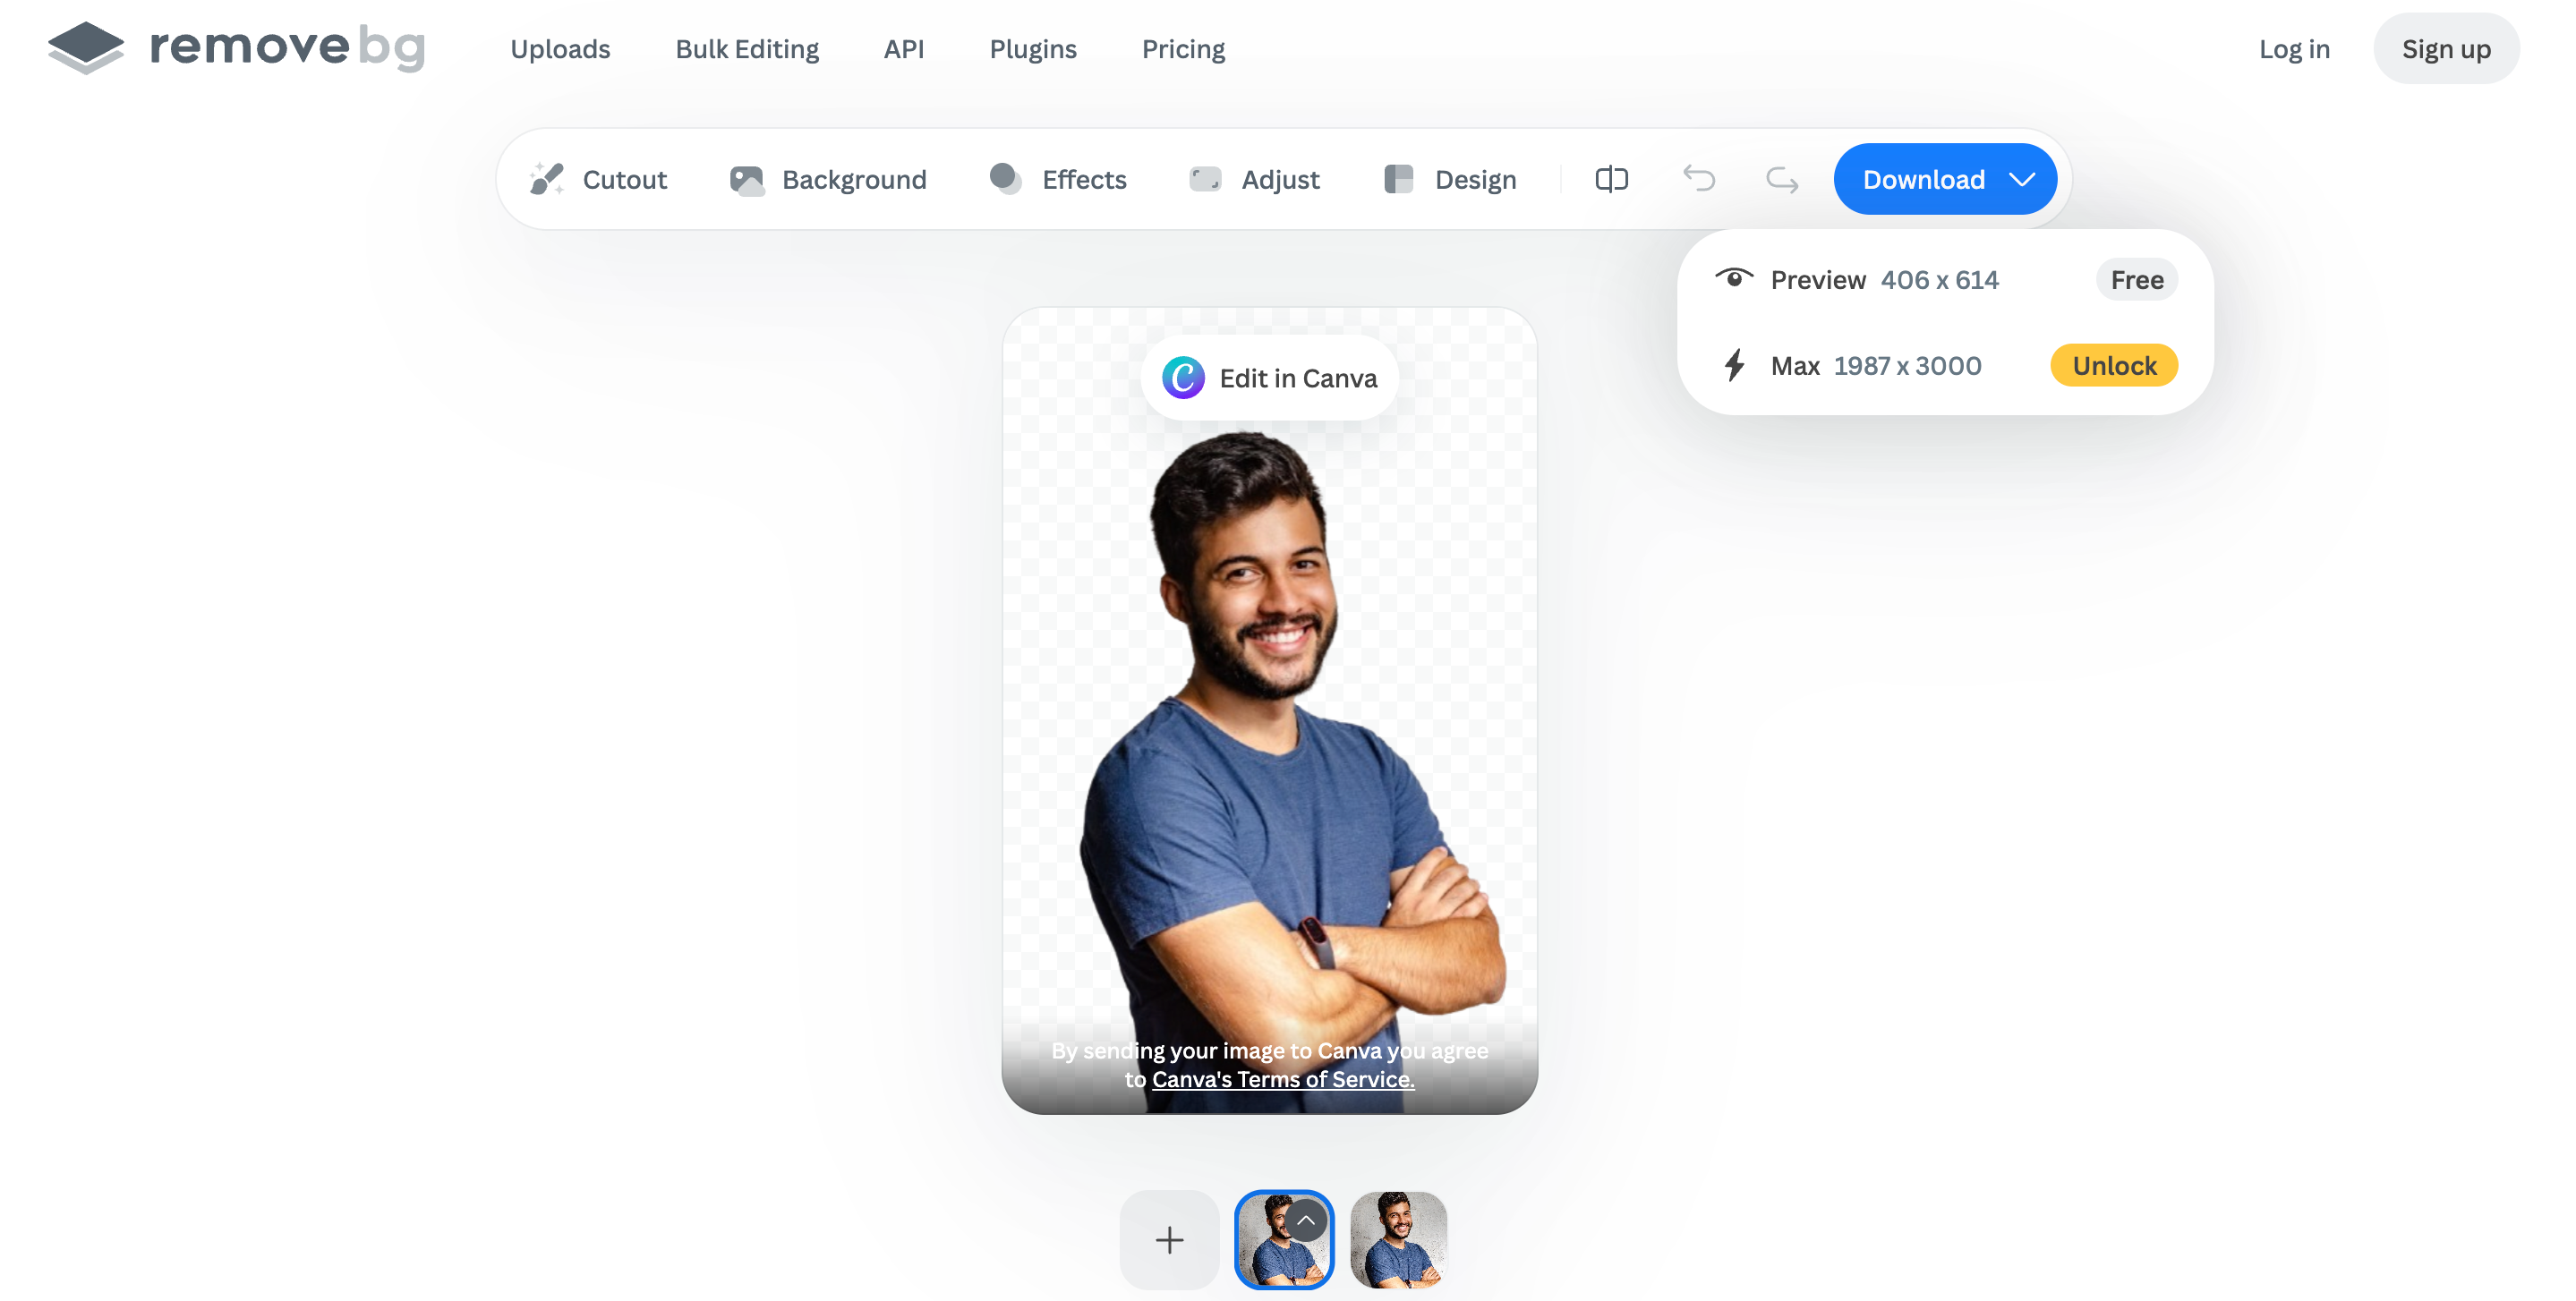
How to make part of an image transparent
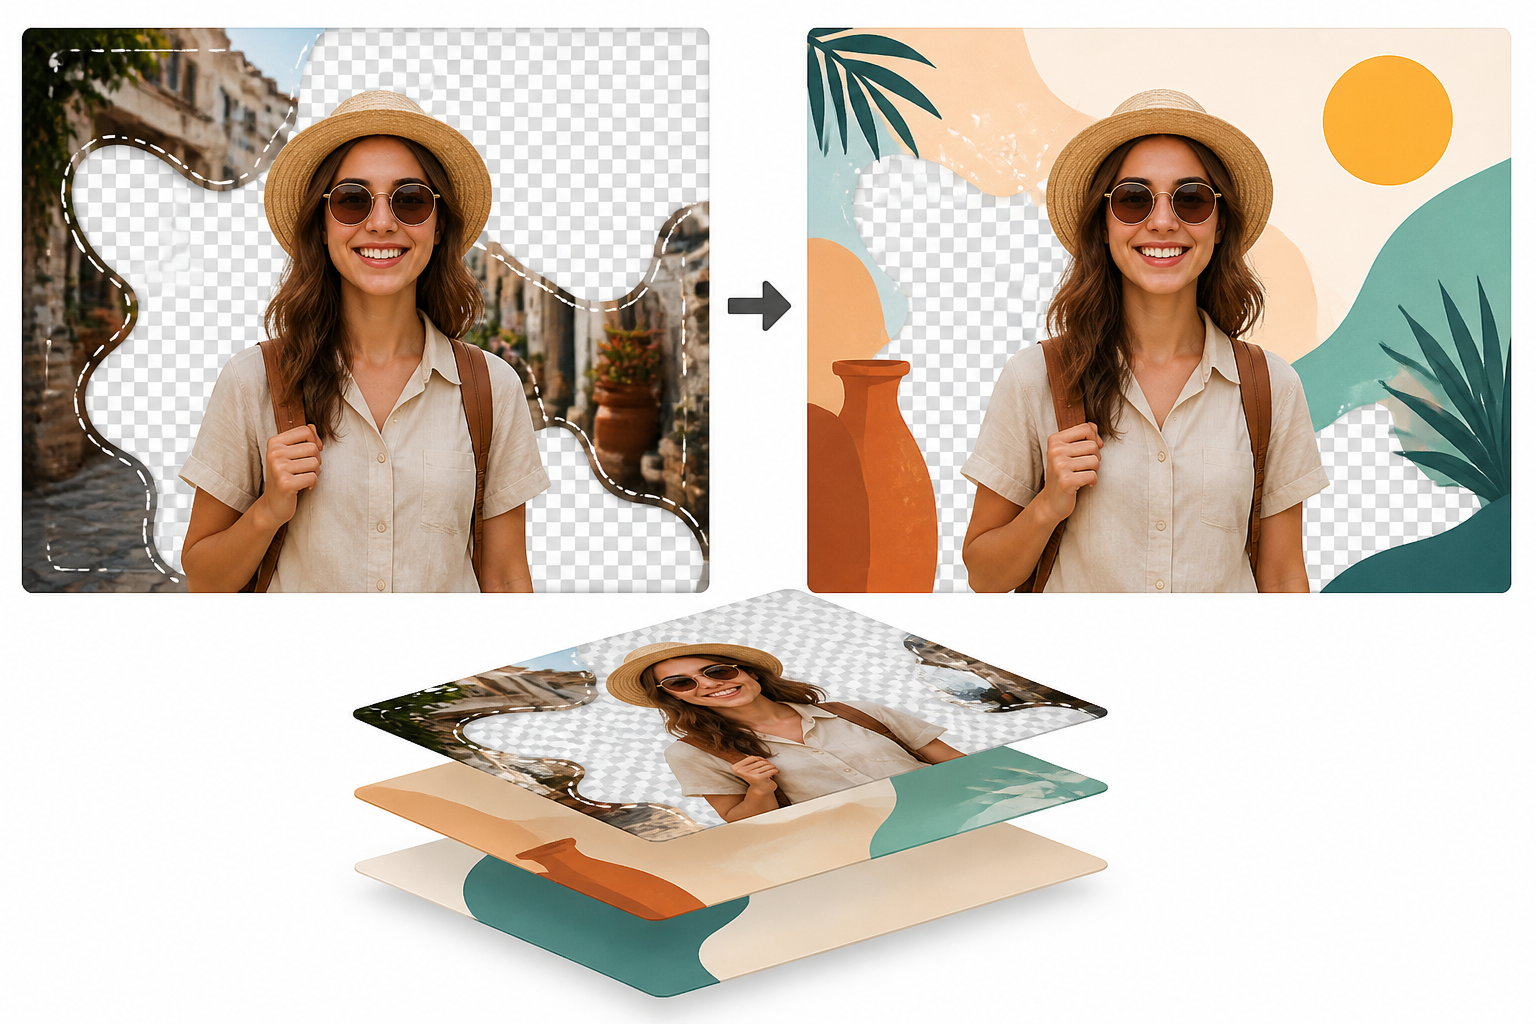
It is unnecessary to erase the whole background if you want only one portion of it gone. Transparency allows you to erase only parts of the picture that need to be transparent while maintaining the rest of the picture.
Select the area you want to make transparent
Choose the particular background section you wish to eliminate. Choose just the particular part and do not fully make the picture transparent, particularly if other sections must still be visible.
Preserve the rest of the image
Selective transparency allows you to make an image transparent in a controlled way without affecting the rest of the composition. This is useful when you want to keep a product, logo, or other visual element unchanged.
Check the boundary between transparent and visible Areas
Check the boundary between the transparent part and the visible part after making the selection. Check whether there are any remnants of the image, sharp edges, or lack of details in areas where the selection is near the main image.
Use partial transparency in layered designs
The transparent part of the image can simplify combining it with other visual objects. Another background, color, or graphic object can be added behind the transparent part without affecting the rest of the image.
Create transparent images faster with Designkit
Background removal can take time, especially when you need to prepare multiple product images. Designkit's Transparent Background Maker helps turn regular product images into transparent visuals. You can upload a single image or use batch upload when working with multiple images.
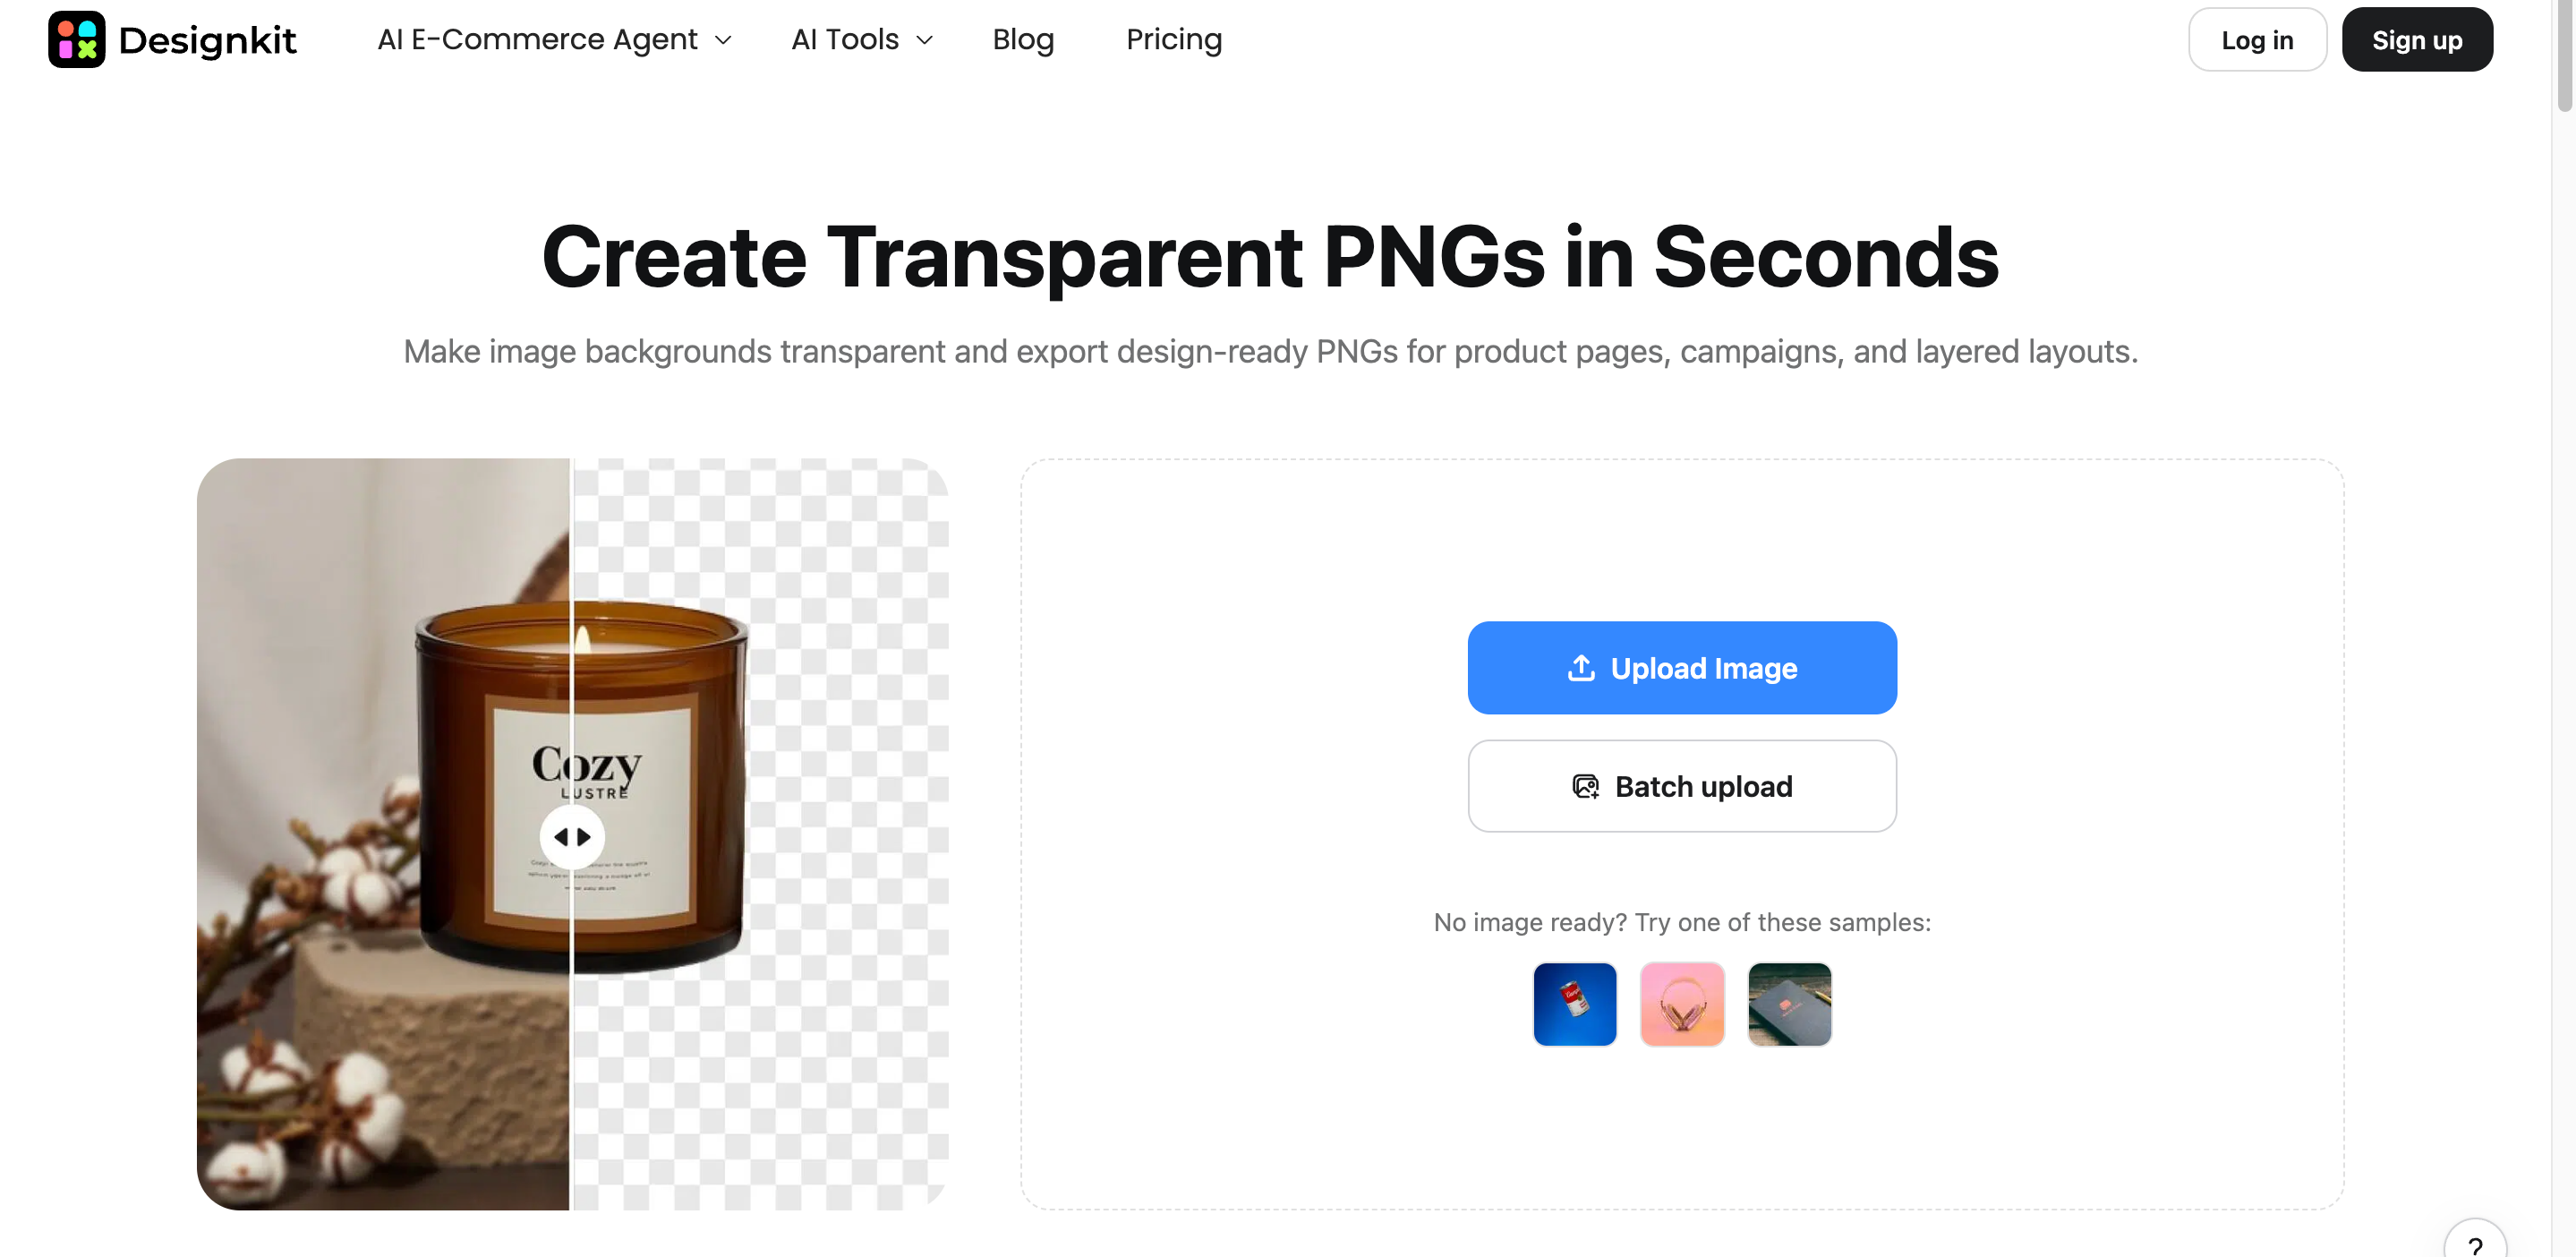
How to make an image transparent with Designkit
Step 1: Upload your image
Open Background Remover, click Upload Image to select the image you want to edit. If you need to process several product images, you can also use Batch Upload to upload multiple images at once.
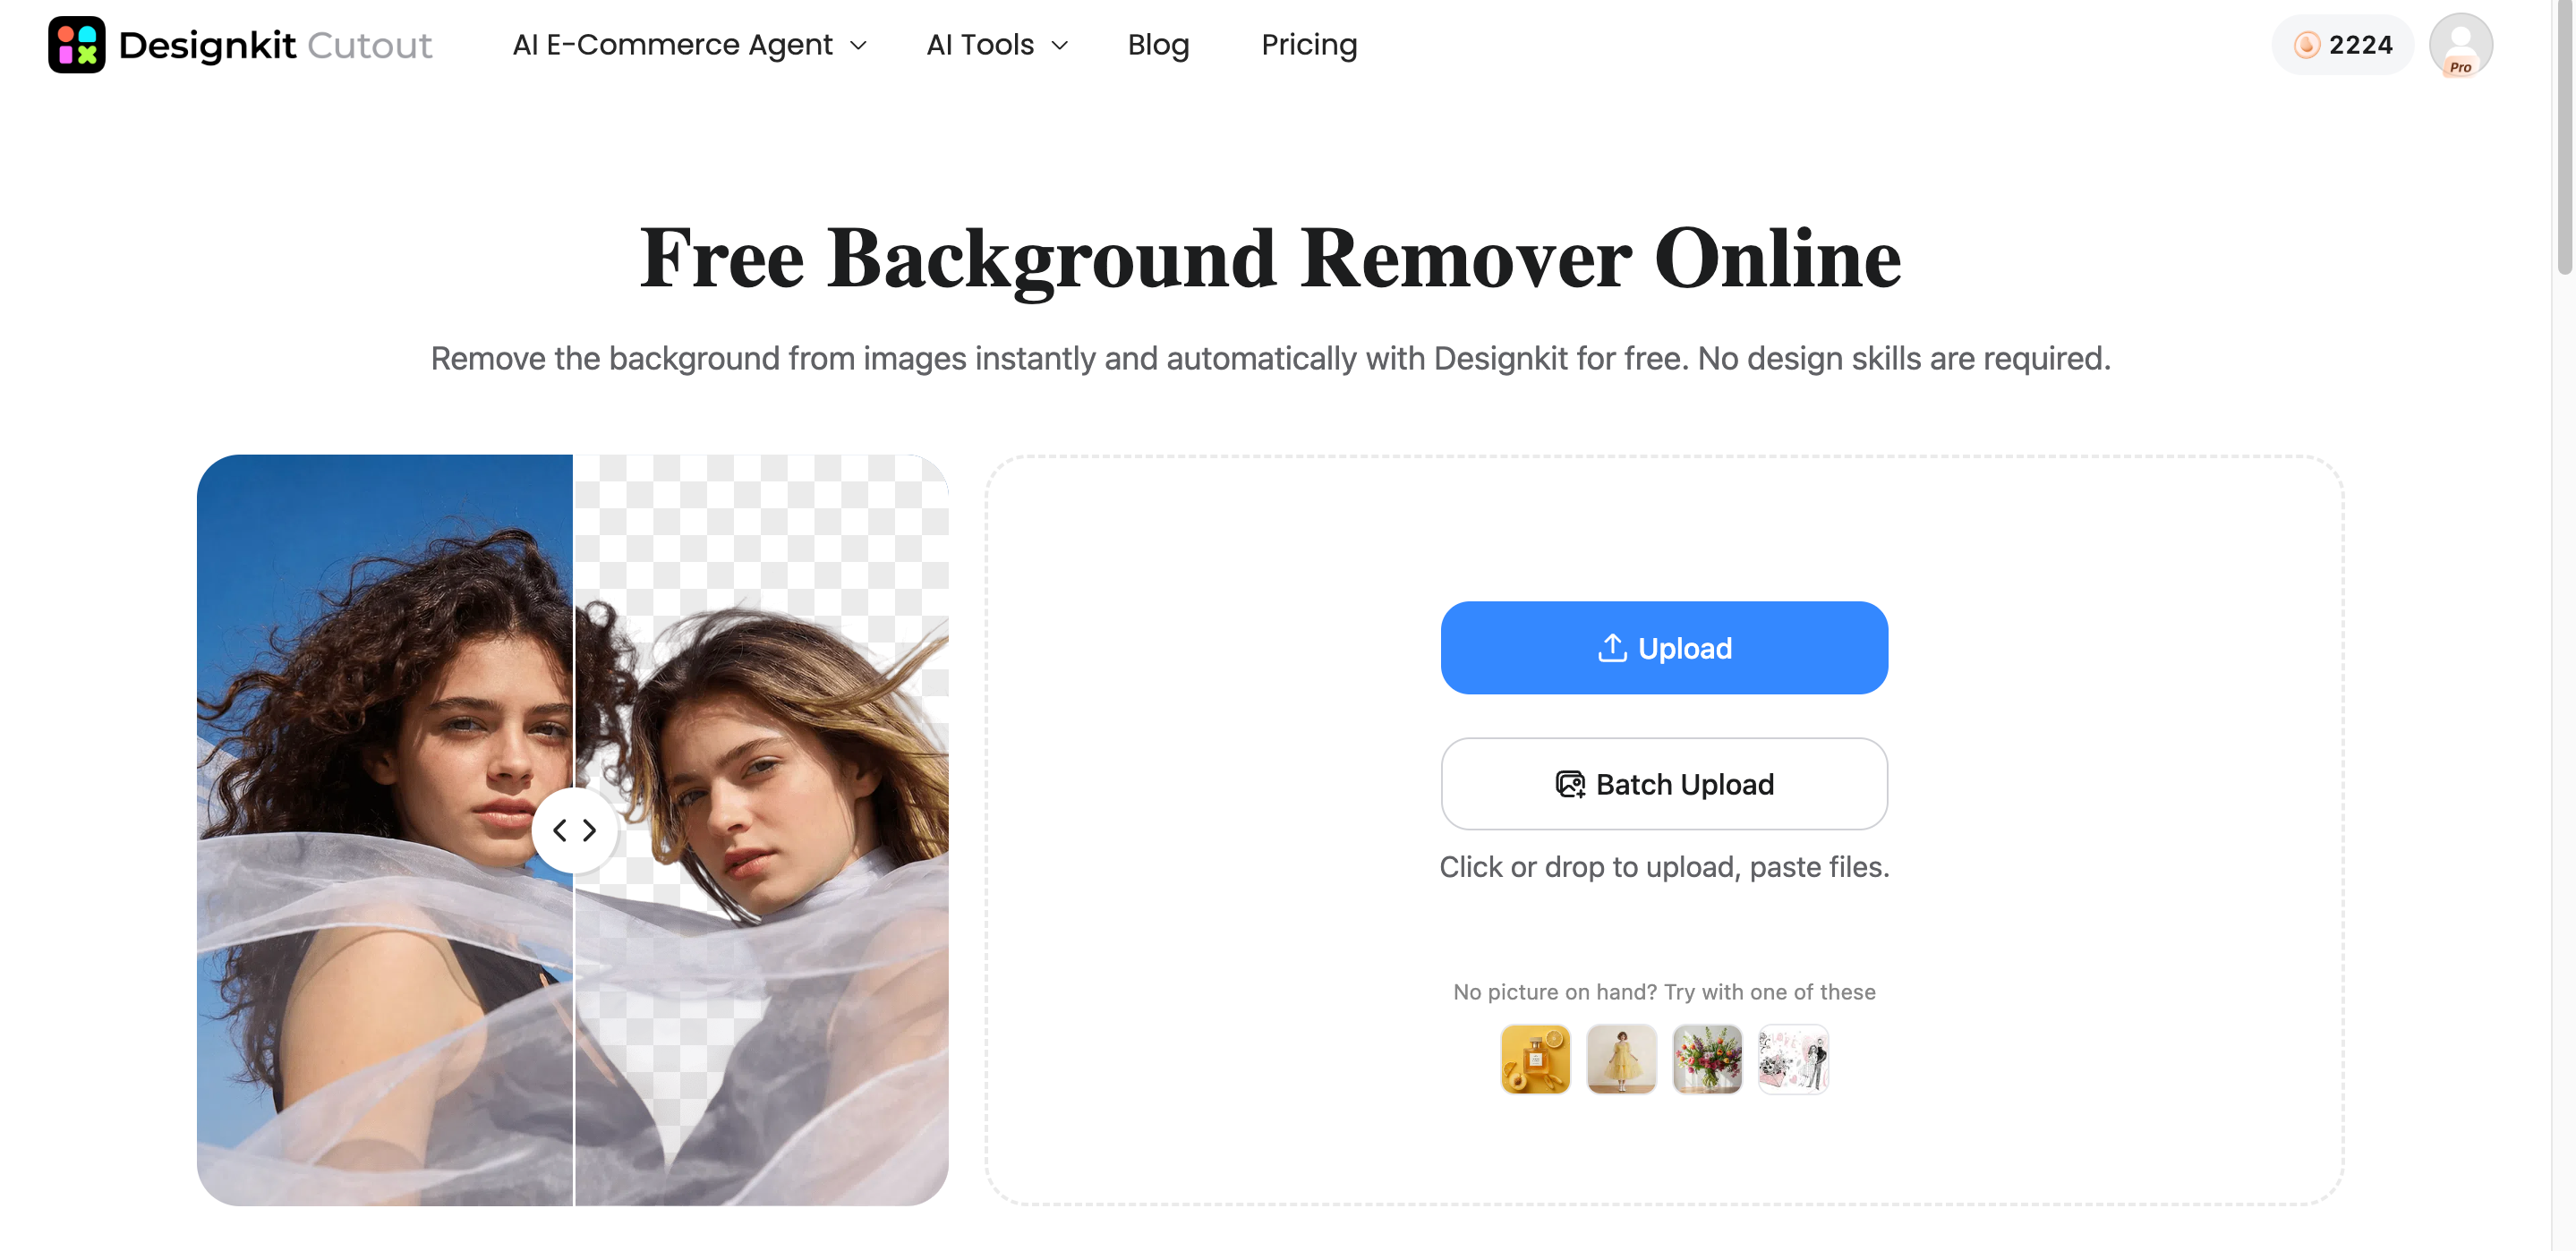
Step 2: Make your image transparent
Once the image is uploaded, Designkit automatically removes the background and creates a transparent result. Review the cutout and use available options such as Refine, Backgrounds, Crop, Edges, and Filters if adjustments are needed.
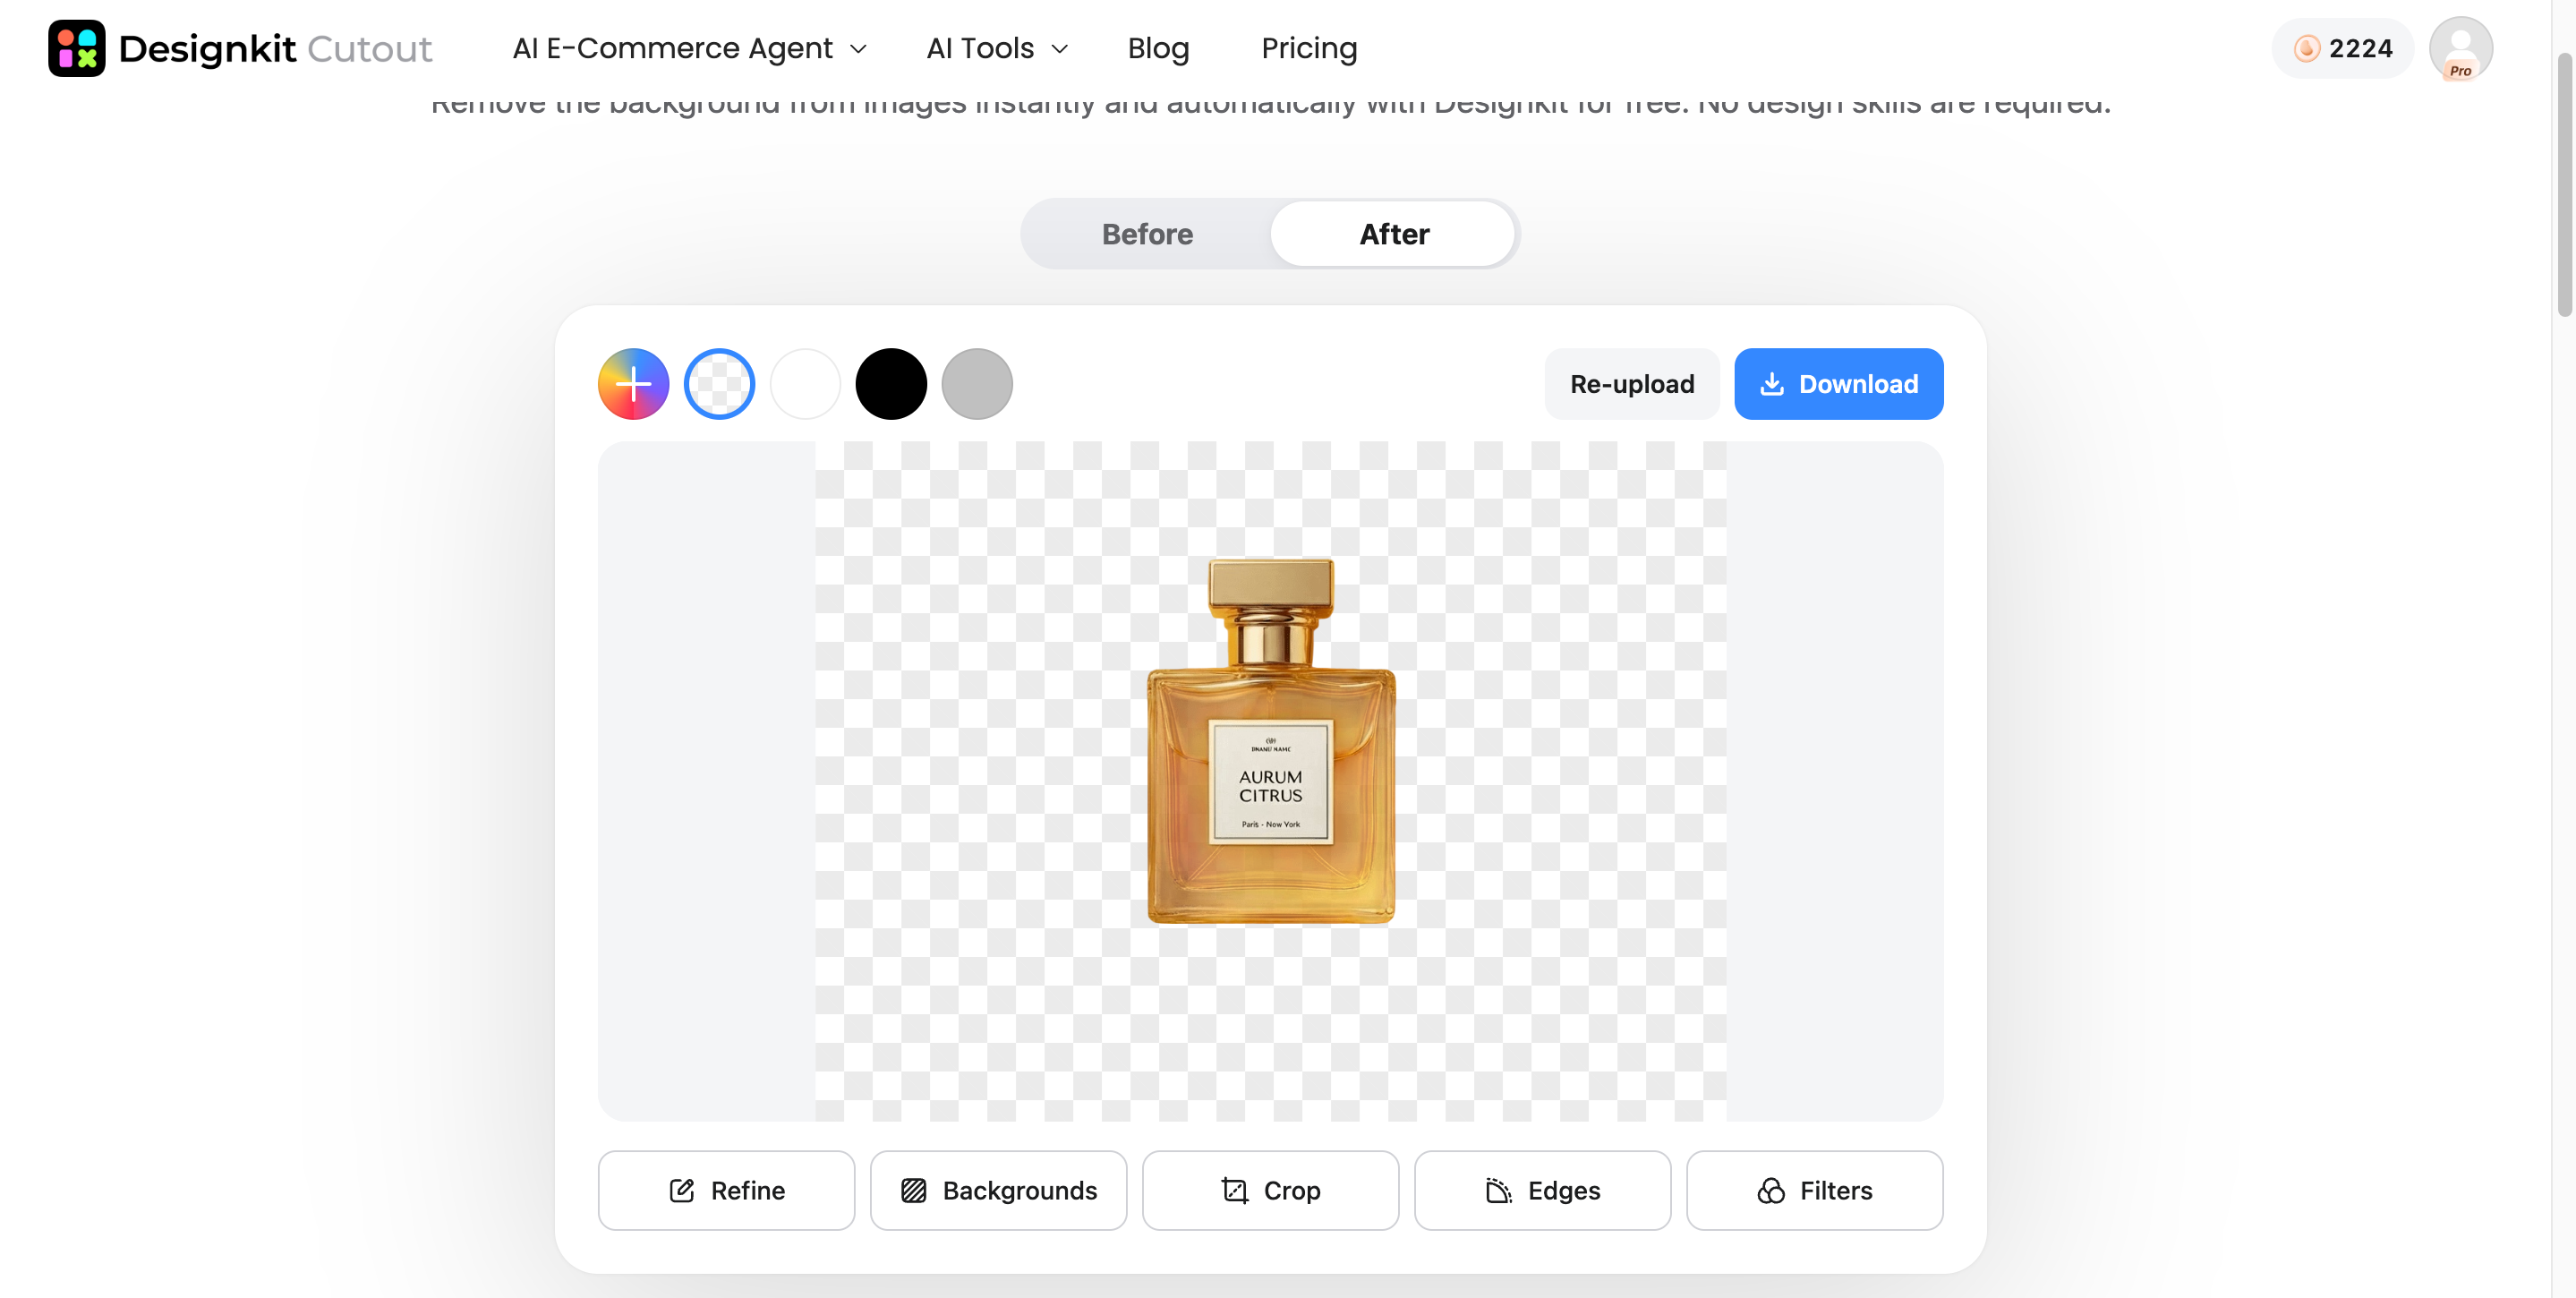
Step 3: Review and download
Preview the result. When you're satisfied, click Download to save the finished image.
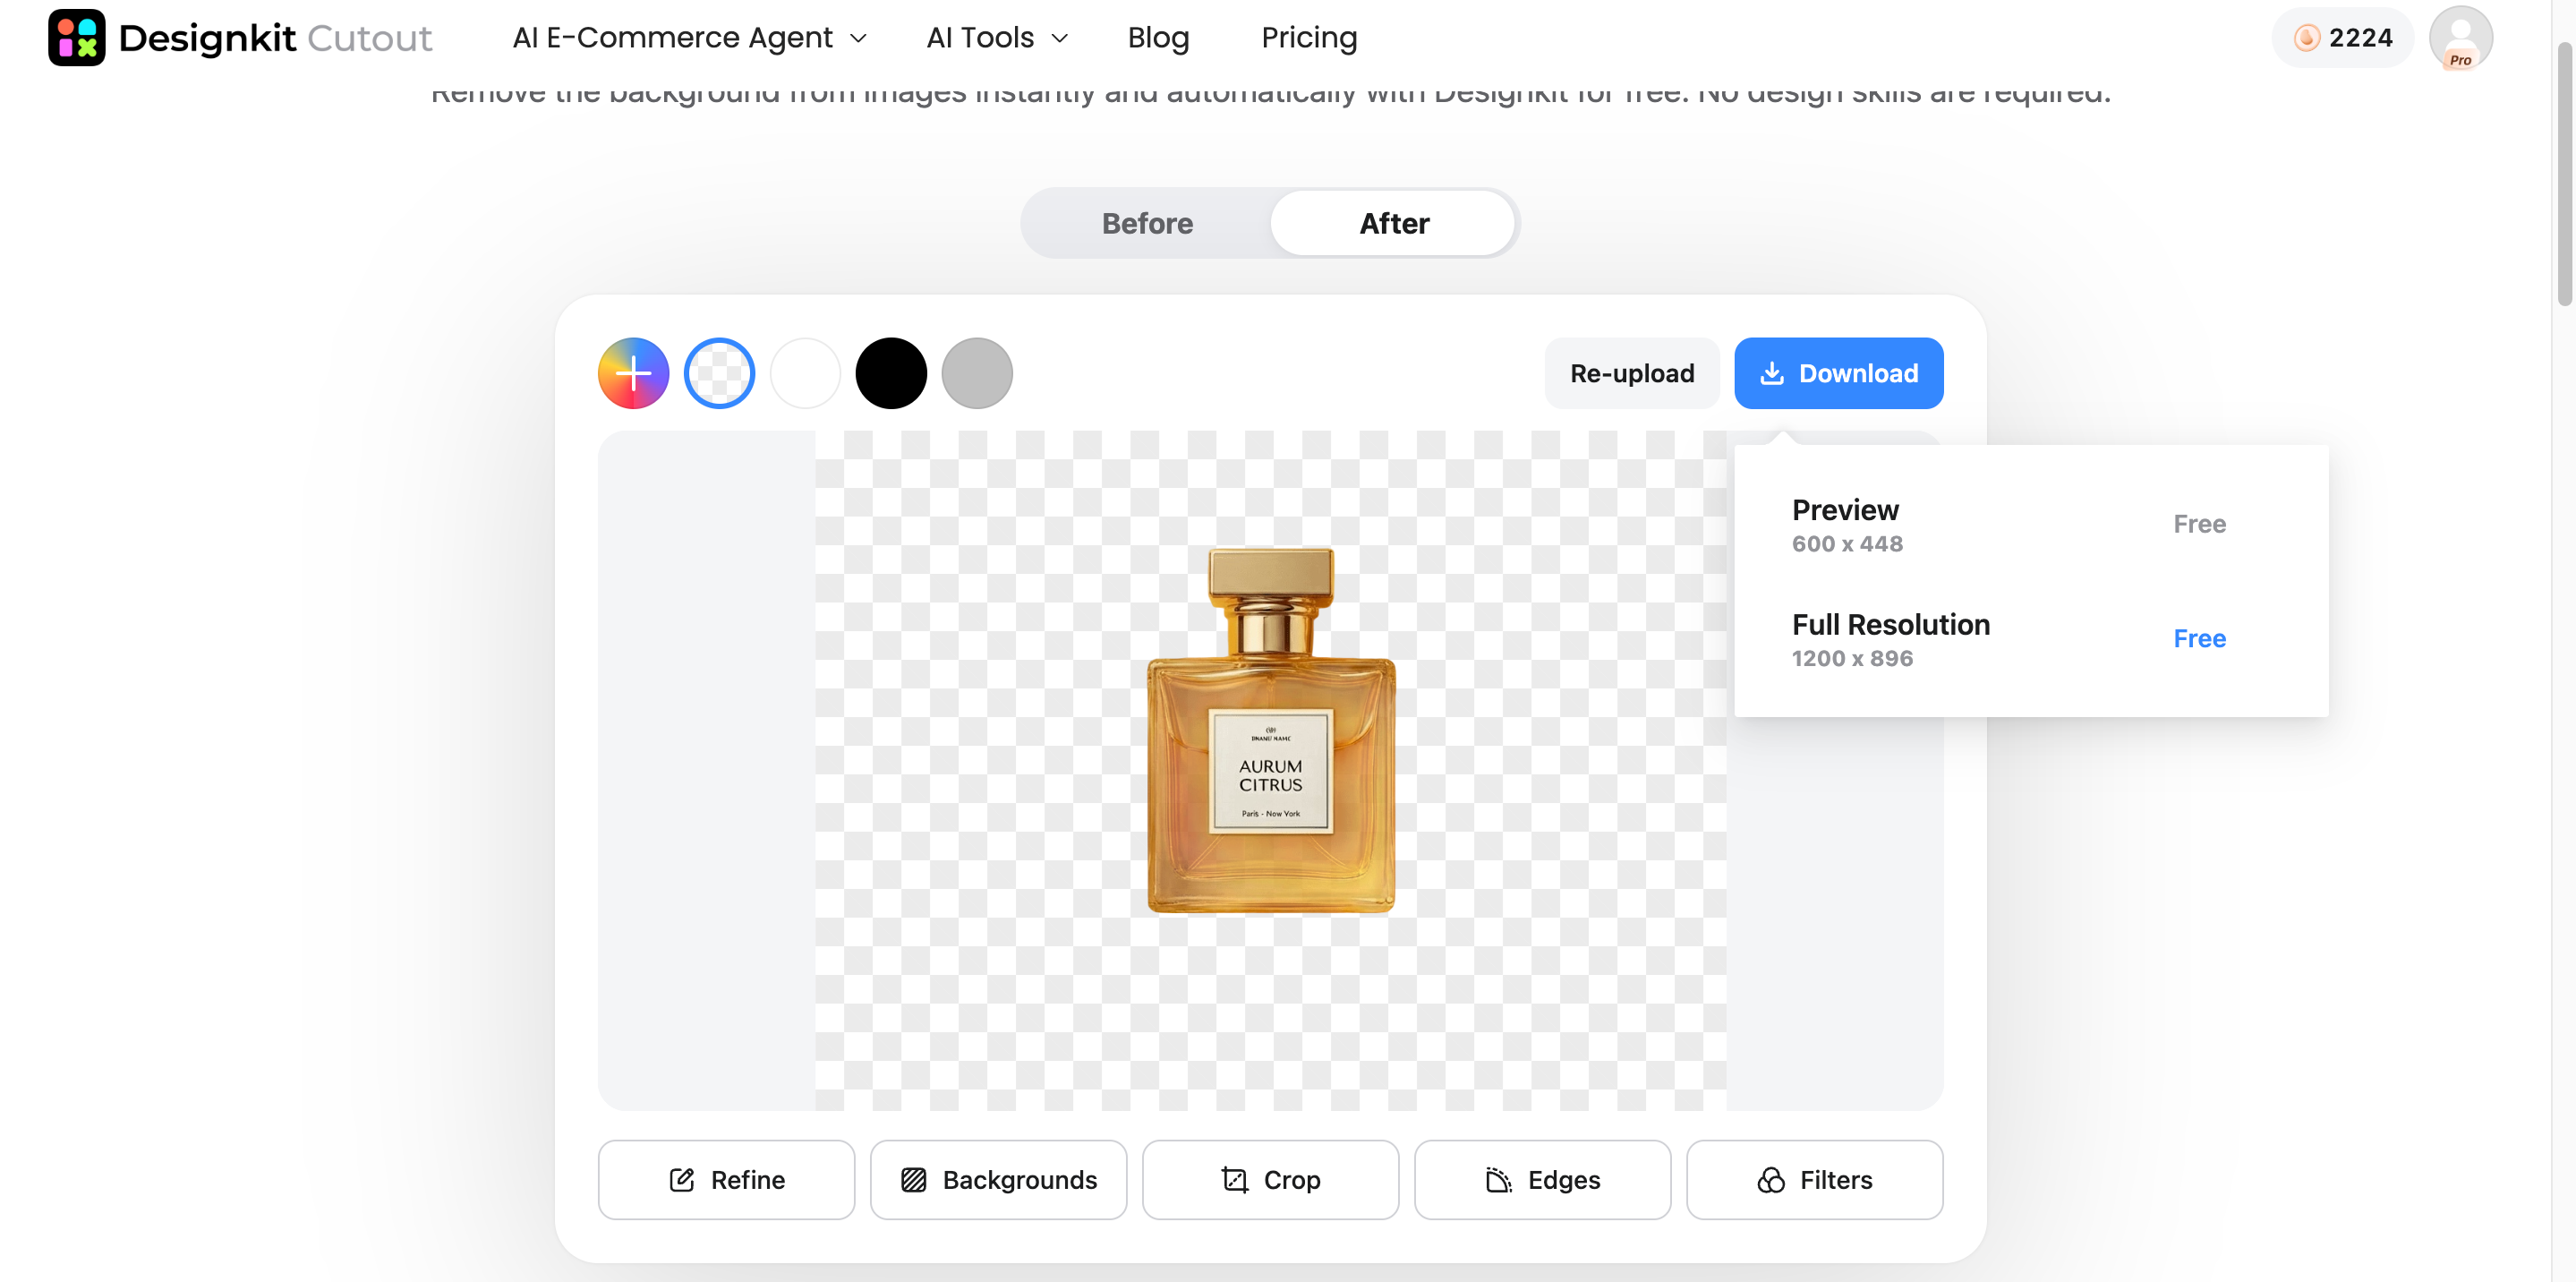
Make My Transparent Background
Use cases for transparent images with Designkit
-
Creating product cutouts: Create product images that don't have the original background and can easily be superimposed over various backgrounds and layouts in e-commerce.
-
Preparing marketing assets: Repurpose the transparent images of the product in marketing materials such as social media posts, banner ads, and other forms of collateral.
-
Processing multiple product images: Speed up repetitive image preparation when working with several products or SKUs, making it easier to create consistent visual assets across a product catalog.
-
Building reusable design assets: Keep isolated product visuals ready for reuse across product pages, campaigns, catalogs, and other e-commerce designs.
This workflow also makes it easier to create transparent picture assets that can be reused across product pages, marketing creatives, and other e-commerce designs.
Final Thoughts
Creating a transparent image is fairly simple when your source material is of good quality, and you take care to remove the background and inspect the edges prior to exporting. It is also important to select the correct file type, particularly if you want to keep those areas transparent for future image editing. Creating a transparent image provides more freedom when creating product pictures, logos, e-commerce images, and marketing materials. If you're a seller who works with several product images, then Designkit will help you in your process.
Frequently Asked Questions
Why does my transparent image still have a background?
Why do the edges look blurry after removing the background?
Rough edges may occur due to poor quality of the original image or due to fine details on the subject that are hard to isolate. Use high-quality images to begin with and carefully work on details like hair, thin elements, and products' shapes.
Can I make a transparent image from a photo taken with my phone?
Yes. You can make a picture transparent from a phone photo when the subject is clear and easy to separate from its background. For a cleaner result, use the original full-resolution photo and choose an image where the subject is clearly visible.
Can I replace the background after making an image transparent?
Yes indeed, after you have made the image transparent, you are free to overlay the object in a new color, new lifestyle setting, or a marketing concept. That is why having transparent images for your products will help create several variations of visuals.
What types of images work best for making a transparent background?
Images with a clearly defined subject, good lighting, and visible contrast between the subject and background generally work best. A transparent background generator may need more refinement when the image contains complex textures, similar foreground and background colors, or very fine edges.
You May Also Like
Remove.bg Shutting Down Dec 1, 2026: What Users Are Saying

7 Best Remove.bg Alternatives in 2026: Free & Paid Tools

Instagram Carousel: What It Is, How to Post & Create One

Nano Banana Prompts: 20+ Examples for Better AI Images

Ideogram AI Review 2026: Features, Pricing & Alternatives

Free Mac Photo Editor: 5 Tools Compared for Mac Users

How to Crop a Photo Into a Circle Online (Keep Quality)

How to Make an Image Transparent Online (AI Guide)

Pixlr Background Remover Review 2026: Features, Pricing & Alternatives

How to Fix Overexposed Photos: Recover Highlights Fast

OpenArt AI Review 2026: Features, Pricing & Alternatives

Best AI Headshot Generator: 9 Tools Compared for 2026

Best Stencil Maker Tools 2026: Turn Photos Into Stencils

Pixelbin Watermark Remover Review: Image & Video Results Tested

How to Make a Sticker on iPhone: Easy Step by Step Guide

Best AI Logo Generator in 2026: 10 Tools Compared

How to Turn a Photo Into a Cartoon: A Beginner-Friendly Guide

Landscape vs Portrait: Key Differences & Best Uses in 2026

How to Remove Watermark From Photo: AI, Photoshop & More

How to Fix Pixelated Photos: Photoshop, AI Tools & Tips

Bing Image Creator: How It Works, Features, Uses & Alternatives

How to Remove People from Photos with AI: A Step-by-Step Guide

How to Increase Image Resolution: AI, Photoshop & PPI

How to Add Text to a Photo: 8 Tips for Better Results

How to Fix Grainy Photos: Easy Ways to Clear Images

Creative Profile Picture Ideas for Every Style and Platform

Evoto AI Review 2026: Features, Pricing, Pros & Cons

Pixlr Photo Editor Review: Features, Pricing & Alternatives

Best AI Image Extender Tools in 2026: Expand Photos with AI

How to Make a Collage on iPhone: Easy Guide for 2026

How to Sharpen an Image in Photoshop (Smart Sharpen and Unsharp Mask)

Best Image Background Remover Tools in 2026: AI Tools Compared

How to Make Transparent Background in Paint: Step-by-Step Guide

How to Resize an Image: Best Methods, Tools & Quality Tips

Best AI Image Generator Tools in 2026: Top AI Platforms Compared

Remove.bg Review 2026: Features, Pricing & Is It Worth It?

Luminar Neo Photo Editor Review 2026: AI Features, Price & Pros

How to Post Multiple Photos on Instagram (2026 Guide)

25 Facebook Cover Photo Ideas for Personal & Business Pages

What Is a PFP? Meaning, Examples & How to Create One

Can You Edit an Instagram Post After Posting?

11 Best Canva Alternatives in 2026 for AI Design & Marketing

8 Best Midjourney Alternatives in 2026: Features, Pricing & Comparison

How to Restore Old Photos: AI Tools, Tips & Best Methods

Pixelcut AI Review 2026: Features, Pricing, Pros, Cons & Alternatives

How to Apply Watermark to Photos: Methods, Tips & AI Tools

How to Remove a Background in Illustrator: 4 Easy Methods

How to Change Background Color on Instagram Story (Easy Guide)

8 Best AI Poster Generators in 2026: Create Posters Faster with AI

10 Best AI Image Enhancers in 2026: Tested & Compared

10 Best AI Image Editors in 2026: Features, Pricing & Comparison

7 Best AI Background Changer in 2026: Remove & Replace Photo Backgrounds

Luminar Neo vs Lightroom: Features, Pricing & Comparison 2026

Kittl Review 2026: Is It Worth It? Features & Pricing

How to Make a Blurry Image Clear: 5 AI & Manual Ways

How to Remove Background on iPhone: 5 Easy Methods (2026)

Photoroom Background Remover Review 2026: Features & Alternatives

How to Remove Background in Canva: A Step-by-Step Guide

How to Remove Background in GIMP: Beginner-Friendly Guide

Funny Dog Memes to Try: Doge Meaning and 10 Original Ideas

Back to School Checklist 2026: Supplies, Timeline, and Planning

Recraft AI Review 2026: Features, Pricing, Pros, Cons & Alternatives

How to Make an Image Transparent in Google Slides: Opacity & Background Removal

VanceAI Photo Enhancer Review: Features, Pricing & Alternatives in 2026

What Does Emojify Mean? Text, Photos, & Emoji Art Explained

Top 8 Online Background Removers for Ecommerce Photos (2026)

How to Remove Background in Photoshop: 7 Easy Methods

6 Best AI Image Upscalers 2026: Tools Tested & Compared

Project Indigo Review: Is It Better Than iPhone Camera?

How Big Is an 8x10 Photo? Size, Pixels & Frame Guide

How Big Is a 4x6 Photo? Dimensions, Pixels & Printing Tips

Picsart AI Review: Features, Pricing, Pros, Cons & Alternatives

Lovart AI Review: AI Design Agent Features, Pricing & Alternatives

Fotor AI Image Generator Review: Features, Pricing & Alternatives

How to Add Emoji to Photo Online for Free

Emoji Wallpaper Ideas & How to Make One Online (2026)

Minimalist Poster Design: How to Make a Clean Poster (2026)

How to Make a Custom Poster That Is Ready to Print

Instagram Image Size Guide 2026: Post, Reel, Story & Carousel Specs

LinkedIn Image Size Guide: Profile, Post & Banner Dimensions

YouTube Profile Image Size: Best Dimensions & Safe Area 2026

How to Edit Amazon Product Photos That Boost Sales Fast
Create Clean Transparent Images for Any Project
Remove unwanted backgrounds, prepare reusable image assets, and create transparent visuals without complicated editing steps in Designkit
