
Free Image Resizer to Resize Images Online
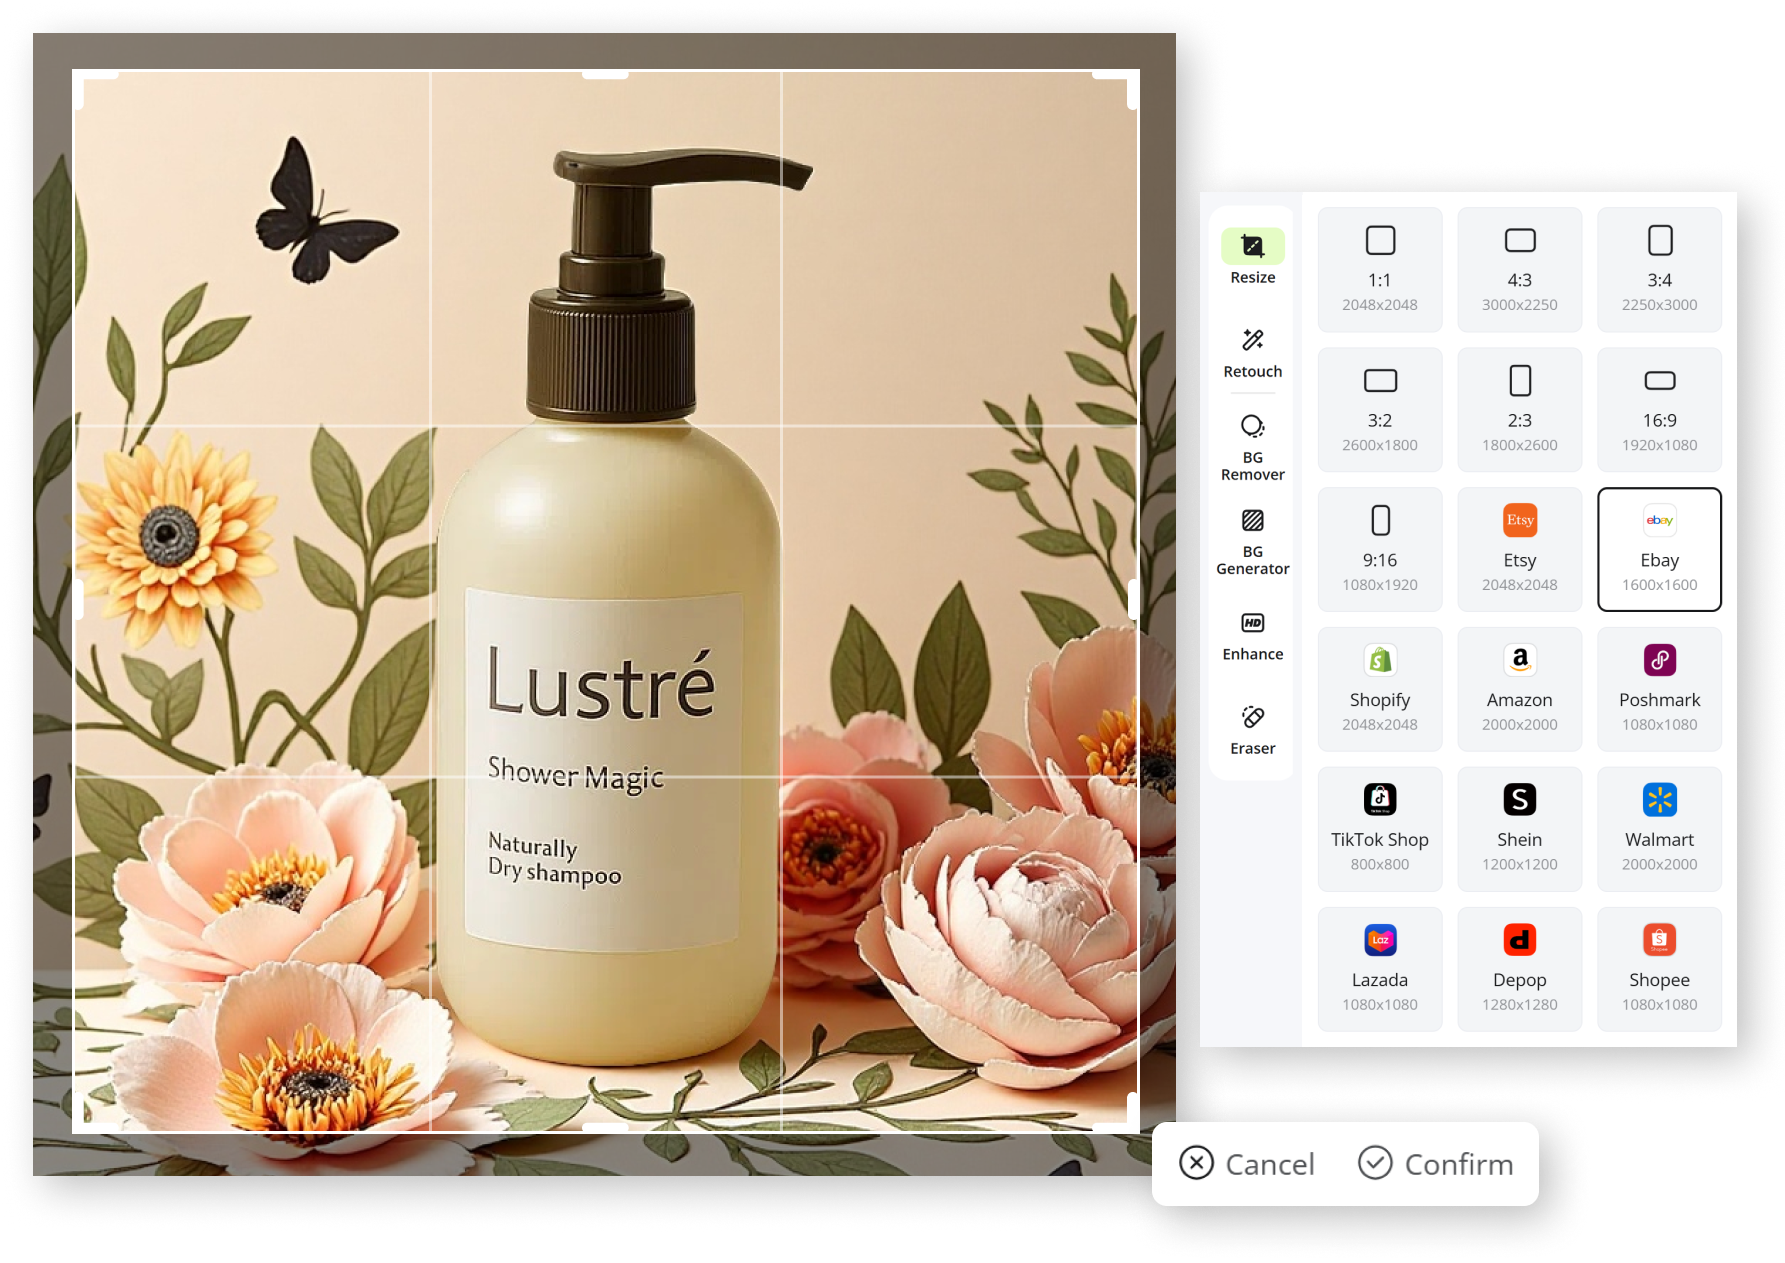
Enter custom dimensions or choose an aspect ratio preset. Resize photos online while keeping the framing clear and balanced.
No image? Try one of these:
How to Resize an Image Online
Upload an Image
Upload a JPG, PNG, or another supported image format. Choose Batch Upload when you need to resize multiple images.
Set the Size and Framing
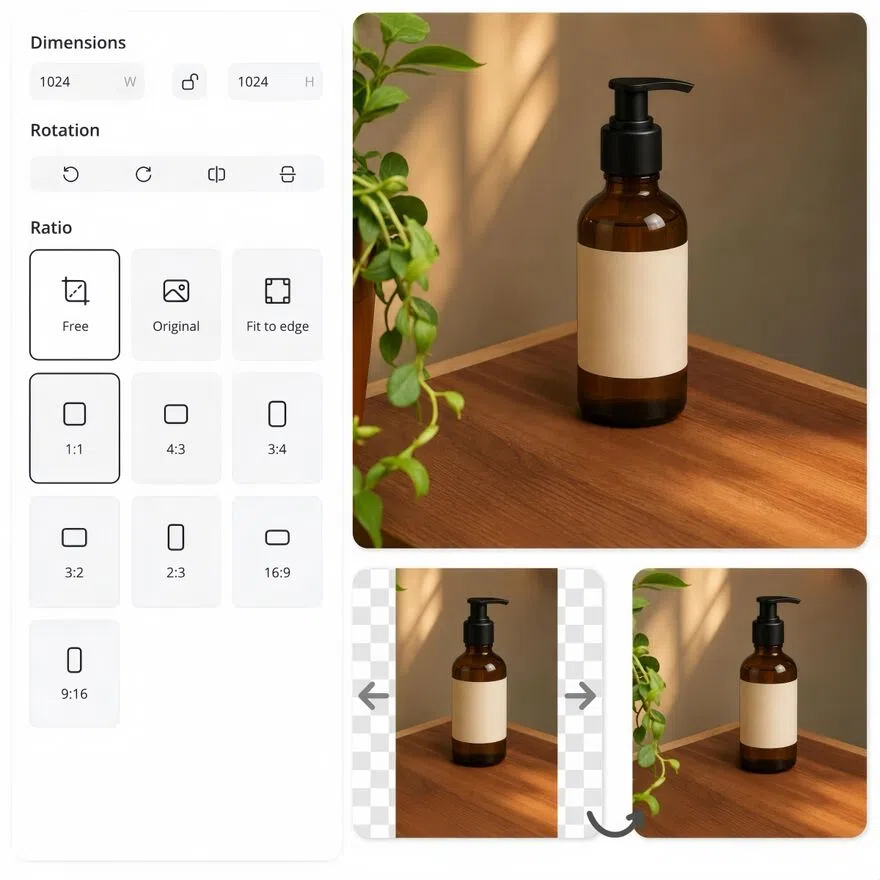
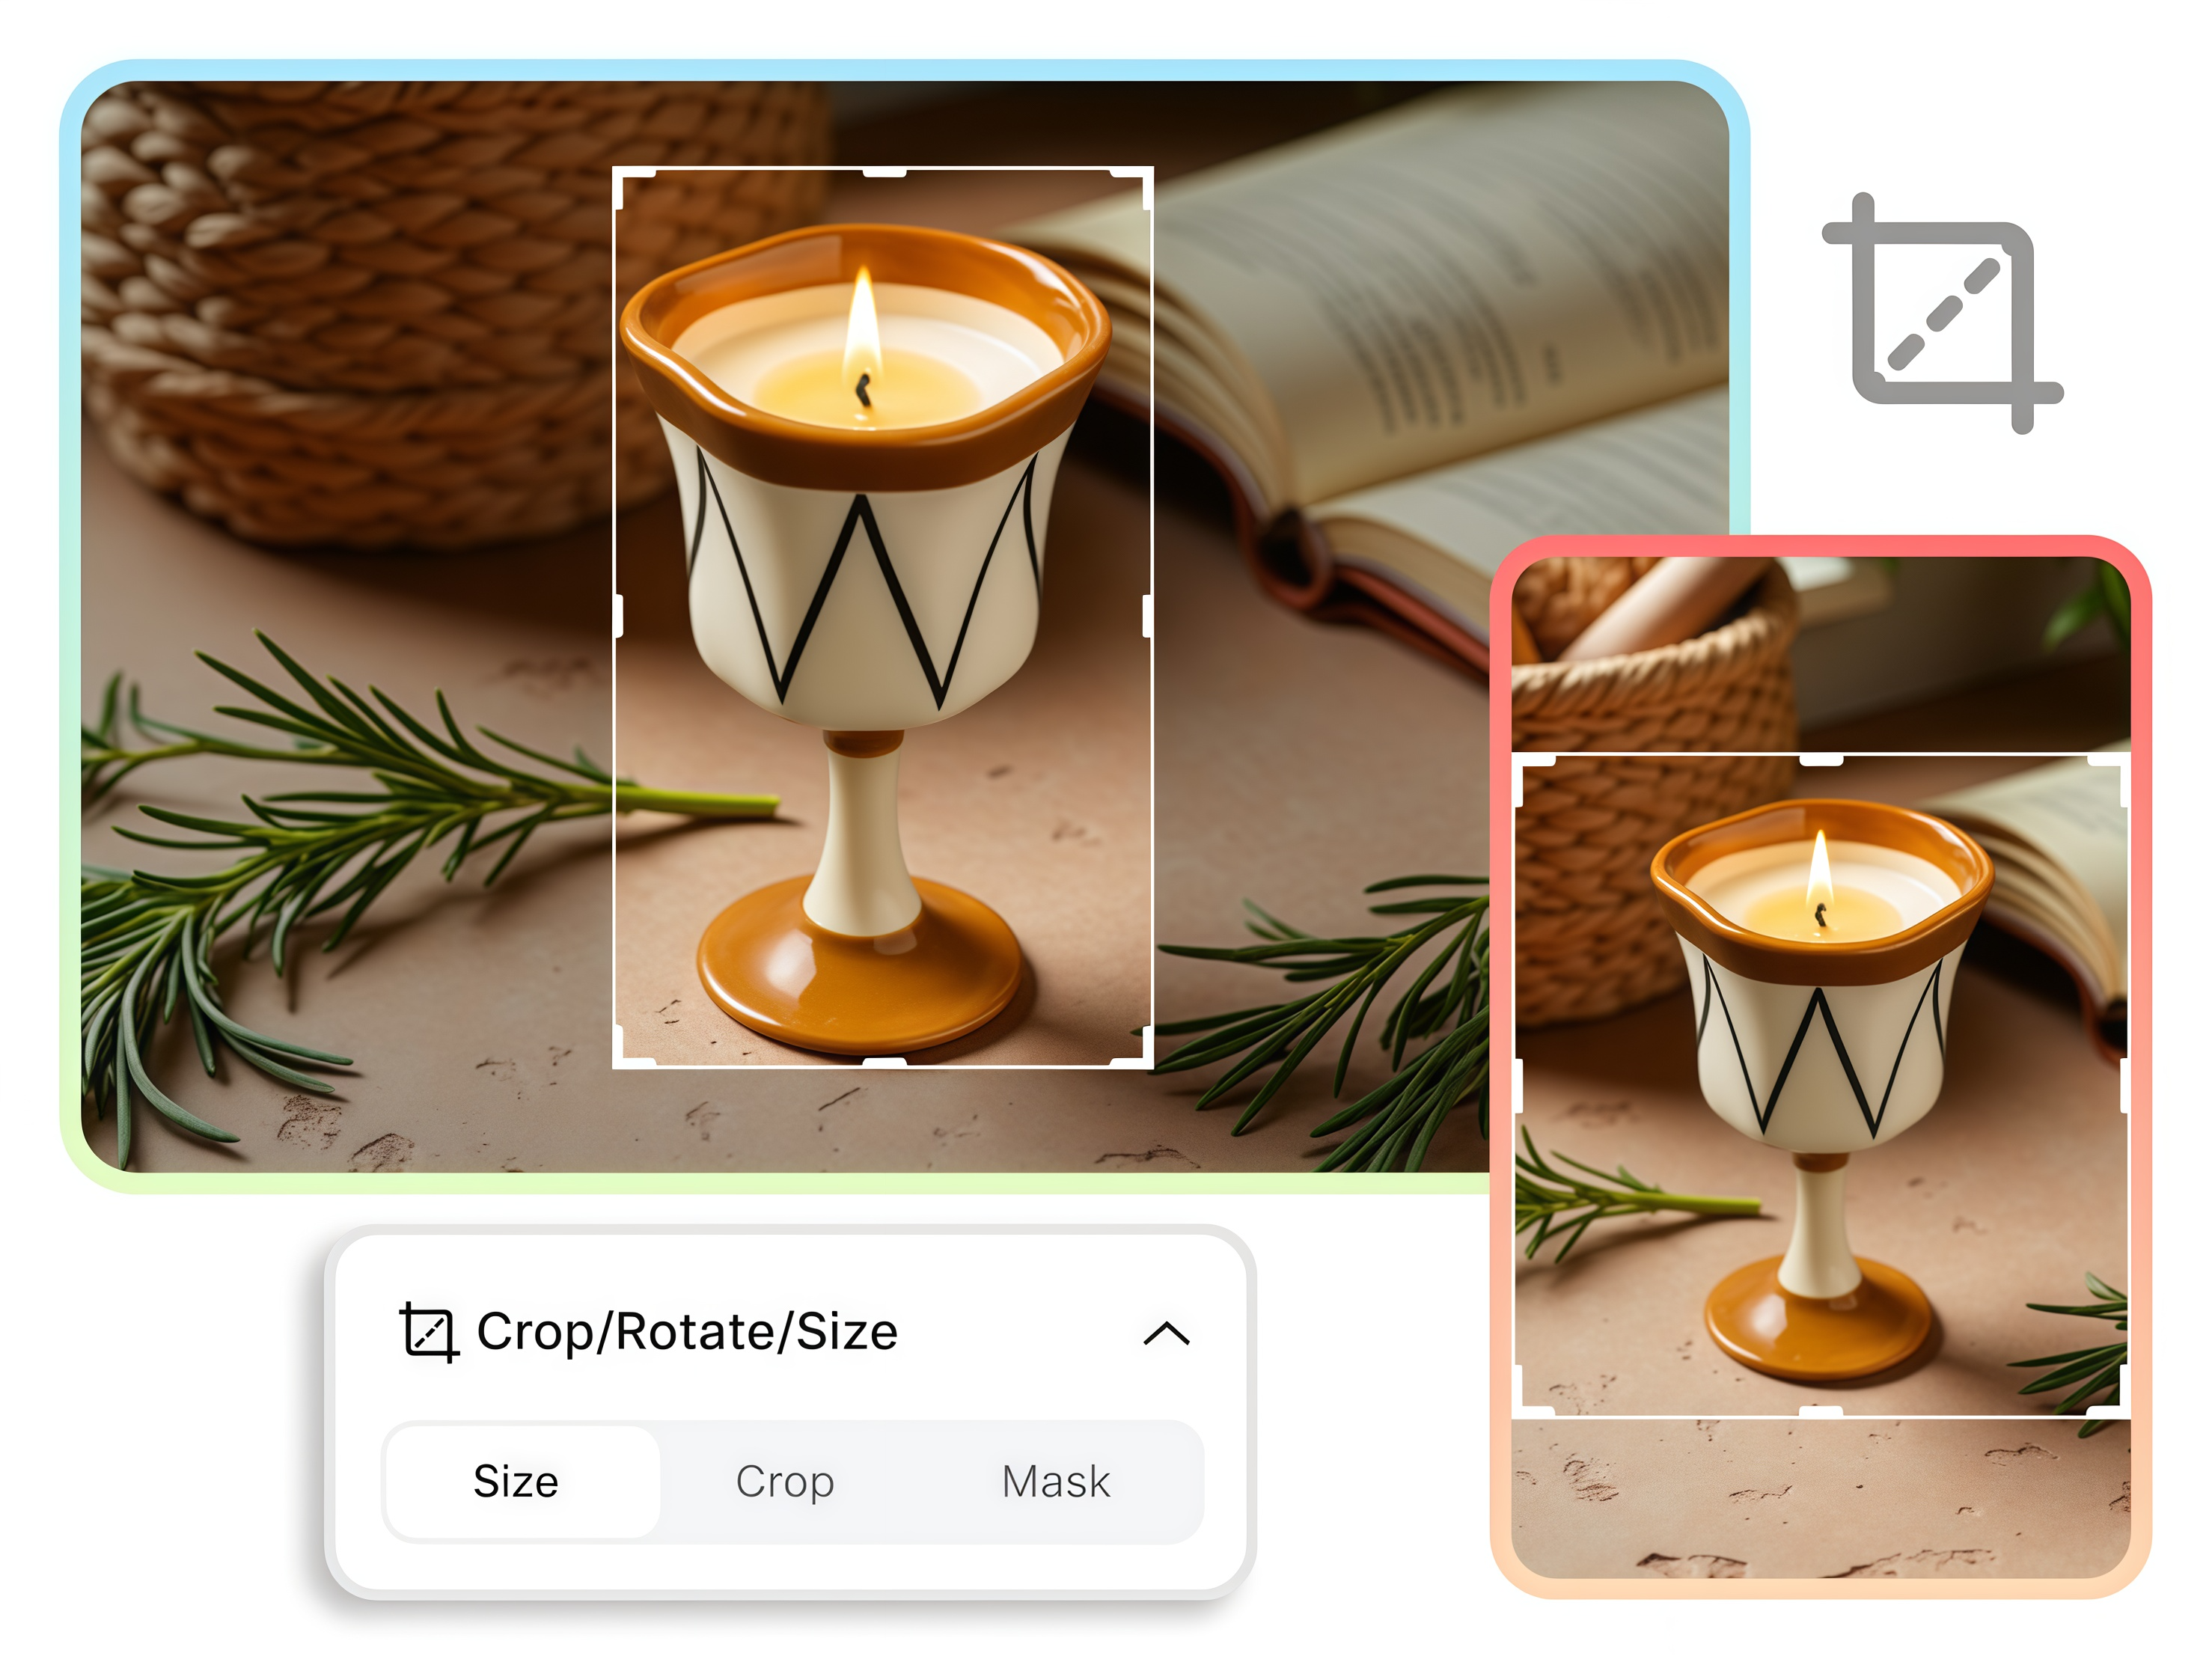
Enter the width and height under Dimensions. Keep or unlock the ratio, then choose Free, Original, Fit to edge, or a preset ratio.
Confirm and Download
Adjust the image inside the frame and click
Confirm. Select Download, choose JPG or PNG, and save the image at the displayed dimensions.
Resize Images with Precise Size and Format Control
Set Exact Image Dimensions
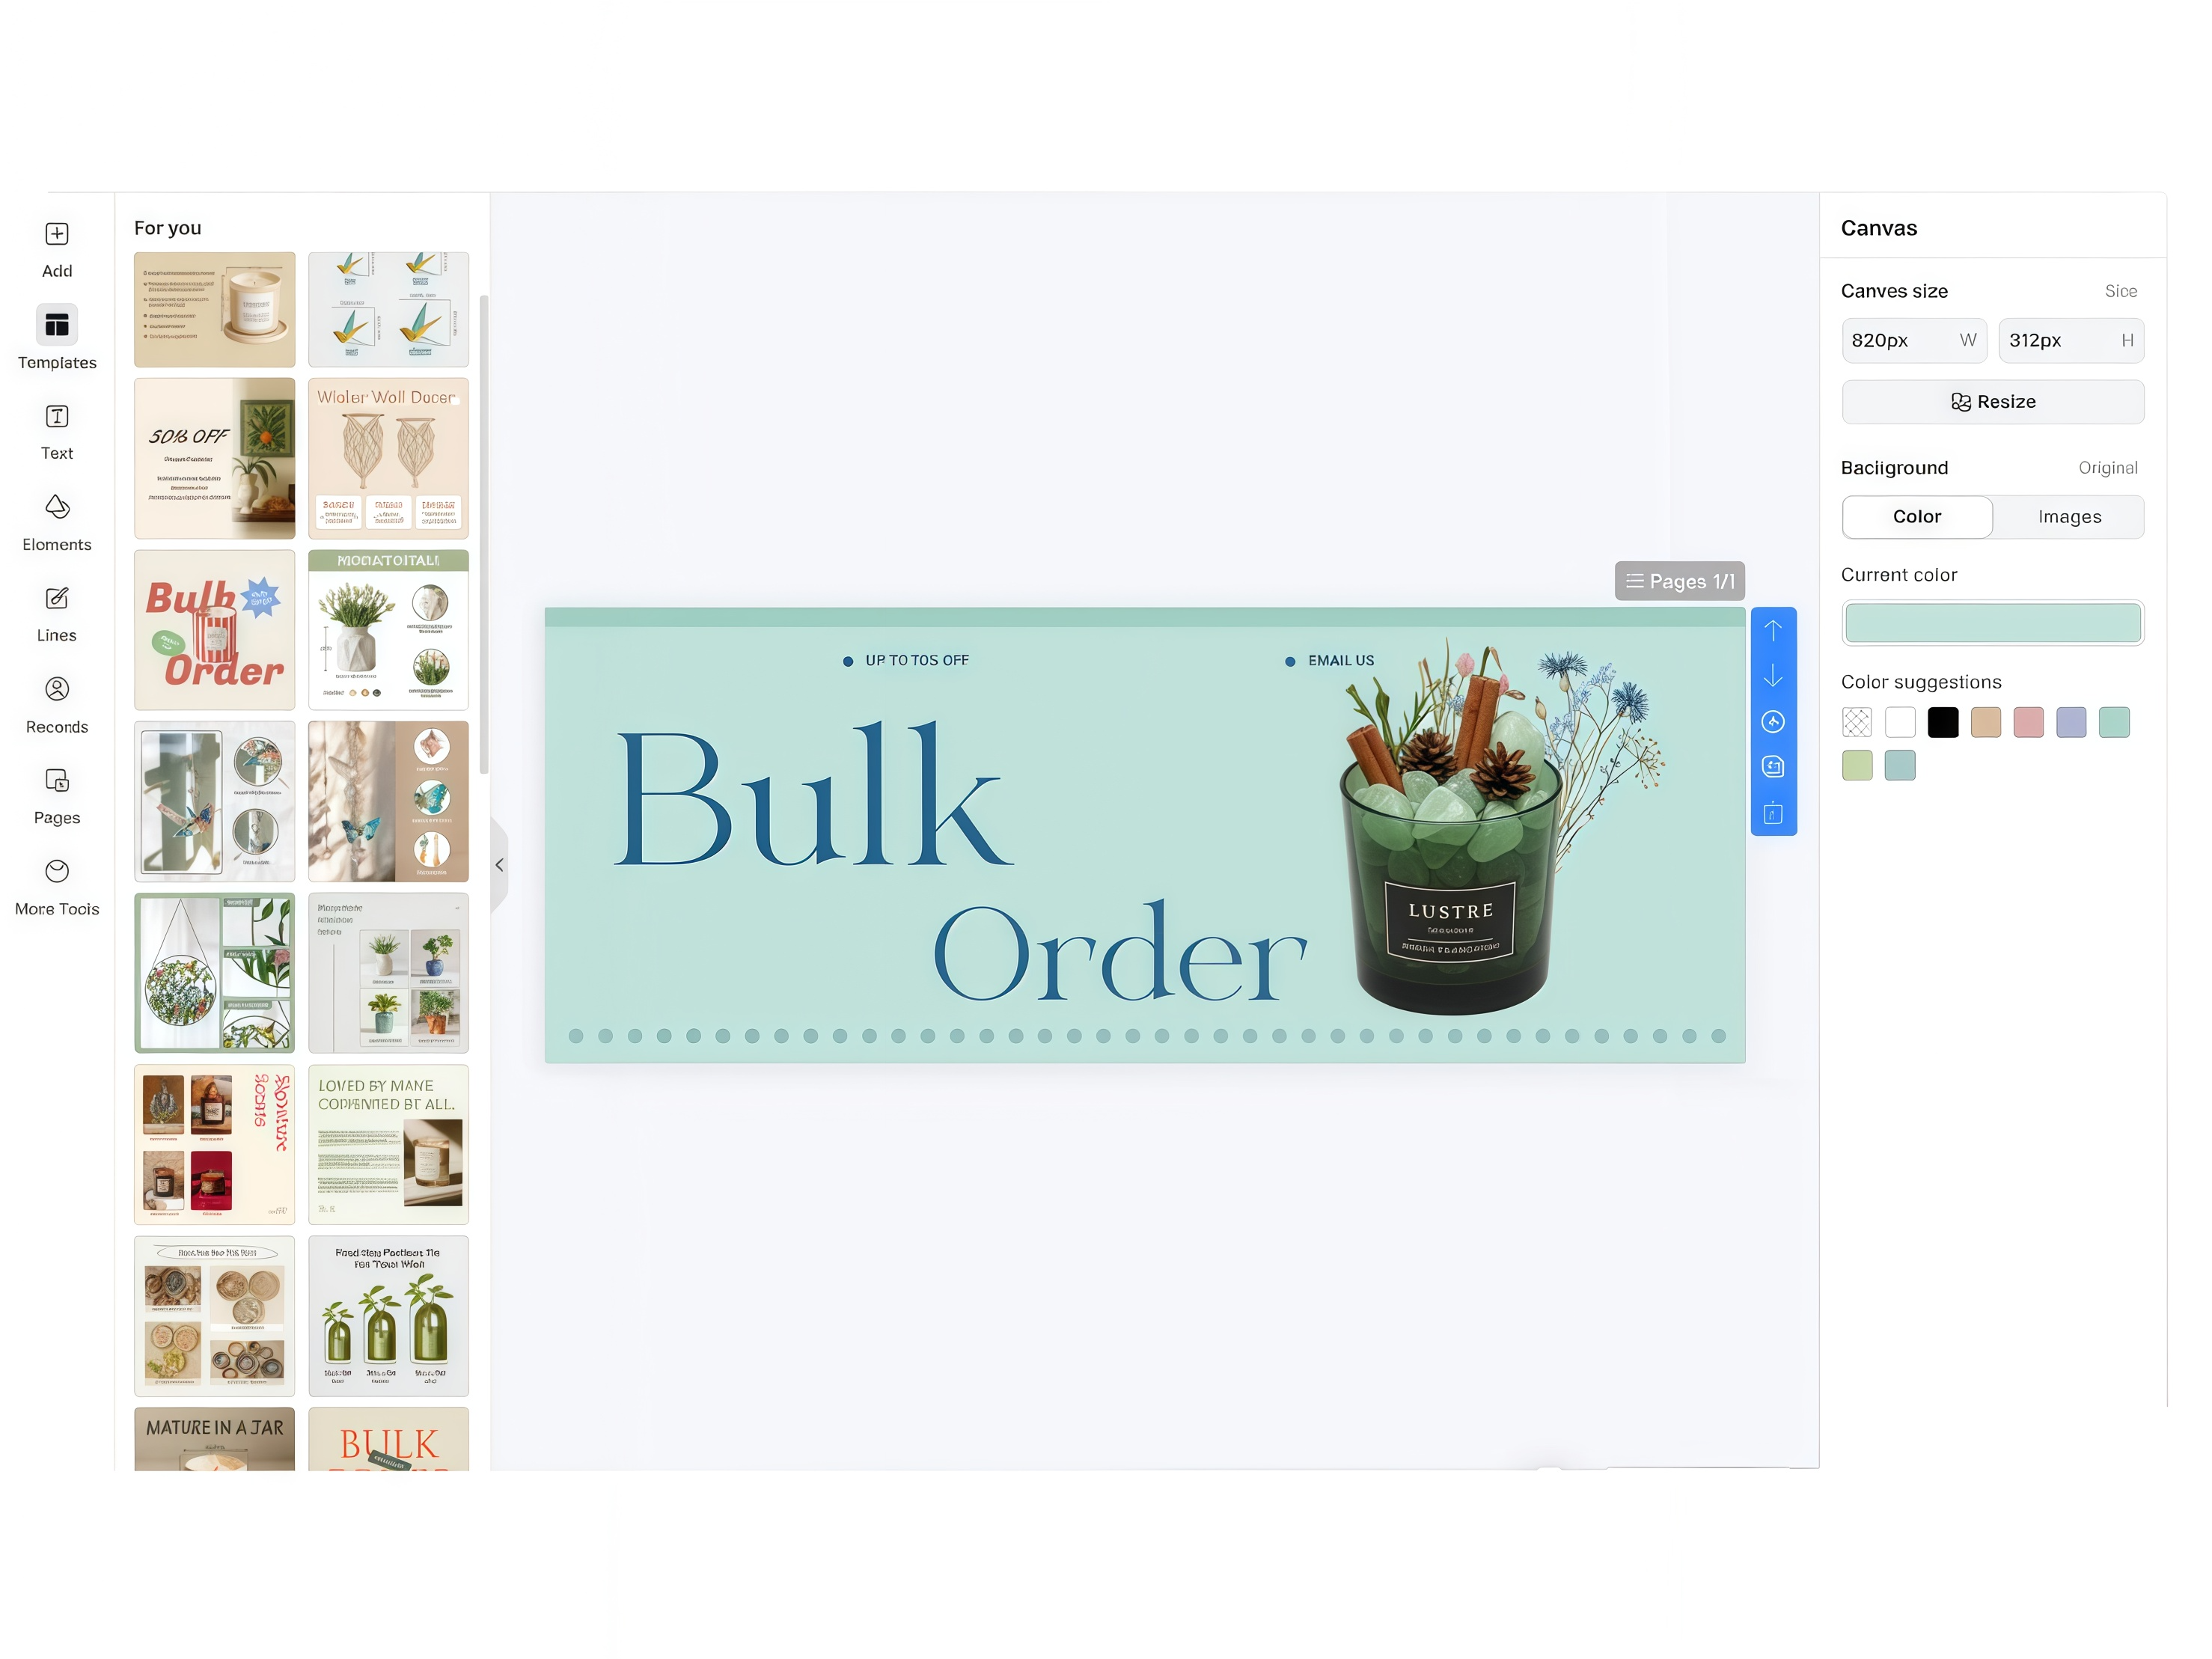
Enter a custom width and height under Dimensions, then use the lock between the fields to preserve the original proportions or edit each value separately. The image dimension changer gives you exact pixel control when a preset does not match the required layout.
Adjust the Image Aspect Ratio
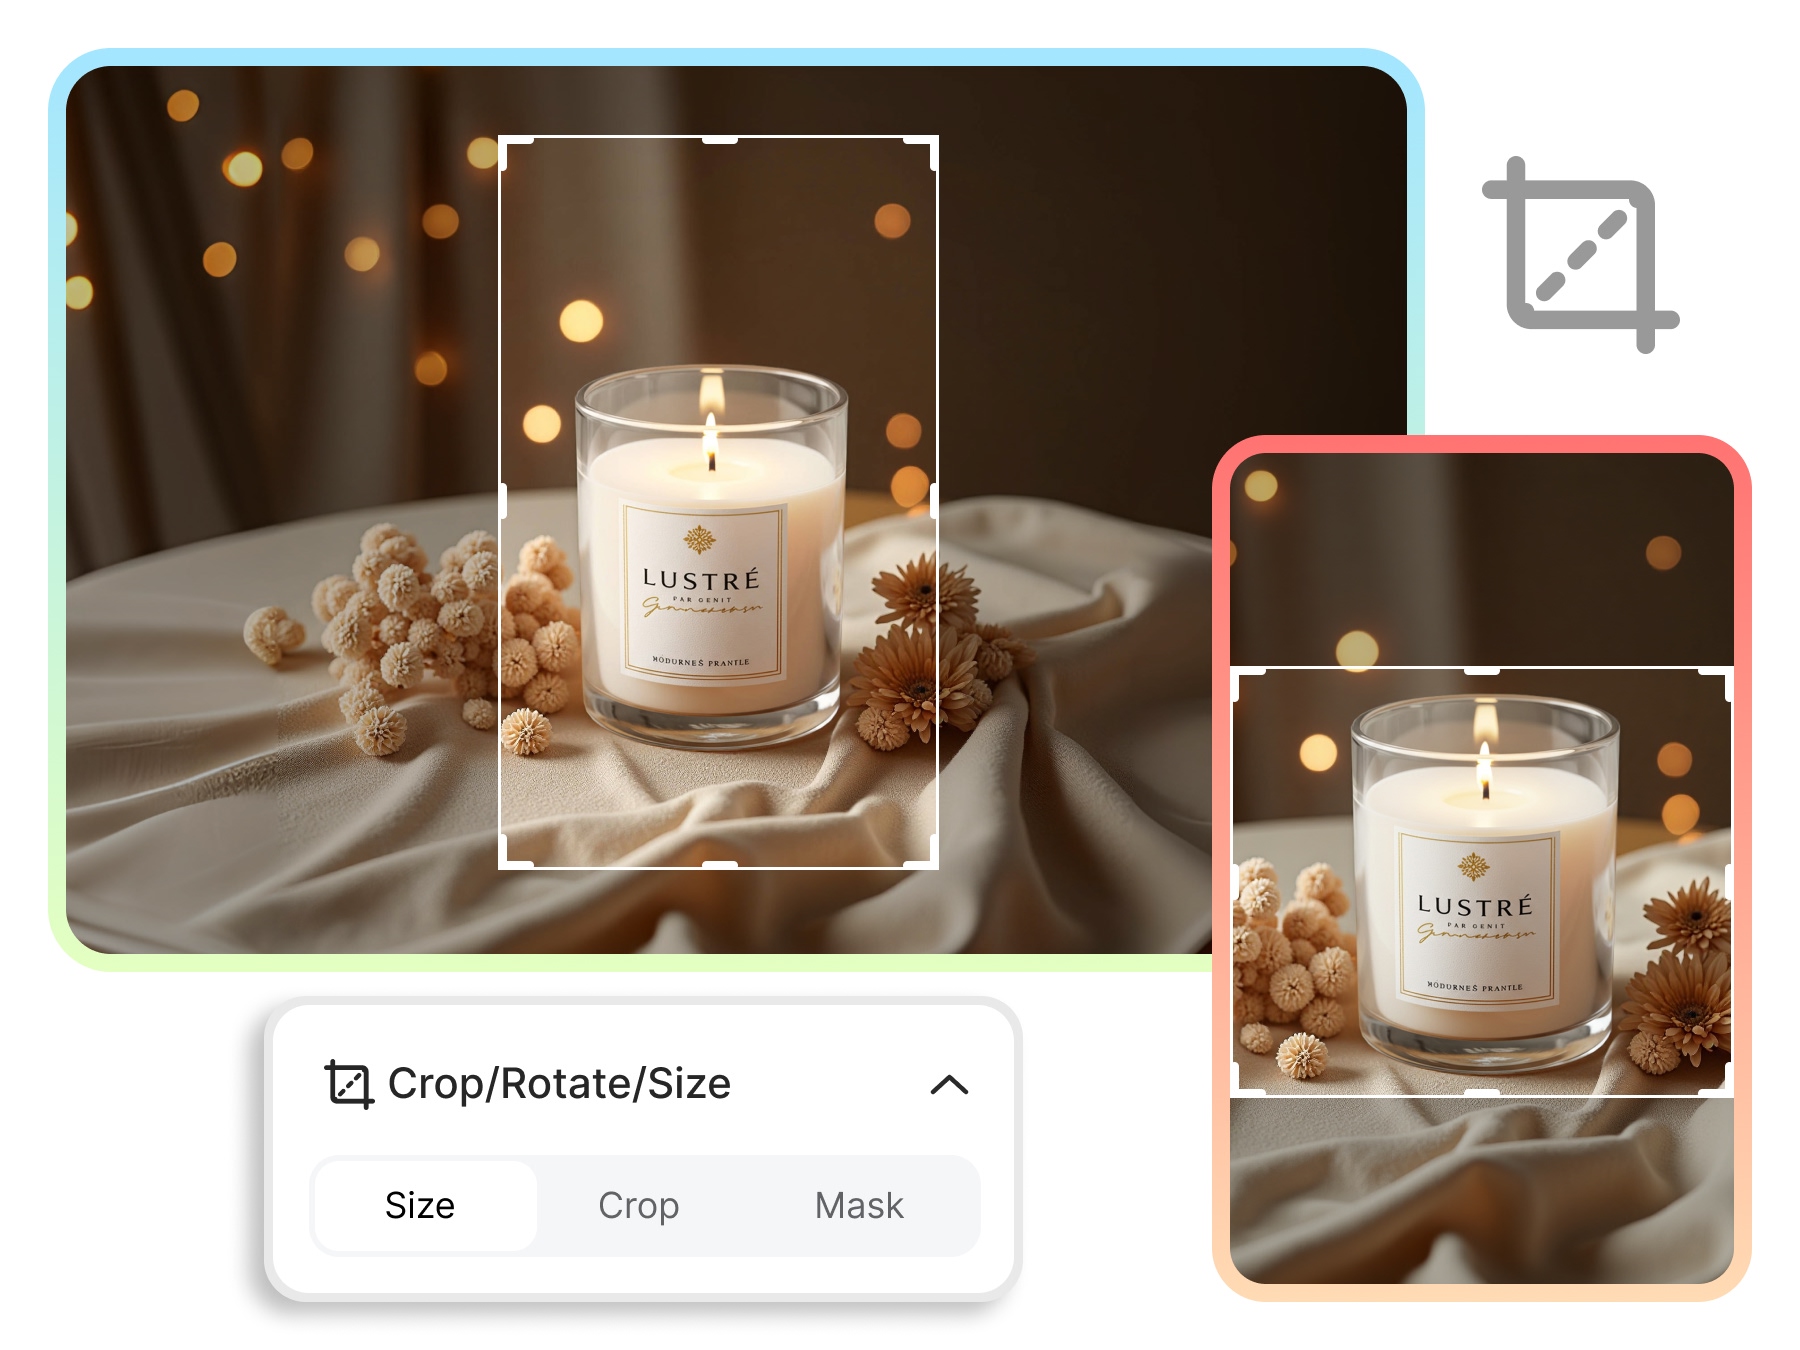
Choose Free, Original, Fit to edge, or a preset ratio to change the image shape. The aspect ratio changer updates the crop area on the canvas, allowing you to reposition the image before confirming. This gives you more control over how the subject fits inside the selected frame.
Process Multiple Images in One Session
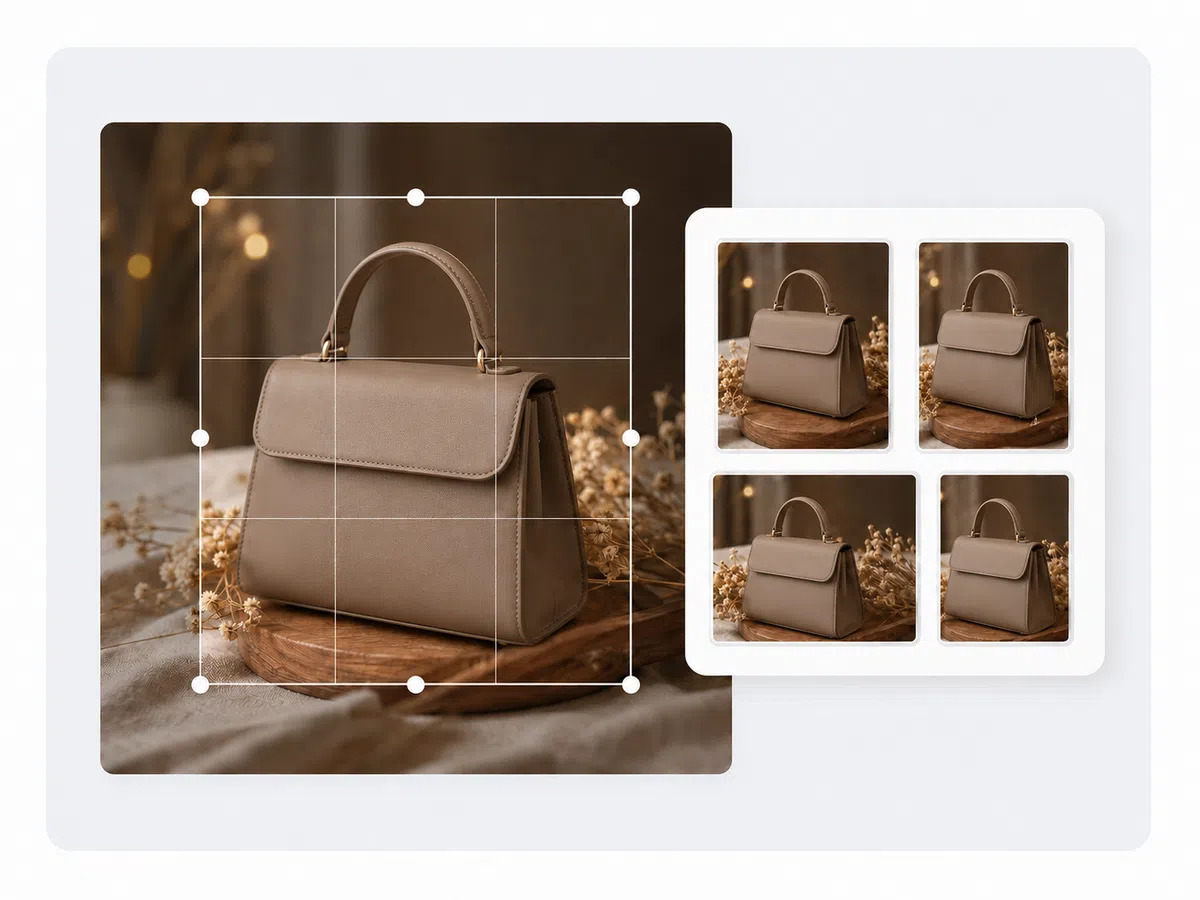
Select Batch Upload when several files need resizing in one session. The bulk image resizer keeps the files together in the same workflow, so you can move through the group without returning to the upload page for every image. Each file can still be checked before it is downloaded.
Download in JPG or PNG Format
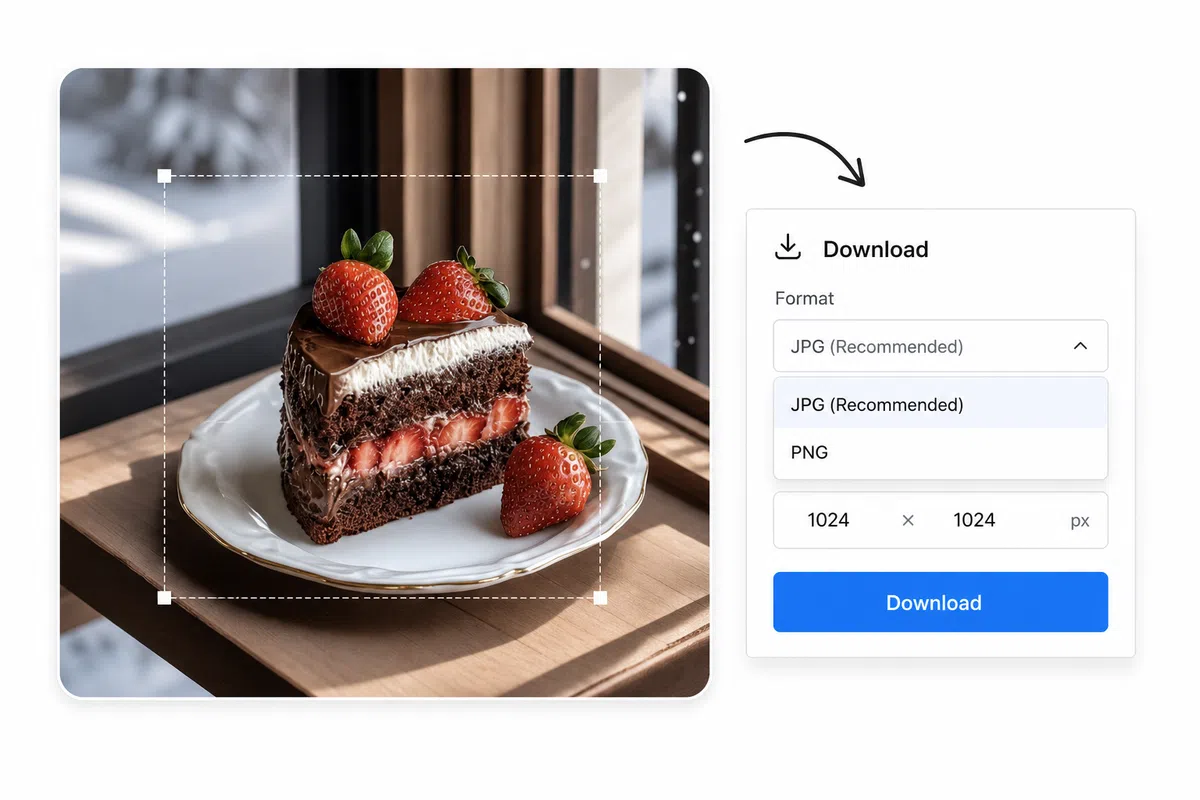
Open Download after confirming the resize, then select JPG or PNG and check the output dimensions shown in the panel. JPG produces a smaller standard image file, while PNG keeps lossless image quality and supports transparent backgrounds. This combines resizing and format choice in one export step.
Use the Image Resizer Across Different Content Tasks
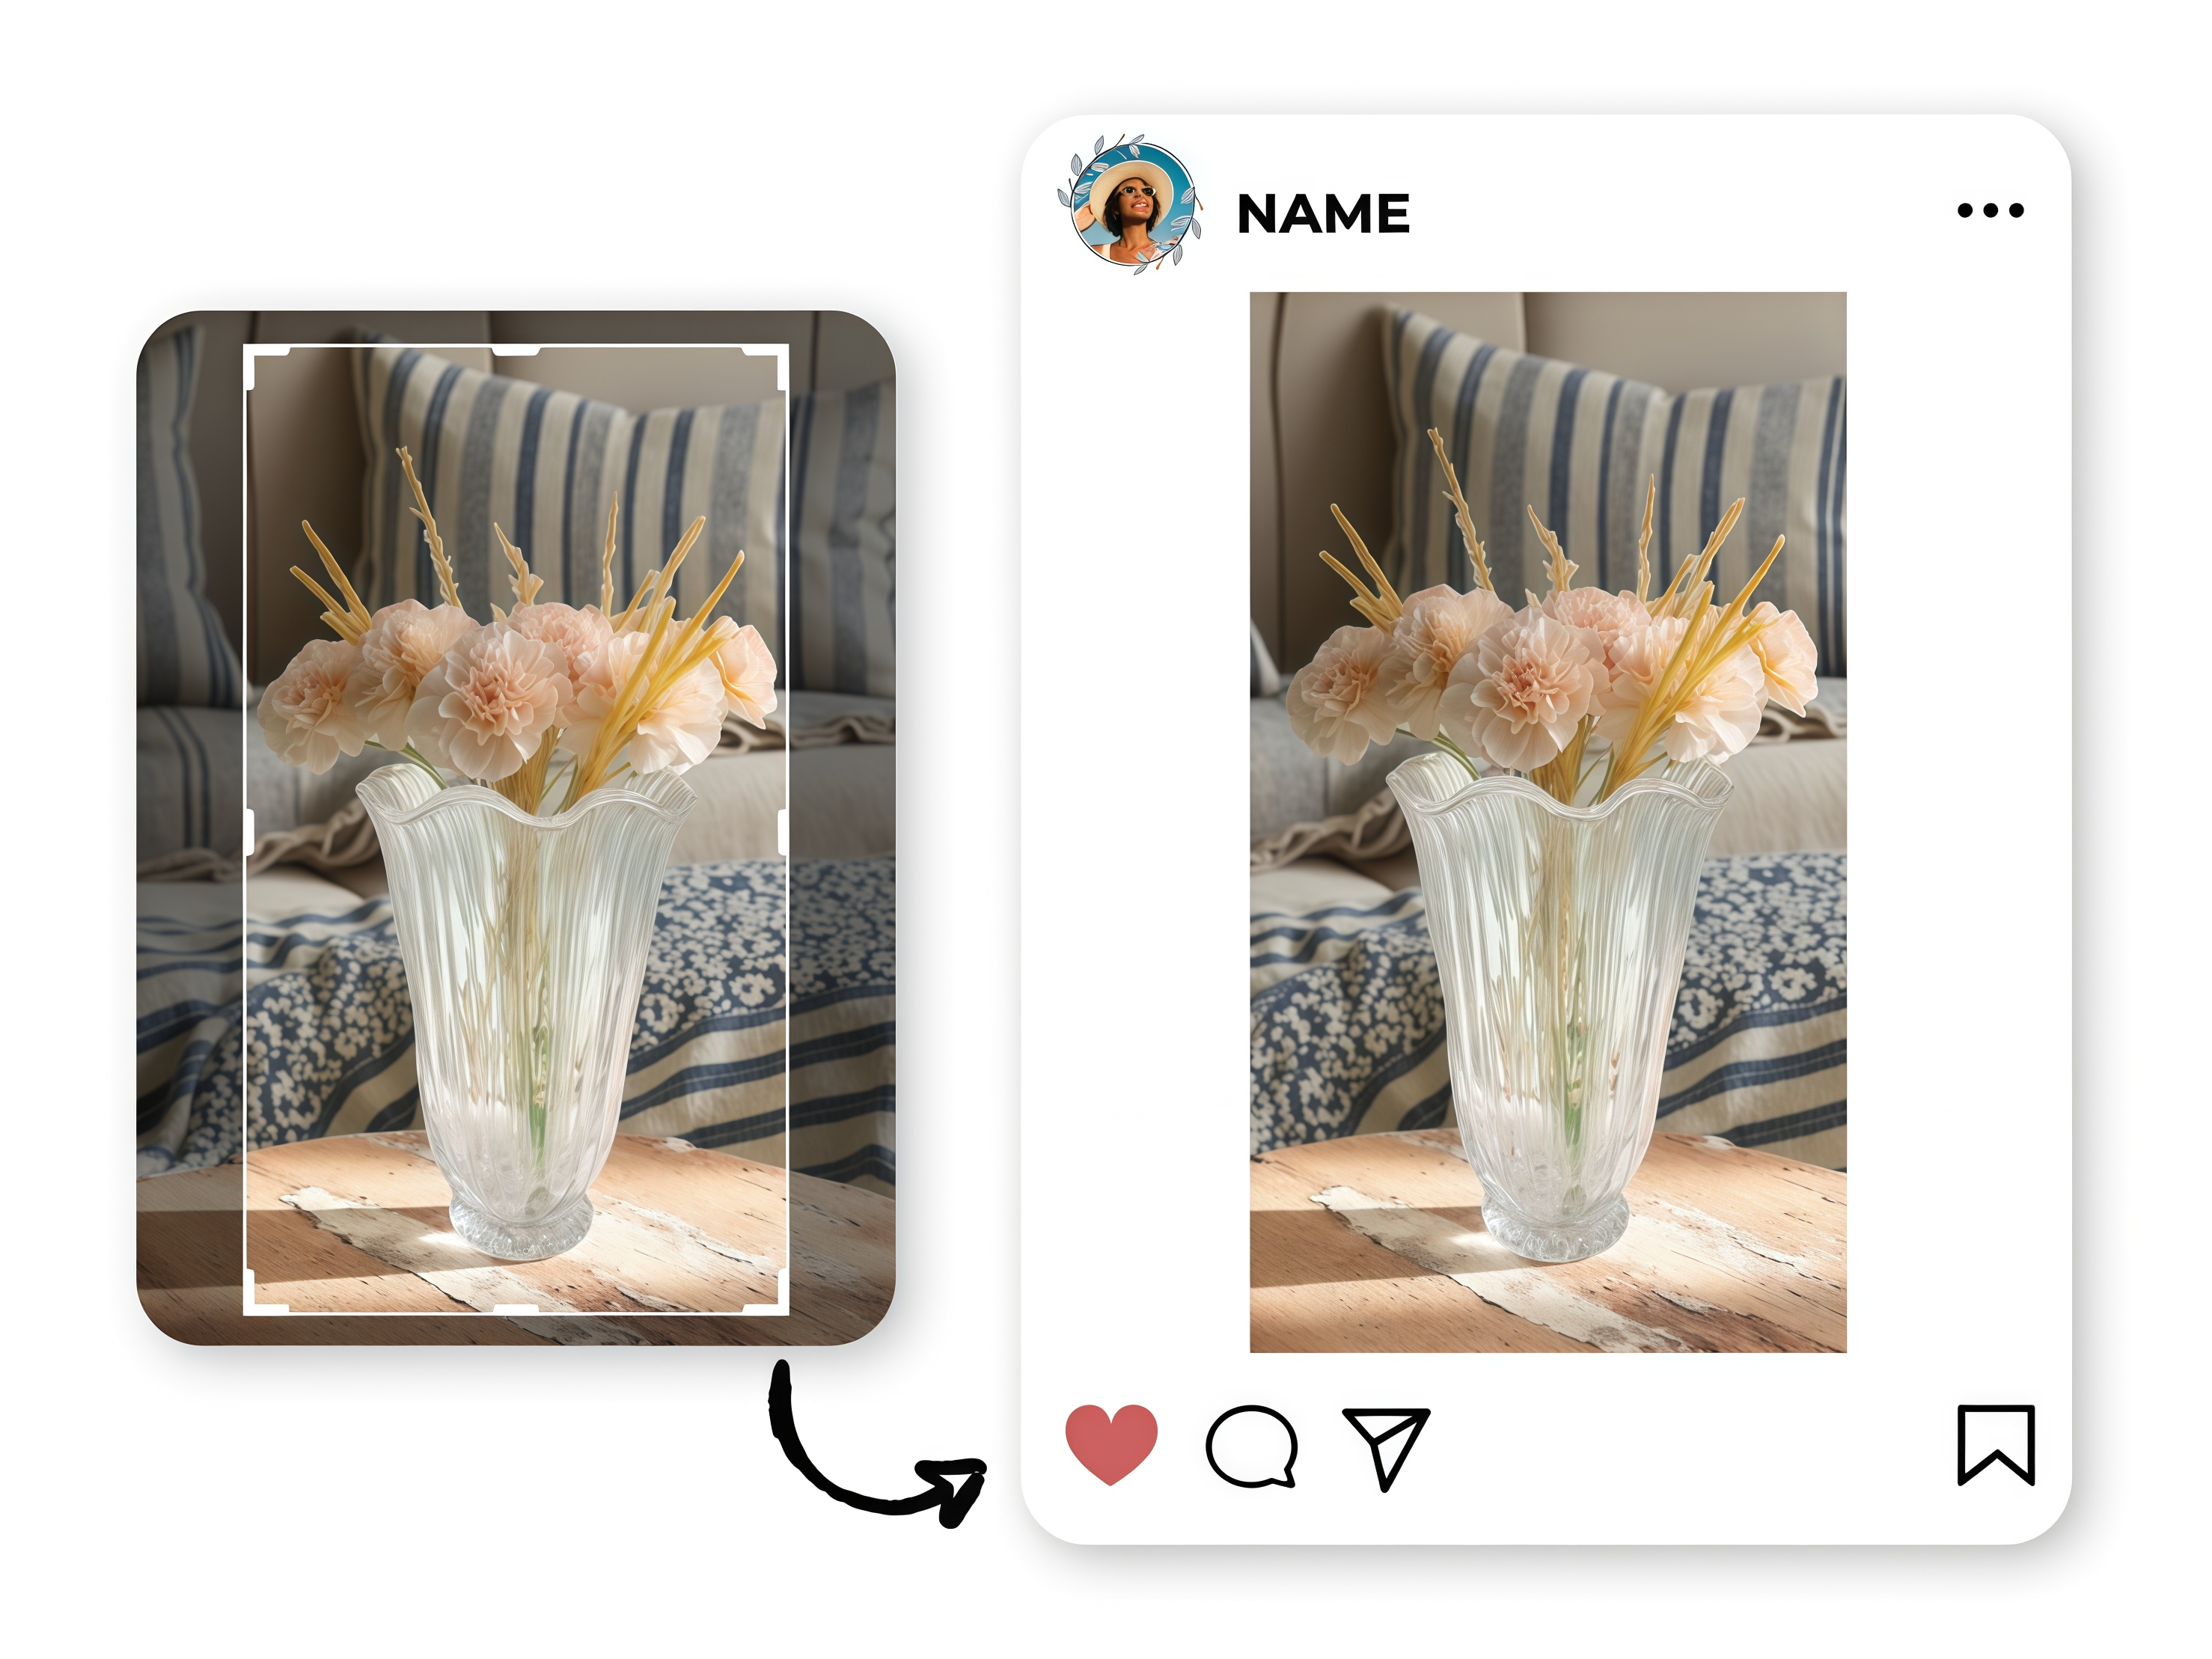
Prepare Images for Social Platforms
Social media teams can prepare new versions of the same source image for each content placement while keeping the subject easy to recognize. A photo can be resized for Instagram, checked against the selected layout, and reused across a publishing schedule without rebuilding the design whenever the required format changes.
Why Choose Designkit as Your Online Image Resizer

Work Directly in Your Browser
Resize images online with no software to install. Upload, adjust, and download the finished file from one workspace.

Continue Editing After Resizing
Keep editing after the size is set. Refine the image in the same workspace instead of moving an unfinished file between tools.

Confirm Before You Apply
Review each crop or ratio on the canvas. Choose Confirm to apply the change or Cancel to keep the previous result.
Frequently Asked Questions
Is Designkit a free image resizer?
Can I resize an image without losing quality?
Yes. Designkit maintains the image proportions and visible detail during resizing. Enlarging a small source image may still reduce clarity because resizing cannot recreate missing detail.
Can I resize PNG and JPG files?
Yes. You can resize PNG files or resize JPG and JPEG images. Choose PNG for transparency or JPG when you need a smaller standard image file.
Can I batch resize images?
Yes. Select Batch Upload to add multiple files and process them in the same workflow. Each image can be reviewed before download.
Can I resize product photos for Amazon or Etsy?
Yes. Enter the dimensions required by the listing platform and check its latest image specifications before exporting the files.
What resolution should I use for printing?
The required resolution depends on the physical print size. A density of 300 PPI is commonly used, but you should confirm the specifications with the print provider.
Resize Every Image to the Right Dimensions
Set the size, adjust the ratio, and download a JPG or PNG that fits its final placement.

How Users Work with the Designkit Image Resizer
See how different teams use custom dimensions, ratio presets, and batch resizing in their regular image workflows.
Fewer Corrections During Catalog Handoffs
During catalog updates, our biggest issue was not resizing one photo but checking that an entire product group followed the same presentation rules. Keeping the files in one workflow has made that review easier. We now hand the images to the listing team with fewer sizing corrections coming back during final QA.
Less Back-and-Forth for Social Content
Social images used to go through several exports before the composition worked for each placement. Being able to review the crop before confirming has reduced that back-and-forth. I spend more time checking the content itself and less time creating slightly different files just to test the layout before publishing.
Transparent Assets Stay Reusable
We work with product cutouts that need to stay reusable after resizing. PNG export lets us keep the transparent background, so the same asset can move into another layout later. That has been more useful than simply getting a smaller file because it protects how the image can be used across future projects.
Exact Sizes Reduce Client Revisions
My client briefs usually include exact pixel dimensions, and small mistakes can lead to another revision round. Entering the values directly gives me a clearer checkpoint before delivery. Seeing the output size at download gives me a final check and helps prevent basic sizing corrections on final delivery.
Fewer File Handoffs Between Tools
Resizing is usually only one part of our image preparation process. We may still need to clean the background or improve clarity before publishing. Keeping those tasks in the same editor has reduced file handoffs and made it easier to identify which version is actually final across the team.