
How to Resize an Image: Methods, Tools & Quality Tips
Resize images for websites, social media, ecommerce, and printing without sacrificing quality. Learn the best tools, resizing methods, and professional tips for every workflow.

Whether you're preparing photos for social media, websites, online stores, or printing, knowing how to resize an image is an essential editing skill. Resizing is more than just making an image larger or smaller. Used properly, it keeps sharpness, cuts file size when needed, and makes sure your photographs are up to platform specs. Find out the best methods for resizing images, compare common programs, and pick up helpful suggestions for keeping your photos looking great.
Quick Answer: How to Resize an Image
The easiest way to resize an image:
-
Upload your image to a resizing tool
-
Enter your target dimensions or choose a preset
-
Adjust quality settings and export your resized image
For ecommerce and marketing, AI-powered resizing tools can automatically adapt images for different platforms while maintaining visual consistency.
What Does It Mean to Resize an Image?
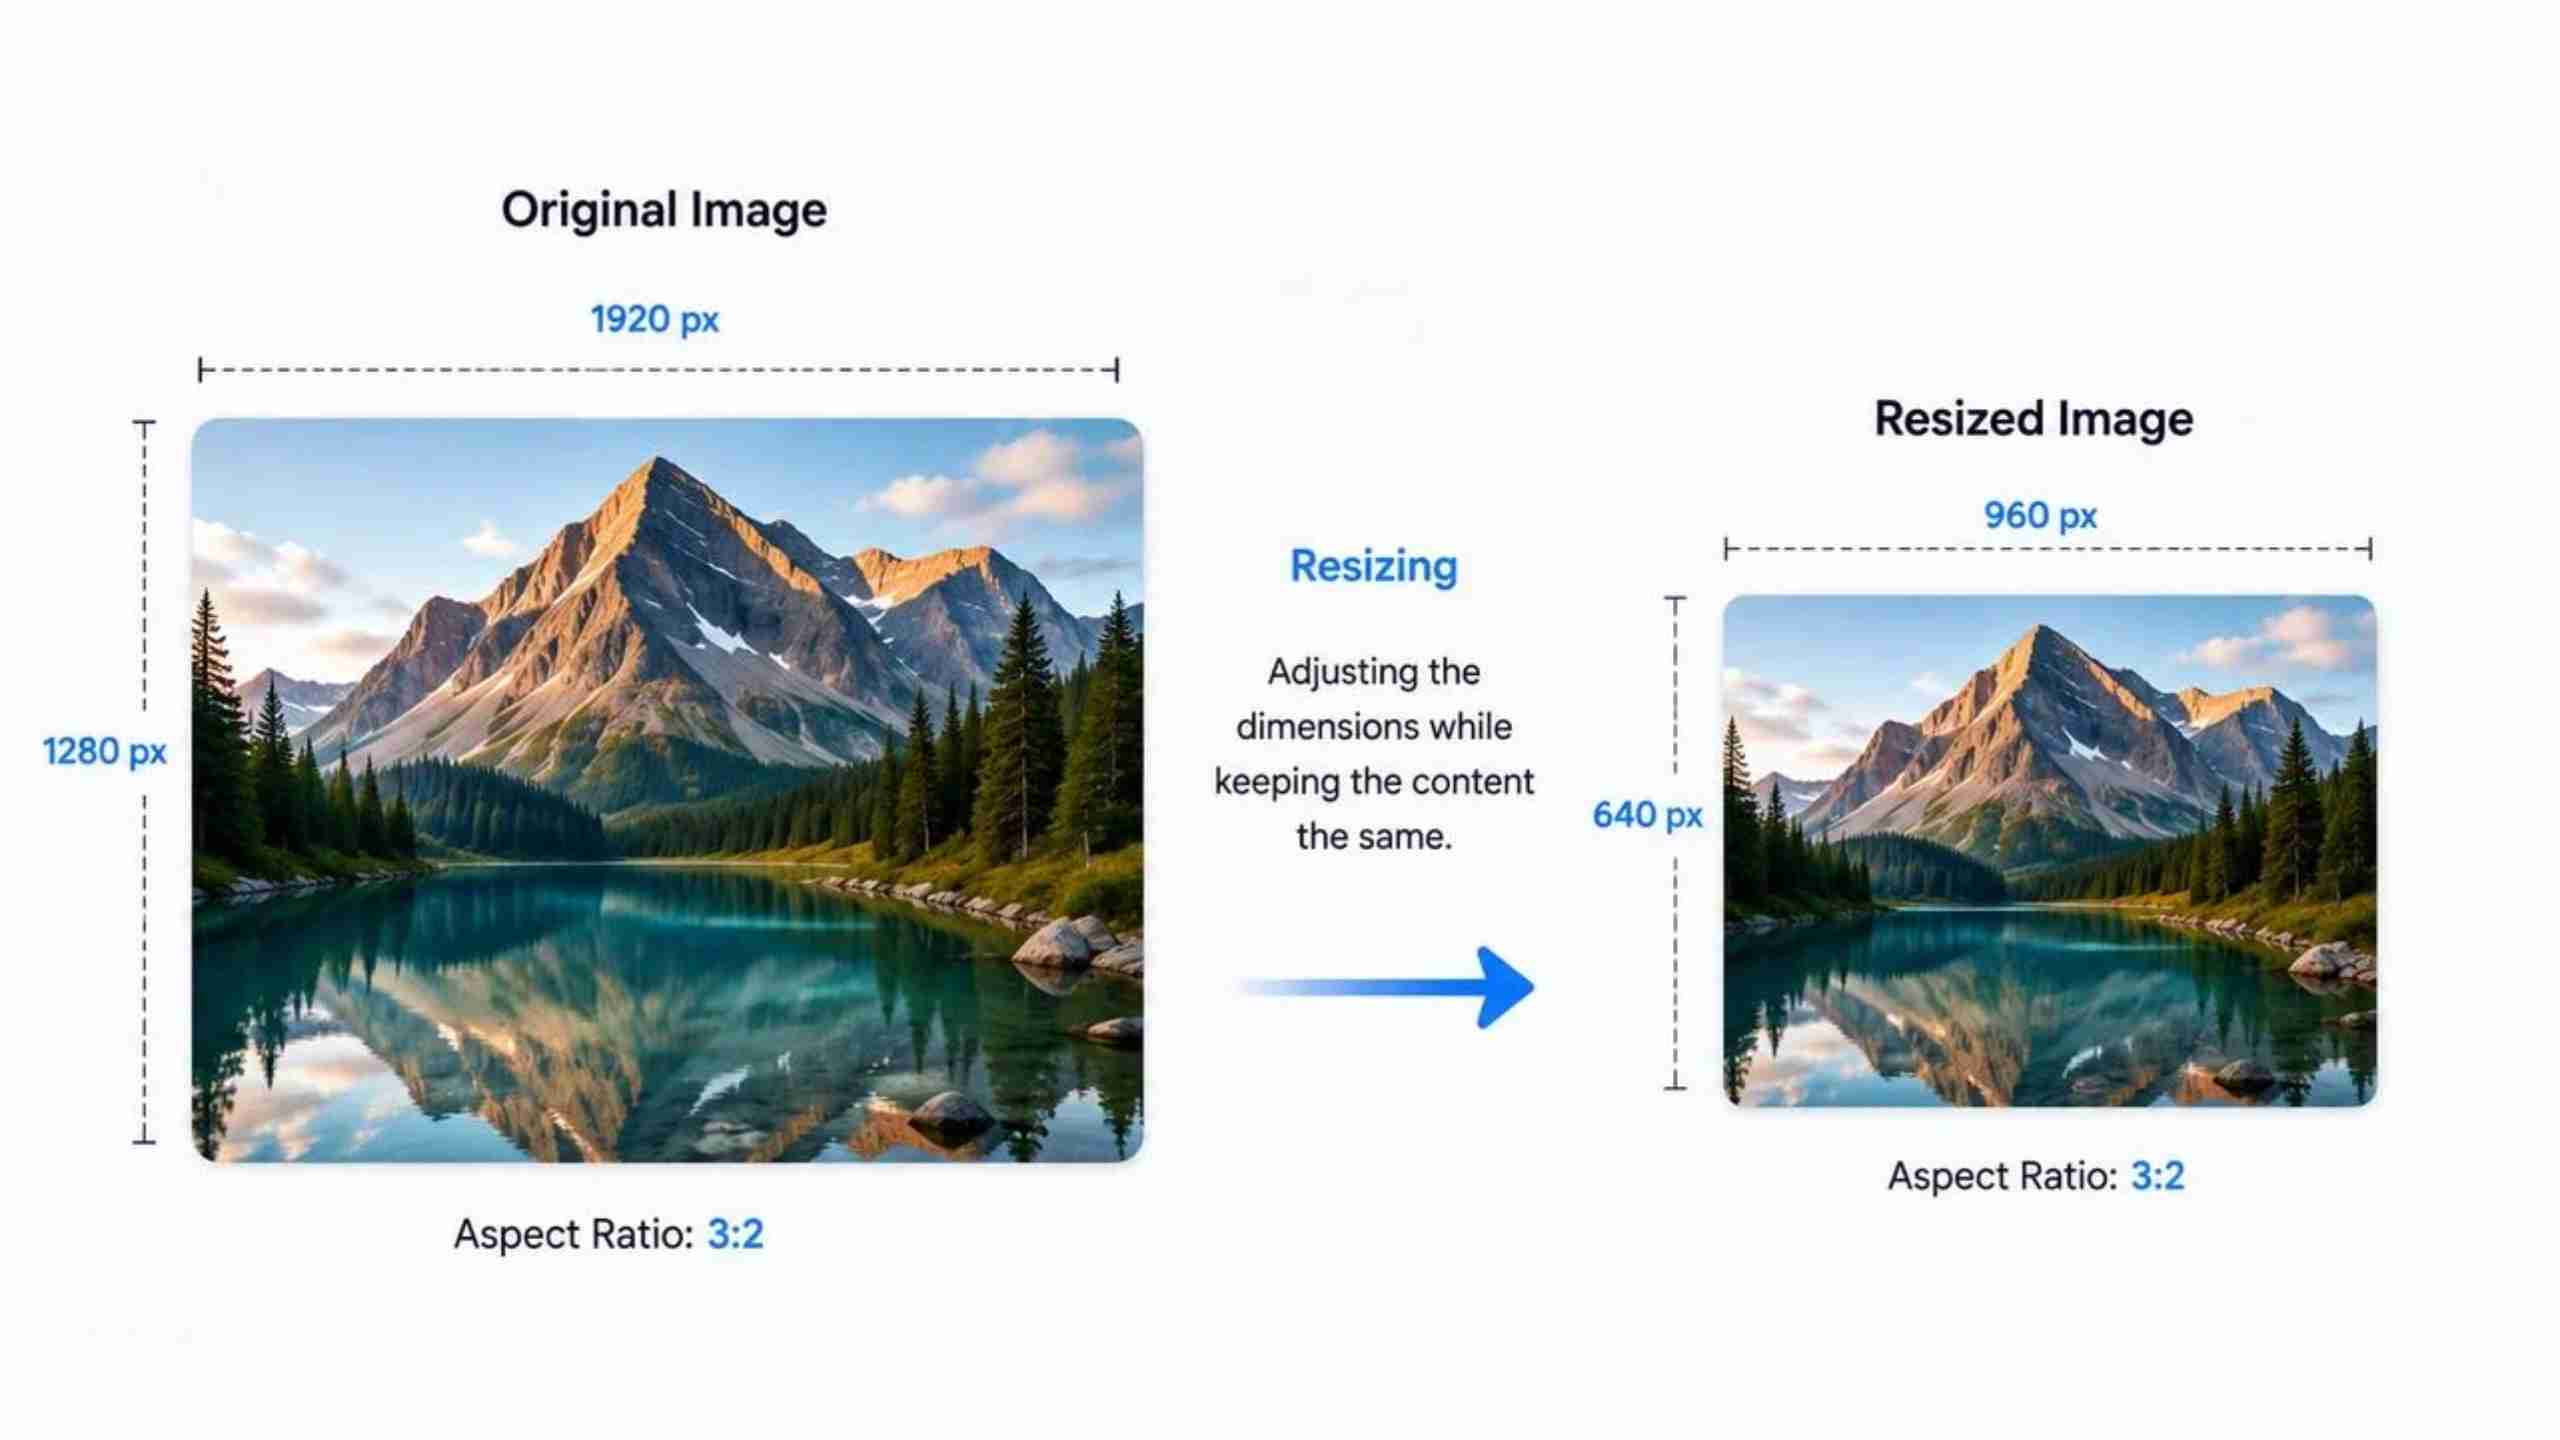
Resizing an image is a process of adjusting the proportions of an image without changing the visual content. Knowing the basics helps you select the proper settings and minimize needless quality loss, whether you're looking to upload a product shot, optimize a website, or prepare an image for printing.
Changing Image Dimensions
Image dimensions refer to an image's width and height, usually measured in pixels. When learning how to resize an image, you'll often adjust these values to meet the requirements of websites, social media platforms, or print layouts. Keeping the aspect ratio locked ensures the image remains proportional instead of appearing stretched or distorted.
Reducing or Increasing File Size
Many people assume resizing only changes an image's appearance, but it can also affect storage space. Smaller dimensions often produce smaller file sizes, allowing faster uploads and quicker page loading times. If your goal is to change the size of image files for websites or email attachments, resizing is one of the most effective methods.
When You Should Resize Images
Different platforms require different image sizes, making resizing a common part of any content creation workflow. Here are some situations where resizing is essential:
-
Optimize images for websites and blogs to improve loading speed and user experience.
-
Prepare product images for ecommerce platforms by meeting marketplace dimension requirements.
-
Adapt visuals for social media channels using recommended sizes for posts, stories, and profile images.
-
Create platform-ready marketing materials for presentations, advertisements, and email campaigns.
Understanding these scenarios also makes it easier to decide how to edit the size of a photo without affecting its visual quality.
How to Resize an Image Step by Step
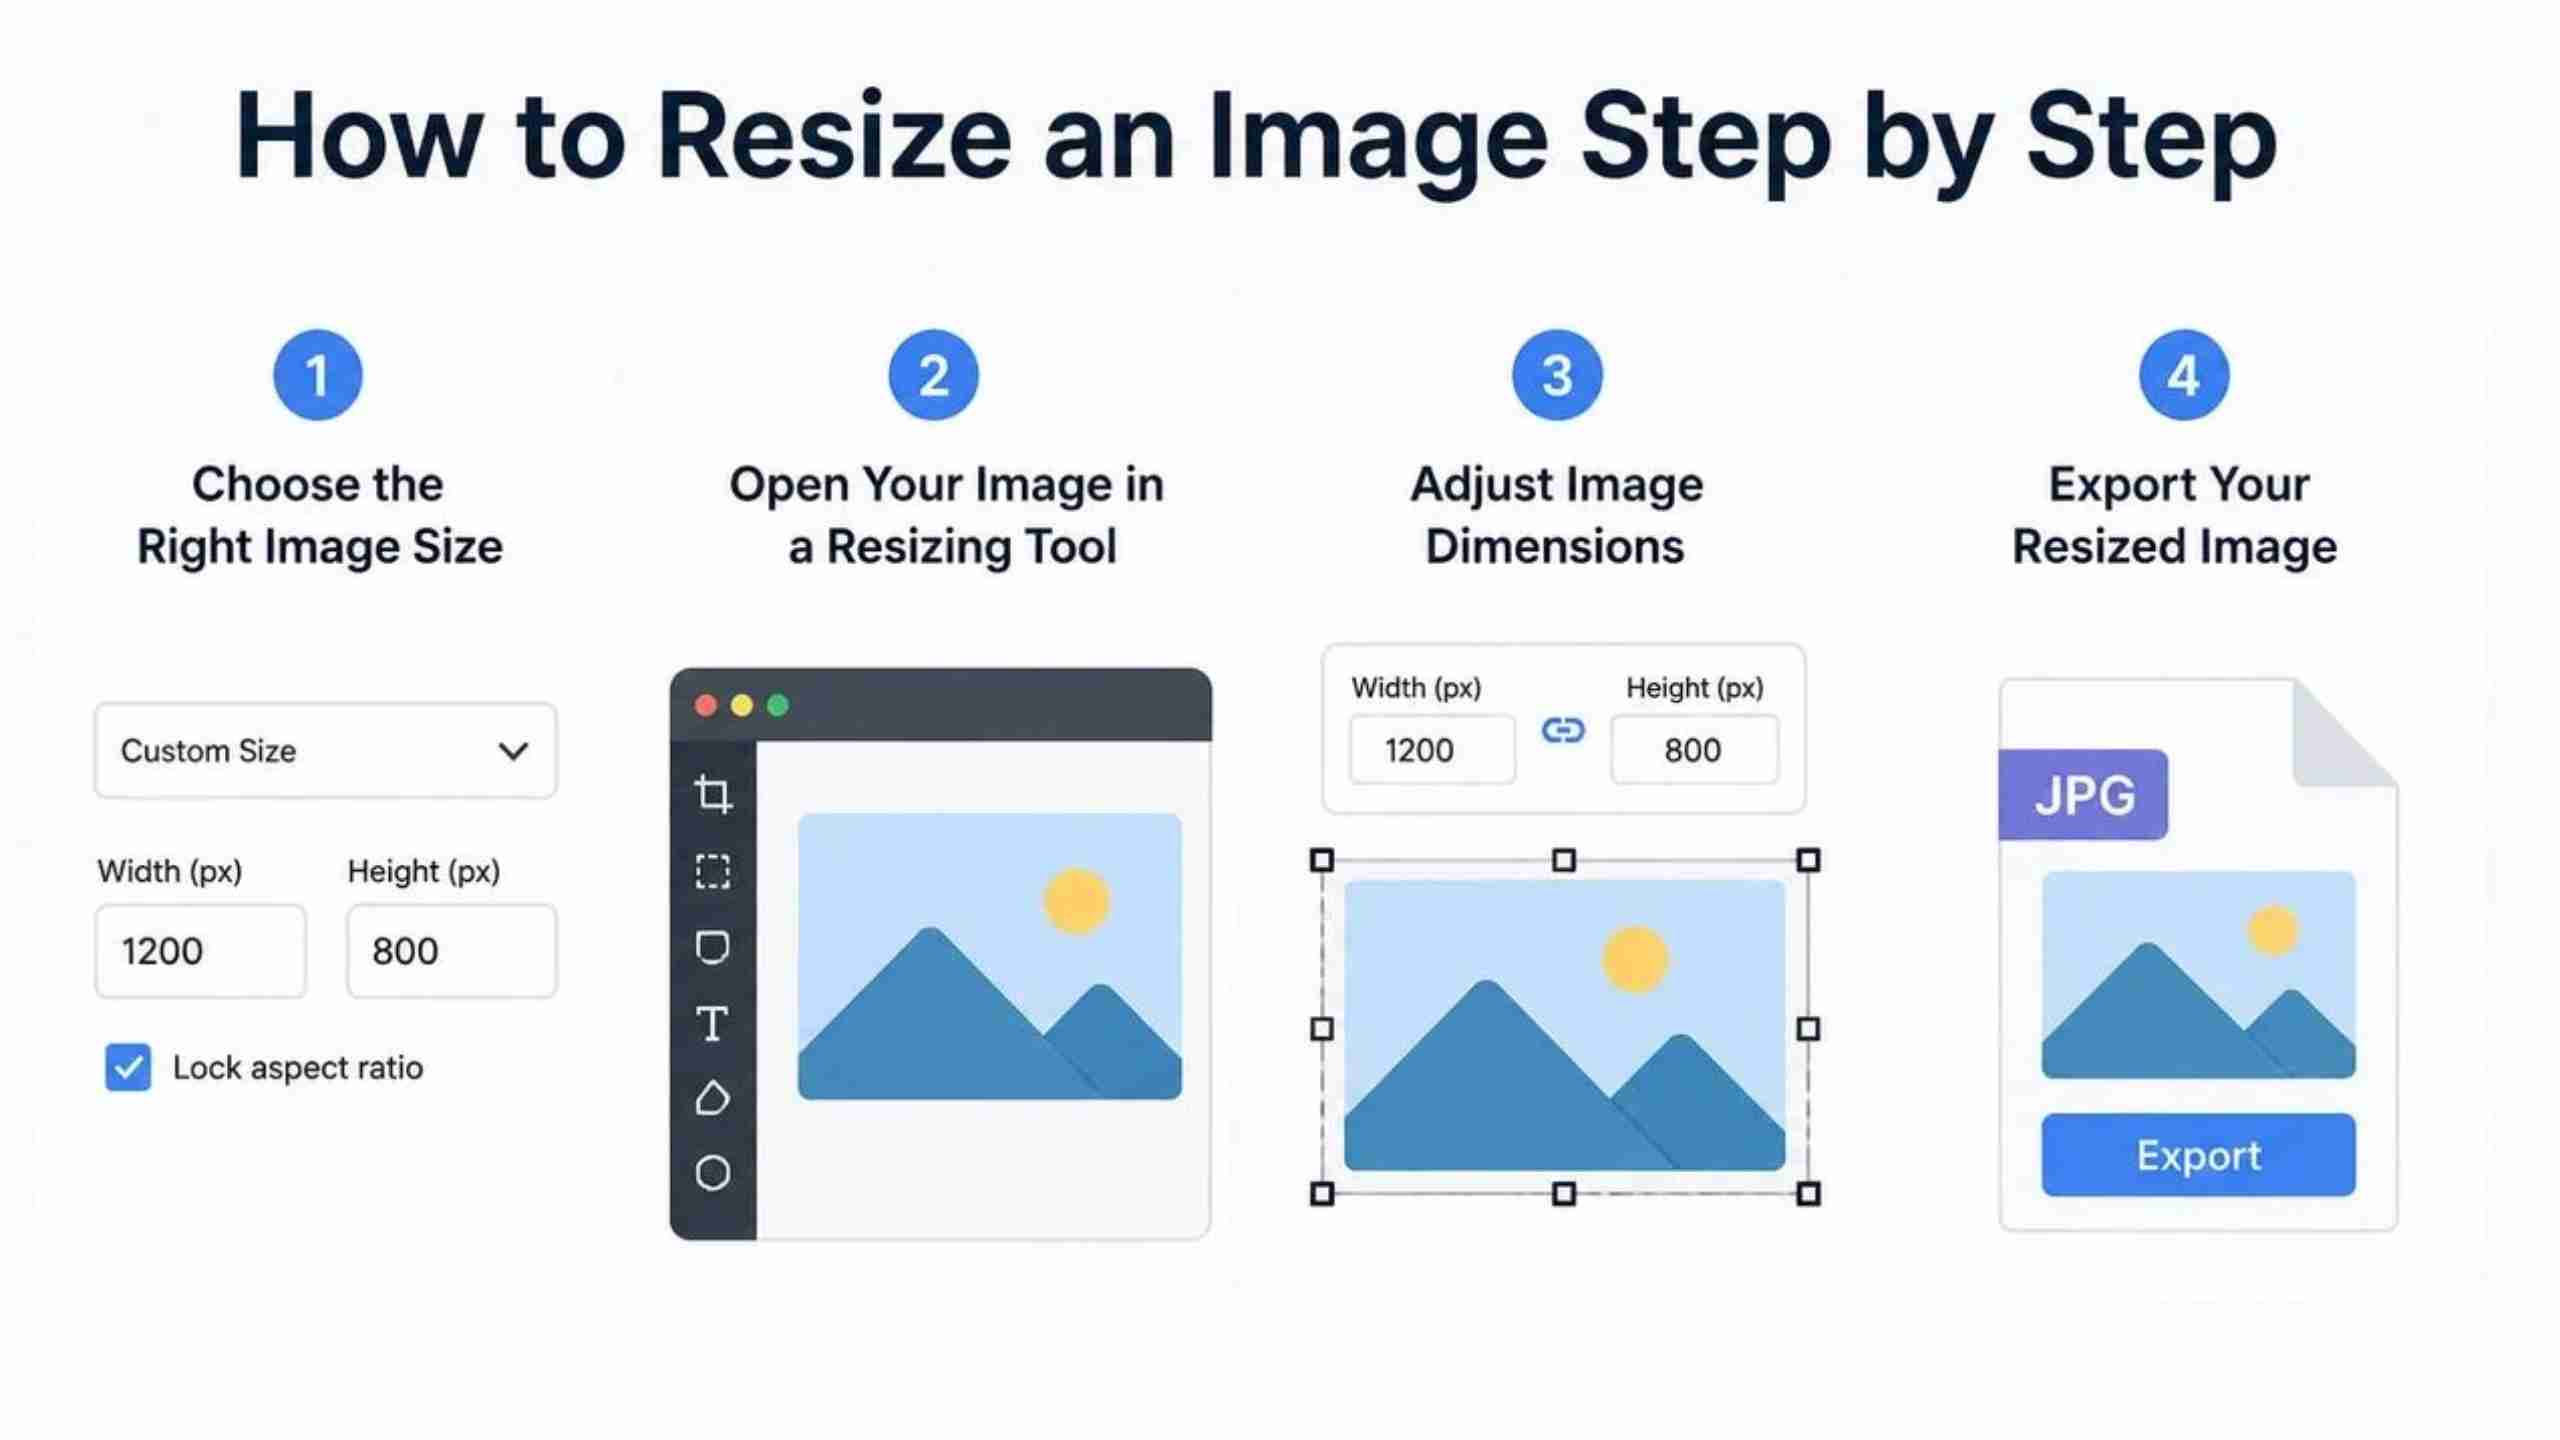
The interface is different for every editing application, but the workflow remains the same. You can resize photos correctly following these four steps, whether you're using desktop software, an image resizer, or a browser-based service.
Step 1: Choose the Right Image Size
First, determine where you will use the photograph. We have suggested sizes for websites, e-commerce, social networks, and print products. Before you start editing, choose the width, height, and aspect ratio correctly so you don't have to scale too much later.
Step 2: Open Your Image in a Resizing Tool
Import your image into your favorite editing software or web editor. If you are seeking a simple approach to resize photographs or using expert software, make sure that the tool allows custom dimensions while maintaining image proportions.
Step 3: Adjust Image Dimensions
Enter your desired width and height in pixels, percentages, or physical units. Keep the aspect ratio locked unless you intentionally want to stretch the image. This is the simplest, best way to resize an image while preventing distortion.
Step 4: Export Your Resized Image
Preview the resized image before exporting. Choose an appropriate format such as JPG for smaller file sizes, PNG for graphics with transparency, or WebP for modern web optimization. Adjust the quality settings to balance file size and image clarity.
Best Ways to Resize Images Using Popular Tools
The ideal tool relies on your experience, workflow, and the necessity of editing. Some apps are all about speed and simplicity, while others provide you with pro-level features. If you are looking for how to resize an image in an efficient way, then the solutions below are some of the most trusted possibilities.
Photoshop
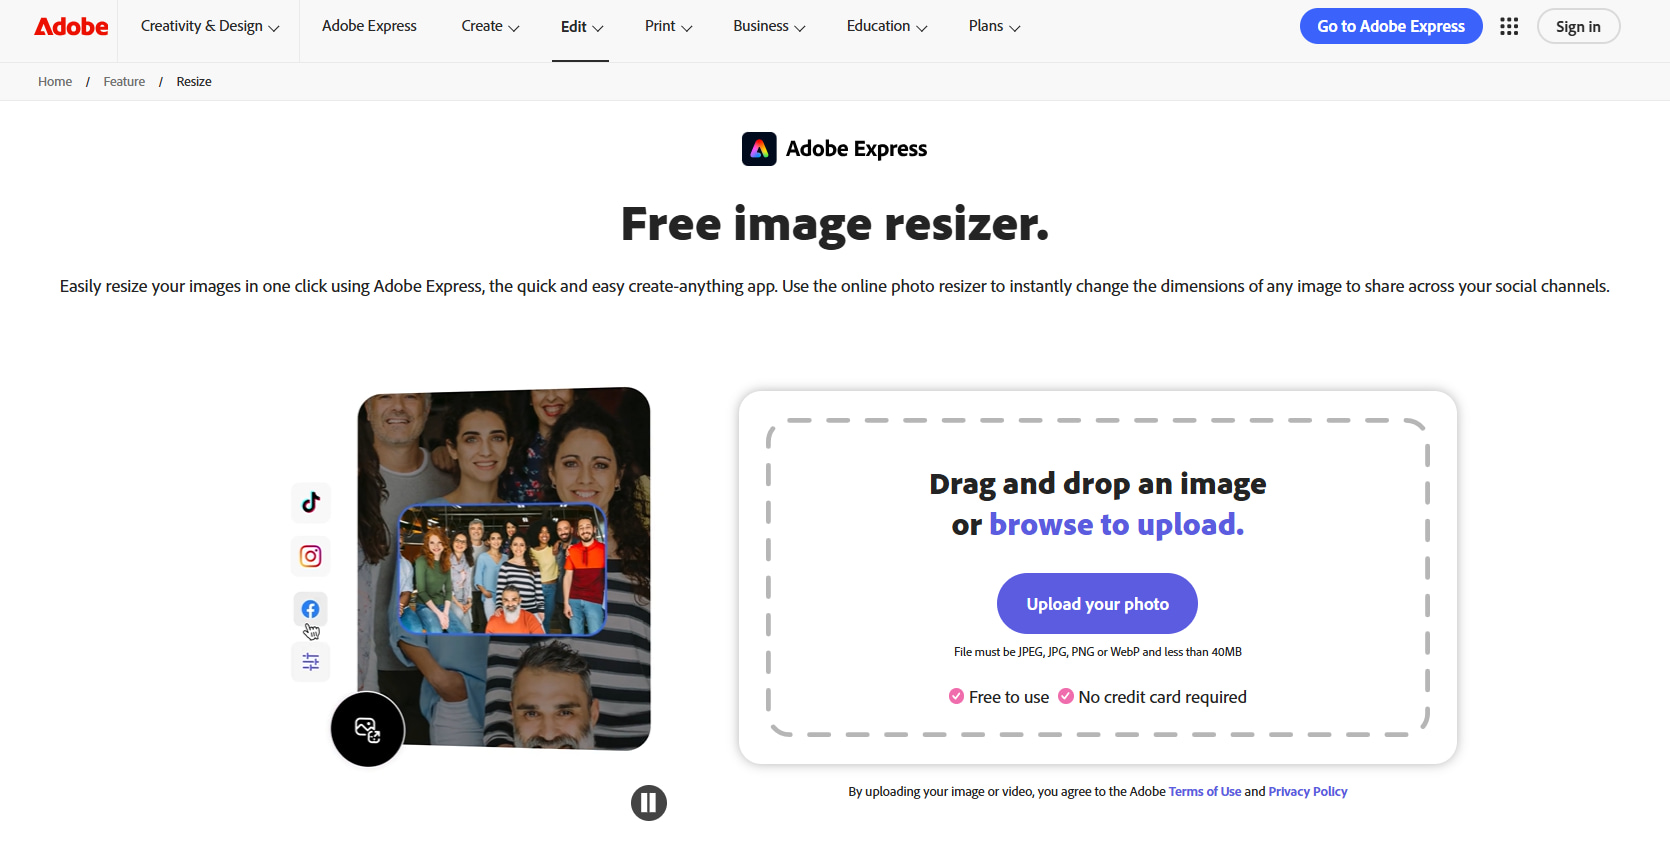
Adobe Photoshop is typically considered the industry standard for picture processing. If you're learning how to resize an image with Photoshop, you'll have exact controls for dimensions, resolution, and resampling, so it's well suited for both digital and print applications.
Pros:
-
Professional-grade editing tools
-
Precise control over image size and resolution
-
Advanced resampling options
Cons:
-
Requires a paid subscription
-
Steeper learning curve
Best for: Professional designers and photographers
GIMP
GIMP is a free, open-source image editor that includes strong scaling tools at no cost to you, unlike premium software. If you want to know how to resize an image in GIMP, you can resize without losing image quality and change the dimensions, resolution, and interpolation.
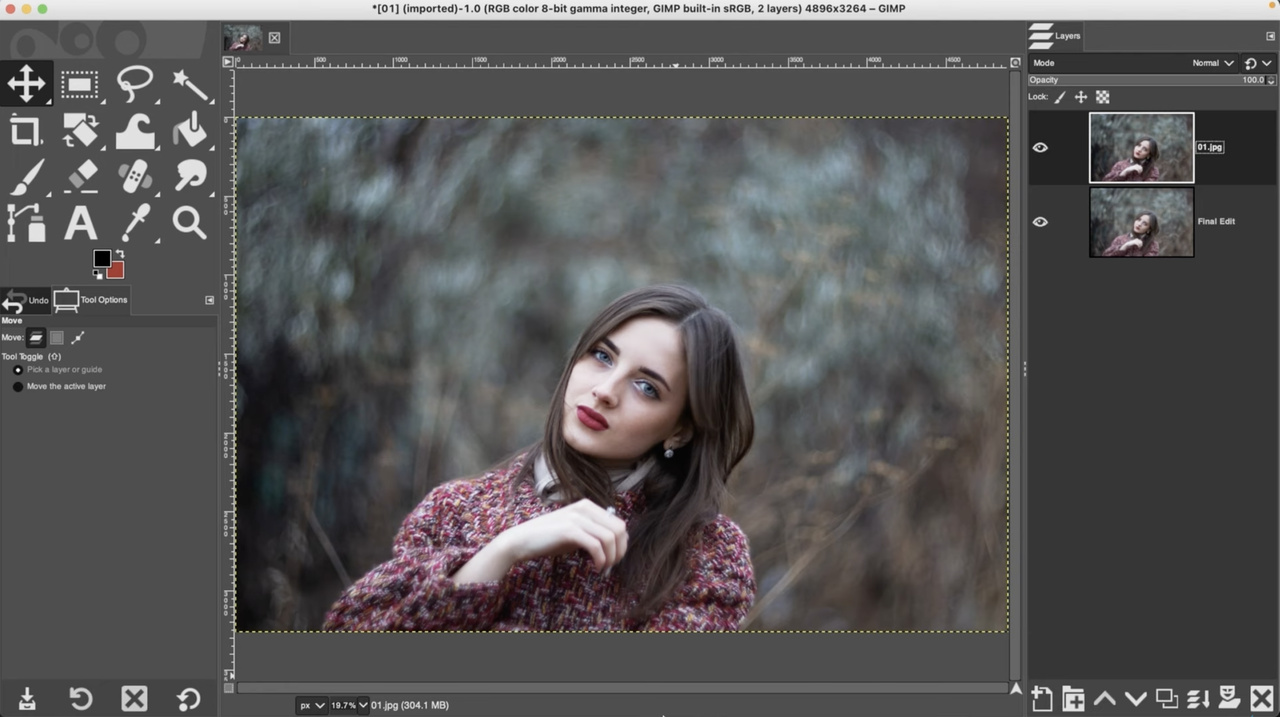
Pros:
-
Completely free to use
-
Powerful image editing capabilities
Cons:
-
Interface can be difficult for beginners
Best for: Users looking for a free Photoshop alternative
Canva
Canva is designed for users who want quick and simple editing. If you're exploring how to resize an image in Canva, you'll find ready-made templates and presets that make it easy to prepare graphics for social media, presentations, and marketing campaigns.
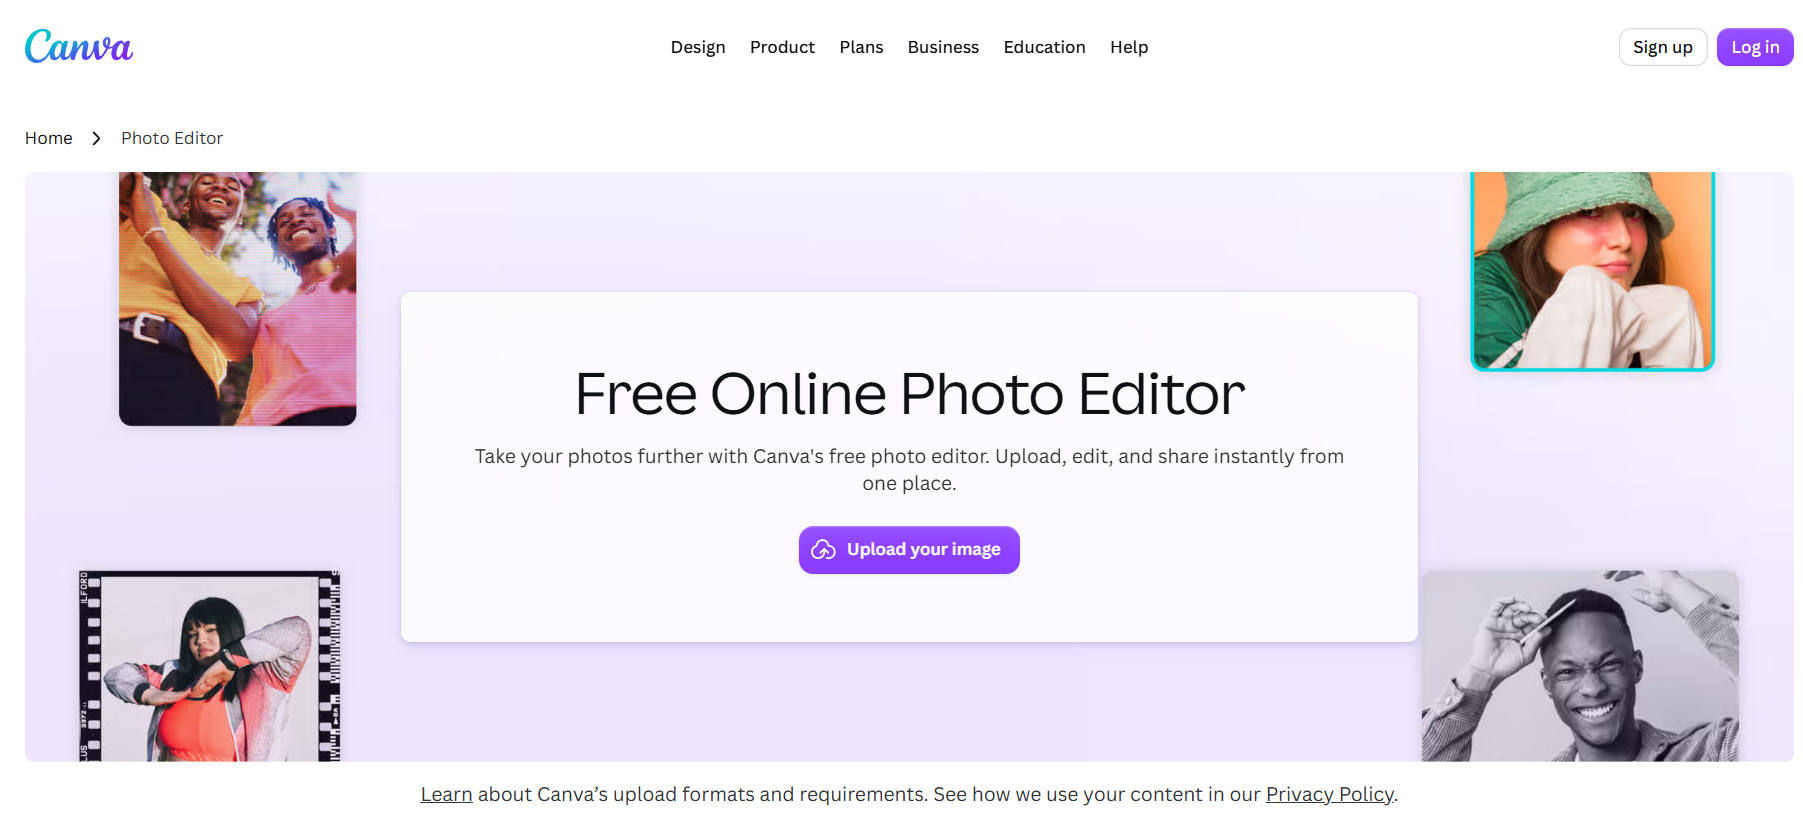
Pros:
-
Easy to use
-
Excellent platform presets
-
Suitable for quick design tasks
Cons:
-
Magic Resize and some features require Canva Pro
Best for: Content creators, marketers, and small businesses
Online Image Resizers
If you don't want to install software, browser-based editors are a good choice. Often, the process of resizing a picture online is as simple as uploading your photo, choosing new dimensions, and receiving the resized version. Many recent tools now have AI-powered optimization, compression, and format conversion.
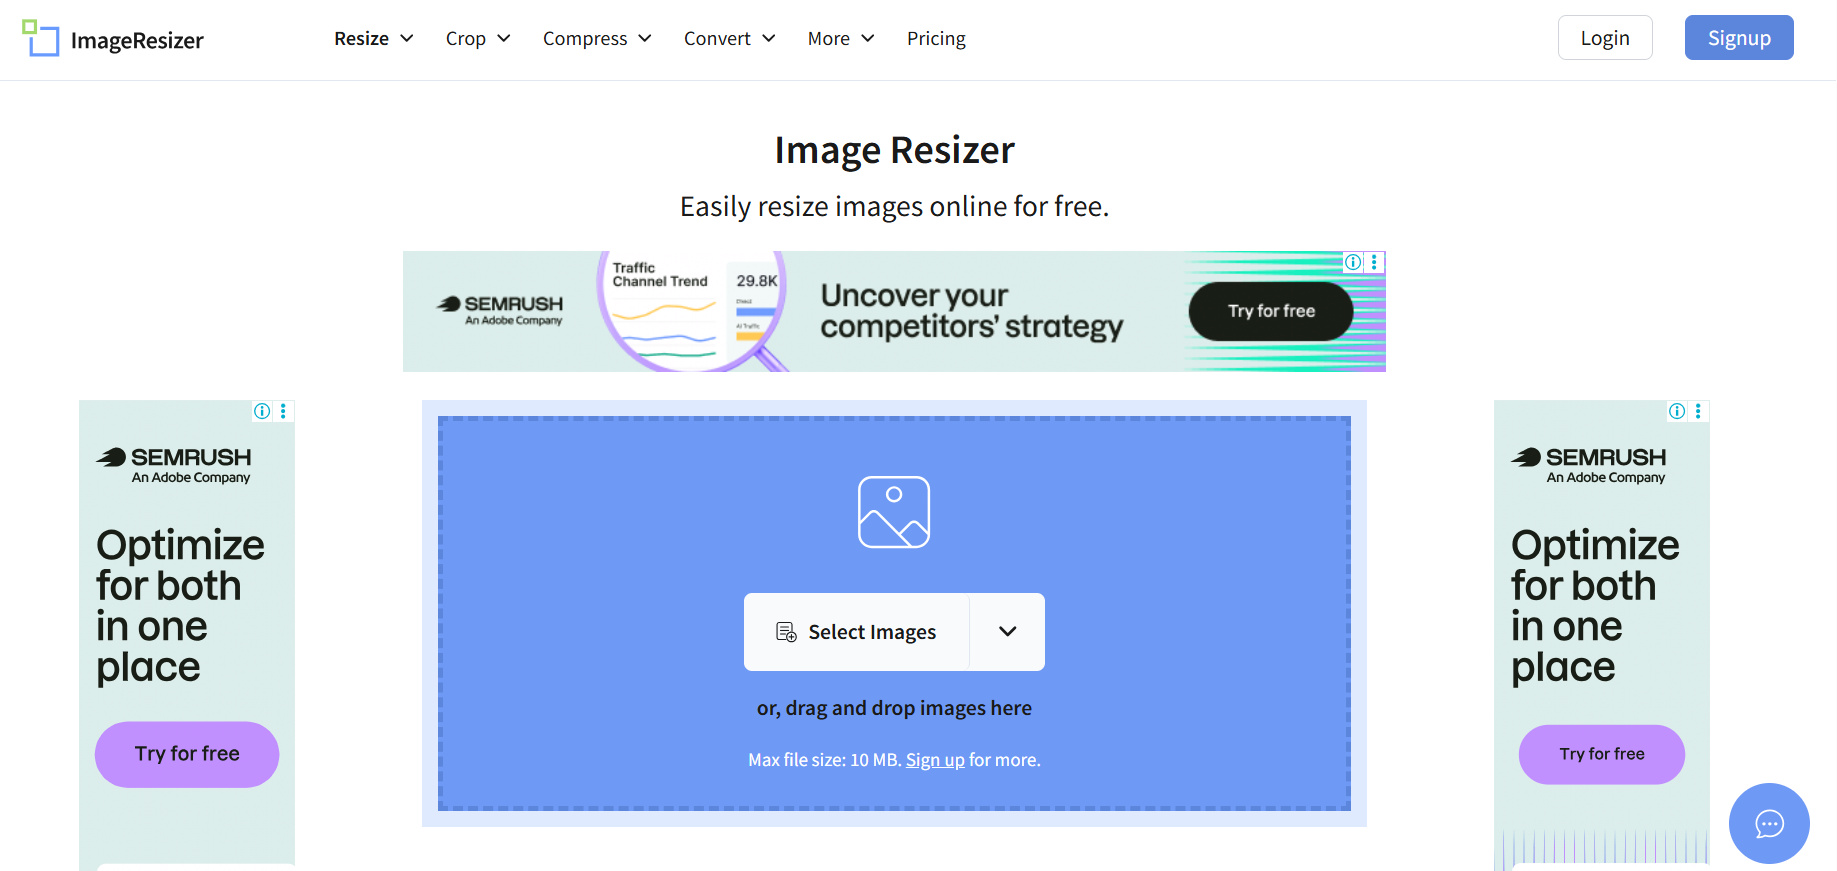
Pros:
-
No installation required
-
Fast and convenient
-
Accessible from any device
Cons:
-
Upload limits or feature restrictions on some platforms
-
Internet connection required
Best for: Quick edits, occasional resizing, and everyday use
Quick Comparison Table of the Resizing Tools Above
|
Tool |
Ease of Use |
Cost |
Best For |
Key Advantage |
|---|---|---|---|---|
|
Photoshop |
Moderate |
Paid |
Professionals |
Advanced editing and precise resizing |
|
GIMP |
Moderate |
Free |
Advanced users on a budget |
Powerful open-source editor |
|
Canva |
Easy |
Free/Pro |
Creators and marketers |
Presets for social media and designs |
|
Online Image Resizers |
Very Easy |
Free/Paid |
Quick everyday resizing |
Fast browser-based workflow |
How to Resize an Image Without Losing Quality
Many people worry that resizing will inevitably lower image quality; however, this is only true if it is done poorly. With a few best practices, you can keep the clarity and optimize your photographs to fit various platforms and screen sizes.
Maintain the Original Aspect Ratio
Aspect ratio is the width-to-height ratio of a picture. If you keep it locked, you won't have to worry about stretching or squashing your resized image, and your resized image will look natural no matter what proportions you choose.
Use High-Resolution Source Images
If you start with a high-resolution image, you will have much more flexibility when modifying. The bigger source files keep more visual information. So you can downscale without perceptible loss in quality. This is very useful when you are producing photos for different platforms.
Choose the Right Image Format
The export format plays an important role in the final result.
-
JPG works well for photographs and keeps file sizes small.
-
PNG is ideal for graphics, logos, and transparent backgrounds.
-
WebP offers excellent compression while maintaining high image quality for websites.
Choosing the right format helps optimize both image quality and loading speed.
Avoid Repeated Resizing
Every time you resize and save an image, you could lose some data, especially if it's saved in a compressed format like JPG. Instead of modifying the same file again and again, preserve an original high-res version and make scaled copies as needed.
Downscaling vs. Upscaling
All resizes are not created equal. Downscaling, or really making the image smaller, tends to keep sharpness. The image information is being squeezed into fewer pixels. This is why lowering a photo for websites or social media will generally result in exceptional quality.
Upscaling, however, makes the image bigger than the original size. Conventional resampling methods tend to result in softer edges and less detail, since new pixels have to be produced in the process. Knowing the difference will ensure you go for the proper strategy for your editing needs.
Use AI Upscaling When Enlarging Images
If you have to enlarge an image a lot, then AI upscalers will give you considerably better results than regular resizing. Artificial intelligence doesn't merely enlarge pixels; it analyzes patterns and predicts more detail to create a clearer, more natural-looking image.
If you want to blow up a tiny photo for printing or presentation, or you want to display it on a high-resolution screen, you usually want to use AI upscaling. But in normal downscaling, the simplest and most efficient method is still to use standard resizing procedures.
Resize Images Faster with Designkit
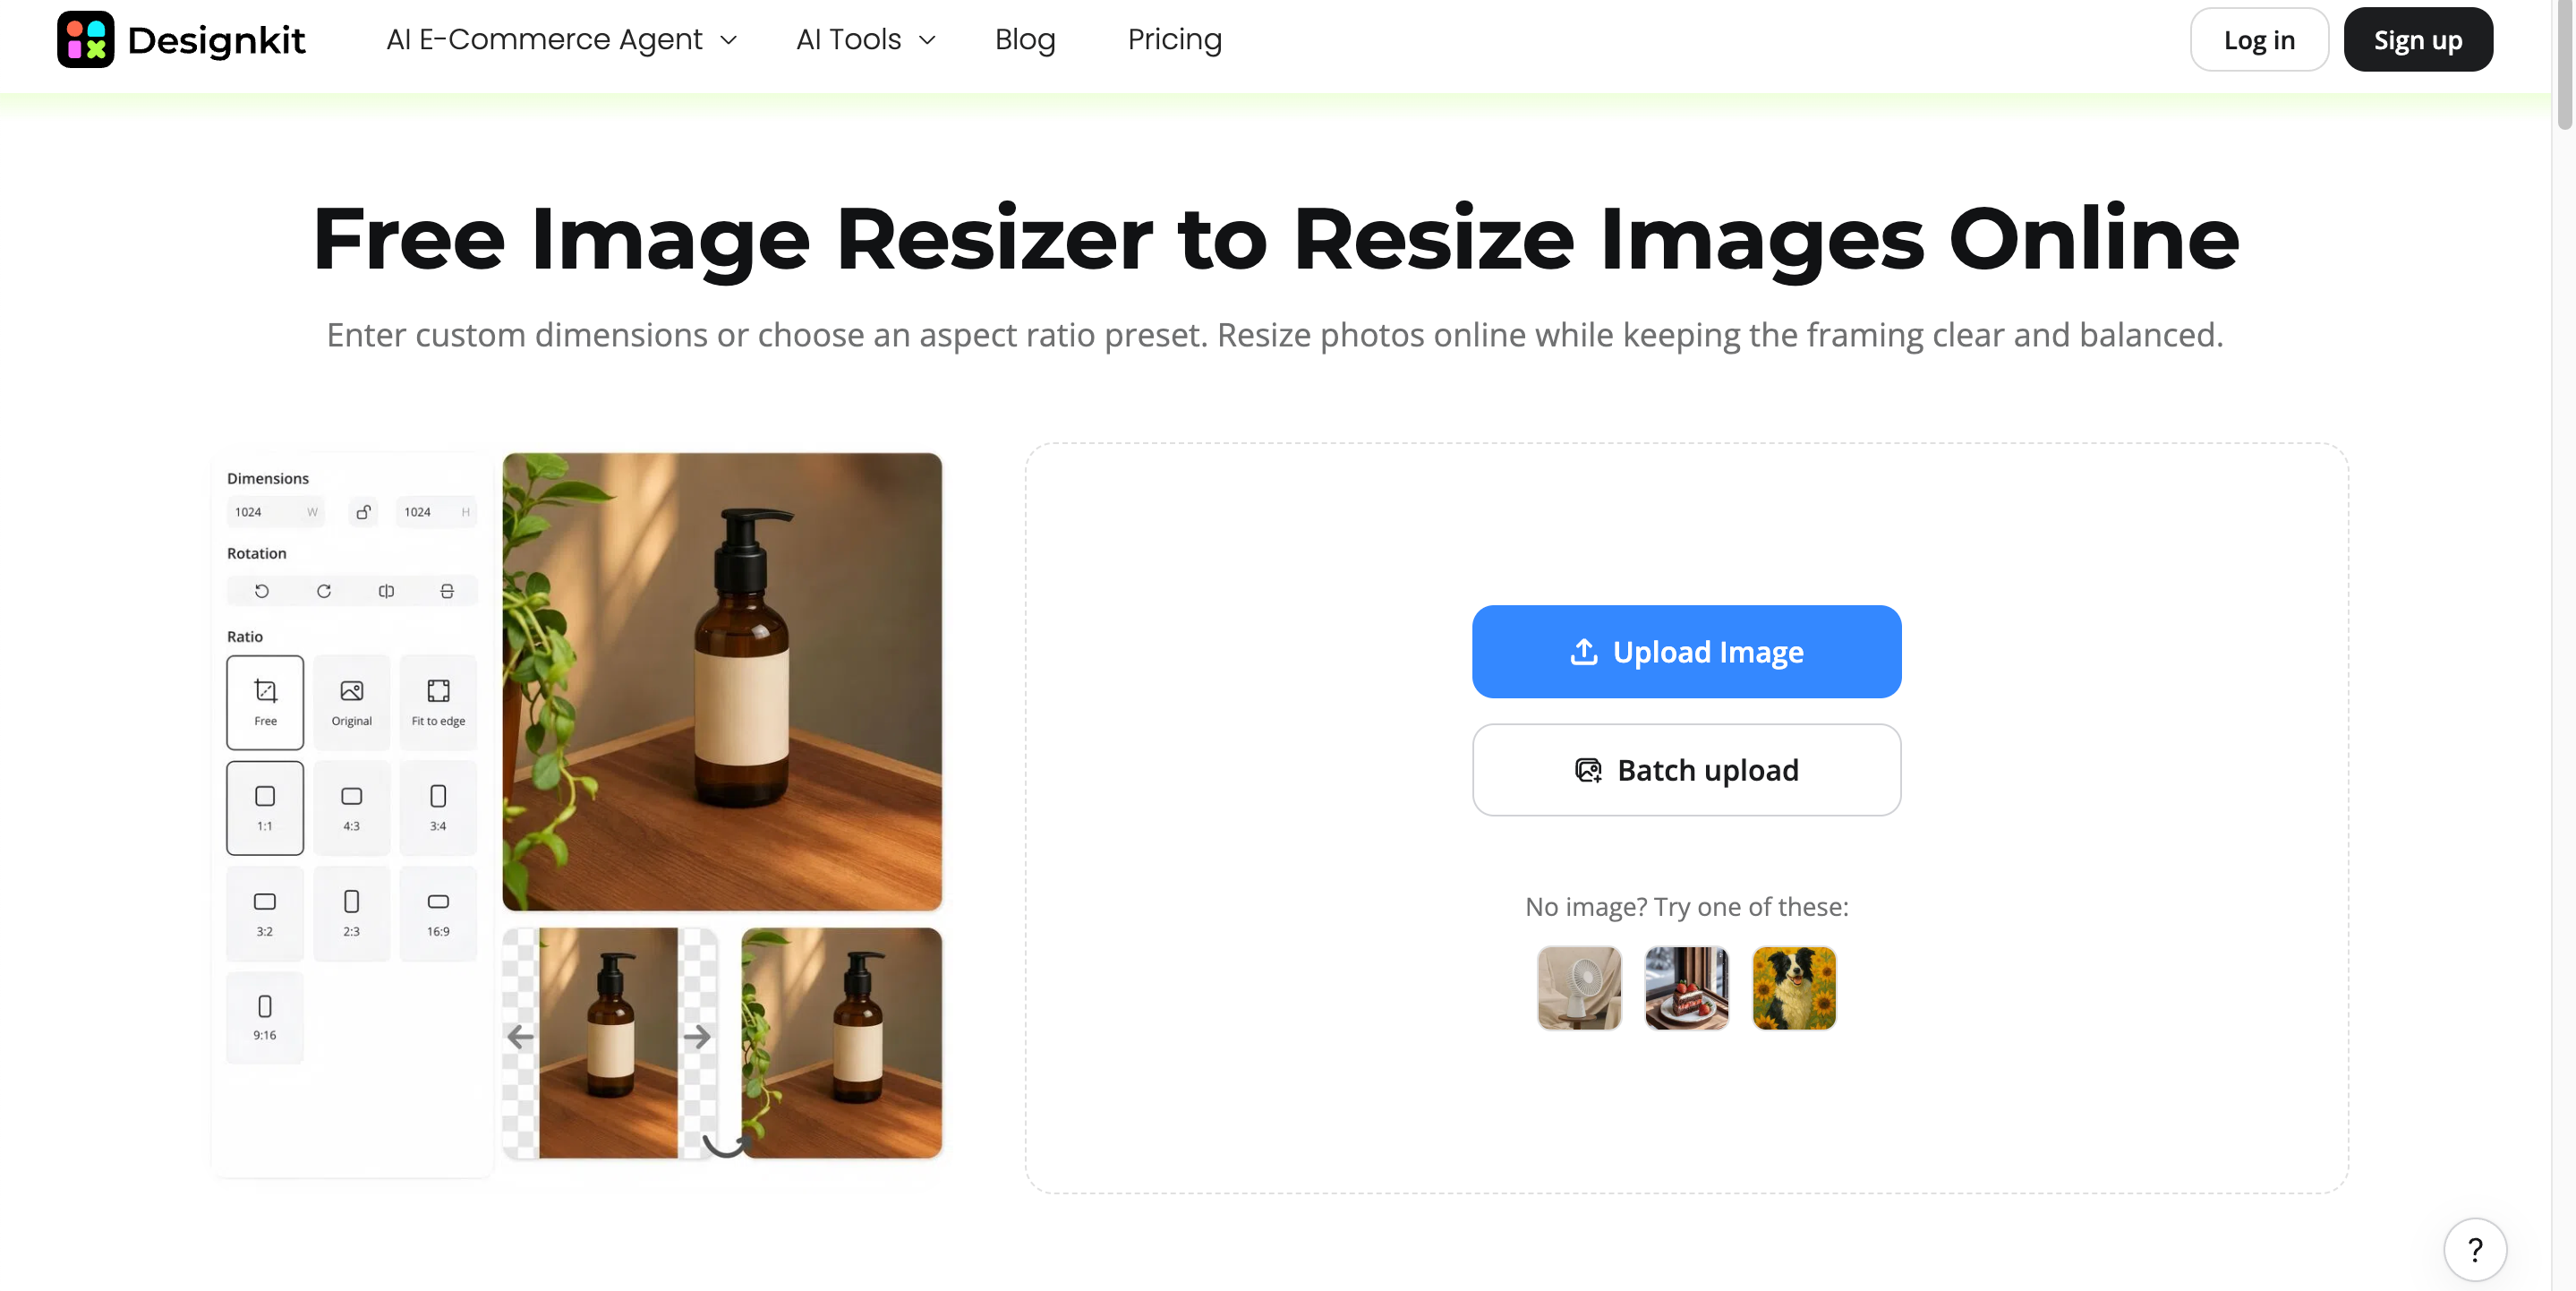
If you create photographs for websites, ecommerce businesses, presentations, or social media on a daily basis, the constant change of programs to work on your images might be frustrating. Designkit makes it easy to resize images, integrating image scaling with AI-powered editing features to let you produce platform-ready images from one simple workspace.
How to Resize Images with Designkit
Resizing images with Designkit takes only a few clicks, making it suitable for beginners and professionals alike.
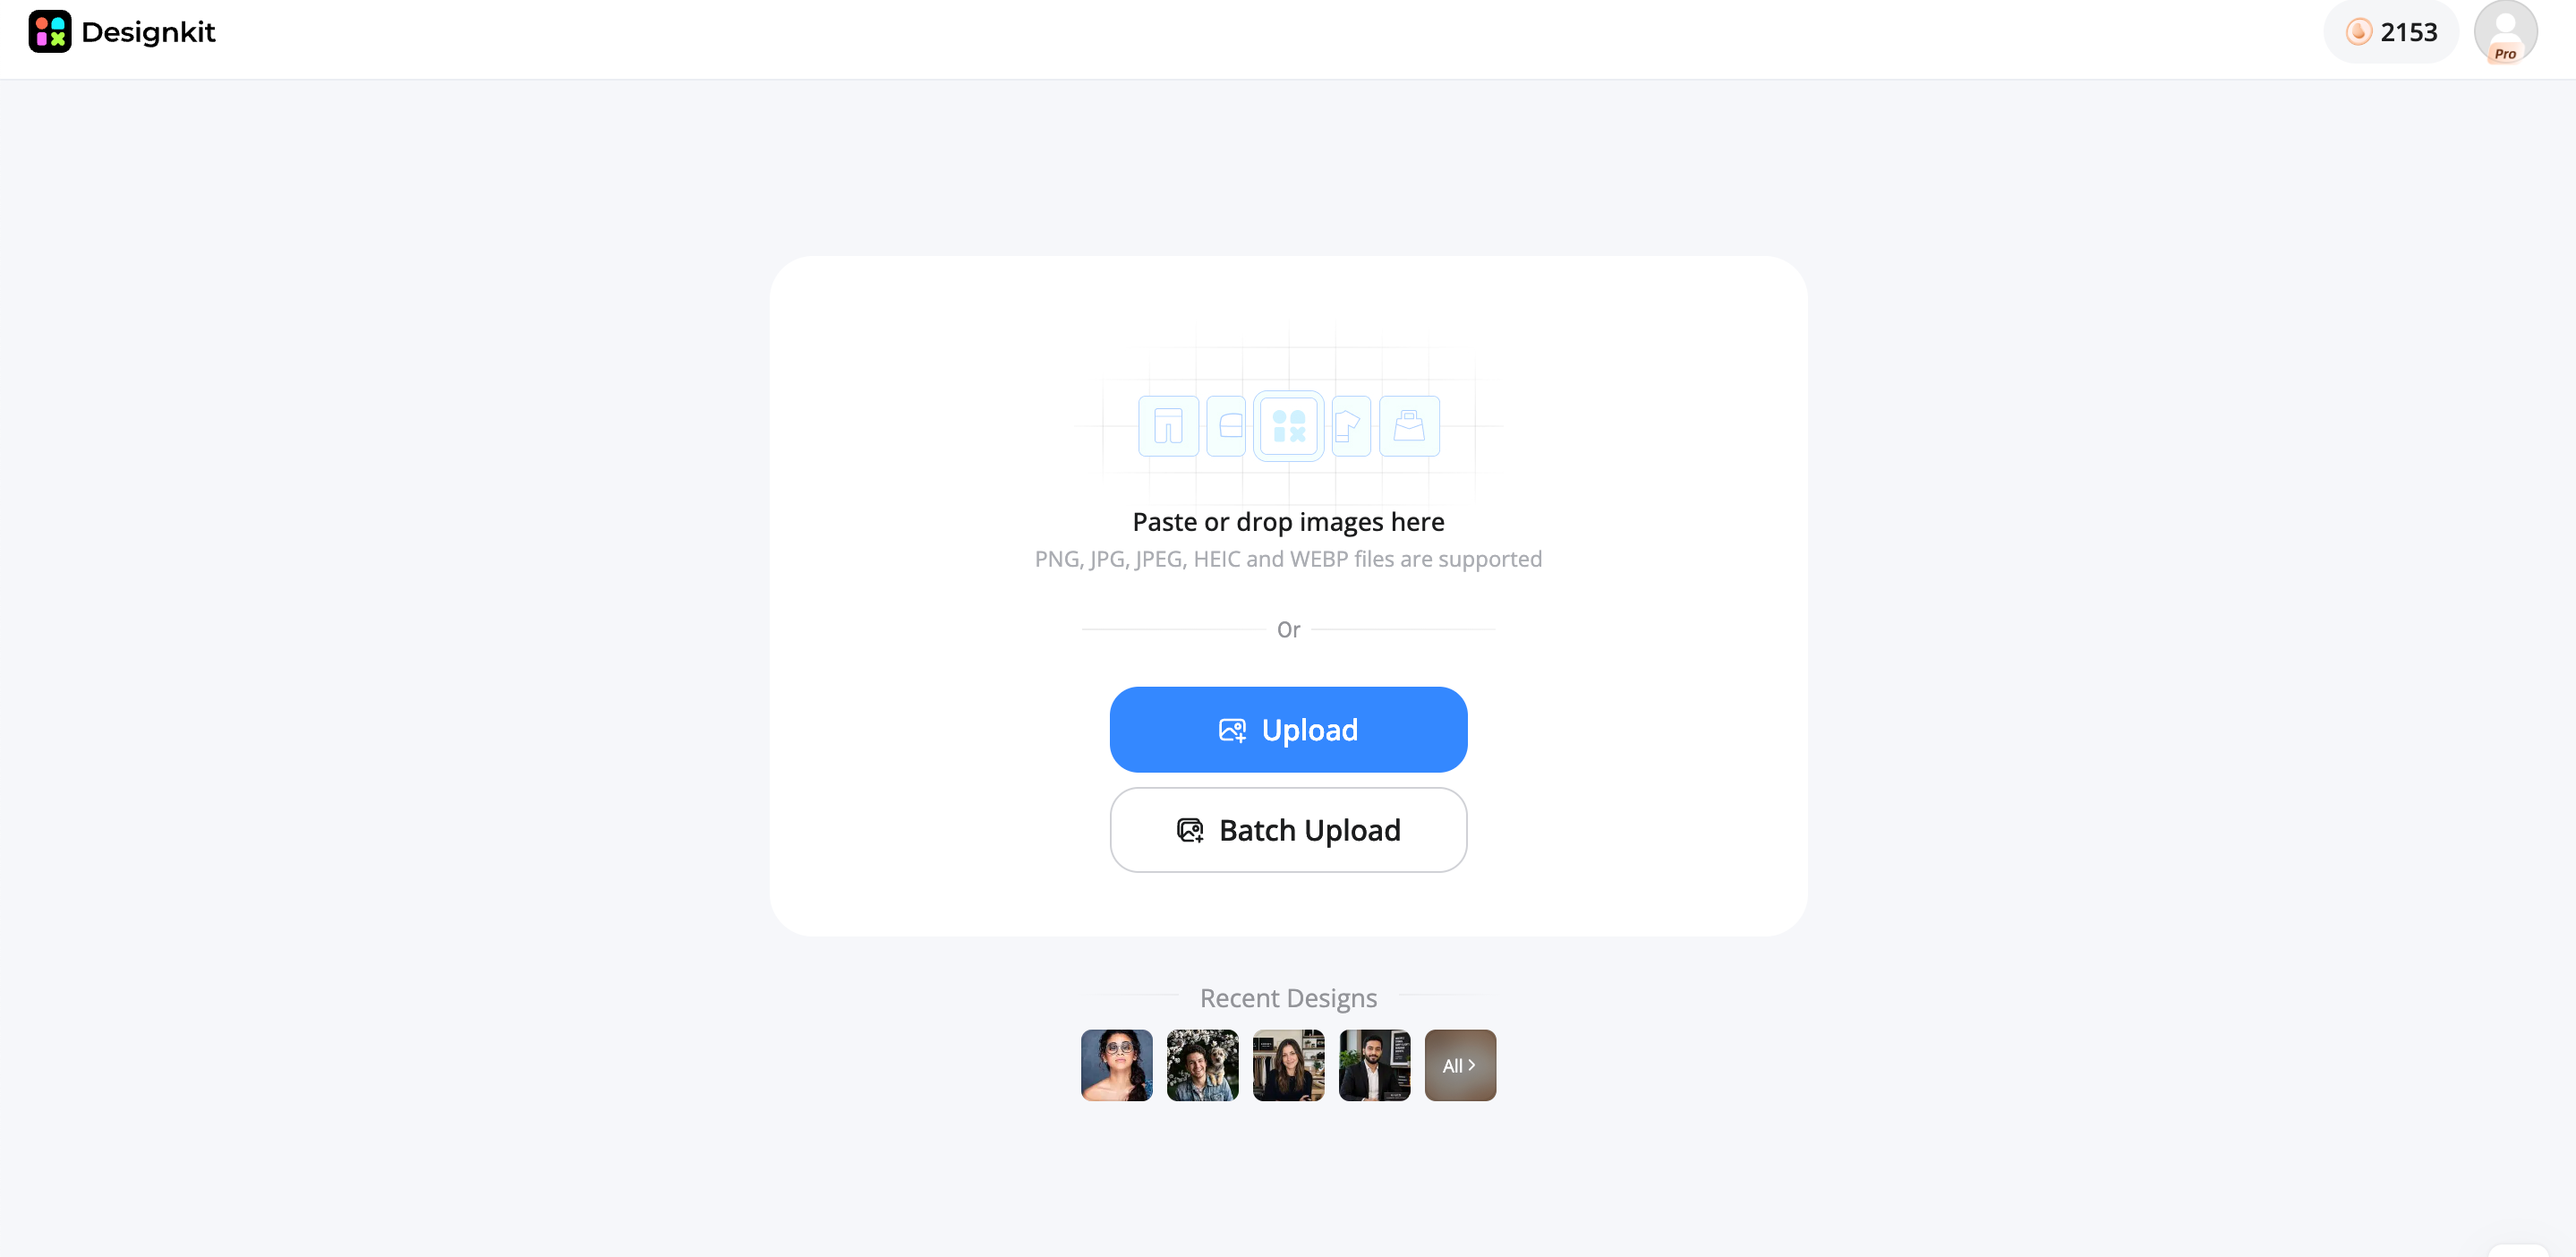
Step 1: Upload Your Image
Upload your image from your computer or device. Designkit supports common image formats, allowing you to start editing without additional file conversions.
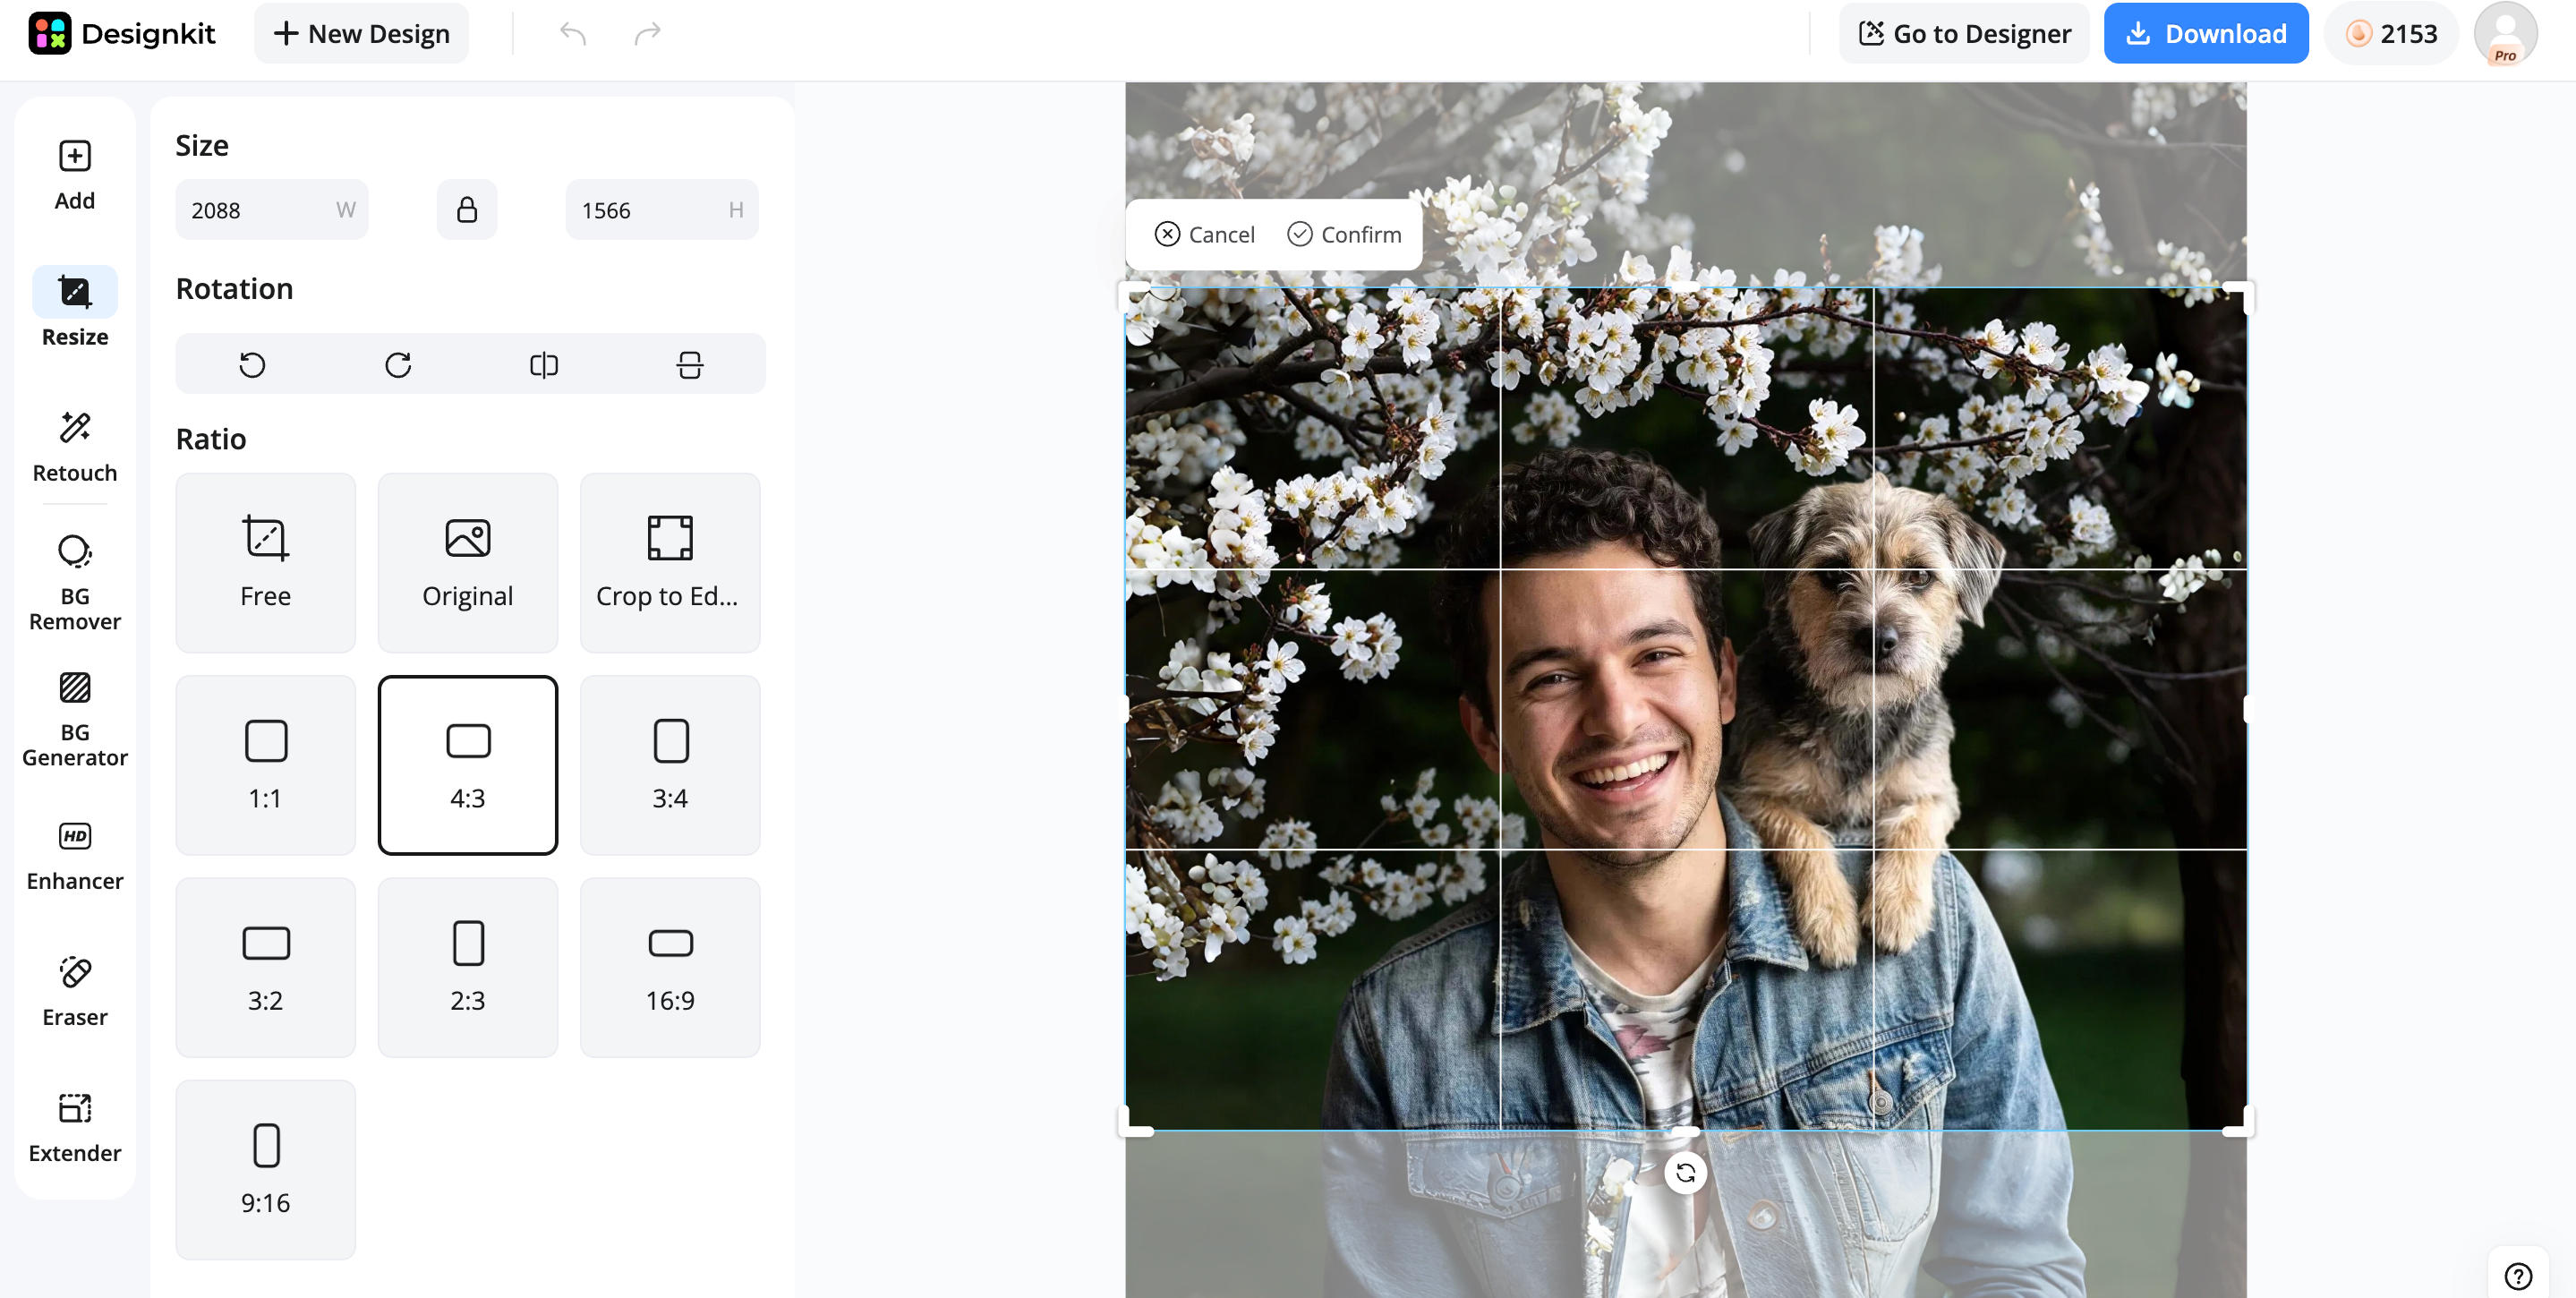
Step 2: Choose Your Size and Adjust Settings
Select a preset for social media, ecommerce, or marketing materials, or enter custom dimensions. Keep the aspect ratio locked to maintain image quality while resizing.
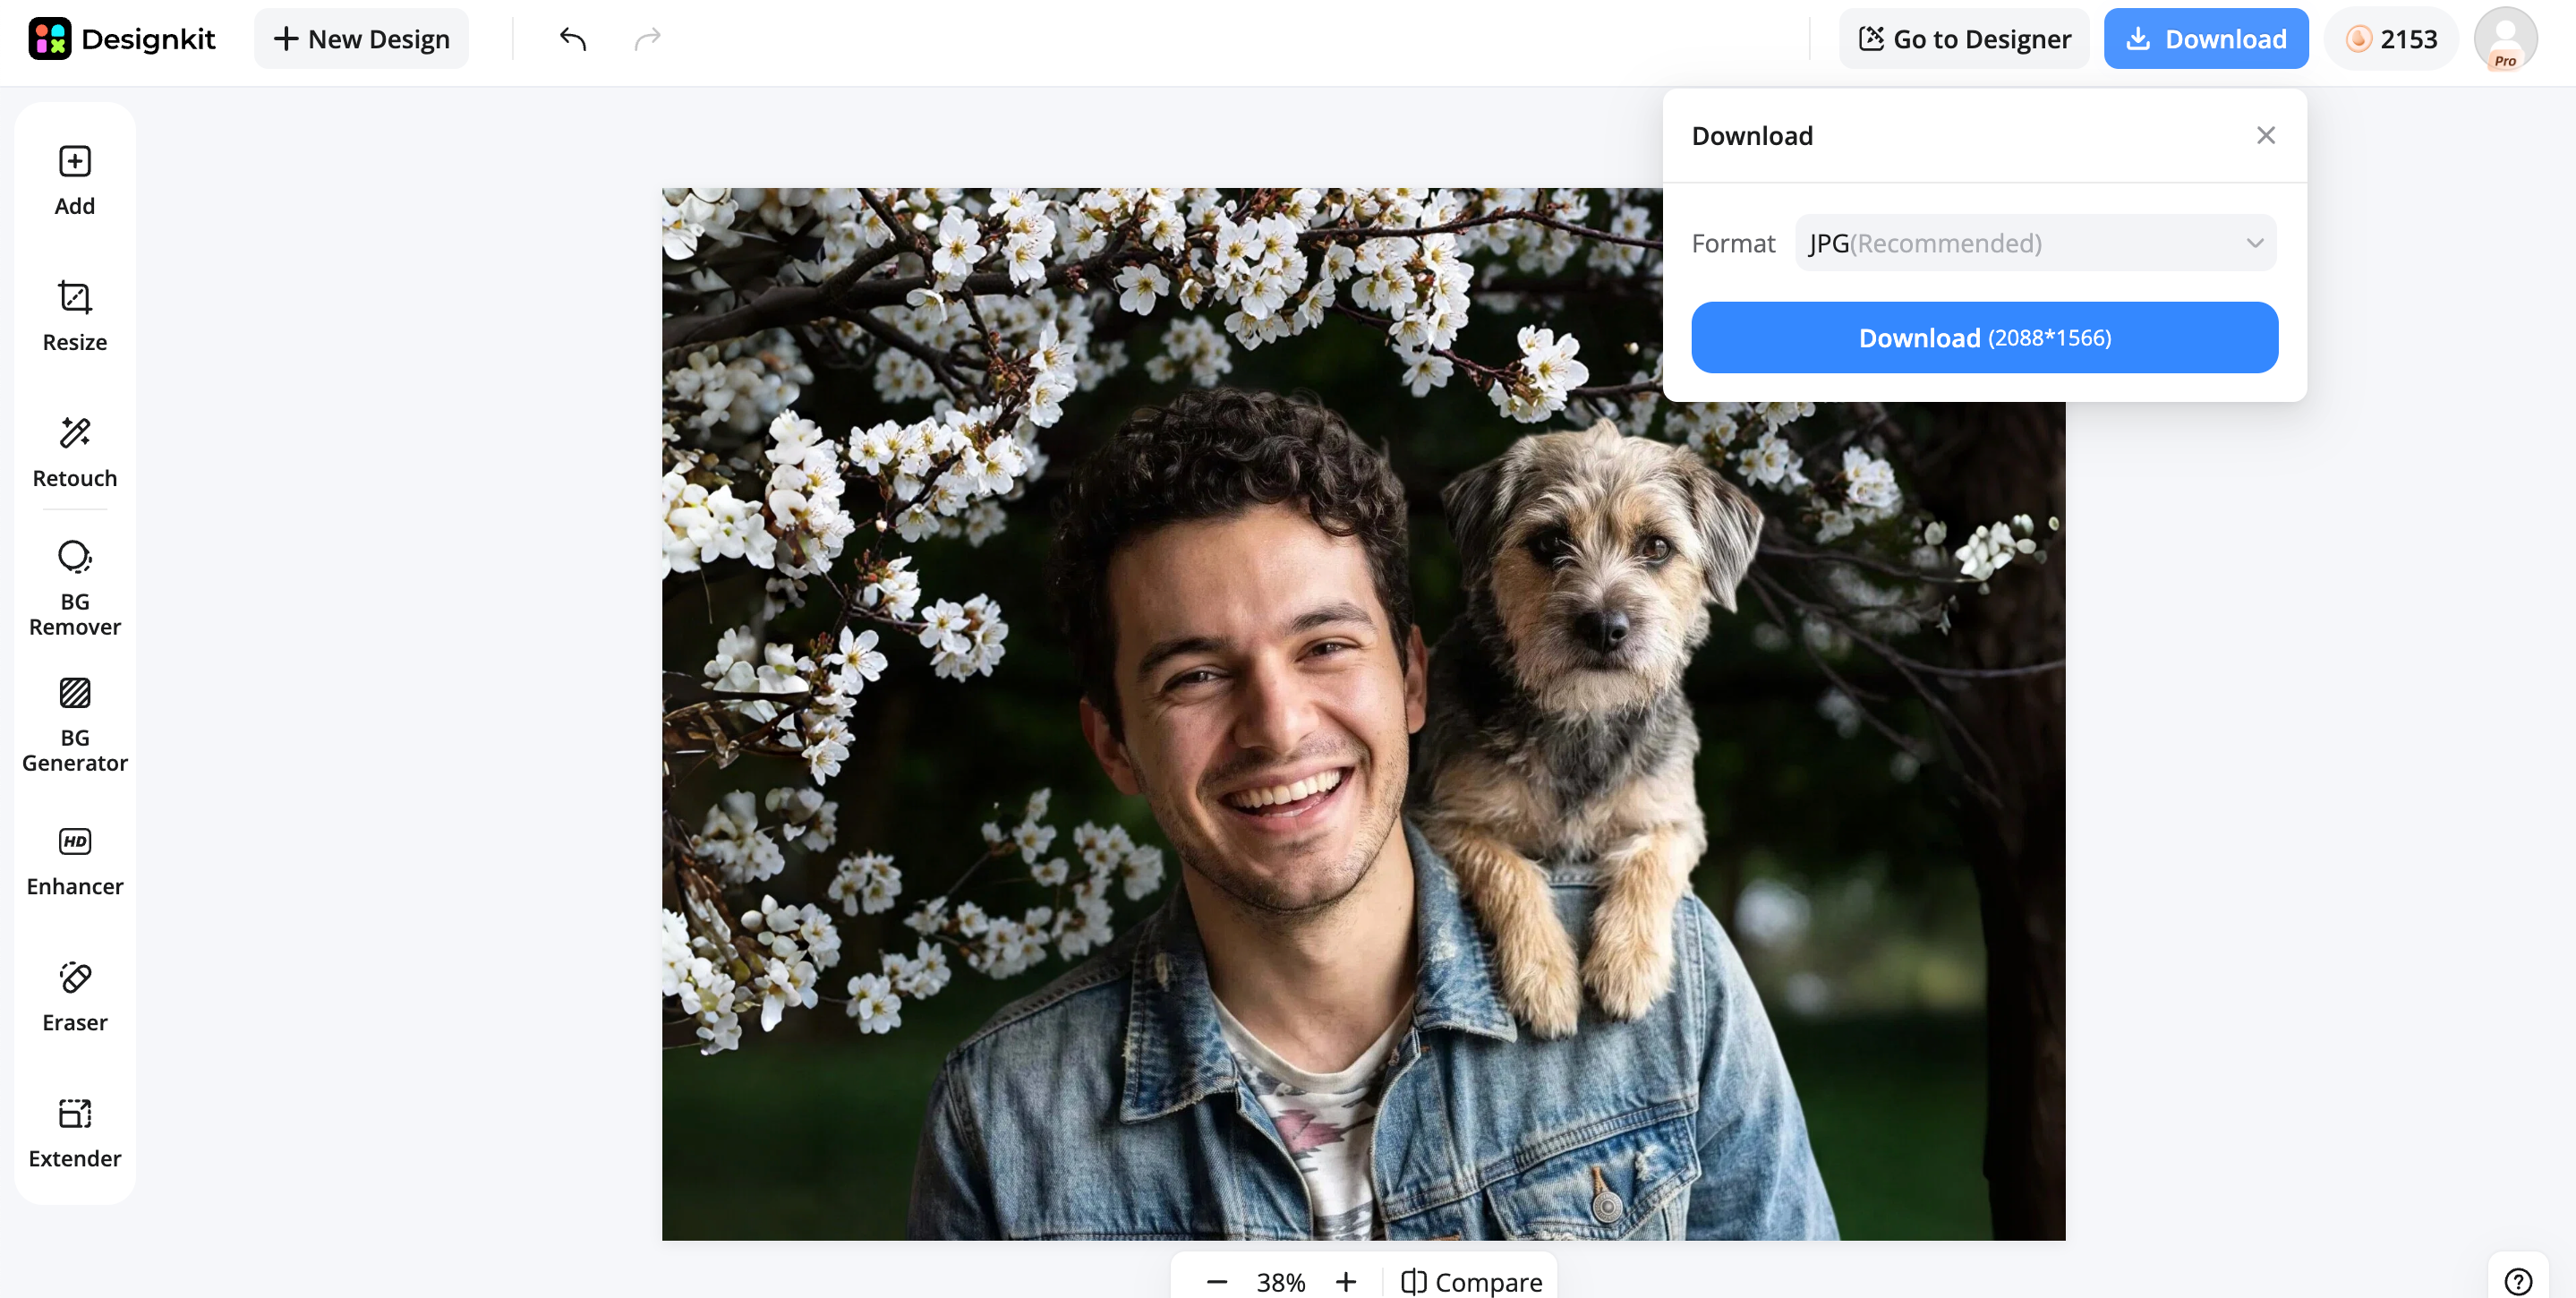
Step 3: Preview and Export
Preview the resized image to ensure it looks right, then export it in your preferred format. Your image is ready to use across websites, online stores, or digital campaigns.
Why Use Designkit for Image Resizing?
Designkit goes beyond a standard image resizer by helping users prepare professional visuals more efficiently. Whether you're creating marketing assets or product photos, the platform offers tools that streamline the editing process.
-
Simple image resizing workflow: Upload your image, choose your preferred dimensions, and resize it in just a few clicks with an intuitive interface designed for all skill levels.
-
Multiple export formats: Export resized images in JPG, PNG, or WebP formats, making them ready for websites, social media, presentations, and other digital platforms.
-
Presets for popular platforms: Select predefined dimensions for social media, ecommerce, banners, and marketing materials to save time and ensure the correct image size.
-
Additional AI-powered editing tools: Enhance and refine your visuals with built-in AI features, allowing you to complete more editing tasks without switching between applications.
-
Suitable for creators, marketers, and businesses: Create professional-quality visuals for content creation, online stores, advertising campaigns, and brand marketing from a single workspace.
Common Image Resizing Mistakes to Avoid
Even if you know how to resize a picture, there are several typical blunders that might lower image quality or make your images unusable for their intended use. By avoiding these problems, you will get better-looking outcomes every time.
Stretching Images Instead of Maintaining Proportions
If you change the width and height separately, you can distort your image and make people look stretched. Never change the aspect ratio unless you want your stuff to seem warped.
Enlarging Low-Resolution Images Too Much
The visuals are small, limiting visual information. Too much enlarging often results in hazy or distorted images. In general, AI upscaling is of better quality than regular resizing when you need to resize.
Exporting at Excessively Low Quality
If you reduce the export quality too much, you will see compression artifacts, especially in photos. Choose an appropriate tradeoff between image quality and file size, depending on where the image will be utilized.
Ignoring Platform Size Requirements
Each platform has its recommended image sizes. Unwanted cropping, poorer quality, or longer load times can be the result of uploading an image that is not the proper size. Please check the recommended specs before you export them.
Choosing the Wrong File Format
Different formats have different purposes. JPG is good for photos. PNG is good for graphics with transparency. WebP is great if you want to compress images for a website. The right format can help you maintain quality and performance.
Final Thoughts
Knowing how to resize an image is a useful ability if you create digital content. Whether you're optimizing photographs for websites, ecommerce stores, social media, or print, utilizing the correct resize approach helps keep the image quality intact while fulfilling platform requirements. Each of these tools has its own strengths based on your particular needs. Photoshop, GIMP, Canva, and online image resizers. Designkit is a speedier, more streamlined workflow that combines picture scaling and editing features powered by AI, letting you easily generate great images in minutes. This manual will walk you through the best practices and strategies for resizing photographs with confidence and without loss of quality.
Frequently Asked Questions
How much can you resize an image before losing quality?
What image size should I use for different platforms?
The best size for an image will depend on where you are publishing it. Recommended sizes for social media platforms, websites, ecommerce markets, and print projects. Designkit has presets for the most common platforms, so you don't have to do math to get the right size.
Should I resize or crop an image first?
For most images, first crop the image to get the composition you want, then resize to final dimensions. This helps to maintain key information and delivers cleaner outcomes. Designkit lets you crop and resize photographs, all inside the same process.
Does resizing an image reduce file size?
Yes. In general, reducing the size of an image will reduce file size and hence upload, distribute and display faster online. In just a few clicks, you can resize photos and export optimized files for the web and digital use with Designkit.
What is the best image format after resizing?
JPG is great for photos, PNG is good for graphics with transparency, and WebP is great for compression on websites. Designkit supports many export formats, so you may choose the one that works best for your project.
Can I resize multiple images at once?
Many image editing software features batch scaling, which lets you process multiple images at once to save time. If you often produce content for marketing or eCommerce, Designkit helps you streamline repeated editing activities, so your workflow stays more efficient.
Can AI resize images without making them blurry?
AI can produce better results when enlarging images by intelligently generating additional detail instead of simply stretching pixels. Designkit combines AI-powered image enhancement with resizing tools, helping you create sharper, higher-quality visuals for websites, social media, and marketing materials.
You May Also Like

7 Best Remove.bg Alternatives in 2026: Free & Paid Tools

Instagram Carousel: What It Is, How to Post & Create One

Nano Banana Prompts: 20+ Examples for Better AI Images

Ideogram AI Review 2026: Features, Pricing & Alternatives

Free Mac Photo Editor: 5 Tools Compared for Mac Users

How to Crop a Photo Into a Circle Online (Keep Quality)

How to Make an Image Transparent Online (AI Guide)

Pixlr Background Remover Review 2026: Features, Pricing & Alternatives

How to Fix Overexposed Photos: Recover Highlights Fast

OpenArt AI Review 2026: Features, Pricing & Alternatives

Best AI Headshot Generator: 9 Tools Compared for 2026

Best Stencil Maker Tools 2026: Turn Photos Into Stencils

Pixelbin Watermark Remover Review: Image & Video Results Tested

How to Make a Sticker on iPhone: Easy Step by Step Guide

Best AI Logo Generator in 2026: 10 Tools Compared

How to Turn a Photo Into a Cartoon: A Beginner-Friendly Guide

Landscape vs Portrait: Key Differences & Best Uses in 2026

How to Remove Watermark From Photo: AI, Photoshop & More

How to Fix Pixelated Photos: Photoshop, AI Tools & Tips

Bing Image Creator: How It Works, Features, Uses & Alternatives

How to Remove People from Photos with AI: A Step-by-Step Guide

How to Increase Image Resolution: AI, Photoshop & PPI

How to Add Text to a Photo: 8 Tips for Better Results

How to Fix Grainy Photos: Easy Ways to Clear Images

Creative Profile Picture Ideas for Every Style and Platform

Evoto AI Review 2026: Features, Pricing, Pros & Cons

Pixlr Photo Editor Review: Features, Pricing & Alternatives

Best AI Image Extender Tools in 2026: Expand Photos with AI

How to Make a Collage on iPhone: Easy Guide for 2026

How to Sharpen an Image in Photoshop (Smart Sharpen and Unsharp Mask)

Best Image Background Remover Tools in 2026: AI Tools Compared

How to Make Transparent Background in Paint: Step-by-Step Guide

How to Resize an Image: Best Methods, Tools & Quality Tips

Best AI Image Generator Tools in 2026: Top AI Platforms Compared

Remove.bg Review 2026: Features, Pricing & Is It Worth It?

Luminar Neo Photo Editor Review 2026: AI Features, Price & Pros

How to Post Multiple Photos on Instagram (2026 Guide)

25 Facebook Cover Photo Ideas for Personal & Business Pages

What Is a PFP? Meaning, Examples & How to Create One

Can You Edit an Instagram Post After Posting?

11 Best Canva Alternatives in 2026 for AI Design & Marketing

8 Best Midjourney Alternatives in 2026: Features, Pricing & Comparison

How to Restore Old Photos: AI Tools, Tips & Best Methods

Pixelcut AI Review 2026: Features, Pricing, Pros, Cons & Alternatives

How to Apply Watermark to Photos: Methods, Tips & AI Tools

How to Remove a Background in Illustrator: 4 Easy Methods

How to Change Background Color on Instagram Story (Easy Guide)

8 Best AI Poster Generators in 2026: Create Posters Faster with AI

10 Best AI Image Enhancers in 2026: Tested & Compared

10 Best AI Image Editors in 2026: Features, Pricing & Comparison

7 Best AI Background Changer in 2026: Remove & Replace Photo Backgrounds

Luminar Neo vs Lightroom: Features, Pricing & Comparison 2026

Kittl Review 2026: Is It Worth It? Features & Pricing

How to Make a Blurry Image Clear: 5 AI & Manual Ways

How to Remove Background on iPhone: 5 Easy Methods (2026)

Photoroom Background Remover Review 2026: Features & Alternatives

How to Remove Background in Canva: A Step-by-Step Guide

How to Remove Background in GIMP: Beginner-Friendly Guide

Funny Dog Memes to Try: Doge Meaning and 10 Original Ideas

Back to School Checklist 2026: Supplies, Timeline, and Planning

Recraft AI Review 2026: Features, Pricing, Pros, Cons & Alternatives

How to Make an Image Transparent in Google Slides: Opacity & Background Removal

VanceAI Photo Enhancer Review: Features, Pricing & Alternatives in 2026

What Does Emojify Mean? Text, Photos, & Emoji Art Explained

Top 8 Online Background Removers for Ecommerce Photos (2026)

How to Remove Background in Photoshop: 7 Easy Methods

6 Best AI Image Upscalers 2026: Tools Tested & Compared

Project Indigo Review: Is It Better Than iPhone Camera?

How Big Is an 8x10 Photo? Size, Pixels & Frame Guide

How Big Is a 4x6 Photo? Dimensions, Pixels & Printing Tips

Picsart AI Review: Features, Pricing, Pros, Cons & Alternatives

Lovart AI Review: AI Design Agent Features, Pricing & Alternatives

Fotor AI Image Generator Review: Features, Pricing & Alternatives

How to Add Emoji to Photo Online for Free

Emoji Wallpaper Ideas & How to Make One Online (2026)

Minimalist Poster Design: How to Make a Clean Poster (2026)

How to Make a Custom Poster That Is Ready to Print

Instagram Image Size Guide 2026: Post, Reel, Story & Carousel Specs

LinkedIn Image Size Guide: Profile, Post & Banner Dimensions

YouTube Profile Image Size: Best Dimensions & Safe Area 2026

How to Edit Amazon Product Photos That Boost Sales Fast
Resize Images Quickly While Keeping Them Sharp
Understanding how to resize an image allows you to create visuals that look great across websites, social media, ecommerce stores, and marketing campaigns. With Designkit, you can resize, edit, and enhance images in one streamlined workflow, making it easier to produce high-quality content for every platform.
