
Create Transparent PNGs in Seconds
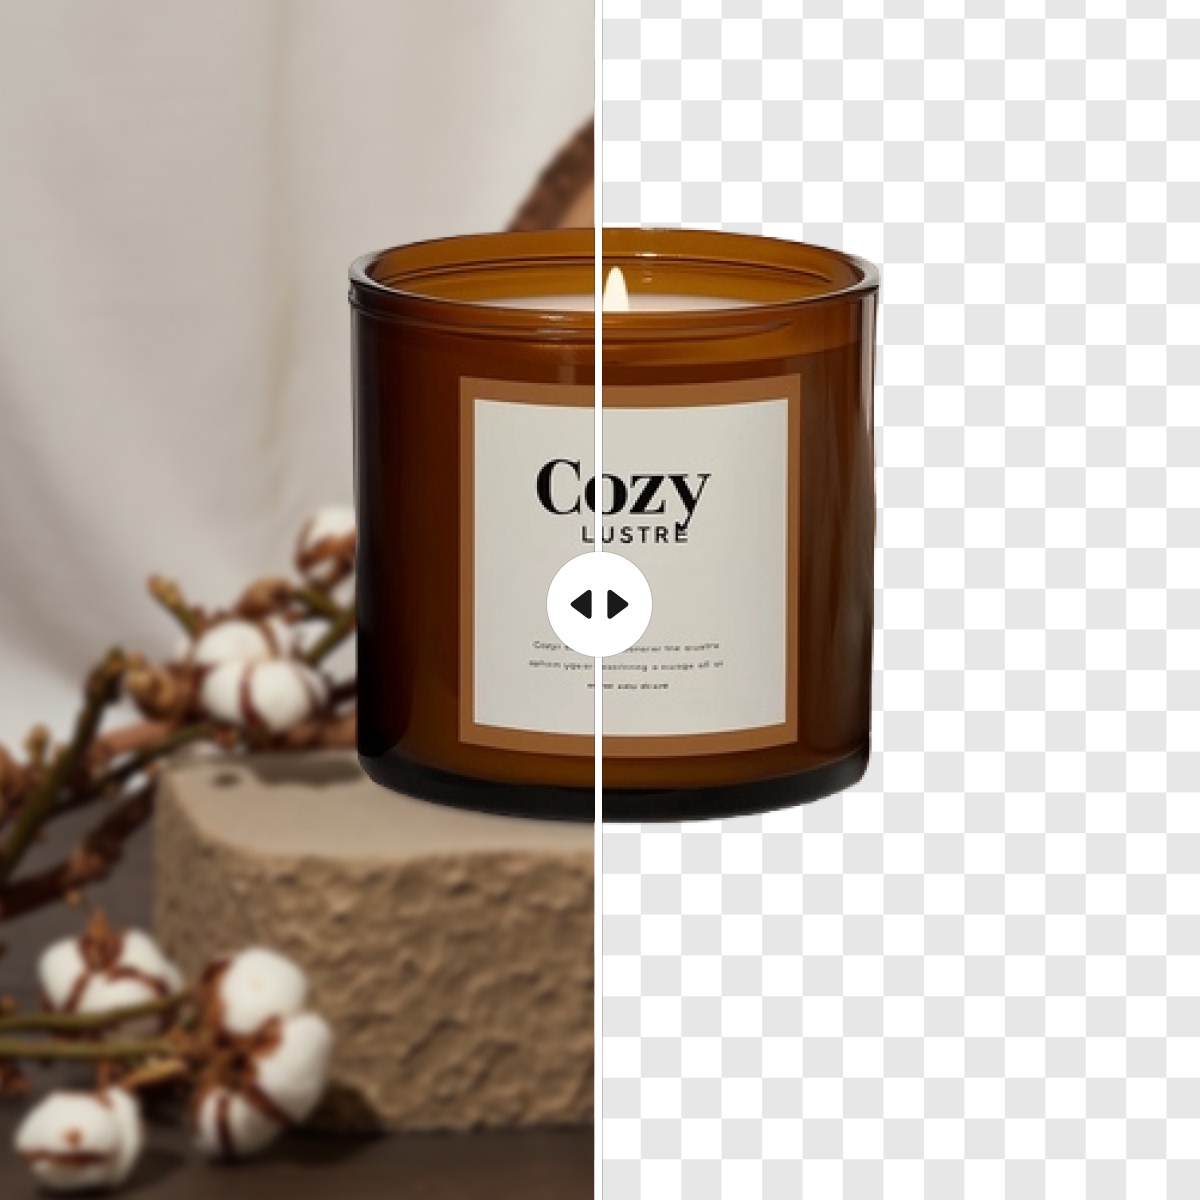
Make image backgrounds transparent and export design-ready PNGs for product pages, campaigns, and layered layouts.
No image ready? Try one of these samples:


How to Make a Background Transparent
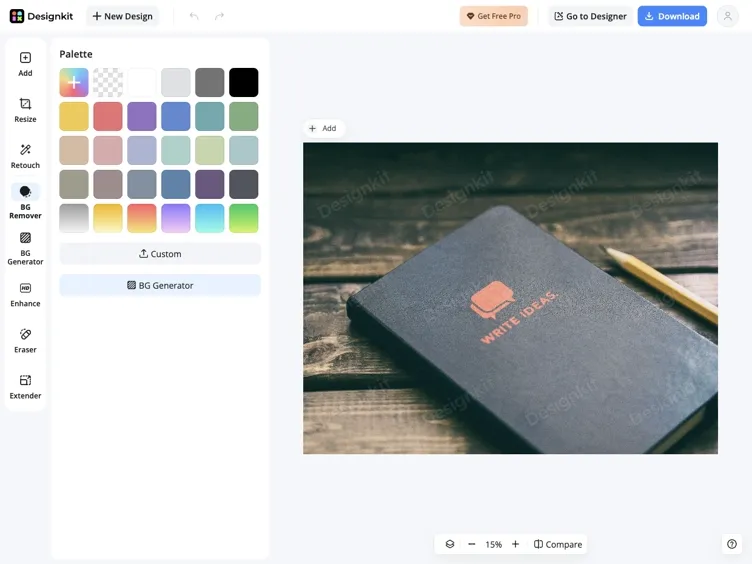
Upload Your Image
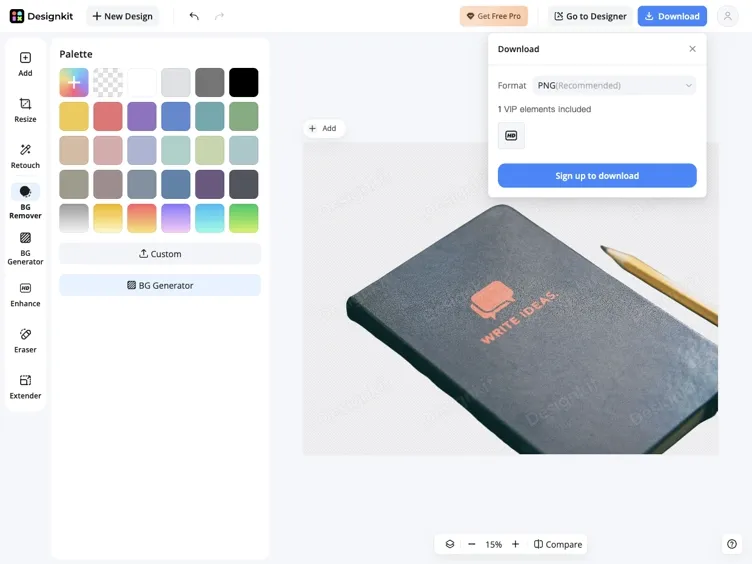
Click New Design and choose a JPG or PNG image from your device. The uploaded image opens directly in the editor.
Make the Background Transparent
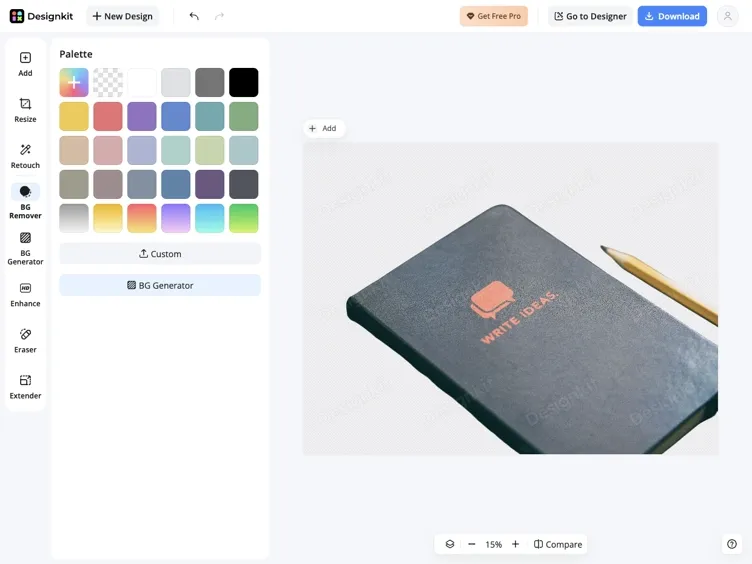
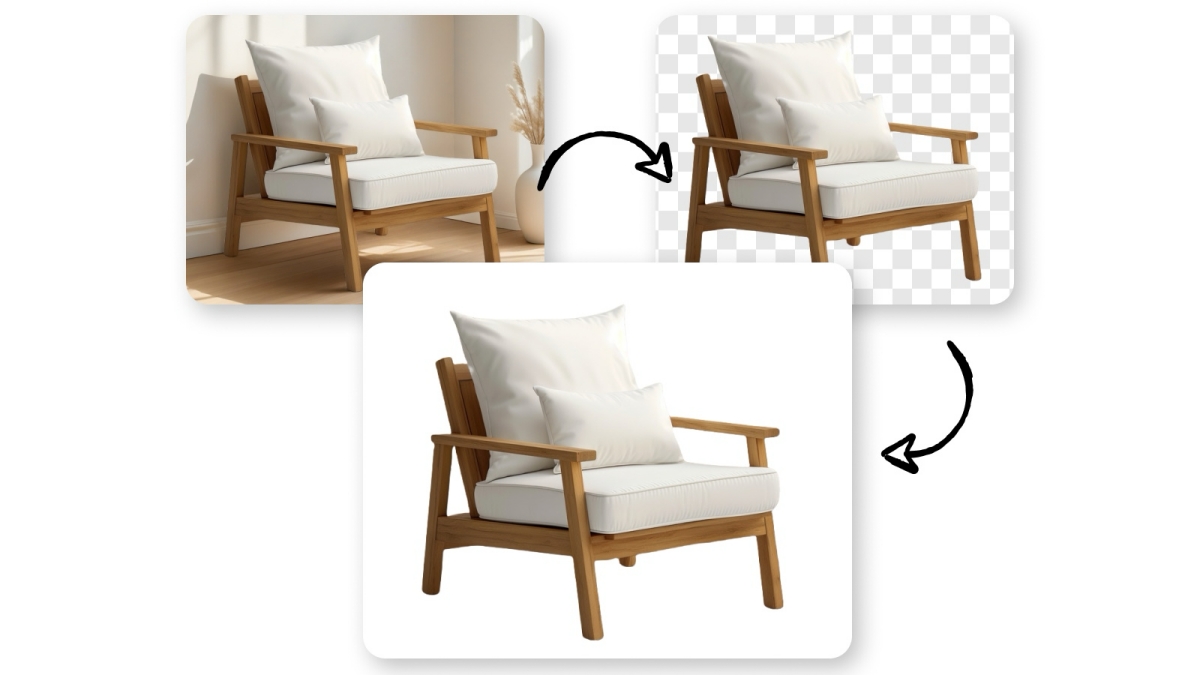
Select BG Remover. Designkit automatically detects the subject and removes the original background.
Download the Transparent PNG
Click Download and keep PNG selected as the output format.
Create Clean Transparent Images
Keep Edges Clean Without Halos
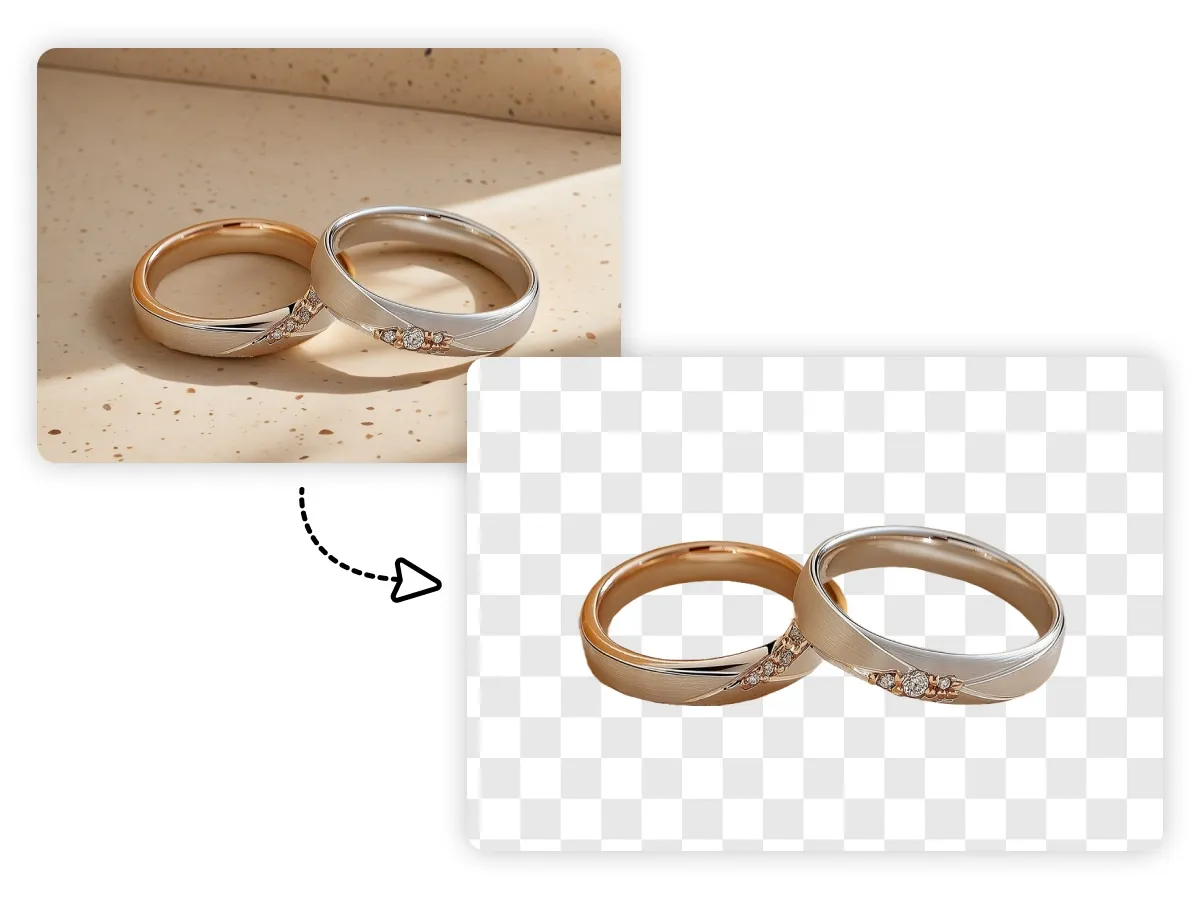
Basic cutouts often leave white fringes, color bleeding, or jagged outlines around the subject. These marks become visible when a dark product is placed on a new background. Designkit smooths edge transitions, creating a cleaner cutout without another round of manual masking.
Preserve Glass, Hair, and Fine Details
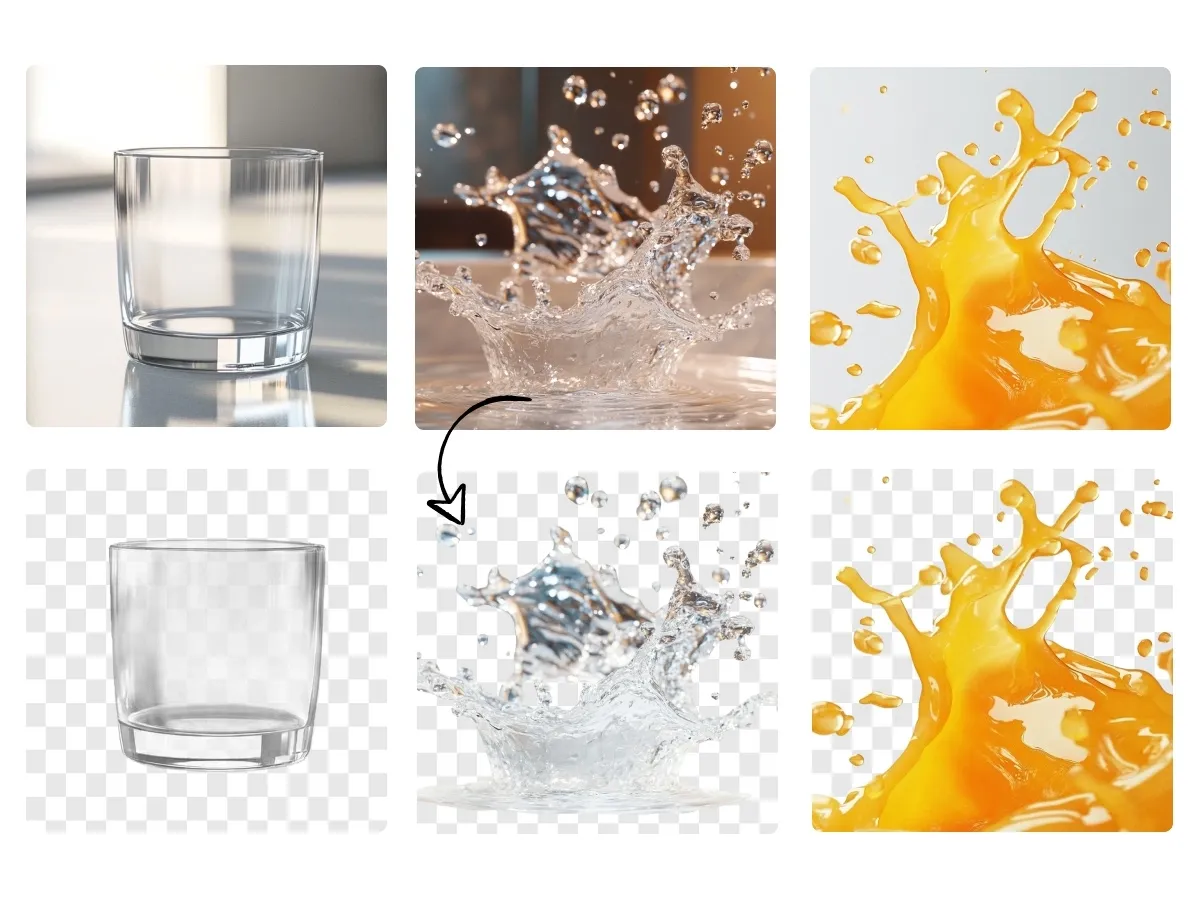
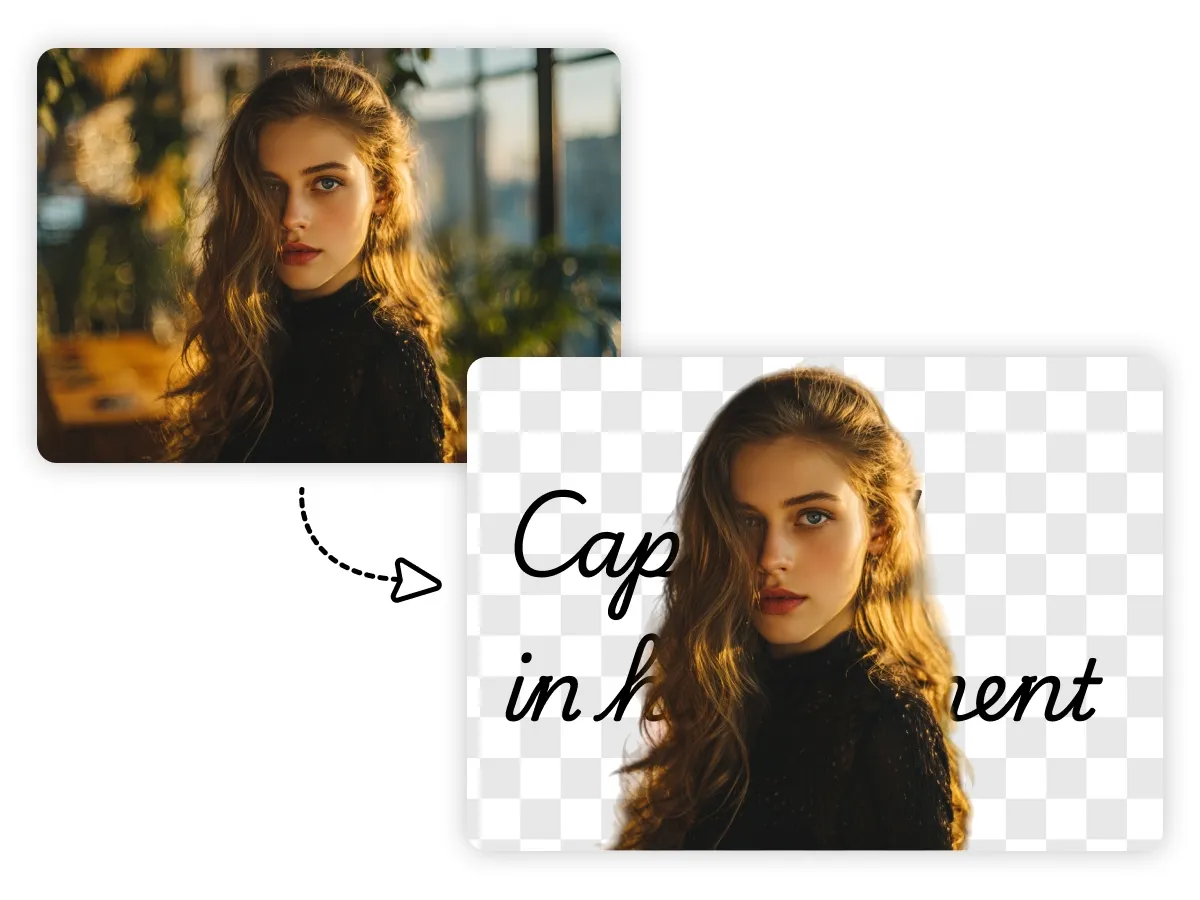
Glass, mesh, liquid, fur, and fine hair are difficult to separate with a hard outline. Designkit manages transparency at the pixel level, keeping open textures and semi-transparent materials visible. The result preserves the subject’s structure instead of turning complex areas into a flat silhouette.
Solve Creative Bottlenecks in Multi-Channel Marketing
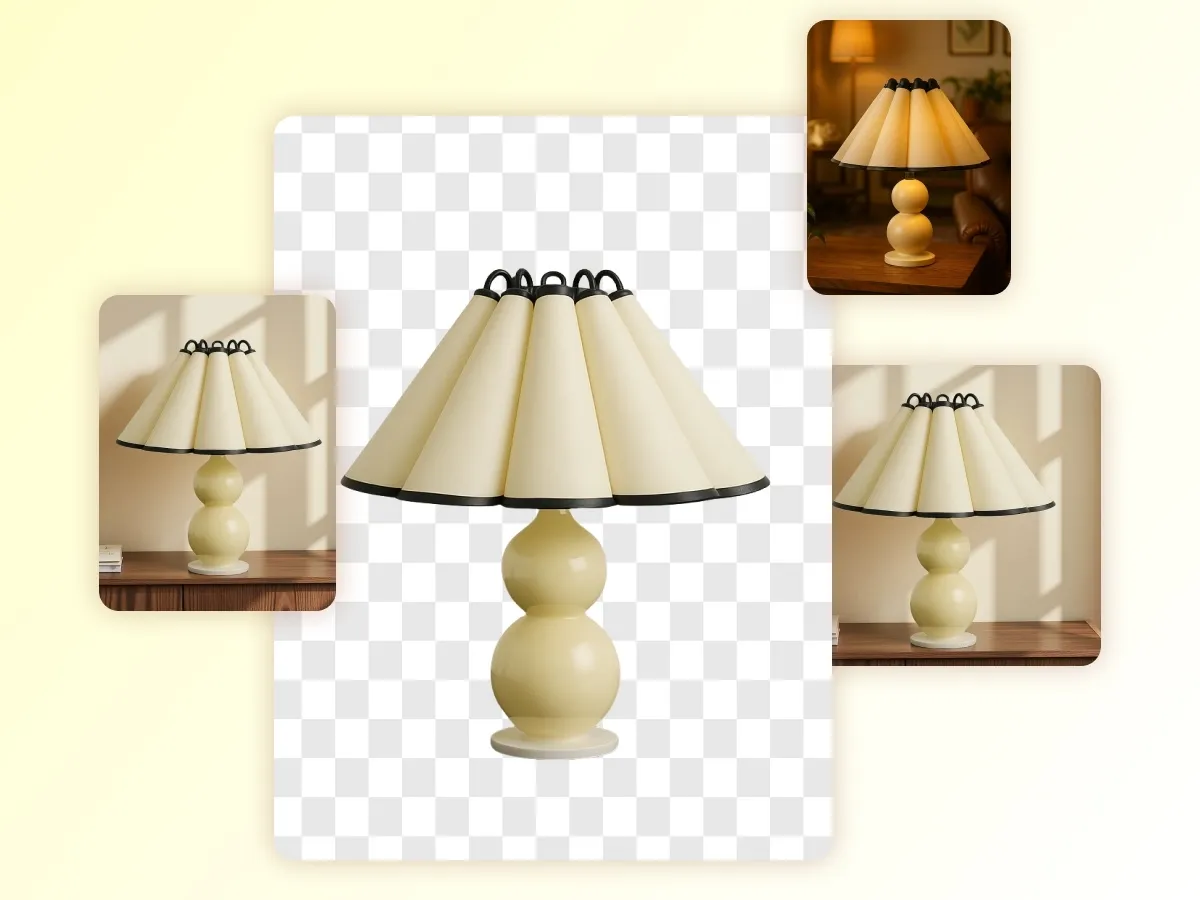
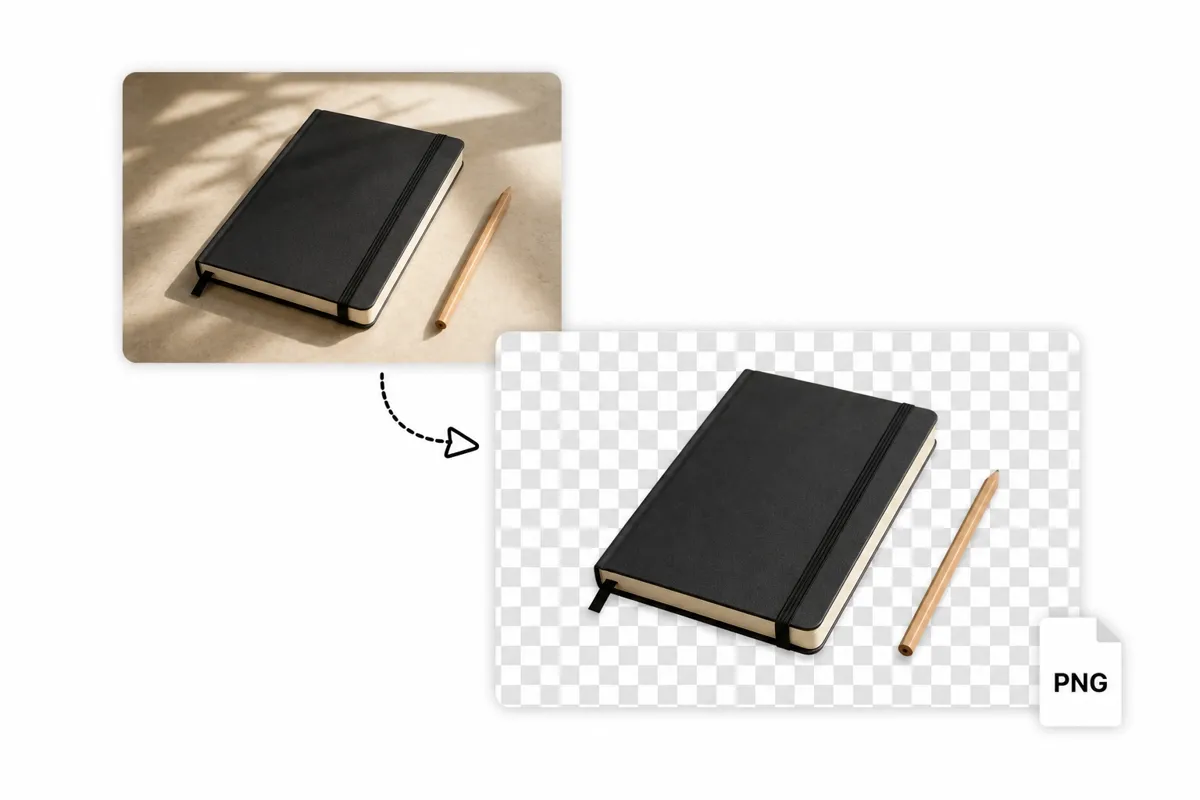
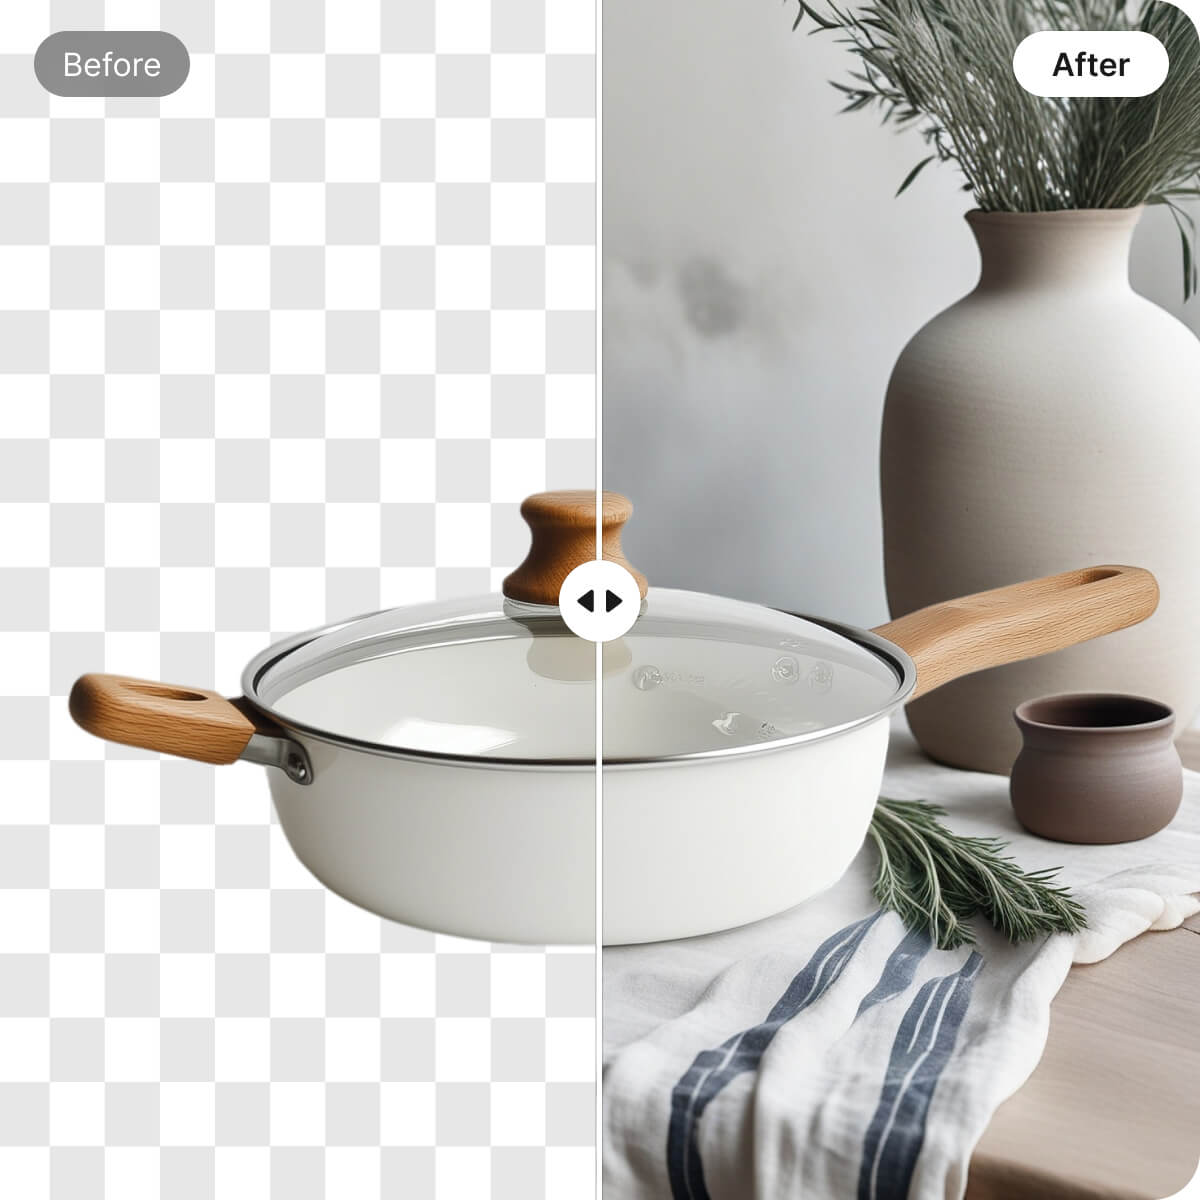
Contact shadows help products feel grounded, but many tools erase them with the original setting. Designkit separates the subject and its shadow while removing the background, creating a transparent image that maintains realistic depth in another layout.
Export Transparent PNG Files
Create a transparent PNG with its alpha channel preserved for accurate transparency. The file is ready for Canva, Figma, Photoshop, Adobe Creative Cloud, or other design software. Instead of a white background, you get a flexible PNG ready to place directly into another composition.
Transparent Images for Every Project
Layer Products with Typography
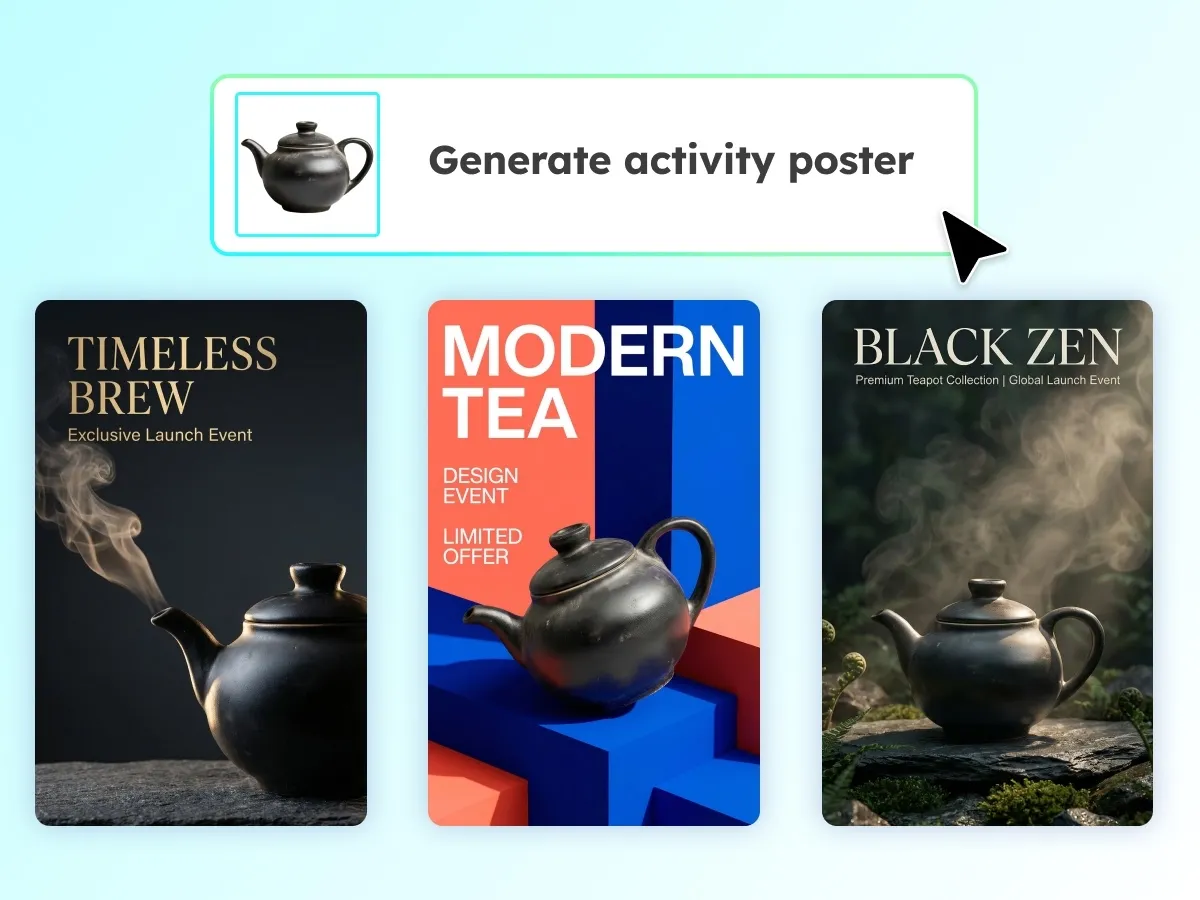
Isolate a subject so headlines, shapes, or graphic elements can sit behind it without covering the main product. A transparent background gives designers greater control over visual depth and composition, making it easier to create dimensional website hero sections, promotional banners, and digital advertisements from an existing product photo.

Transparent Background Maker
Make Backgrounds Transparent Online
Open the transparent background maker in your browser and process images directly from the page. No additional software installation is required.
Skip Complex Manual Masking
Avoid tracing every edge with a pen tool. Automatic subject detection completes the main cutout, while Edit Cutout provides control when an area needs correction.

Continue Editing in Designkit
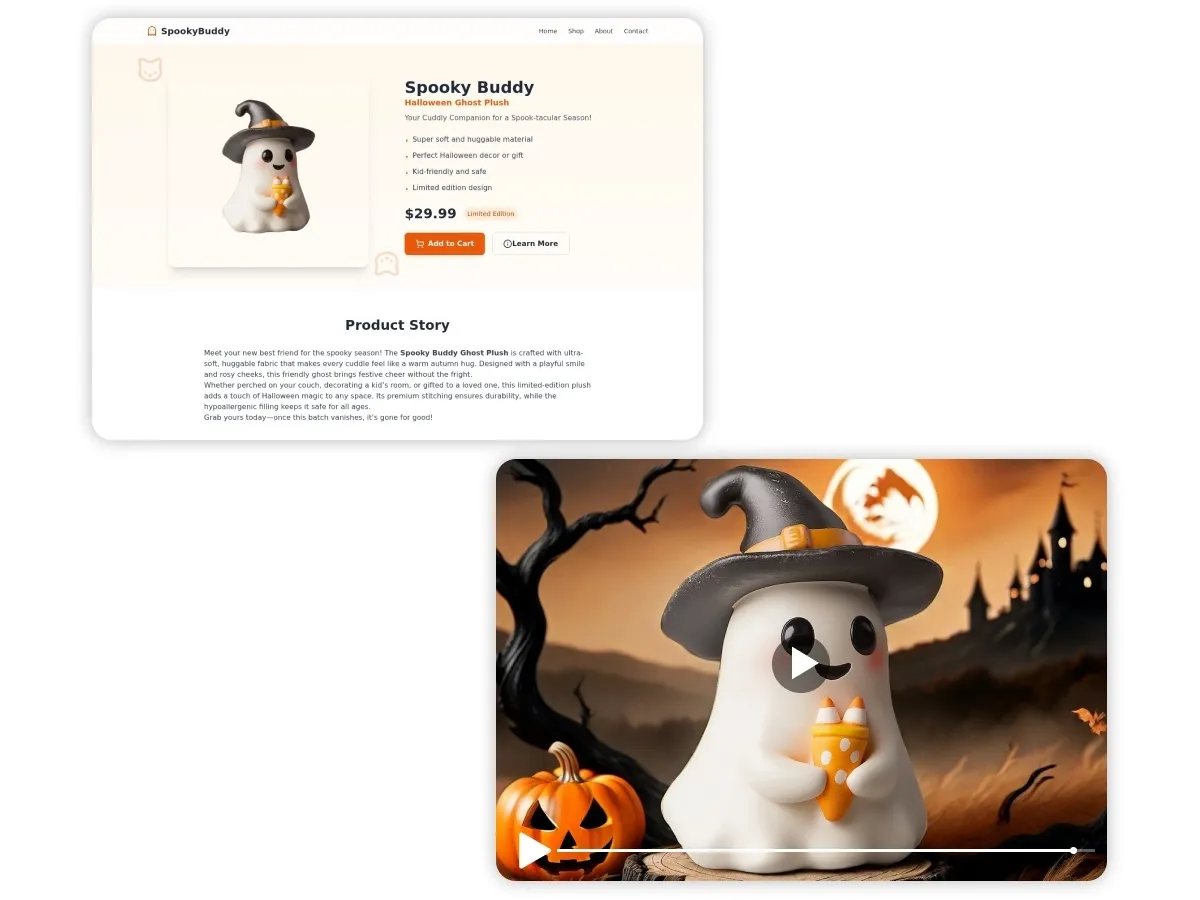
Move from background removal to resizing, enhancement, retouching, or background generation without starting again in a separate editing application.
Unlock More Creative Possibilities

AI Background Generator
Change Image Backgrounds
Free Background Remover
Add a White Background
Frequently Asked Questions
What is a transparent background?
Can I turn a JPG into a transparent PNG?
Yes. Upload a JPG image, remove its background, and select PNG when downloading. JPG files do not support transparency, so the finished image must be exported as a PNG.
Will the transparent PNG keep the original resolution?
The output is created from the uploaded source image. The final dimensions and visible detail therefore depend on the resolution and quality of the original file.
Can I use the transparent background maker for free?
Designkit provides access to the transparent background maker online. Available exports and premium options may vary depending on the current account plan.
Can I make several image backgrounds transparent?
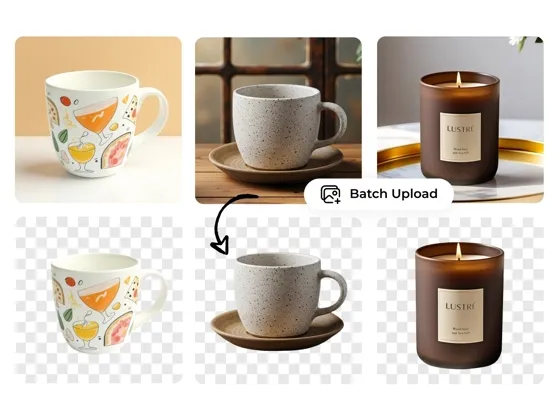
Yes. Use Batch Upload when working with multiple images. Designkit also provides a separate Bulk Background Remover for larger product catalogs and image collections.
Can I use a transparent image commercially?
You may use the exported image commercially if you own the original content or have permission to edit and reuse it. Removing a background does not change the ownership of an image.
Turn Photos into Reusable Assets
Make the background transparent and create a clean PNG ready for product pages, campaign visuals, and future design projects.



What Creators Say About Designkit‘s Transparent Background Maker
See how a simpler cutout workflow supports visual production, internal reviews, and asset delivery.
Shortened the First Stage of Production
Preparing source files used to take up the first part of every design request. By the time the image was ready, very little time remained for the layout itself. Designkit helped us move past that preparation stage earlier, so the team could focus more attention on composition, messaging, and the final creative direction.
Made Internal Reviews More Focused
Our early reviews often became discussions about temporary backgrounds instead of the design being presented. Preparing the subject first gave everyone a clearer view of the intended composition. Feedback became more specific, and we stopped spending review meetings explaining which parts of an unfinished source image would eventually be removed.
Reduced Confusion Between File Versions
We previously had several cropped, masked, and partially edited copies of the same source image circulating between teams. Using one prepared asset gave everyone a clearer starting point. It became easier to identify the current file, avoid duplicate work, and keep later adjustments attached to the correct version.
Made Production Timelines Easier to Estimate
Manual cutout work varied too much from image to image, which made scheduling difficult. Moving the initial preparation into a consistent workflow gave us a better idea of how long each content request would take. That helped us plan assignments more accurately and avoid small editing tasks delaying larger launches.
Improved Handoffs Between Teams
Our content, design, and merchandising teams often work on the same visual at different stages. Starting from a prepared image made those handoffs much easier to manage. Each team could complete its part without asking the previous person to reopen the source file and make another basic adjustment first.