
Can You Edit an Instagram Post After Posting?
Yes. You can edit captions, tags, location, and alt text after publishing. You can’t replace the original photo or video. See what changes, what doesn’t, and how to edit step by step.

Can you edit an Instagram post after posting? Yes. You can edit some parts of an Instagram post after publishing, including the caption, hashtags, tagged accounts, location, product tags, and alt text. You can’t replace the original photo or video.
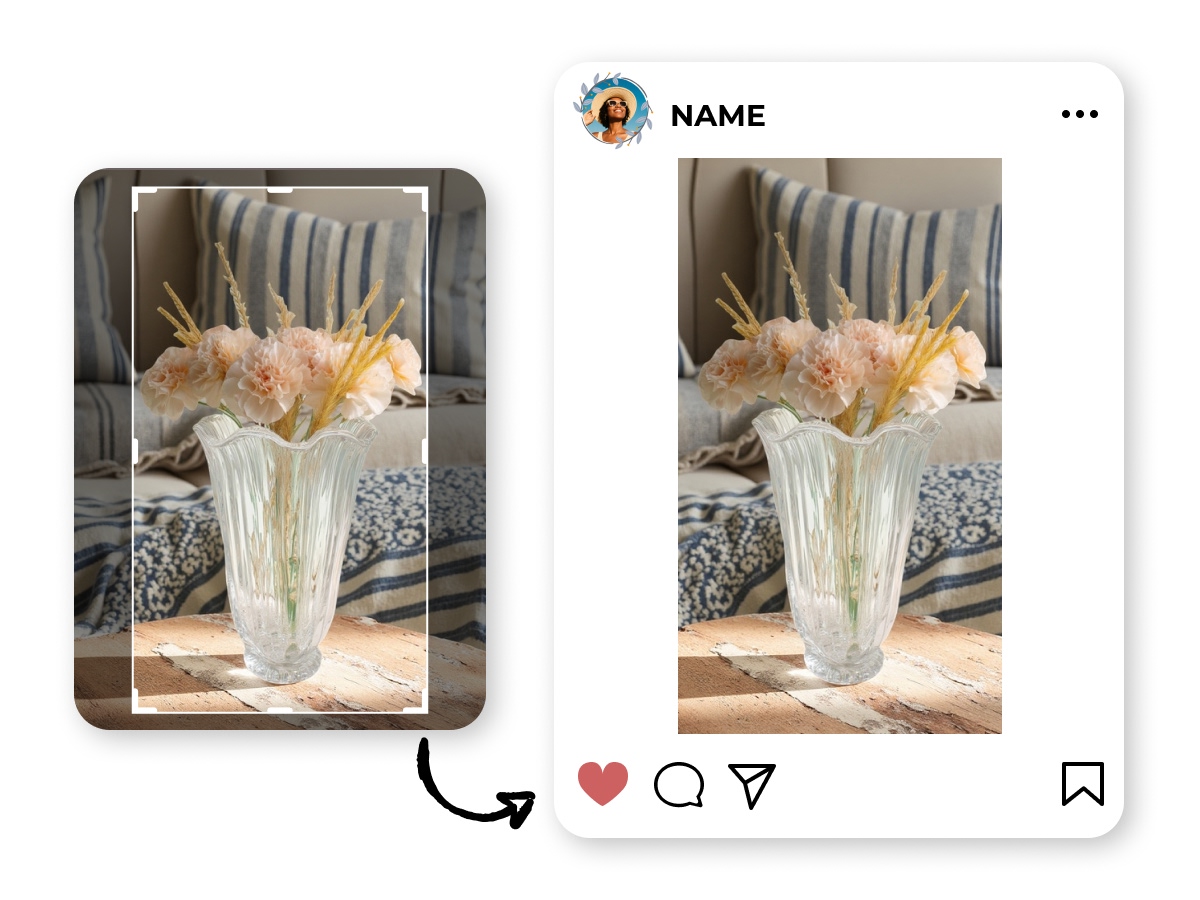
Use this quick answer first, then follow the steps if you need to make a change.
|
Element |
Can you edit it? |
|---|---|
|
Caption |
Yes |
|
Hashtags |
Yes |
|
Tagged accounts |
Yes |
|
Location |
Yes |
|
Product tags |
Yes, for eligible accounts |
|
Alt text |
Yes |
|
Original photo/video |
No |
|
Add new carousel slides |
No |
What Can You Edit After Posting?
After a post is live, Instagram still lets you fix most of the text and tagging details:
-
Caption and hashtags in the post edit screen
-
Tagged people or accounts
-
Location
-
Product tags on eligible Shopping / professional accounts
-
Alt text for accessibility and image description
Editing these fields does not reset likes or comments on the post. People who already engaged stay attached to the same post URL.
What Can't You Edit After Posting?
You can’t swap the media that went out with the original publish:
-
Original photo or video (no in-place replace)
-
Adding brand-new carousel slides to a finished carousel
If the visual is wrong, you need a workaround: delete and repost, archive, or publish a new version. Those options are covered below.
How to Edit an Instagram Post After Posting
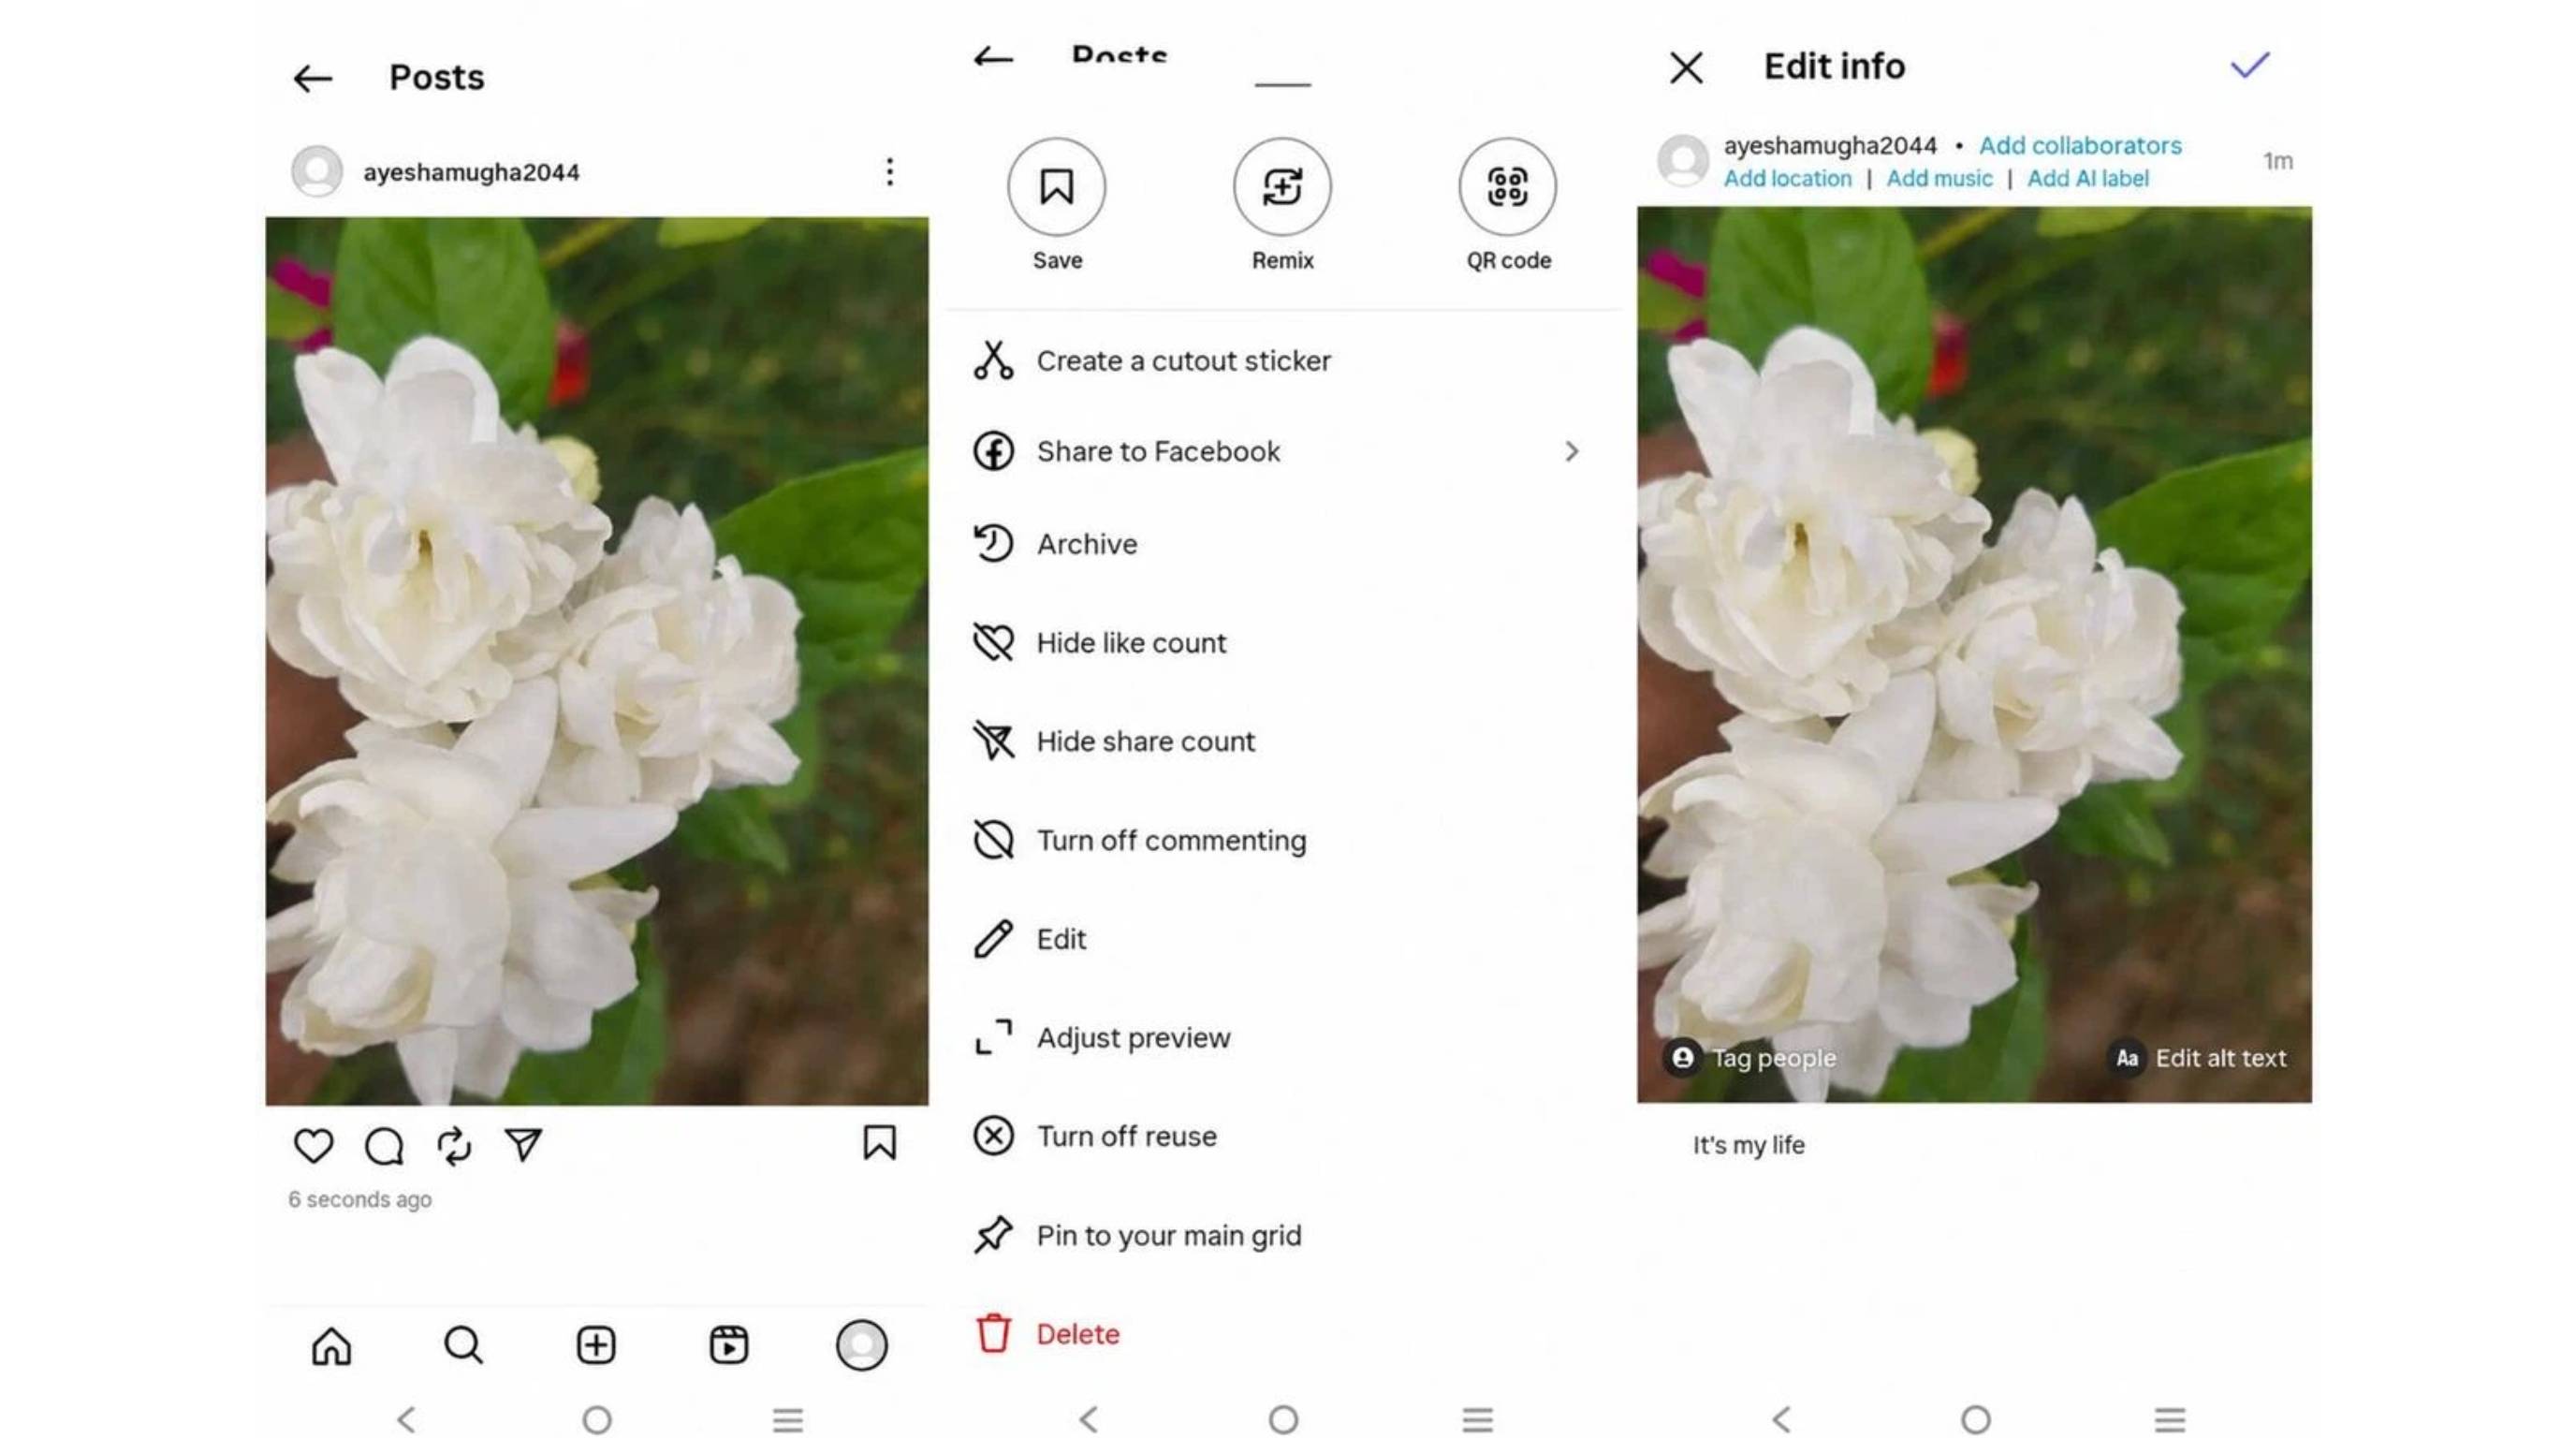
Step 1: Open the Post and Tap Edit
Go to your profile, open the post, tap the three-dot menu, and select Edit.
Step 2: Update the Post Details
Change the caption, hashtags, tagged accounts, location, product tags, or alt text available to your account.
Step 3: Save Your Changes
Tap Done or the checkmark to save. Open the post once more to confirm the update shows correctly on mobile.
Can You Replace a Photo or Video After Posting?
No. You can’t replace the original photo or video in an existing Instagram post.
If the visual needs to change, pick the option that matches what you care about most: comments, timing, or keeping a cleaner profile.
Delete and Repost
Delete the post, then publish the corrected photo or video. You get a clean visual, but likes, comments, and shares from the original post do not carry over. Use this when the media error matters more than keeping the old engagement.
Archive the Post
Archive hides the post from your grid without deleting it. You can restore it later. This helps when you want the wrong visual off the profile quickly, but you are not ready to rebuild the post yet.
Create a New Version
Leave the original up and publish an improved cut as a new post (or Story). Engagement stays on the first post; the new post starts from zero. Useful for campaigns where you want both versions available, or when deleting would remove valuable comments.
How to Edit an Instagram Carousel Post
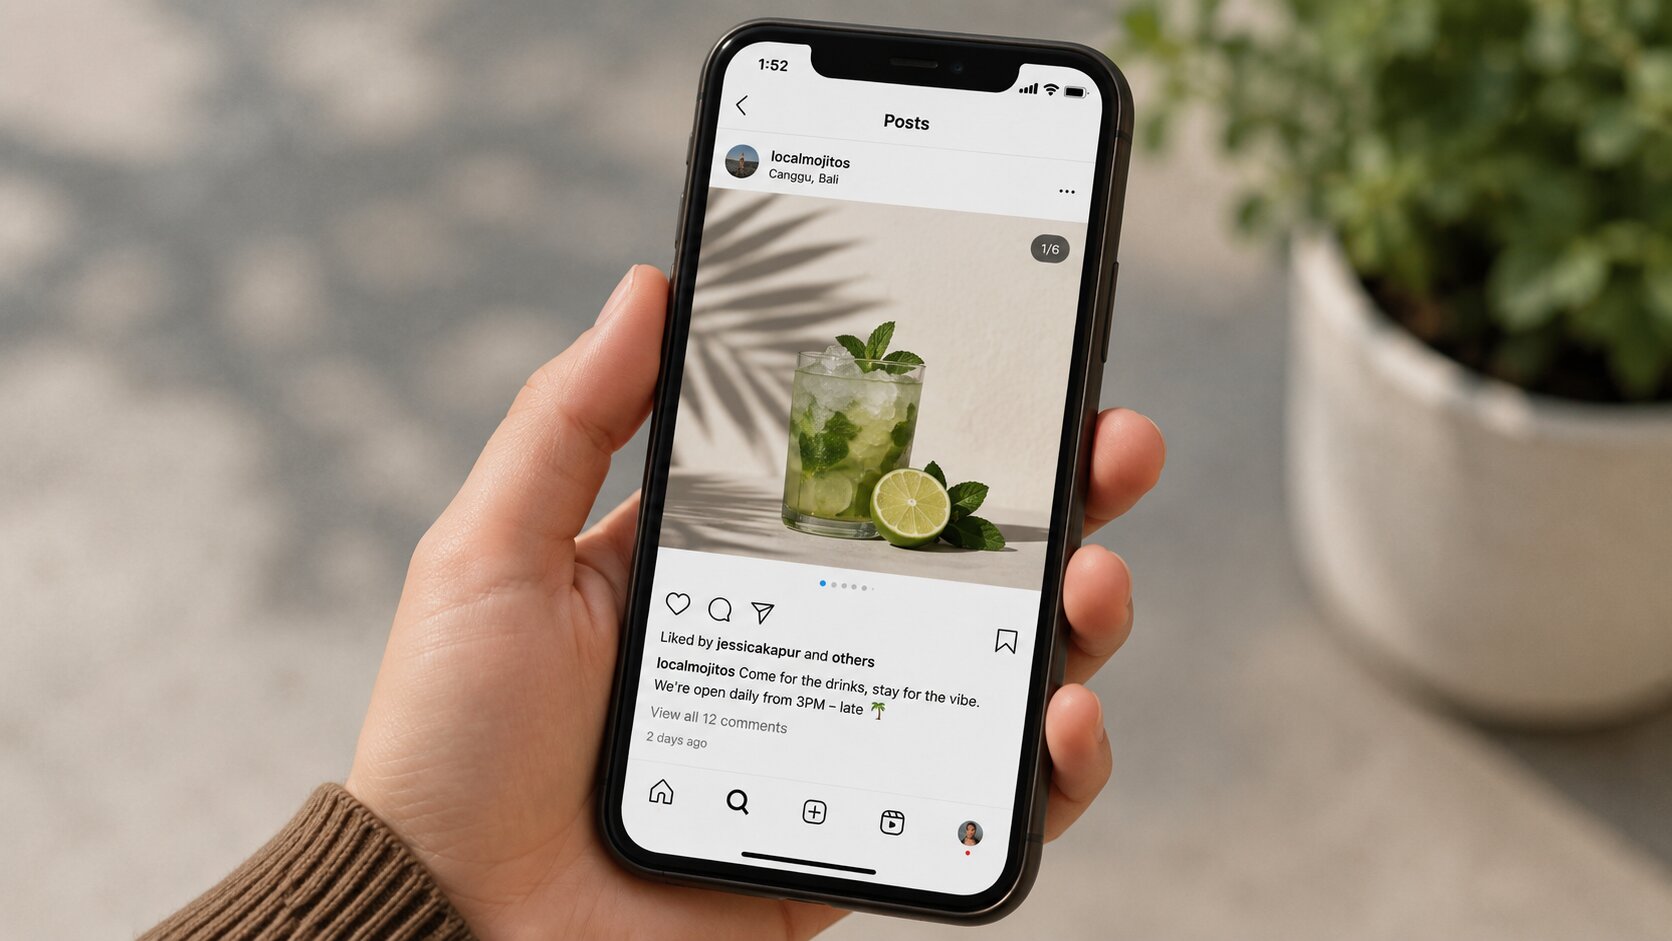
Carousel posts follow the same edit screen for post details, with a few media limits.
What you can edit: caption, tags, location, product tags, alt text, and other editable post details.
What you can’t edit: you generally can’t replace media or simply add new slides to an existing carousel.
Some app versions or account types may offer limited reorder or remove controls for carousel slides. Availability may vary, so treat those controls as optional if you see them, not as a guaranteed feature for every account.
If the slide set itself is wrong, delete and rebuild, or archive and post a corrected carousel.
Instagram Post Editing Best Practices
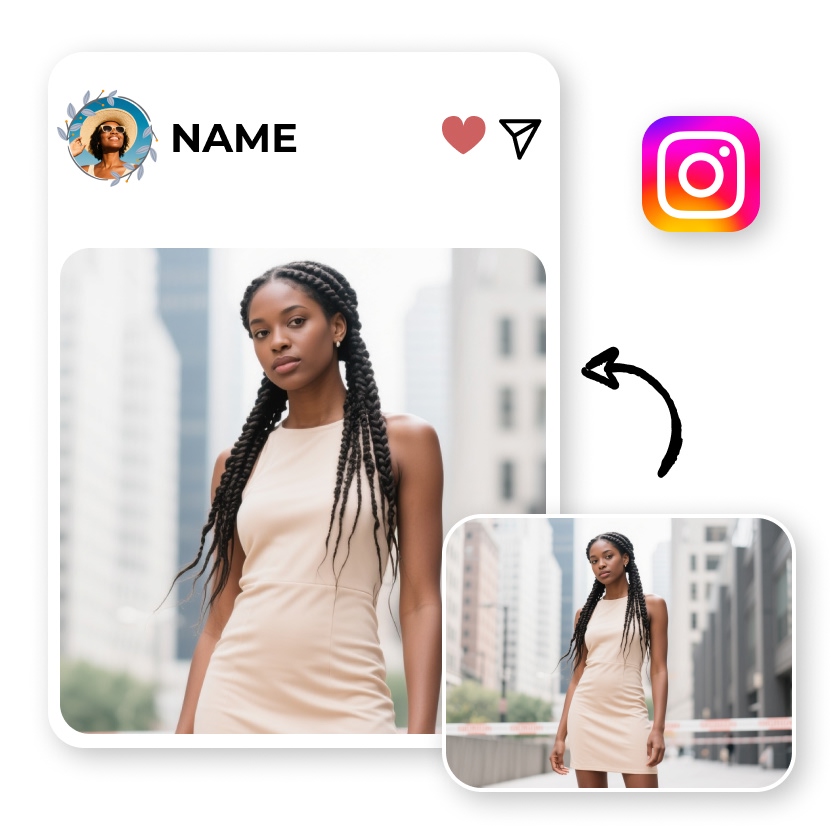
Most “I wish I could edit that” moments are preventable. Keep the checklist short and tied to what Instagram won’t let you change later.
Check Your Visuals Before Publishing
Before you hit Share, check crop, text placement, image or video quality, and carousel order. Once the post is live, you can’t swap the media in place, so this pass matters more than polishing the caption twice.
Review Captions, Tags, and Alt Text
Read the caption aloud once, confirm hashtags and @mentions, and write accurate alt text the first time. You can edit these after posting, but fixing them before publish avoids a messy first impression in notifications and shares.
Prepare Multiple Versions for Campaigns
For launches or ads, export two or three creative versions and pick one only after a side-by-side look on your phone. That habit beats deleting and reposting because a headline sat too low on the image.
Create Better Instagram Posts With Designkit
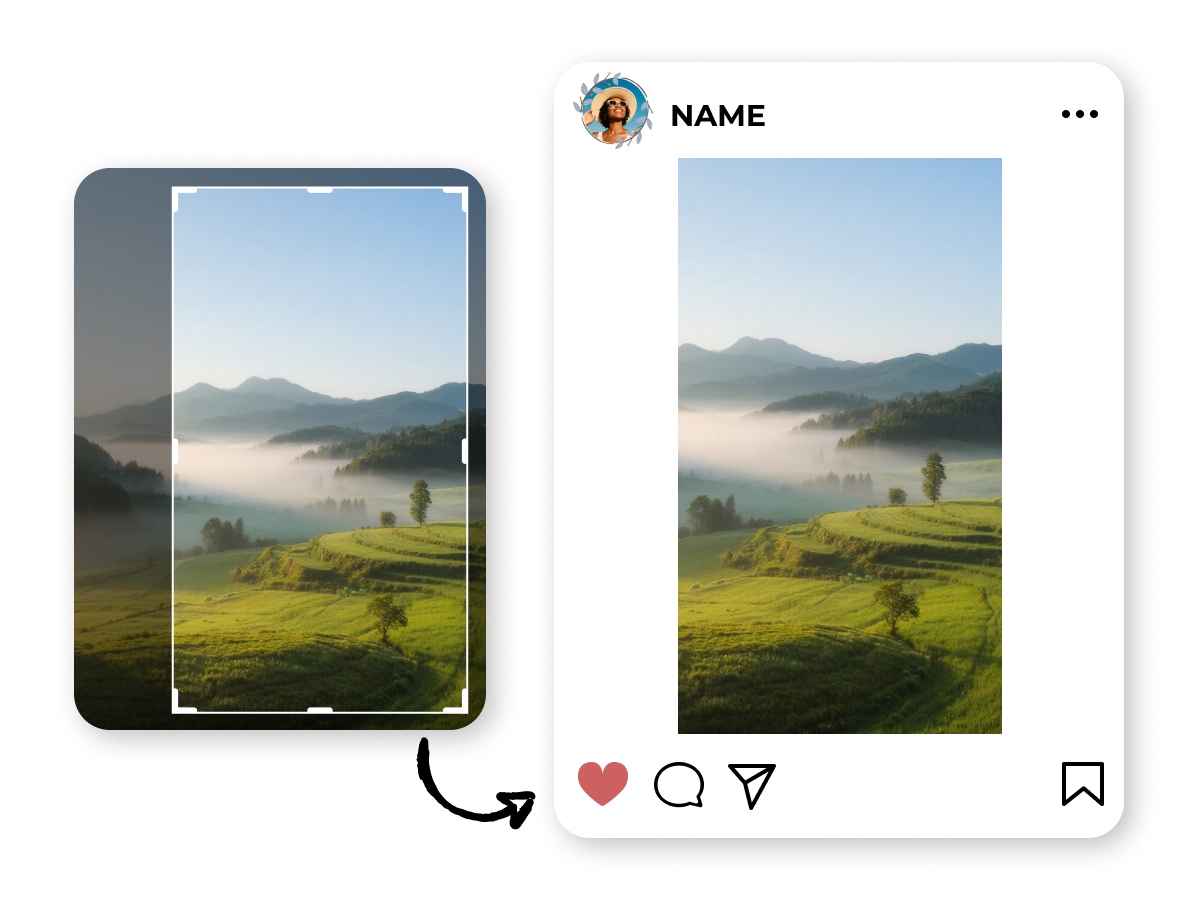
Create and review multiple Instagram-ready visual versions before publishing, so you can check the layout, branding, and creative direction before the post goes live.
In Designkit, upload your product or reference images, generate a few feed-ready options, compare them on a phone-sized preview, then export the one you want to publish. If you only need sizing fixed, use the Instagram image resizer.
Frequently Asked Questions
Can you edit an Instagram post after posting?
Can you edit an Instagram photo after posting?
You can edit the details around the photo, such as caption and tags. You can’t change the photo file itself after it has been published.
Can you replace a photo on Instagram after posting?
No. Instagram doesn’t let you swap the original photo or video in place. To change the visual, delete and repost, archive the post, or publish a new version.
Can you edit an Instagram carousel after posting?
You can edit post details like caption, tags, location, and alt text. You generally can’t replace slides or add new ones to an existing carousel. Some reorder or remove options may appear depending on your app version; availability may vary.
How do I edit an Instagram caption after posting?
Open the post from your profile, tap the three-dot menu, choose Edit, update the caption, then tap Done or the checkmark to save.
Does editing an Instagram post affect likes and comments?
Editing caption, tags, location, or alt text does not clear existing likes and comments. Those stay on the same post. Deleting and reposting creates a new post without the old engagement.
What can you edit on an Instagram post after publishing?
Caption, hashtags, tagged accounts, location, product tags for eligible accounts, and alt text. The original photo or video stays locked.
You May Also Like

7 Best Remove.bg Alternatives in 2026: Free & Paid Tools

Instagram Carousel: What It Is, How to Post & Create One

Nano Banana Prompts: 20+ Examples for Better AI Images

Ideogram AI Review 2026: Features, Pricing & Alternatives

Free Mac Photo Editor: 5 Tools Compared for Mac Users

How to Crop a Photo Into a Circle Online (Keep Quality)

How to Make an Image Transparent Online (AI Guide)

Pixlr Background Remover Review 2026: Features, Pricing & Alternatives

How to Fix Overexposed Photos: Recover Highlights Fast

OpenArt AI Review 2026: Features, Pricing & Alternatives

Best AI Headshot Generator: 9 Tools Compared for 2026

Best Stencil Maker Tools 2026: Turn Photos Into Stencils

Pixelbin Watermark Remover Review: Image & Video Results Tested

How to Make a Sticker on iPhone: Easy Step by Step Guide

Best AI Logo Generator in 2026: 10 Tools Compared

How to Turn a Photo Into a Cartoon: A Beginner-Friendly Guide

Landscape vs Portrait: Key Differences & Best Uses in 2026

How to Remove Watermark From Photo: AI, Photoshop & More

How to Fix Pixelated Photos: Photoshop, AI Tools & Tips

Bing Image Creator: How It Works, Features, Uses & Alternatives

How to Remove People from Photos with AI: A Step-by-Step Guide

How to Increase Image Resolution: AI, Photoshop & PPI

How to Add Text to a Photo: 8 Tips for Better Results

How to Fix Grainy Photos: Easy Ways to Clear Images

Creative Profile Picture Ideas for Every Style and Platform

Evoto AI Review 2026: Features, Pricing, Pros & Cons

Pixlr Photo Editor Review: Features, Pricing & Alternatives

Best AI Image Extender Tools in 2026: Expand Photos with AI

How to Make a Collage on iPhone: Easy Guide for 2026

How to Sharpen an Image in Photoshop (Smart Sharpen and Unsharp Mask)

Best Image Background Remover Tools in 2026: AI Tools Compared

How to Make Transparent Background in Paint: Step-by-Step Guide

How to Resize an Image: Best Methods, Tools & Quality Tips

Best AI Image Generator Tools in 2026: Top AI Platforms Compared

Remove.bg Review 2026: Features, Pricing & Is It Worth It?

Luminar Neo Photo Editor Review 2026: AI Features, Price & Pros

How to Post Multiple Photos on Instagram (2026 Guide)

25 Facebook Cover Photo Ideas for Personal & Business Pages

What Is a PFP? Meaning, Examples & How to Create One

Can You Edit an Instagram Post After Posting?

11 Best Canva Alternatives in 2026 for AI Design & Marketing

8 Best Midjourney Alternatives in 2026: Features, Pricing & Comparison

How to Restore Old Photos: AI Tools, Tips & Best Methods

Pixelcut AI Review 2026: Features, Pricing, Pros, Cons & Alternatives

How to Apply Watermark to Photos: Methods, Tips & AI Tools

How to Remove a Background in Illustrator: 4 Easy Methods

How to Change Background Color on Instagram Story (Easy Guide)

8 Best AI Poster Generators in 2026: Create Posters Faster with AI

10 Best AI Image Enhancers in 2026: Tested & Compared

10 Best AI Image Editors in 2026: Features, Pricing & Comparison

7 Best AI Background Changer in 2026: Remove & Replace Photo Backgrounds

Luminar Neo vs Lightroom: Features, Pricing & Comparison 2026

Kittl Review 2026: Is It Worth It? Features & Pricing

How to Make a Blurry Image Clear: 5 AI & Manual Ways

How to Remove Background on iPhone: 5 Easy Methods (2026)

Photoroom Background Remover Review 2026: Features & Alternatives

How to Remove Background in Canva: A Step-by-Step Guide

How to Remove Background in GIMP: Beginner-Friendly Guide

Funny Dog Memes to Try: Doge Meaning and 10 Original Ideas

Back to School Checklist 2026: Supplies, Timeline, and Planning

Recraft AI Review 2026: Features, Pricing, Pros, Cons & Alternatives

How to Make an Image Transparent in Google Slides: Opacity & Background Removal

VanceAI Photo Enhancer Review: Features, Pricing & Alternatives in 2026

What Does Emojify Mean? Text, Photos, & Emoji Art Explained

Top 8 Online Background Removers for Ecommerce Photos (2026)

How to Remove Background in Photoshop: 7 Easy Methods

6 Best AI Image Upscalers 2026: Tools Tested & Compared

Project Indigo Review: Is It Better Than iPhone Camera?

How Big Is an 8x10 Photo? Size, Pixels & Frame Guide

How Big Is a 4x6 Photo? Dimensions, Pixels & Printing Tips

Picsart AI Review: Features, Pricing, Pros, Cons & Alternatives

Lovart AI Review: AI Design Agent Features, Pricing & Alternatives

Fotor AI Image Generator Review: Features, Pricing & Alternatives

How to Add Emoji to Photo Online for Free

Emoji Wallpaper Ideas & How to Make One Online (2026)

Minimalist Poster Design: How to Make a Clean Poster (2026)

How to Make a Custom Poster That Is Ready to Print

Instagram Image Size Guide 2026: Post, Reel, Story & Carousel Specs

LinkedIn Image Size Guide: Profile, Post & Banner Dimensions

YouTube Profile Image Size: Best Dimensions & Safe Area 2026

How to Edit Amazon Product Photos That Boost Sales Fast
Fix What You Can. Prep What You Can’t.
Edit captions and tags when you need to. For visuals, review a few versions in Designkit before you publish, so you are not stuck replacing a photo later.
