
How to Crop a Photo Into a Circle Online Without Losing Quality
Create clean circular images from any photo. Learn how to crop, resize, position subjects, and prepare round visuals for social media, websites, product designs, and marketing content.

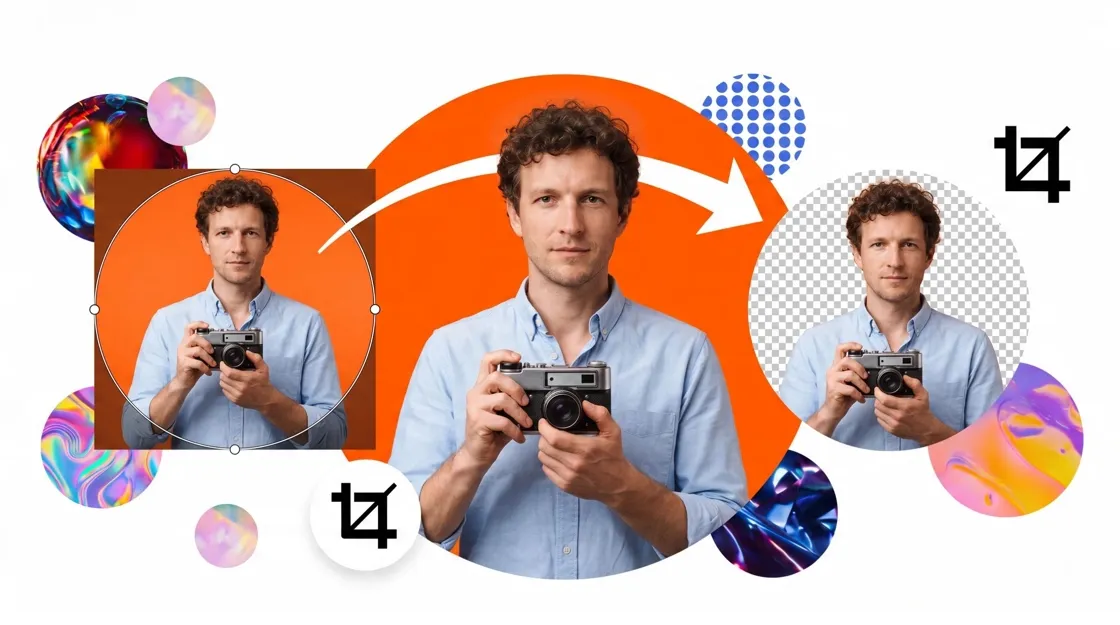
A circular crop will help you convert an ordinary rectangular image into a stylish visual for profile pictures, website images, product images, and marketing visuals. The process itself is easy to accomplish and involves simply selecting a circle crop option, placing your photo, and exporting the end result. But centering the subject and ensuring good-quality photos are critical elements.
This article provides information about how to do circular cropping, useful online circular cropping options, common mistakes in circular crop, and much more.
Key Takeaways
-
The circular crop conceals the corners of the image and retains only the desired circular portion.
-
One can crop a picture to a circle by means of a circle cropper, image editor, or online designer.
-
The positioning of the subject is important, as faces, products, or logos may get cropped out accidentally.
-
High-resolution pictures yield better results in circular cropping due to higher quality output.
What Does It Mean to Crop a Photo Into a Circle?
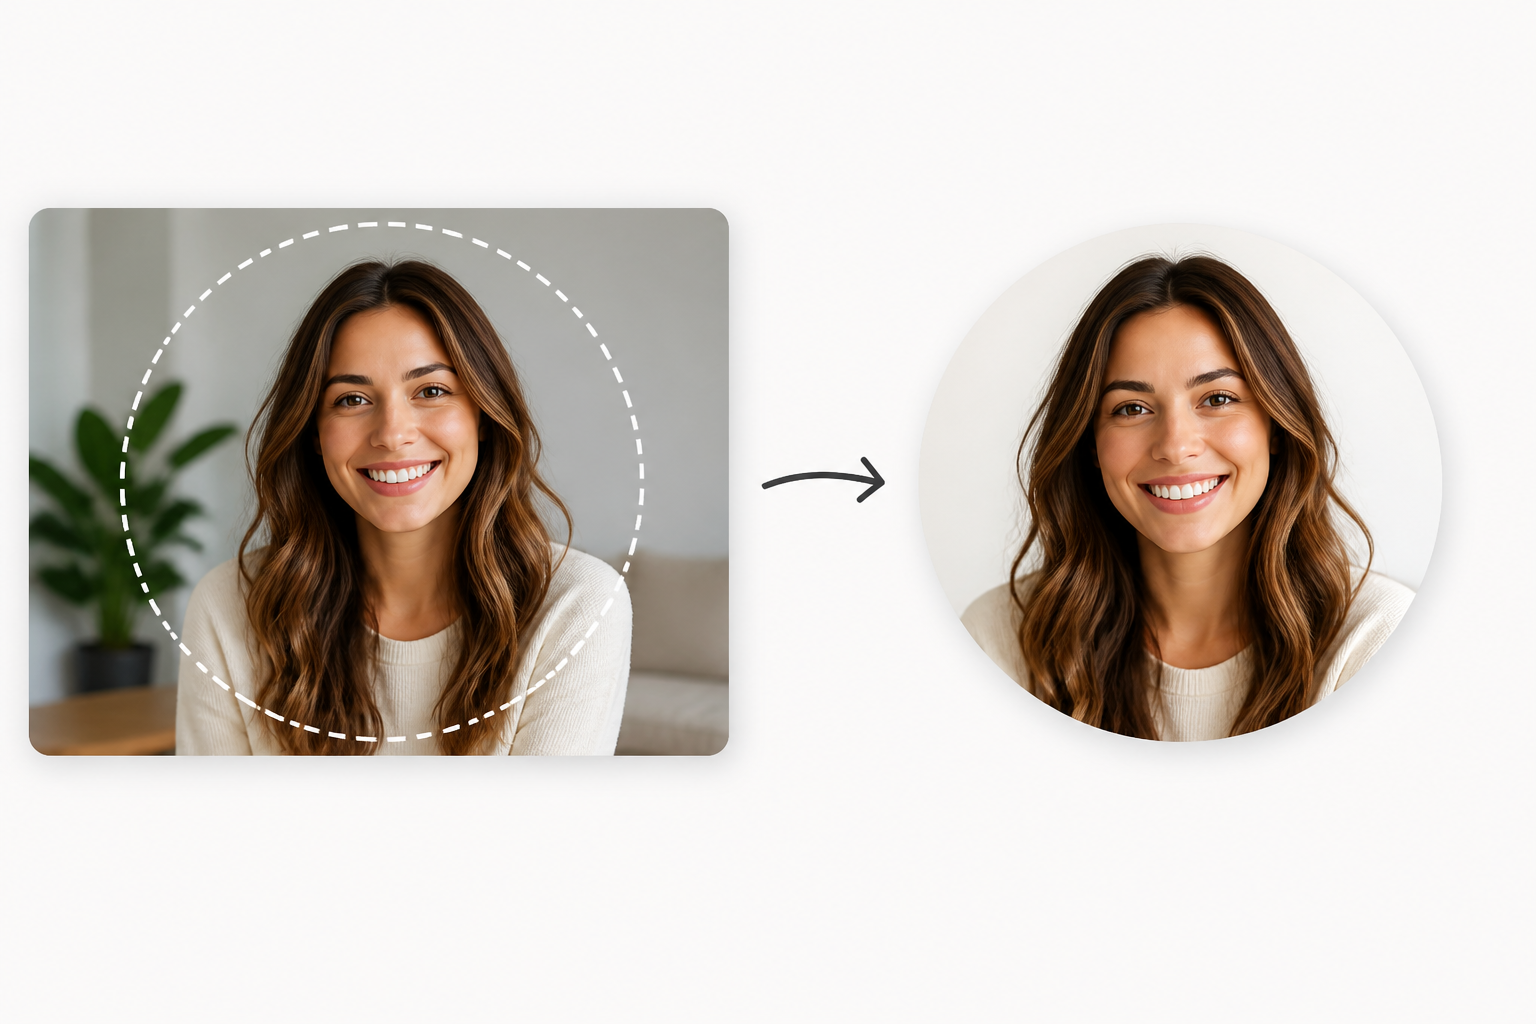
When an image is cropped to make it a circle, this involves cropping an image that usually appears rectangular in shape into the shape of a circle. Instead of the usual cropping process that eliminates portions around the edge, in circular cropping, the image is masked using a circular portion, hence hiding the corners while leaving the desired portions visible. Circular images are usually employed in profiles, team pages, social media posts, product icons, logos, among other areas.
How a Circle Crop Works
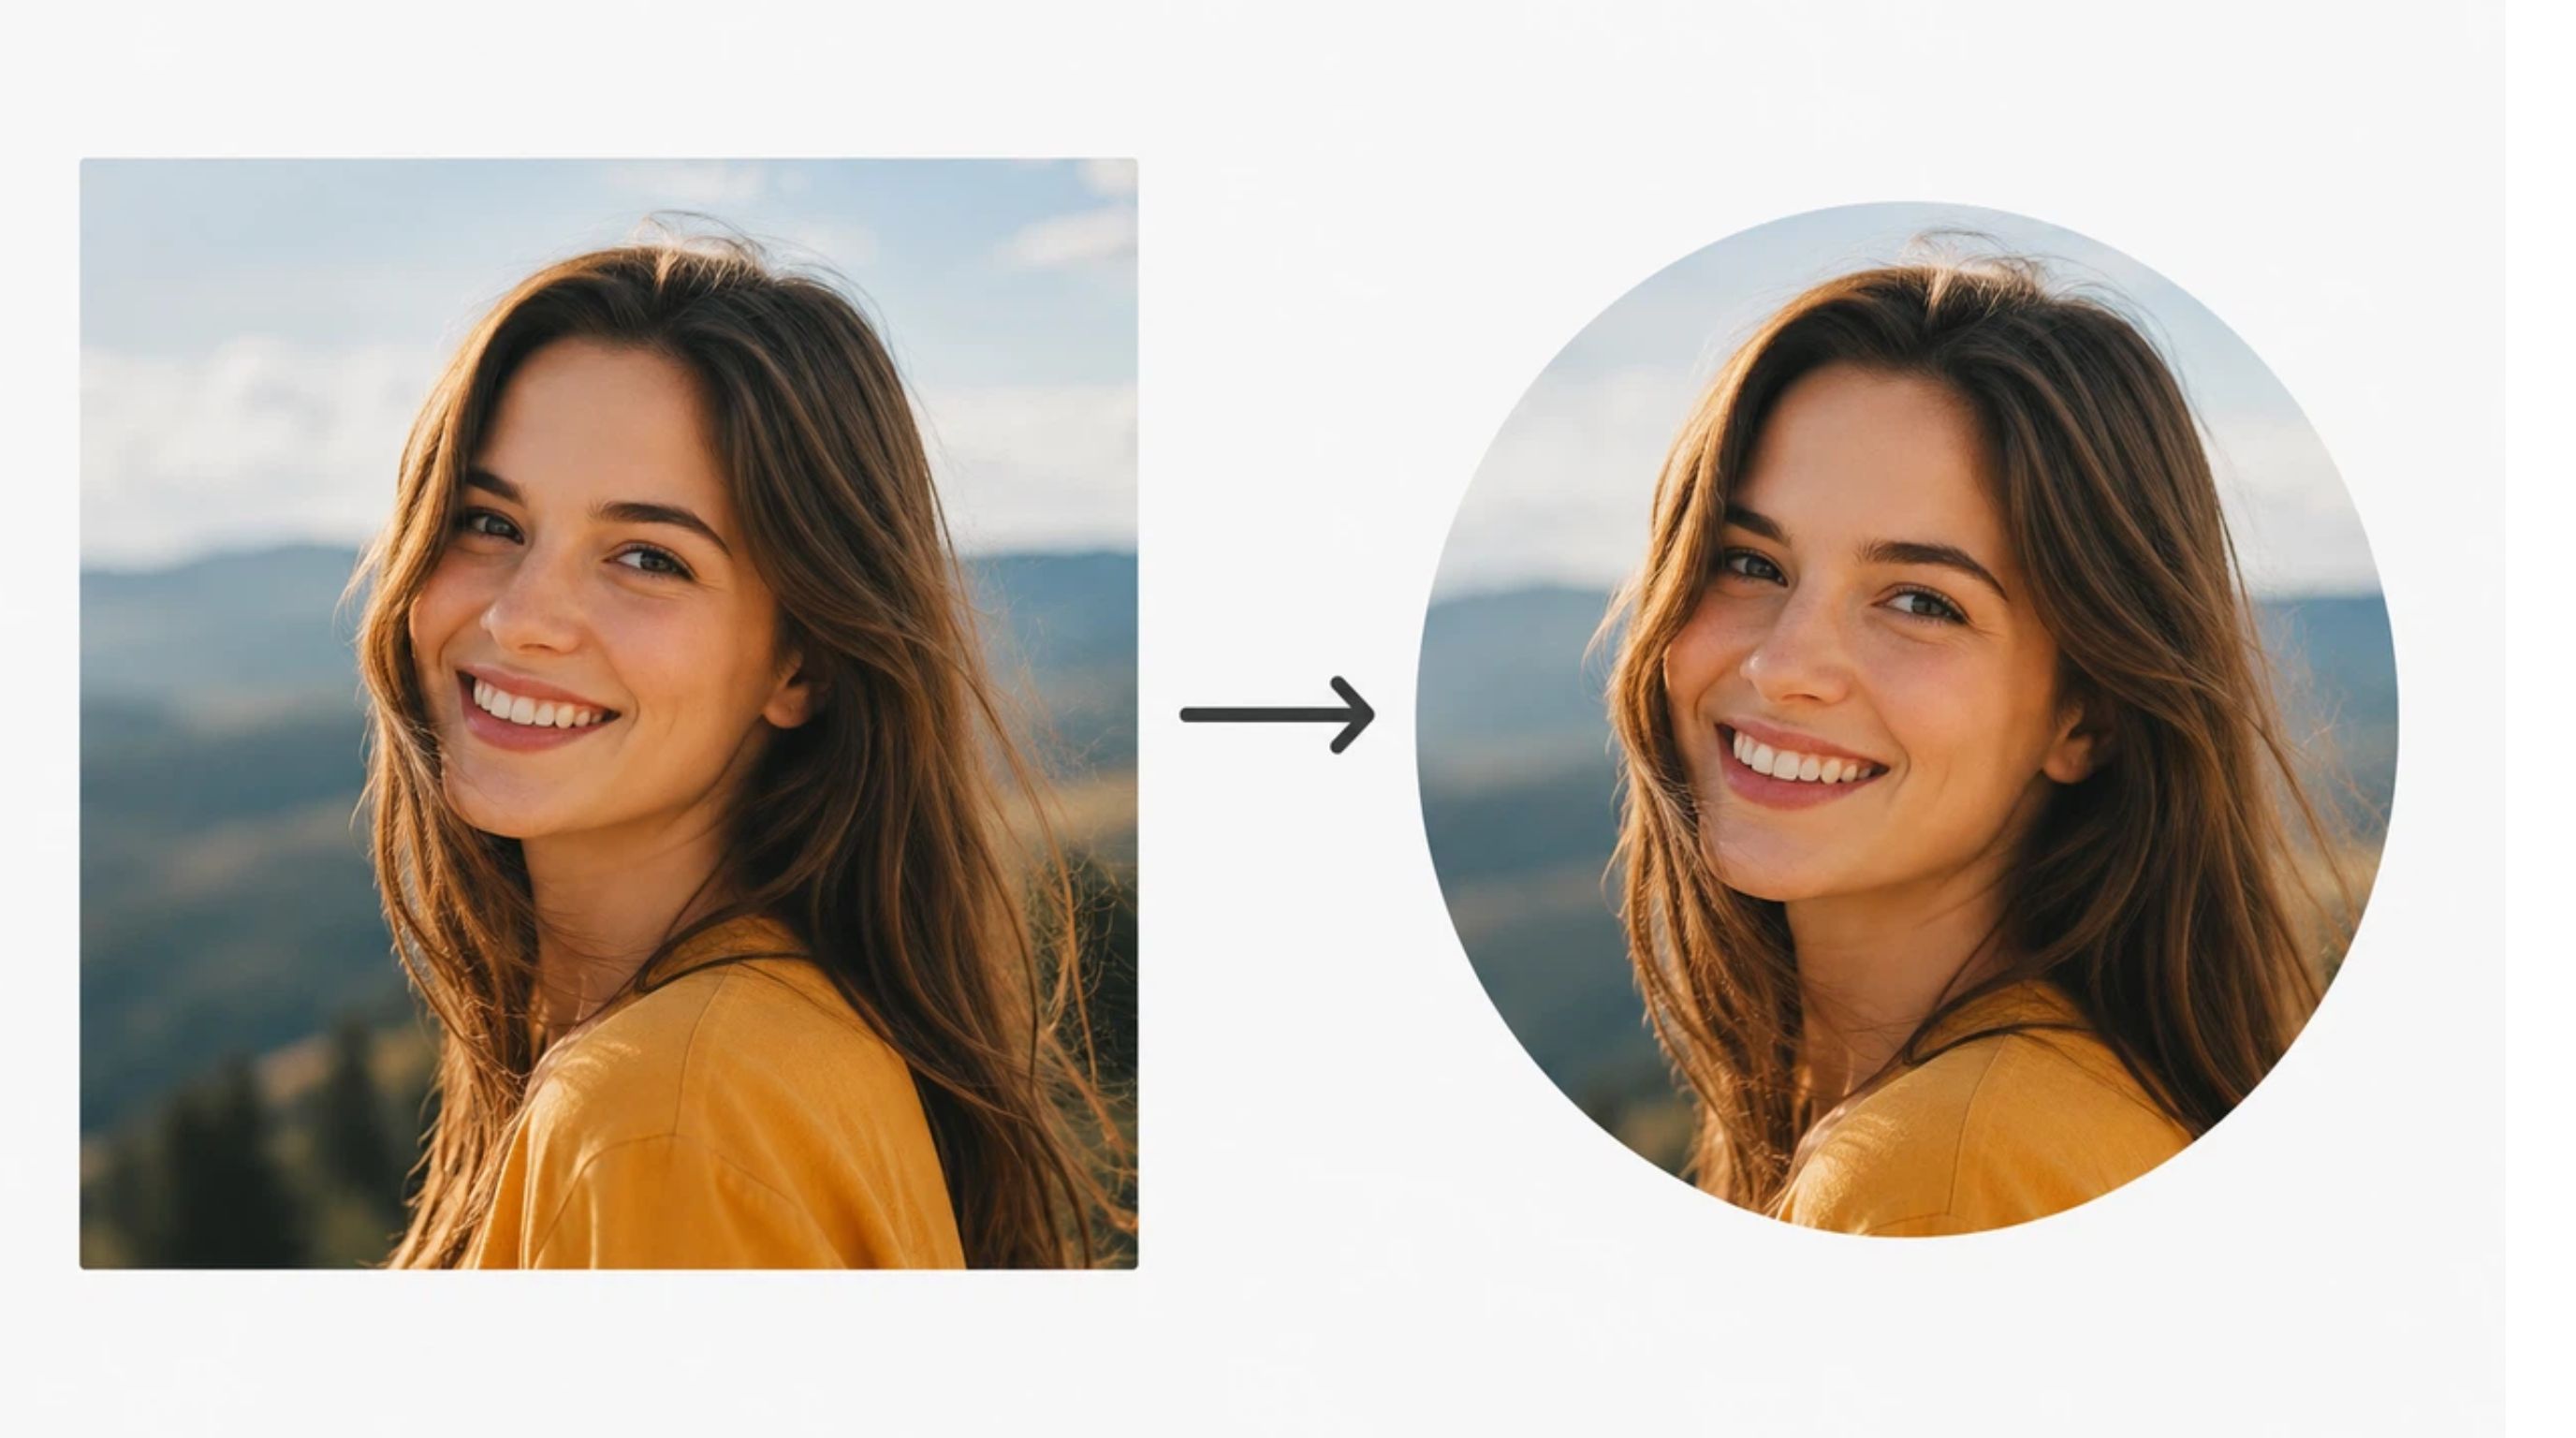
Circle crops use a mask applied to the image in circular form. The image parts inside the mask stay visible, whereas those parts lying outside the mask get hidden. For this reason, the process of circle cropping is different from cutting the four edges of an image.
-
A circle crop uses a circular mask, not a normal edge trim: The mask determines which part of the original image becomes visible inside the circle.
-
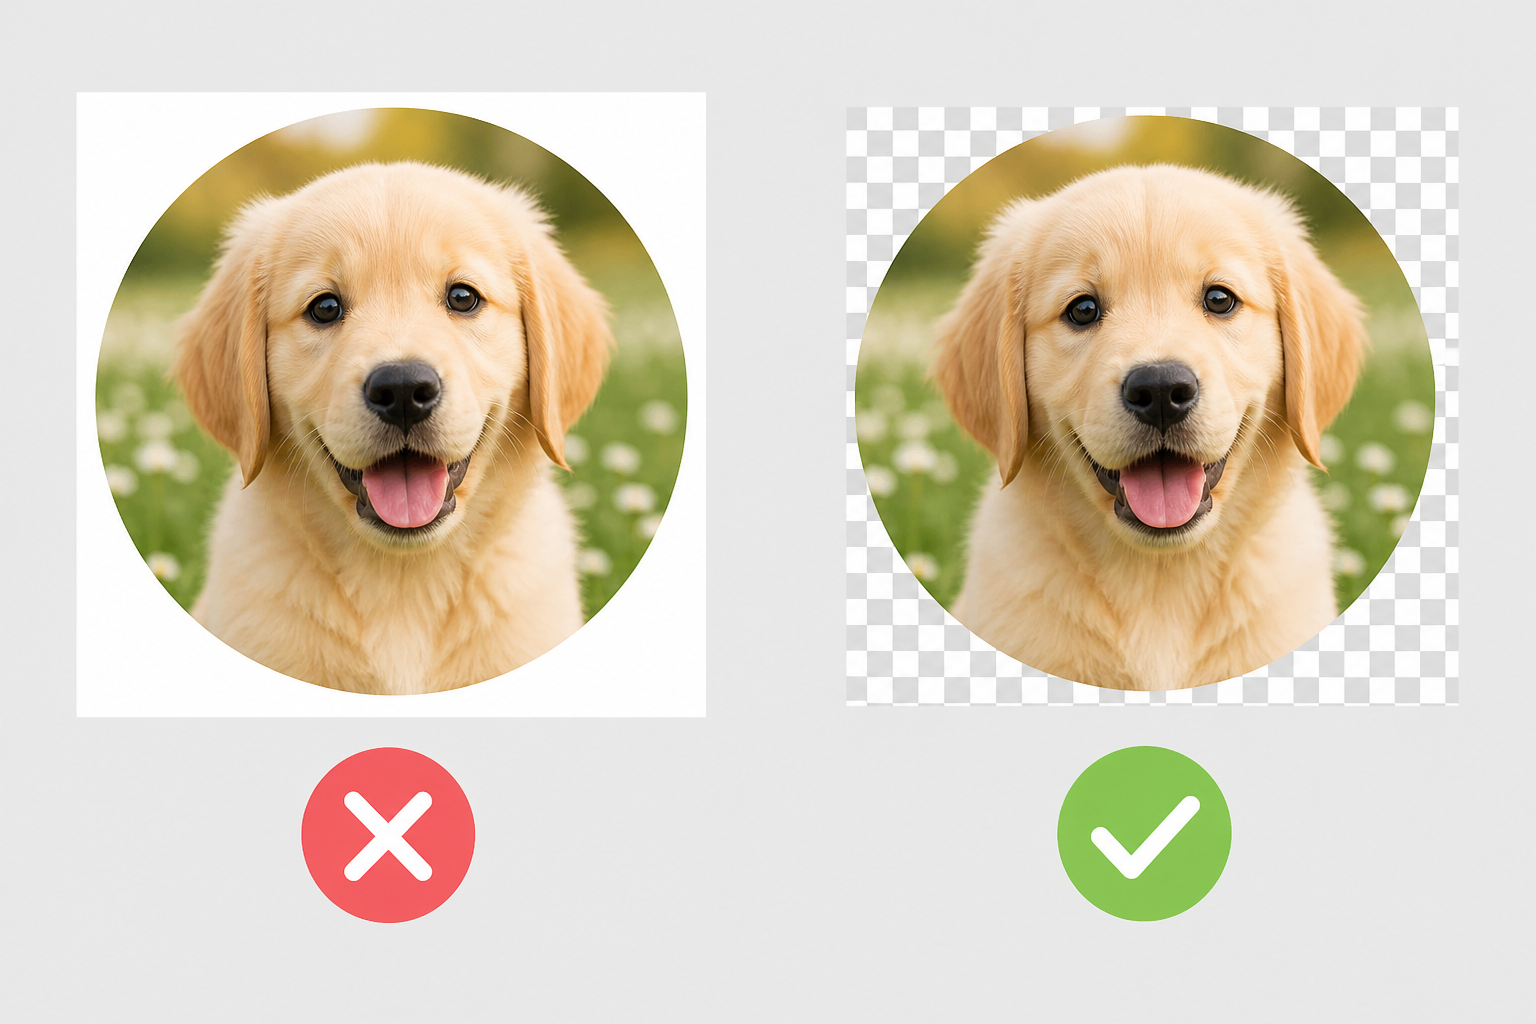
The corners are hidden through transparency: When the background of an image has transparency support, the parts outside the circular mask can be transparent and not solid-colored.
-
Transparency export needs an alpha channel: Alpha channels store transparency data for each pixel of the image. PNG files have alpha channel transparency options for fully and partially transparent pixels.
-
Platform avatar masks differ from actual circular PNG export: A platform can show a rectangular image as circular without modifying the original file, whereas a circular PNG has transparency outside the circular subject part.
How to Crop a Photo Into a Circle in 5 Steps
Creating a circular image doesn't require advanced photo-editing skills. Most online crop tools use a similar workflow, so once you understand the basic process, you can apply it to portraits, products, logos, and other images.
Step 1: Upload Your Photo
Begin the process by uploading your original picture to an image editor or online circle cropping utility. When choosing your source picture, try to choose one with the highest resolution.
Step 2: Select a Circle Crop
Choose the circle or circular crop option. The editor will usually display a round frame over the image, allowing you to see which part of the photo will remain visible.
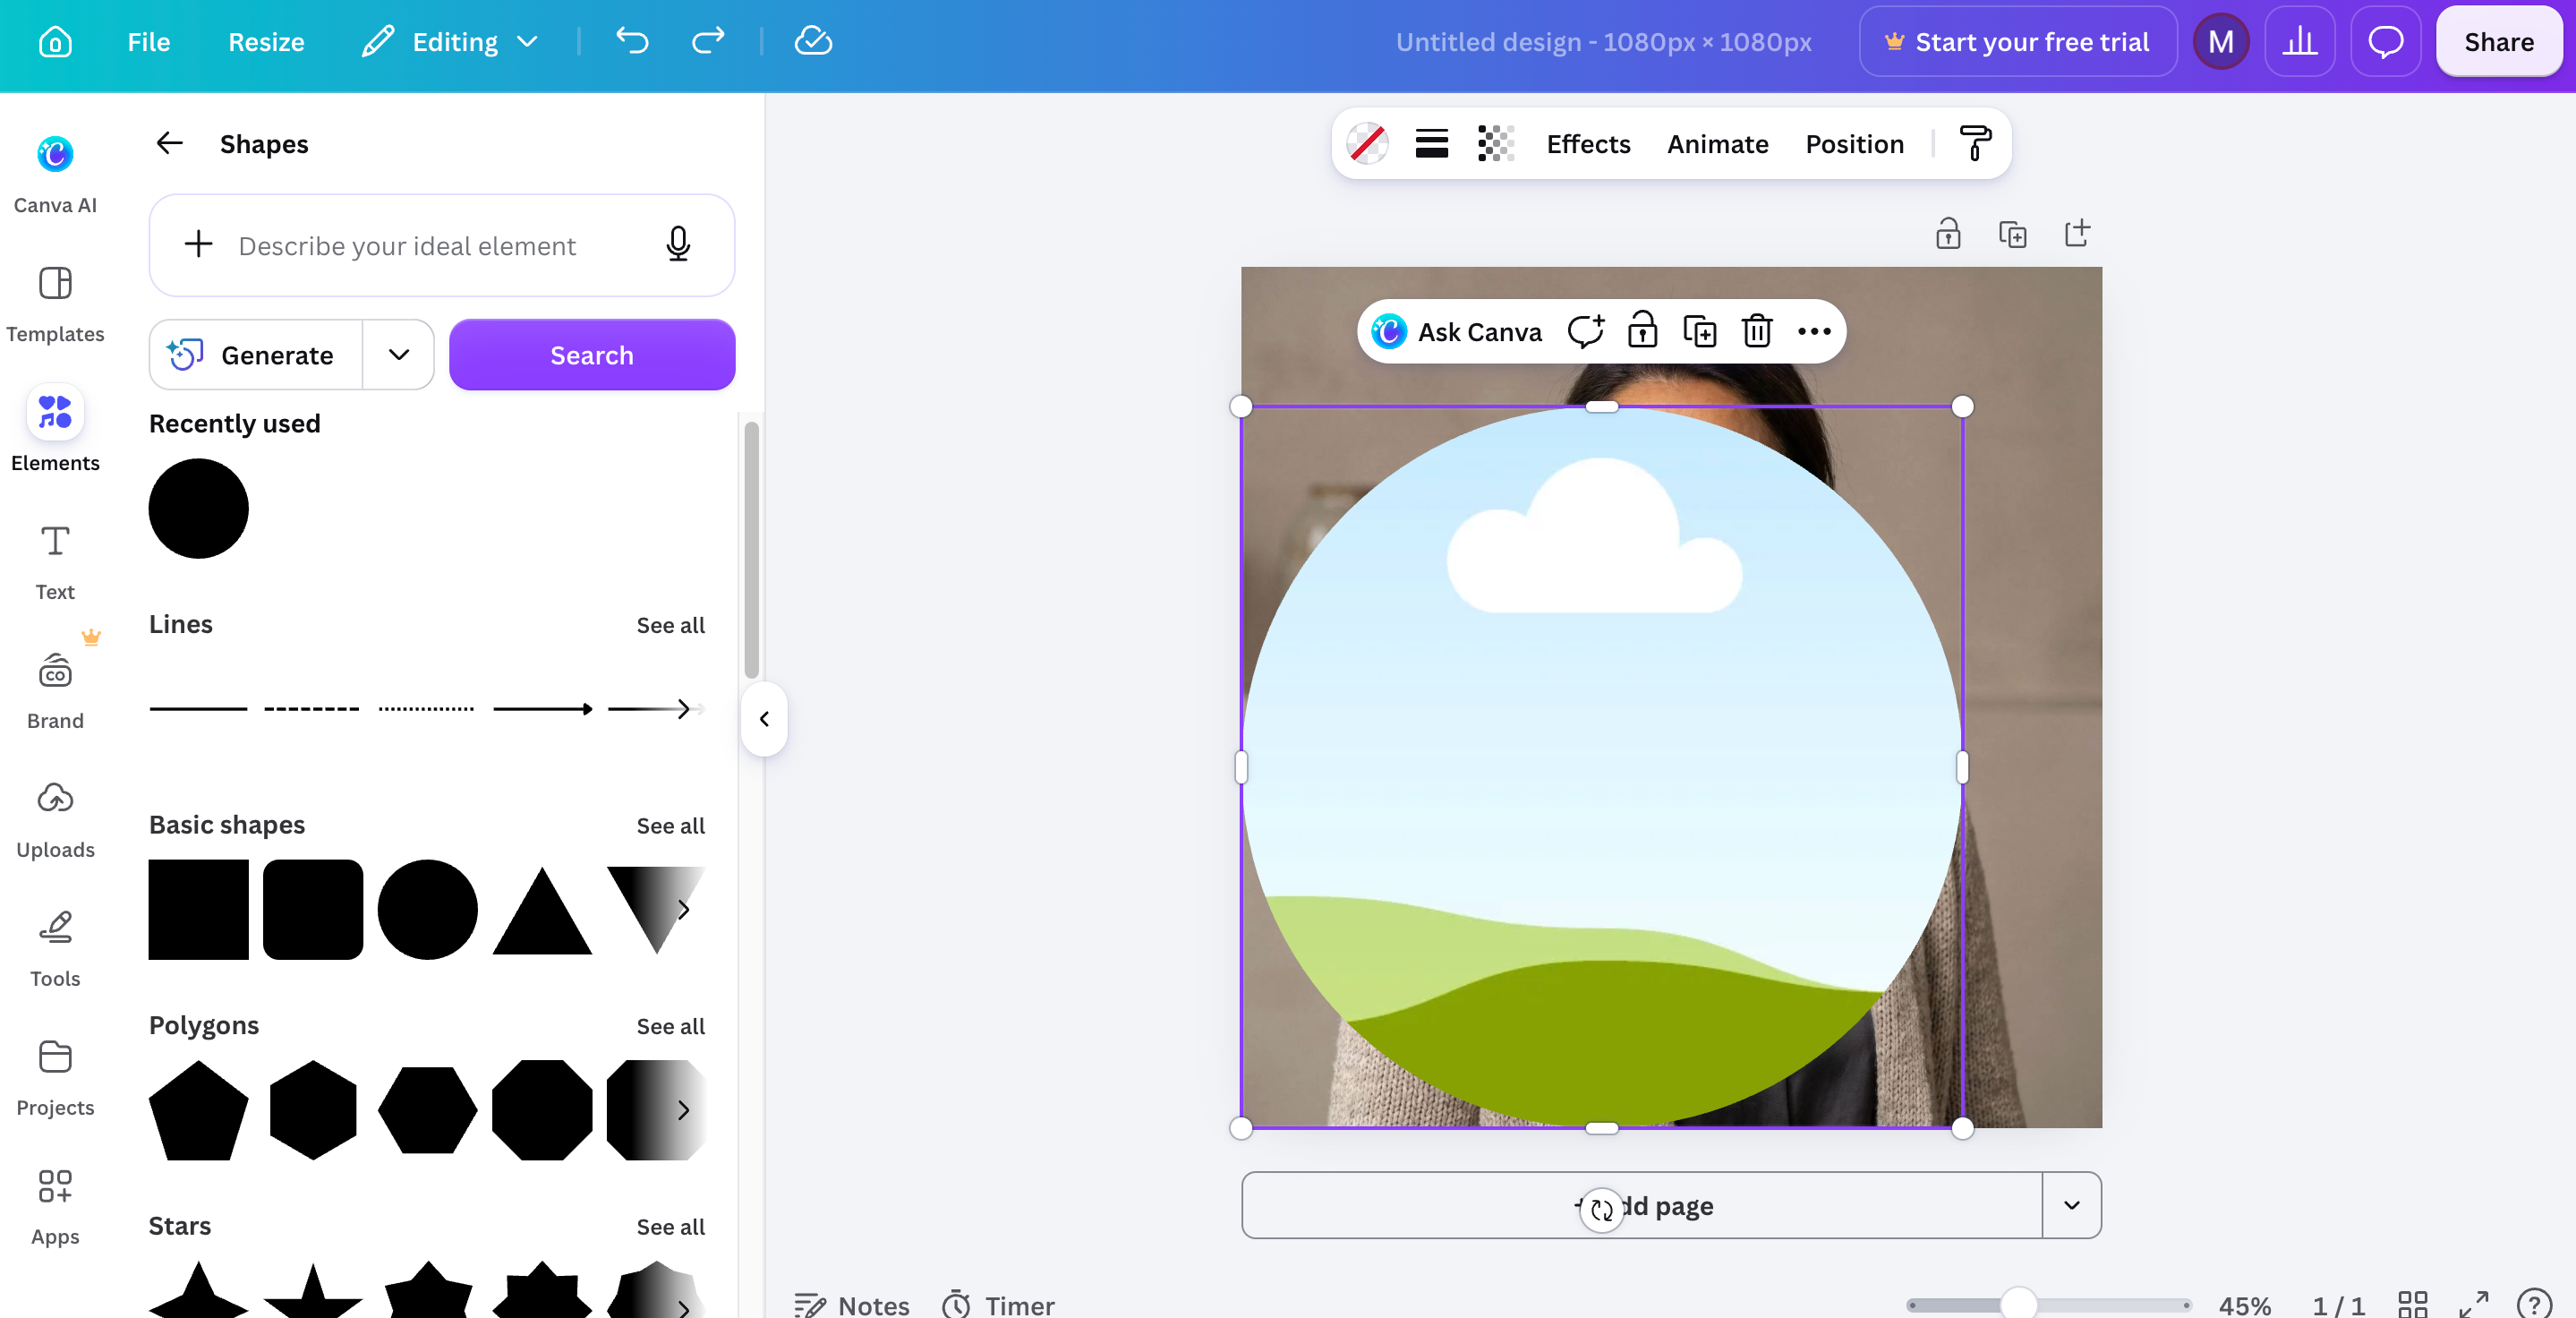
Step 3: Adjust the Image Position
Reposition the image inside the circular frame until the composition looks balanced. Most crop tools let you drag the image and zoom in or out.
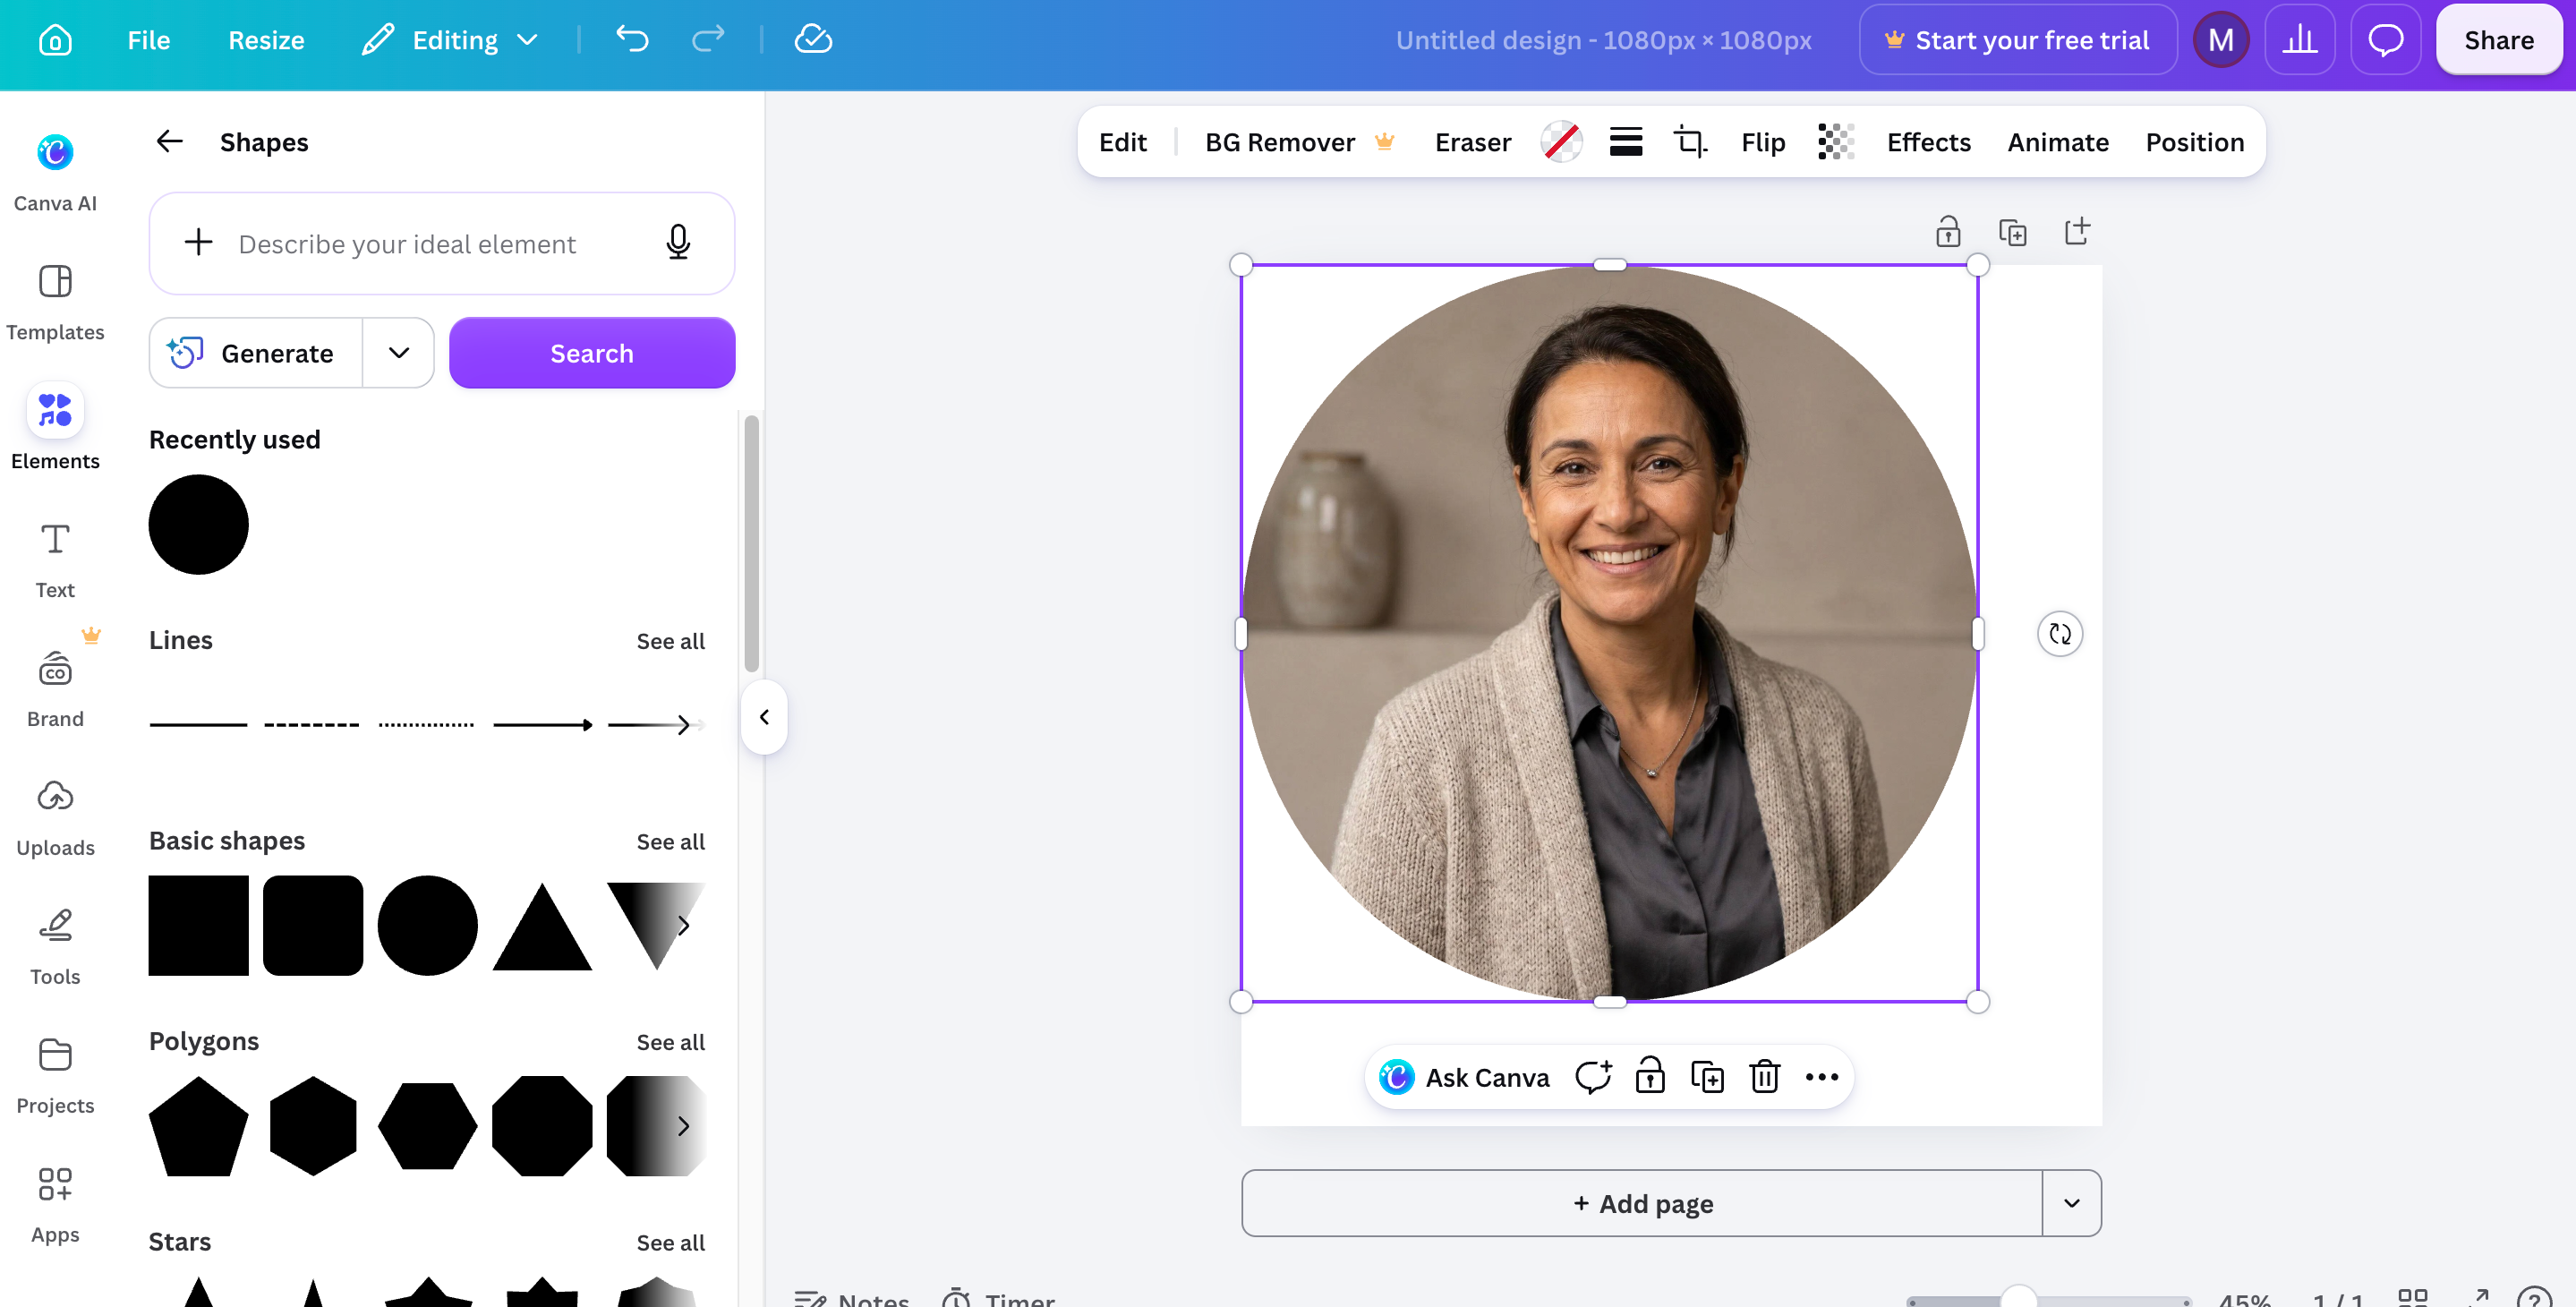
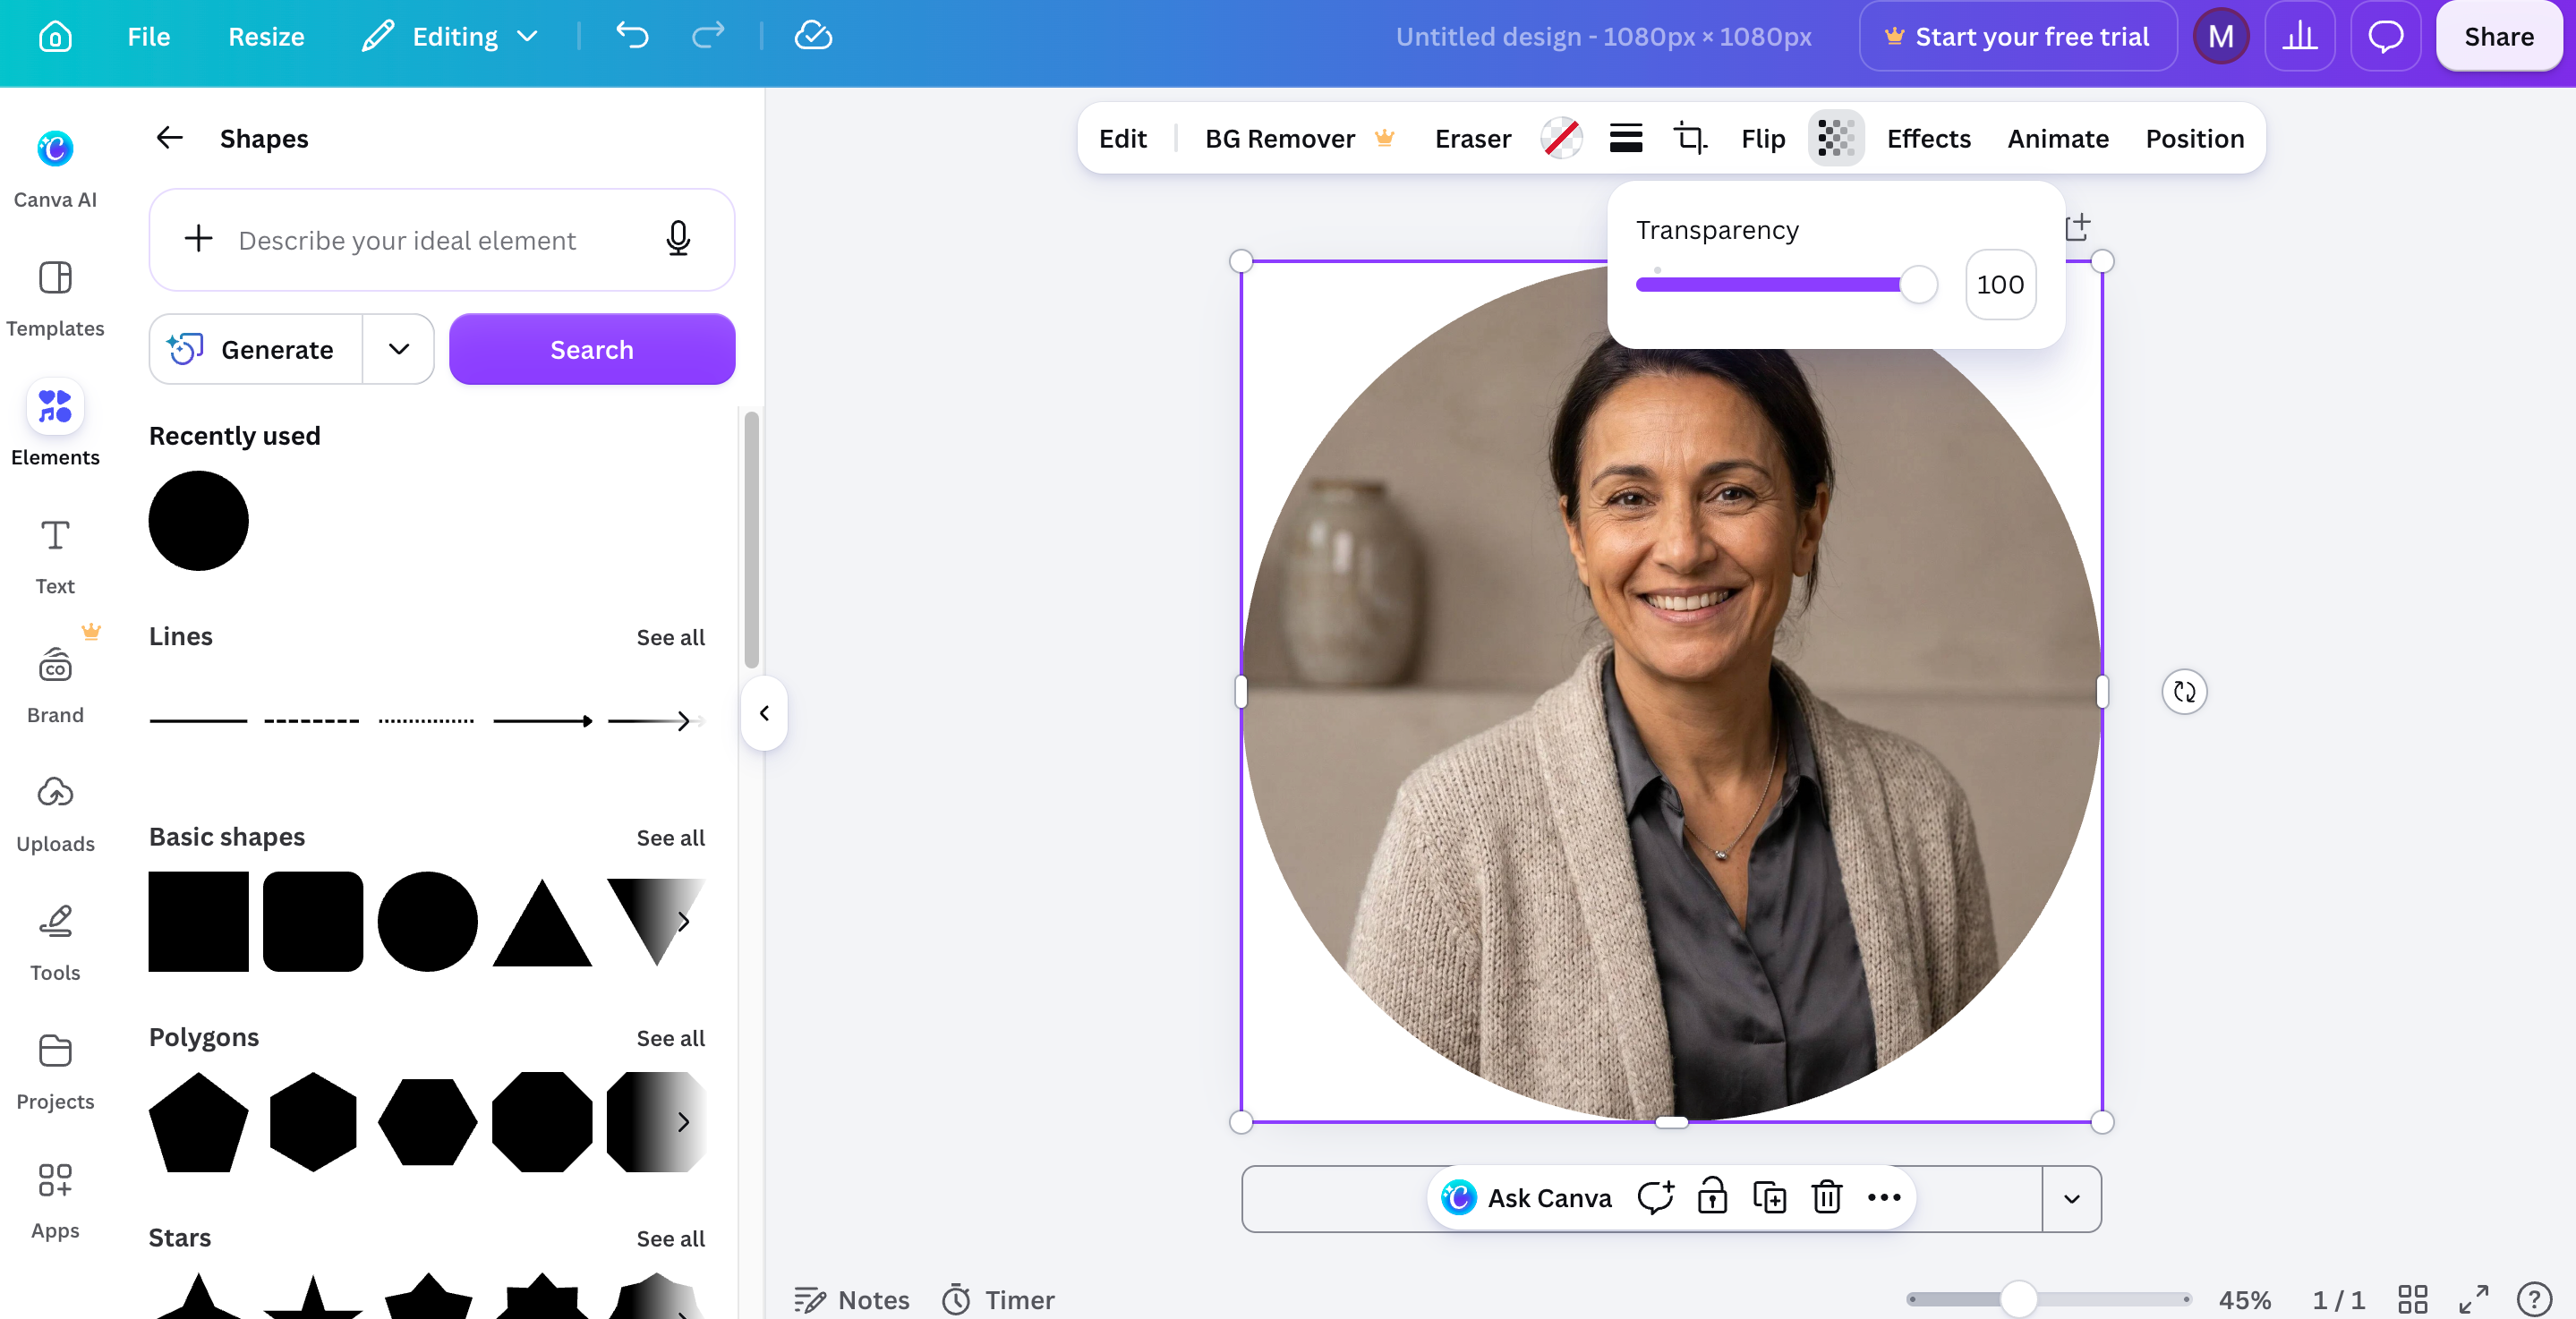
Step 4: Check Background and Transparency
If you want transparent corners, export the image as PNG or WebP and make sure transparency is enabled. PNG supports an alpha channel that can store transparency on a per-pixel basis.
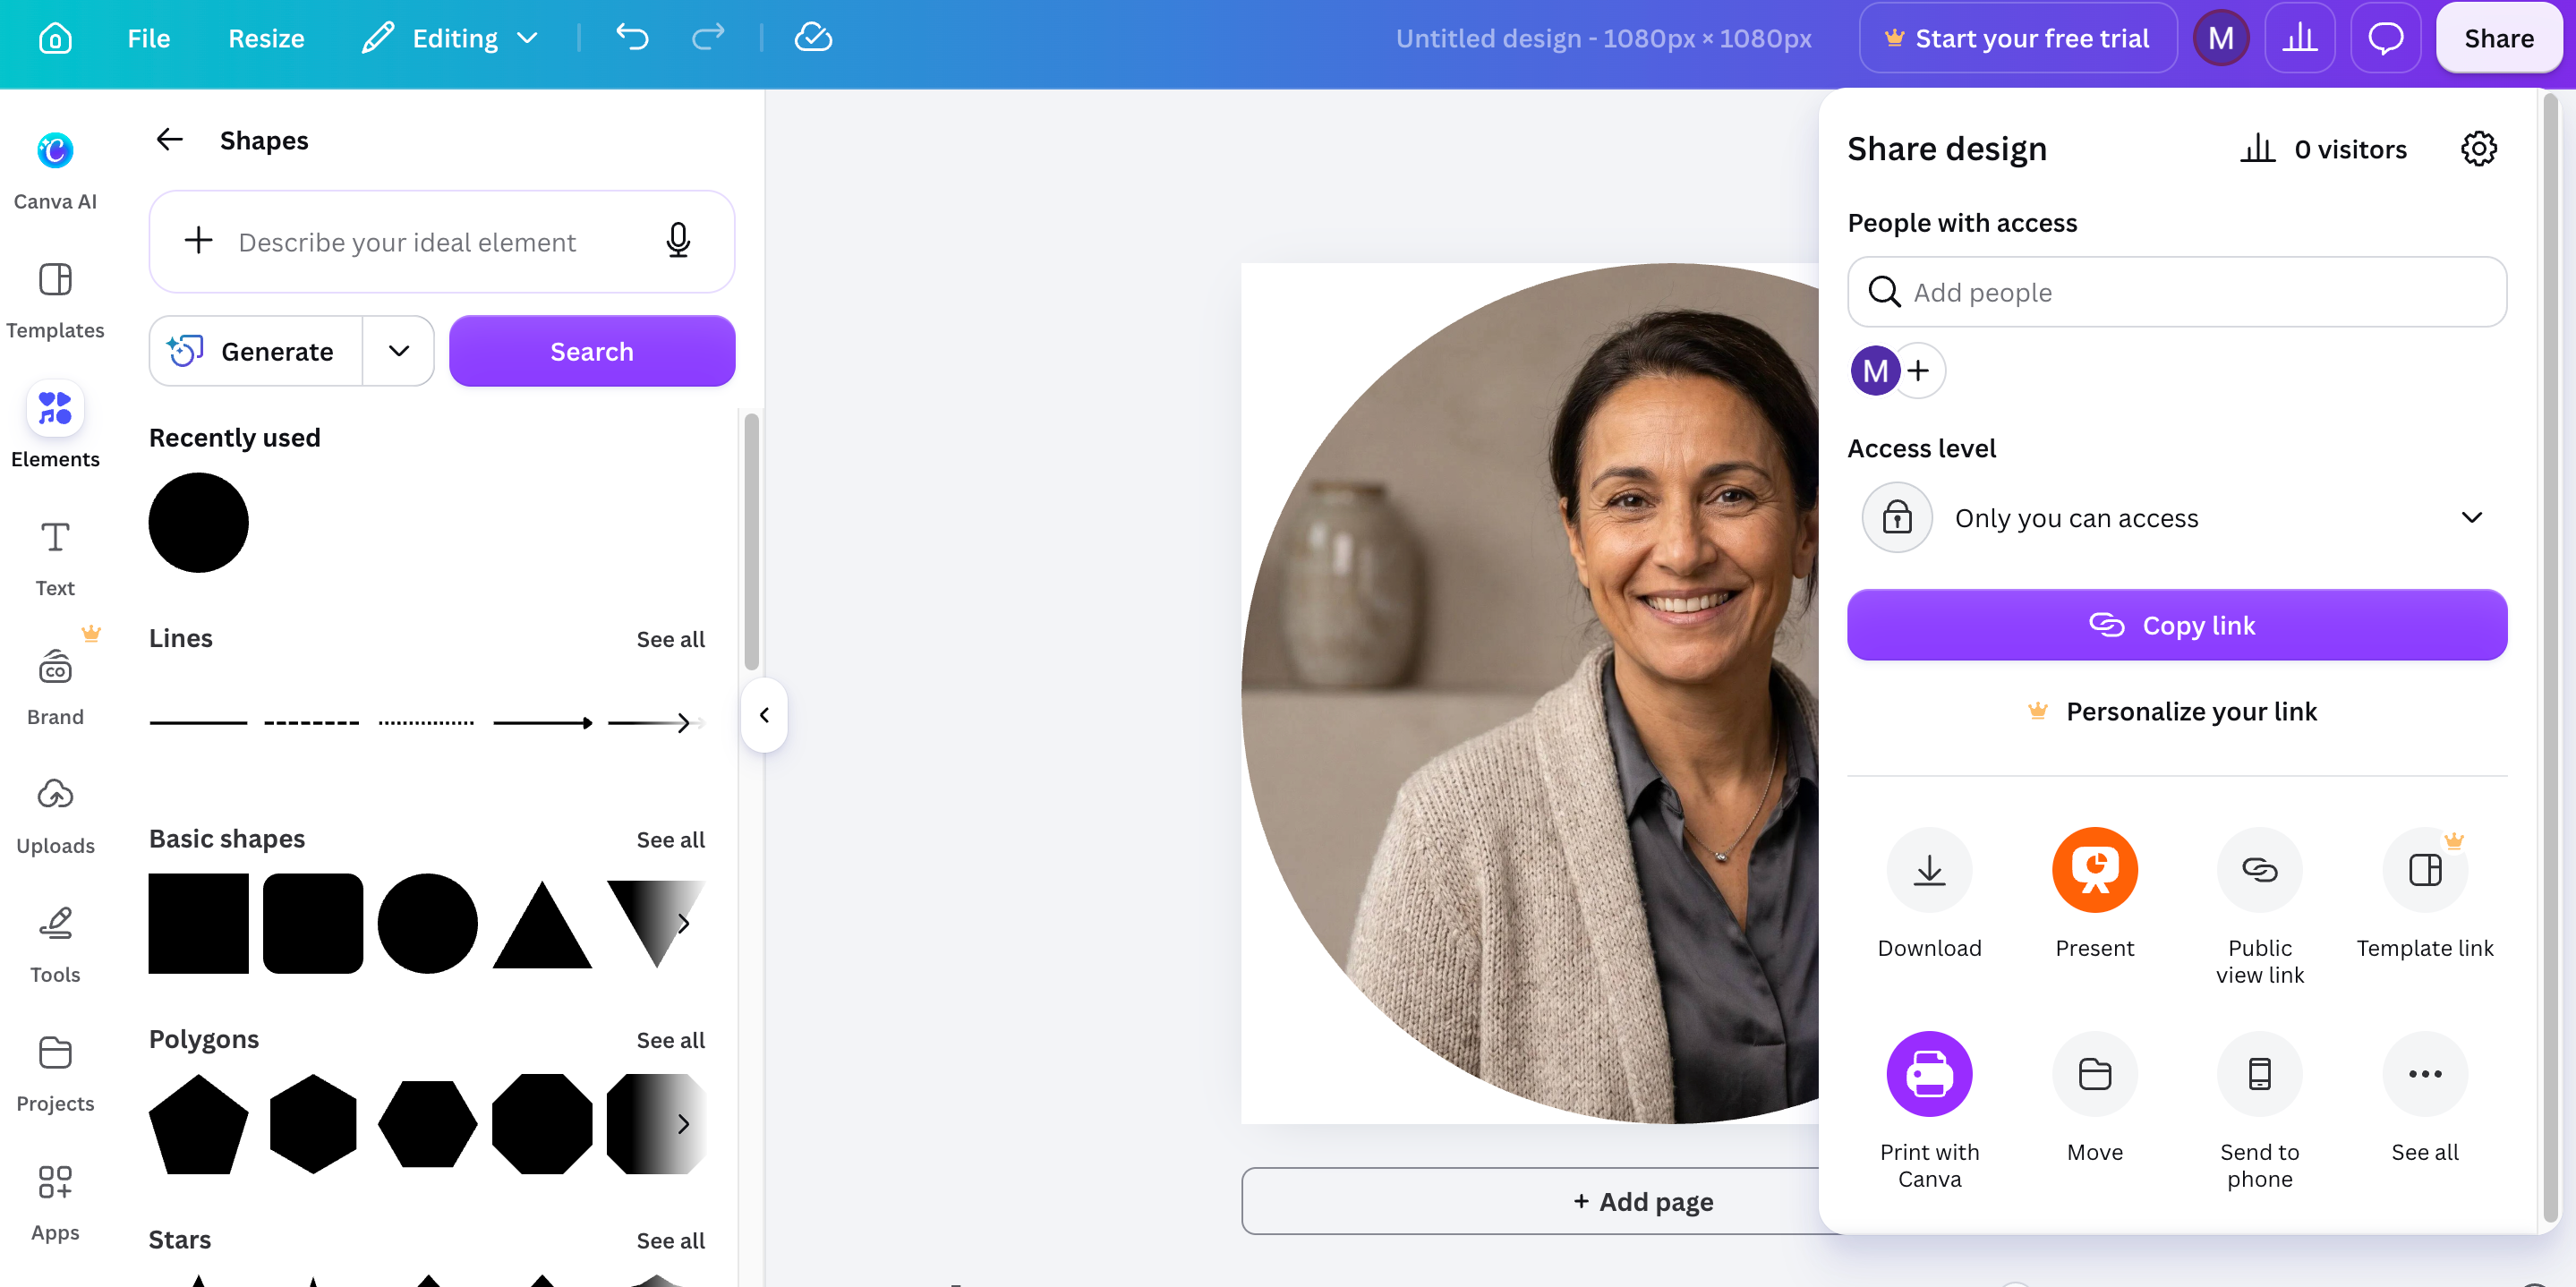
Step 5: Preview and Download
When the crop looks correct, download the file in the format that matches your use case. For transparent circular graphics, PNG or WebP is generally the appropriate choice.
How to Keep a Circle Crop Image High Quality
Cropping an image does not automatically make it blurry. The remaining pixels can retain their original clarity. Still, quality can suffer if the source image is too small, the crop is enlarged substantially, or the export process introduces excessive compression.
Use a High-Resolution Original
Start with the largest suitable original image you have. A high-resolution source gives you more pixels when adjusting the crop and resizing the finished image. For example, a small profile-picture thumbnail may look acceptable at its original size but become visibly soft if enlarged for a larger website graphic. Starting with a larger original gives you much more flexibility.
Keep Image Proportions Correct
While resizing an image in the crop, remember to preserve the proportions of the original image. Stretching an image horizontally or vertically will make the faces, products and logos look weird. Since a circle frame gives a very strong border for an image, maintaining its natural proportions becomes crucial.
Avoid Enlarging Small Images
Try resizing down rather than enlarging a very small source image. If you enlarge a low-resolution photo too much, the editor must create pixels that weren't in the original, which can lead to softer edges and less detail. If the original image is slightly soft, enhancement can help before the final export. Designkit also offers image enhancement as part of its broader online editing workflow.
Choose the Right Format
Use PNG or WebP for circular images that need transparent corners, such as logos, profile graphics, product cutouts, or design elements on different backgrounds. PNG supports transparency with an alpha channel. Use JPG only when transparency is not needed and the image has a solid rectangular background, since JPG cannot preserve transparent corners and may make a circular crop look boxed.
How to Crop Different Photos Into a Circle
The ideal circular crop depends on what you're editing. A portrait needs a different composition from a product photo, and a group photo needs more space than a logo.
Crop a Portrait Into a Circle
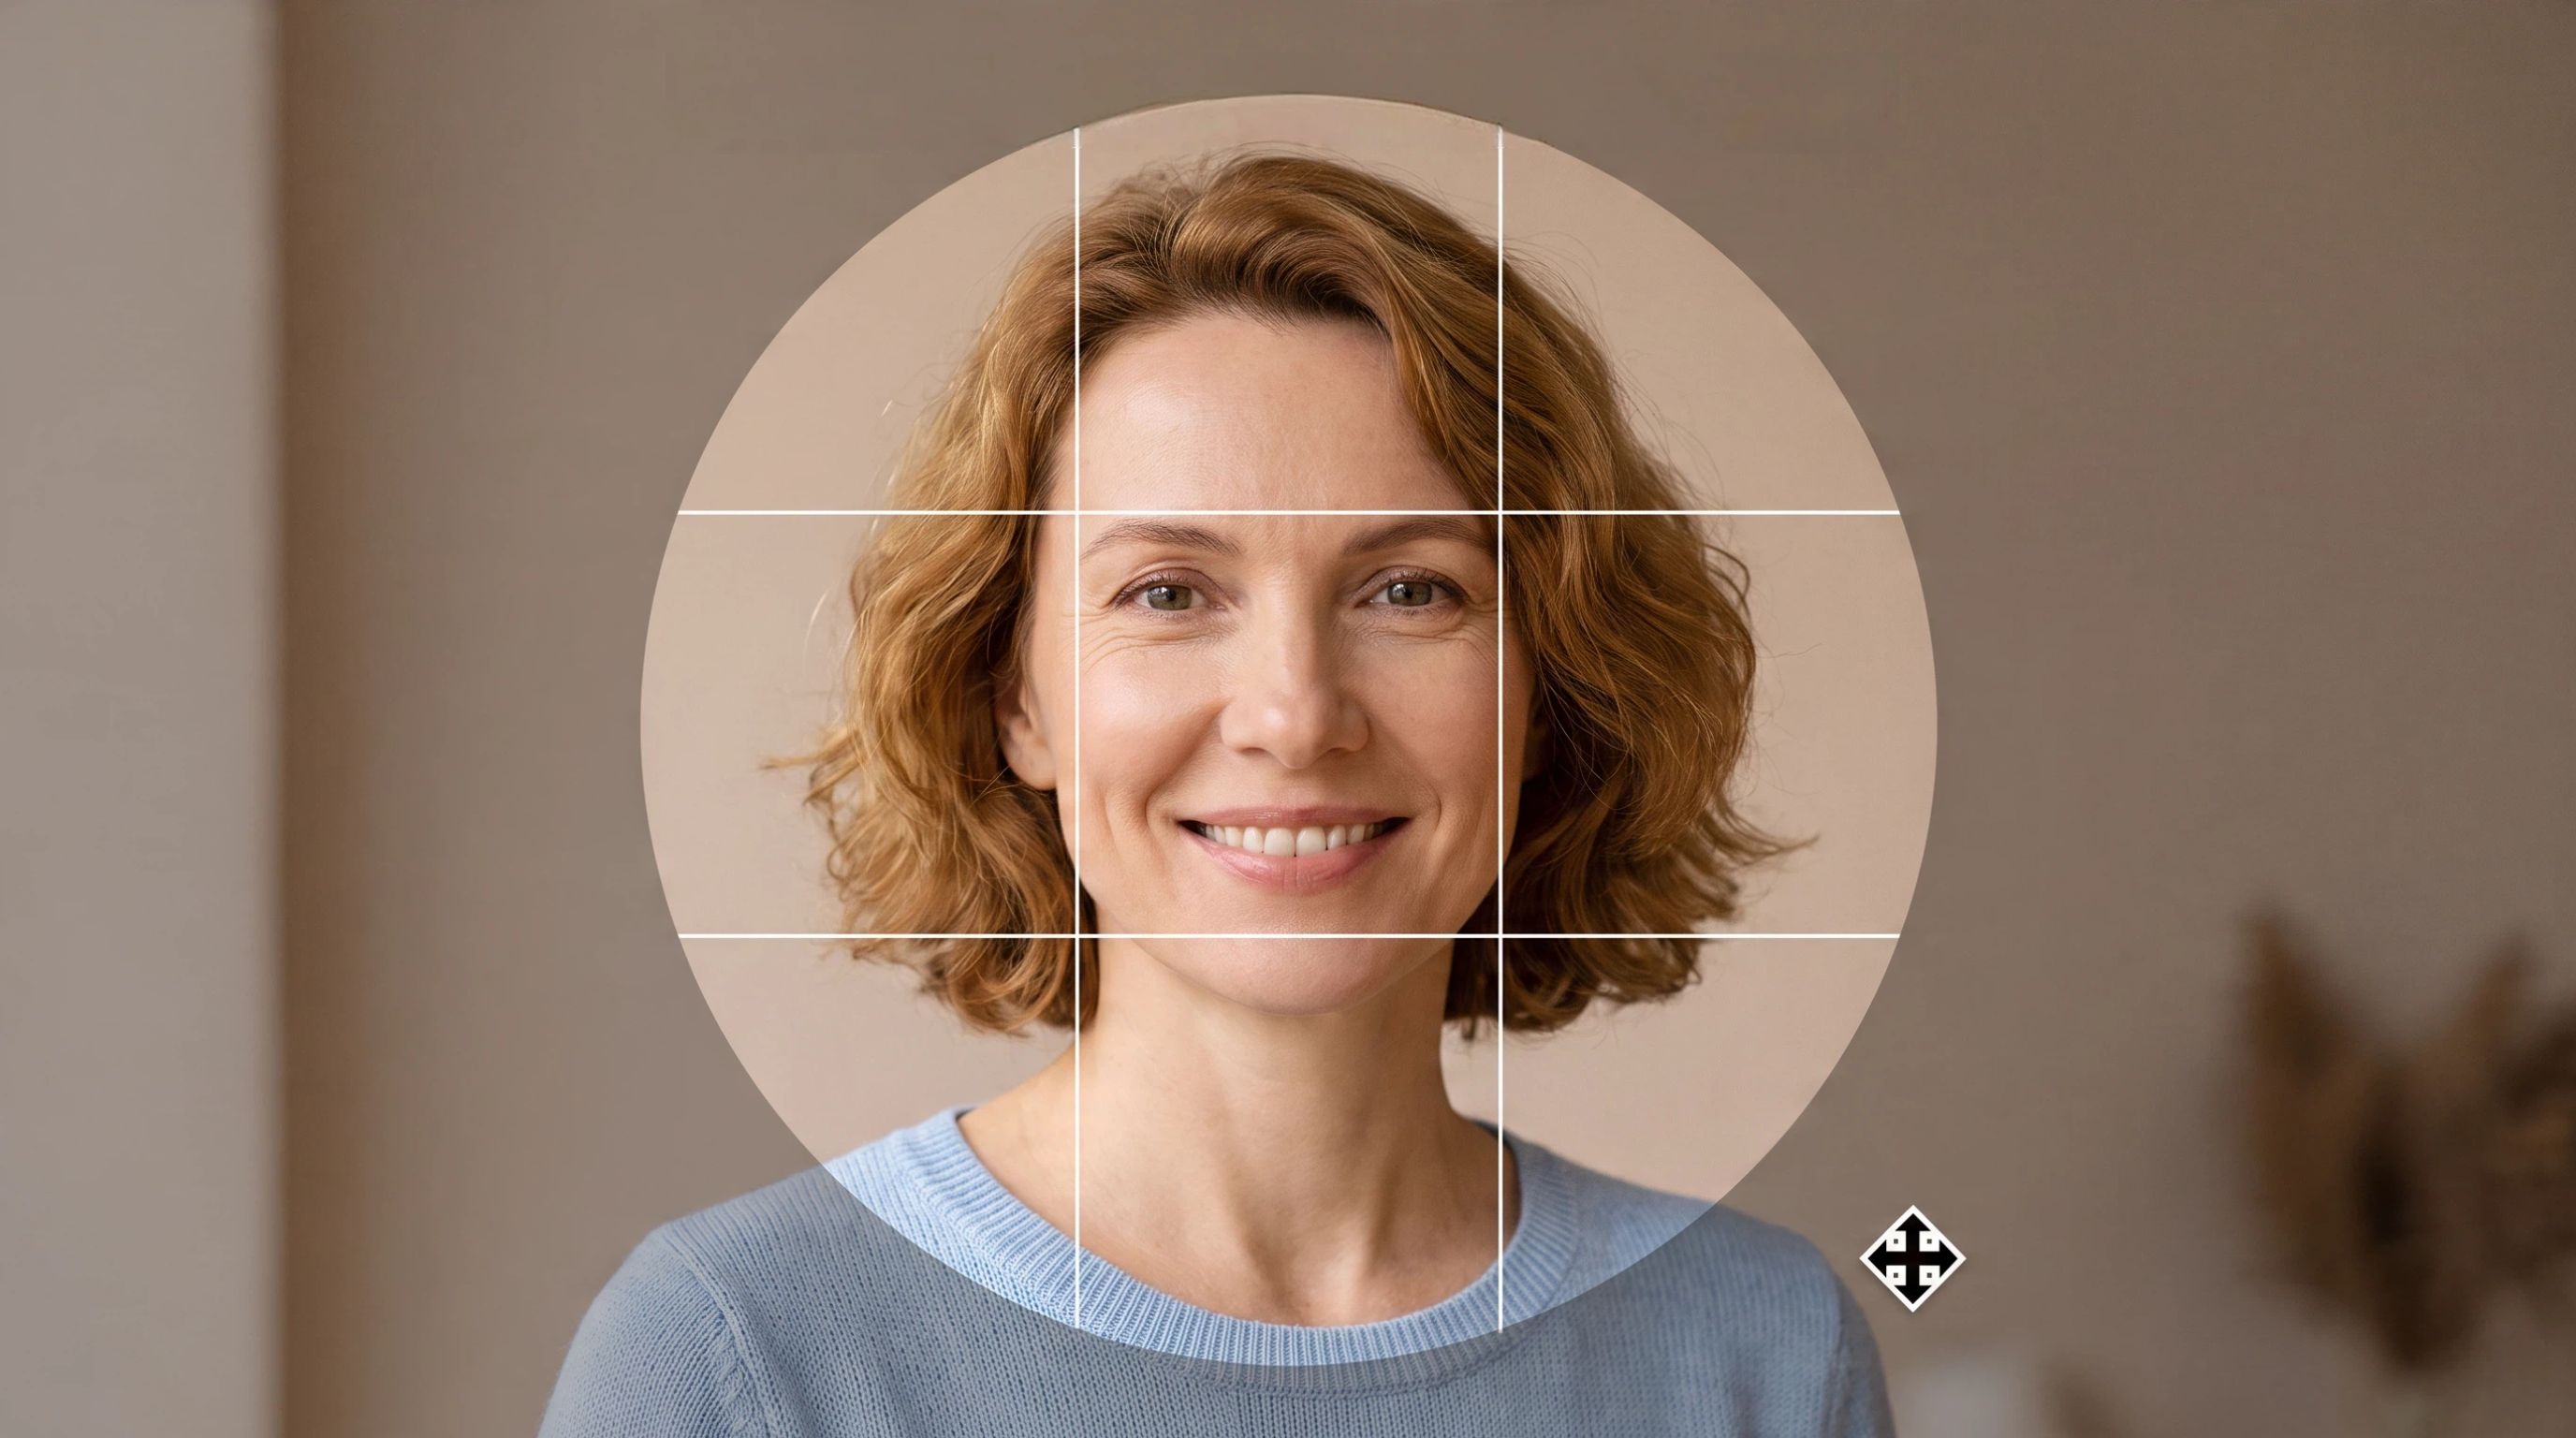
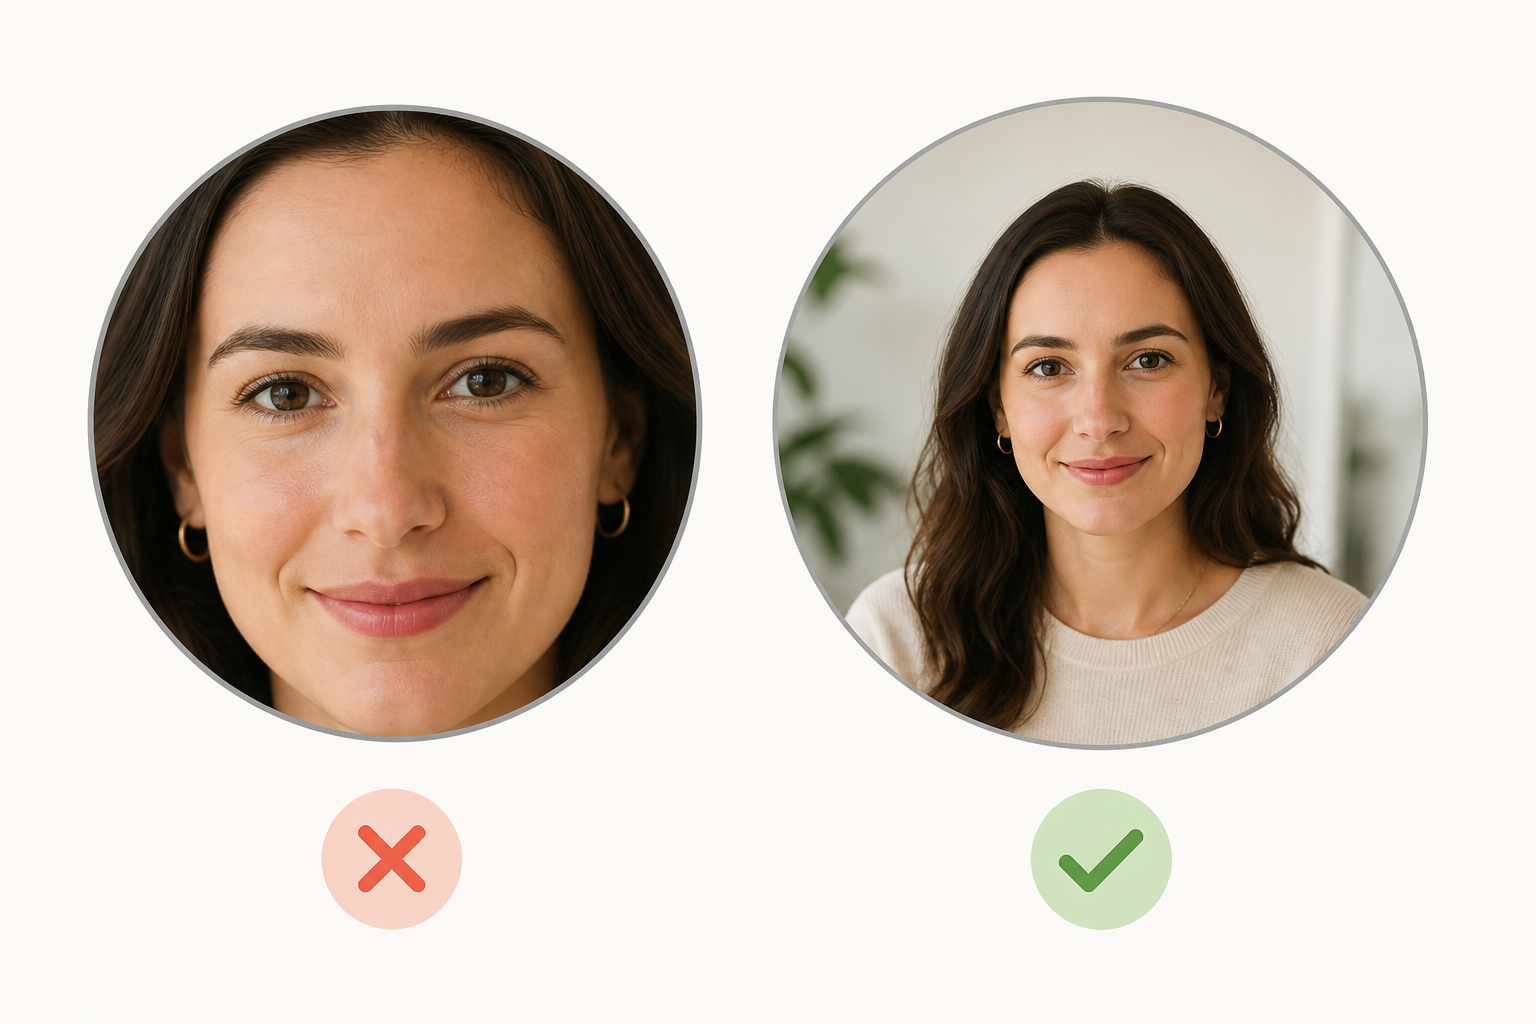
When cropping a portrait, make the face the focus. Keep the full face comfortably inside the circular boundary and leave room around the head. Avoid placing the hairline or chin against the edge. A slightly wider crop usually looks more natural and gives the portrait room to breathe. For a profile picture, you can often crop closer to the face than for a general-purpose portrait. The intended display size should guide the framing.
Crop a Product Image Into a Circle
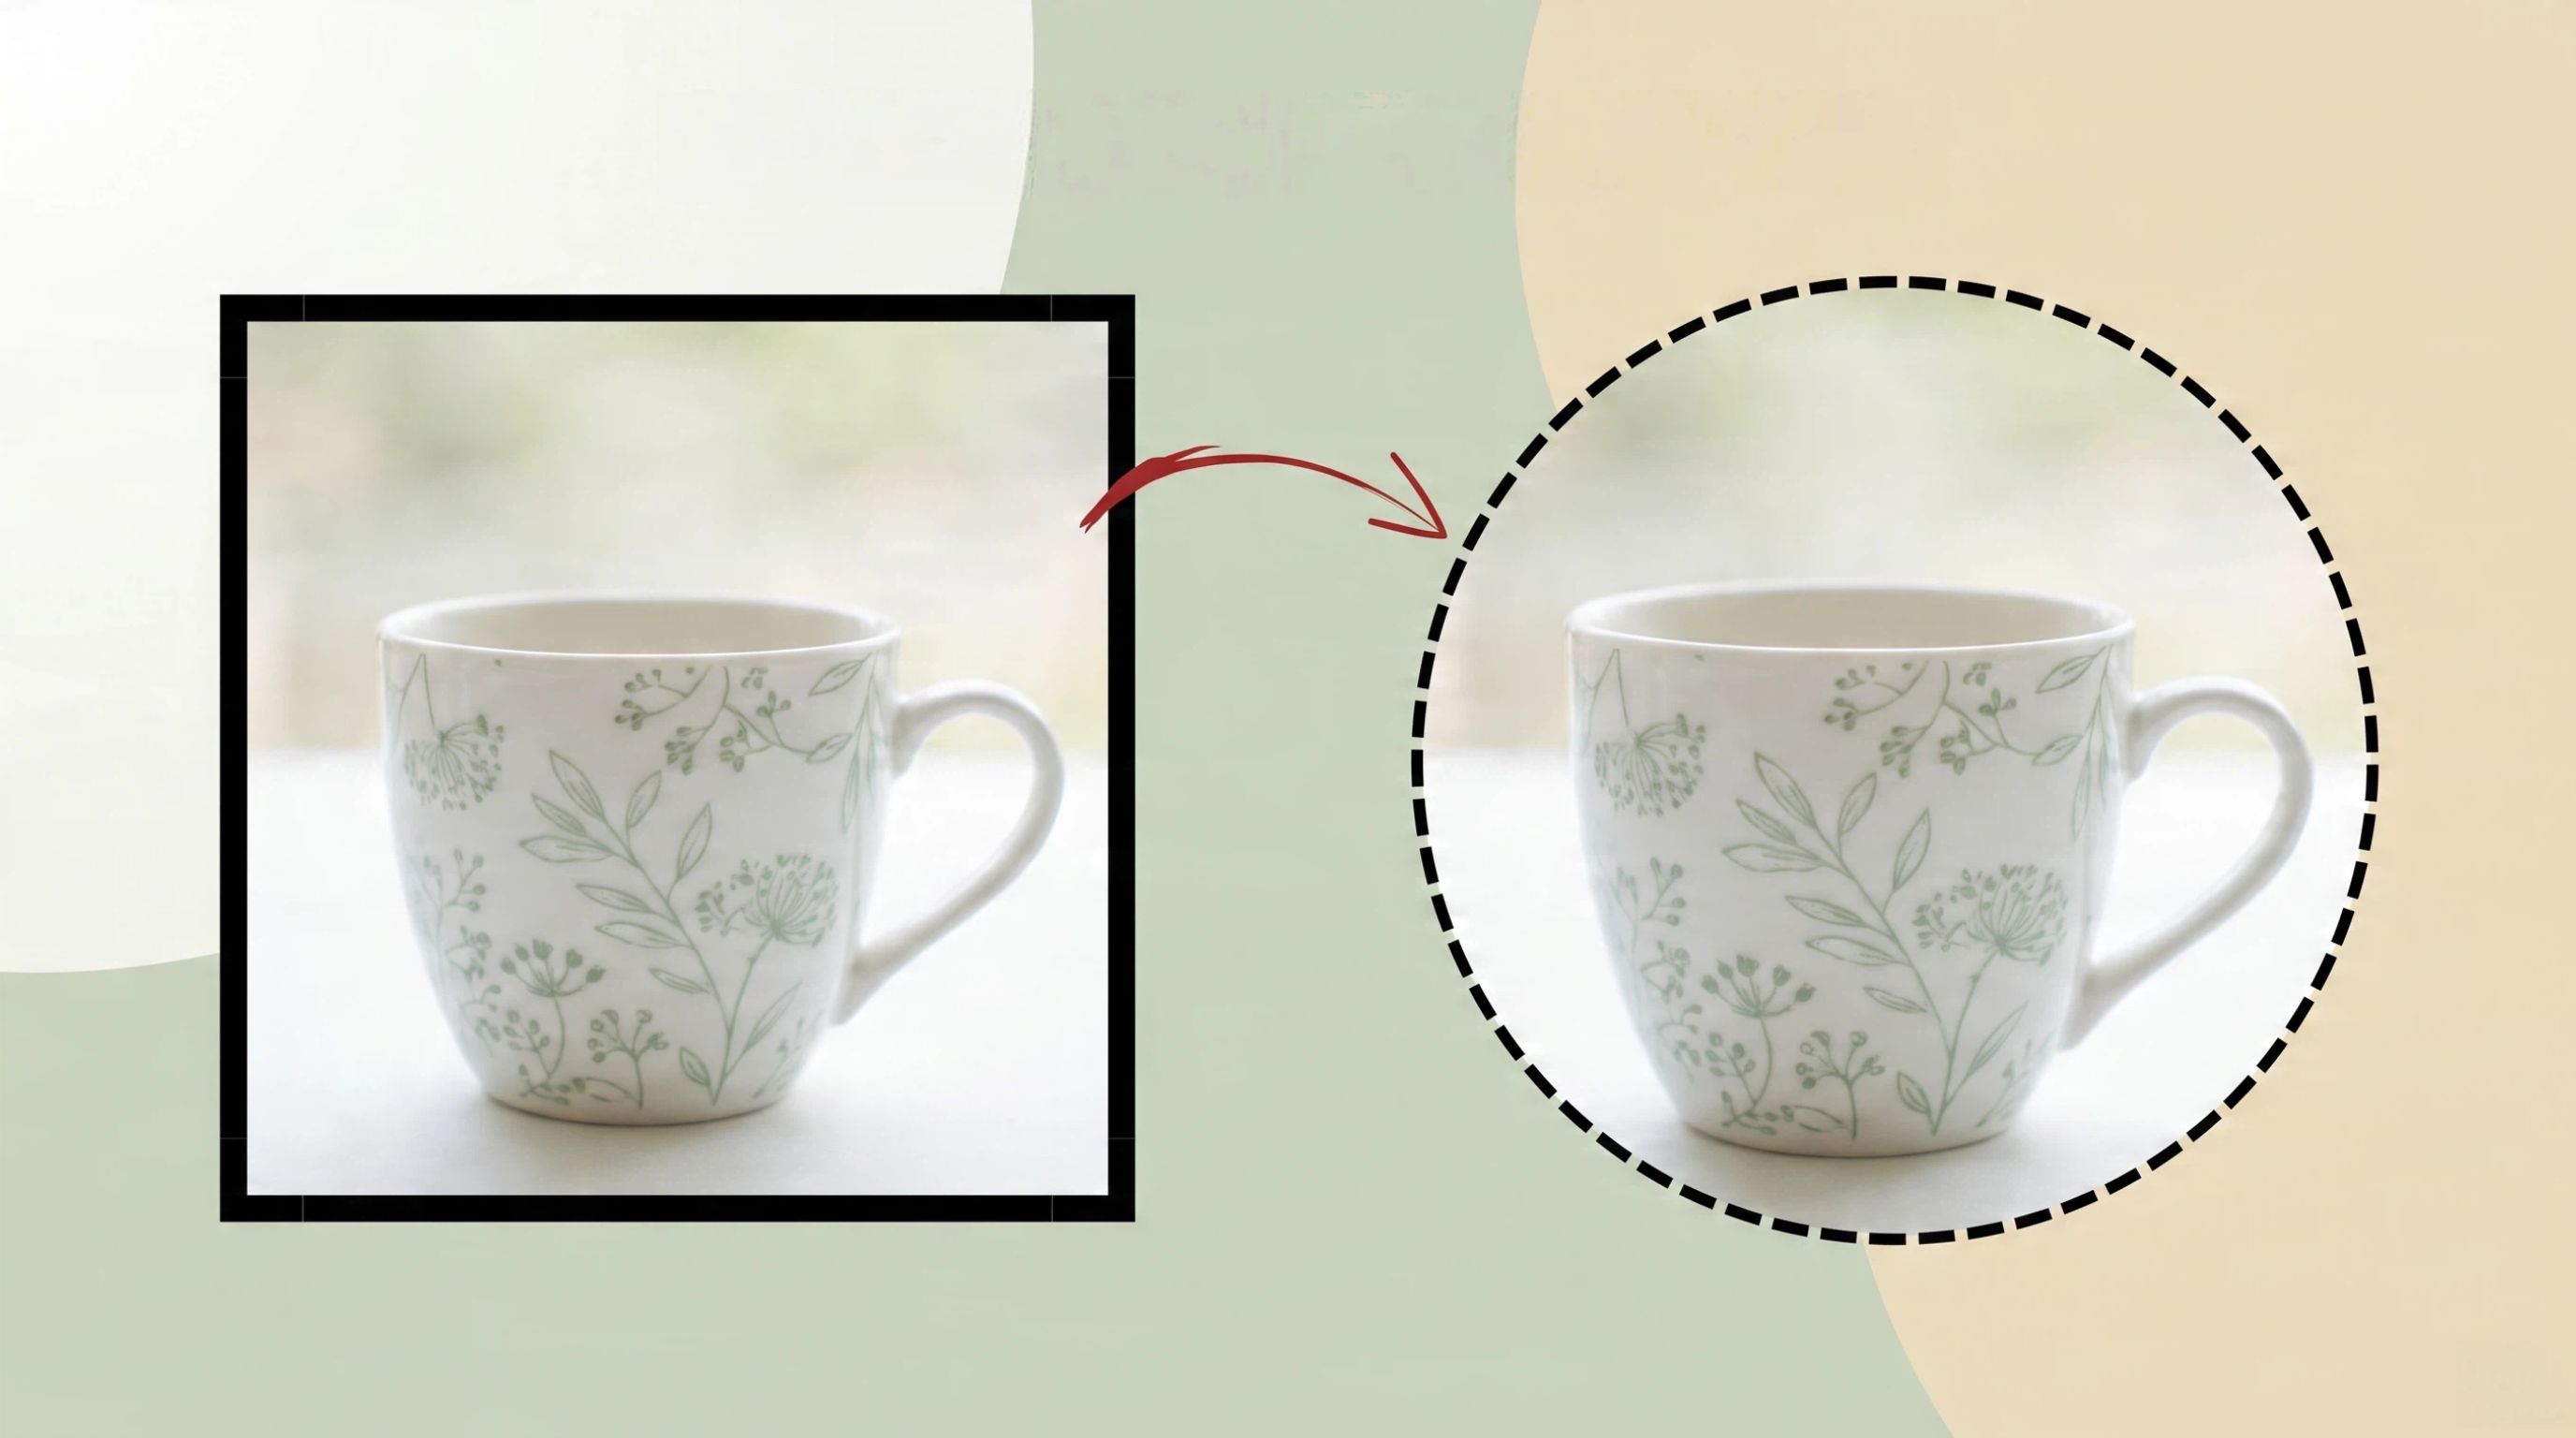
Product images need careful attention to the object's outer edges. Make sure the full product fits inside the circular frame, including handles, caps, packaging edges, or any other details that extend outward. If you're creating a product badge or e-commerce graphic, check the result against light and dark backgrounds when possible. This can reveal unwanted square corners or weak contrast that may not be obvious in the editor.
Crop a Logo Into a Circle
Logos can be harder to crop because text and symbols may already sit close to the edges. If the logo wasn't designed for a circular format, don't force it into the frame without checking the result. You may need extra padding or a circular version of the brand mark. For logos used across websites, social profiles, and marketing materials, keeping transparent corners can make the exported asset more flexible.
Crop a Group Photo Into a Circle
Group photos need more room because several people must fit inside the same circular boundary. Zooming in too aggressively can cut off people standing near the sides. Before exporting, inspect every face. A slightly wider crop is often better than a tight crop that removes someone's head or shoulders.
Create Circular Images Faster with Designkit
Unlike the circle cropping tool, where you can only manipulate the image by changing its shape, Designkit is more advanced in making beautiful circles of images using the mask feature and AI editing software. Using this software, you can easily apply different types of circles, retain all essential elements such as facial features, manipulate focal points within the circle, and improve your results without compromising on any element. It even allows you to batch edit several images and export all circular images for immediate use.
How to Crop a Photo Into a Circle with Designkit
Step 1: Upload Your Image
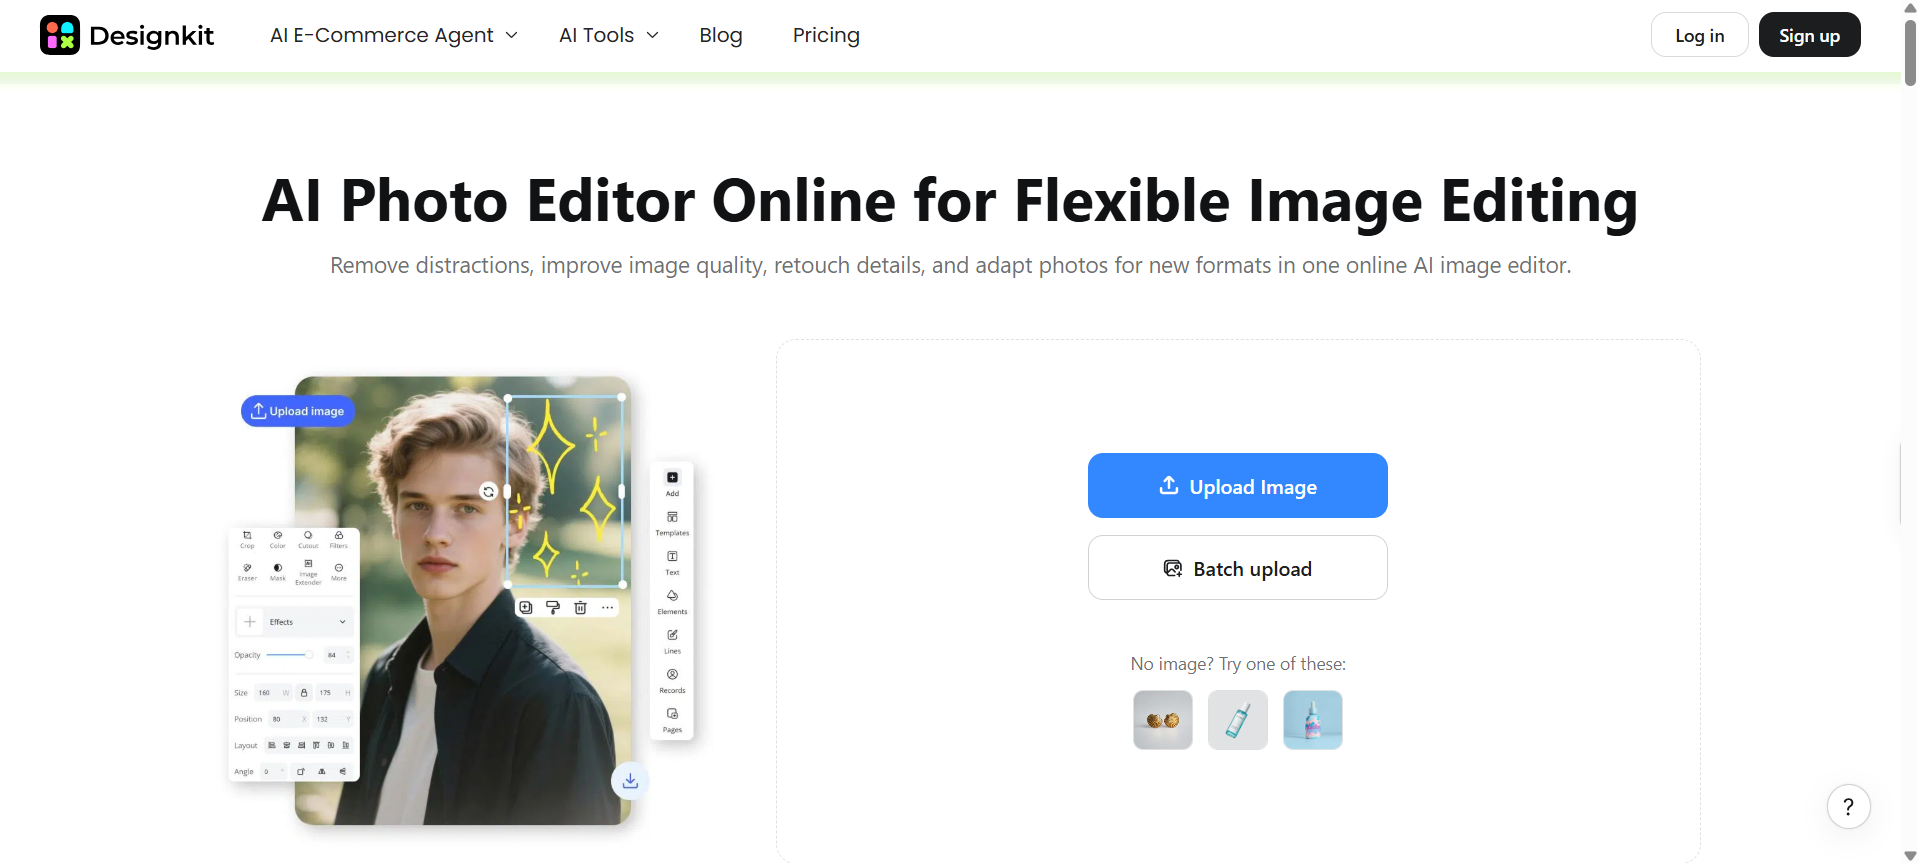
Open Designkit's AI image editing and upload the photo you want to edit. The tool supports single-image cropping as well as batch uploads, which can be useful when you're working with multiple visuals.
Step 2: Apply a Circle Mask and Adjust the Position
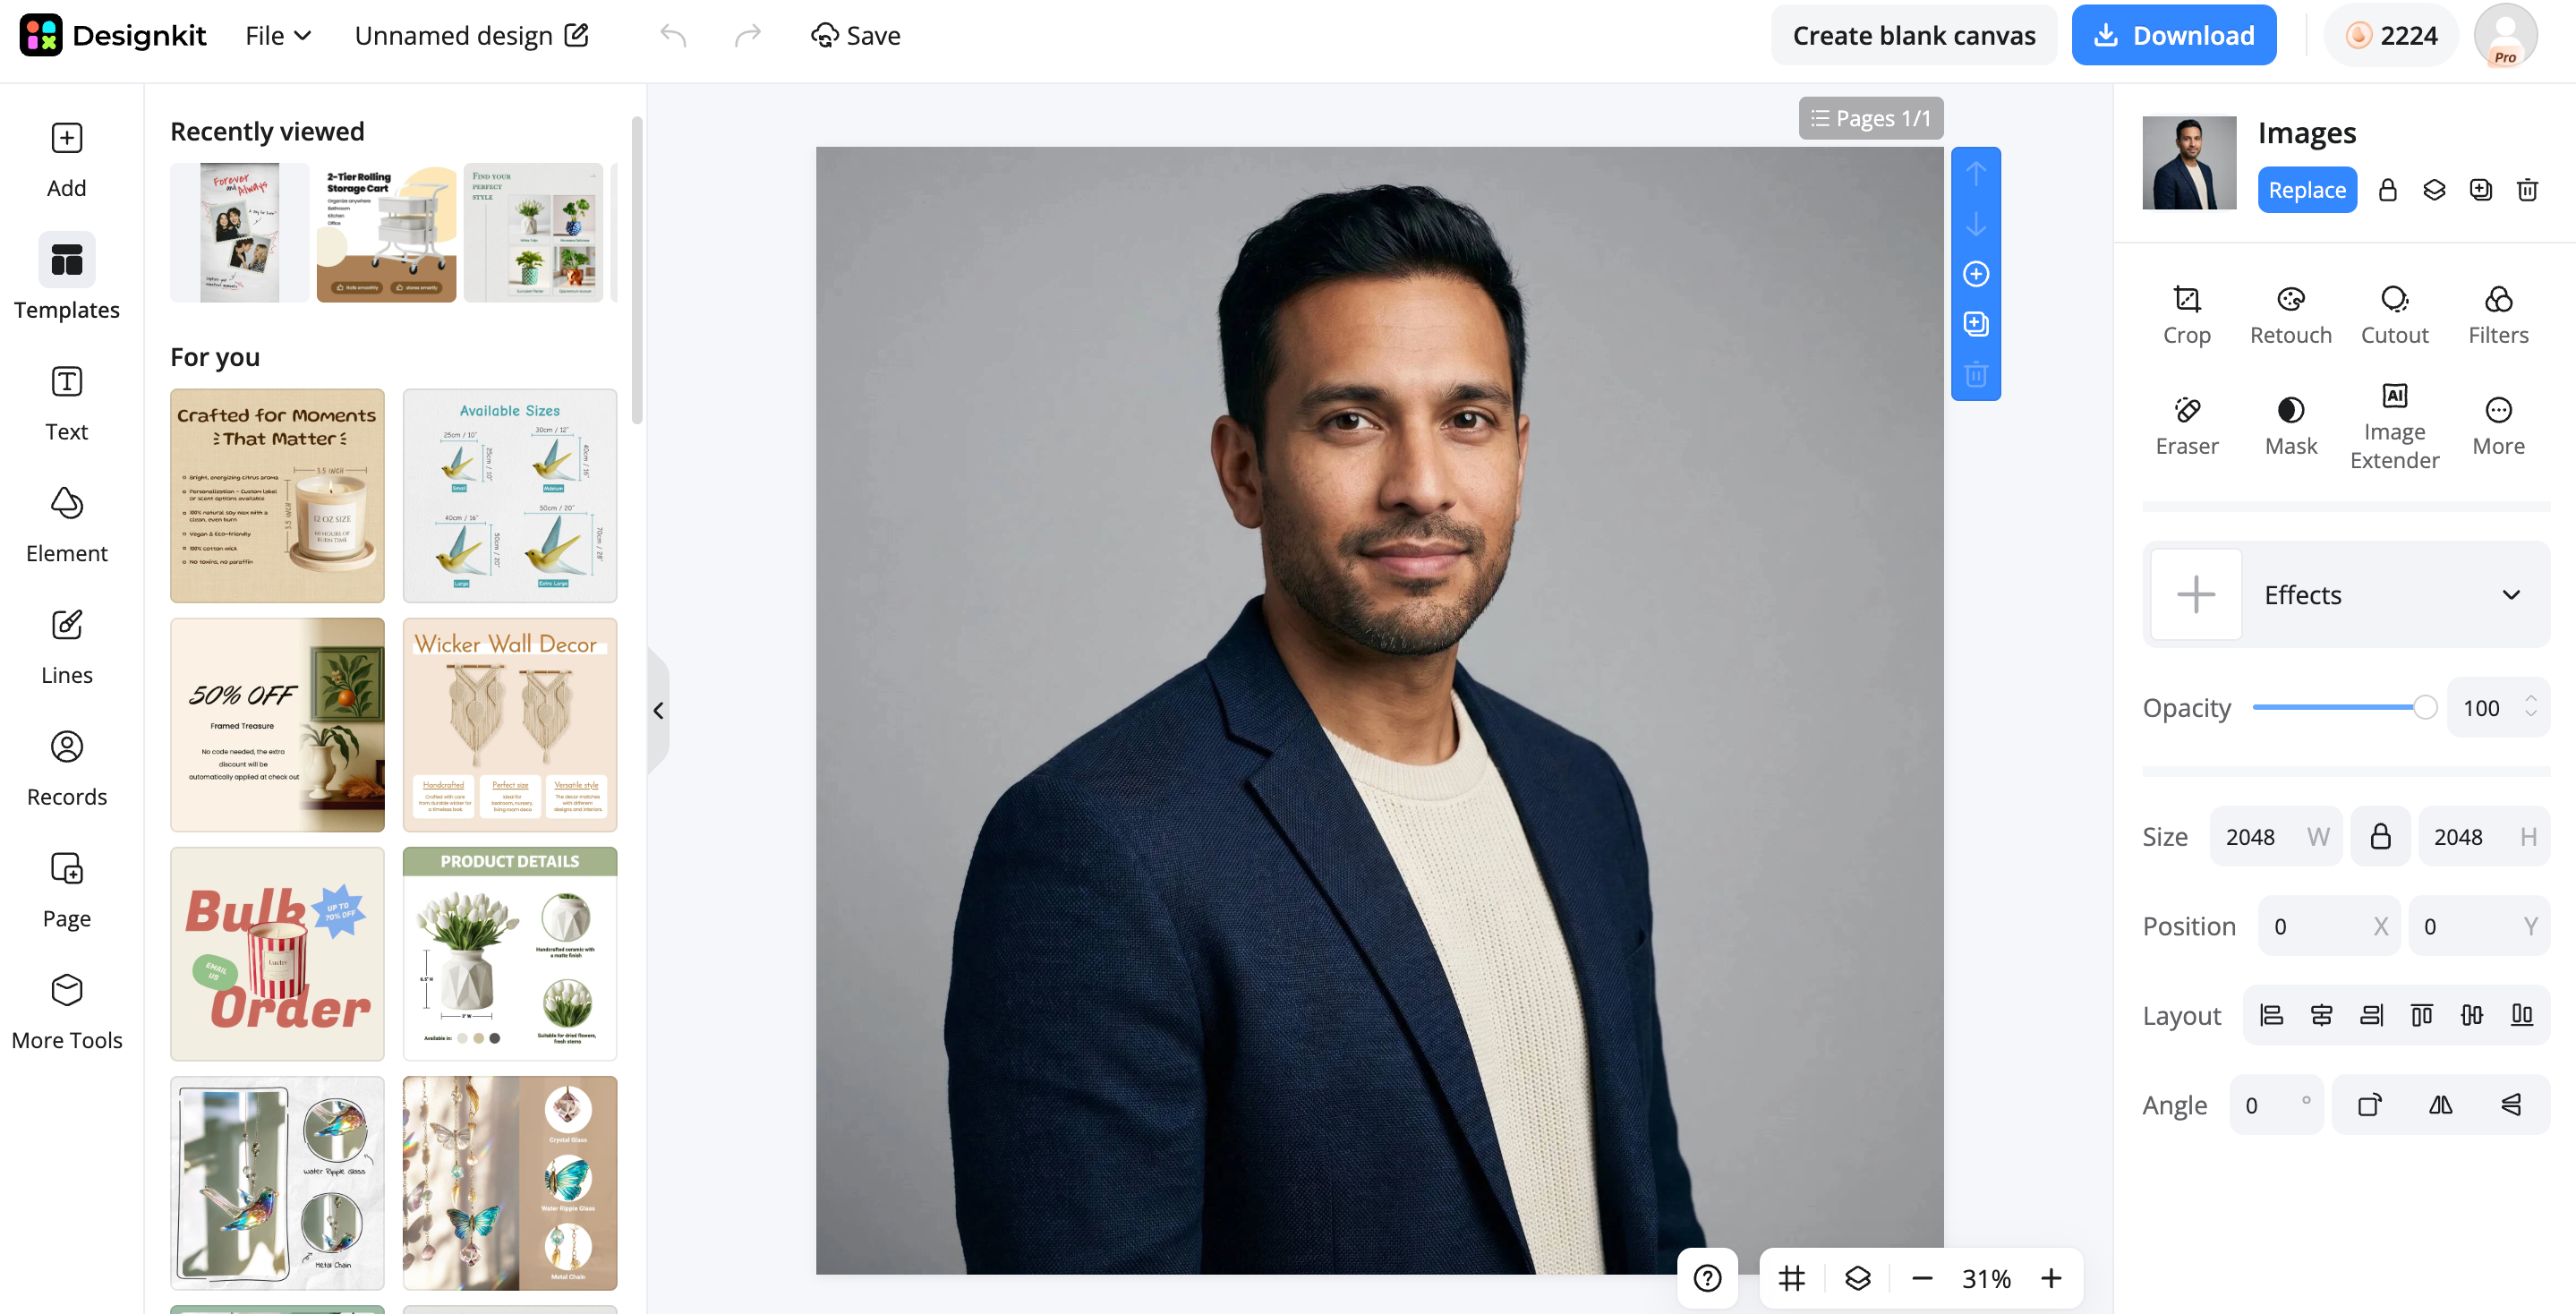
Choose the circle shape and reframe the image so the important subject remains inside the circular area. Designkit provides manual reframing as well as preset ratios and custom dimensions, giving you control over the final composition.
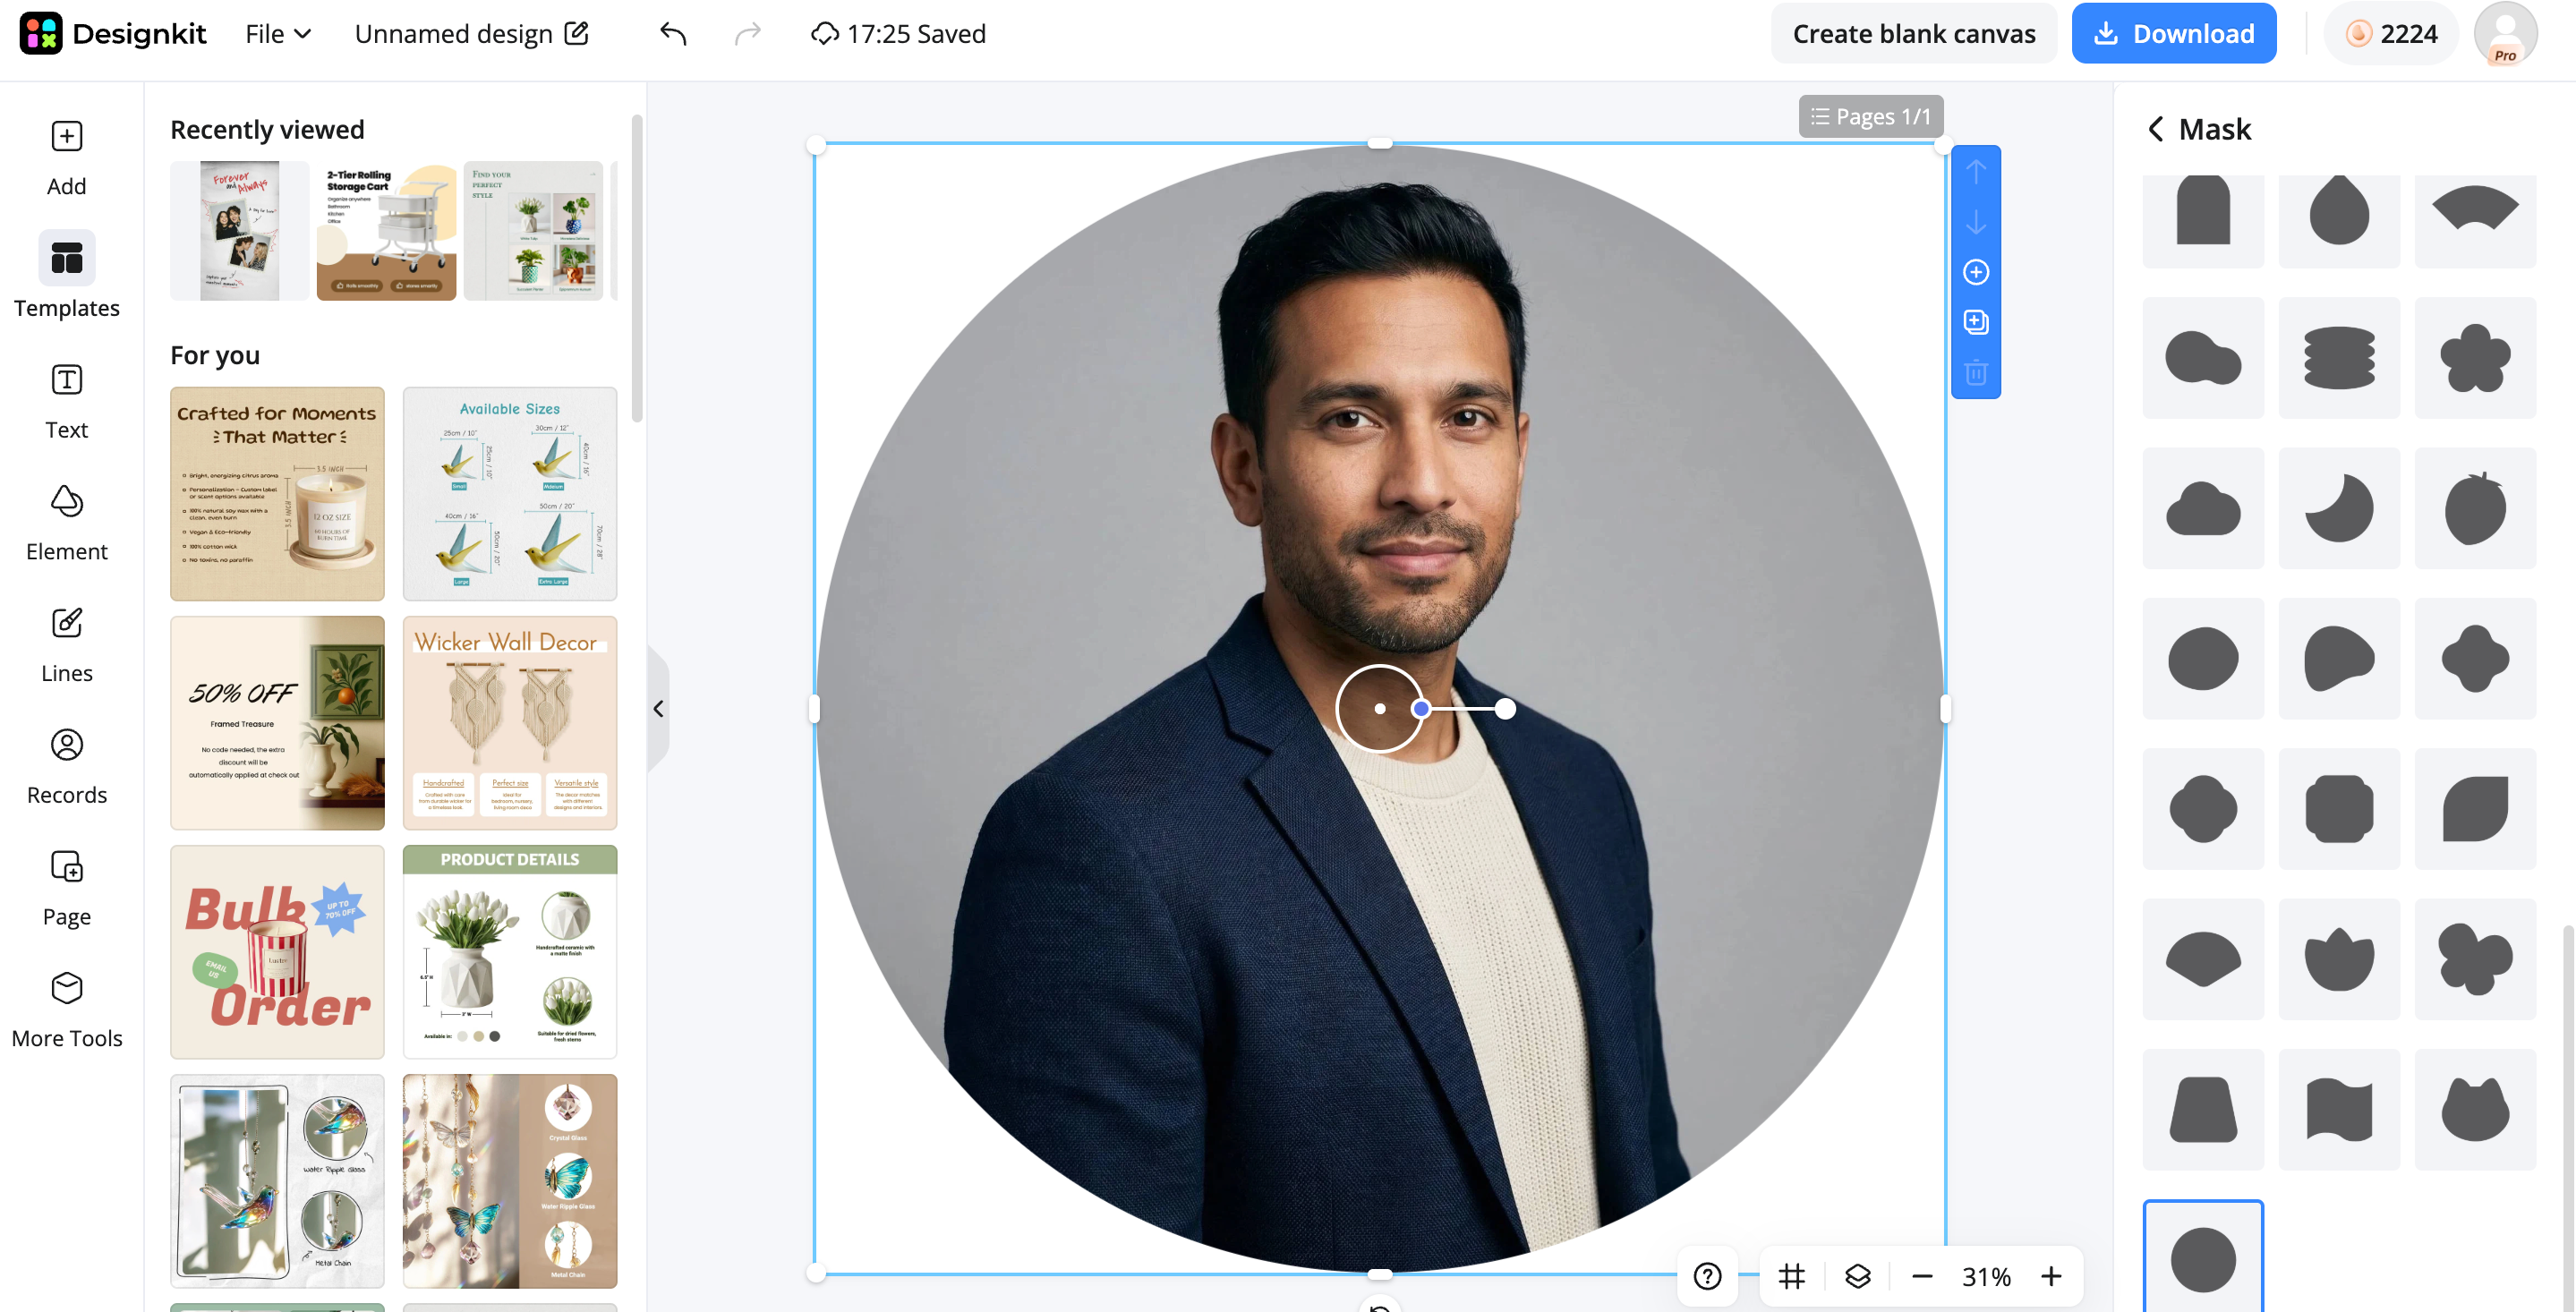
Step 3: Enhance and Export the Final Image
Preview the finished crop and make final positioning adjustments before downloading. Designkit says its cropper preserves image quality and lets users continue with resizing, background removal, and enhancement after cropping.
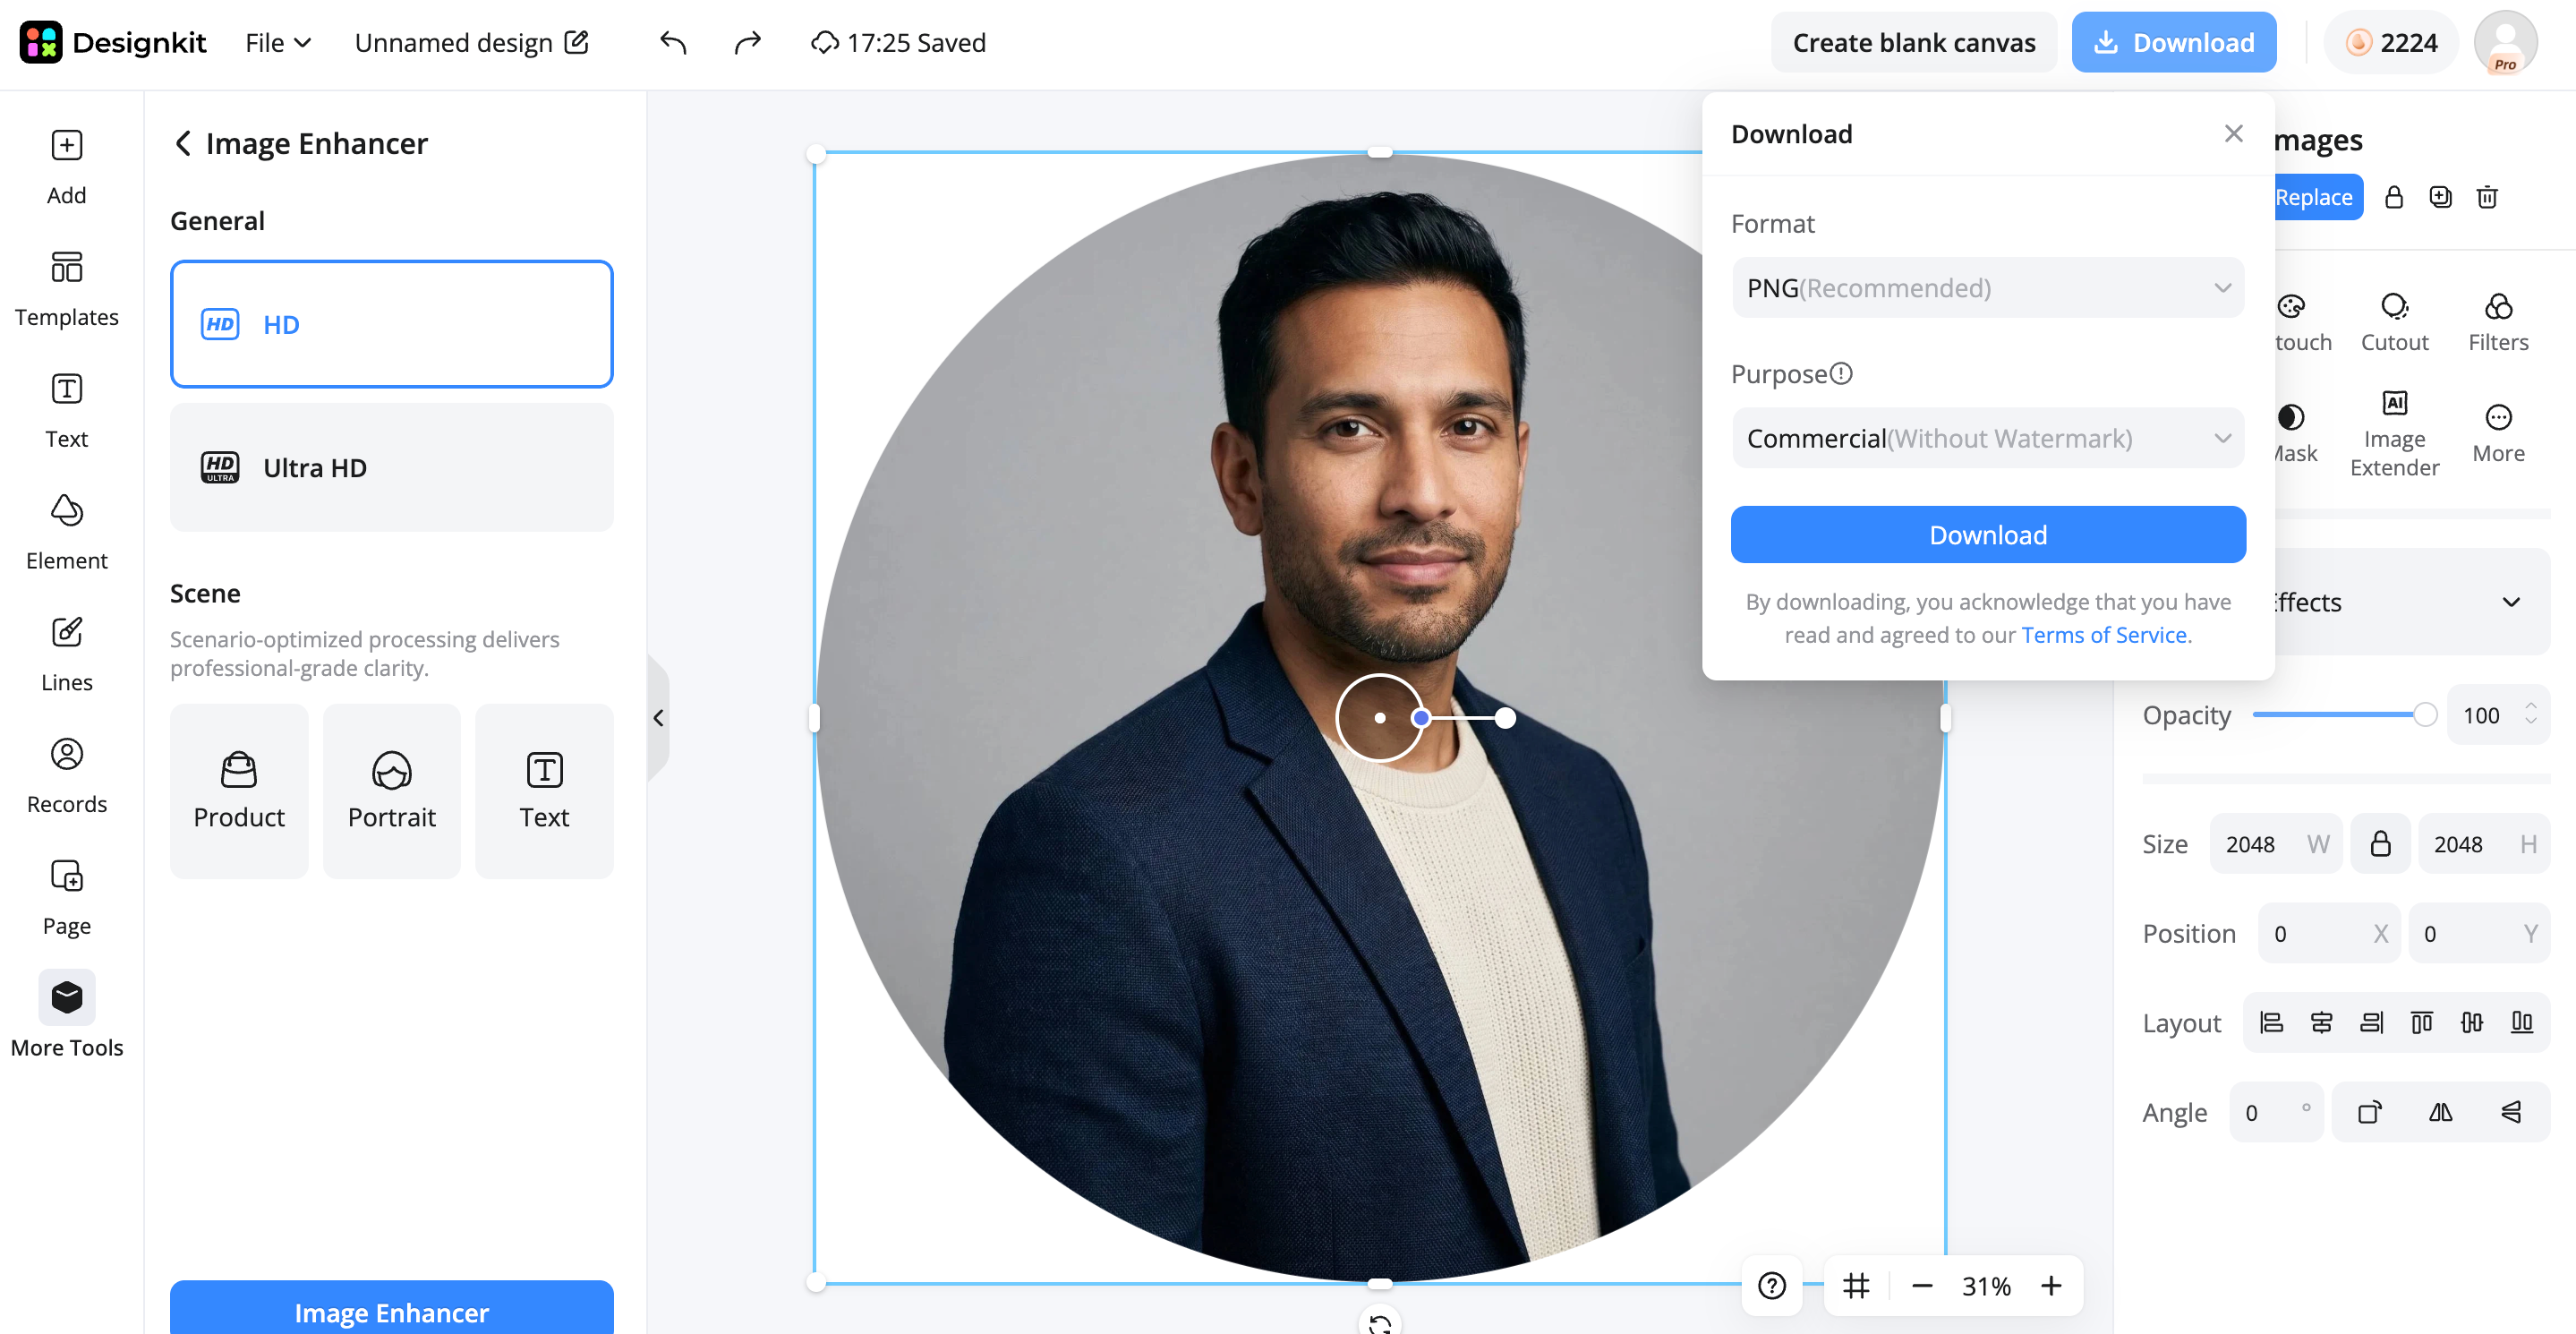
How Designkit Helps Crop Images Into Circles
The process of circular image cropping has been made easy with Designkit, in that you just have to insert your picture into a circular frame where you can resize and reposition it. This tool is very helpful when making various image versions of your product photos and designs, especially when a specific visual style needs to be maintained.
Apply Circle Masks to Create Round Images
As Designkit offers circle cropping out of the box, you won't need to make a custom circle mask yourself and cut out your image manually. This is helpful when creating profile pictures, avatars, logos, product graphics, and any other visuals that should be round-shaped.
Adjust Image Position Inside the Circle
However, proper circle cropping involves not just choosing the circle shape. You will also need to arrange the photo correctly inside it. Reframing allows you to determine the area that will be cropped in the circle.
Improve Circular Images with AI Photo Editing Tools
Cropping is usually the initial stage of picture preparation. In Designkit, after cropping, you are able to resize images, remove backgrounds, enhance photos, etc., and this makes it possible to avoid moving the file from one editor to another.
Common Mistakes When Cropping Photos Into Circles
Even though a circular crop can be right in terms of its technicality, it can still appear to have poor design. The errors in design usually arise due to excessive cropping, using images that aren't right for the purpose or saving the file in the wrong format.
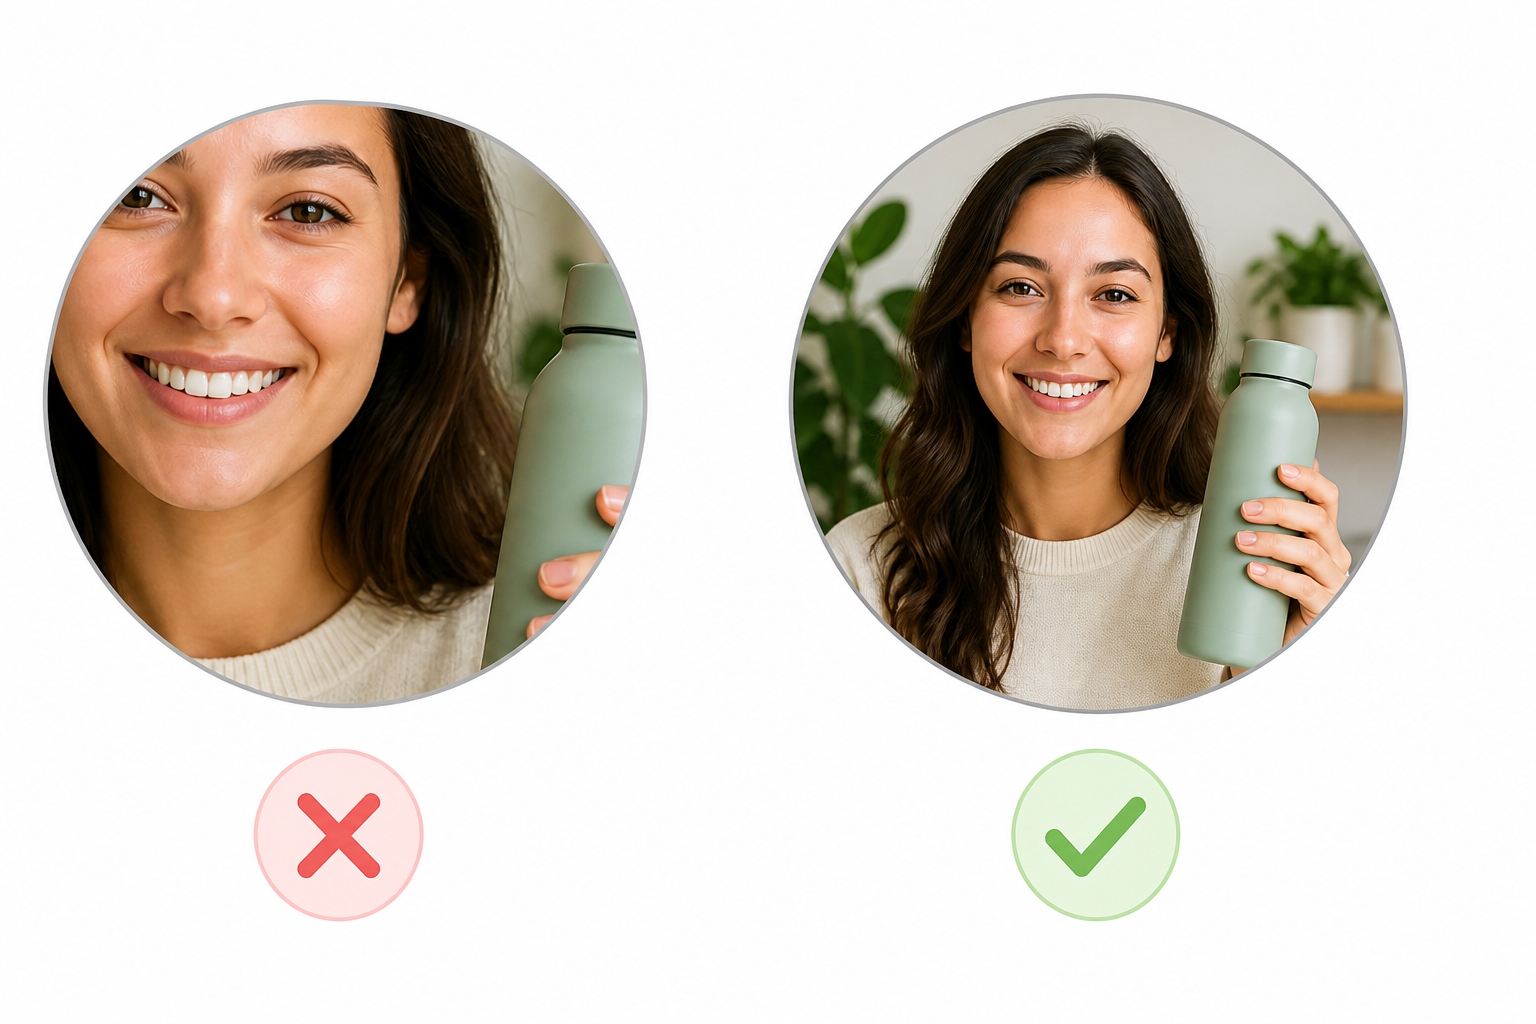
Cutting Off Important Details
The typical error in circular crops is cropping excessively. This can cause the loss of details such as faces, edges of products, logo lettering and others. When preparing to download a picture to use in your circular crop, examine the whole circle and not just the part inside.
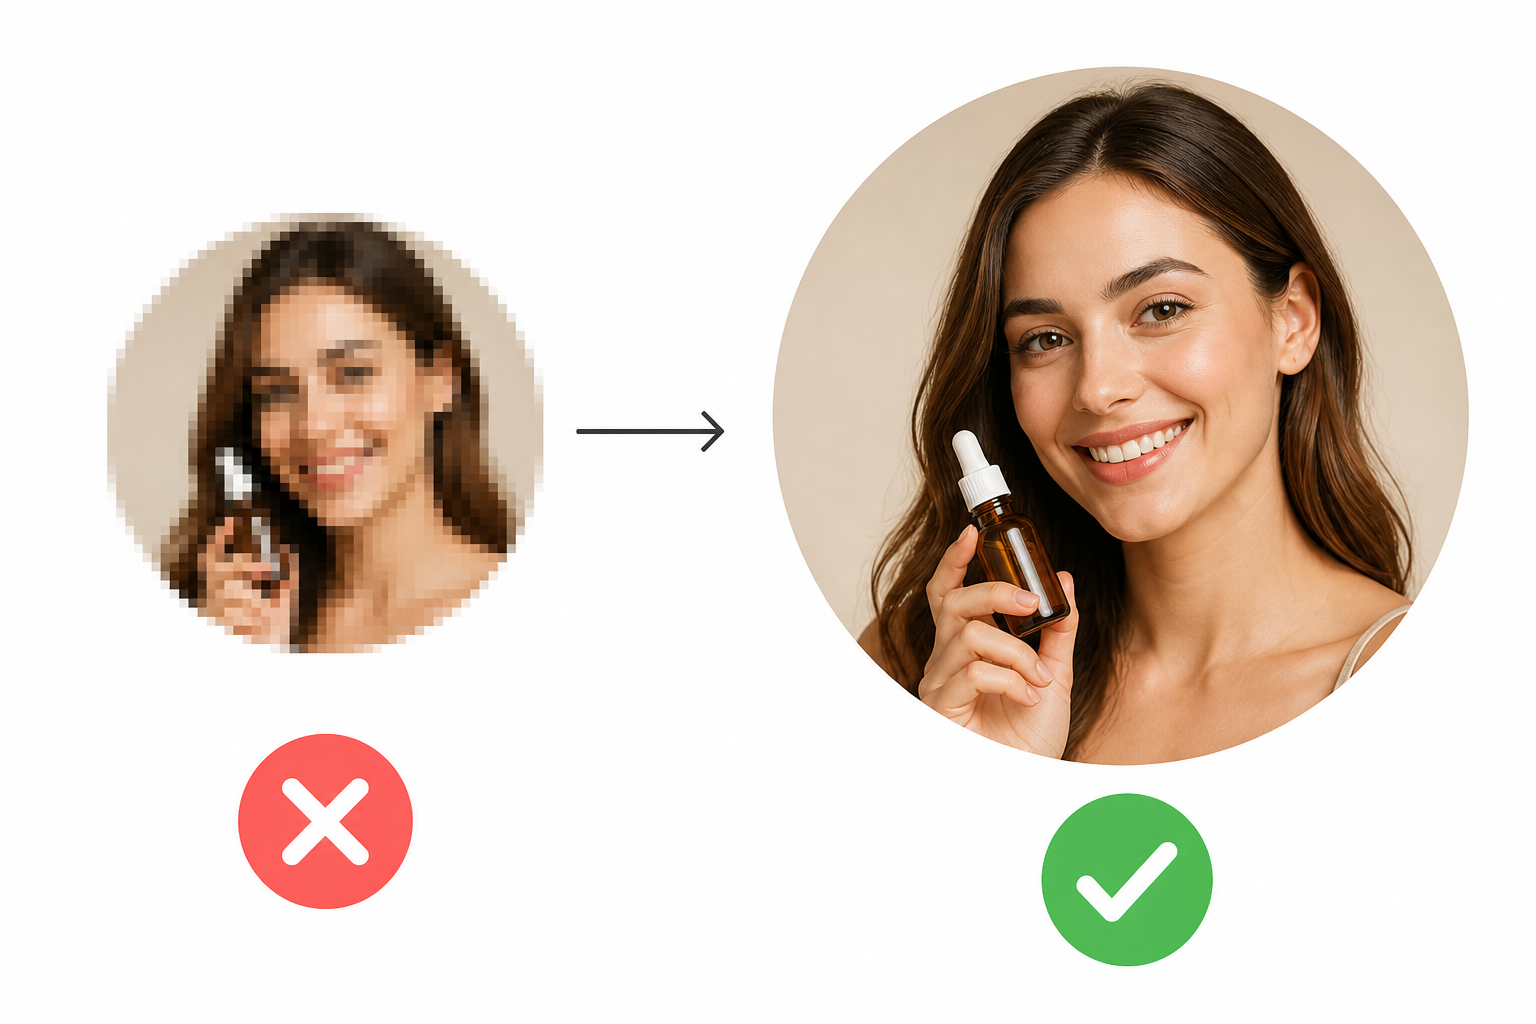
Using the Wrong Image Size
If the image you start with is quite small, then you are likely to get an inferior product in the end because the circle will have to be resized up for the final picture. It's always better to start with a high-resolution image and make it smaller.
Leaving an Unwanted Square Background
The image will appear square if there is no transparency in the corners beyond the circle itself. In order to achieve transparency in the image, PNG and WebP should be used. As JPG does not support transparency, it requires the use of a background color and will have a boxy appearance.
Over-Cropping the Subject
In contrast to the rectangular image frame, the circular image format offers less available space. The subject should have enough space around it and be checked at the actual display size. If the crop appears alright at 500% zoom level, it might appear too crowded when it comes to a smaller avatar.
Final Thoughts
Circle cropping in photos is an easy way to achieve better visuals for profile pictures, websites, social media sites, and other creative ventures. The most effective outcomes depend on selecting the appropriate part of the image, while still being able to see the object and ensuring high image quality.
Although basic circle cropping functions will be sufficient for simple tasks, more advanced ones that involve masking and editing are more flexible. Designkit offers circle masking with advanced AI-based photo editing options.
Frequently Asked Questions
How do I make a circular profile picture without cutting off my face?
Why does my circle cropped image look blurry?
Use high-resolution and good-quality original images and files. Enlarge the image up to the required level, but not too much, as enlarging too much can cause blurriness in the image. Also, make sure that, when exporting, it does not contain any sort of compression.
How can I remove the square background from a circular image?
Use high-resolution and good-quality original images and files. Enlarge the image up to the required level, but not too much, as enlarging too much can cause blurriness in the image. Also, make sure that when exporting, it should not contain any compression.
Can I turn a product photo into a circle image?
Yes, you can apply a circular crop to make a circular photo from the product picture. Place and scale the product picture to fit completely into the circular frame. If you need the photo with transparent corners, you should export it accordingly.
What is the easiest way to crop a photo into a circle online?
An online image cropper with a circle option is one of the easiest methods. Upload your photo, select the circular shape, adjust the subject's position and size, and enable transparency if available. Then download the finished circular image.
Can I crop different parts of an image inside a circle?
Yes, you can determine the part of the photo which will be cropped in a circle. The circular mask defines the area of visibility, but you can move and zoom the picture to set it in the desired place.
What image format should I use for a circular crop?
Use PNG or WebP when you need transparent corners. If the image has a solid background and transparency is not necessary, JPG can be appropriate. Choose the format that best matches the image's background needs.
You May Also Like

Remove.bg Shutting Down Dec 1, 2026: What Users Are Saying

7 Best Remove.bg Alternatives in 2026: Free & Paid Tools

Instagram Carousel: What It Is, How to Post & Create One

Nano Banana Prompts: 20+ Examples for Better AI Images

Ideogram AI Review 2026: Features, Pricing & Alternatives

Free Mac Photo Editor: 5 Tools Compared for Mac Users

How to Crop a Photo Into a Circle Online (Keep Quality)

How to Make an Image Transparent Online (AI Guide)

Pixlr Background Remover Review 2026: Features, Pricing & Alternatives

How to Fix Overexposed Photos: Recover Highlights Fast

OpenArt AI Review 2026: Features, Pricing & Alternatives

Best AI Headshot Generator: 9 Tools Compared for 2026

Best Stencil Maker Tools 2026: Turn Photos Into Stencils

Pixelbin Watermark Remover Review: Image & Video Results Tested

How to Make a Sticker on iPhone: Easy Step by Step Guide

Best AI Logo Generator in 2026: 10 Tools Compared

How to Turn a Photo Into a Cartoon: A Beginner-Friendly Guide

Landscape vs Portrait: Key Differences & Best Uses in 2026

How to Remove Watermark From Photo: AI, Photoshop & More

How to Fix Pixelated Photos: Photoshop, AI Tools & Tips

Bing Image Creator: How It Works, Features, Uses & Alternatives

How to Remove People from Photos with AI: A Step-by-Step Guide

How to Increase Image Resolution: AI, Photoshop & PPI

How to Add Text to a Photo: 8 Tips for Better Results

How to Fix Grainy Photos: Easy Ways to Clear Images

Creative Profile Picture Ideas for Every Style and Platform

Evoto AI Review 2026: Features, Pricing, Pros & Cons

Pixlr Photo Editor Review: Features, Pricing & Alternatives

Best AI Image Extender Tools in 2026: Expand Photos with AI

How to Make a Collage on iPhone: Easy Guide for 2026

How to Sharpen an Image in Photoshop (Smart Sharpen and Unsharp Mask)

Best Image Background Remover Tools in 2026: AI Tools Compared

How to Make Transparent Background in Paint: Step-by-Step Guide

How to Resize an Image: Best Methods, Tools & Quality Tips

Best AI Image Generator Tools in 2026: Top AI Platforms Compared

Remove.bg Review 2026: Features, Pricing & Is It Worth It?

Luminar Neo Photo Editor Review 2026: AI Features, Price & Pros

How to Post Multiple Photos on Instagram (2026 Guide)

25 Facebook Cover Photo Ideas for Personal & Business Pages

What Is a PFP? Meaning, Examples & How to Create One

Can You Edit an Instagram Post After Posting?

11 Best Canva Alternatives in 2026 for AI Design & Marketing

8 Best Midjourney Alternatives in 2026: Features, Pricing & Comparison

How to Restore Old Photos: AI Tools, Tips & Best Methods

Pixelcut AI Review 2026: Features, Pricing, Pros, Cons & Alternatives

How to Apply Watermark to Photos: Methods, Tips & AI Tools

How to Remove a Background in Illustrator: 4 Easy Methods

How to Change Background Color on Instagram Story (Easy Guide)

8 Best AI Poster Generators in 2026: Create Posters Faster with AI

10 Best AI Image Enhancers in 2026: Tested & Compared

10 Best AI Image Editors in 2026: Features, Pricing & Comparison

7 Best AI Background Changer in 2026: Remove & Replace Photo Backgrounds

Luminar Neo vs Lightroom: Features, Pricing & Comparison 2026

Kittl Review 2026: Is It Worth It? Features & Pricing

How to Make a Blurry Image Clear: 5 AI & Manual Ways

How to Remove Background on iPhone: 5 Easy Methods (2026)

Photoroom Background Remover Review 2026: Features & Alternatives

How to Remove Background in Canva: A Step-by-Step Guide

How to Remove Background in GIMP: Beginner-Friendly Guide

Funny Dog Memes to Try: Doge Meaning and 10 Original Ideas

Back to School Checklist 2026: Supplies, Timeline, and Planning

Recraft AI Review 2026: Features, Pricing, Pros, Cons & Alternatives

How to Make an Image Transparent in Google Slides: Opacity & Background Removal

VanceAI Photo Enhancer Review: Features, Pricing & Alternatives in 2026

What Does Emojify Mean? Text, Photos, & Emoji Art Explained

Top 8 Online Background Removers for Ecommerce Photos (2026)

How to Remove Background in Photoshop: 7 Easy Methods

6 Best AI Image Upscalers 2026: Tools Tested & Compared

Project Indigo Review: Is It Better Than iPhone Camera?

How Big Is an 8x10 Photo? Size, Pixels & Frame Guide

How Big Is a 4x6 Photo? Dimensions, Pixels & Printing Tips

Picsart AI Review: Features, Pricing, Pros, Cons & Alternatives

Lovart AI Review: AI Design Agent Features, Pricing & Alternatives

Fotor AI Image Generator Review: Features, Pricing & Alternatives

How to Add Emoji to Photo Online for Free

Emoji Wallpaper Ideas & How to Make One Online (2026)

Minimalist Poster Design: How to Make a Clean Poster (2026)

How to Make a Custom Poster That Is Ready to Print

Instagram Image Size Guide 2026: Post, Reel, Story & Carousel Specs

LinkedIn Image Size Guide: Profile, Post & Banner Dimensions

YouTube Profile Image Size: Best Dimensions & Safe Area 2026

How to Edit Amazon Product Photos That Boost Sales Fast
Create Perfect Circular Images With AI
Crop photos into clean circular designs, adjust image positioning, and enhance your visuals with Designkit's AI-powered editing tools.
