
Best Stencil Maker Tools to Turn Photos Into Stencils (2026)
Create custom stencils from photos with AI and online tools. Learn how to simplify images, preserve important details, and design stencils for crafts, printing, painting, and DIY projects.

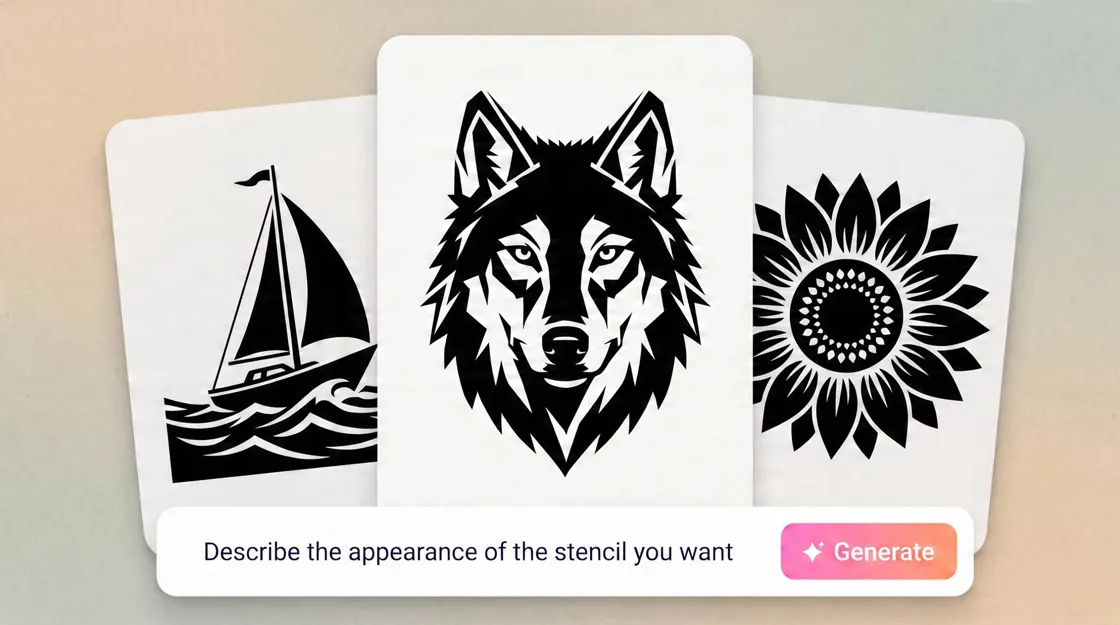
Turning a photo into a stencil can be useful for DIY crafts, wall art, painting, fabric projects, and custom designs. But detailed photos often contain too many colors, shadows, and small elements to work well as stencils.
In this guide, you'll learn how to turn a photo into a stencil using online and AI-powered tools. You'll discover how to choose the right image, simplify important details, improve contrast, and refine the final design. We'll also explore practical ways to create more customized stencil designs with AI.
Key Takeaways
-
Start with a clear, high-contrast photo and a well-defined subject for easier stencil conversion.
-
Learn how to turn a photo into a stencil by simplifying details, refining edges, and increasing contrast.
-
Explore AI, online, and free stencil makers for different levels of customization and ease of use.
-
Adjust the final design based on whether you plan to print, cut, paint, or transfer the stencil.
-
Avoid excessive details, disconnected shapes, and complex backgrounds that can make stencils difficult to use.
-
Test the finished stencil at its intended size before applying it to your final material.
What Is a Stencil Maker?
A stencil maker converts an ordinary image into a simplified, high-contrast design by separating light and dark areas and removing unnecessary details. It creates clear, defined shapes that are easier to trace, print, cut, paint, or transfer onto different materials for crafts, artwork, and DIY projects. An AI stencil maker can further simplify this process by automatically analyzing an image and generating a stencil-style result.
What Makes a Photo Good for a Stencil?
The best photos have a clear subject, strong contrast, and minimal background distractions. Portraits and objects with defined outlines are usually easier to convert than busy scenes with many small details. Good lighting also helps preserve important features during conversion. If the original image needs cleanup first, background removal can help isolate the main subject before you use a photo to stencil creator.
How to Make a Stencil From a Photo With AI Tools
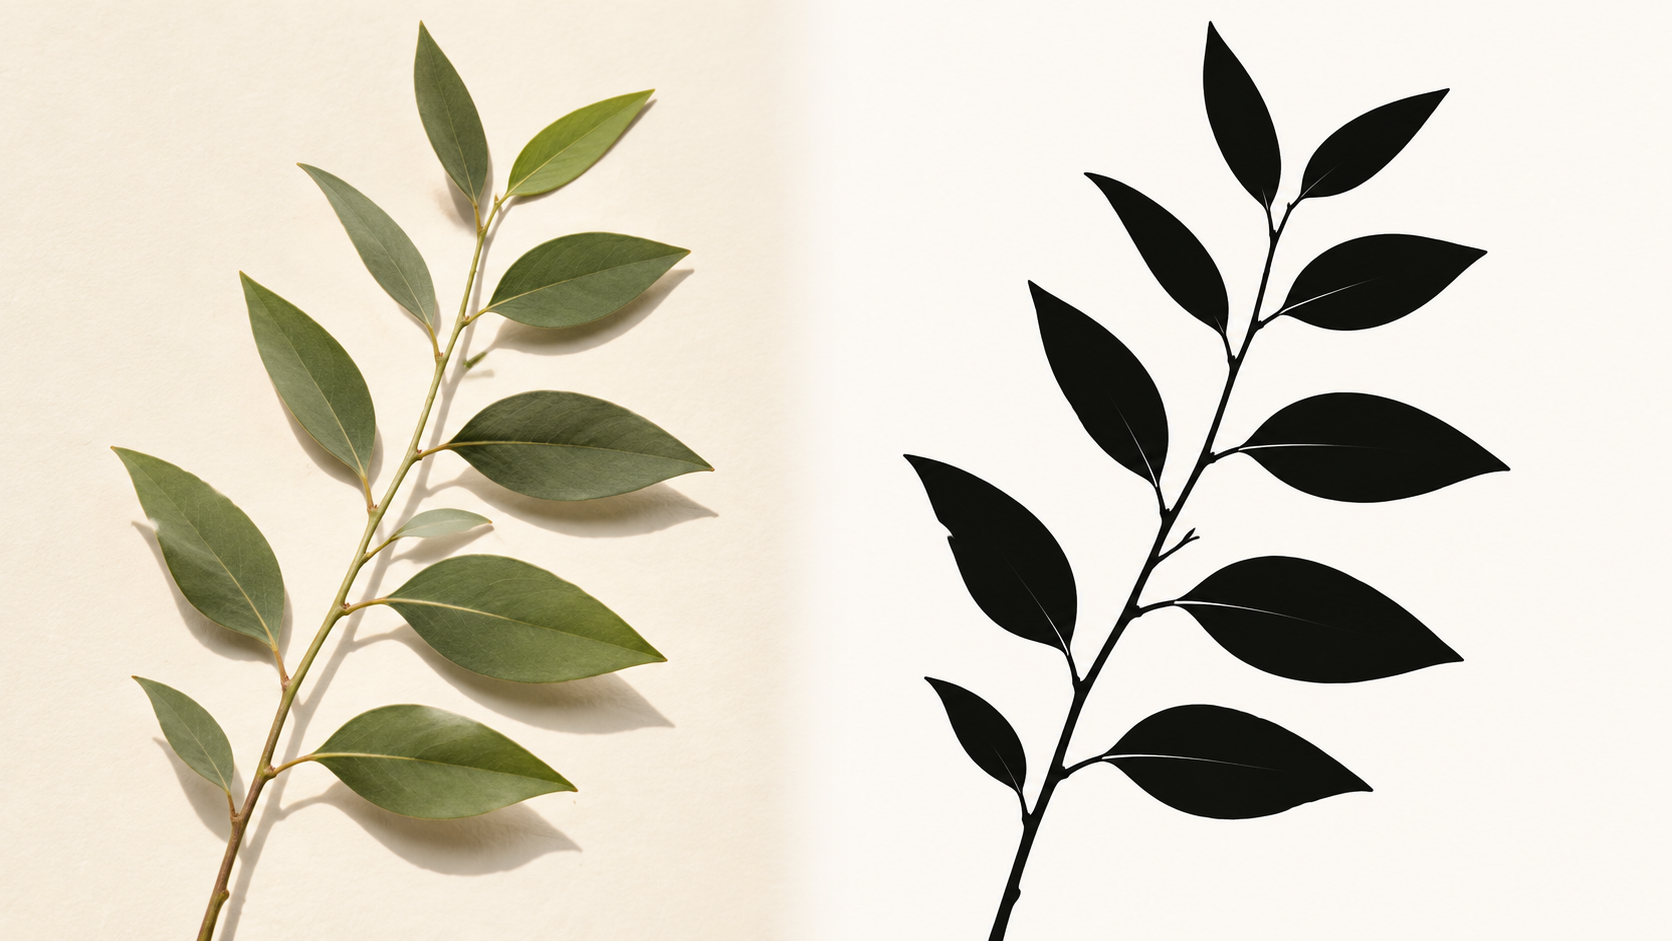
Turning a photo into a stencil involves simplifying the image while keeping the shapes and features that matter most. The right workflow can help you transform a detailed photo into a clean design that is easier to print, cut, paint, or transfer. An online stencil maker can speed up this process, especially when you need a quick starting point.
Step 1: Choose and Upload a Clear Photo
Start with a sharp image where the main subject is easy to identify. Avoid photos with cluttered backgrounds, heavy shadows, or too many tiny details. If needed, use an image cropper to frame the subject more clearly before conversion.
Step 2: Convert the Photo Into a High-Contrast Design
Apply a high-contrast effect to separate the subject from the background. This removes unnecessary tones and makes the main shapes more visible. When using a stencil maker from photo, aim for a strong distinction between the areas that will remain and those that will be removed.
Step 3: Refine the Important Details
Check the design for facial features, outlines, and other elements that help identify the subject. Simplify overly detailed areas and make sure important sections remain connected. Small adjustments can make the final stencil much easier to cut or paint.
Step 4: Prepare and Export the Stencil
Review the design at its intended size and remove details that may disappear when printed or cut. Choose an export format that suits your project, such as PNG for printing or a suitable vector format when further cutting or editing is required. Always test a small version before using the final stencil.
Best Stencil Maker Tools for Turning Photos Into Stencils
Choosing the right tool depends on how you plan to use the stencil. For example, a DIY crafter may want a quick photo-to-stencil conversion, while Cricut or laser users may need clean vector paths, connected "islands," and SVG or DXF export. Here's how these tools compare:
|
Tool |
Best For |
Stencil Role |
Key Considerations |
|---|---|---|---|
|
Pixelbin |
Quick AI image transformations |
Adjacent AI image editor |
Useful for simplifying and preparing images, but not a dedicated stencil tool |
|
Photo2Vect |
Photo-to-vector conversion |
Vectorizer |
Better for converting simplified photos into scalable paths for further stencil editing |
|
FreeStencilMaker |
Simple DIY stencils |
Stencil-native converter |
Good for straightforward photo conversions and basic stencil projects |
|
Designkit |
AI-generated stencil styles |
AI style generator |
Useful for creating and refining custom stencil concepts with AI |
|
Stencil Creator |
Quick online stencil making |
Stencil-native tool |
Suited to simple browser-based stencil creation without advanced vector workflows |
|
Adobe Illustrator |
Professional stencil preparation |
Pro vector editor |
Offers detailed path, shape, and vector controls for precise production work |
1. Pixelbin: Best for Quick AI Image Transformations
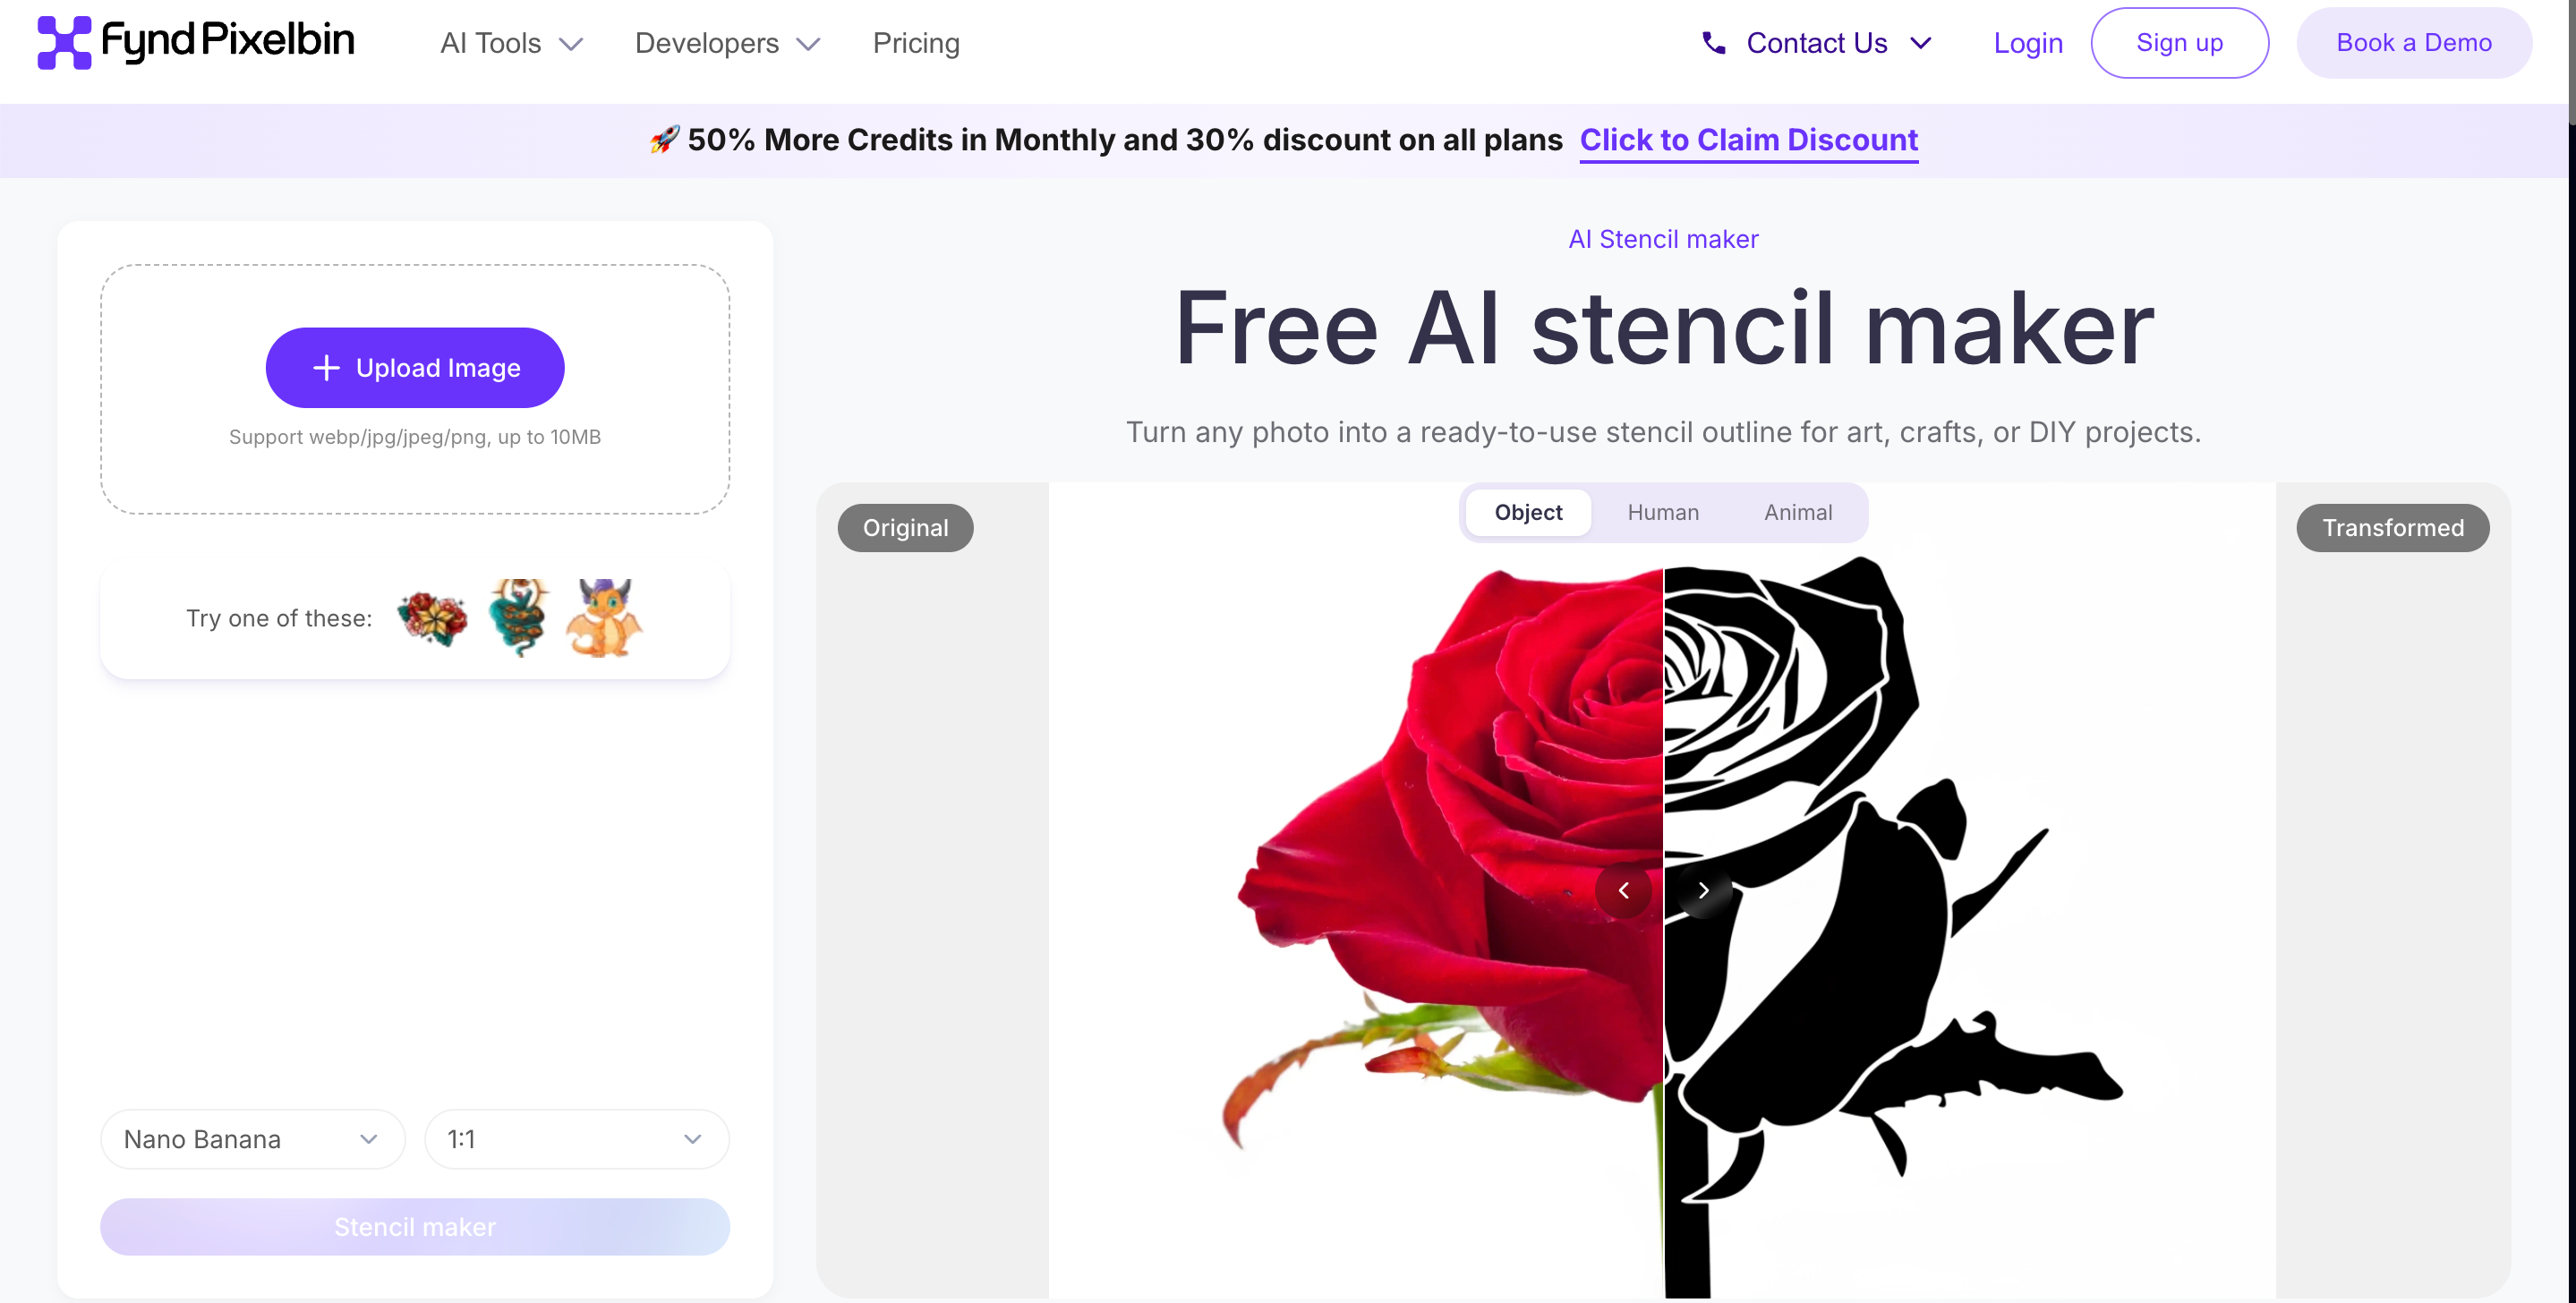
Pixelbin is better viewed as a general AI image-editing platform than a dedicated stencil maker. It can help simplify or prepare a photo before stencil conversion, but users may need additional tools to create clean stencil bridges, vector paths, or production-ready files.
2. Photo2Vector: Best for Photo-to-Vector Stencils
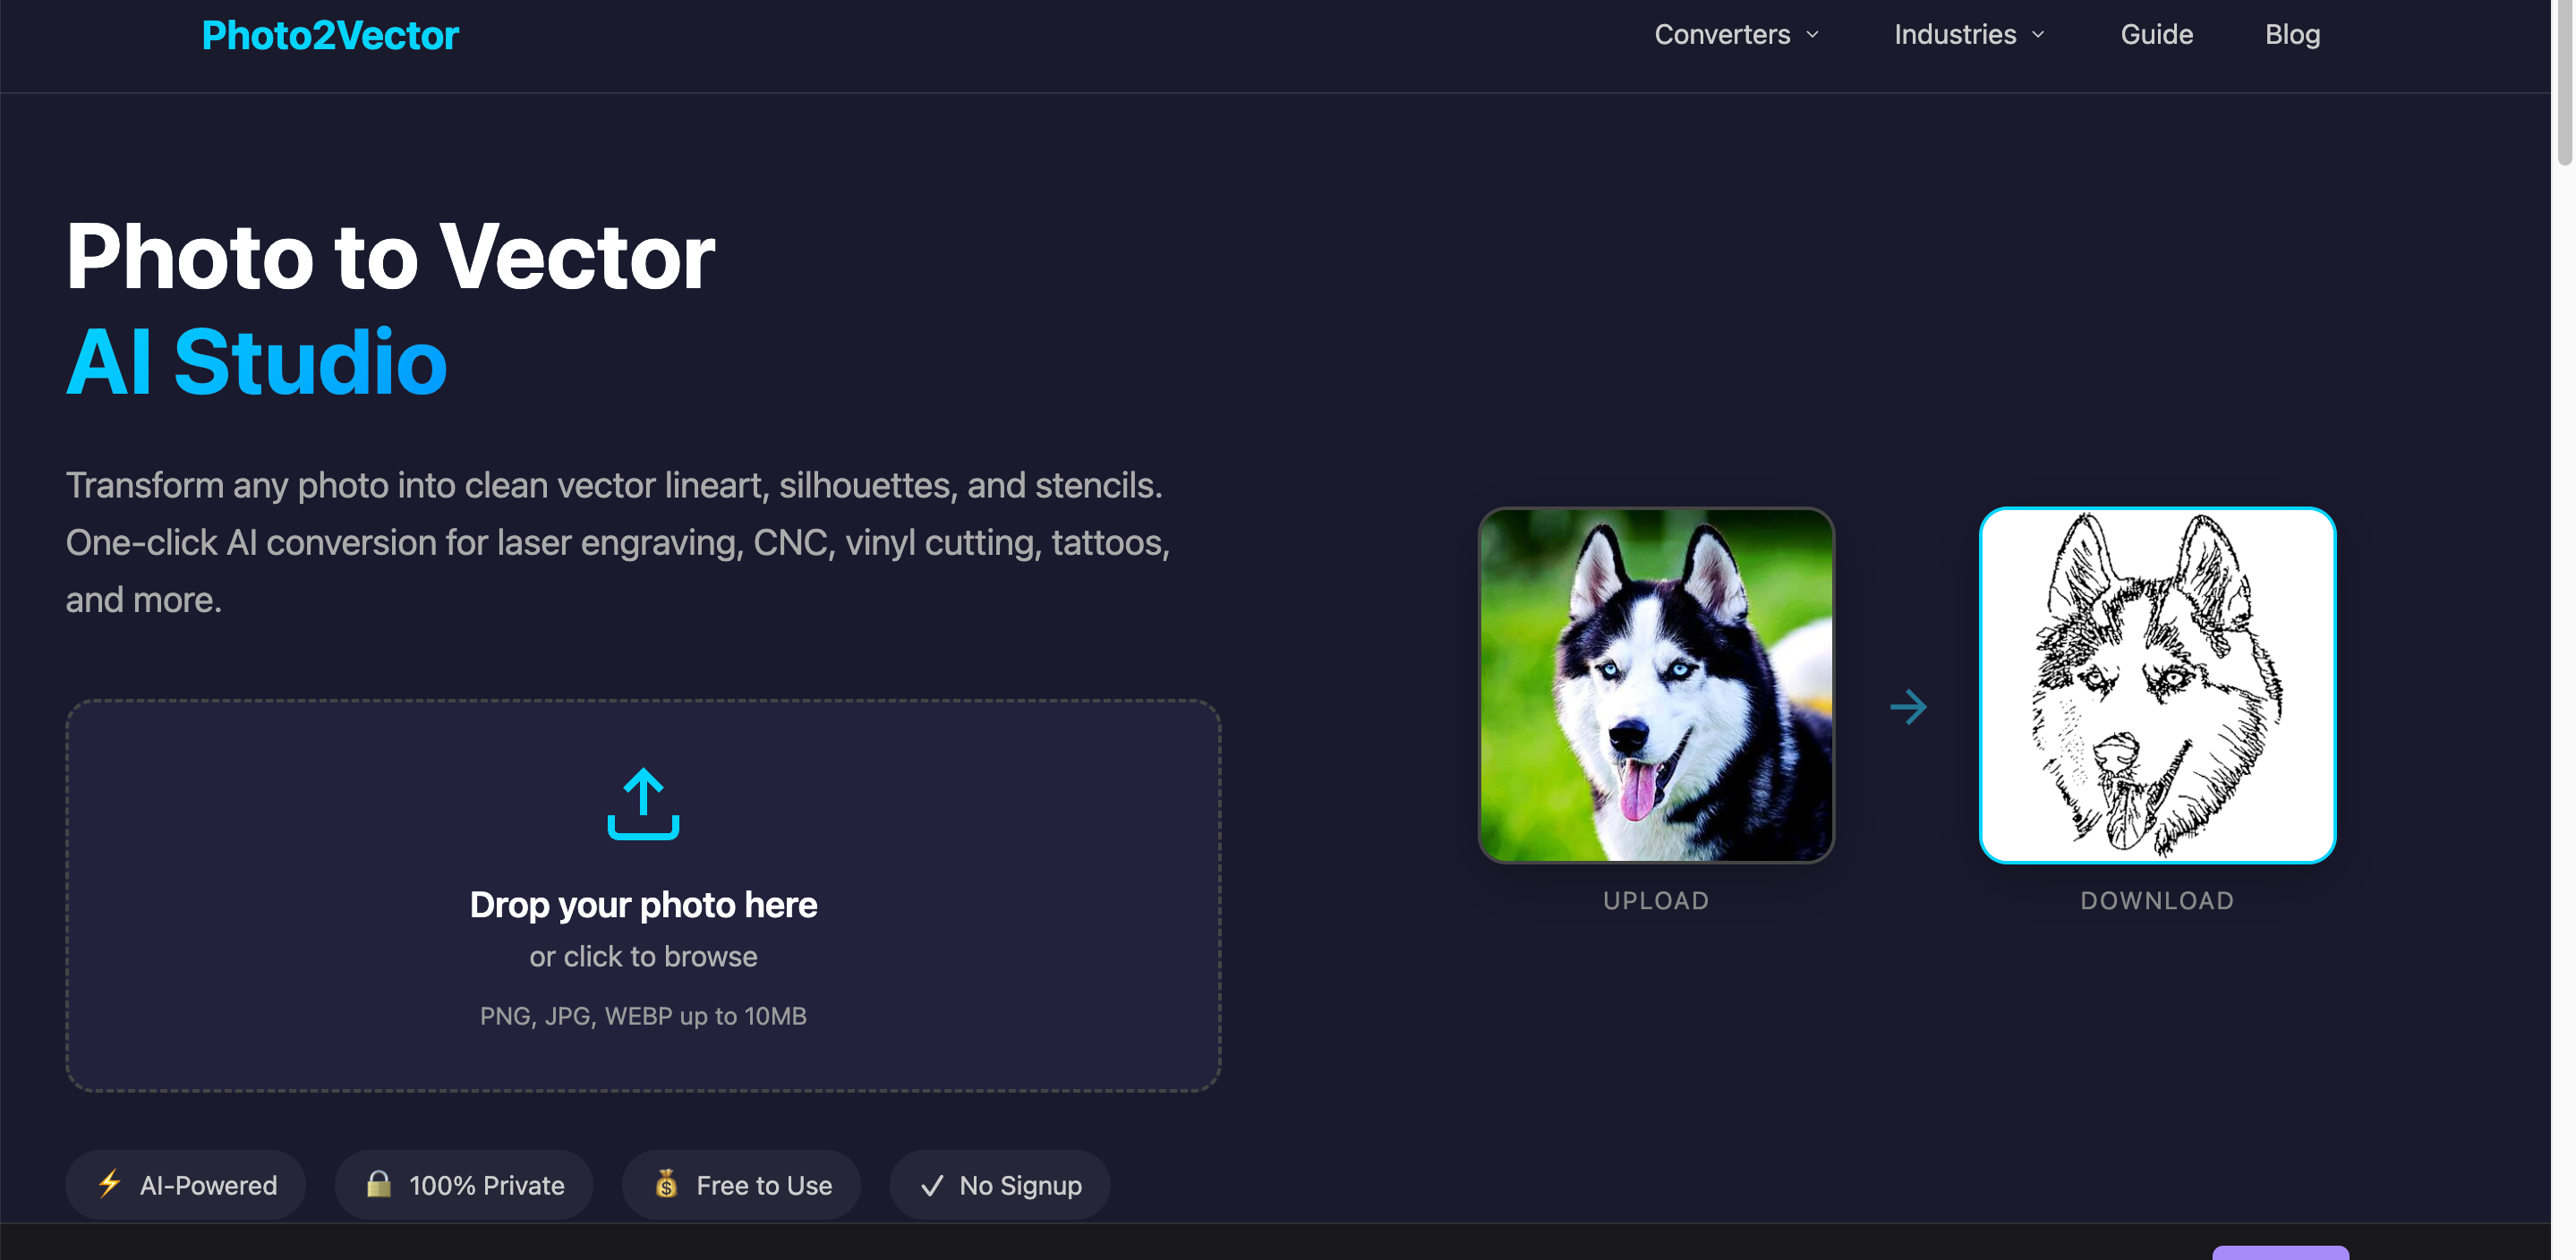
Photo2Vector is useful when the goal is to turn a photo into simplified vector artwork. Vector conversion can make designs easier to scale and refine, although users should check the resulting paths and add bridges where necessary before cutting.
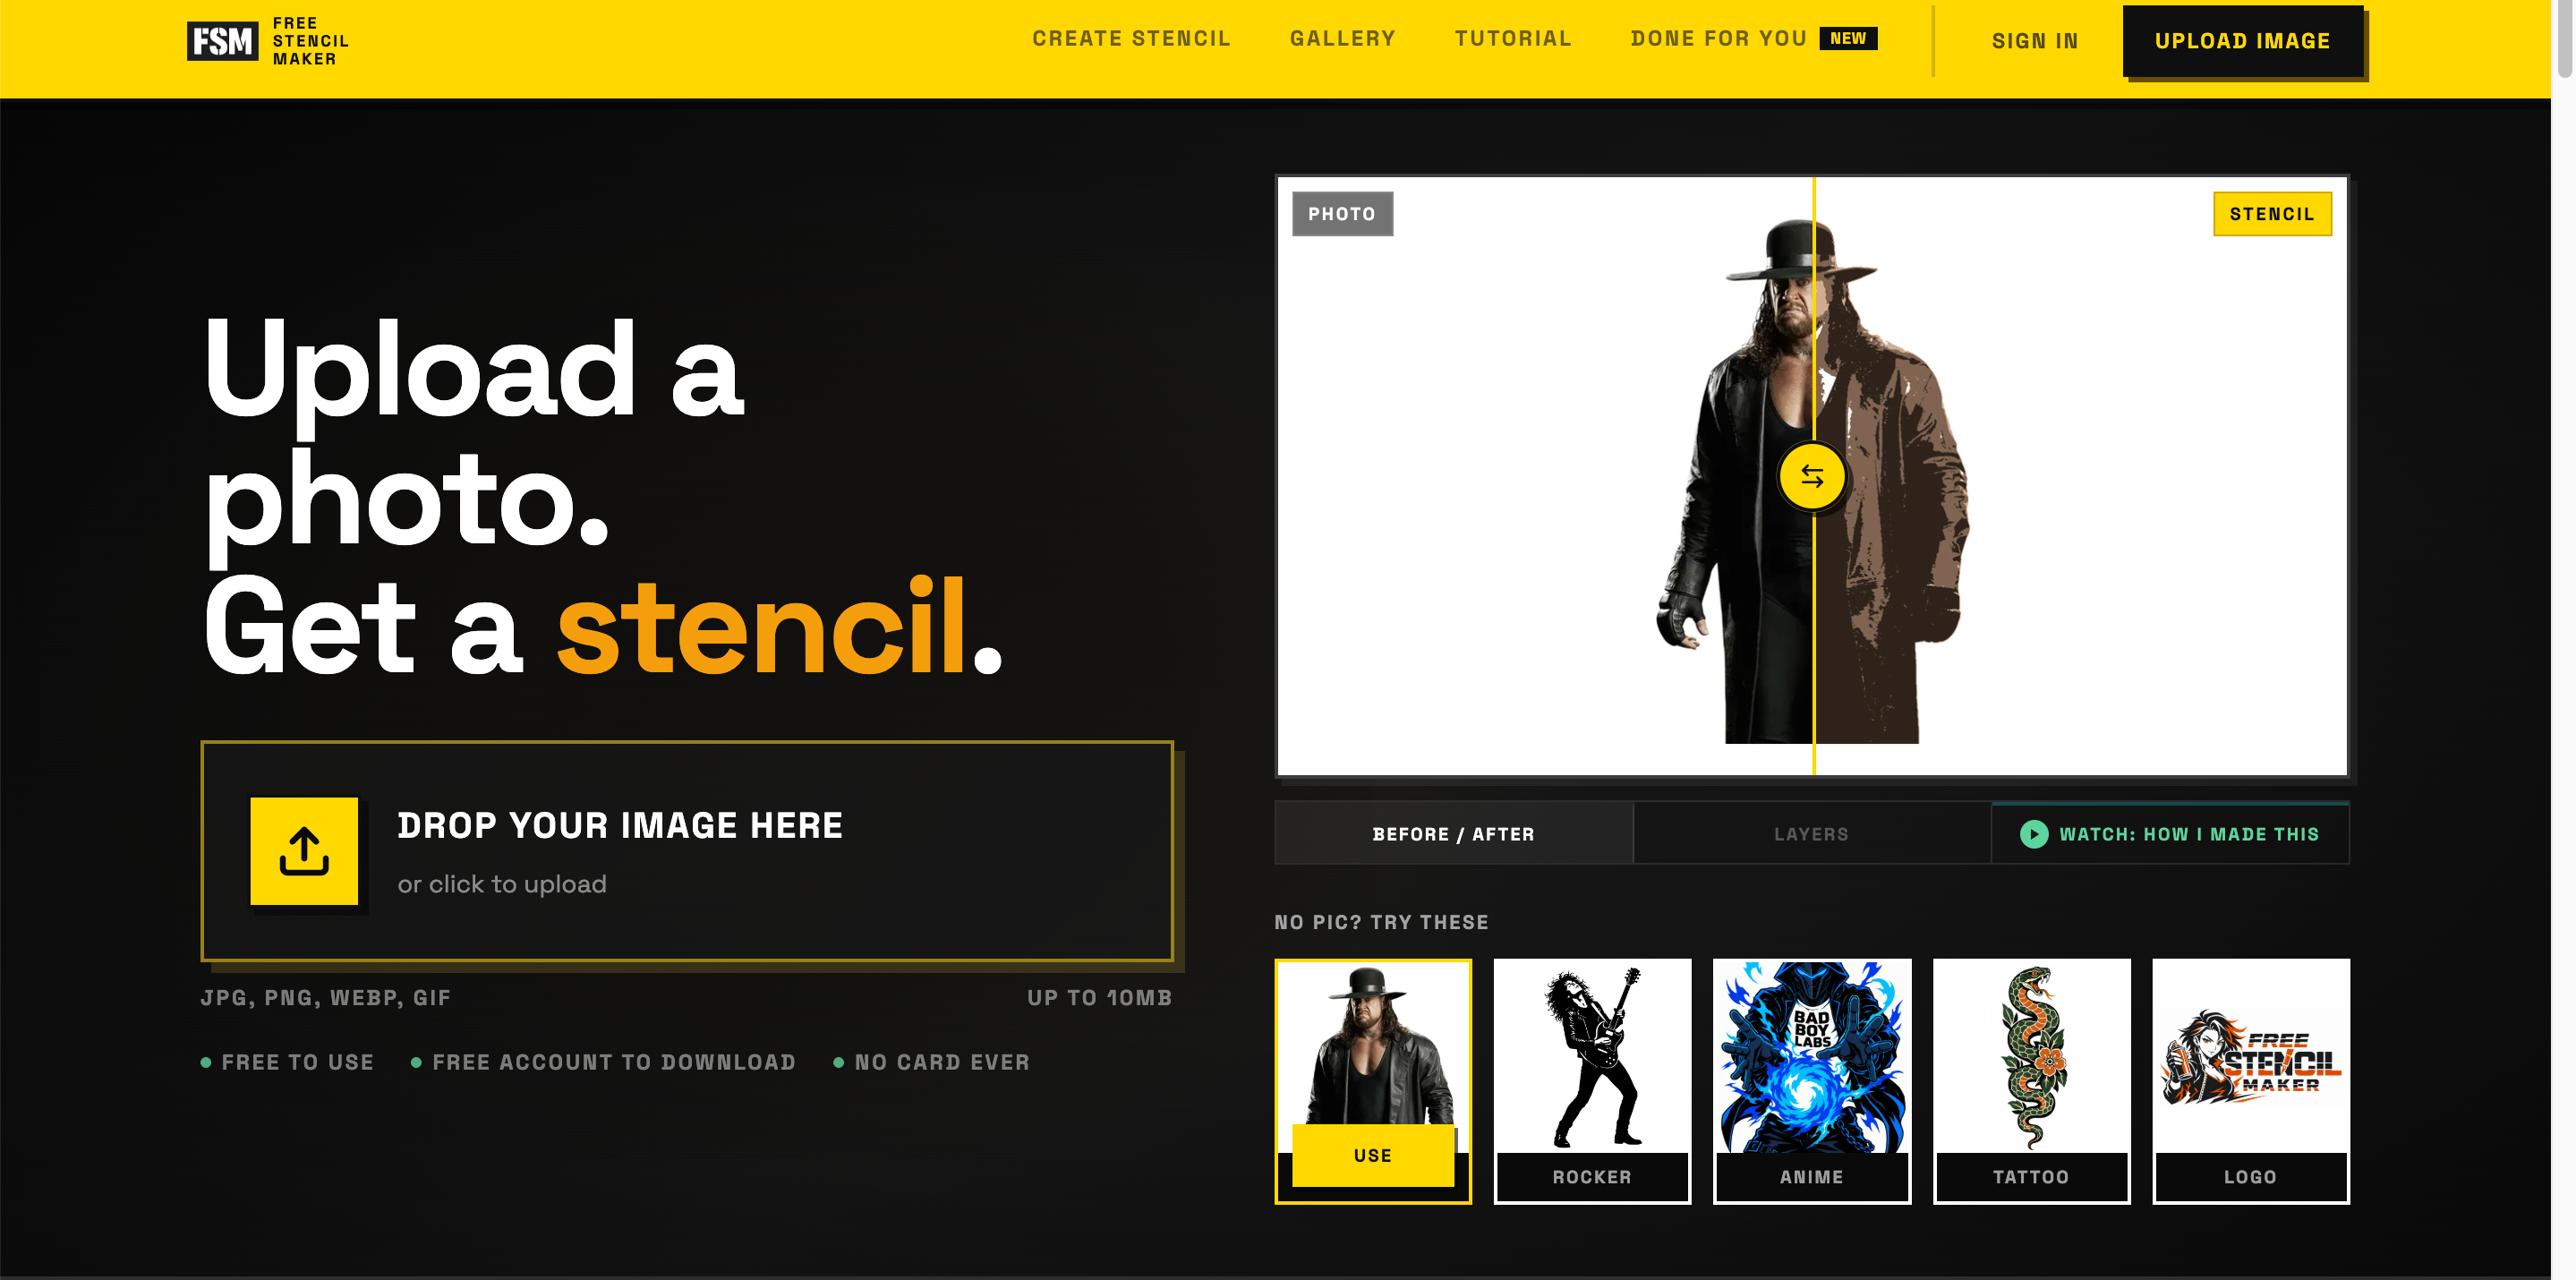
3. FreeStencilMaker: Best for Simple DIY Projects
FreeStencilMaker is suited to users who want a straightforward way to convert an image into a stencil without a complex editing workflow. It can work well for basic crafts and painting projects, while more demanding Cricut or laser-cut designs may require additional cleanup.
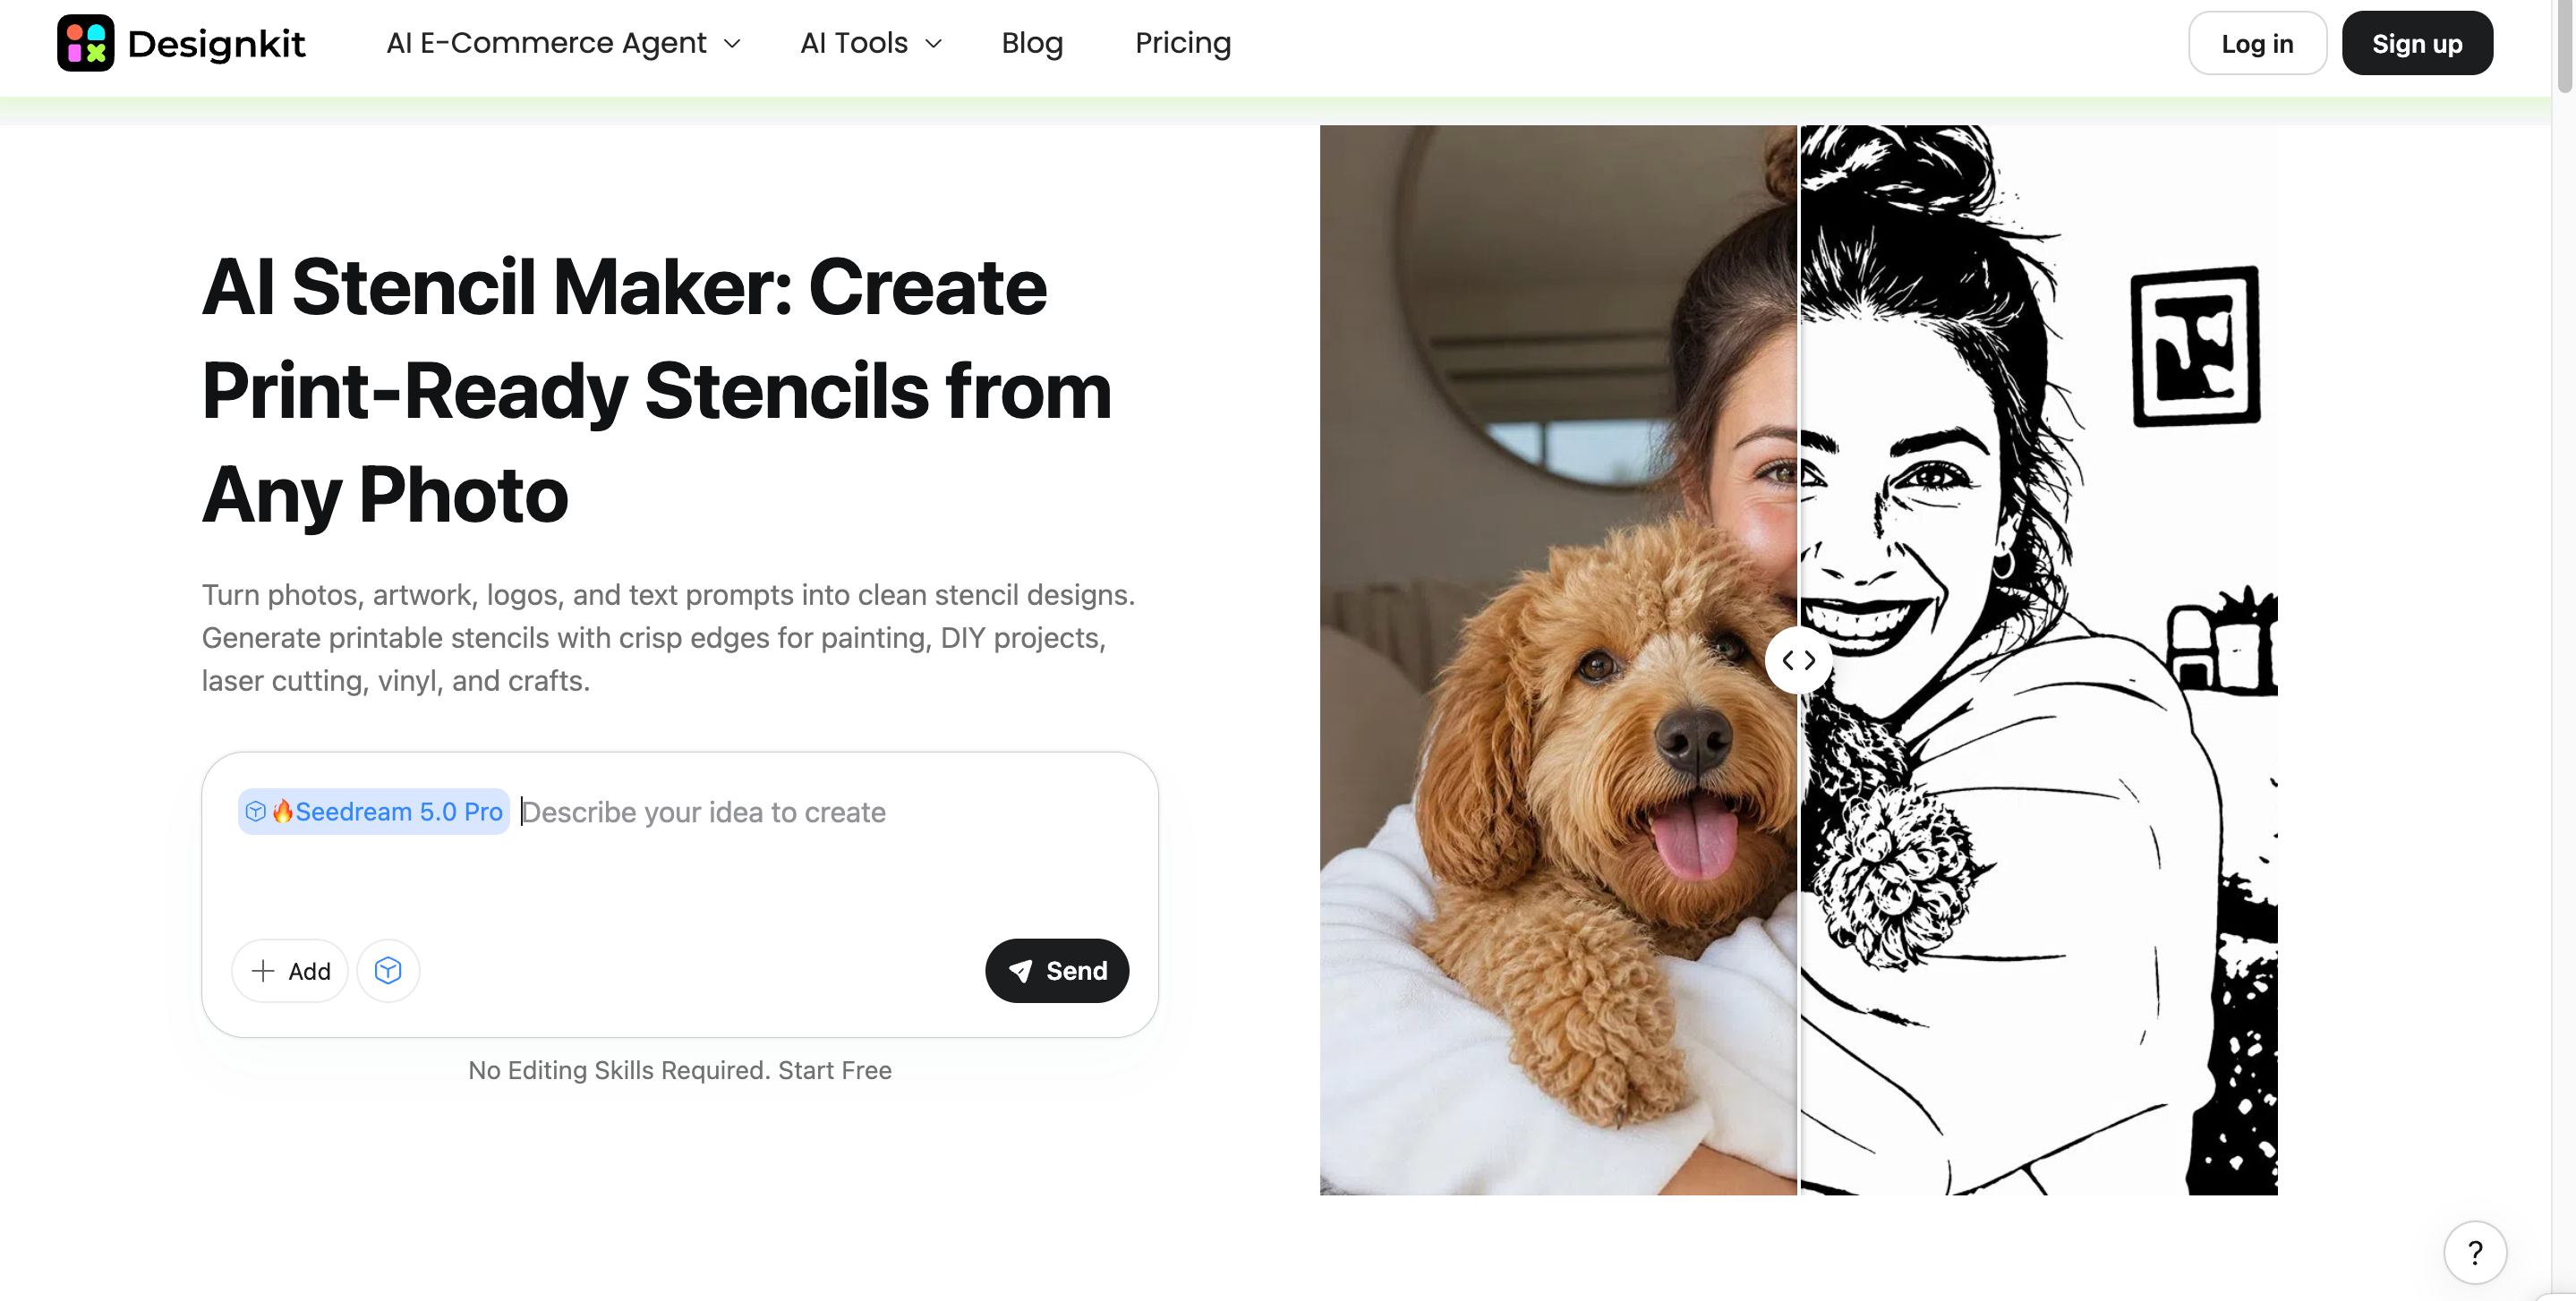
4. Designkit: Best for AI-Powered Stencil-Style Visuals
Designkit is not a dedicated stencil maker or cut-file generator. Instead, it can help turn a reference photo or idea into a customized stencil-style visual using prompts, high contrast, simplified shapes, and bold outlines. It works best for creative exploration and style development. For Cricut, laser cutting, SVG/DXF export, or precise stencil bridging, use a dedicated stencil converter or vector editor.
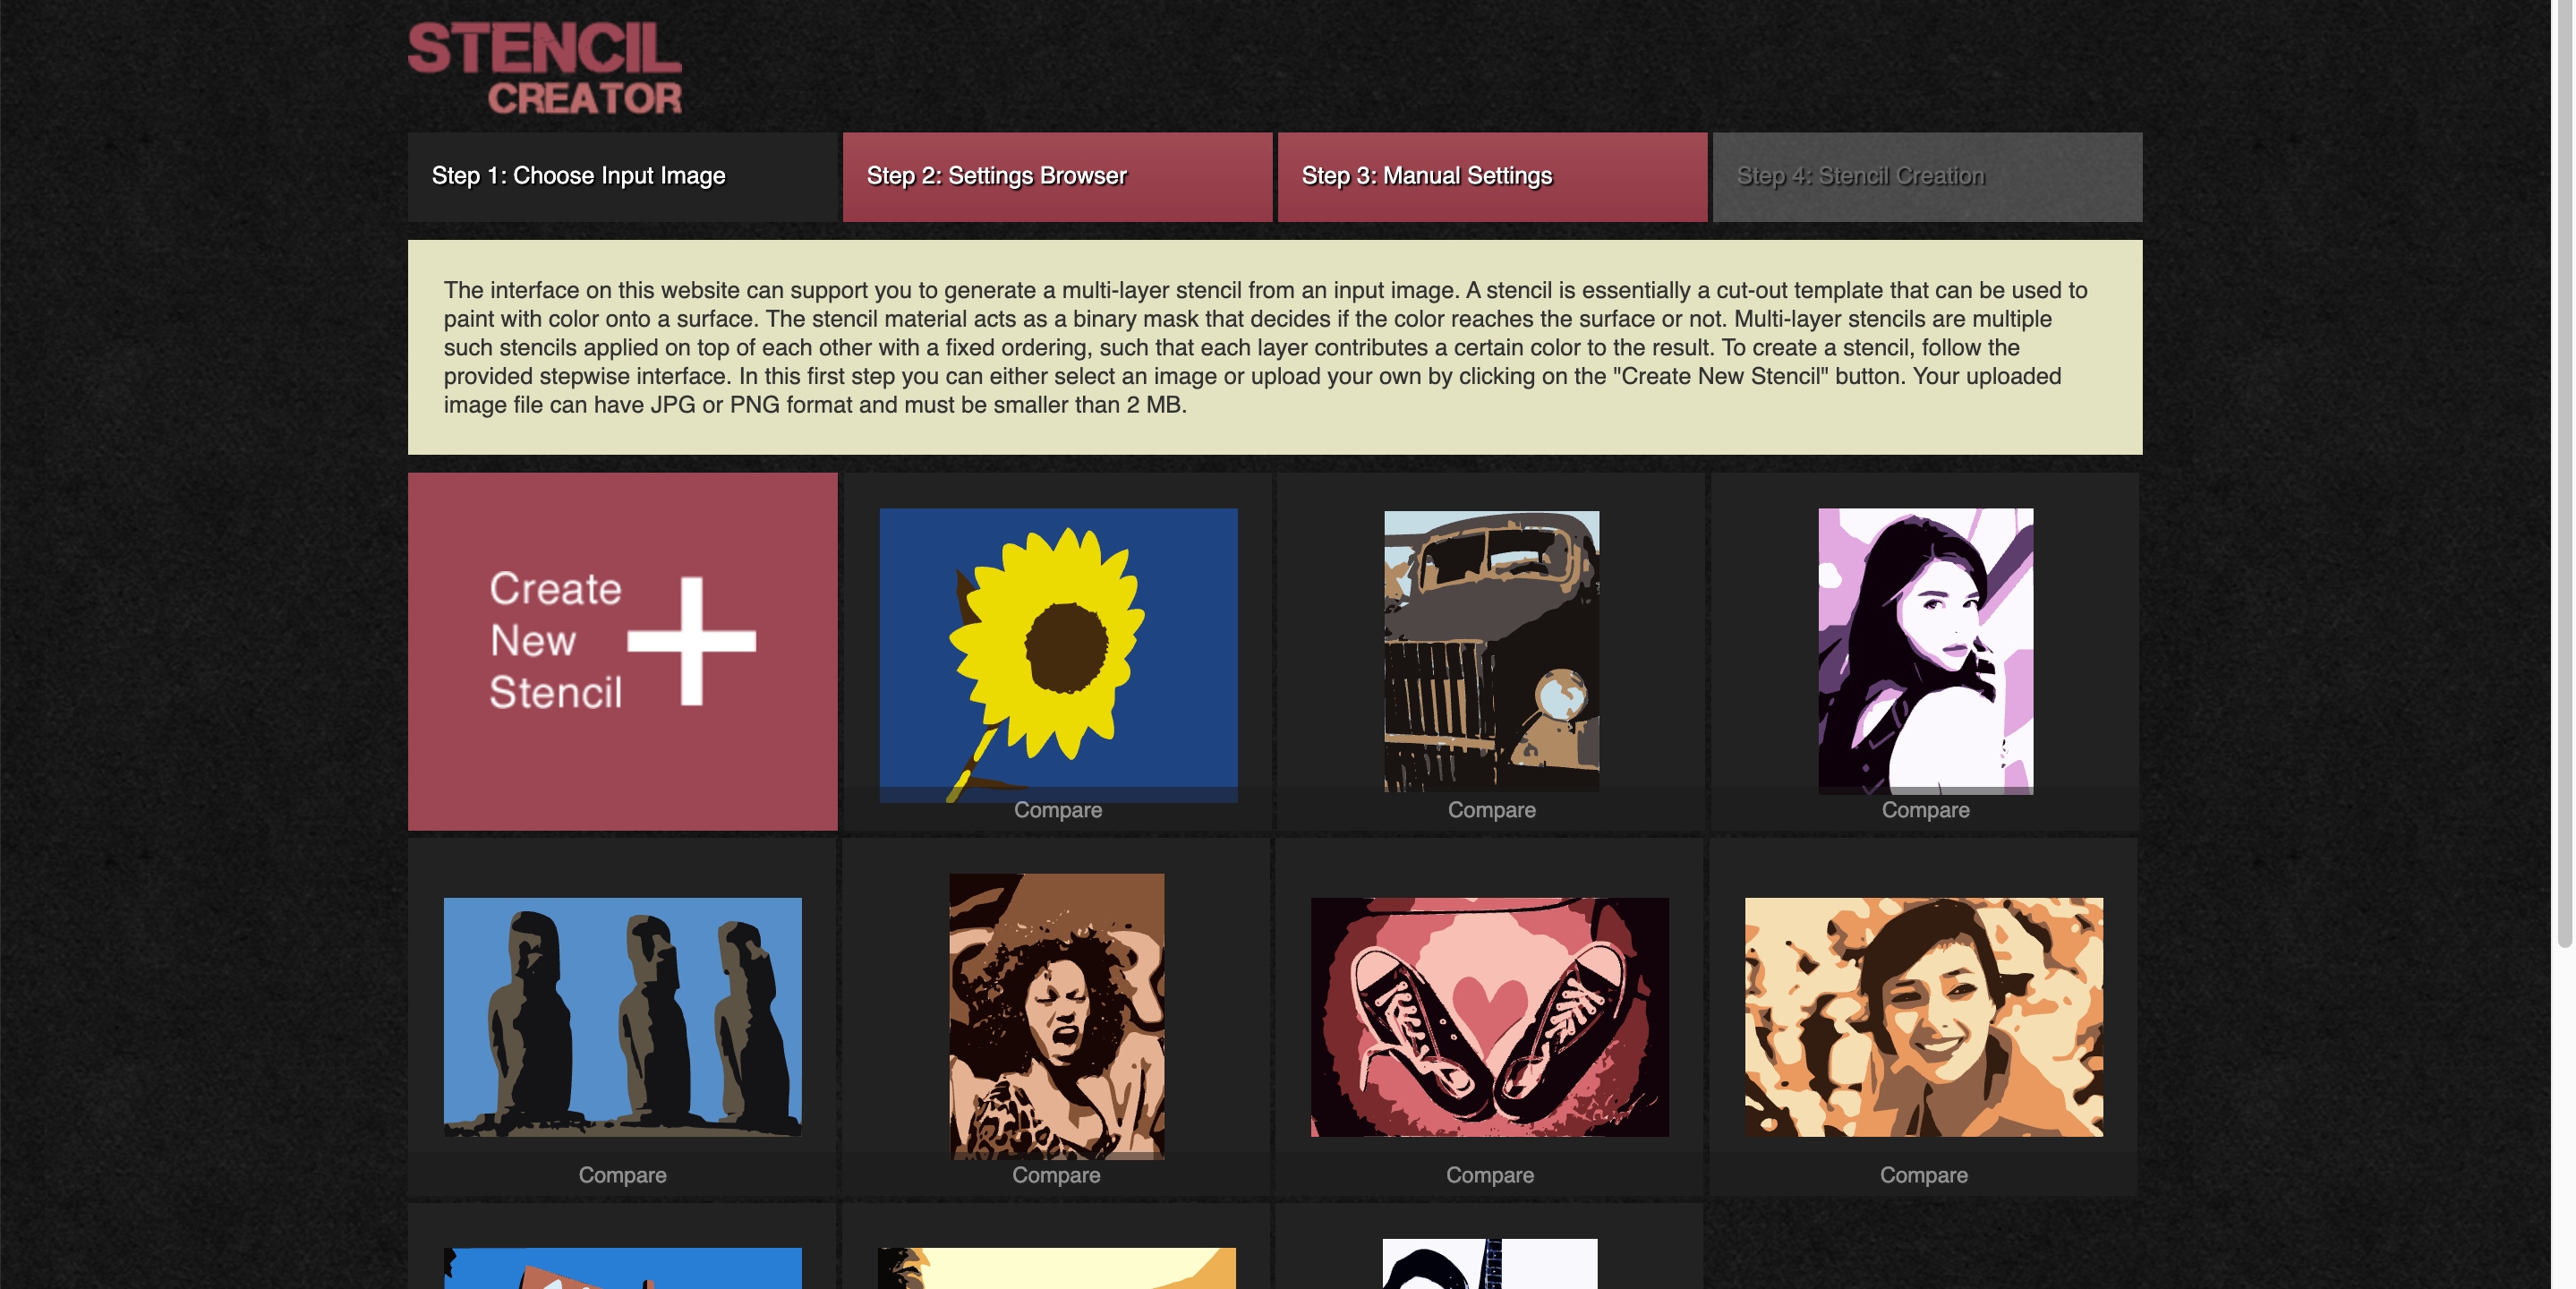
5. Stencil Creator: Best for Online Stencil Making
Stencil Creator is designed around quick, browser-based stencil creation. It can be a practical choice for users who want a simple workflow rather than professional vector-editing controls. Check the final design carefully for disconnected sections before cutting.
6. Adobe Illustrator: Best for Advanced Vector Control
Adobe Illustrator is the strongest option here for users who need detailed control over paths, shapes, and vector artwork. It is not a dedicated stencil generator, so creating bridges and simplifying complex areas requires manual editing, but that control is valuable for professional production.
What to Check Before Choosing a Stencil Maker
Choosing the right tool depends on your project, the complexity of the image, and how you plan to use the finished design. Before selecting a photo for the stencil generator, consider these factors:
-
Photo-to-stencil quality: Check whether the tool preserves important facial features, outlines, and recognizable details without making the design overly complex.
-
Island bridging: Look for automatic bridging of enclosed areas, or check whether you can add bridges manually to keep small sections connected during cutting.
-
Export formats: Make sure the tool supports the format you need, such as PNG or PDF for printing and SVG or DXF for cutting workflows.
-
Free limits: If you're considering a free stencil maker, check restrictions on exports, resolution, generations, watermarks, and available editing features.
-
Cricut and laser readiness: For cutting machines, look for clean edges, connected shapes, and accurate vector paths. You may need additional cleanup before sending the file to a machine.
-
Editing control: Consider whether you need a simple automatic conversion or more precise control over thresholds, paths, shapes, and layers. Tools such as an image enhancer can also help improve the source image before conversion.
Using Designkit for Custom Stencil-Style Visuals
If you want more creative control than a standard black-and-white conversion provides, Designkit can help explore custom stencil-style looks. You can combine a reference image with a prompt to guide the level of contrast, outlines, simplified details, and overall visual direction. It is best suited for creative and style exploration, rather than producing a final cut-ready stencil file.
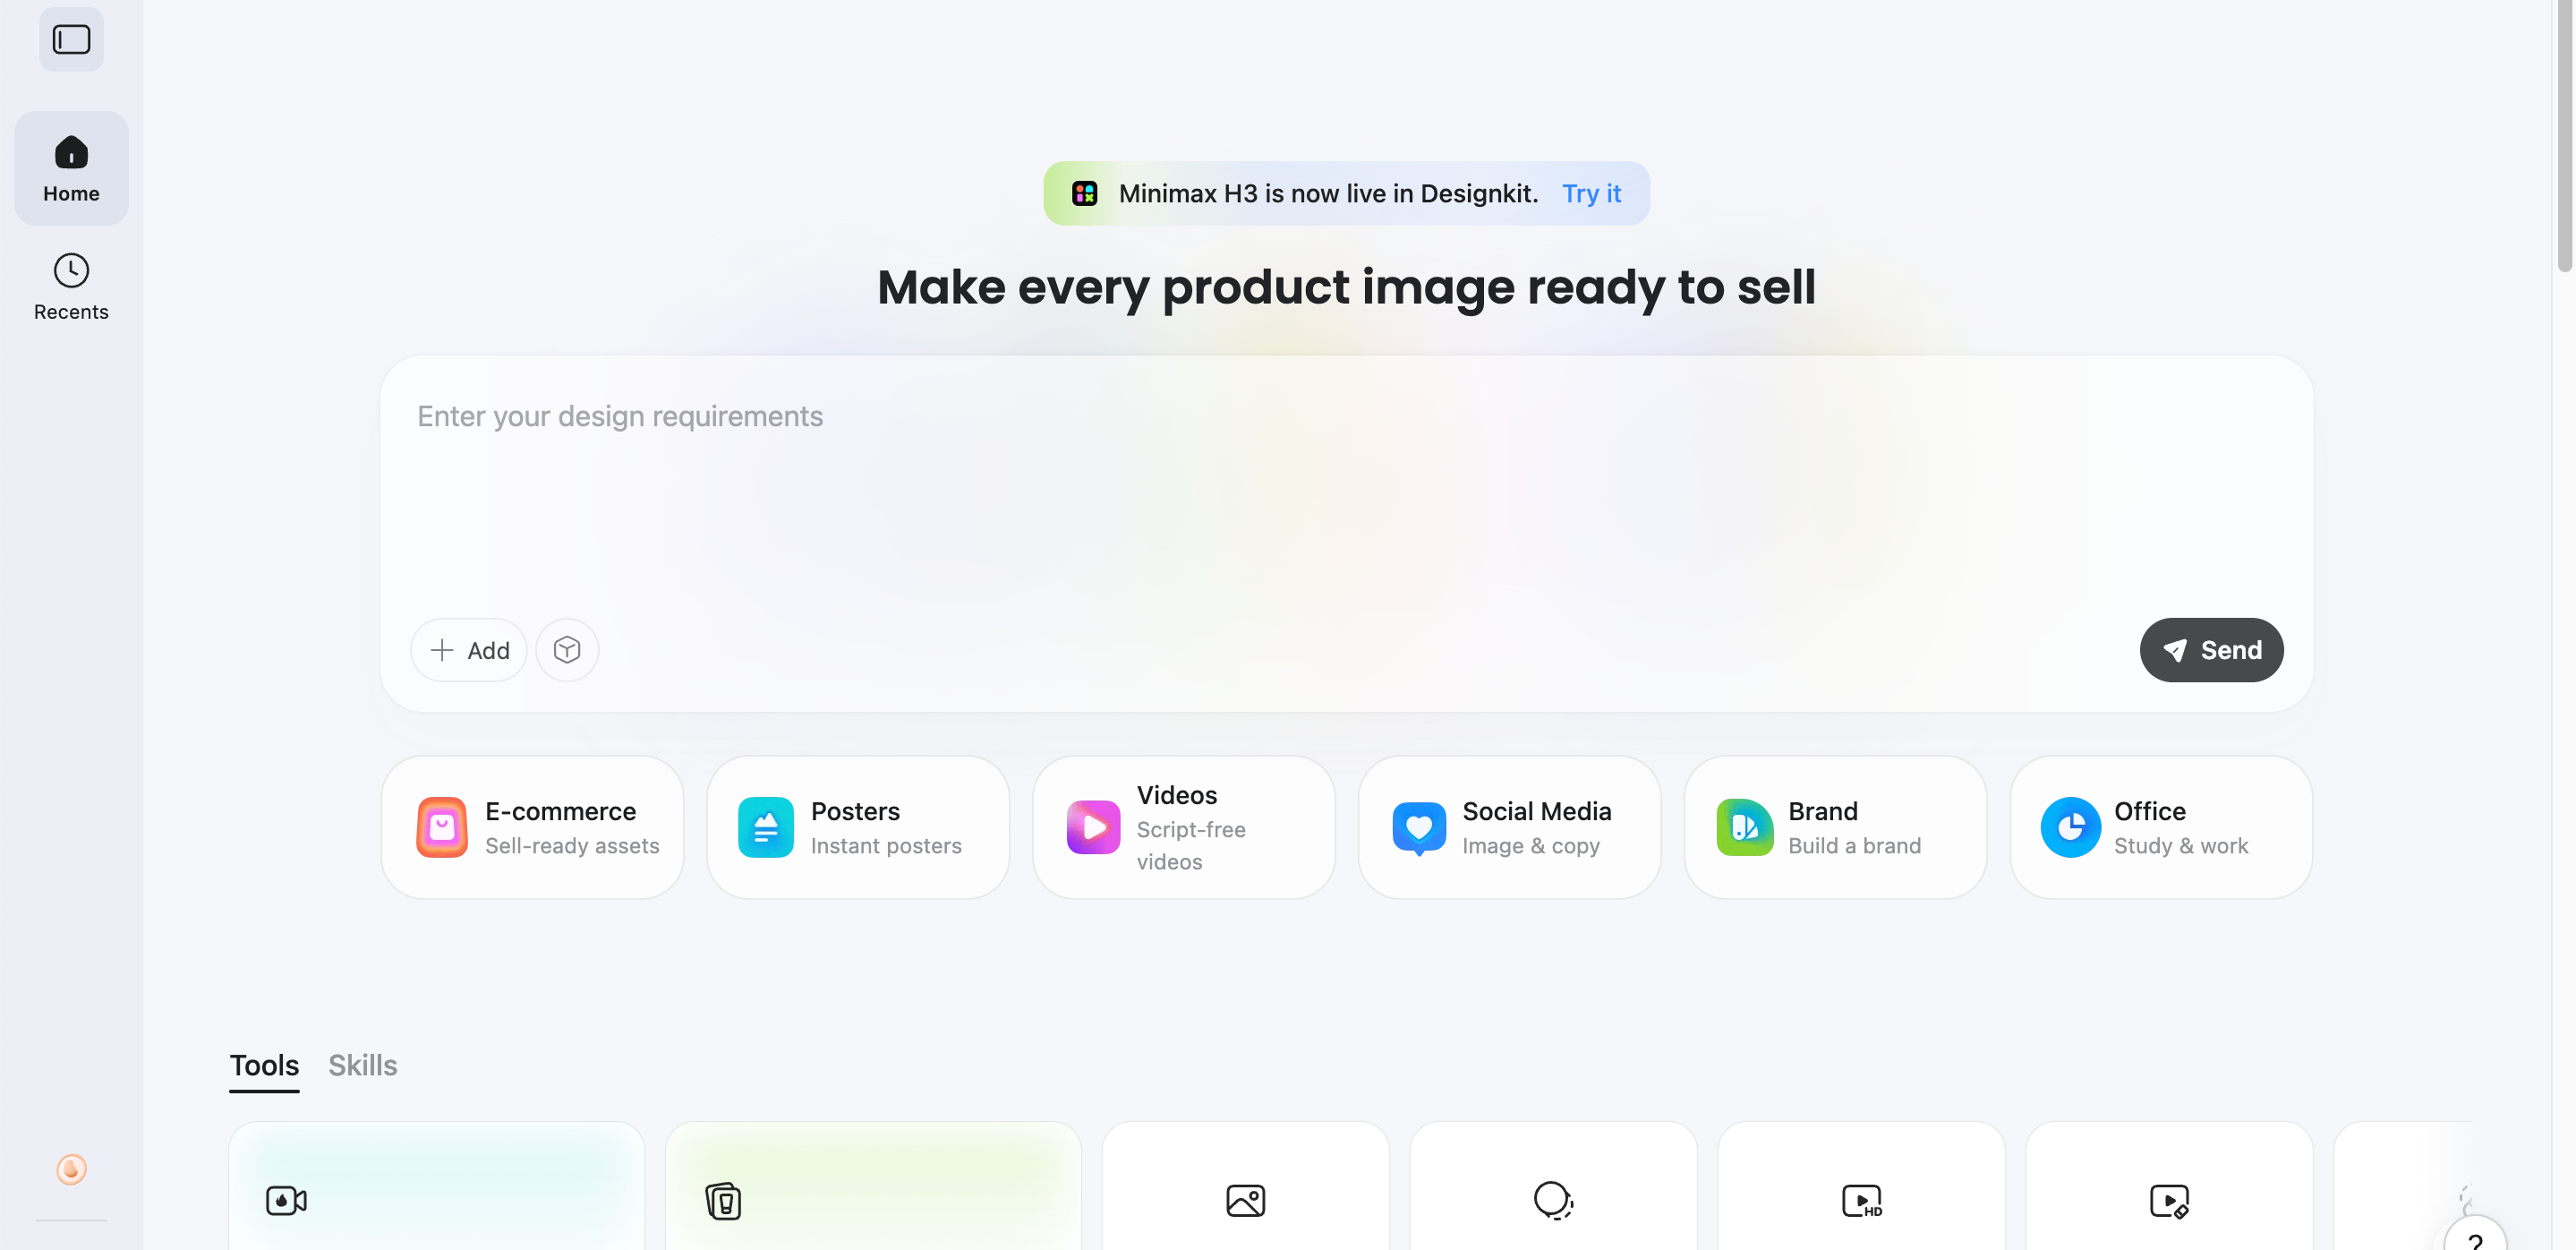
How to Create a Stencil-Style Visual With Designkit
Creating a stencil-style effect usually requires careful tracing and manual adjustments, but AI can help speed up the creative process. Follow these steps to transform your images into customized stencil-inspired visuals with more control over style, contrast, and details.
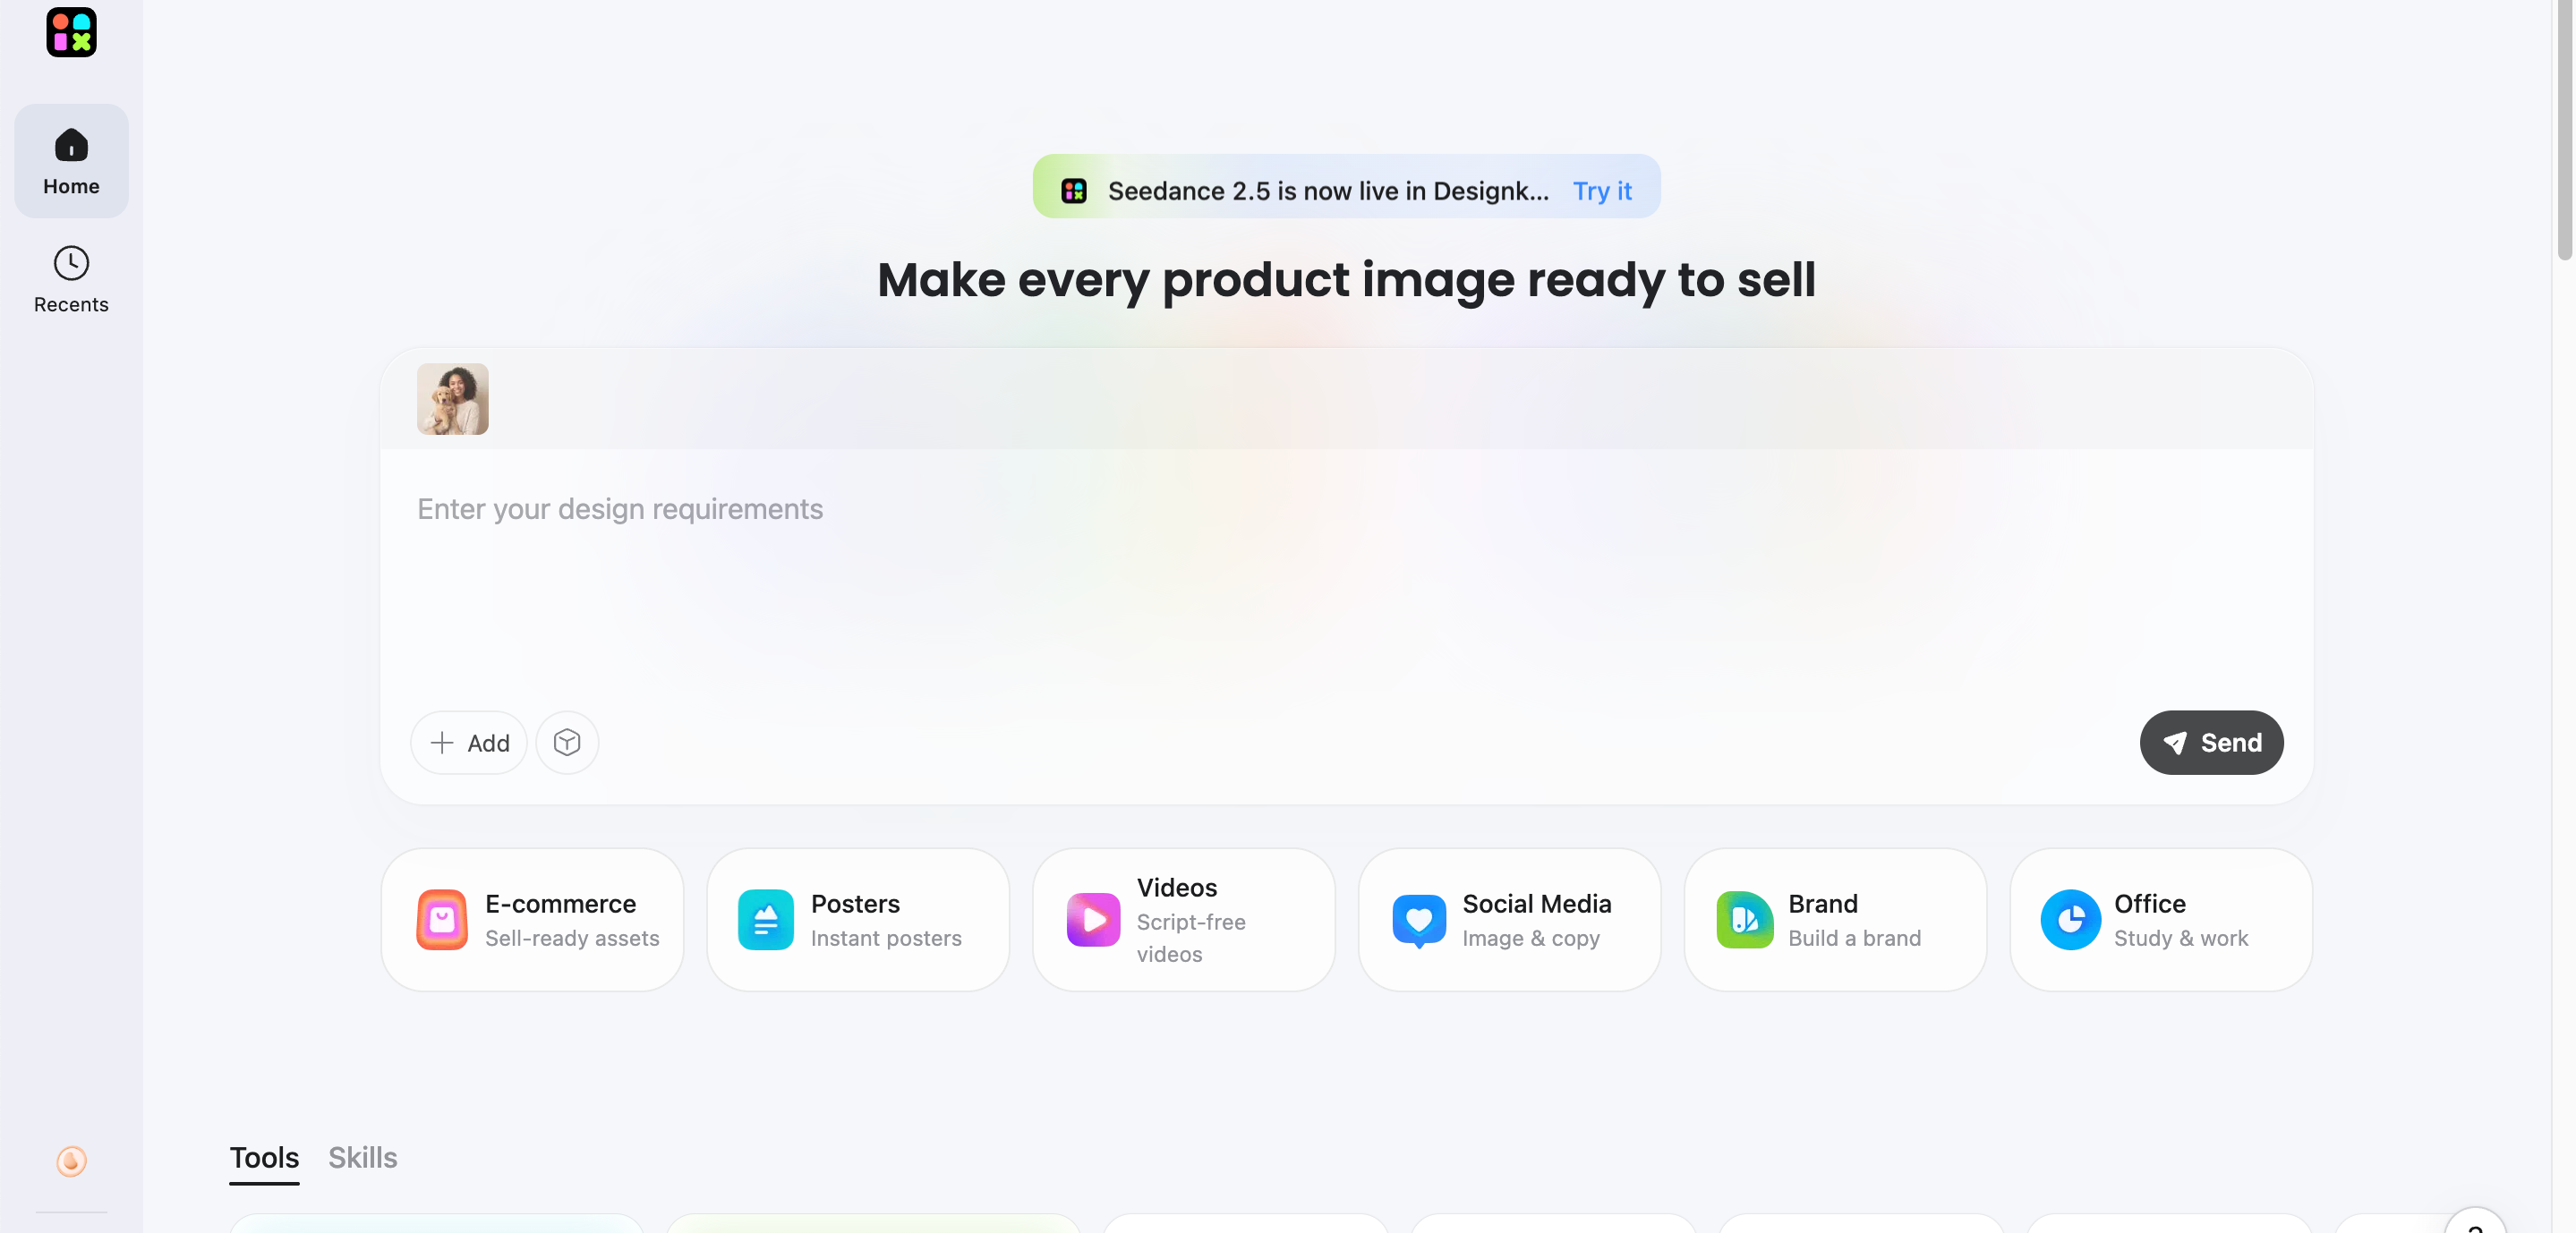
Step 1: Upload Your Reference Image
Add a portrait, pet, product, object, or another image you want to transform.
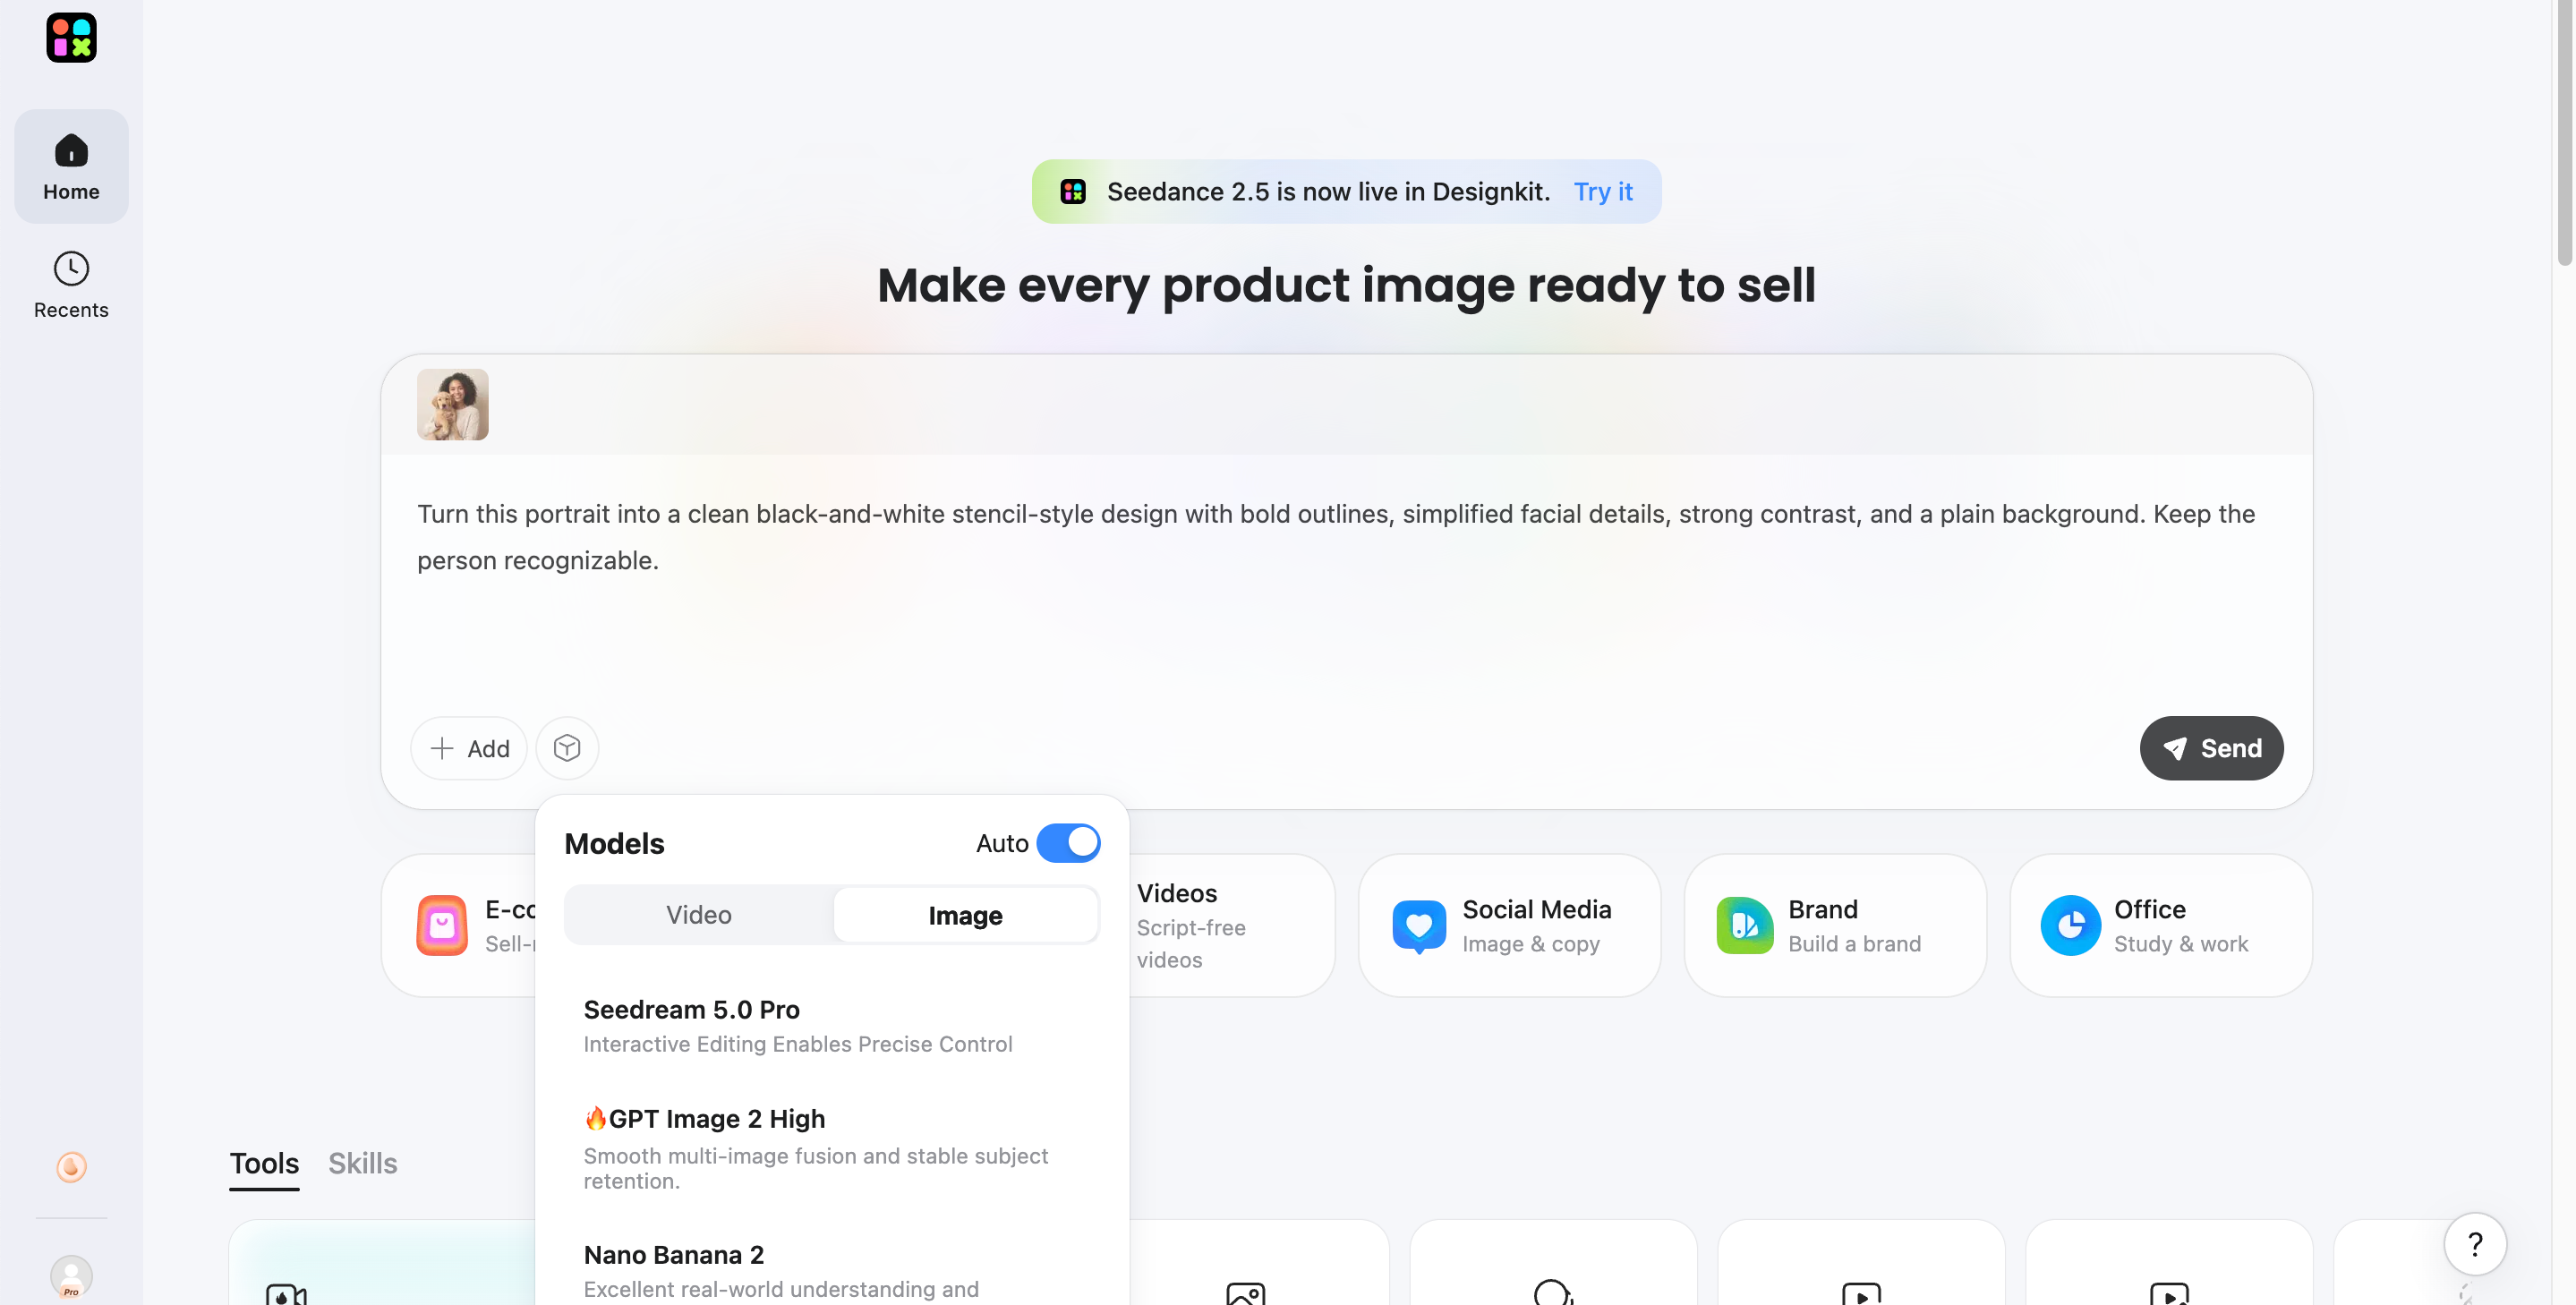
Step 2: Describe the Visual Style
Use a prompt that explains the contrast, outlines, background, and details you want to preserve.
Example prompt:
Turn this portrait into a clean black-and-white stencil-style design with bold outlines, simplified facial details, strong contrast, and a plain background. Keep the person recognizable.
Step 3: Review and Download
Compare the result with your original image and adjust the prompt if important details are missing. Once you have a suitable visual direction, move it into a dedicated stencil or vector tool if you need SVG/DXF, cutting-machine compatibility, or manual bridging.
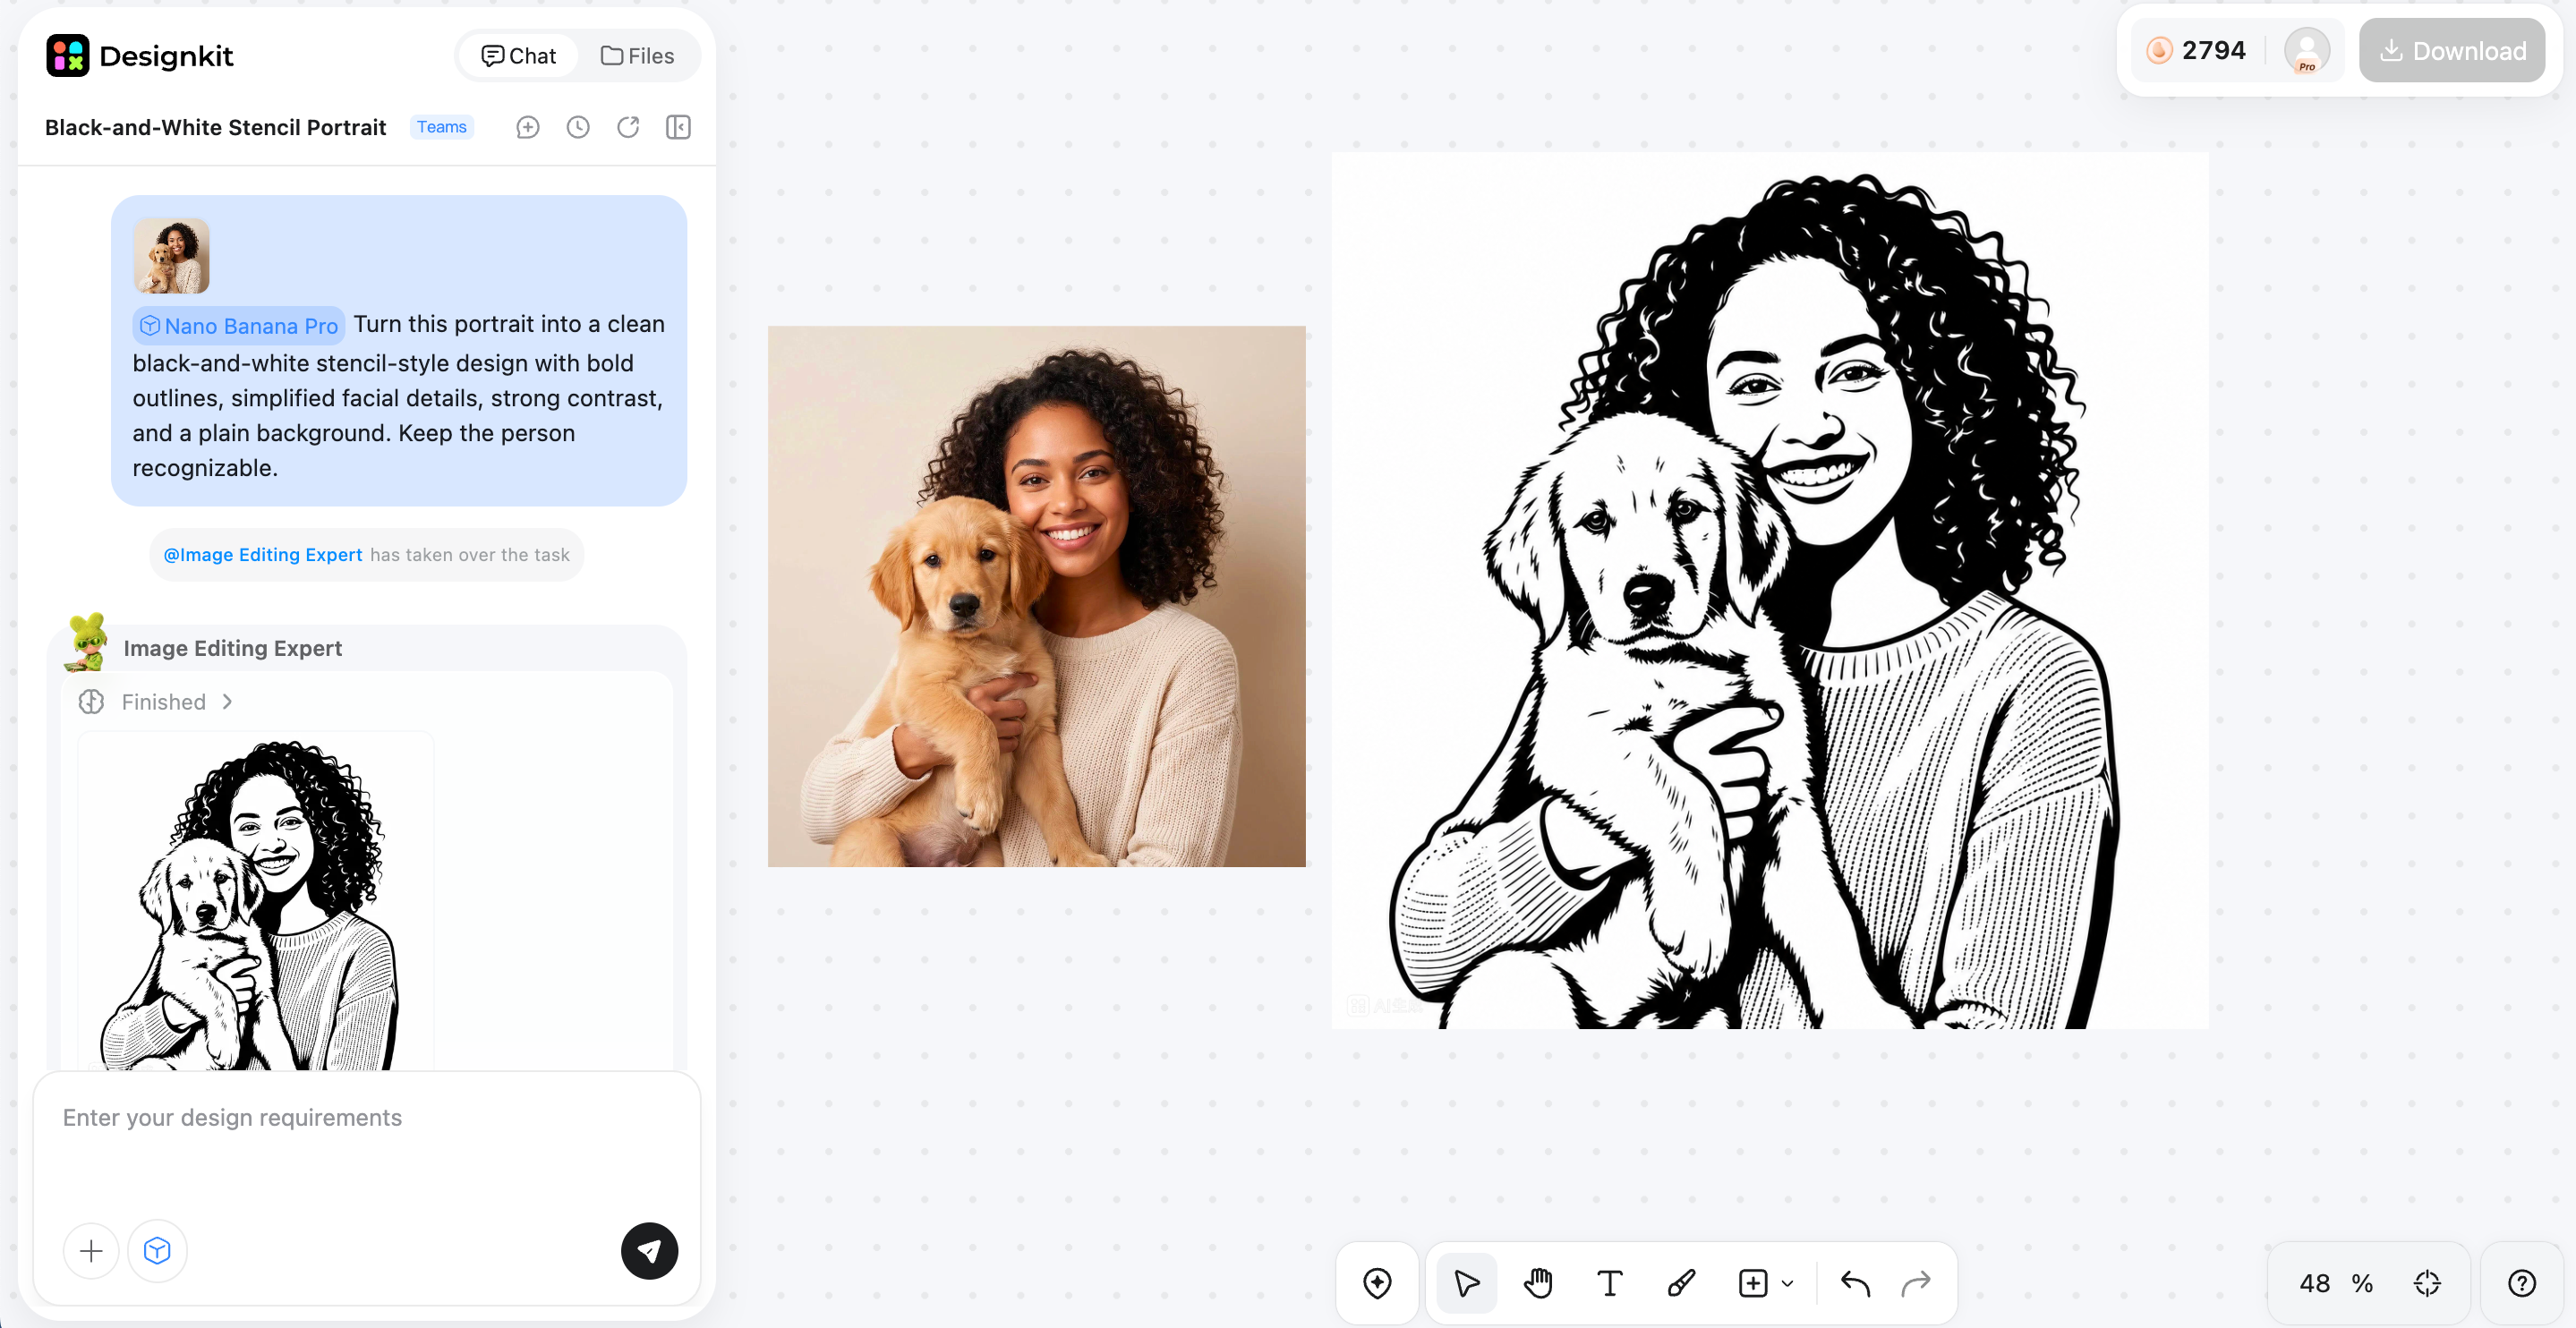
What Makes Designkit Useful for Stencil Creation?
Unlike basic photo filters that apply a fixed stencil effect, Designkit gives you more flexibility to explore different artistic directions. From adjusting visual styles to creating multiple variations, it helps you find the right look before moving into detailed stencil production.
Create More Customized Stencil Styles
Designkit lets you guide the visual direction with prompts instead of relying on one preset effect. You can request bold outlines, simplified shapes, strong contrast, or a cleaner background to develop a stencil-style result that fits your project.
Generate Multiple Creative Variations
Instead of settling for the first result, you can explore several versions of the same concept. A photo to stencil generator workflow can produce different levels of detail, contrast, and outline styles, helping you compare options before choosing a direction.
Preserve Important Visual Details
You can describe which parts of the subject should remain recognizable while simplifying less important areas. This is particularly useful for portraits, pets, and objects where key features need to stand out. For extra clarity, an image sharpener can improve the source image first.
Continue Editing in One Workflow
After developing the stencil-style look, you can continue refining the visual rather than starting over in another editor. Adjust the composition, remove distractions, or make finishing changes with tools such as a retouch photo tool.
Common Photo Stencil Problems and How to Fix Them
A good photo stencil should be simple enough to reproduce while keeping the subject recognizable. Identifying common problems early helps you create a design that is easier to print, cut, paint, or transfer.
|
Problem |
Solution |
|---|---|
|
Photo has too much detail |
Use a clear, high-contrast image and remove unnecessary background elements. |
|
Stencil looks too complicated |
Simplify small details and keep only the shapes needed to recognize the subject. |
|
Sections become disconnected |
Keep important areas connected, so the stencil stays stable when cut or transferred. |
|
Details disappear when resized |
Check the design at its final size and remove elements that become too small. |
|
Stencil is difficult to use |
Match the design complexity to the material and technique you plan to use. |
|
Final result looks uneven |
Test the stencil first and adjust contrast, spacing, and shapes before final use. |
Conclusion
A good stencil maker does more than simply turn a photo black and white. The best results depend on choosing a suitable image, simplifying unnecessary details, maintaining connected sections, and preparing the design for its final use.
AI and online tools can make the creative process easier, while dedicated stencil and vector tools remain important for precise cut-ready results. For users exploring customized stencil-style visuals, Designkit can help develop different creative directions before final production.
Frequently Asked Questions
Can I turn any photo into a stencil?
What type of photo works best for a stencil maker?
A high-resolution photo with a clearly defined subject and good contrast is usually the best choice. Portraits, pets, products, and objects with recognizable outlines are easier to simplify than crowded scenes. If your image looks soft, an image enhancer can help improve clarity before you begin the conversion.
Is there a free stencil maker online?
Yes, several online tools offer free stencil-making features, although their limits can vary. Some may restrict image resolution, exports, or advanced editing options. Before choosing one, check whether it supports the output you need and whether the finished design requires additional cleanup. A free stencil maker can be a good option for simple DIY projects.
Can I customize the style of an AI-generated stencil?
Yes. AI-based tools can let you guide the result by describing the desired contrast, outlines, level of detail, and background. This makes it possible to explore different visual directions instead of using one fixed preset. For more creative experimentation, AI image editing can help refine the source or develop a customized stencil-style visual.
How do I create a stencil for Cricut or cutting machines?
For Cricut and similar cutting machines, the design needs clean edges, connected sections, and suitable vector paths. After converting the image, check for small detached areas and add bridges where necessary. SVG or another compatible vector format is generally preferable for cutting workflows. Designkit can help explore the visual style, but a dedicated vector or stencil tool is still recommended for final cut preparation.
You May Also Like
Remove.bg Shutting Down Dec 1, 2026: What Users Are Saying

7 Best Remove.bg Alternatives in 2026: Free & Paid Tools

Instagram Carousel: What It Is, How to Post & Create One

Nano Banana Prompts: 20+ Examples for Better AI Images

Ideogram AI Review 2026: Features, Pricing & Alternatives

Free Mac Photo Editor: 5 Tools Compared for Mac Users

How to Crop a Photo Into a Circle Online (Keep Quality)

How to Make an Image Transparent Online (AI Guide)

Pixlr Background Remover Review 2026: Features, Pricing & Alternatives

How to Fix Overexposed Photos: Recover Highlights Fast

OpenArt AI Review 2026: Features, Pricing & Alternatives

Best AI Headshot Generator: 9 Tools Compared for 2026

Best Stencil Maker Tools 2026: Turn Photos Into Stencils

Pixelbin Watermark Remover Review: Image & Video Results Tested

How to Make a Sticker on iPhone: Easy Step by Step Guide

Best AI Logo Generator in 2026: 10 Tools Compared

How to Turn a Photo Into a Cartoon: A Beginner-Friendly Guide

Landscape vs Portrait: Key Differences & Best Uses in 2026

How to Remove Watermark From Photo: AI, Photoshop & More

How to Fix Pixelated Photos: Photoshop, AI Tools & Tips

Bing Image Creator: How It Works, Features, Uses & Alternatives

How to Remove People from Photos with AI: A Step-by-Step Guide

How to Increase Image Resolution: AI, Photoshop & PPI

How to Add Text to a Photo: 8 Tips for Better Results

How to Fix Grainy Photos: Easy Ways to Clear Images

Creative Profile Picture Ideas for Every Style and Platform

Evoto AI Review 2026: Features, Pricing, Pros & Cons

Pixlr Photo Editor Review: Features, Pricing & Alternatives

Best AI Image Extender Tools in 2026: Expand Photos with AI

How to Make a Collage on iPhone: Easy Guide for 2026

How to Sharpen an Image in Photoshop (Smart Sharpen and Unsharp Mask)

Best Image Background Remover Tools in 2026: AI Tools Compared

How to Make Transparent Background in Paint: Step-by-Step Guide

How to Resize an Image: Best Methods, Tools & Quality Tips

Best AI Image Generator Tools in 2026: Top AI Platforms Compared

Remove.bg Review 2026: Features, Pricing & Is It Worth It?

Luminar Neo Photo Editor Review 2026: AI Features, Price & Pros

How to Post Multiple Photos on Instagram (2026 Guide)

25 Facebook Cover Photo Ideas for Personal & Business Pages

What Is a PFP? Meaning, Examples & How to Create One

Can You Edit an Instagram Post After Posting?

11 Best Canva Alternatives in 2026 for AI Design & Marketing

8 Best Midjourney Alternatives in 2026: Features, Pricing & Comparison

How to Restore Old Photos: AI Tools, Tips & Best Methods

Pixelcut AI Review 2026: Features, Pricing, Pros, Cons & Alternatives

How to Apply Watermark to Photos: Methods, Tips & AI Tools

How to Remove a Background in Illustrator: 4 Easy Methods

How to Change Background Color on Instagram Story (Easy Guide)

8 Best AI Poster Generators in 2026: Create Posters Faster with AI

10 Best AI Image Enhancers in 2026: Tested & Compared

10 Best AI Image Editors in 2026: Features, Pricing & Comparison

7 Best AI Background Changer in 2026: Remove & Replace Photo Backgrounds

Luminar Neo vs Lightroom: Features, Pricing & Comparison 2026

Kittl Review 2026: Is It Worth It? Features & Pricing

How to Make a Blurry Image Clear: 5 AI & Manual Ways

How to Remove Background on iPhone: 5 Easy Methods (2026)

Photoroom Background Remover Review 2026: Features & Alternatives

How to Remove Background in Canva: A Step-by-Step Guide

How to Remove Background in GIMP: Beginner-Friendly Guide

Funny Dog Memes to Try: Doge Meaning and 10 Original Ideas

Back to School Checklist 2026: Supplies, Timeline, and Planning

Recraft AI Review 2026: Features, Pricing, Pros, Cons & Alternatives

How to Make an Image Transparent in Google Slides: Opacity & Background Removal

VanceAI Photo Enhancer Review: Features, Pricing & Alternatives in 2026

What Does Emojify Mean? Text, Photos, & Emoji Art Explained

Top 8 Online Background Removers for Ecommerce Photos (2026)

How to Remove Background in Photoshop: 7 Easy Methods

6 Best AI Image Upscalers 2026: Tools Tested & Compared

Project Indigo Review: Is It Better Than iPhone Camera?

How Big Is an 8x10 Photo? Size, Pixels & Frame Guide

How Big Is a 4x6 Photo? Dimensions, Pixels & Printing Tips

Picsart AI Review: Features, Pricing, Pros, Cons & Alternatives

Lovart AI Review: AI Design Agent Features, Pricing & Alternatives

Fotor AI Image Generator Review: Features, Pricing & Alternatives

How to Add Emoji to Photo Online for Free

Emoji Wallpaper Ideas & How to Make One Online (2026)

Minimalist Poster Design: How to Make a Clean Poster (2026)

How to Make a Custom Poster That Is Ready to Print

Instagram Image Size Guide 2026: Post, Reel, Story & Carousel Specs

LinkedIn Image Size Guide: Profile, Post & Banner Dimensions

YouTube Profile Image Size: Best Dimensions & Safe Area 2026

How to Edit Amazon Product Photos That Boost Sales Fast
Create Custom Stencil-Style Visuals With AI
Explore different high-contrast, outline-based styles from your photos with AI. Use Designkit to experiment with creative directions before preparing your design for printing, crafting, or cutting.
