
How to Add a Shadow in Photoshop
A drop shadow can separate a product from its background, but a shadow that floats or fights the light can make the whole image feel fake. Learn when Photoshop’s quick Drop Shadow works and how to build contact and cast shadows for a natural, grounded product photo.


TL;DR:
Use Photoshop’s Drop Shadow layer effect for quick separation on an isolated subject. For a product resting on a surface, create separate contact and cast shadows, match their direction and softness to the scene, then review each image before applying a saved style or Action across a catalog.
To add a shadow in Photoshop, select your subject layer, click the fx icon at the bottom of the Layers panel, and choose Drop Shadow. Adjust the effect and click OK. For a product resting on a surface, add a separate contact shadow and cast shadow so the object feels grounded.
For realistic product photos, learn how to build contact and cast shadows, match the original lighting, and maintain consistency across a product catalog.
The steps below use Photoshop on desktop. Begin with a product isolated on its own layer and a background on a separate layer beneath it. Save a PSD copy so you can keep the product, effects, masks, and shadow layers editable.
How to Add a Drop Shadow in Photoshop
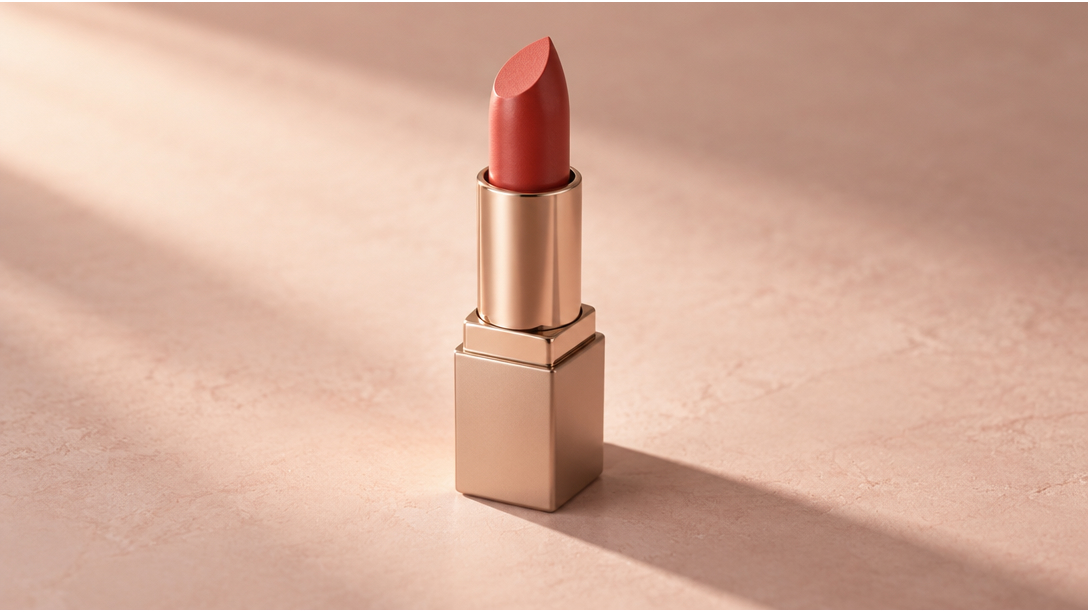
A Drop Shadow follows the opaque pixels and transparency of a layer. On a transparent product layer, it follows the product outline. If the product and background are flattened into a fully opaque image, the Drop Shadow follows the entire rectangular image rather than the product outline. If you see a shadow around the whole photo, isolate the subject first.
-
Select the subject layer. Open Window > Layers if the panel is hidden. Click the layer containing the isolated product, text, or graphic.
-
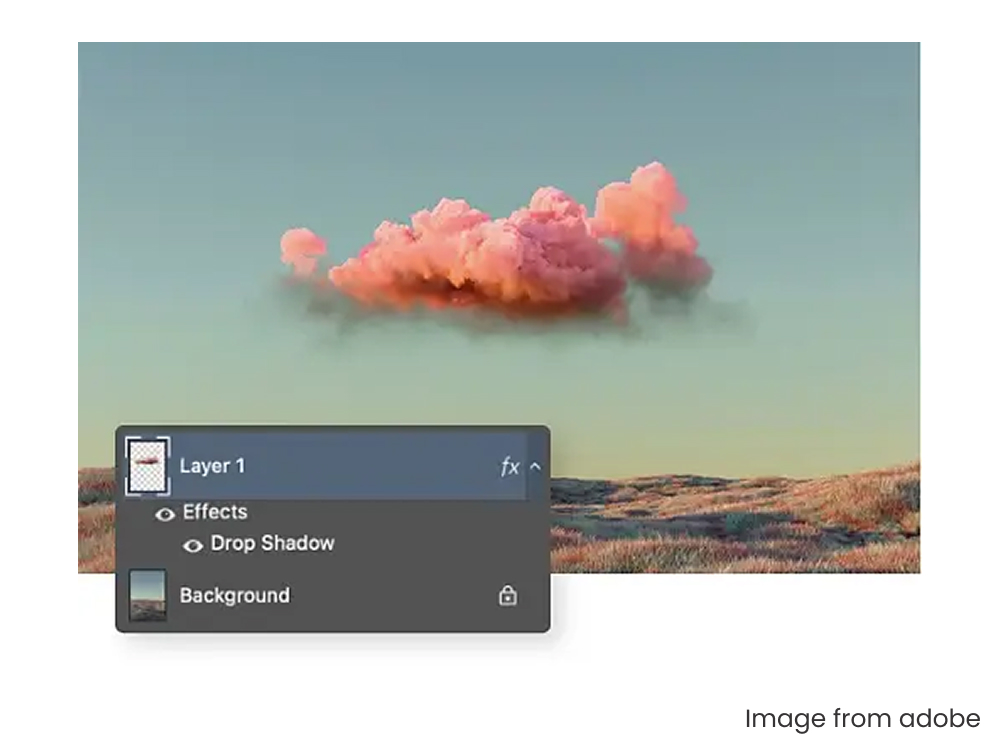
Open Drop Shadow. Click the fx icon at the bottom of the Layers panel and select Drop Shadow.
-
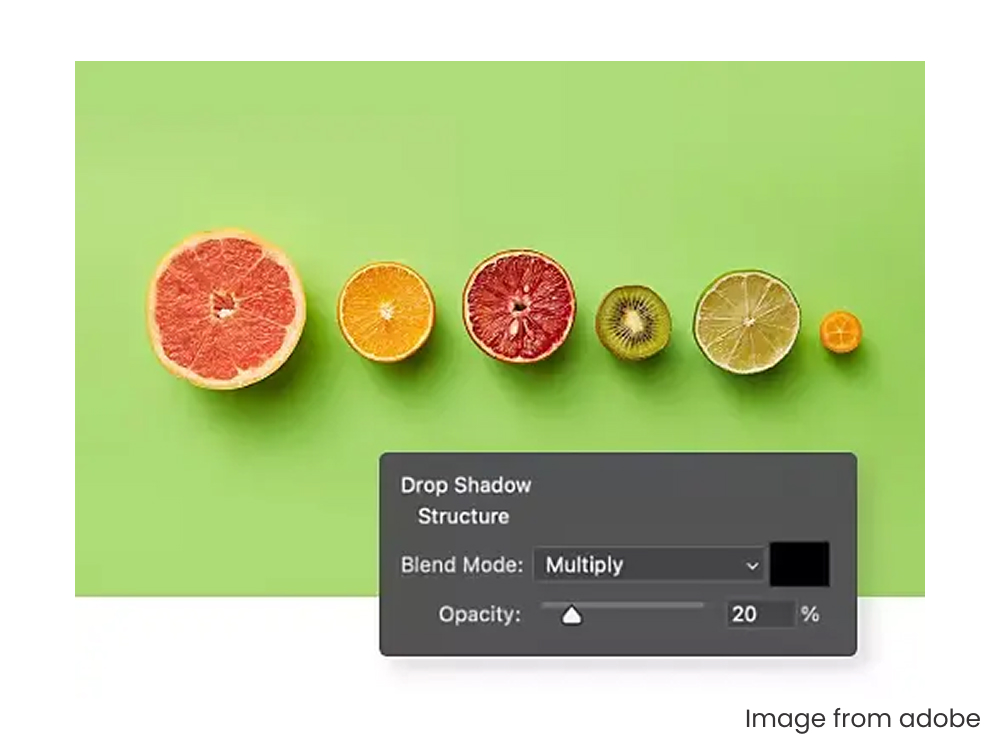
Preview the effect. Move the Layer Style dialog aside so you can see the product. Adjust the shadow direction, offset, softness, and strength against the actual background.
-
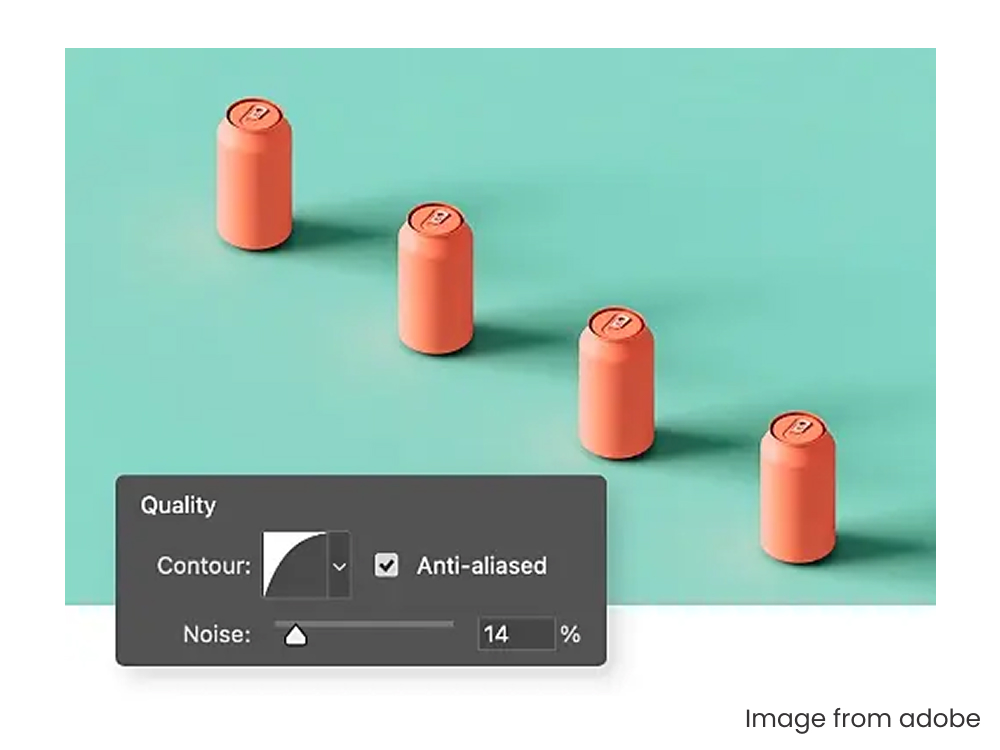
Apply the shadow. Click OK. The effect appears beneath the layer in the Layers panel.
-
Edit it later. Double-click Drop Shadow beneath the layer to reopen its settings. Use the eye icon beside the effect to compare the image with and without the shadow.
The layer style leaves the original image pixels intact. It works well for text, graphics, and simple separation from a background. If a standing product appears to hover after you apply it, build the surface shadow separately using the next method.
Adobe reference for the Drop Shadow menu path
How to Create a Realistic Product Shadow in Photoshop
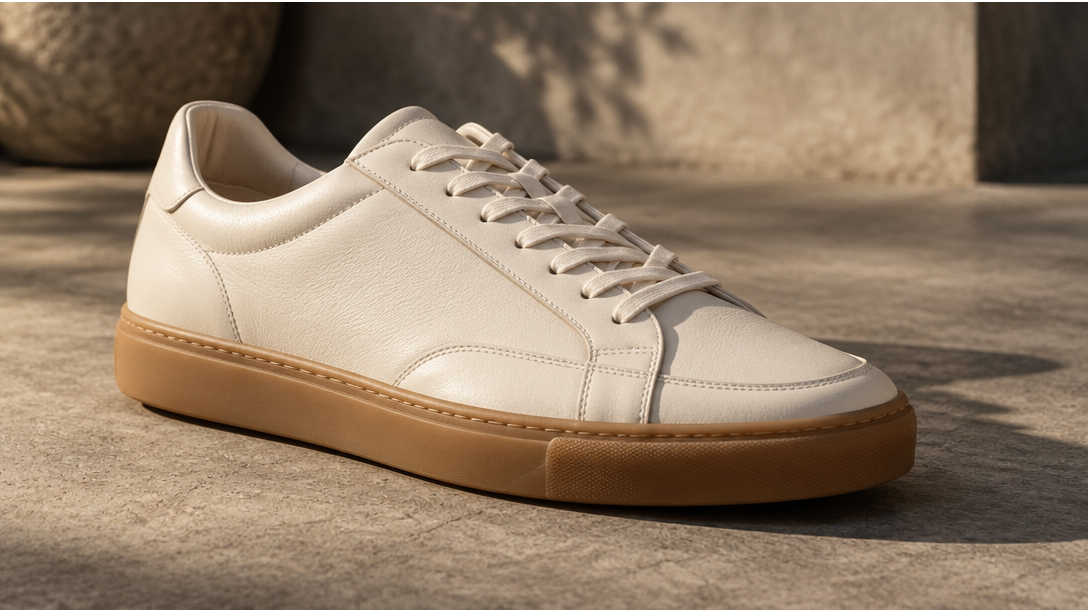
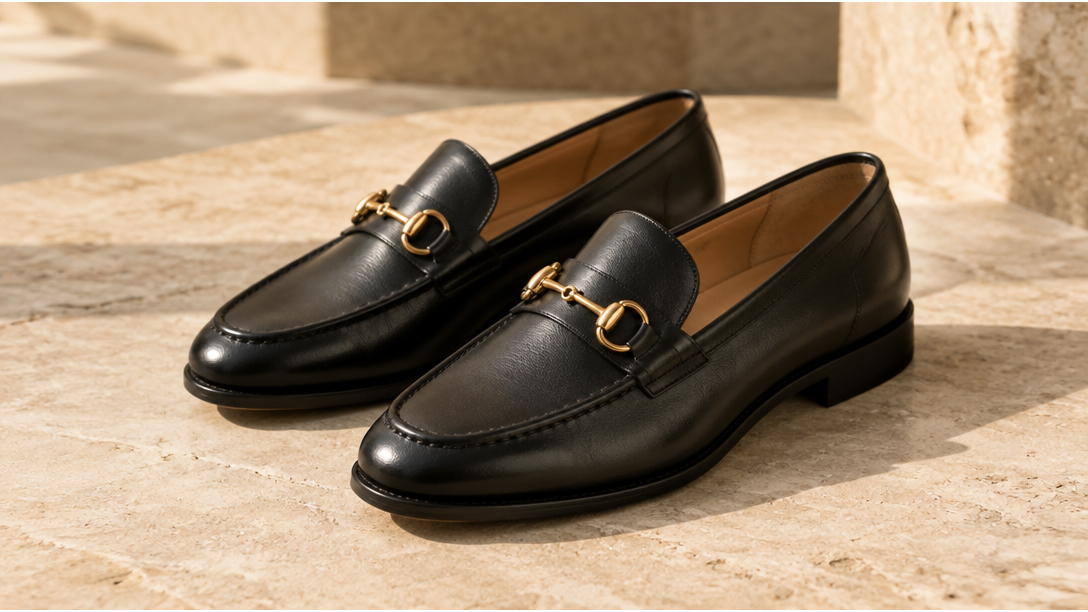
A convincing product photo shadow explains where the object touches the surface and where the light comes from. The contact shadow is the narrow dark area at the base. The cast shadow extends across the surface, following the light direction and the product’s shape.
For example, a bottle on a tabletop needs a close shadow around its base and may need a longer shadow extending away from the light. A single blurred outline offset behind the bottle rarely creates both effects convincingly.
Prepare the product and background
Place the isolated product above the background layer. Check its cutout edge before adding shadows, especially around the base. A pale fringe left from the original background can remain visible even after the shadow is correct. If the product still needs a clean cutout, use the background remover before adding the shadow.
Read the existing lighting before painting. If the strongest highlight is on the upper left of the product, a cast shadow usually falls toward the lower right on the surface. Use other objects and surface shadows in the scene as additional evidence. Avoid choosing a direction that contradicts the original photograph.
Create a contact shadow
-
Add a blank layer directly below the product. Name it Contact Shadow. Keep the background beneath both layers.
-
Choose the Brush Tool and a soft round brush. Pick a dark neutral color for a neutral surface, or a subdued dark tone that suits the scene. Set a low brush opacity and build the effect gradually. Opacity limits the strength of a stroke, while Flow controls how quickly paint builds as you move the brush. Lower Flow when you want finer control over repeated passes.
-
Paint only where the product meets the surface. For a flat bottle base, use a short, narrow stroke. For a shoe, follow the sole’s actual contact points. Avoid painting an equally dark halo around the entire product.
-
Refine the edge. Reduce the layer opacity if the result is too heavy. Soften only edges that look too hard, and preserve a darker, concentrated area at the contact point. If needed, selectively mask a lightly blurred copy so the blur affects only the outer edge.
-
Add a layer mask. Paint black on the mask to hide spill beyond the intended base area. Paint white to restore anything you remove too far. Check that no bright gap separates the product from its shadow.
Keep the contact shadow on its own layer. You should be able to strengthen the base without making the longer cast shadow darker.
Create a cast shadow
-
Load the product shape as a selection. For a cutout with transparent pixels, hold Ctrl on Windows or Command on macOS and click the product layer’s image thumbnail. If the cutout uses a layer mask, load the mask thumbnail instead so the selection follows the isolated subject.
-
Create a blank layer below Contact Shadow and name it Cast Shadow. With that new layer active, choose Edit > Fill and fill the selection with a suitable dark color. Choose Select > Deselect. You now have a flat silhouette on a separate layer.
-
Transform the silhouette. Choose Edit > Free Transform. Compress and extend the shape along the surface, then use Distort or Perspective from the transform context menu to fit the ground plane. Keep the base of the silhouette attached to the product’s contact area. Confirm the transformation.
-
Soften the shadow. Apply Gaussian Blur while previewing the edge. Start with the least blur that fits the lighting. A broad light source generally calls for softer edges than a small, direct source. The right radius depends on image resolution and the scene. To keep the blur adjustable, first convert the Cast Shadow layer to a Smart Object, then apply Gaussian Blur as a Smart Filter. Double-click the filter to revise it later.
-
Fade the distant end. Add a white layer mask to Cast Shadow. Select the Gradient Tool and choose a black to white gradient. On the mask, drag from the distant end of the shadow toward the product. Black hides more of the distant shadow and white preserves the base. If the wrong end fades, undo and reverse the drag direction or reverse the gradient colors.
-
Adjust the strength and color. Try Multiply to blend the dark shape with the background, then compare it with Normal. Lower the layer opacity until the surface still feels believable. Zoom out and check the whole image.
Transform the filled silhouette, leaving the original product layer in place. If the standard Drop Shadow is still enabled, toggle it off while reviewing the manual shadows. An extra layer effect can create an unintended second shadow.
From top to bottom, keep the layers in this order: Product, Contact Shadow, Cast Shadow, Background. The contact layer anchors the base, while the cast layer controls the longer shape and direction.
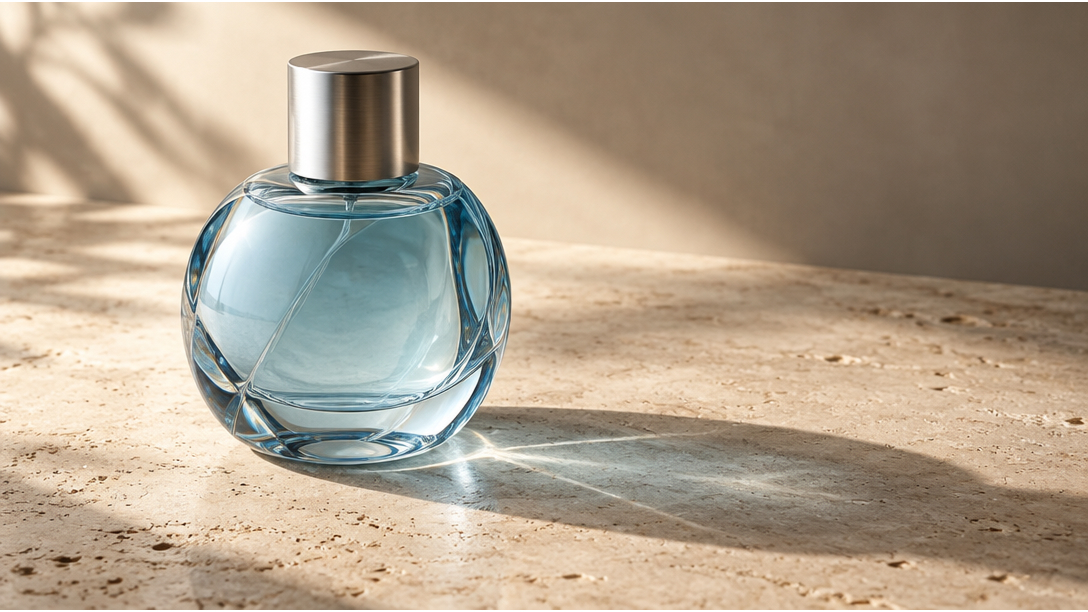
Glass bottles and translucent packaging need extra care. A solid silhouette can make clear material look opaque. Reduce or mask sections of the shadow according to the material and the original lighting. Opaque caps and labels may cast stronger shadows than the transparent body.
Photoshop Drop Shadow Settings Explained
Change one setting at a time and compare the result at the intended display size. A small product thumbnail and a large source image will not respond to the same pixel values in the same way.
Angle and Use Global Light
Angle sets the light direction used by the effect, which determines where the shadow falls. Judge the result on the canvas. Use Global Light shares a lighting direction among participating directional effects in the document. It does not rotate shadows you painted or transformed on separate layers.
Adobe reference for Global Light
Distance
Distance shifts the shadow away from the subject. A large offset can suggest that the object is raised above the background. Reduce it when a simple layer effect makes a product look detached, then check whether the base also needs a contact shadow.
Spread and Size
Spread expands the solid portion of the shadow before softening. Increasing it often makes the shadow look denser and harder. Size controls the blur and softness of the edge. If you need a soft shadow, increasing Spread may create the opposite impression, even when Size is also high.
Opacity and Blend Mode
Opacity controls how strongly the effect appears. Blend Mode changes how its color interacts with the background. Multiply is useful for darkening a surface while allowing background detail to show through. Normal provides a straightforward comparison. Choose the result that fits the background rather than treating either mode as a universal rule.
For a new product, adjust Angle first to match the light, then Distance for the offset. Refine the edge with Size and Spread, and finish with Opacity and Blend Mode to suit the background. There is no single set of Photoshop drop shadow settings for every product. Product scale, image resolution, surface color, and the apparent height above the surface all affect the result.
How to Make a Photoshop Shadow Look Natural
Check the product at full size for edge problems, then view it at the size customers will see. Use these common symptoms to decide what to adjust.
The product looks like it is floating
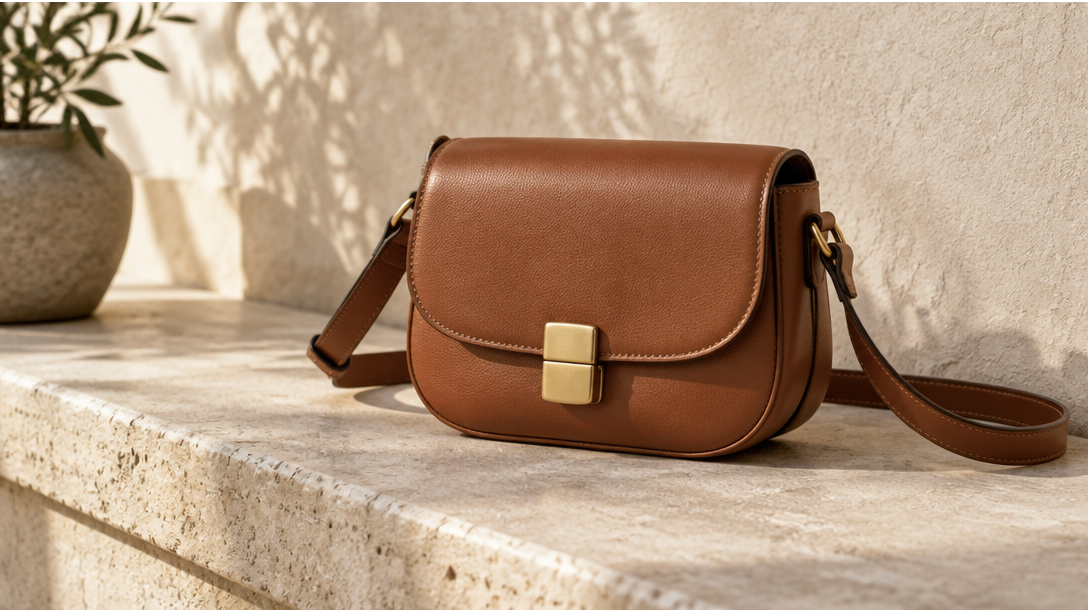
Look for a bright gap at the base or a contact shadow that is too broad and faint. Reconnect a narrow shadow to the actual contact points. Increasing the darkness of the entire cast shadow usually leaves the gap unresolved.
The shadow looks too harsh
For a layer effect, reduce Spread or Opacity before adding more Size. For a painted shadow, reduce the layer opacity and soften the outer edge as needed. Keep the contact area darker than the distant edge so the base still feels attached.
The shadow looks too long or disconnected
For Drop Shadow, check Angle and Distance. For a manual cast shadow, shorten or reposition the silhouette and correct its perspective. A shadow projected across a tabletop should lie along that tabletop, with its base connected to the product.
The shadow looks wrong after changing the background
Recheck the light direction, color, and softness against the new scene. A neutral gray shadow made for a white backdrop may look muddy on a warm surface. If the product highlight and the background light disagree, changing shadow opacity alone will not resolve the mismatch.
The product edge still looks pasted in
Inspect the cutout mask for pale fringes, rough edges, or pieces of the original background. Correct those edges separately. Also look for competing shadows: an unwanted source shadow plus a new one can imply two light sources. Keep multiple directions only when the scene supports them.
How to Keep Product Shadows Consistent Across a Catalog
Consistent product image shadows come from a shared visual standard, followed by adjustments for individual shapes. Define the background, main light direction, product scale, and acceptable shadow strength before processing the full catalog. For broader retouching, edit catalog images with the AI Photo Editor for product photos.
Establish and save a reference style
Choose a representative product and finish its shadow first. In the Layer Style dialog, select New Style, give the preset a clear name, and confirm. Reuse it through Window > Styles. Make Default changes the dialog’s default settings; it does not create the same kind of named preset.
Adobe reference for named style presets
Adobe reference for Make Default
For layers in the same document, right-click the reference layer and choose Copy Layer Style, then right-click the destination layer and choose Paste Layer Style. This transfers the layer effects, so check for other effects on the reference layer before copying. It does not copy your separate contact or cast shadow layers.
Use Actions for repeatable steps
An Action records a sequence of operations. To create one, open the Actions panel, create a new action, start recording, perform the repeatable steps, and stop recording. Test playback on a duplicate file before relying on it.
Keep the input files predictable. An action that expects a specific layer name or position may fail or affect the wrong layer when the structure changes. Use automation for stable tasks such as creating named layers or applying a starting style. A recorded operation cannot judge whether a bottle base or a shoe sole looks grounded.
Adobe reference for recording Actions
Run a tested Action with Batch
To batch add shadows to product photos, first test the Action on a few representative files. Then choose File > Automate > Batch, select the action, choose the source files, and set a separate destination folder. Check any recorded save steps and naming options so the trial preserves your source files. Before running Batch, check that the files have compatible layer structures and that the Action does not rely on inconsistent layer names or positions. Existing shadows, different canvas sizes or subject positions, and merged backgrounds can change the outcome. Process significantly different files in separate groups. Keep the original files unchanged until you have reviewed the batch output.
Batch runs an existing Action across files. Saving a style preset stores effect settings; it does not process a folder. These tools serve different parts of the workflow.
Adobe reference for Batch processing
Review Product-Specific Exceptions
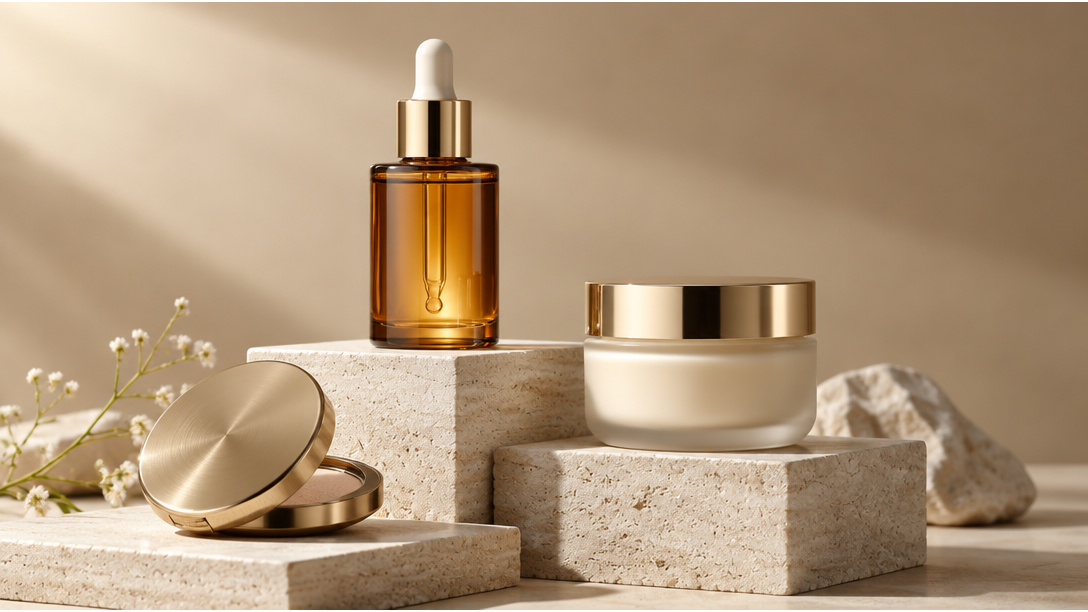
Compare the processed images together at the same display size. Check contact points, direction, strength, edge softness, and whether shadows hide product details. A short jar, tall bottle, clear package, hanging item, and flat garment may need different shadow adjustments even within one catalog.
Use the reference as a visual target. Adjust individual products until the collection feels consistent, and retain the layered PSD files for future background or lighting changes.
Finish with a Grounded Product Photo
Start with an editable Drop Shadow for a quick effect. For a product resting on a surface, build the contact and cast shadows separately, then check them against the light, ground plane, and material. Save a reusable style for similar images and use tested Actions for repeated work, with a final visual review of every product.
Frequently Asked Questions
How do I add a drop shadow to a layer in Photoshop?
What is the difference between a drop shadow and a contact shadow?
Drop Shadow is a Photoshop layer effect based on the layer’s visible shape. A contact shadow describes the tight dark area where an object meets a surface. Creating that area on a separate layer gives you more control over the base.
How do I make a product shadow look realistic in Photoshop?
Match the existing light direction, anchor the contact shadow to the base, and shape the cast shadow to fit the surface. Adjust softness, color, and opacity in context. Transparent materials often need a lighter, selectively masked shadow.
Why does my Photoshop drop shadow make an object look like it is floating?
The effect may be offset too far from the object, or there may be no close shadow at the contact point. Reduce Distance where appropriate and add a narrow contact shadow beneath the base.
Can I apply the same drop shadow to multiple layers in Photoshop?
Yes. Use Copy Layer Style and Paste Layer Style, or save a named style preset. Review each result because identical settings can look different on products with different sizes and shapes.
Should I use black or gray for a Photoshop shadow?
Either can work. Black at low opacity can create a restrained shadow on a neutral background, while gray may be easier to control in some scenes. On colored surfaces, consider a darker tone related to the scene. Judge the final blend rather than the color swatch alone.
You May Also Like

How to Remove Background in PowerPoint: Easy Guide

Fotor Watermark Remover Review: Quality & Alternatives

Fotor Background Remover Review: Features, Pricing & Alternatives

How to Make a TikTok Slideshow: Photo Posts & Video Slideshows

How to Add a Shadow in Photoshop | Realistic Product Photo Guide

Remix an Image With AI: Steps, Prompts & Tips

Remove.bg Shutting Down Dec 1, 2026: What Users Are Saying

7 Best Remove.bg Alternatives in 2026: Free & Paid Tools

Instagram Carousel: What It Is, How to Post & Create One
Nano Banana Prompts: 20+ Examples for Better AI Images

Ideogram AI Review 2026: Features, Pricing & Alternatives
Free Mac Photo Editor: 5 Tools Compared for Mac Users
How to Crop a Photo Into a Circle Online (Keep Quality)
How to Make an Image Transparent Online (AI Guide)
Pixlr Background Remover Review 2026: Features, Pricing & Alternatives
How to Fix Overexposed Photos: Recover Highlights Fast

OpenArt AI Review 2026: Features, Pricing & Alternatives
Best AI Headshot Generator: 9 Tools Compared for 2026
Best Stencil Maker Tools 2026: Turn Photos Into Stencils
Pixelbin Watermark Remover Review: Image & Video Results Tested

How to Make a Sticker on iPhone: Easy Step by Step Guide

Best AI Logo Generator in 2026: 10 Tools Compared
How to Turn a Photo Into a Cartoon: A Beginner-Friendly Guide
Landscape vs Portrait: Key Differences & Best Uses in 2026
How to Remove Watermark From Photo: AI, Photoshop & More
How to Fix Pixelated Photos: Photoshop, AI Tools & Tips

Bing Image Creator: How It Works, Features, Uses & Alternatives
How to Remove People from Photos with AI: A Step-by-Step Guide

How to Increase Image Resolution: AI, Photoshop & PPI
How to Add Text to a Photo: 8 Tips for Better Results
How to Fix Grainy Photos: Easy Ways to Clear Images

Creative Profile Picture Ideas for Every Style and Platform
Evoto AI Review 2026: Features, Pricing, Pros & Cons

Pixlr Photo Editor Review: Features, Pricing & Alternatives
Best AI Image Extender Tools in 2026: Expand Photos with AI
How to Make a Collage on iPhone: Easy Guide for 2026
How to Sharpen an Image in Photoshop (Smart Sharpen and Unsharp Mask)
Best Image Background Remover Tools in 2026: AI Tools Compared
How to Make Transparent Background in Paint: Step-by-Step Guide
How to Resize an Image: Best Methods, Tools & Quality Tips

Best AI Image Generator Tools in 2026: Top AI Platforms Compared

Remove.bg Review 2026: Features, Pricing & Is It Worth It?

Luminar Neo Photo Editor Review 2026: AI Features, Price & Pros

How to Post Multiple Photos on Instagram (2026 Guide)

25 Facebook Cover Photo Ideas for Personal & Business Pages

What Is a PFP? Meaning, Examples & How to Create One
Can You Edit an Instagram Post After Posting?

11 Best Canva Alternatives in 2026 for AI Design & Marketing

8 Best Midjourney Alternatives in 2026: Features, Pricing & Comparison
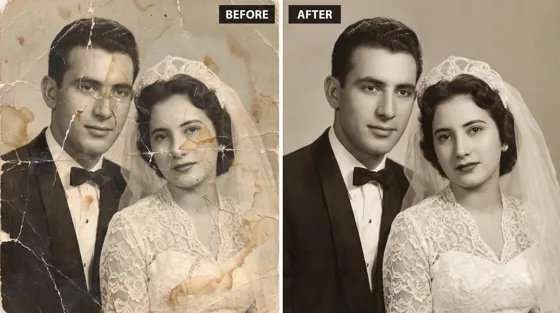
How to Restore Old Photos: AI Tools, Tips & Best Methods

Pixelcut AI Review 2026: Features, Pricing, Pros, Cons & Alternatives
How to Apply Watermark to Photos: Methods, Tips & AI Tools
How to Remove a Background in Illustrator: 4 Easy Methods
How to Change Background Color on Instagram Story (Easy Guide)

8 Best AI Poster Generators in 2026: Create Posters Faster with AI
10 Best AI Image Enhancers in 2026: Tested & Compared

10 Best AI Image Editors in 2026: Features, Pricing & Comparison
7 Best AI Background Changer in 2026: Remove & Replace Photo Backgrounds
Luminar Neo vs Lightroom: Features, Pricing & Comparison 2026

Kittl Review 2026: Is It Worth It? Features & Pricing
How to Make a Blurry Image Clear: 5 AI & Manual Ways
How to Remove Background on iPhone: 5 Easy Methods (2026)
Photoroom Background Remover Review 2026: Features & Alternatives
How to Remove Background in Canva: A Step-by-Step Guide
How to Remove Background in GIMP: Beginner-Friendly Guide

Funny Dog Memes to Try: Doge Meaning and 10 Original Ideas

Back to School Checklist 2026: Supplies, Timeline, and Planning
Recraft AI Review 2026: Features, Pricing, Pros, Cons & Alternatives
How to Make an Image Transparent in Google Slides: Opacity & Background Removal

VanceAI Photo Enhancer Review: Features, Pricing & Alternatives in 2026
What Does Emojify Mean? Text, Photos, & Emoji Art Explained
Top 8 Online Background Removers for Ecommerce Photos (2026)
How to Remove Background in Photoshop: 7 Easy Methods
6 Best AI Image Upscalers 2026: Tools Tested & Compared

Project Indigo Review: Is It Better Than iPhone Camera?
How Big Is an 8x10 Photo? Size, Pixels & Frame Guide
How Big Is a 4x6 Photo? Dimensions, Pixels & Printing Tips

Picsart AI Review: Features, Pricing, Pros, Cons & Alternatives

Lovart AI Review: AI Design Agent Features, Pricing & Alternatives
Fotor AI Image Generator Review: Features, Pricing & Alternatives

How to Add Emoji to Photo Online for Free
Emoji Wallpaper Ideas & How to Make One Online (2026)
Minimalist Poster Design: How to Make a Clean Poster (2026)

How to Make a Custom Poster That Is Ready to Print
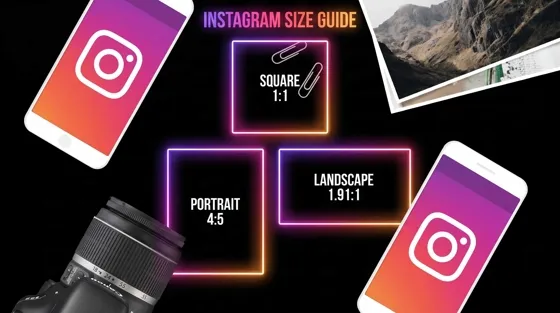
Instagram Image Size Guide 2026: Post, Reel, Story & Carousel Specs
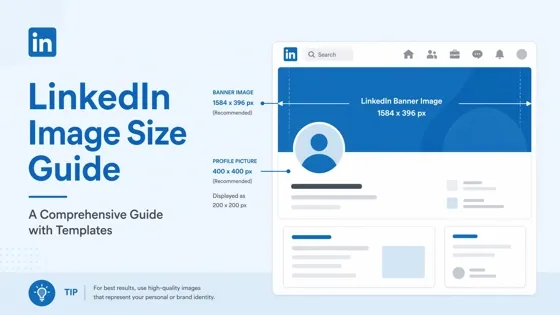
LinkedIn Image Size Guide: Profile, Post & Banner Dimensions
YouTube Profile Image Size: Best Dimensions & Safe Area 2026

How to Edit Amazon Product Photos That Boost Sales Fast
Give Your Product Photos a Natural, Grounded Finish
Polish your product image with Designkit. Refine shadows, clean up details, and create a photo ready for your next listing.