
How to Submit Your Amazon Brand Registry Application
Trademark ready but enrollment keeps stalling? Finish your Brand Registry application in one clean pass.

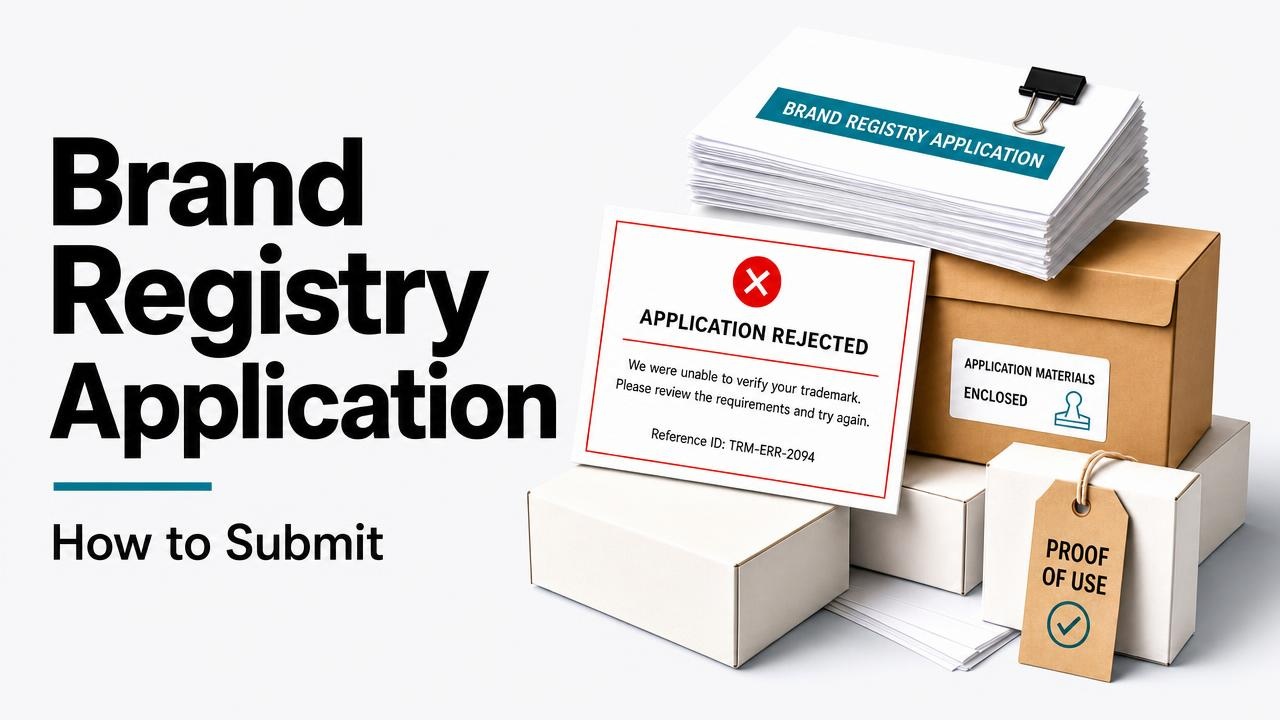
You already know you need Brand Registry. The part that stalls people is the application itself: the brand name does not match the trademark, the product photo fails Amazon’s rules, or the verification code never reaches the right inbox.
This guide is for that stretch. It shows how to submit an Amazon Brand Registry application so Amazon can confirm you own the brand, then points you to what opens after approval. If you are still choosing a trademark type or selling plan, settle that first, then come back to this guide.
What Amazon Checks First
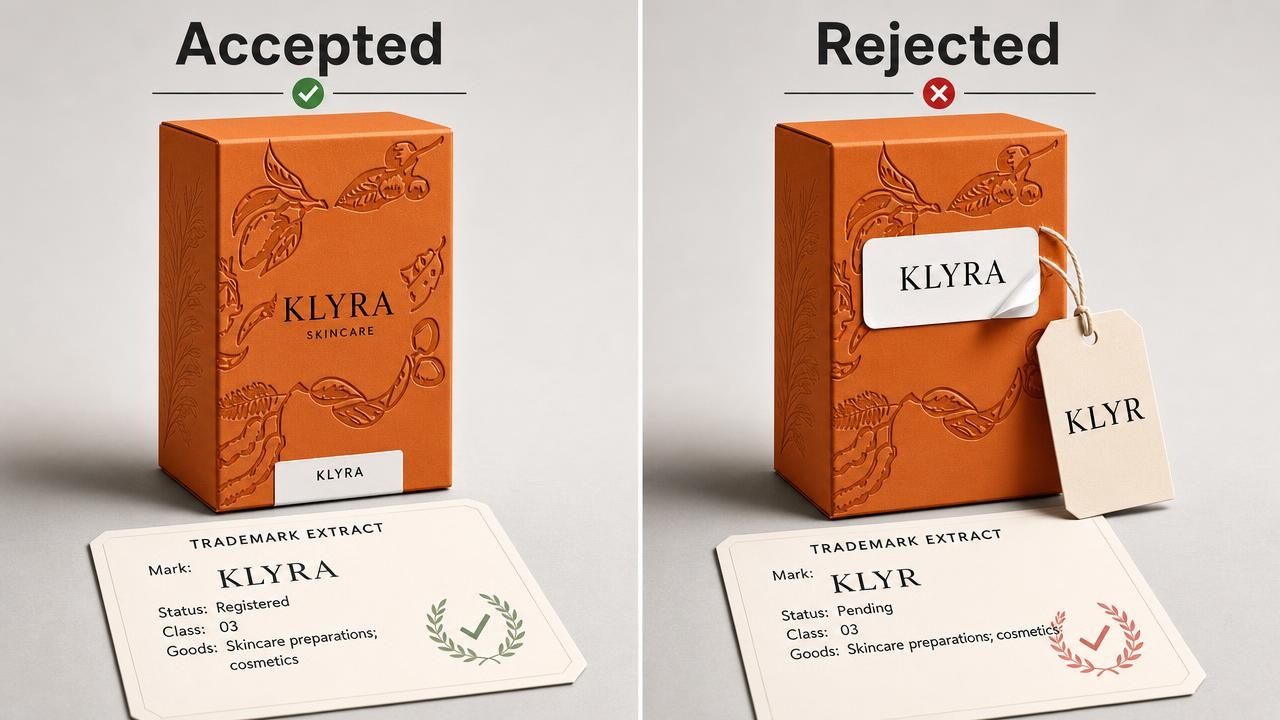
Your trademark should be active or pending with an accepted government office, and it should be a word mark or a design mark that includes words or letters. The brand name you type in Brand Registry must match the trademark text. Spaces and symbols count. Capitalization can differ.
You also need to show the brand on a real product or package. Amazon asks for a photo where the brand name is permanently affixed. Printing, sewing, or engraving usually qualifies. Stickers, hang tags, and digital mockups usually do not.
Finally, the person submitting should be the trademark owner. If you are an agent or employee, Amazon’s guidance is clear: the owner enrolls first, then adds you as a user. That keeps ownership clear.
Line Up Your Details Before You Apply
Most delays start before anyone clicks Enroll. Spend ten minutes matching records instead of guessing inside the form.
Open your trademark certificate or application and copy the brand text exactly. Note the registration or serial number in the same format the IP office shows. Confirm the mark type (word vs design) matches what you will select.
Then look at a physical unit or package. Can a stranger see your brand name on it without a removable label? If not, fix packaging before you apply. Amazon rejects a lot of applications on this photo alone.
Also decide who will watch for the verification email. Amazon sends the code to the public contact listed on the trademark record , which is often a lawyer or the correspondent on file, not your Seller Central login. Tell that person to watch their inbox before you submit.
If the trademark sits under a company name and the seller account sits under a different person, pause. Get the ownership story straight first. One mismatched legal name will block an otherwise good brand.
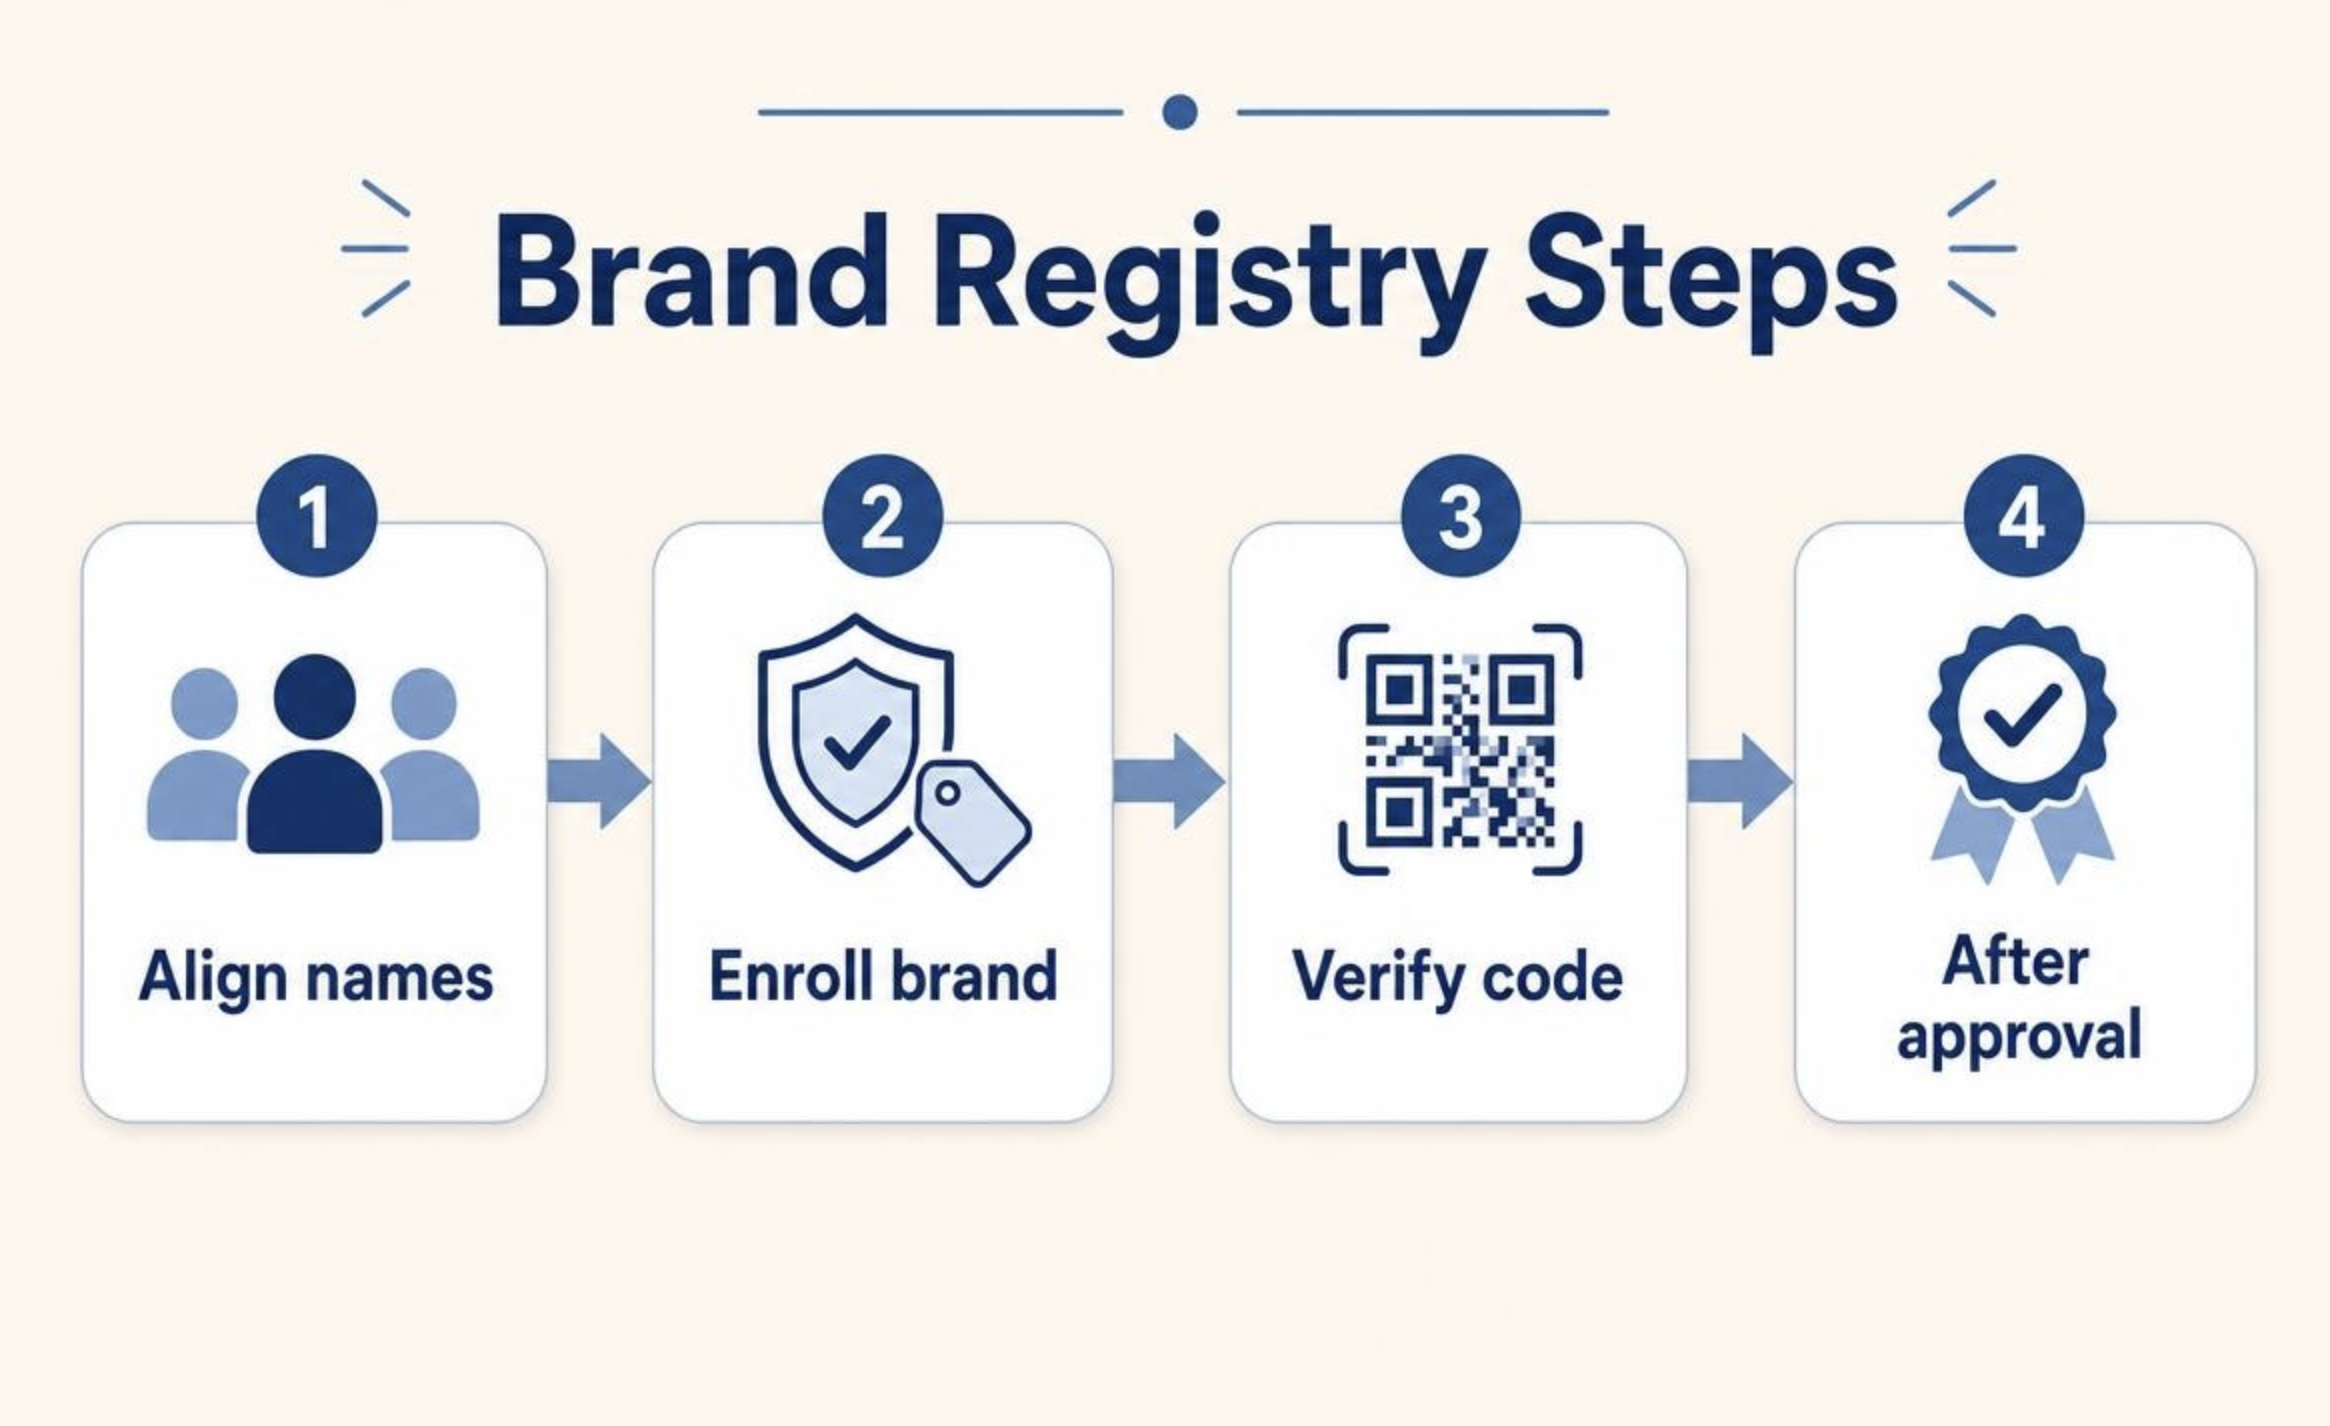
How to Enroll in Brand Registry
Log in to Brand Registry with the same username and password you use for Seller Central or Vendor Central. That link is what connects brand tools to your selling account. On the home page, choose Enroll a new brand .
Enter the brand name exactly as it appears on the trademark. Add the trademark office, the number, the mark type, and the product categories where you sell. Upload a logo if the form asks for one. For a design mark, Amazon wants the image as it appears on the trademark record, not a photo of the full certificate.
Upload the product or packaging photo next. The brand on the item should match the brand on the application. If Amazon asks for manufacturing or distribution details, answer with facts you can support. Review everything once, then submit.
After you submit, Amazon verifies ownership. It contacts the public contact on the trademark and sends a verification code. That person shares the code with you. You enter it in Brand Registry (under your brand applications / case log) to finish enrollment.
You have 10 days to submit that code. If you miss the window, Amazon closes the case and you start a new application. Do not open a second enrollment with a different email just because the first code feels slow. Reach the trademark correspondent first.
If Review Sends You Back
A rejection or a stalled code is usually one mismatch. Read what Amazon flagged, fix that item, then resubmit once.
If the code never arrives, ask the trademark correspondent to check spam. Confirm Amazon sent it to the contact on the IP office record. Fix that path before you change strategy.
If the brand name fails, compare spaces and symbols to the trademark text. “Buy with Prime” and “BuywithPrime” are different to Amazon. Capital letters alone are fine.
If the product image fails, replace stickers or mockups with a photo of a permanently marked unit. Shoot the real package under normal light so the brand is readable.
If the mark type or number fails, re-enter them from the IP office record. Do not type from memory.
Keep a short note of what you submitted and what you changed. It stops you from uploading the same weak photo under a new filename. And never invent ownership papers. A delayed launch costs less than a document problem on the account.
What You Can Do After Approval
Approval means the brand is enrolled. It does not finish your listings or your Store.
Confirm the enrolled brand name matches what shoppers see on your ASINs. Then use the tools enrollment unlocks when you need them: a Brand Store, A+ modules, Brand Story, and other brand features Amazon ties to Registry. Access can take a little time to appear, and some features still depend on your selling plan and account health.
For the store build, see Designkit’s guide on how to create an Amazon Storefront . When you are ready for page modules, Designkit’s Amazon A+ Content and Brand Story tools can turn product photos into layout-ready frames. Use them after enrollment. They do not replace trademark proof.
Submit When the Record Matches
Brand Registry works when your trademark, your product, and your Amazon account tell the same story. Match the name, show the brand on a real unit, clear the verification code with the trademark contact, and fix only what Amazon disputes. Then move on to Store and A+ with a brand Amazon has already accepted.
Frequently Asked Questions
How soon can I create a Store or A+ after approval?
Can I enroll more than one brand?
Yes. After the first brand is approved, you can enroll another from the Brand Registry home page. Use a separate trademark record for each brand so the files stay clean.
Do I need a Professional selling plan?
You enroll with Seller Central or Vendor Central credentials. Many brand features, including Stores and richer advertising options, work on a Professional plan. Check your live account rules for the tools you care about before you plan the launch calendar.
Does Brand Registry cost money to enroll?
No. Amazon does not charge a separate enrollment fee. You still pay your trademark office (or attorney) outside Amazon, and normal selling fees apply on the account.
Can a lawyer enroll for me?
The trademark owner should submit the application. After the brand is enrolled, the owner can add a lawyer or teammate as a Brand Registry user. If a firm handles the trademark, make sure their correspondent watches for Amazon’s verification code.
You May Also Like
Amazon A+ Content Dimensions: Module Image Sizes
Print-On-Demand Designs: Create, Prepare, and Preview Your Work

Amazon A+ Content: What It Is and What to Build First
Is Print on Demand Profitable in 2026? Products and Niches
Amazon Brand Registry Application: How to Submit and Pass Review
How to Ship to Amazon FBA: Your First Shipment
What Is Amazon FBA? Should Beginners Use It in 2026
How to Get Ungated on Amazon: Restricted Category Approval Steps
Amazon Backend Keywords: Title, Bullets & Search Terms

What Is A/B Testing? A Practical Guide to Running Better Experiments

Best Time to Post on Instagram in 2026: Data & Tips
How to Get Verified on Instagram: Complete Guide

TikTok Monetization in 2026: Requirements & Ways to Earn

Instagram Desktop Posting Guide: Upload Posts, Stories & Reels

YouTube Shorts Monetization Requirements & Rules 2026

How Much Does YouTube Pay Per View? 1K, 100K & 1M Views

How to Make Money on Snapchat: 7 Ways to Earn

How to Get More Followers on Instagram in 2026

Best Time to Post on TikTok in 2026 for More Views

How to Repost on Instagram in 2026: A Simple Guide

Multichannel Marketing Guide: Strategy, Tools & Examples
How to Create Digital Products That Sell in 2026

Cyber Monday Marketing Ideas & Strategies (2026 Guide)
Black Friday Marketing Ideas for Ecommerce Brands (2026)
Instagram Marketing Guide: Strategies, Tips & AI Tools in 2026

Influencer Marketing Guide: Strategy, Campaigns & Creator Tips

15 Best Things to Sell on Etsy in 2026 (Listing Tips Included)
WooCommerce vs Shopify 2026: Pricing, Features & Which Is Better
How to Sell on Facebook Marketplace: Beginner Guide (2026)
How to Use Pinterest for Business: Strategy, Tips & Growth Guide
How to Sell on Etsy in 2026: Setup, Listings & Growth Tips

What Is a Target Audience? Types, Examples & How to Find Yours
TikTok Marketing Guide 2026: Strategies, Ideas & AI Tools

Vibe Marketing Explained: Strategy, Examples & AI Tools
How to Sell on Depop: Beginner Guide to Getting Your First Sale
Online Advertising Guide: Types, Costs & Examples (2026)

Facebook Advertising Guide: Costs, Strategy & Tools 2026
What Are E-commerce Ads? Examples, Strategy & Tools (2026)
Where to Sell Handmade Items Online (2026): Etsy, Amazon, or Shopify?
Shopify vs Amazon (2026): Brand Store or Marketplace FBA?
Amazon Handmade vs Etsy (2026): Which Is Better for Makers?
Etsy vs eBay (2026): Handmade, Vintage, or Secondhand?
Selling on Amazon vs eBay (2026): Fees, Profit & Where to Sell

What Is Brand Awareness? Examples, Strategies & Tools 2026

10 Best Online Selling Platforms (2026): Pick by What You Sell
Shopify vs Etsy (2026): Which Is Better for Handmade Sellers?

YouTube Automation Step-by-Step AI Guide for Beginners
What Is Brand Identity? Examples, Elements & Strategy

AI Marketing Agent: How It Works, Benefits & E-Commerce Examples
What Is Personalized Advertising? Examples & How It Works
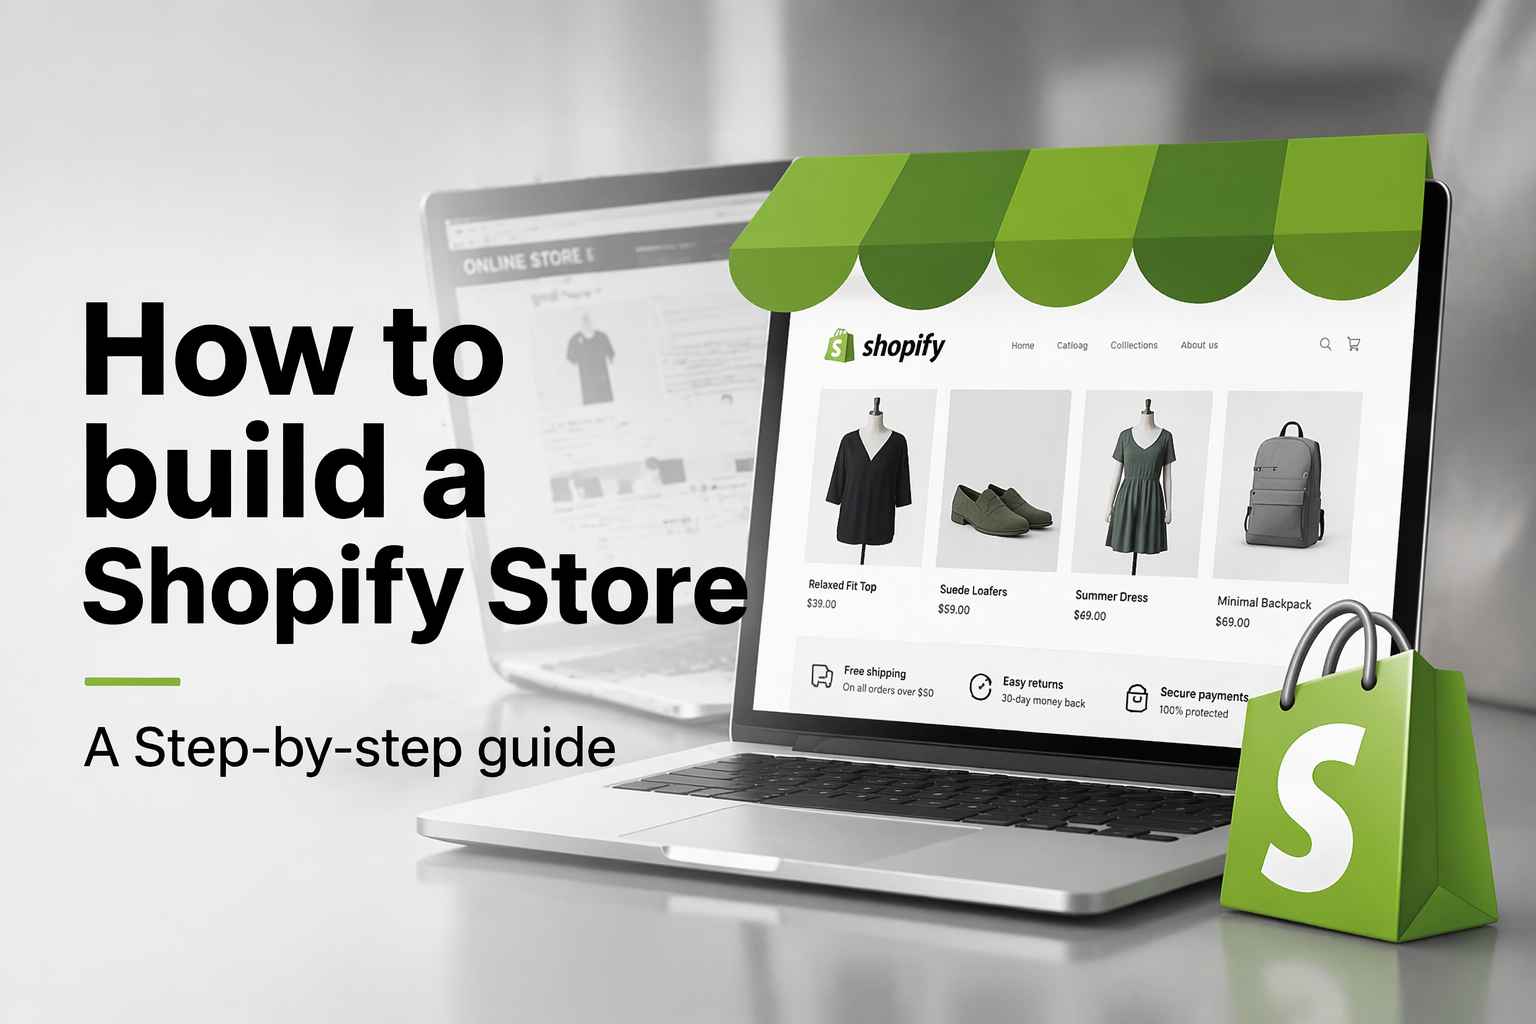
How to Build a Shopify Store That Actually Converts Visitors

Amazon Marketing Guide 2026: Strategies, Tips & Tools
Local Advertising: Strategies, Examples & Tools (2026)

What Is Branded Content? Examples, Strategy & Tools 2026

What Is Performance Marketing? Strategies & Examples 2026
Inbound Marketing: Strategies, Examples & Tools (2026)
Build Your Brand Story After You Enroll
After Brand Registry is approved, put the brand on the product page. Designkit turns your photos into Brand Story frames so shoppers see more than a trademark name.
