
How to Sell on Poshmark: From Listing to First Sale
New to Poshmark? This beginner guide walks you from your first listing to your first completed sale.


Poshmark is a fashion-first marketplace. You list items in your closet, shoppers find them through search and social features, and the app handles payment plus a prepaid shipping label after each sale. Getting an account takes minutes. Getting consistent sales usually comes down to listings buyers can trust at a glance, priced against what similar items actually sold for, and a closet that stays active after you publish.
Below you’ll find what to sell, how to build stronger listings, how to price around fees, and what to do after an item sells.
Key Takeaways
-
Start with a small batch of clean pieces you already own that people actually search for.
-
Use bright photos that show the whole item, including tags and any flaws.
-
Write titles and descriptions in the words buyers type into search.
-
Price from sold comps, leave room for offers, and subtract the seller fee before you treat the sticker price as profit.
-
After you list, share, send offers to likers, and join Posh Parties that match the item.
-
Ship with Poshmark’s prepaid label, then track payouts once delivery is accepted.
How Does Poshmark Work for Sellers?
For sellers, the path looks like this: set up a closet, prepare a few items, publish listings, get discovered, negotiate, ship, then get paid after the buyer accepts or the acceptance window ends.
Set Up Your Account and Closet
-
Download the app or sign up on the website.
-
Add a clear profile photo and a short bio that says what you sell and how fast you usually ship.
-
Prep a handful of items first. Write down the facts you’ll need later, like the brand and size, then note condition and any flaws before you photograph.
A closet with 5–10 solid listings usually looks more trustworthy than one lonely post.
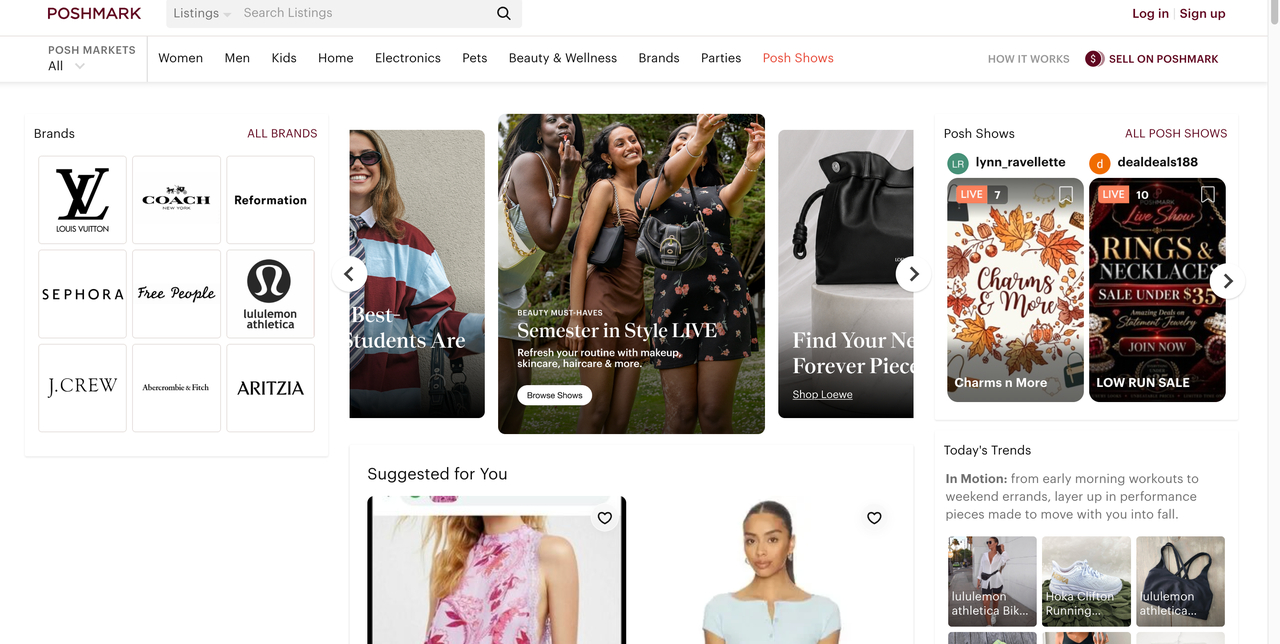
Poshmark Seller Fees in the US
Listing is free. When an item sells, Poshmark takes a seller fee from the sale price:
-
Sales under $15: flat $2.95
-
Sales of $15 or more: 20% of the sale price
Confirm the current schedule in Poshmark’s fee policy before you lock a pricing habit. Platforms do update rules.
Quick example: a $30 sale at 20% leaves $24 before your item cost and any extras you choose to cover, such as a heavier-weight label upgrade.
A useful habit is to open My Earnings on the listing screen so you see the after-fee number before you accept a low offer.
What You Can Sell on Poshmark
Poshmark is strongest in fashion, with clothing at the center and plenty of room for related pieces shoppers already browse there. Start with items that are clean and easy to recognize in photos. A clearer product photography approach makes condition and brand details easier for buyers to judge.
Do not list replicas, prohibited goods, or anything you do not physically have. Dropshipping is not allowed. If you are unsure, check Poshmark’s prohibited items rules before you spend time on photos.
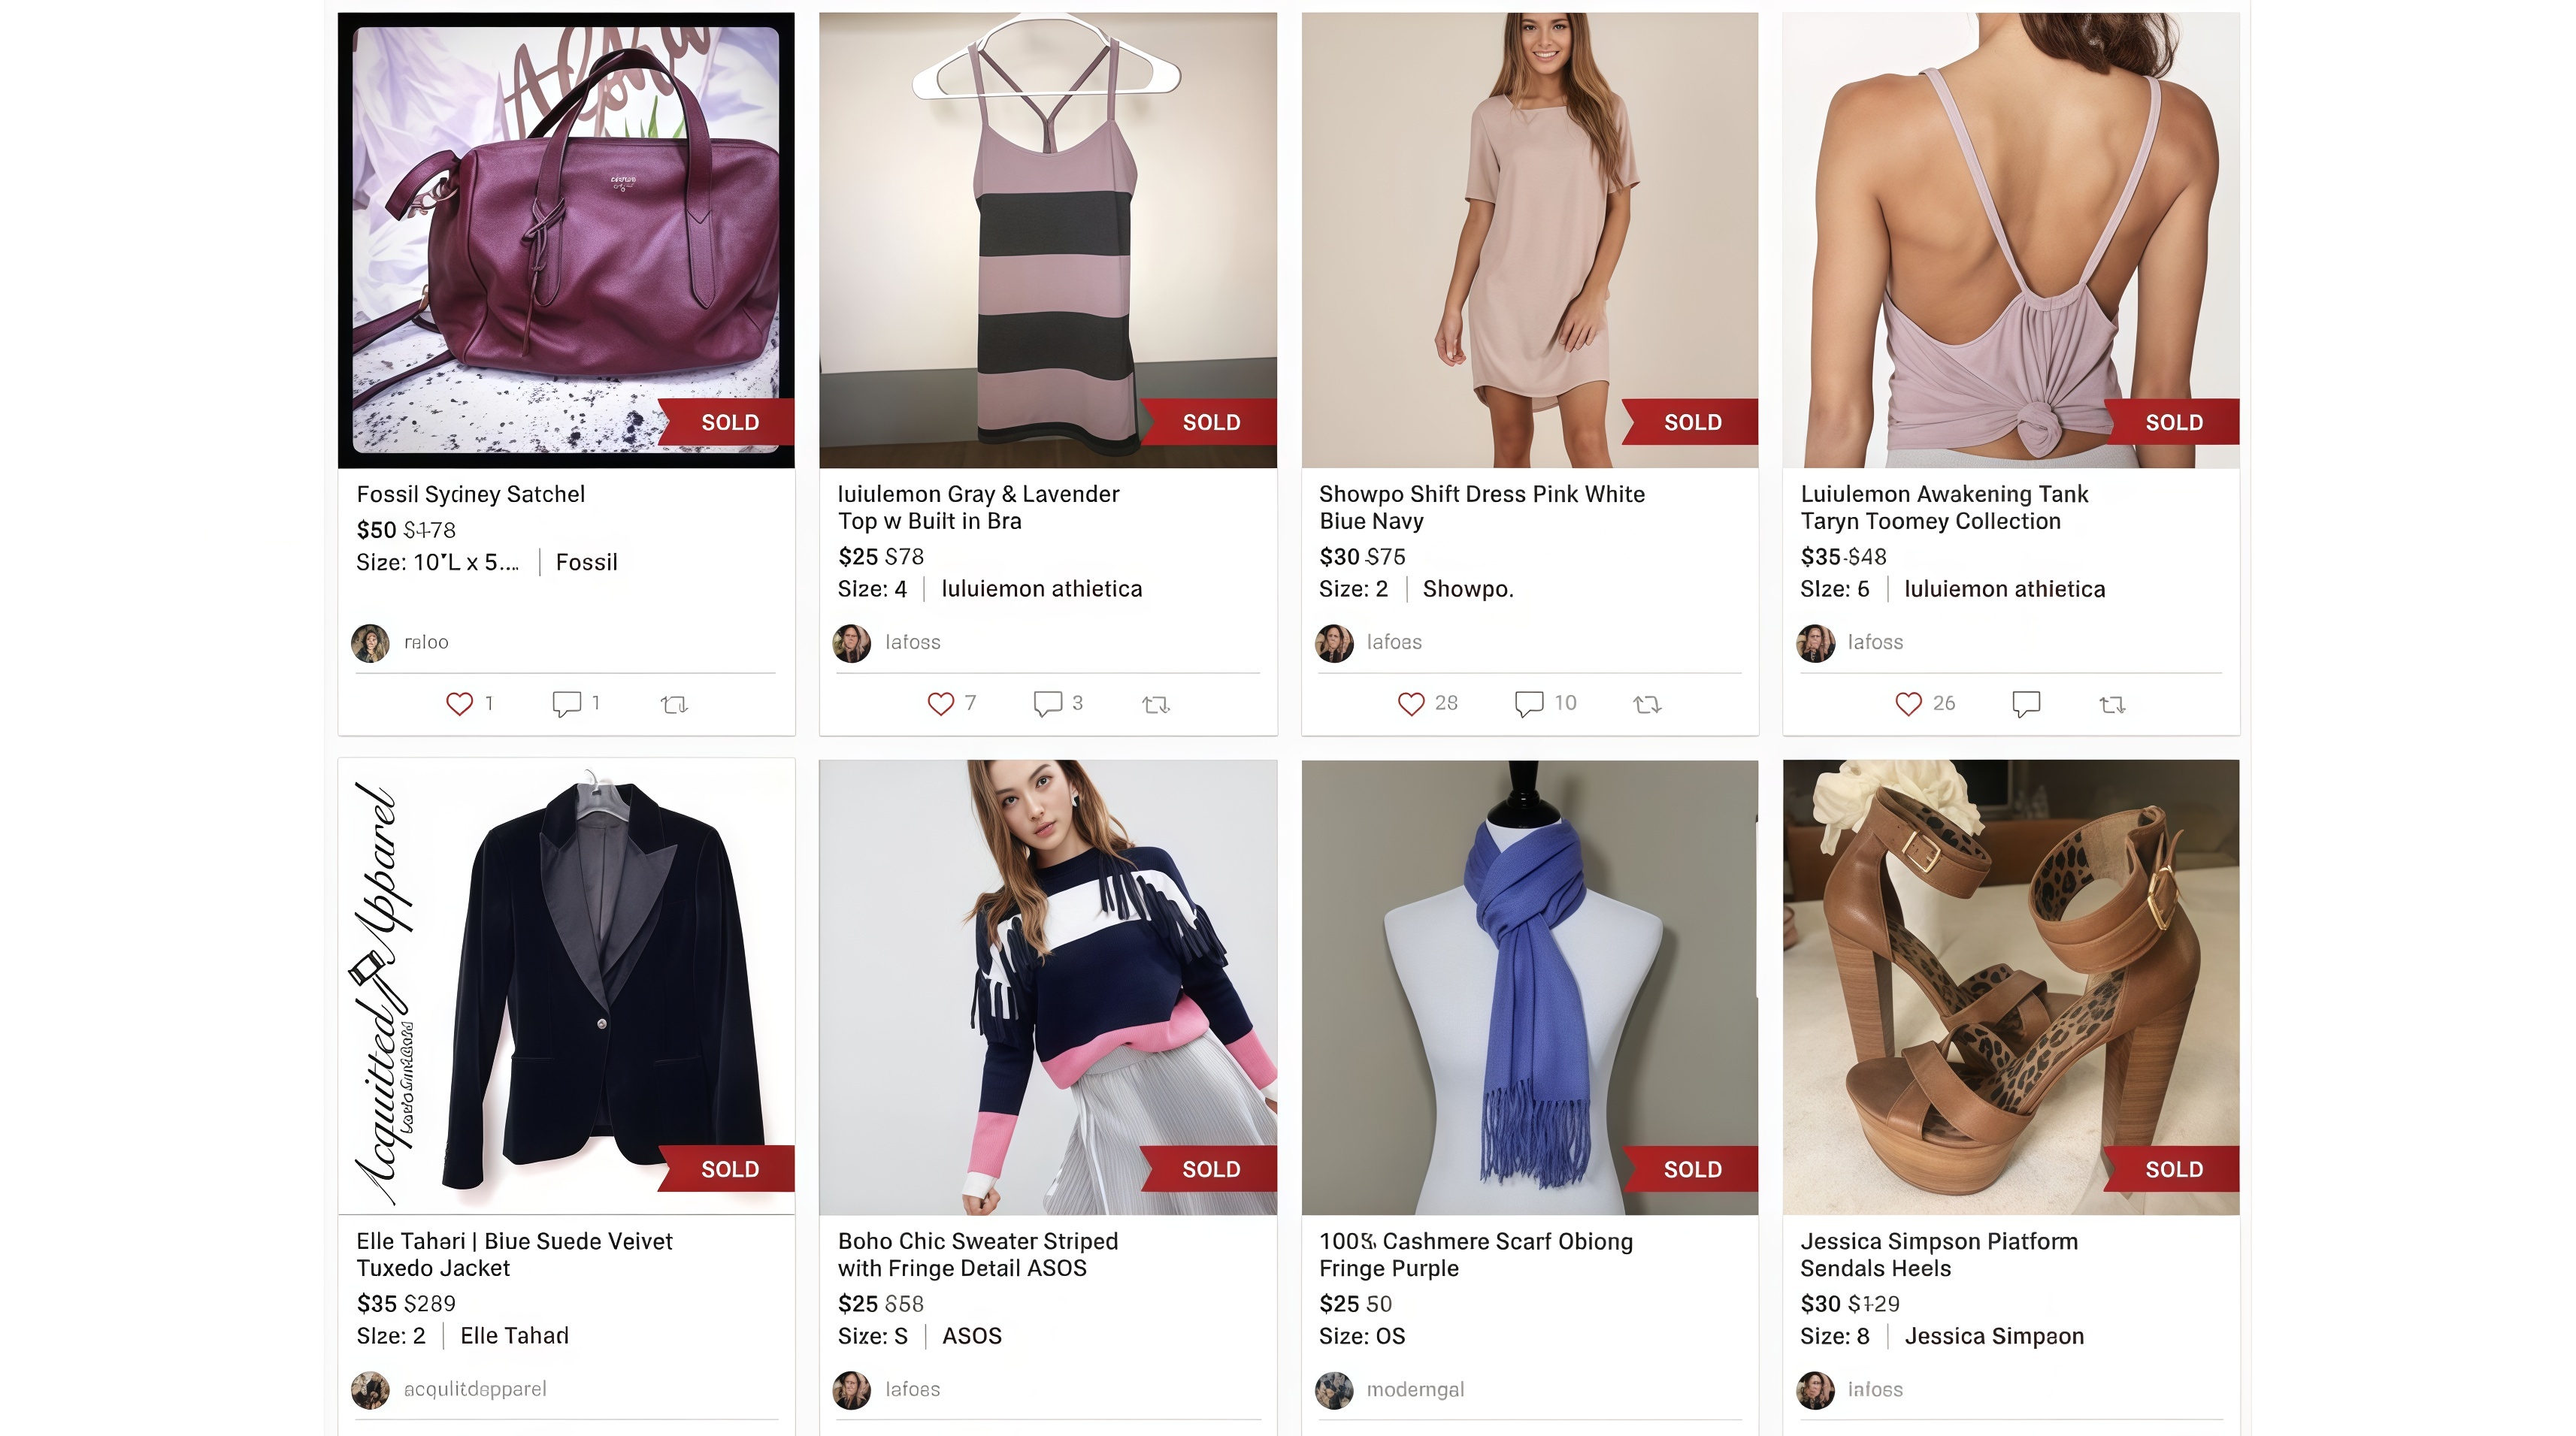
Is It Hard to Sell on Poshmark?
The app flow is not hard. The hard part is staying consistent. Your listings need to be searchable and honest about condition, your prices have to survive the fee, and you need to keep sharing. A strong cover photo with accurate details beats dumping your whole closet online in one night.
What Should You Sell on Poshmark?
Choose items with a realistic path to profit after fees and offers. Pieces with recognizable brands and current demand usually move faster than generic, heavily worn inventory, especially when the season still matches what shoppers are browsing.
How to Decide If an Item Is Worth Listing
-
Search similar sold listings, not only active ones.
-
Compare condition and how strong that brand is selling right now.
-
Estimate what the item would likely sell for, take out the seller fee, and decide whether that leftover is worth your time.
If similar pieces sit for weeks at your target price, either improve the listing later or skip the item for now.
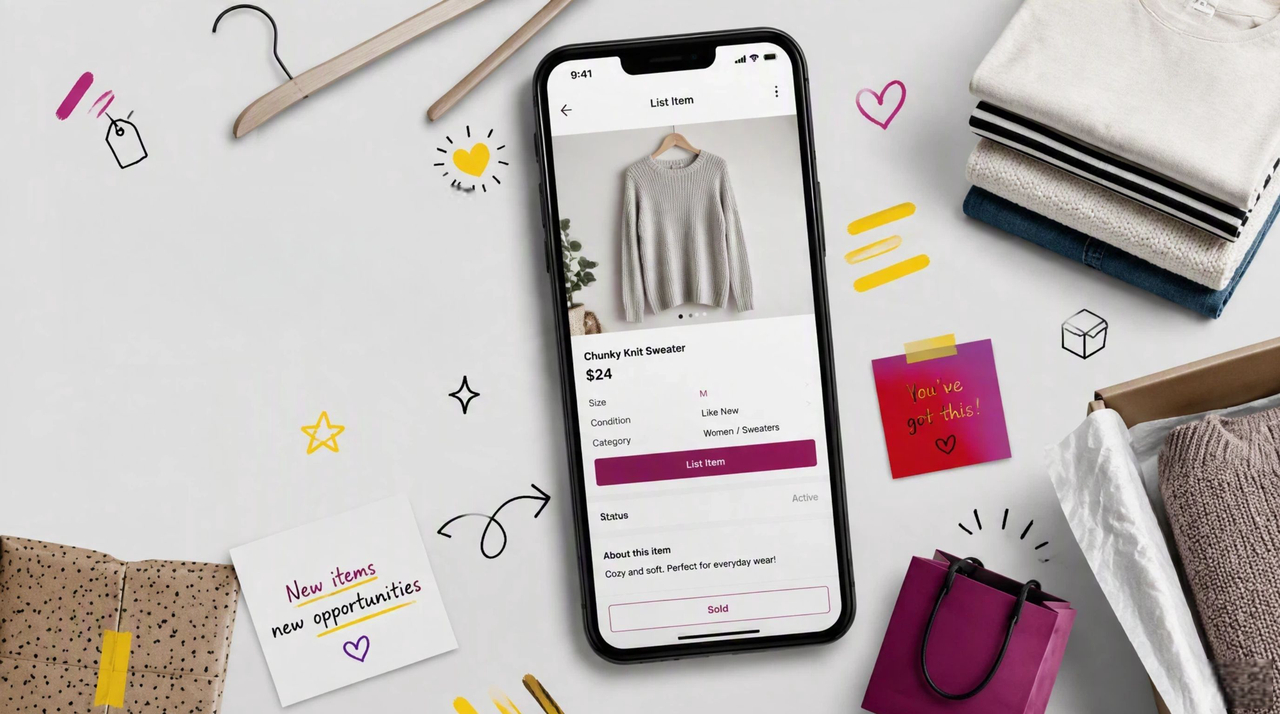
How to List on Poshmark
A strong listing answers three questions fast: What is it? What condition is it in? Why is this price fair?
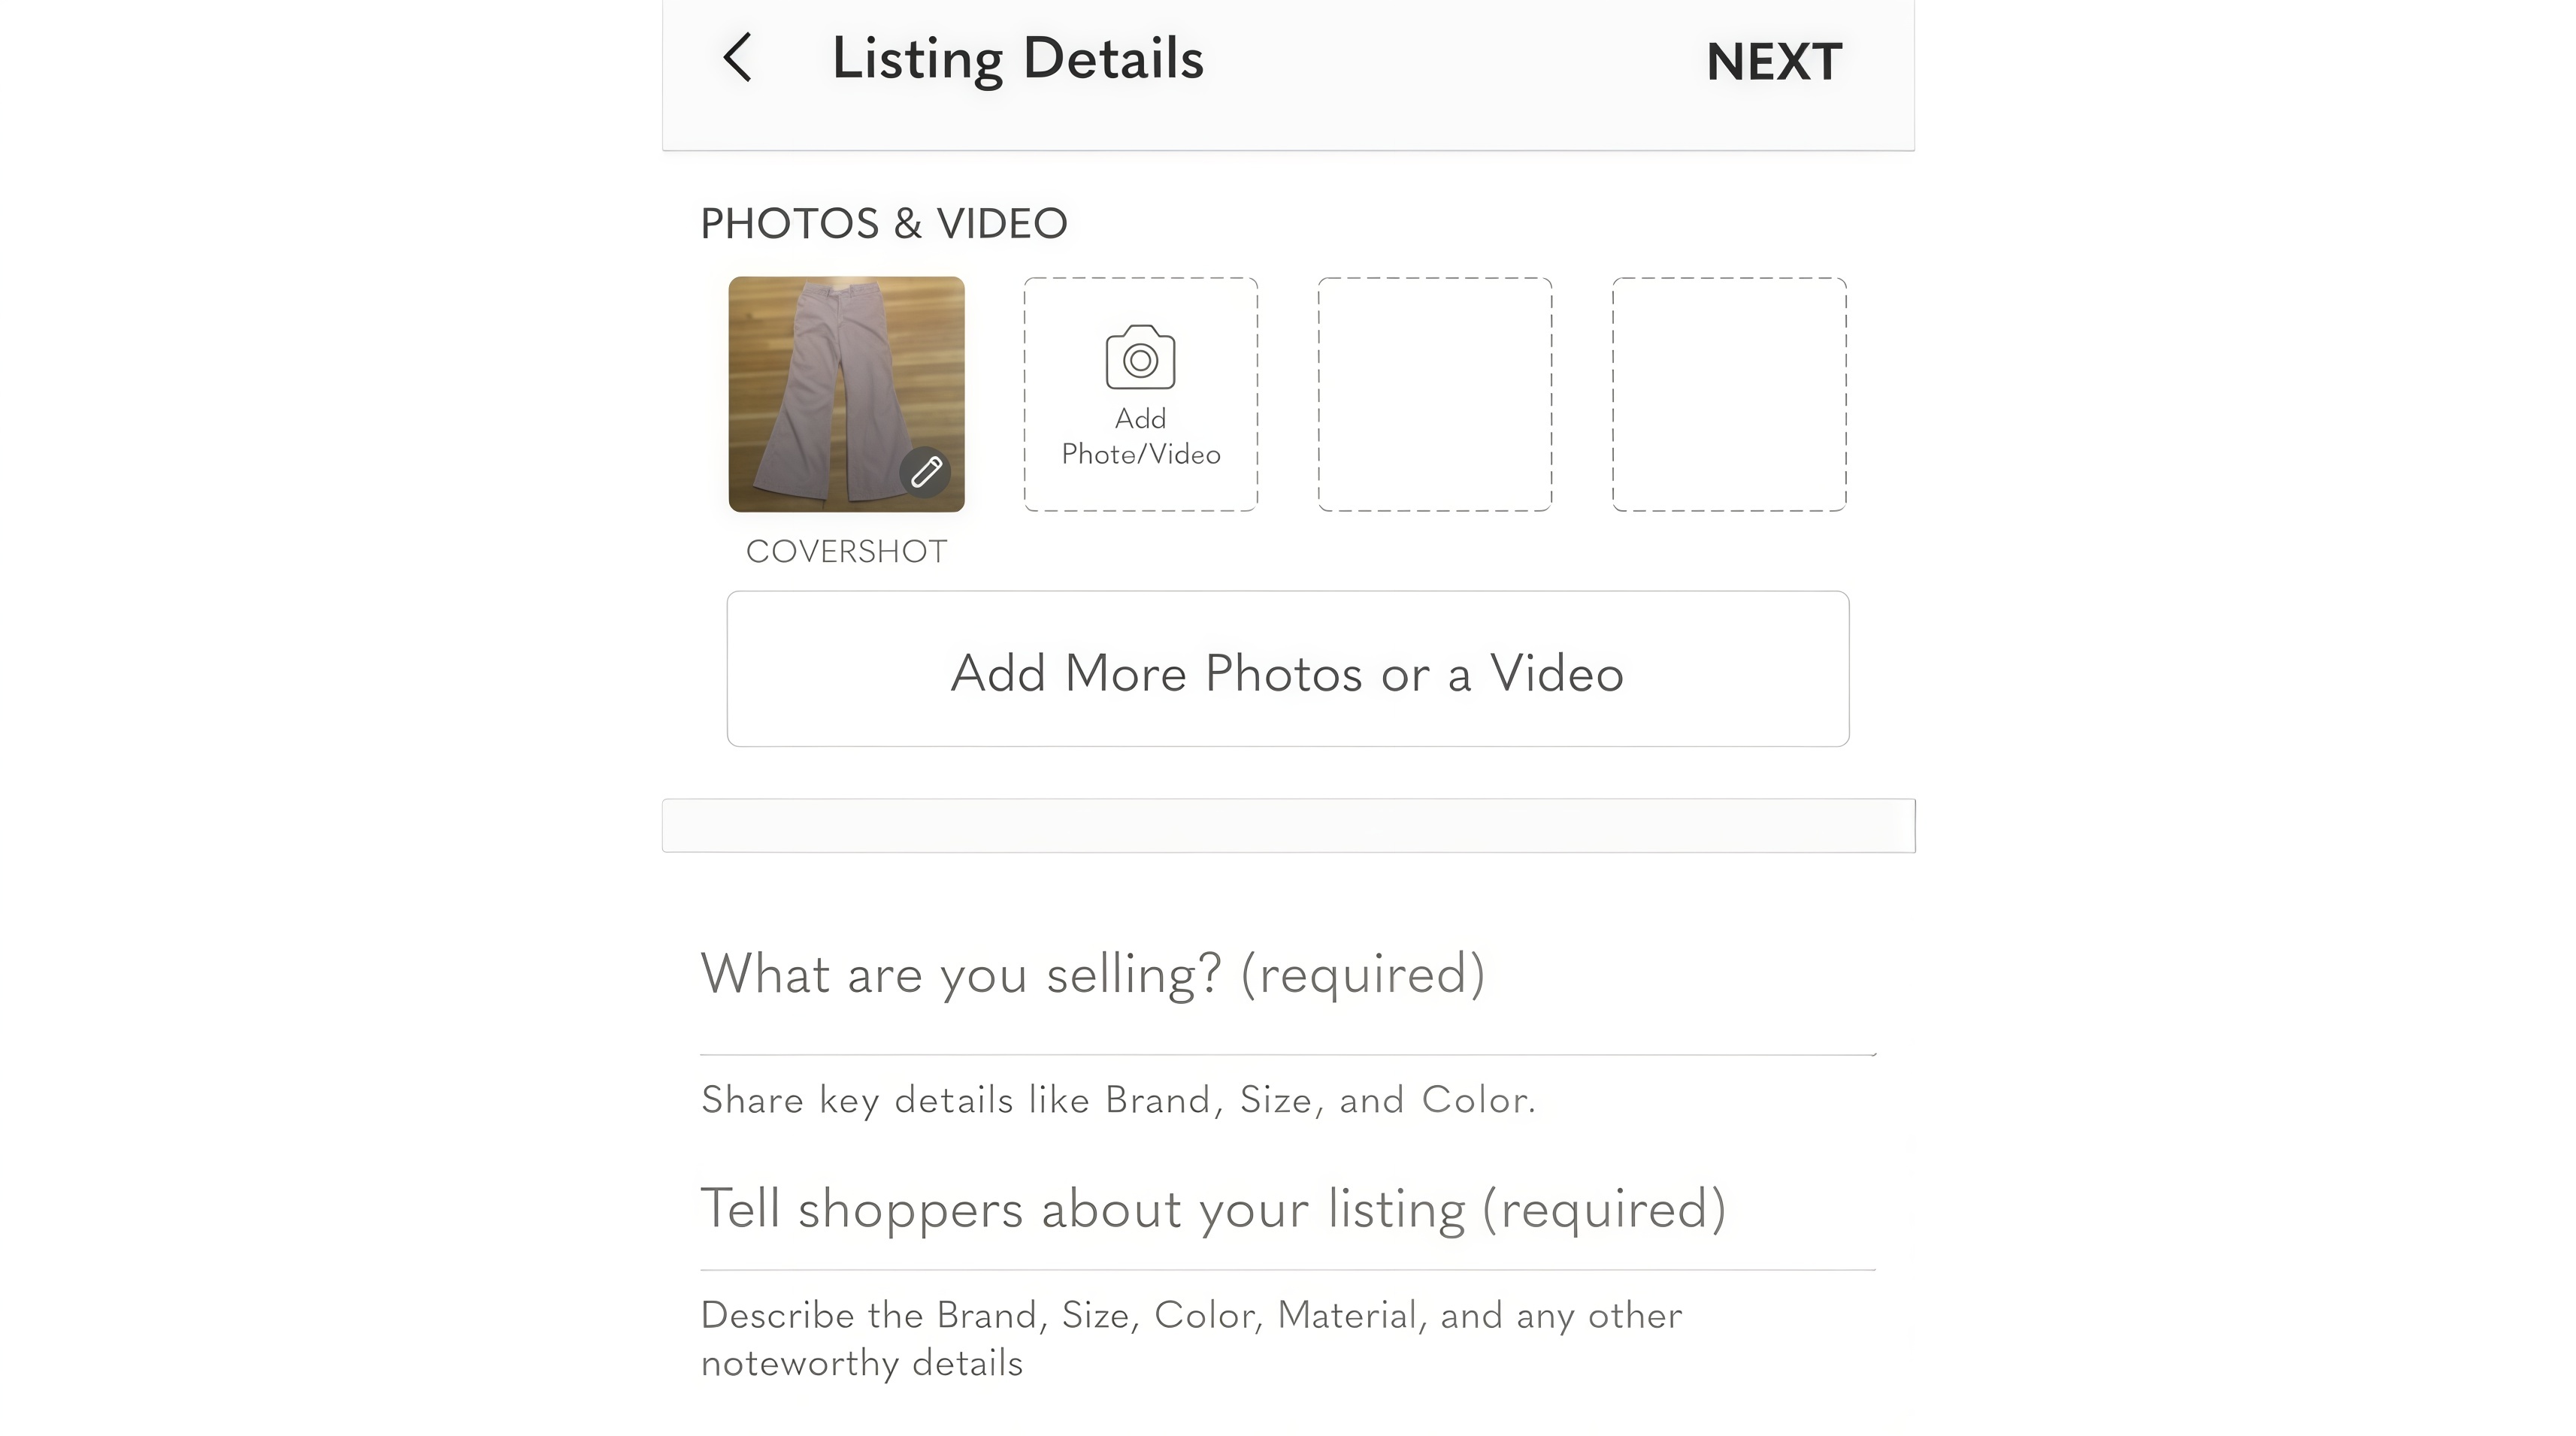
Step 1: Take Clear Listing Photos
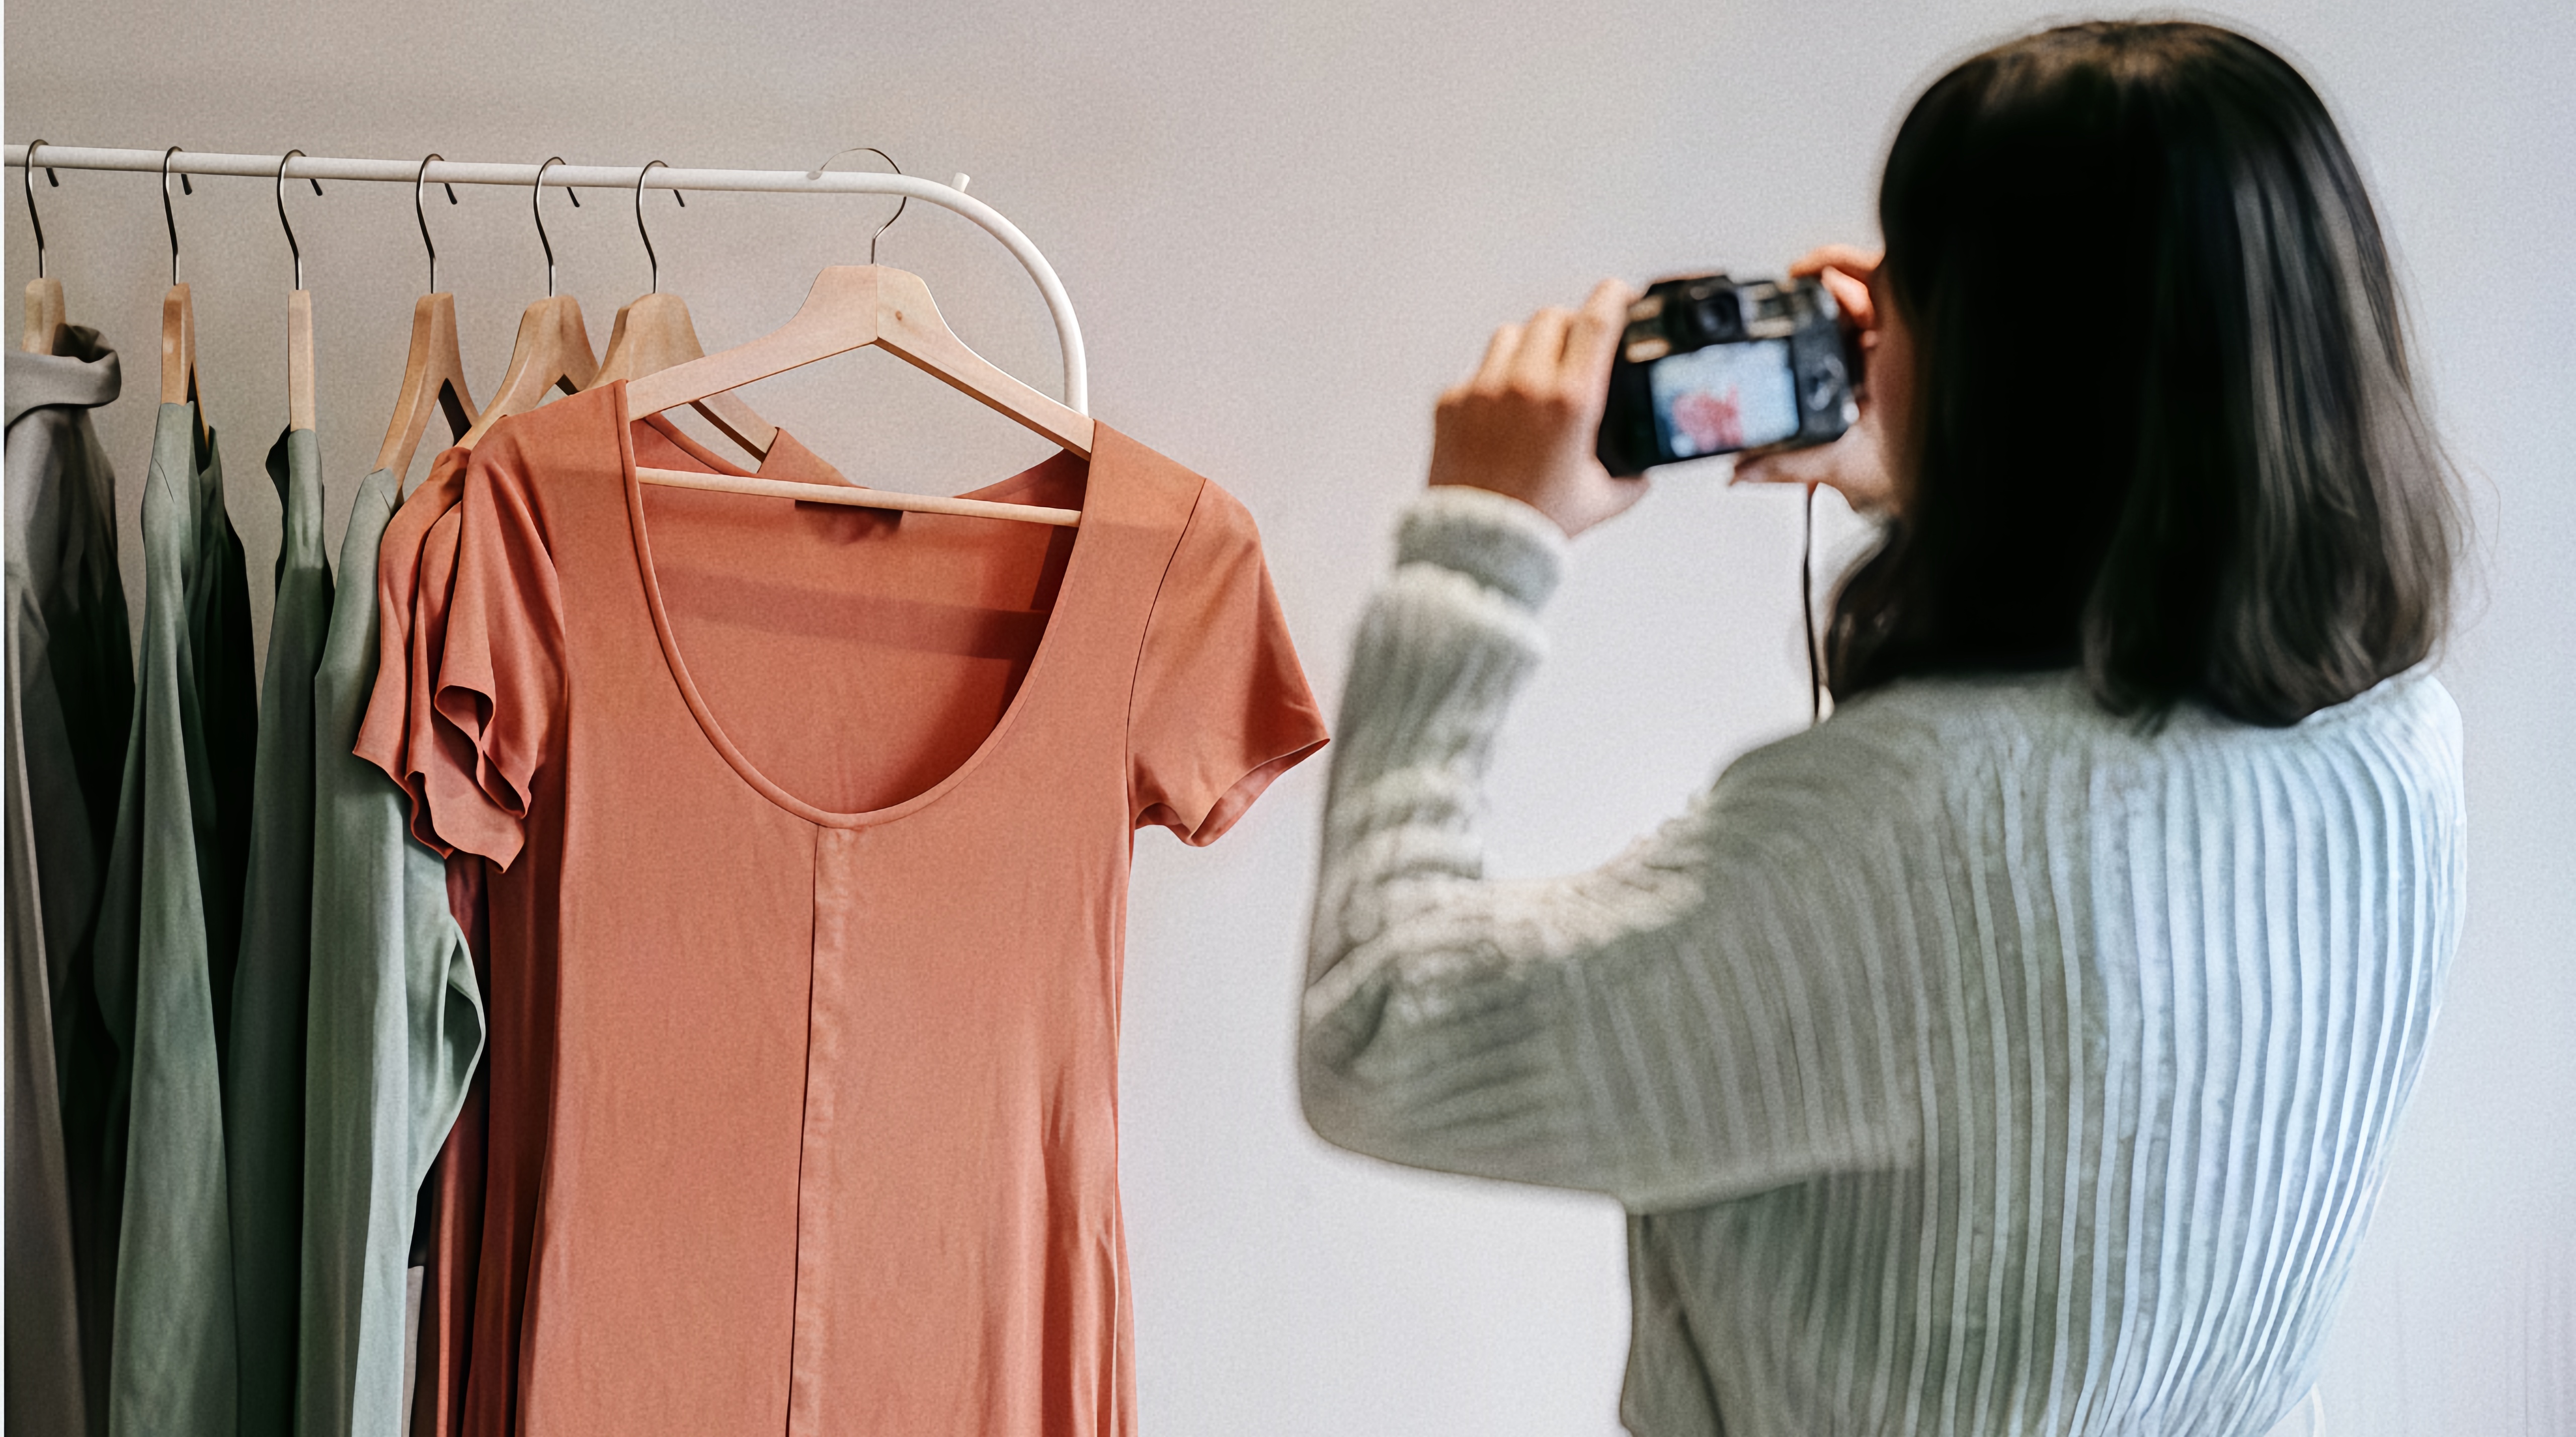
Use bright, even light and a simple background. Show the front and back clearly, then get closer for tags, fabric or hardware details, and any wear. Avoid filters that change the real color. If the background is noisy, an AI photo editor can clean the frame up without changing what the item actually looks like. Poshmark allows multiple photos per listing, so use enough angles to cut down on “does this have stains?” messages.
Step 2: Write a Search-Frie ndly Title
Lead with the brand and item type, then add size or color when it helps.
Weak: “Cute jacket”
Stronger: “Levi’s Women’s Denim Jacket Blue Medium”
Step 3: Write a Complete Description
Describe the condition in plain language, then add material, fit notes, and measurements where they help. “Great condition” is not enough. Flat measurements such as pit-to-pit and length help buyers decide when brand sizing is inconsistent. Call out flaws clearly.
Step 4: Fill Every Useful Field
Poshmark filters run on the structured fields in your listing. Leave category, brand, size, color, or condition blank and the item gets harder to find.
Step 5: Review Before You Publish
Read the listing like a buyer. Do the photos match the item? Are flaws disclosed? Does the price leave room for an offer without wiping out your after-fee return?
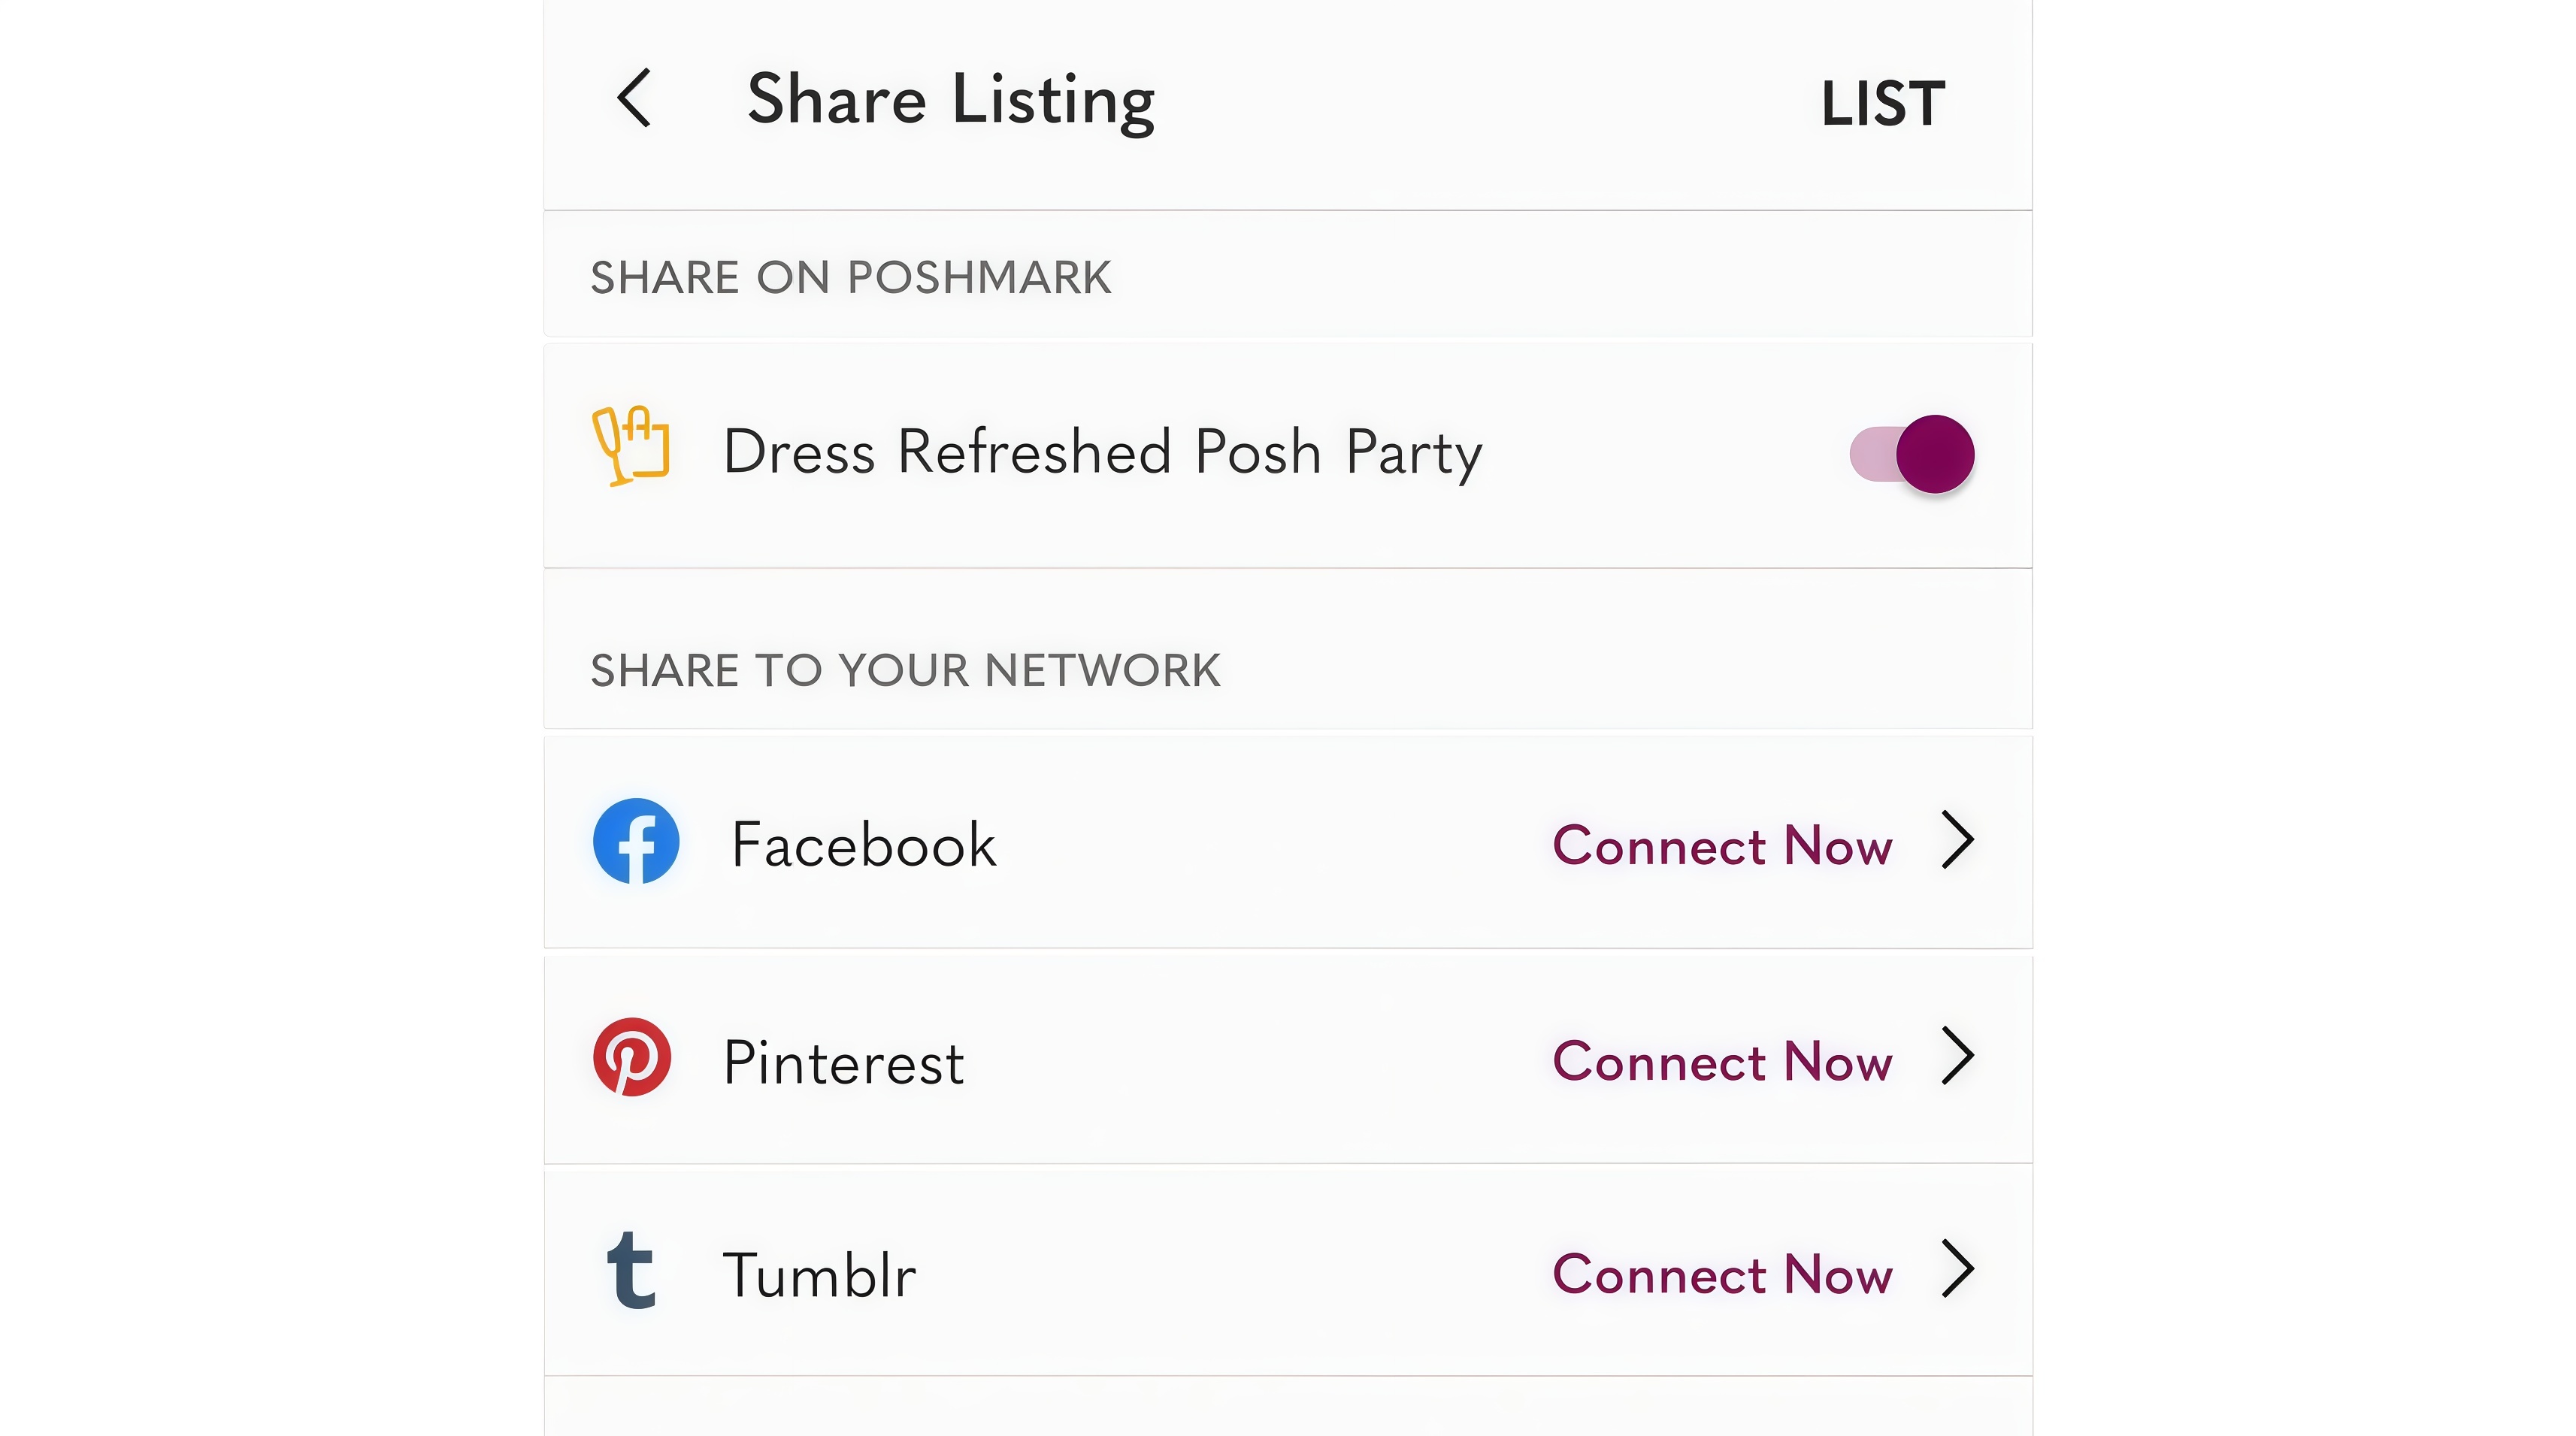
How to Price Items on Poshmark
Start With Comparable Sold Listings
Search for similar sold items first. Match the brand and style as closely as you can, then adjust for size, wear, and season. Active asking prices are opinions. Sold prices are evidence.
Leave Room to Negotiate
Many buyers send offers below list price. If you price at your absolute minimum, the first negotiation forces a bad choice: reject the sale or lose money.
Price Based on What You Keep
Sale price − Poshmark fee − item cost − extras = what you actually made.
A $40 sale is not a $40 win. Run the fee math before you accept an offer, especially near the $15 threshold where the flat fee and the percentage fee behave differently.
How to Make Sales on Poshmark
Publishing is step one. Visibility and follow-up create the sale.
Share Your Closet Regularly
Sharing refreshes listings in feeds and search activity. Prioritize seasonal pieces and anything that already has likes.
Join Relevant Posh Parties
Share into parties that match your item. Random party spam wastes time. A thematic match puts you in front of people already browsing that category.
Send Offers to Likers
A like is a soft signal. Offer to Likers can convert interest without publicly dropping your price for everyone. Only send a number that still works after the seller fee.
Use Bundles
When a shopper adds more than one item, send a bundle offer. A modest discount on the group can raise order value and move slower pieces with less shipping work for you. If you use bundles often, put the rule on a closet sign.
Refresh Listings That Go Quiet
If an item goes stale, update anything outdated, refresh a weak cover photo, and recheck comps. Relisting very old inventory is a common move when a listing has gone quiet, but only do it if the item and price still make sense.
How to Ship on Poshmark and Get Paid
This is the part most beginners underestimate, and it is where trust is won or lost.
Shipping After a Sale
When an item sells, Poshmark provides a prepaid, pre-addressed USPS label by email and in your Sales tab. In the US, the standard label typically covers packages up to about 5 lb, and shipping is usually paid by the buyer as a flat rate shown at checkout. Confirm today’s rate and label rules in the app, because carrier products and buyer shipping prices can change.
Pack the item securely, attach the label, and drop it at USPS, or use pickup where available. Aim to ship quickly. Poshmark generally expects shipment within about 7 days, and faster shipping helps your seller stats.
If the packed order is over 5 lb, upgrade the label in the order flow. Extra weight fees are usually deducted from your earnings, so weigh bulky pieces before you accept a thin margin.
Getting Paid
After the buyer accepts the order, or after the acceptance window passes, funds become available through the payout options in My Balance, often including direct deposit. There is typically no separate payout fee beyond the seller commission already taken on the sale. Keep your listing photos and shipping records in case of a “not as described” claim.
Create Better Poshmark Listings With Designkit
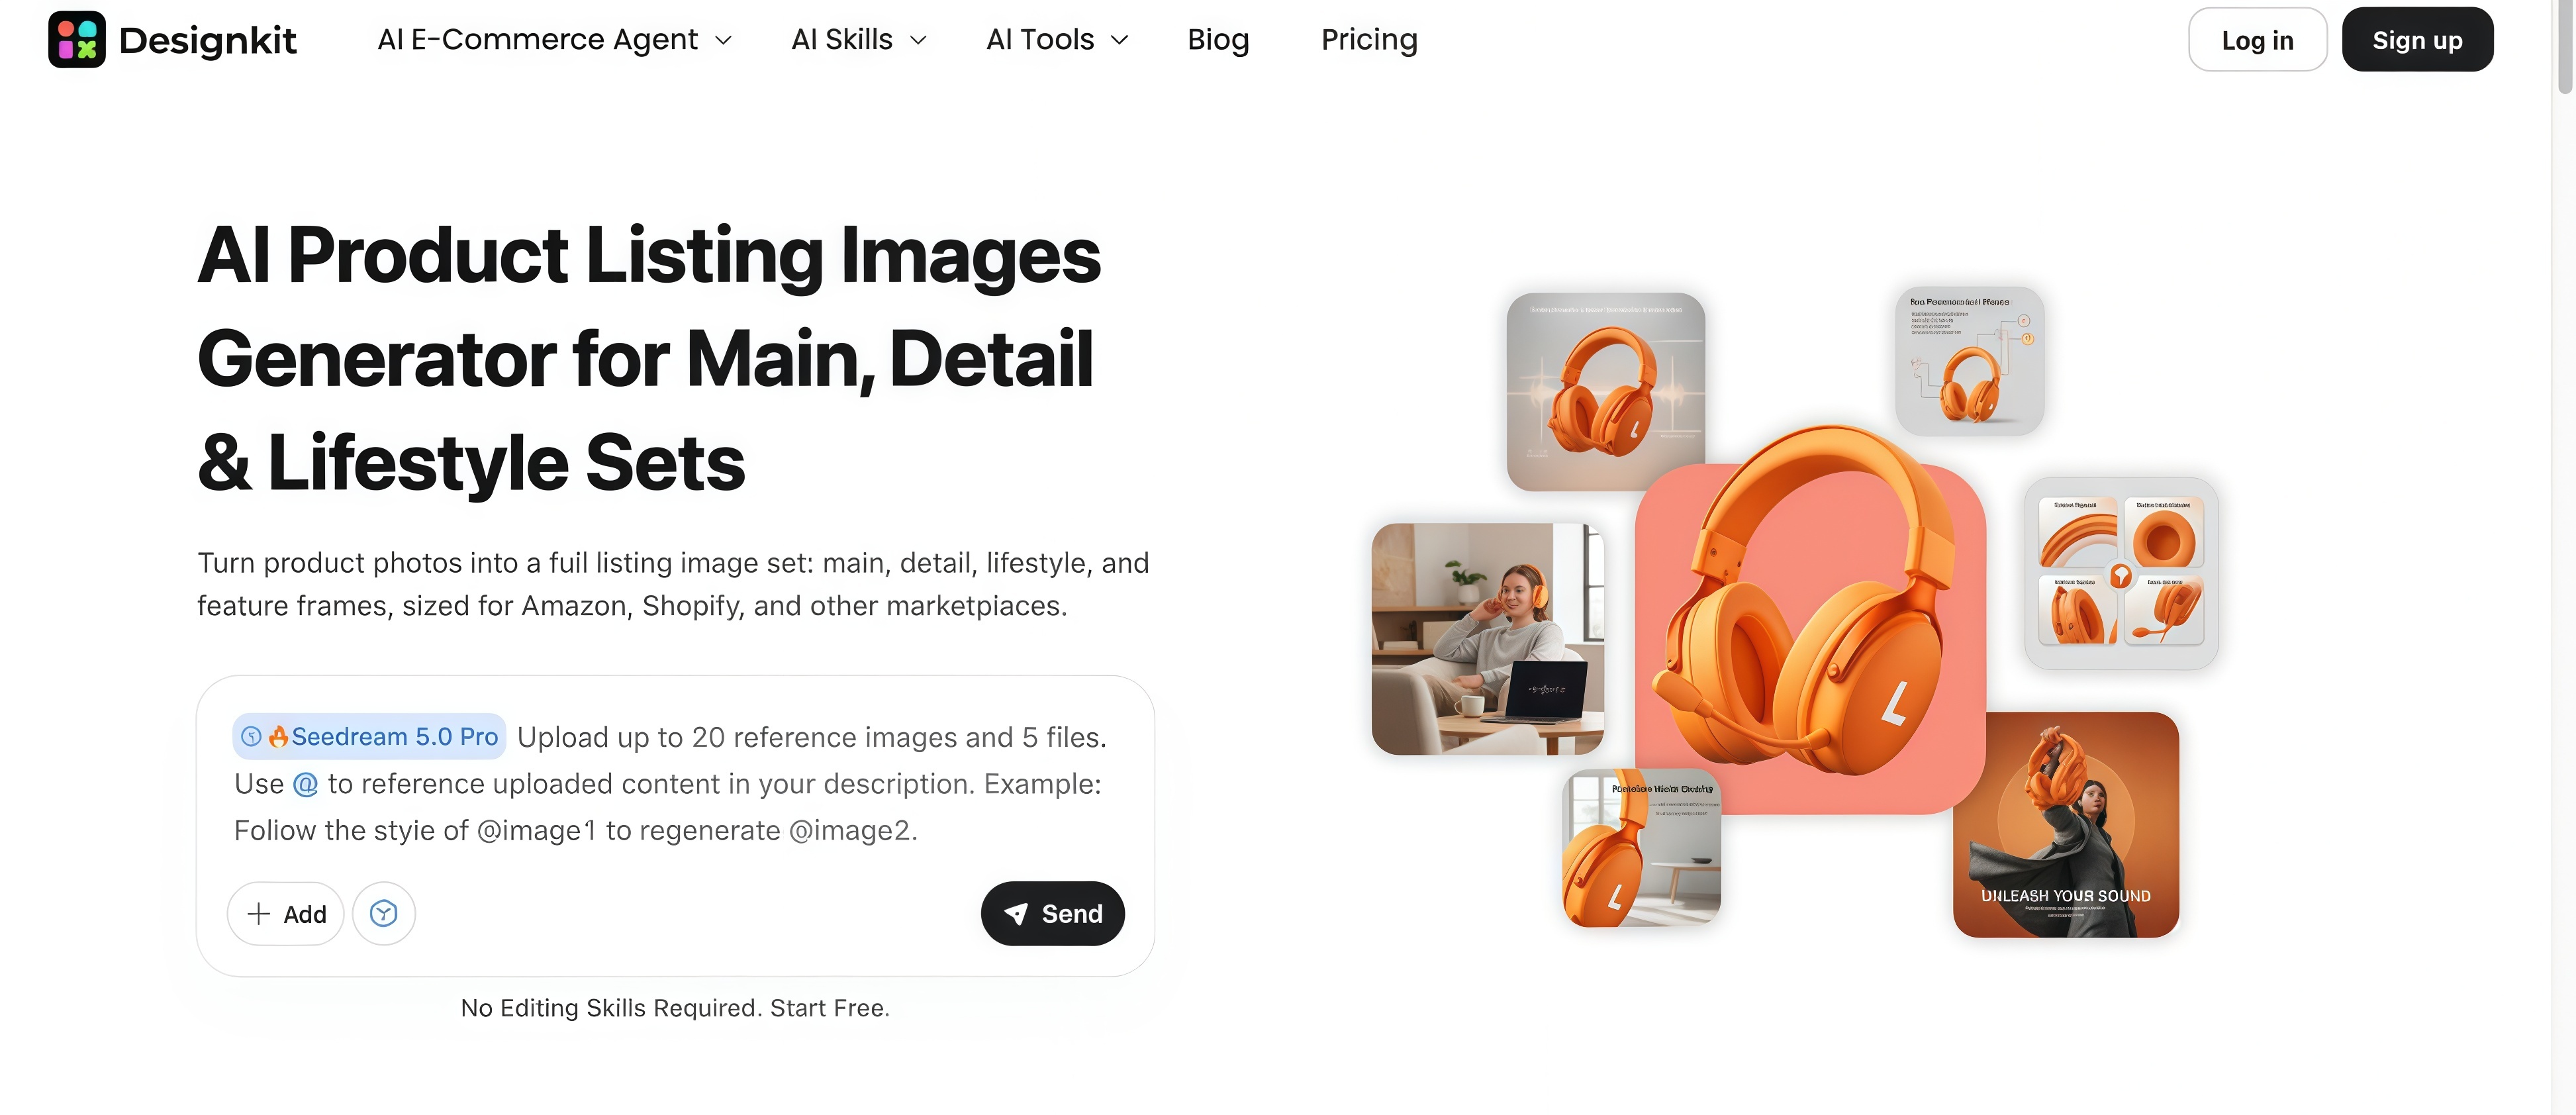
Once your listing process is clear, the next bottleneck is usually photos: messy backgrounds, uneven framing, or a closet that looks like five different sellers. Designkit helps you turn existing product photos into cleaner listing visuals and a more complete product image set, without pretending the item is something it is not.
What Designkit Is For
-
Clean up distracting backgrounds and tighten framing so the item is easier to evaluate. For apparel that needs more context, lifestyle product images can show the piece in a setting without a full reshoot.
-
Build out useful angles from the assets you already have.
-
Keep a more consistent look across new inventory so shoppers trust the closet faster.
How to Build Listing Photos in Designkit
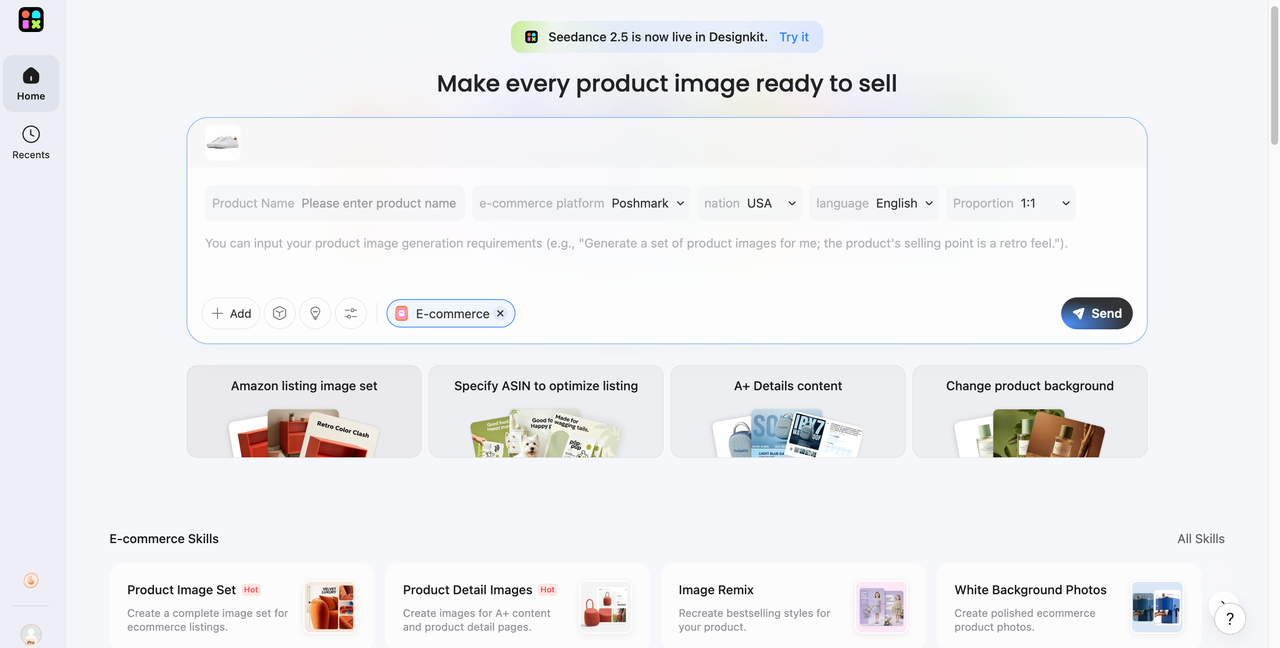
Step 1: Select Poshmark and Add Product Details
Choose Poshmark, then add the product name and the key facts buyers need.
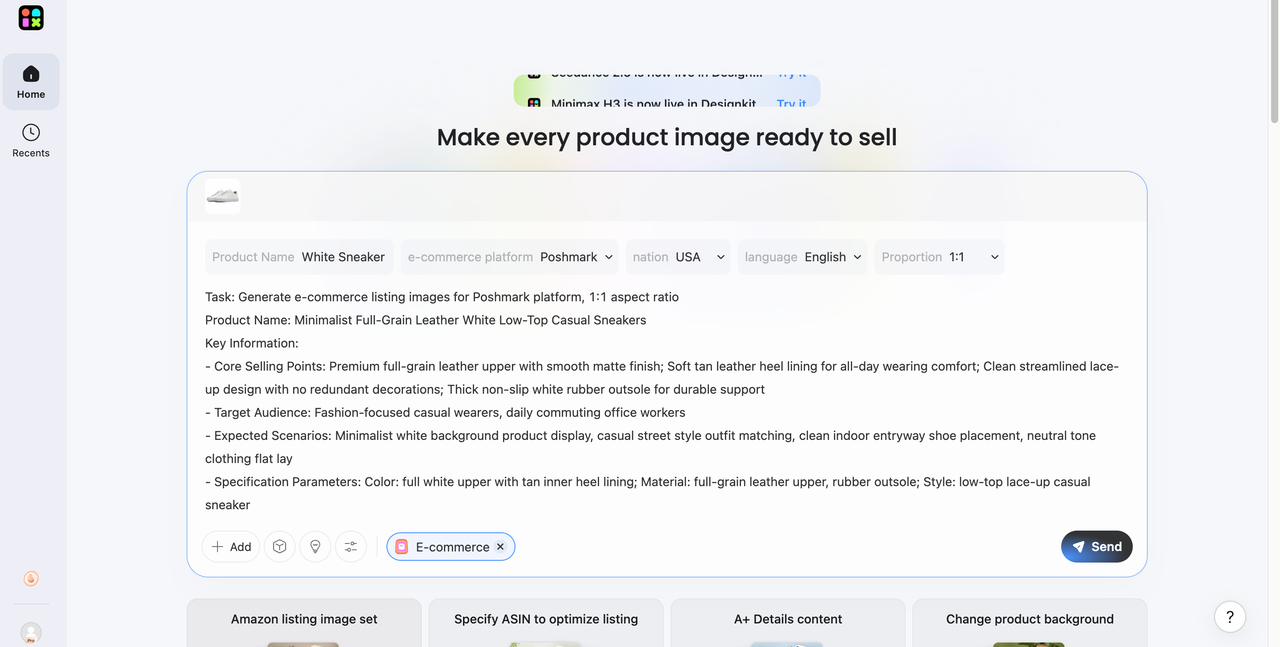
Step 2: Generate a Product Image Set
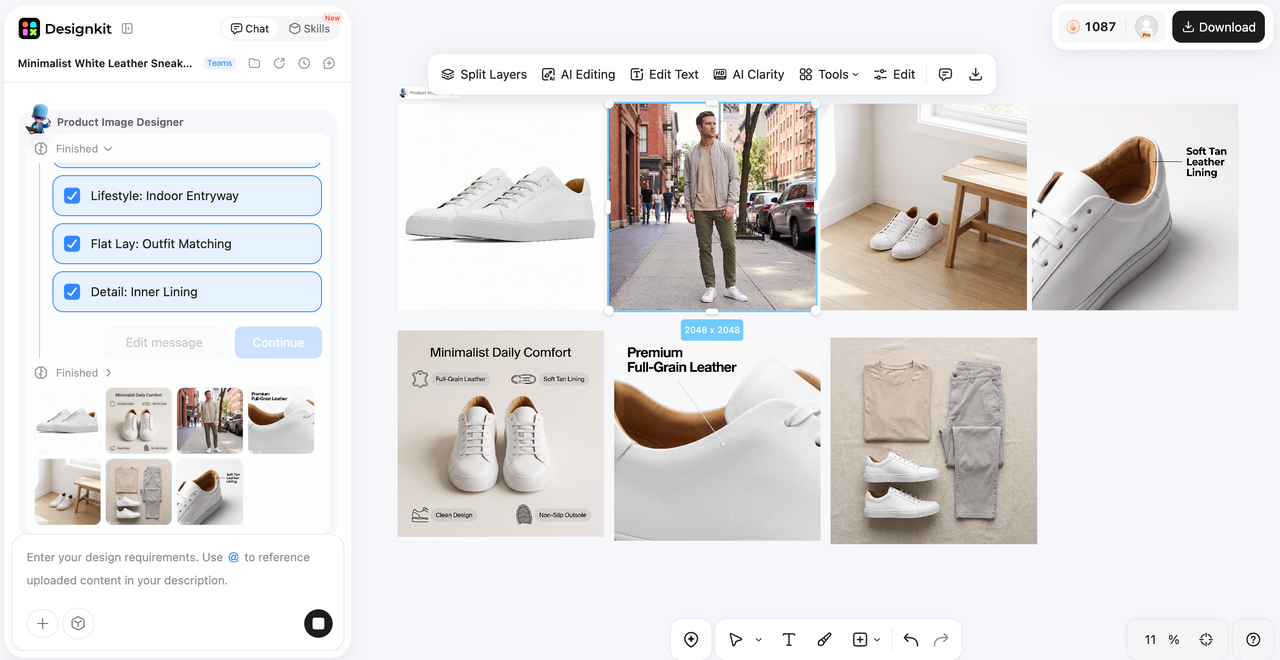
Create multiple listing-ready visuals for different angles and presentation styles.
Step 3: Review and Prepare Listing Images
Check color accuracy and product honesty, then pair the best frames with your title, description, and price on Poshmark.
Create Poshmark Listing Photos
Poshmark Selling Tips for Beginners
-
List your strongest pieces first so you learn what gets likes before you photograph the whole closet.
-
Keep one listing checklist and reuse it: the searchable facts first, then condition, flaws, and your after-fee price floor.
-
Photograph once with every angle you need, then reuse the strongest frames instead of reshooting for every share. If cover shots still feel flat, these product photography ideas can help you adjust the setup.
-
Track a few signals that actually teach you something, starting with likes and offers, then how long items take to sell and what you cleared after fees.
-
Do not chase “sold in one hour” if the accepted offer destroys your margin.
Conclusion
To sell on Poshmark well, treat each listing like a mini product page. Show the item clearly, describe it honestly, and set a price that still works after fees and offers. Stay active with sharing and liker offers, then ship on time with the prepaid label so you can get paid without drama. As your closet grows, consistent visuals make browsing easier for buyers and listing faster for you. Designkit can support that photo workflow while Poshmark handles discovery, payment, and shipping labels. If you are still choosing a marketplace, compare options in our Depop vs Poshmark guide or browse other online selling platforms.
Frequently Asked Questions
What should I sell on Poshmark first?
How much does Poshmark take from a sale?
In the US, Poshmark typically charges $2.95 on sales under $15 and 20% on sales of $15 or more. Confirm the live fee policy in the app before you set a pricing rule.
How does Poshmark shipping work for sellers?
After a sale, Poshmark gives you a prepaid USPS label. The standard label usually covers up to about 5 lb. Ship promptly, generally within about 7 days, and upgrade the label if the packed order is heavier.
How many photos should I use?
Use enough photos to answer buyer questions. Show the full item first, then tags, close details, and any flaws. Empty photo slots are a missed chance to reduce back-and-forth.
Should I accept the first offer?
Only if the after-fee number still meets your minimum. Otherwise counter. On older inventory, a fair offer can beat another month of storage.
How do I know if my price is right?
Compare sold comps for the same brand and condition, then subtract the seller fee and decide your offer floor before you list.
Can I use AI tools on Poshmark photos?
Yes, for presentation help such as background cleanup or a fuller image set. Do not alter the item in a way that misrepresents color, condition, or brand details. Designkit’s product photography tools are built for that listing-visual workflow. For a wider comparison, see AI product photography tools for ecommerce.
You May Also Like

T-Shirt Design Size Guide: Placement, Dimensions, & DPI

Best AI Ad Generators in 2026: Tools for Creating Better Ads

How to Sell on Poshmark: A Complete Beginner's Guide

Zeely Reviews 2026: Features, Pricing, Pros, Cons & Alternatives
Create TikTok Ads From One Photo: An AI Product Launch Kit
Depop vs Poshmark: Which Is Better for Selling in 2026?
How to Create an Amazon Storefront: 4-Step Guide for New Sellers

How to Sell on Amazon in 2026: A Complete Seller Guide

How to Sell Books on Amazon in 2026: Beginner Guide
AI Product Photography: 7 Best Tools for Ecommerce in 2026

Pippit AI Review 2026: Features, Pricing, Pros & Cons

What Is a Hero Image? Definition, Examples & Design Tips
Back to School Ad: 7 Creative Ideas for Better Campaign Results

Top 7 Back-to-School Sales Ideas to Boost Retail Sales (2026)

How to Create a Complete World Cup Product Listing Image Set

How to Create Amazon Summer Sale Posters and Banners with AI
Amazon Summer Sale 2026: Listing Design Trends & Product Image Ideas
Ecommerce Video Ads: 7 Strategies That Drive Higher Conversions

Product Photography Ideas: Creative Tips & Techniques for Better Shots

Product Photography Pricing 2026: Full Cost Guide by Type
Product Photography Starter Package: Gear Checklist 2026
How to Photograph Shoes for Your Ecommerce Store in 2026
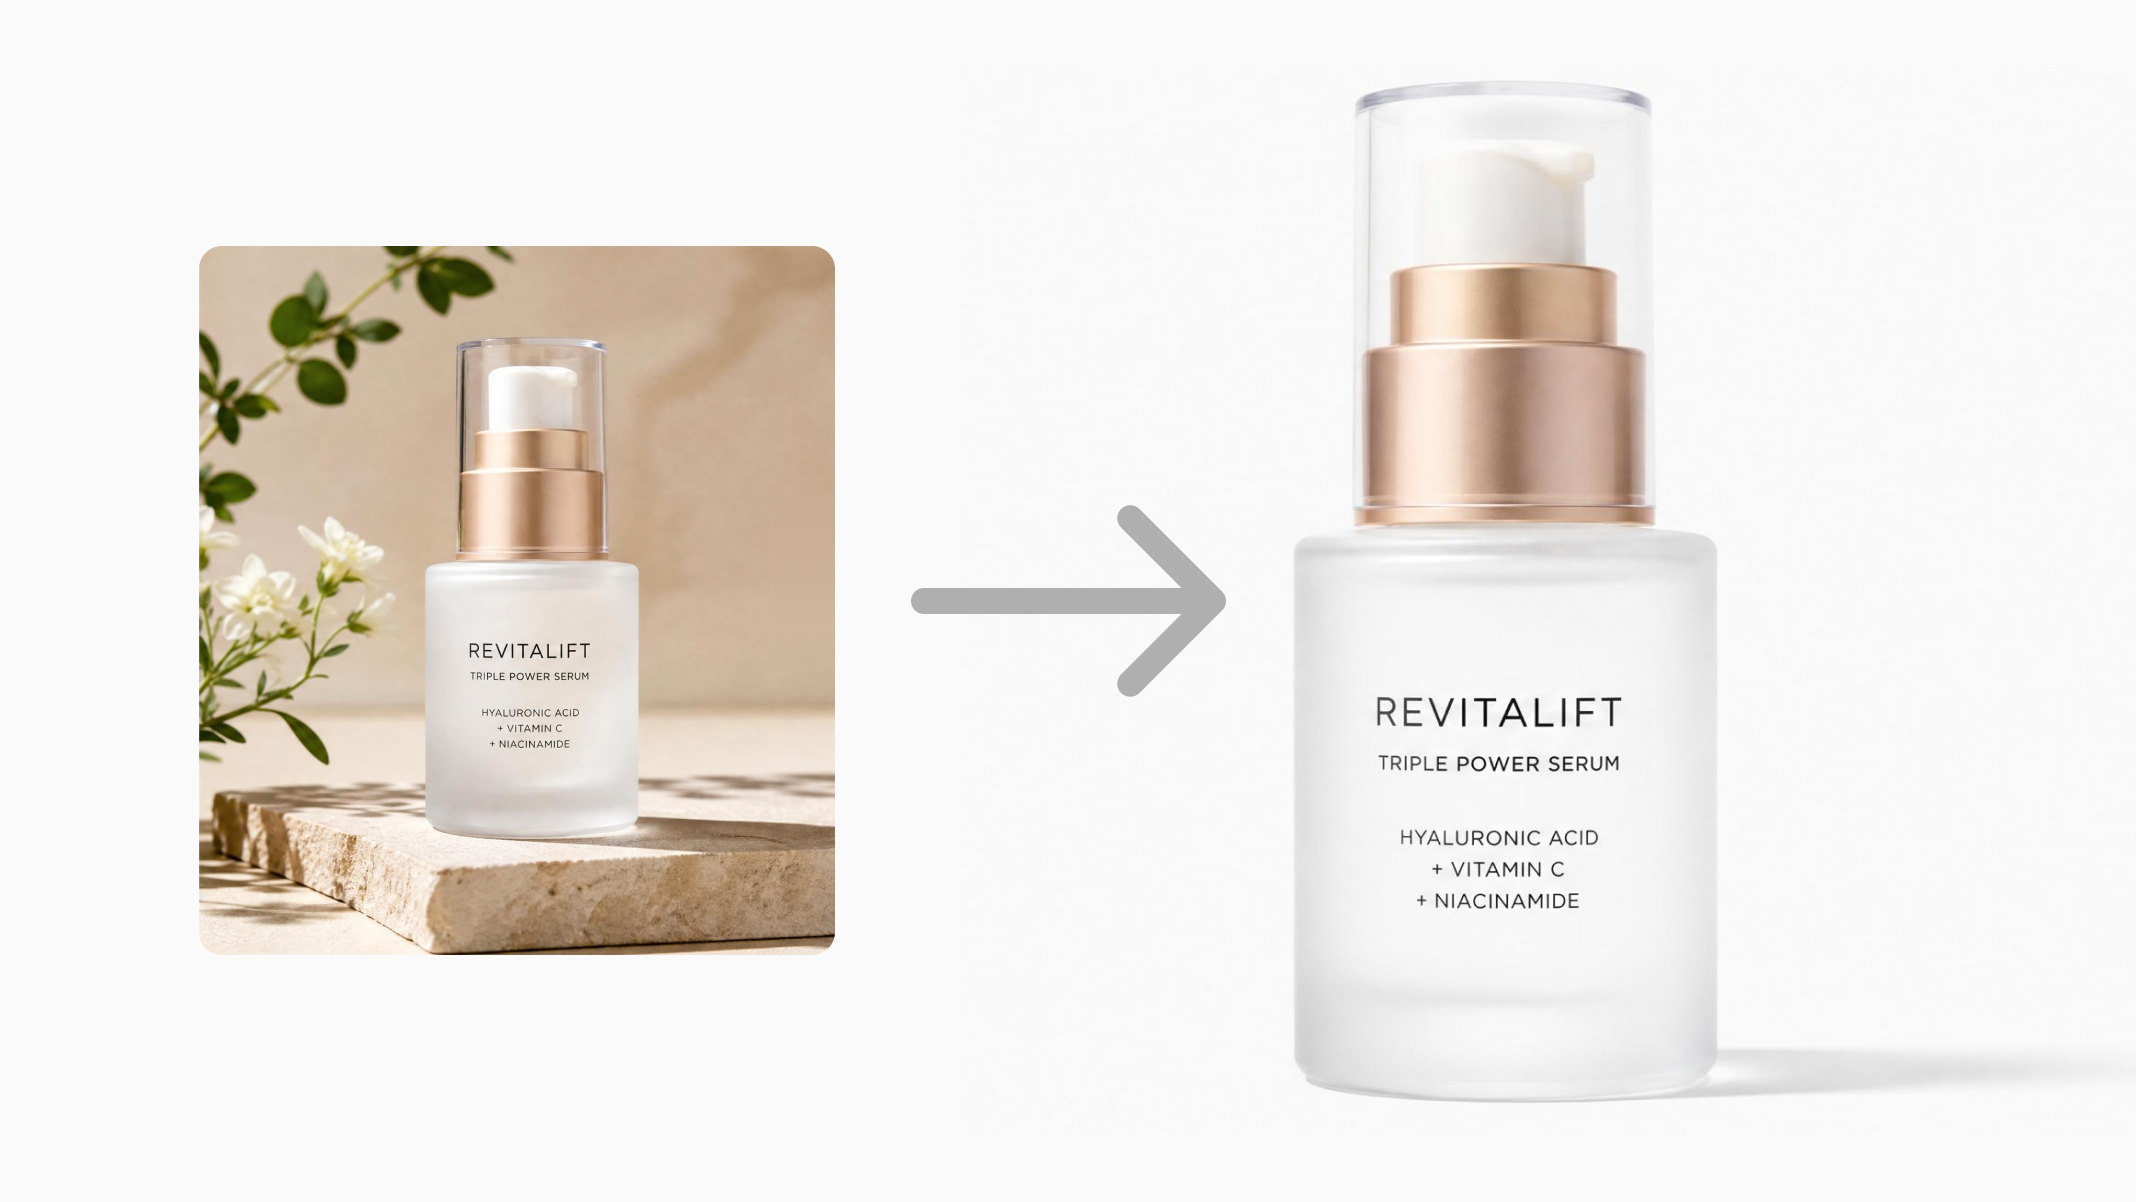
White Background Product Photography Guide & Tips 2026
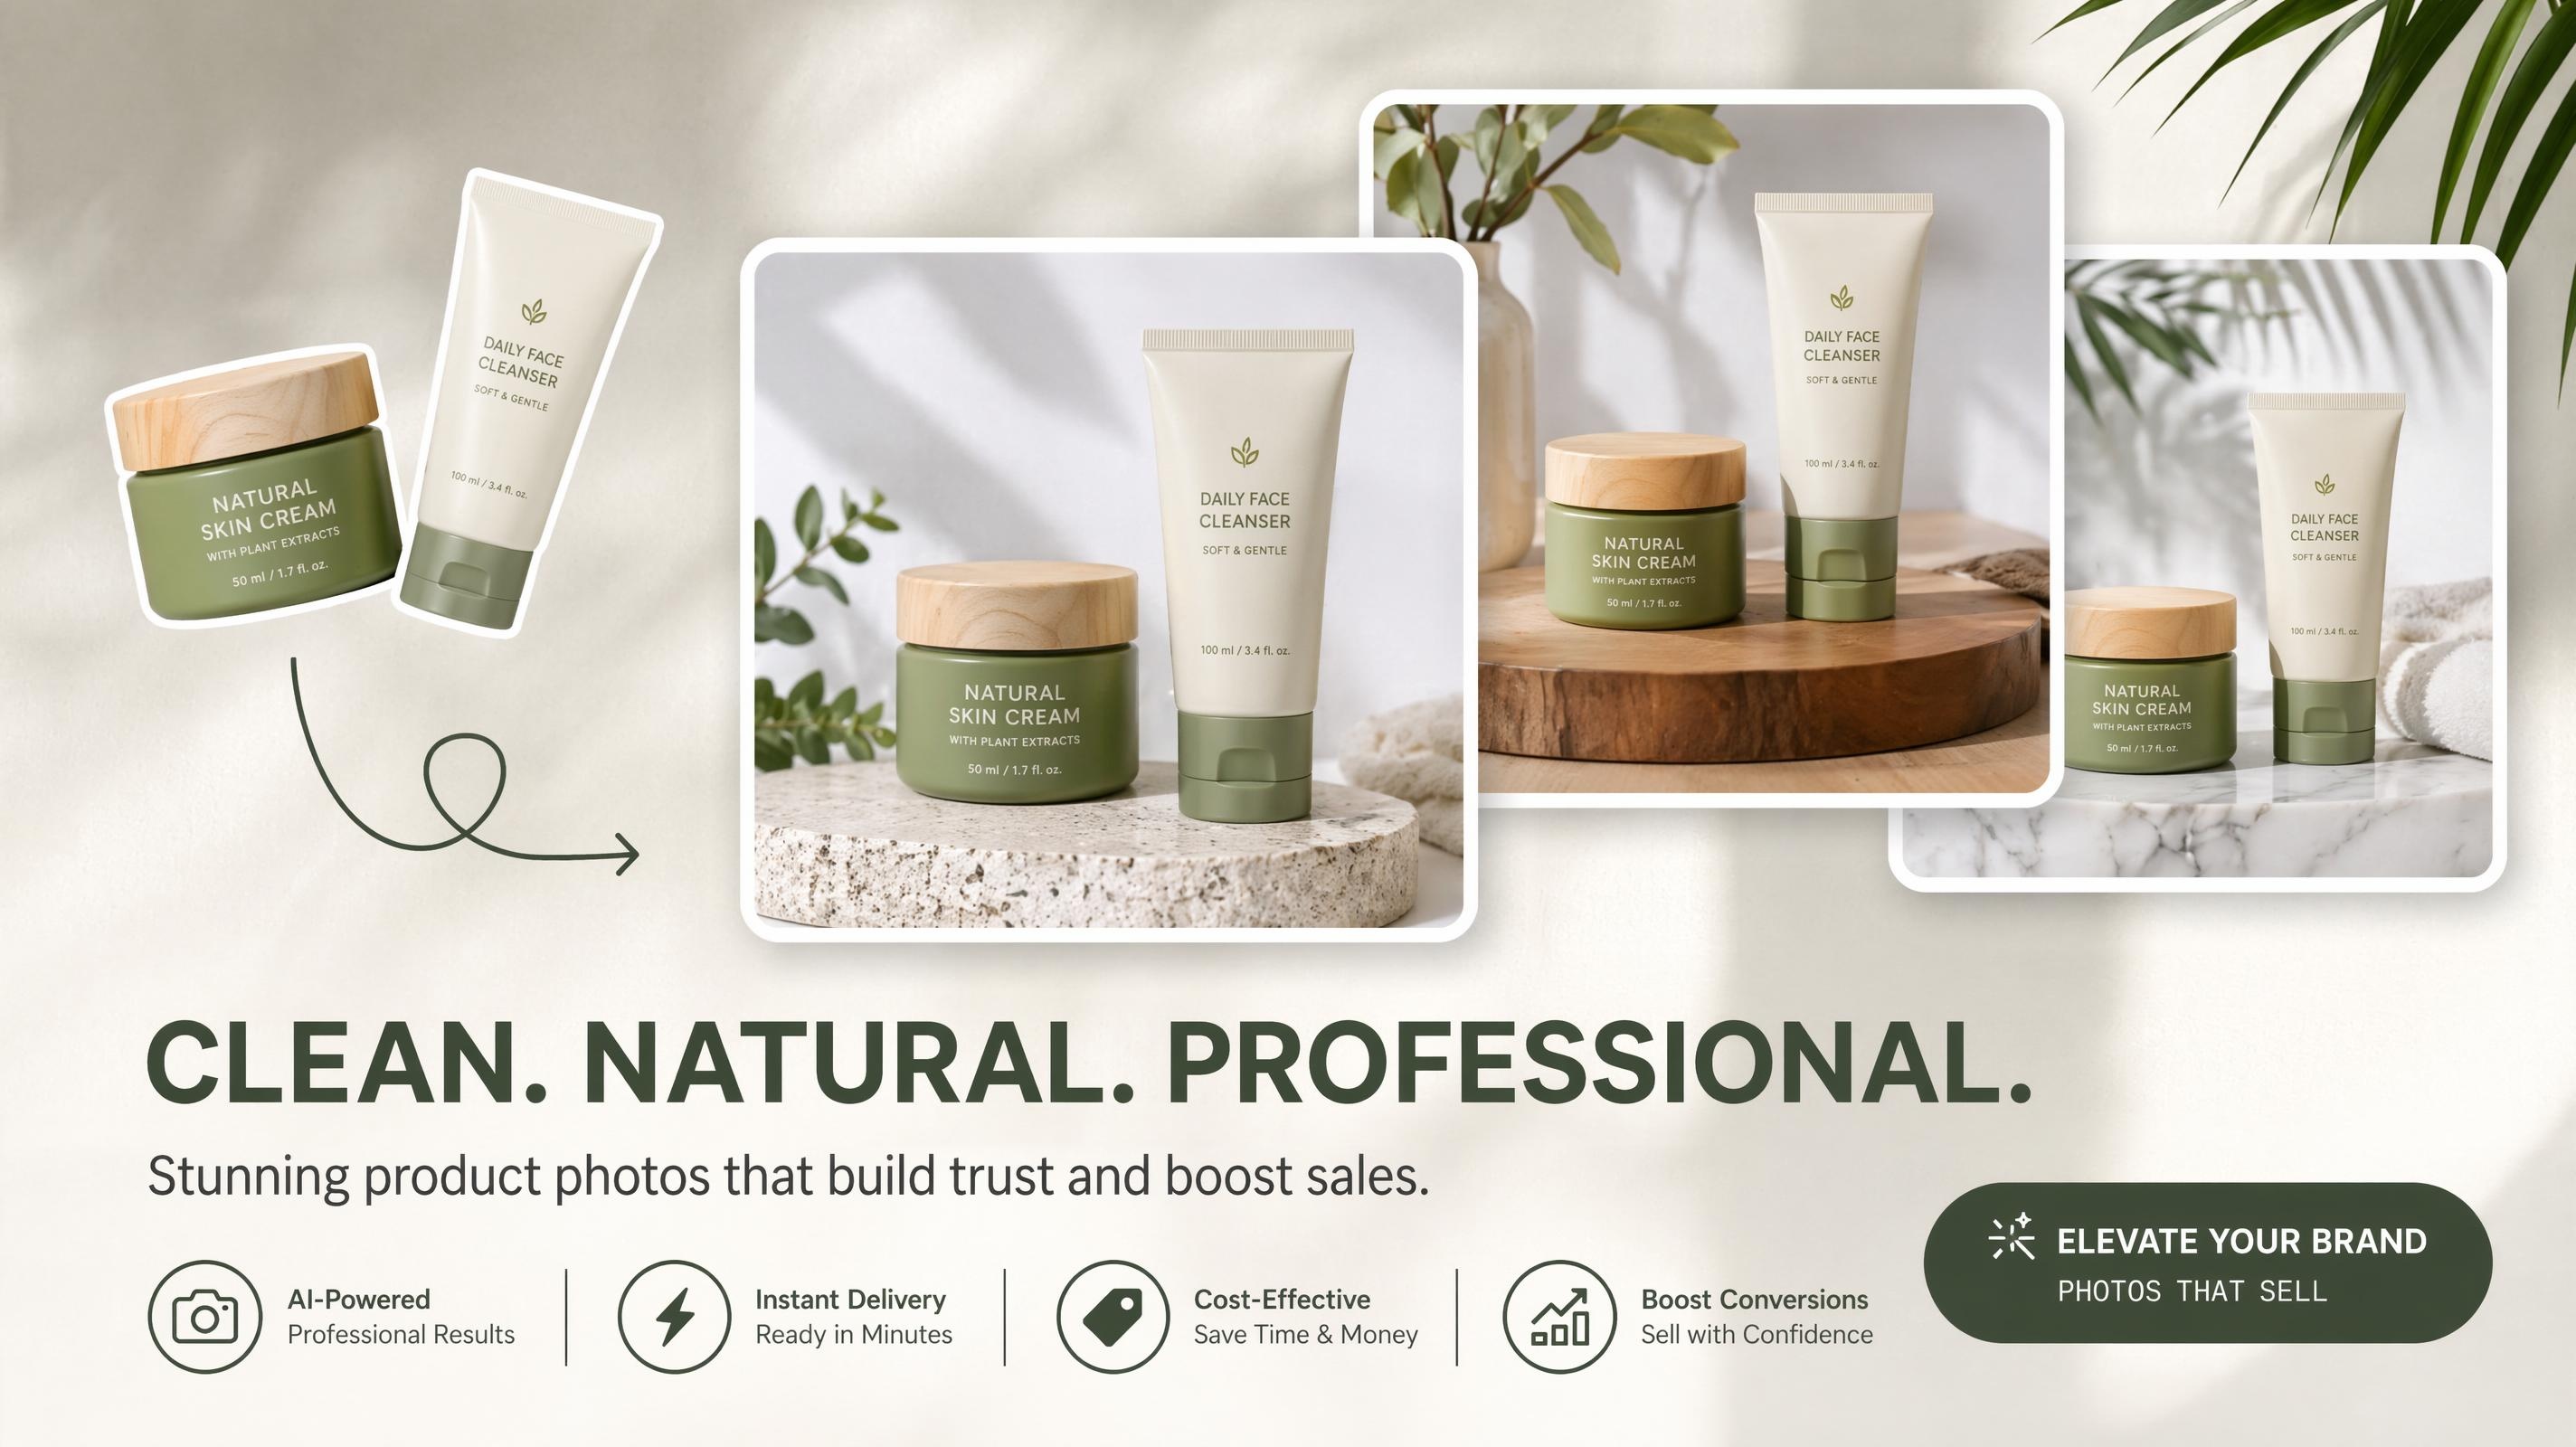
Shopify Product Photography Guide with Tips & Setup
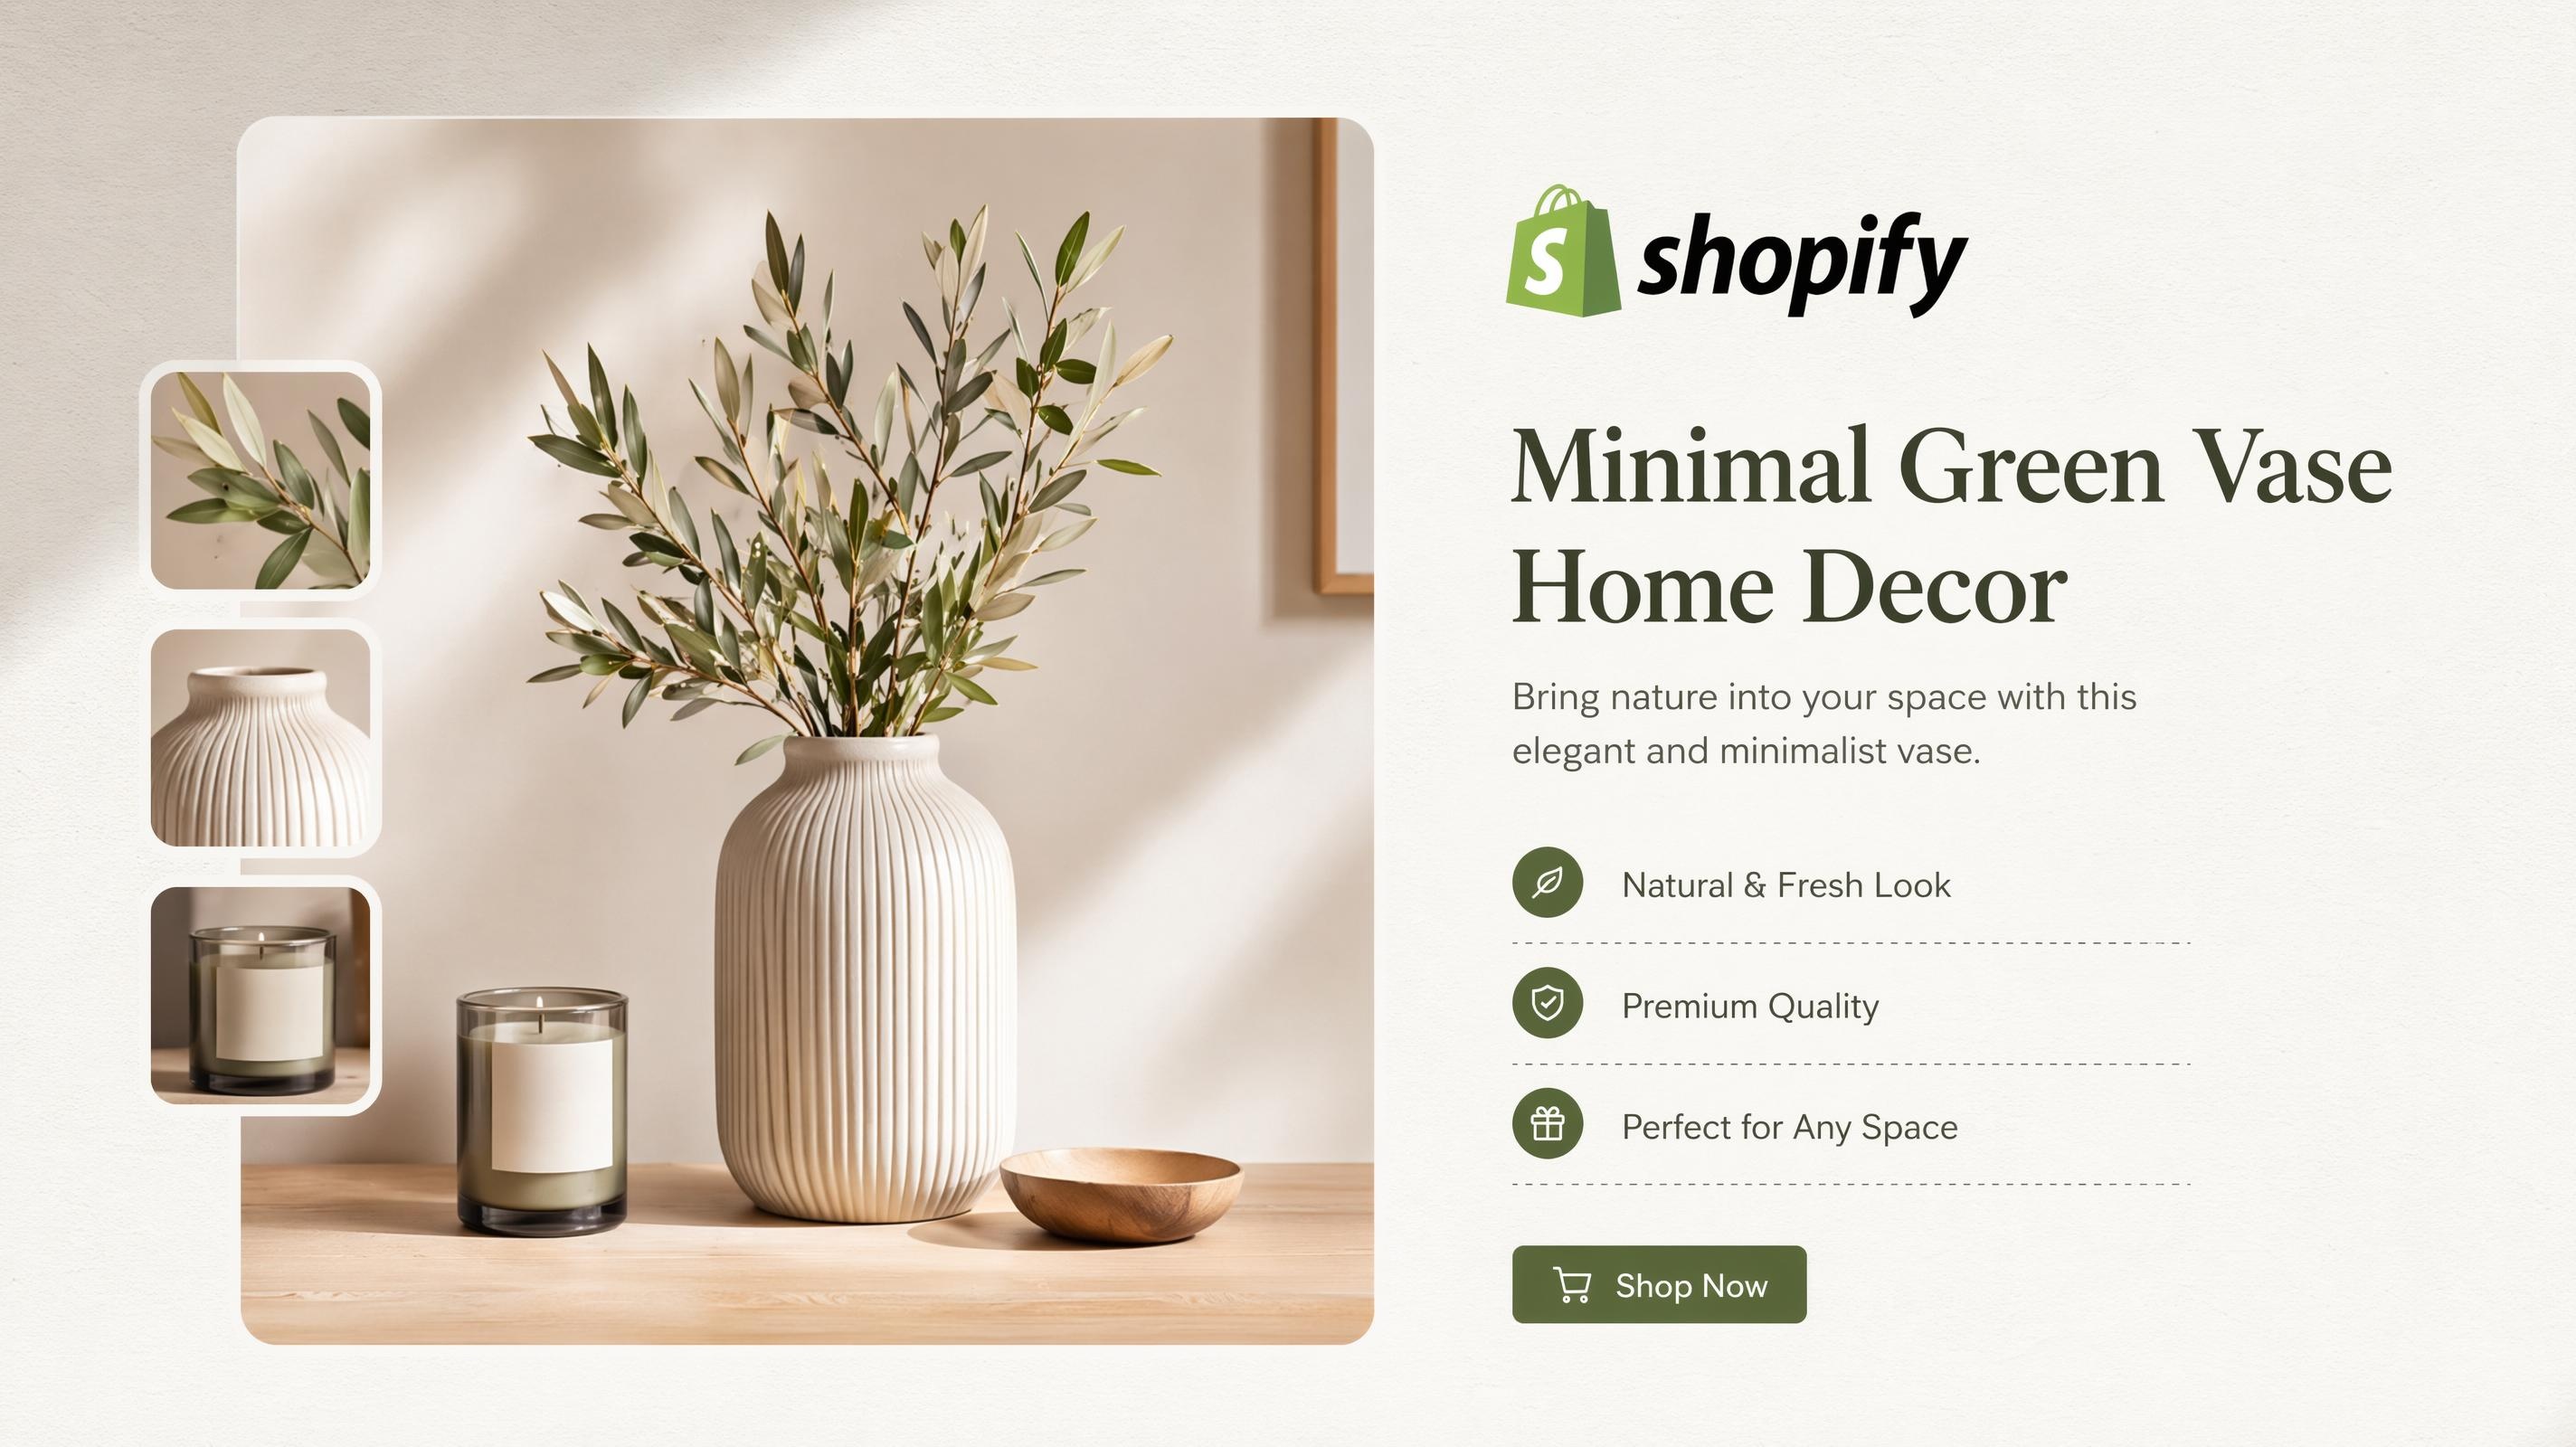
Shopify Image Size 2026: Complete Guide and Tips for Better Product Display
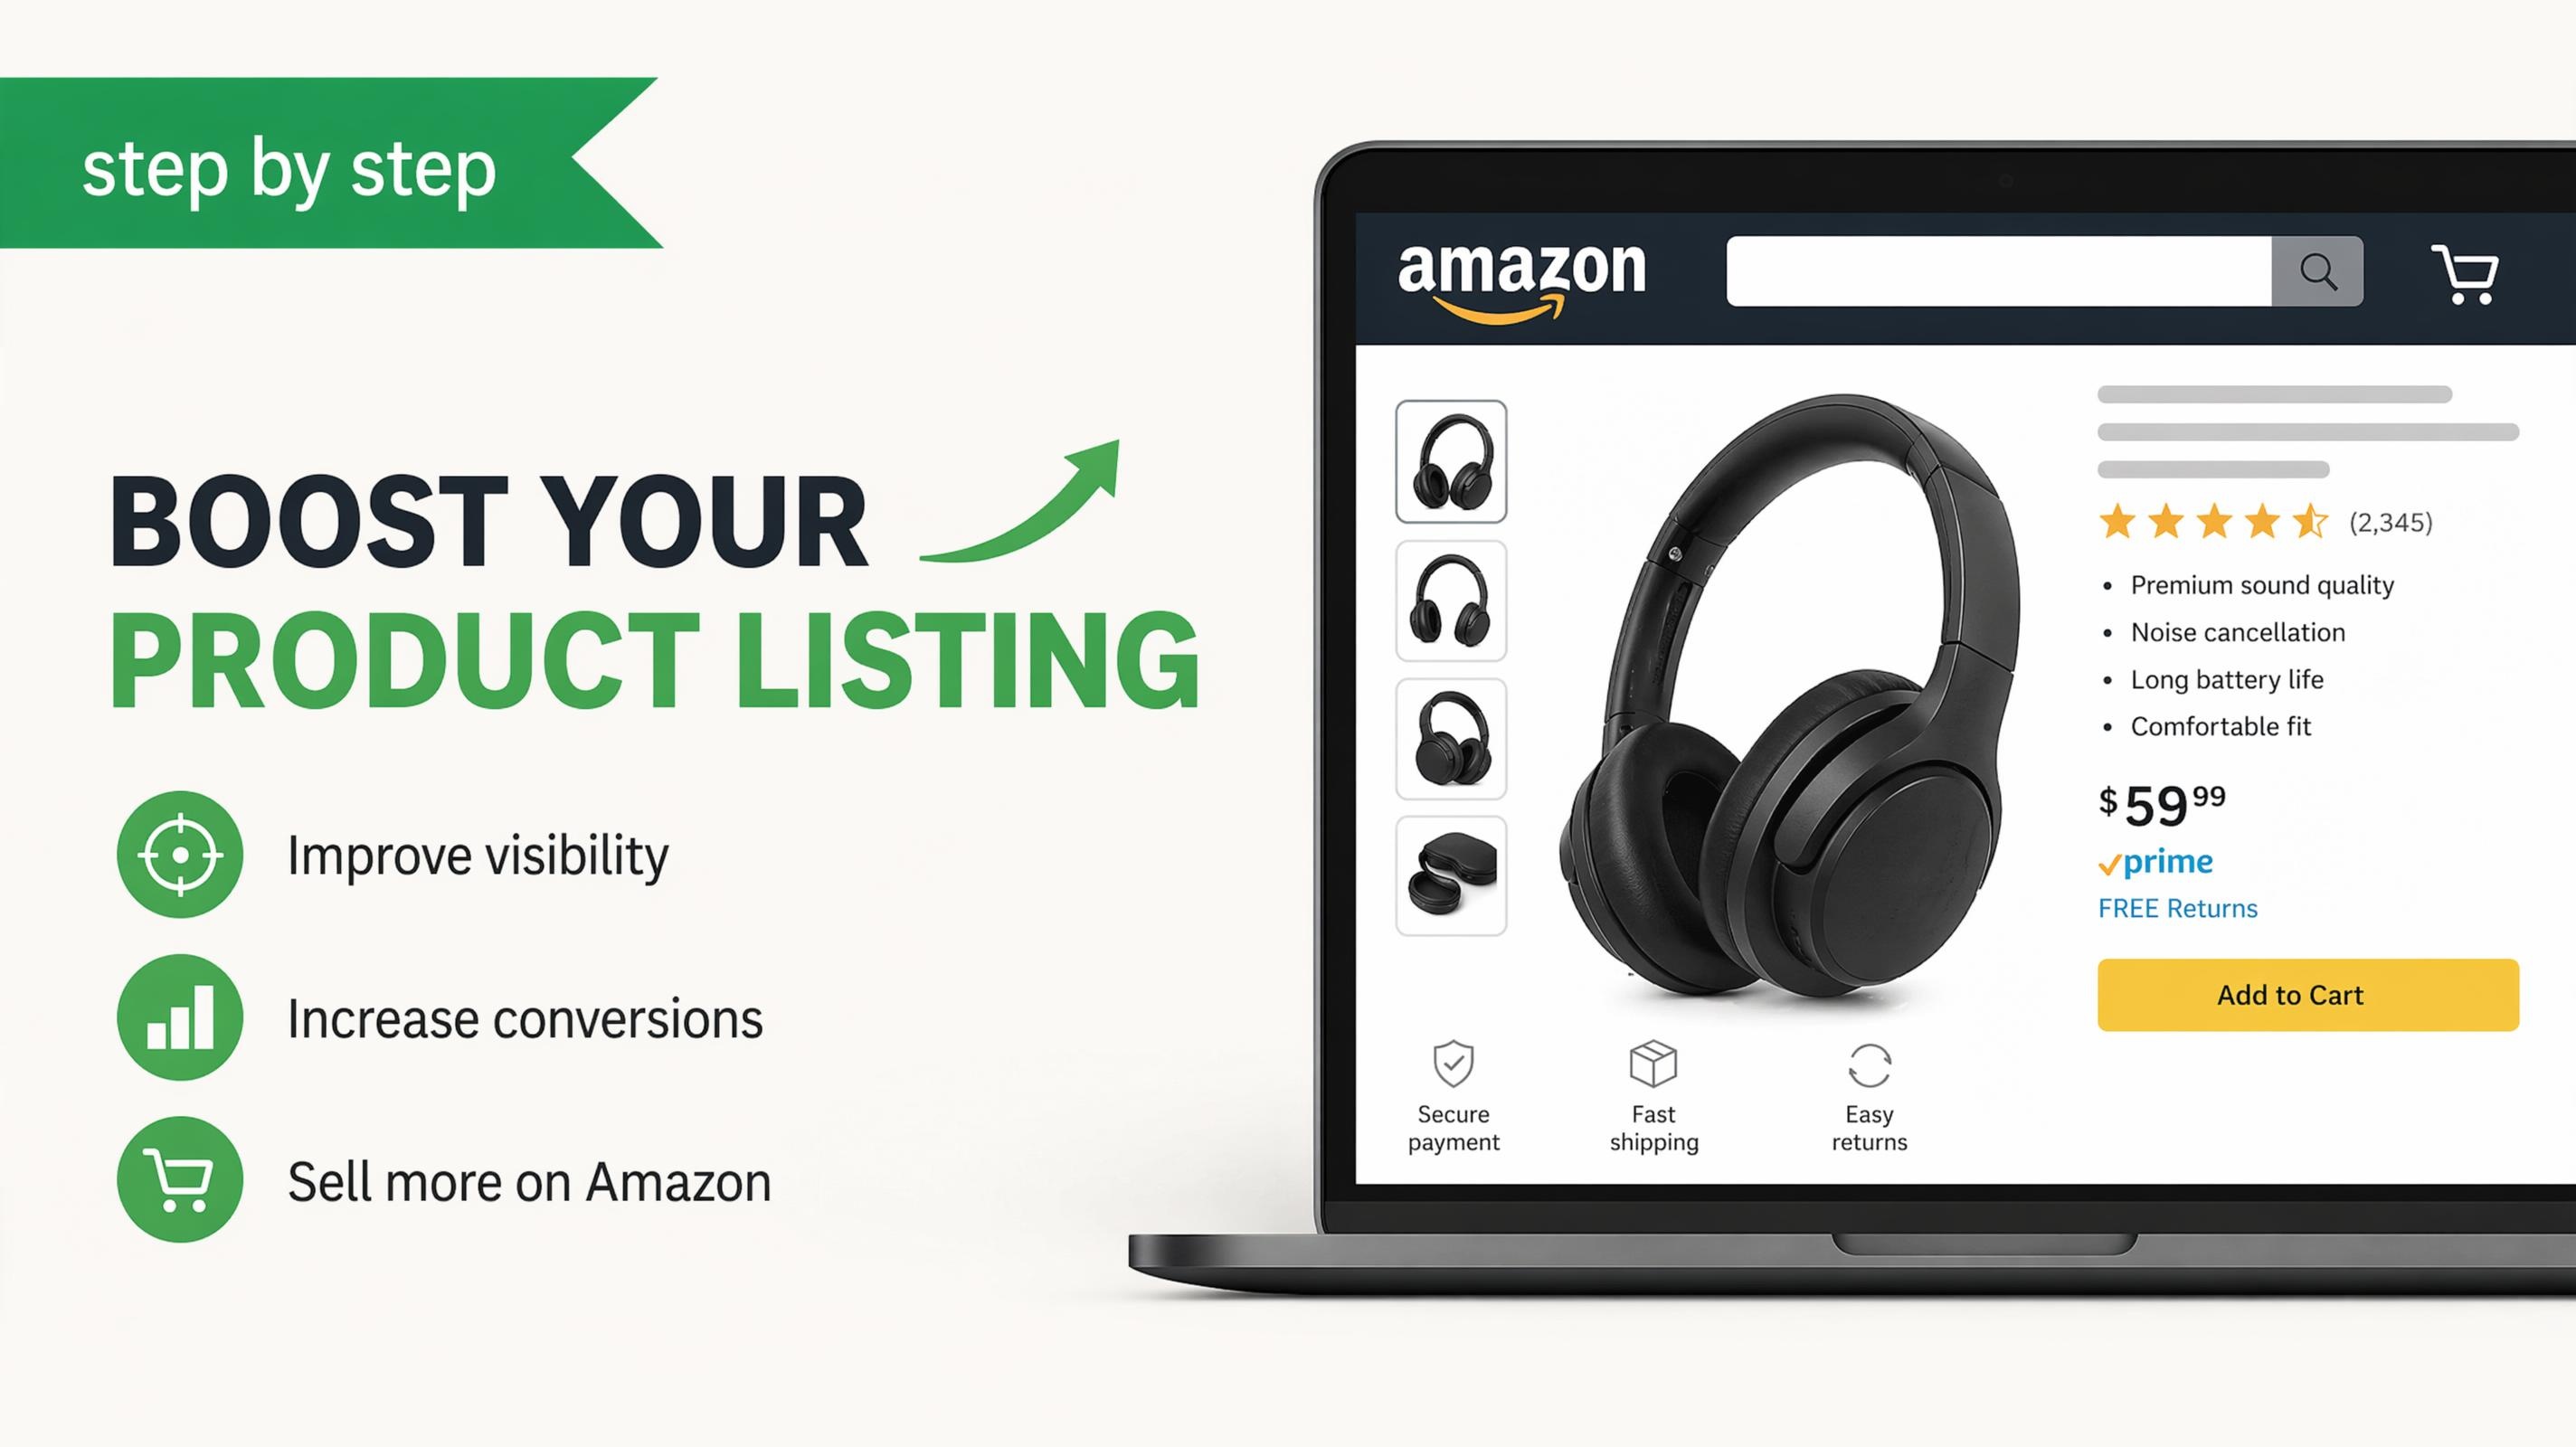
Amazon Main Image Requirements: Size, Guidelines & Tips

How to Create Amazon Infographics: Boost Sales with Compelling Visuals

7 Product Photography Mistakes That Hurt Ecommerce Sales
Studio Product Photography vs AI Product Photography in 2026

How to Create Outdoor Product Scenes Without a Photoshoot Using AI
Change Outfit Colors Online for Outfit Preview with AI Clothes Color Changer
The Etsy Thumbnail Formula That Drives More Clicks and Sales

How to Automate Your E-commerce Visuals with OpenClaw Workflow
Amazon 7-Image Listing Strategy: Boost Sales by Optimizing Every Image

Optimize Etsy Images for Mobile: Listing Photos That Convert
Etsy Thumbnail Optimization: Keep Your Product Fully Visible

How to Create Pro Amazon Listing Photos Without a Studio

Top 5 AI Tools to Generate Amazon Product Listing Images in 2026

How to Turn One Photo into 10 Etsy Listing Images Fast: Batch Workflow
Etsy Listing Photo Size Guide (2026): Mobile, Desktop & Shop View Specs

Turn White Background Images into Lifestyle Amazon Listings

Fix Etsy Image Cropping: Optimize Listing Photos for Every Device
Amazon Listing Images: Essential Shot List & Optimization Guide
How to Create Lifestyle Product Images Without a Studio
10 High-Converting Lifestyle Product Images for Amazon Listings
Lifestyle Product Photography Trends 2026: Authentic Looks at Scale
How to Master Lifestyle Product Photography in 2026

Amazon Listing Images Guide 2026: 7-Slot Strategy & Requirements
360 Product Photography Guide 2026: Setup, Shoot and Workflow
Beginner's Guide to Generate Product Photos from Different Angles
AI Product Photography: Create Ecommerce Images Without a Photoshoot

How to Create Realistic AI Product Photos: Step-by-Step Pro Guide
Keep AI Product Images Consistent Across SKUs: Lighting, Color, Background

How to Use AI for Spring Product Photography: 2026 Amazon Guide

How to Scale E-commerce with a Product Image Generator
Amazon Spring Sale 2026: Create High-Converting Listing Images (Guide)
How to Create a Budget Home Product Photography Setup with AI
How to Achieve Professional Product Photography Standards in 2026

How to Take Product Photos with Phone: Pro Guide for Amazon & AI

6 Best AI Product Image Generators in 2026
Amazon Photography Service vs. AI Generator: Best Choice for Sales
What Is Product Photography? Angles, Lighting & Editing Guide

AI Agents Transform Amazon Product Photography in 2026

2026 Amazon Image Trends Shaping Seller Success and Conversions
Amazon Photoshoot in 2026: Do You Still Need a Studio?

11 Must-Have Tools for Amazon Product Photography in 2026
Amazon Product Photography Requirements & Best Practices 2026
List Clearer Photos for Your Poshmark Closet
Strong listings start with photos buyers can trust. Use Designkit to clean up backgrounds, build a fuller image set, and keep your closet looking consistent as you add inventory.


