Product Photography Set Up at Home: A Budget Studio for Clean Product Photos


Uneven lighting, distracting backgrounds, and dull product colors are some of the things that can immediately make your brand less attractive. But you don't have to get a pricey studio just for that. Equipped with the right product photography at home, you're able to take clean, professional-looking shots by using simple tools, smart lighting placement, and an empty space.
This tutorial will show you the way to a product photography set up on a shoestring budget: lighting, backgrounds, camera positioning, and a bunch of handy tricks for getting the crisp, consistent shots you want. If you are a person who prefers to take it easy with the process, you will also learn how Designkit's AI can help your product images by automatically removing backgrounds, generating realistic scenes, and optimizing lighting in seconds, thus converting your simple product images into studio-quality visuals.
Part 1. Quick Start — The Minimum Viable Home Studio
A functional product photography setup doesn't have to begin with purchasing an expensive camera. It starts with control of the situation. If you concentrate on the basics first, you will be able to enhance your product photography quality greatly without spending too much. Here are the steps to create a minimum viable home studio that can really give you clean and consistent results.

1.1. Budget tiers and what each one improves
|
Budget Tier |
Setup Components |
What It Improves |
|---|---|---|
|
$0–$30 (Ultra Basic) |
Natural window light, white chart paper/foam board background, table + chair/tripod alternative |
Basic light softness, cleaner background, small product shots |
|
$30–$100 (Entry-Level) |
1–2 softbox or LED lights, an affordable tripod, foam boards for light bounce |
Light consistency, reduced shadows, better repeatability, medium-sized products |
|
$100–$300 (Serious Beginner) |
Dual softbox kit or ring light + fill light, sturdy tripod, sweep backdrop (vinyl/paper roll), reflectors/diffusers |
Professional light control, faster workflow, larger product range, brand consistency |
1.2. The priority order: lighting → stability → background → camera
If you upgrade in the wrong order, you waste money. Follow this sequence:
1. Lighting – Good light fixes 70% of product photography problems.
2. Stability – A tripod prevents blur and keeps framing consistent.
3. Background – A seamless, distraction-free surface elevates perceived quality.
4. Camera – Modern smartphones are often enough once the first three are optimized.
A great setup with a basic camera will outperform a poor setup with an expensive one.
1.3. 5-minute pre-shoot checklist
Before every shoot, run through this quick reset:
1. Clear and declutter the shooting space
2. Clean the product (dust shows in close-ups)
3. Check power supply and battery levels
4. Wipe and flatten the shooting surface
5. Ensure color consistency (same lights, no mixed warm/cool tones)
This simple system keeps your product photography sharp, consistent, and ready for e-commerce every time.
Part 2. Product Photography Set Up — Gear, Budget, and What You Actually Need
Setting up a home product photography studio does not necessarily mean you have to spend a fortune. Combining the proper lighting, backgrounds, and support instruments, you will be capable of producing clear, regular pictures that are efficient in appearance, without the need to rent a studio or buy the equipment you do not really need. This part explains the basics, weighs the options, and tells you at what moment and for what reason to buy upgrades.
2.1. Lighting: Natural Light vs Ring Light vs Softbox

Lighting is the foundation of any product photography set up. Here's a comparison to help you choose the right solution:
|
Light Type |
Estimated Cost |
Best Product Types |
Pros |
Cons |
Common Mistakes |
|---|---|---|---|---|---|
|
Natural Light |
$0–$0 |
Small to medium products, flatlays |
Free, soft shadows, natural colors |
Inconsistent, weather dependent |
Shooting at wrong time of day, harsh shadows, mixed indoor/outdoor light |
|
Ring Light |
$20–$80 |
Jewelry, cosmetics, portraits |
Even, flattering light, easy setup |
Can flatten texture, glare on reflective products |
Too close, creates circular reflection, overexposed highlights |
|
Softbox Kit |
$50–$200 |
Apparel, electronics, home goods |
Consistent, controllable, professional look |
Takes space, setup time |
Using one light only for large products, poor diffuser placement |
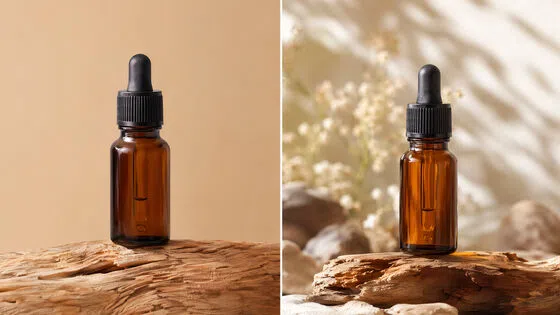
2.2. Background & Studio Setup: Materials and Layouts
Options for background materials:
- White poster board ($5): Great for small products on a tabletop.
- PVC boards ($15, $30): Strong, can be erased, and used again.
- Seamless paper rolls ($20, $50): Gives a smooth professional look, good for large products.

Studio layouts + best-fit categories:
- Lightbox ($25, $60): Perfect for gadgets, jewelry, and cosmetics.
- Sweep setup (curved backdrop): Clothes, household items, big stuff.
- Open tabletop lifestyle: Food, handmade goods, brand story photos.
Tips: Do not let background wrinkles and avoid horizon lines; keep background clean and white for a neat finish.
2.3. Camera Support & DIY Light Tools: Tripods, Mounts, Reflectors
- The support equipment: Monitor mounts, small-size tripods on the table ($10, $20), bendable arms, and remote shutters are great for camera stability and ensuring your shots look the same.
- DIY light shaping: Foam board reflectors ($1, $3), a black flag to lessen light reflection, and small diffusion tricks help to control the shadow and the light without spending extra.
- Stability + repeatability: Multi-SKU requires fixed camera angles so that all your shots are perfectly aligned and fast and easy to edit.

Part 3: Do It Yourself Product Photography — How to Shoot Clean, Sellable Images
Transitioning from just owning the gear to regularly taking product photos that are ready for listing is the real hard part in DIY product image photography. If you master the use of camera settings, composition, and category-specific tweaks, you can easily convert a simple home setup into a system that churns out sharp, professional photographs every time.
3.1. Camera and Phone Settings: Simple Defaults That Work
- Phone settings: Use the main lens, tap-to-focus and lock exposure, and don't use digital zoom. Some optional manual apps allow you to adjust ISO, shutter speed, and focus if you want more control.
- Camera settings: Set a low ISO level to keep the image free of noise, select an intermediate aperture f-stop (f/5.6, f/11) to get a sharp product detail, and mount your camera on a tripod to avoid camera shake while taking photos at slow shutter speeds.
- White balance fundamentals: Don't mix lighting sources; ensure color uniformity between SKUs so that your product photography appears consistent and professional.

3.2. Composition and Styling Tips: Make Images Look Pro
Composition rules: Feature the main product in the center, let there be some clean edges, and level your horizon to produce neat images.
Multi-angle shot list: Take product images from the front, 45°, side, back, detail, scale, and packaging to tell a product story fully.
Props and styling: Limit the use of props while maintaining the brand style of each one. This way you won't cause clutter or distraction.
Consistency system: Apply the same crop, shadow style, and background to each product line a catalog of this kind will be visually cohesive and professional.
3.3. Category-Specific Strategies: Adjust the Setup by Product Type
|
Product Category |
Key Tips |
|---|---|
|
Jewelry/accessories |
Control sparkle, use macro focus, dust management |
|
Beauty/skincare |
Ensure label readability, manage glossy reflections |
|
Electronics accessories |
Highlight edges, control scratches/dust |
|
Food/drink |
Emphasize freshness, maintain color accuracy, control shine |
|
Apparel/accessories |
Flat lay vs mannequin/model, smooth wrinkles, show texture |

Part 4: After the Shoot — Edit, Enhance, and Scale Your Product Images
Taking product photos is only part of the story. Through post-production, your images will be refined, color-corrected, and prepared for e-commerce platforms. Having a well-organized editing process allows you to work more effectively, particularly when dealing with several SKUs at a time.
4.1. Basic Editing: Clean Up, Correct Color, Fix Background and Shadows
The first thing you do is correct the exposure and white balance, then you get rid of background casts (gray or yellow colors) and finally, you control shadows to have a clean, consistent look.
Some tools you can use:
- Lightroom: It is very straightforward to fix colors and exposure there.
- Snapseed (mobile): Very handy for making changes fast when you are not at home.
- Photoshop (optional): You can use it when you want to retouch the background or remove reflections.
- remove.bg: A very easy and fast way to get the background out of one or even several pictures.
"Clean master image" rule:
Each product or SKU only needs one high-quality base file. The master file becomes the standard for all future variants, thus ensuring a consistency of colors and shadows.
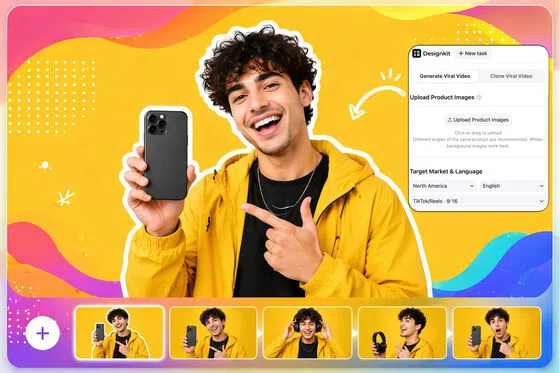
4.2. AI Implementation: Create Listing Sets and Lifestyle Variants
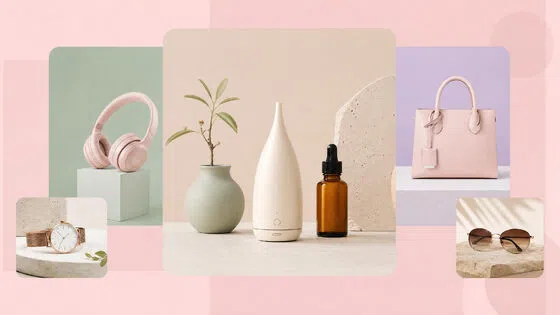
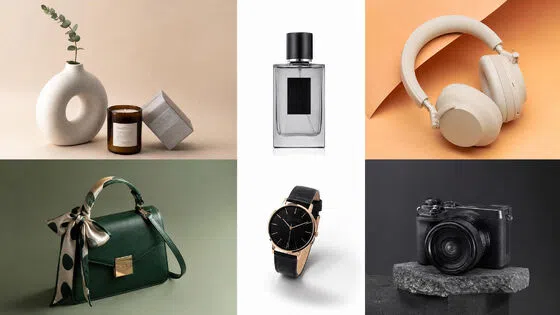
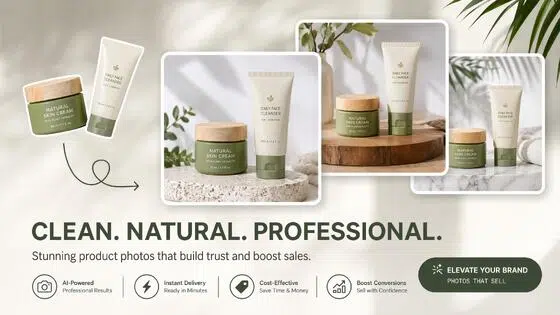
Once you have your clean master images ready, the next stage to consider in DIY product image photography is scaling up efficiently. With AI, you can easily create a variety of background scenes, make multiple platform-ready image sets, and get the images in different sizes without having to reshoot. Not only does this method cut down on the time spent, but it also guarantees consistent results for different SKUs. Moreover, it enables sellers to keep a high level of professionalism in their product range even when their catalogue is expanding rapidly.
Scaling with AI use cases:
- From one master photo, generate multiple background or lifestyle scenes
- Create a whole set of listing images in different formats and sizes
- Use the same lighting, color, and shadow to show different products
- Get images out immediately for e-commerce sites or social media
Where Designkit fits

Designkit provides two AI solutions that complement each other:
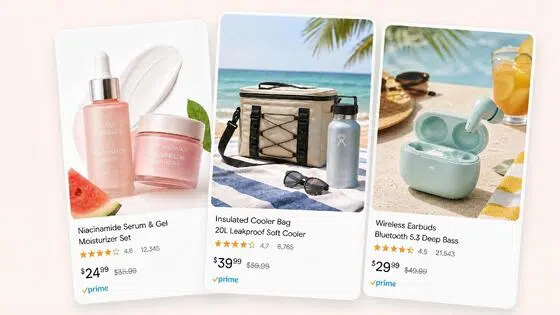
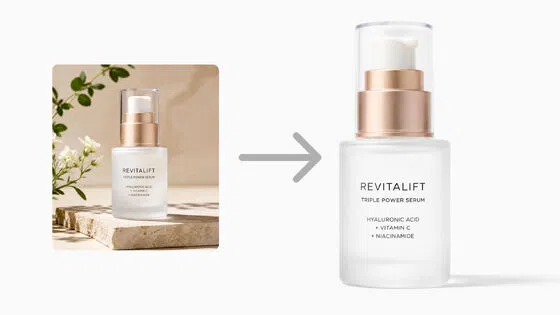
- AI Product Photography Generator: The ideal AI Image Generator tool for making generic e-commerce and social media images. Starting from a single master image, it not only eliminates the background distractions but also harmonizes the lighting naturally. Besides, it can produce consistent lifestyle or background variants. Furthermore, it supports batch generation by retaining delicate details like fabric grain, metallic luster, or product labels.

- Amazon Listing / Photoshoot Generator: This is an AI Product Listing Images Generator tool that a seller on Amazon will find indispensable in case of having to produce images meeting the platform's standards. By just typing one sentence, the AI will deliver full sets of images ready for Amazon, including main images, lifestyle shots, and detail visuals. It correctly handles aspects of ratios, background rules, and compliance with marketplace guidelines. It also allows you to go up multiple SKUs or global marketplaces without the need of hiring photographers, models, or studios.

4.3. Exporting for Platforms: Requirements and Best Practices
Platform specific quick guide:
- Amazon: The main image must be on a pure white background, have the correct aspect ratio, and follow the official guidelines. Lifestyle and detailed images should depict usage and feature the product.
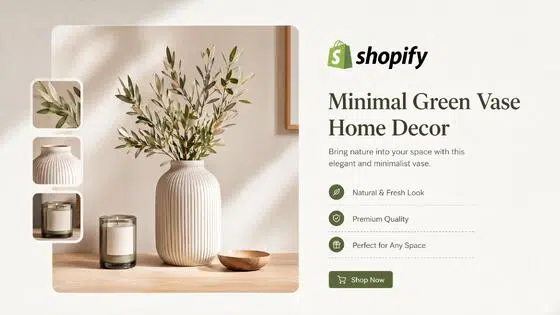
- Shopify: Flexible square or rectangular images are fine; make sure that the background and color are consistent throughout the catalog.
- Instagram / Pinterest: High-resolution images with the right crop (1:1 for the Instagram feed, vertical for stories/pins). Always check the latest platform guidelines for size updates.
File formats & clarity:
- Generally, JPG is suitable for product images, PNG is the right choice for transparency, and WebP is best for faster web loading.
- Do not over-compress; keep enough detail for both zoom-ins and mobile displays.
Conclusion
An uncomplicated and efficient product photography set up at your place, along with regular photography and thorough retouching, can help you to produce neat and marketable images without spending more than necessary. Begin with a basic kit, take pictures of one SKU, and perfect your workflow before scaling up.
If your catalog is bigger or you have many new launches, Designkit can be your helper in saving time by creating background and lifestyle variations, generating platform-ready exports, and maintaining product details. A fast manual control for compliance will be enough, and professional-quality pictures will be at your disposal for all your listings
Frequently Asked Questions
Q1: Do I need a professional camera to get high-quality product photos at home?
Q2: How can I save time when generating multiple product images for different platforms?
If you want to shoot every angle and edit for each platform manually, it will take up a lot of time. Designkit allows you to create platform-ready image sets, such as white-background main images and lifestyle shots, straight from a clean master photo, thus maintaining the same lighting and color in all exports.
You May Also Like

Back to School Ad: 7 Creative Ideas for Better Campaign Results

Top 7 Back-to-School Sales Ideas to Boost Retail Sales (2026)

How to Create a Complete World Cup Product Listing Image Set

How to Create Amazon Summer Sale Posters and Banners with AI
Amazon Summer Sale 2026: Listing Design Trends & Product Image Ideas
Ecommerce Video Ads: 7 Strategies That Drive Higher Conversions

How to Photograph Shoes for Your Ecommerce Store in 2026
Product Photography Ideas: Creative Tips & Techniques for Better Shots
Product Photography Pricing 2026: Full Cost Guide by Type
White Background Product Photography Guide & Tips 2026

Product Photography Starter Package: Gear Checklist 2026
Shopify Product Photography Guide with Tips & Setup

Amazon Main Image Requirements: Size, Guidelines & Tips
Shopify Image Size 2026: Complete Guide and Tips for Better Product Display
Studio Product Photography vs AI Product Photography in 2026

7 Product Photography Mistakes That Hurt Ecommerce Sales

Change Outfit Colors Online for Outfit Preview with AI Clothes Color Changer

How to Create Amazon Infographics: Boost Sales with Compelling Visuals

How to Create Outdoor Product Scenes Without a Photoshoot Using AI

Optimize Etsy Images for Mobile: Listing Photos That Convert

Amazon 7-Image Listing Strategy: Boost Sales by Optimizing Every Image

Etsy Thumbnail Optimization: Keep Your Product Fully Visible

The Etsy Thumbnail Formula That Drives More Clicks and Sales

How to Create Pro Amazon Listing Photos Without a Studio

10 High-Converting Lifestyle Product Images for Amazon Listings

How to Automate Your E-commerce Visuals with OpenClaw Workflow

Top 5 AI Tools to Generate Amazon Product Listing Images in 2026

How to Turn One Photo into 10 Etsy Listing Images Fast: Batch Workflow

Etsy Listing Photo Size Guide (2026): Mobile, Desktop & Shop View Specs

Turn White Background Images into Lifestyle Amazon Listings

Fix Etsy Image Cropping: Optimize Listing Photos for Every Device

Amazon Listing Images: Essential Shot List & Optimization Guide

How to Create Lifestyle Product Images Without a Studio

Lifestyle Product Photography Trends 2026: Authentic Looks at Scale

How to Master Lifestyle Product Photography in 2026

Amazon Listing Images Guide 2026: 7-Slot Strategy & Requirements

360 Product Photography Guide 2026: Setup, Shoot and Workflow

Beginner's Guide to Generate Product Photos from Different Angles

AI Product Photography: Create Ecommerce Images Without a Photoshoot

How to Create Realistic AI Product Photos: Step-by-Step Pro Guide

Keep AI Product Images Consistent Across SKUs: Lighting, Color, Background

How to Scale E-commerce with a Product Image Generator

How to Use AI for Spring Product Photography: 2026 Amazon Guide

How to Create a Budget Home Product Photography Setup with AI

How to Achieve Professional Product Photography Standards in 2026

How to Take Product Photos with Phone: Pro Guide for Amazon & AI

Best AI Product Image Generator 2026: Top Tools for Amazon Sales

Amazon Photography Service vs. AI Generator: Best Choice for Sales

What Is Product Photography? Angles, Lighting & Editing Guide

Amazon Spring Sale 2026: Create High-Converting Listing Images (Guide)

AI Agents Transform Amazon Product Photography in 2026

Amazon Photoshoot in 2026: Do You Still Need a Studio?

11 Must-Have Tools for Amazon Product Photography in 2026

2026 Amazon Image Trends Shaping Seller Success and Conversions

Amazon Product Photography Requirements & Best Practices 2026
Make every product image ready to sell
Designkit is an all-in-one AI platform for ecommerce visuals. Create product photos, AI videos, virtual try-ons, and Amazon listing images in seconds. Generate HD backgrounds, batch edit photos, and scale your brand with studio-quality content.