
AI Buzz Cut Filter: Try a Buzz Cut on Your Photo
Upload a portrait and preview a buzz cut before changing your hairstyle. Get a personalized result that keeps the rest of your photo recognizable.
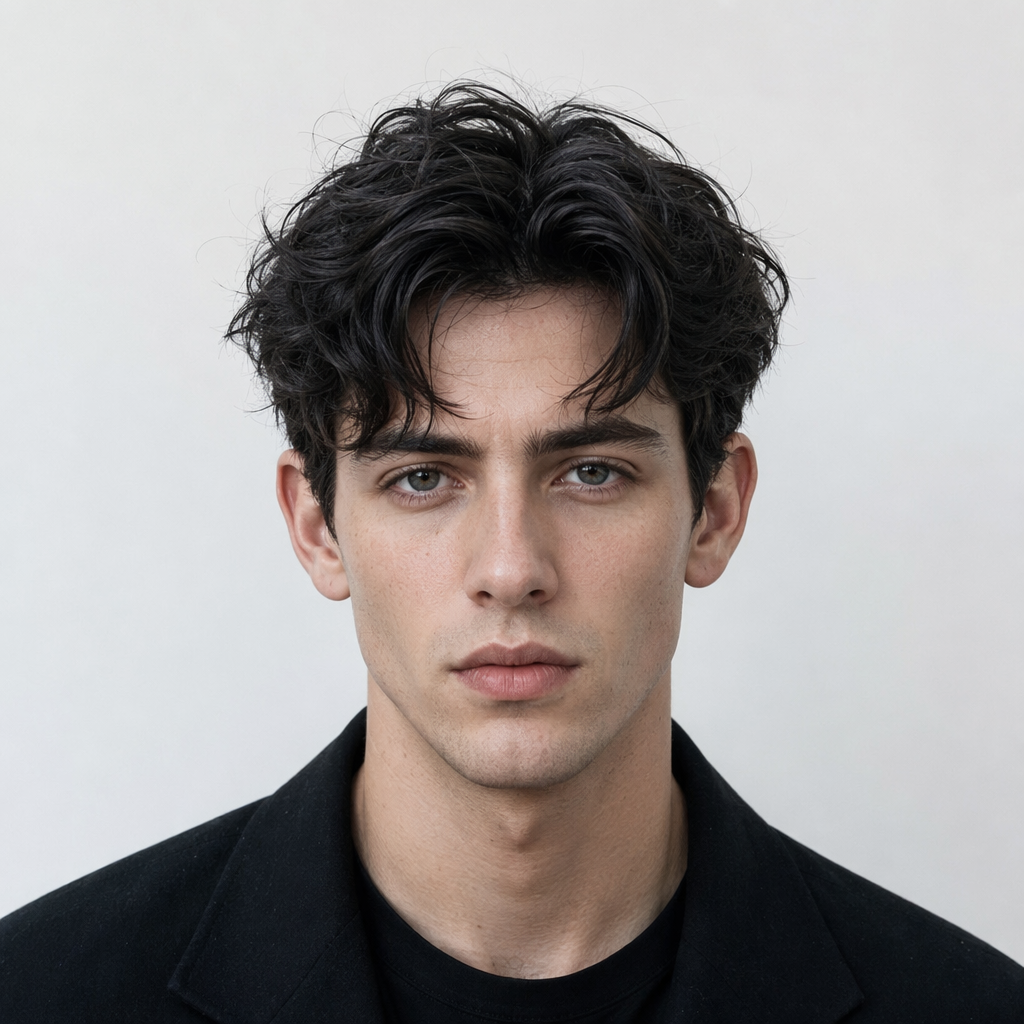
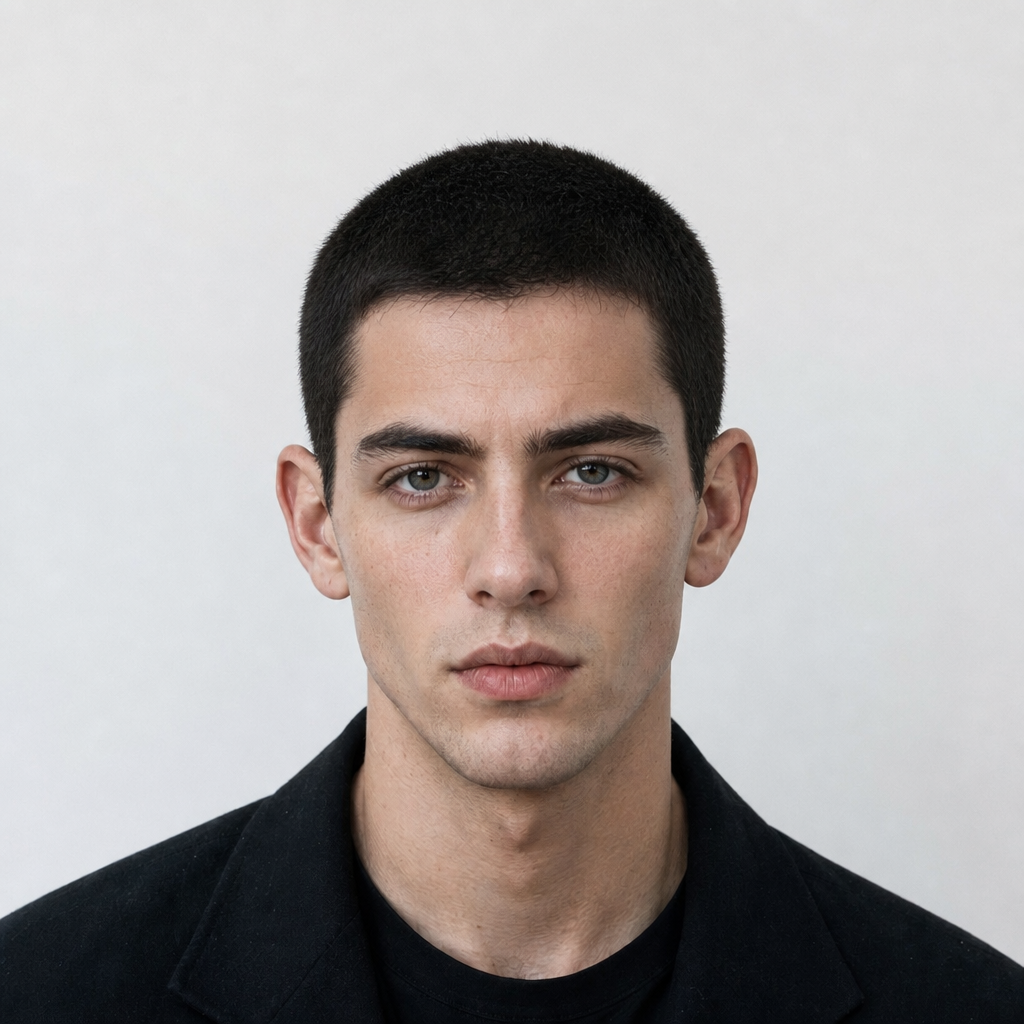
See What You Would Look Like with a Buzz Cut
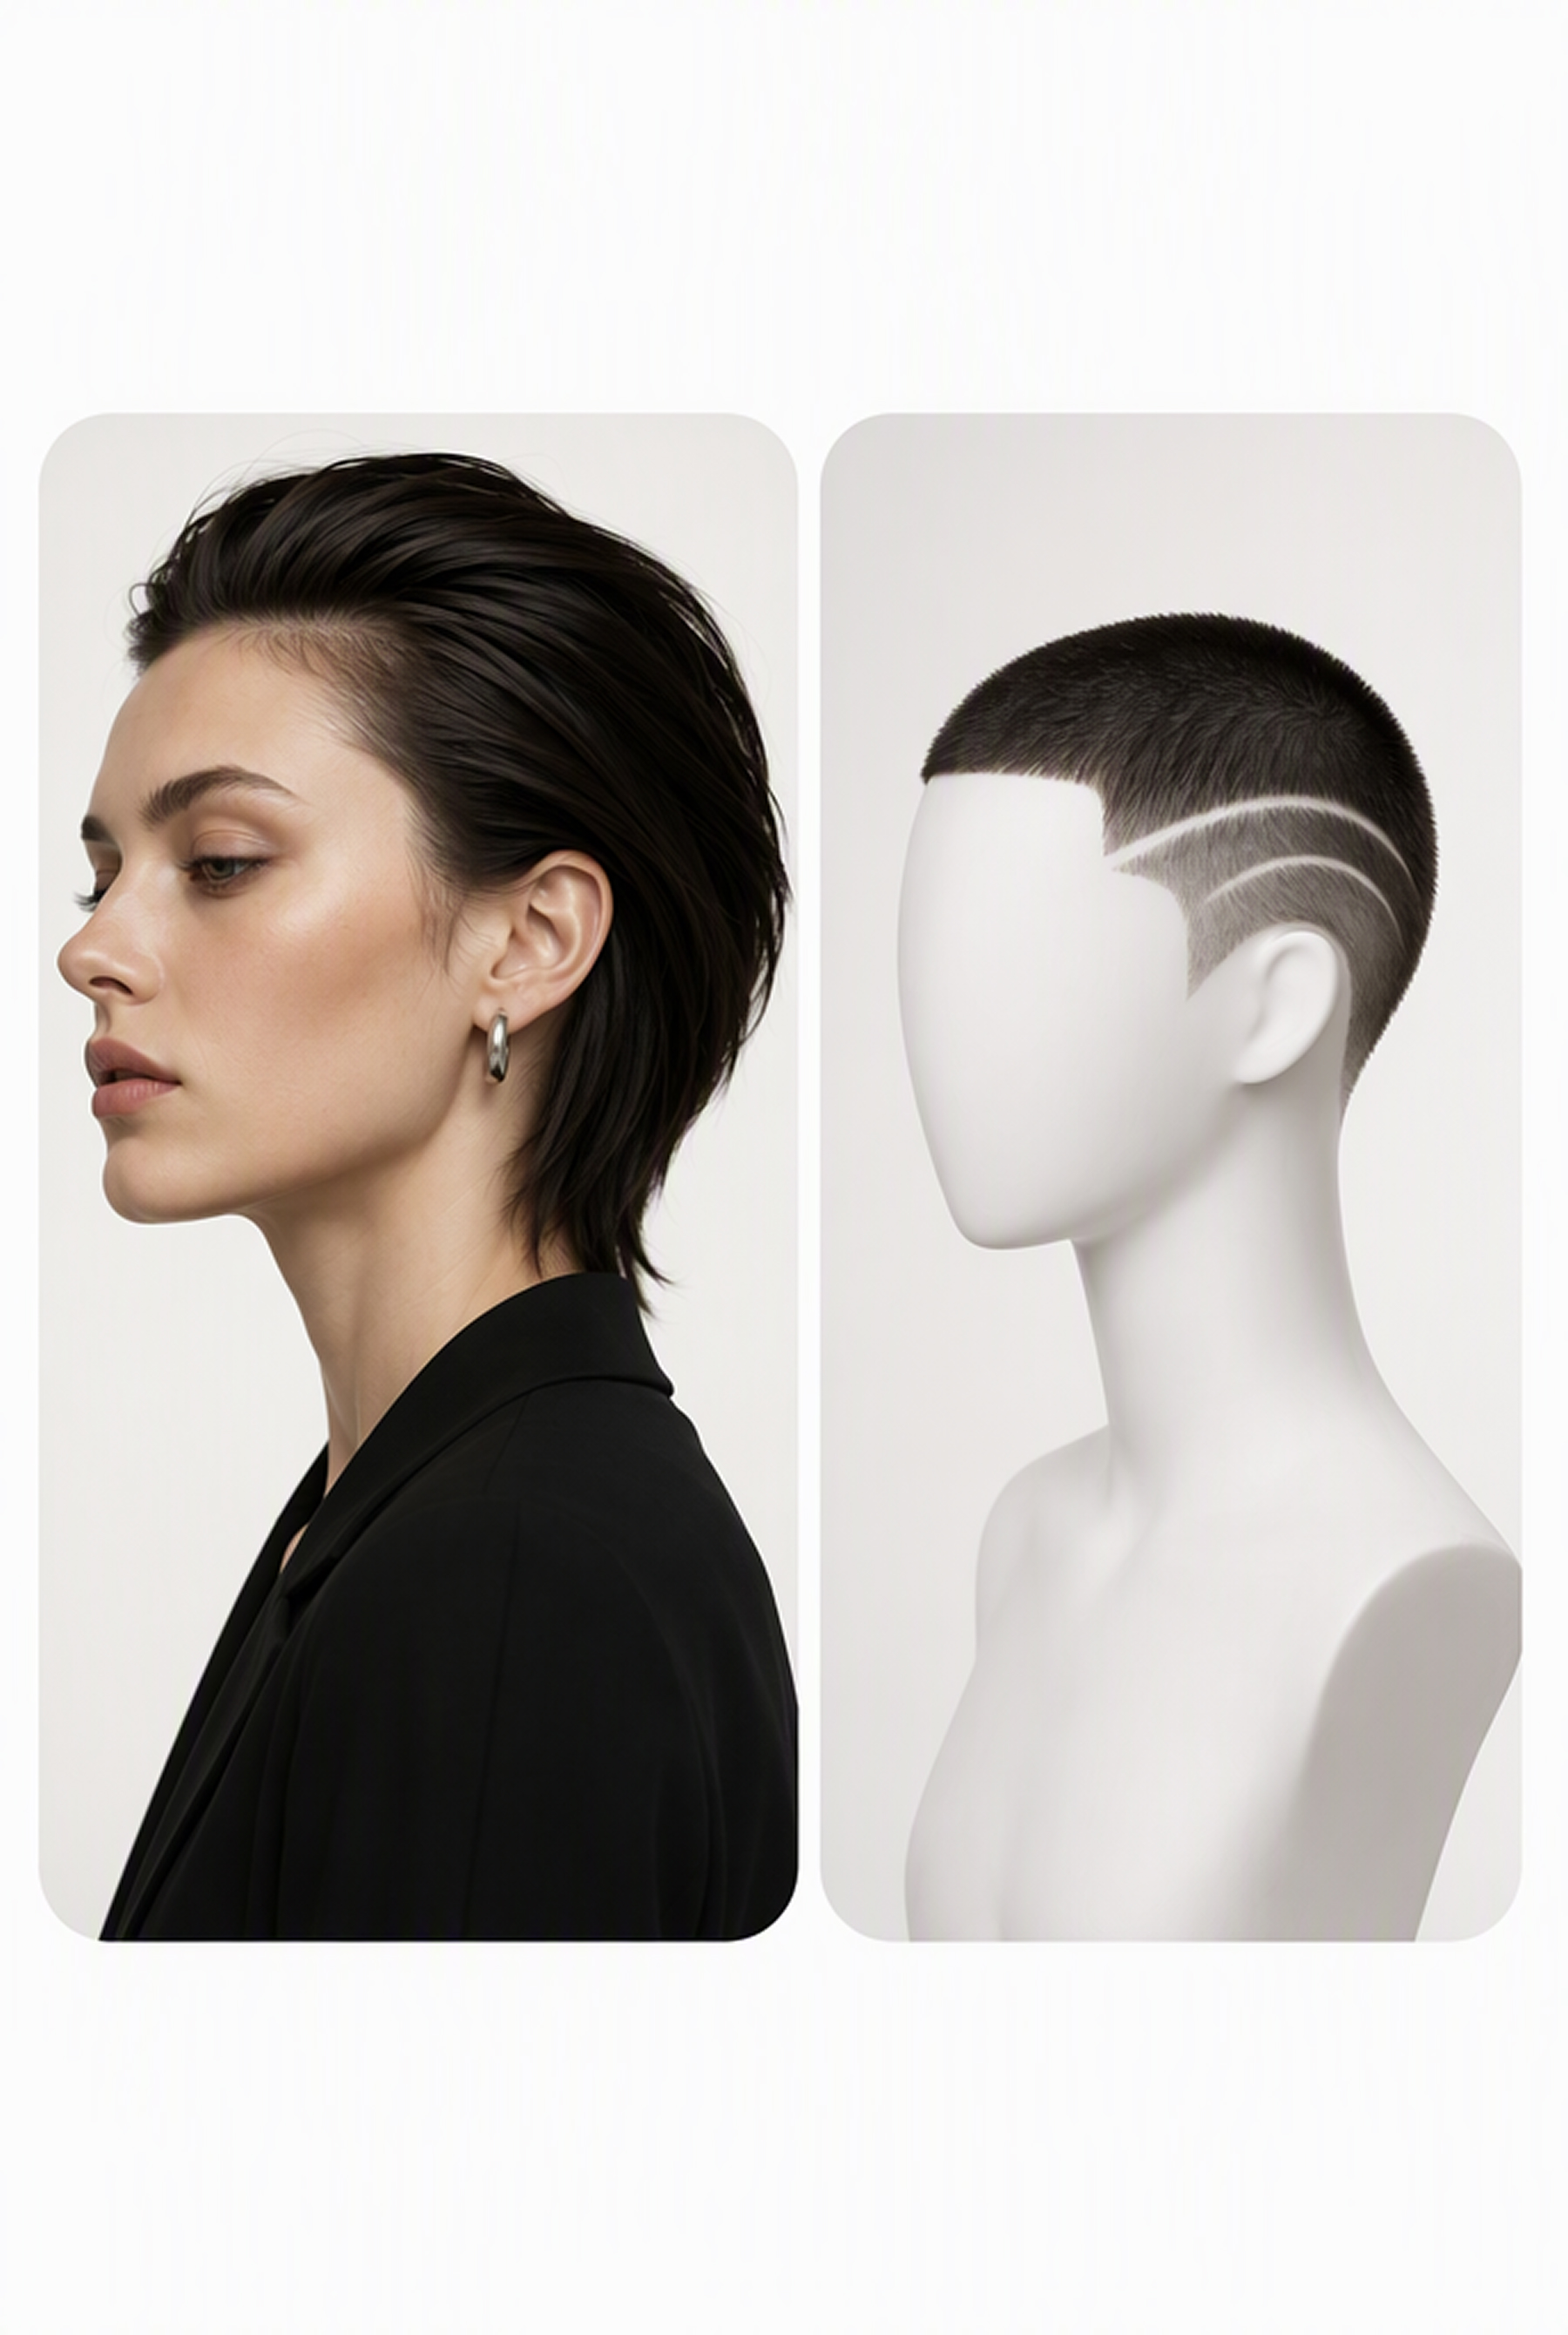
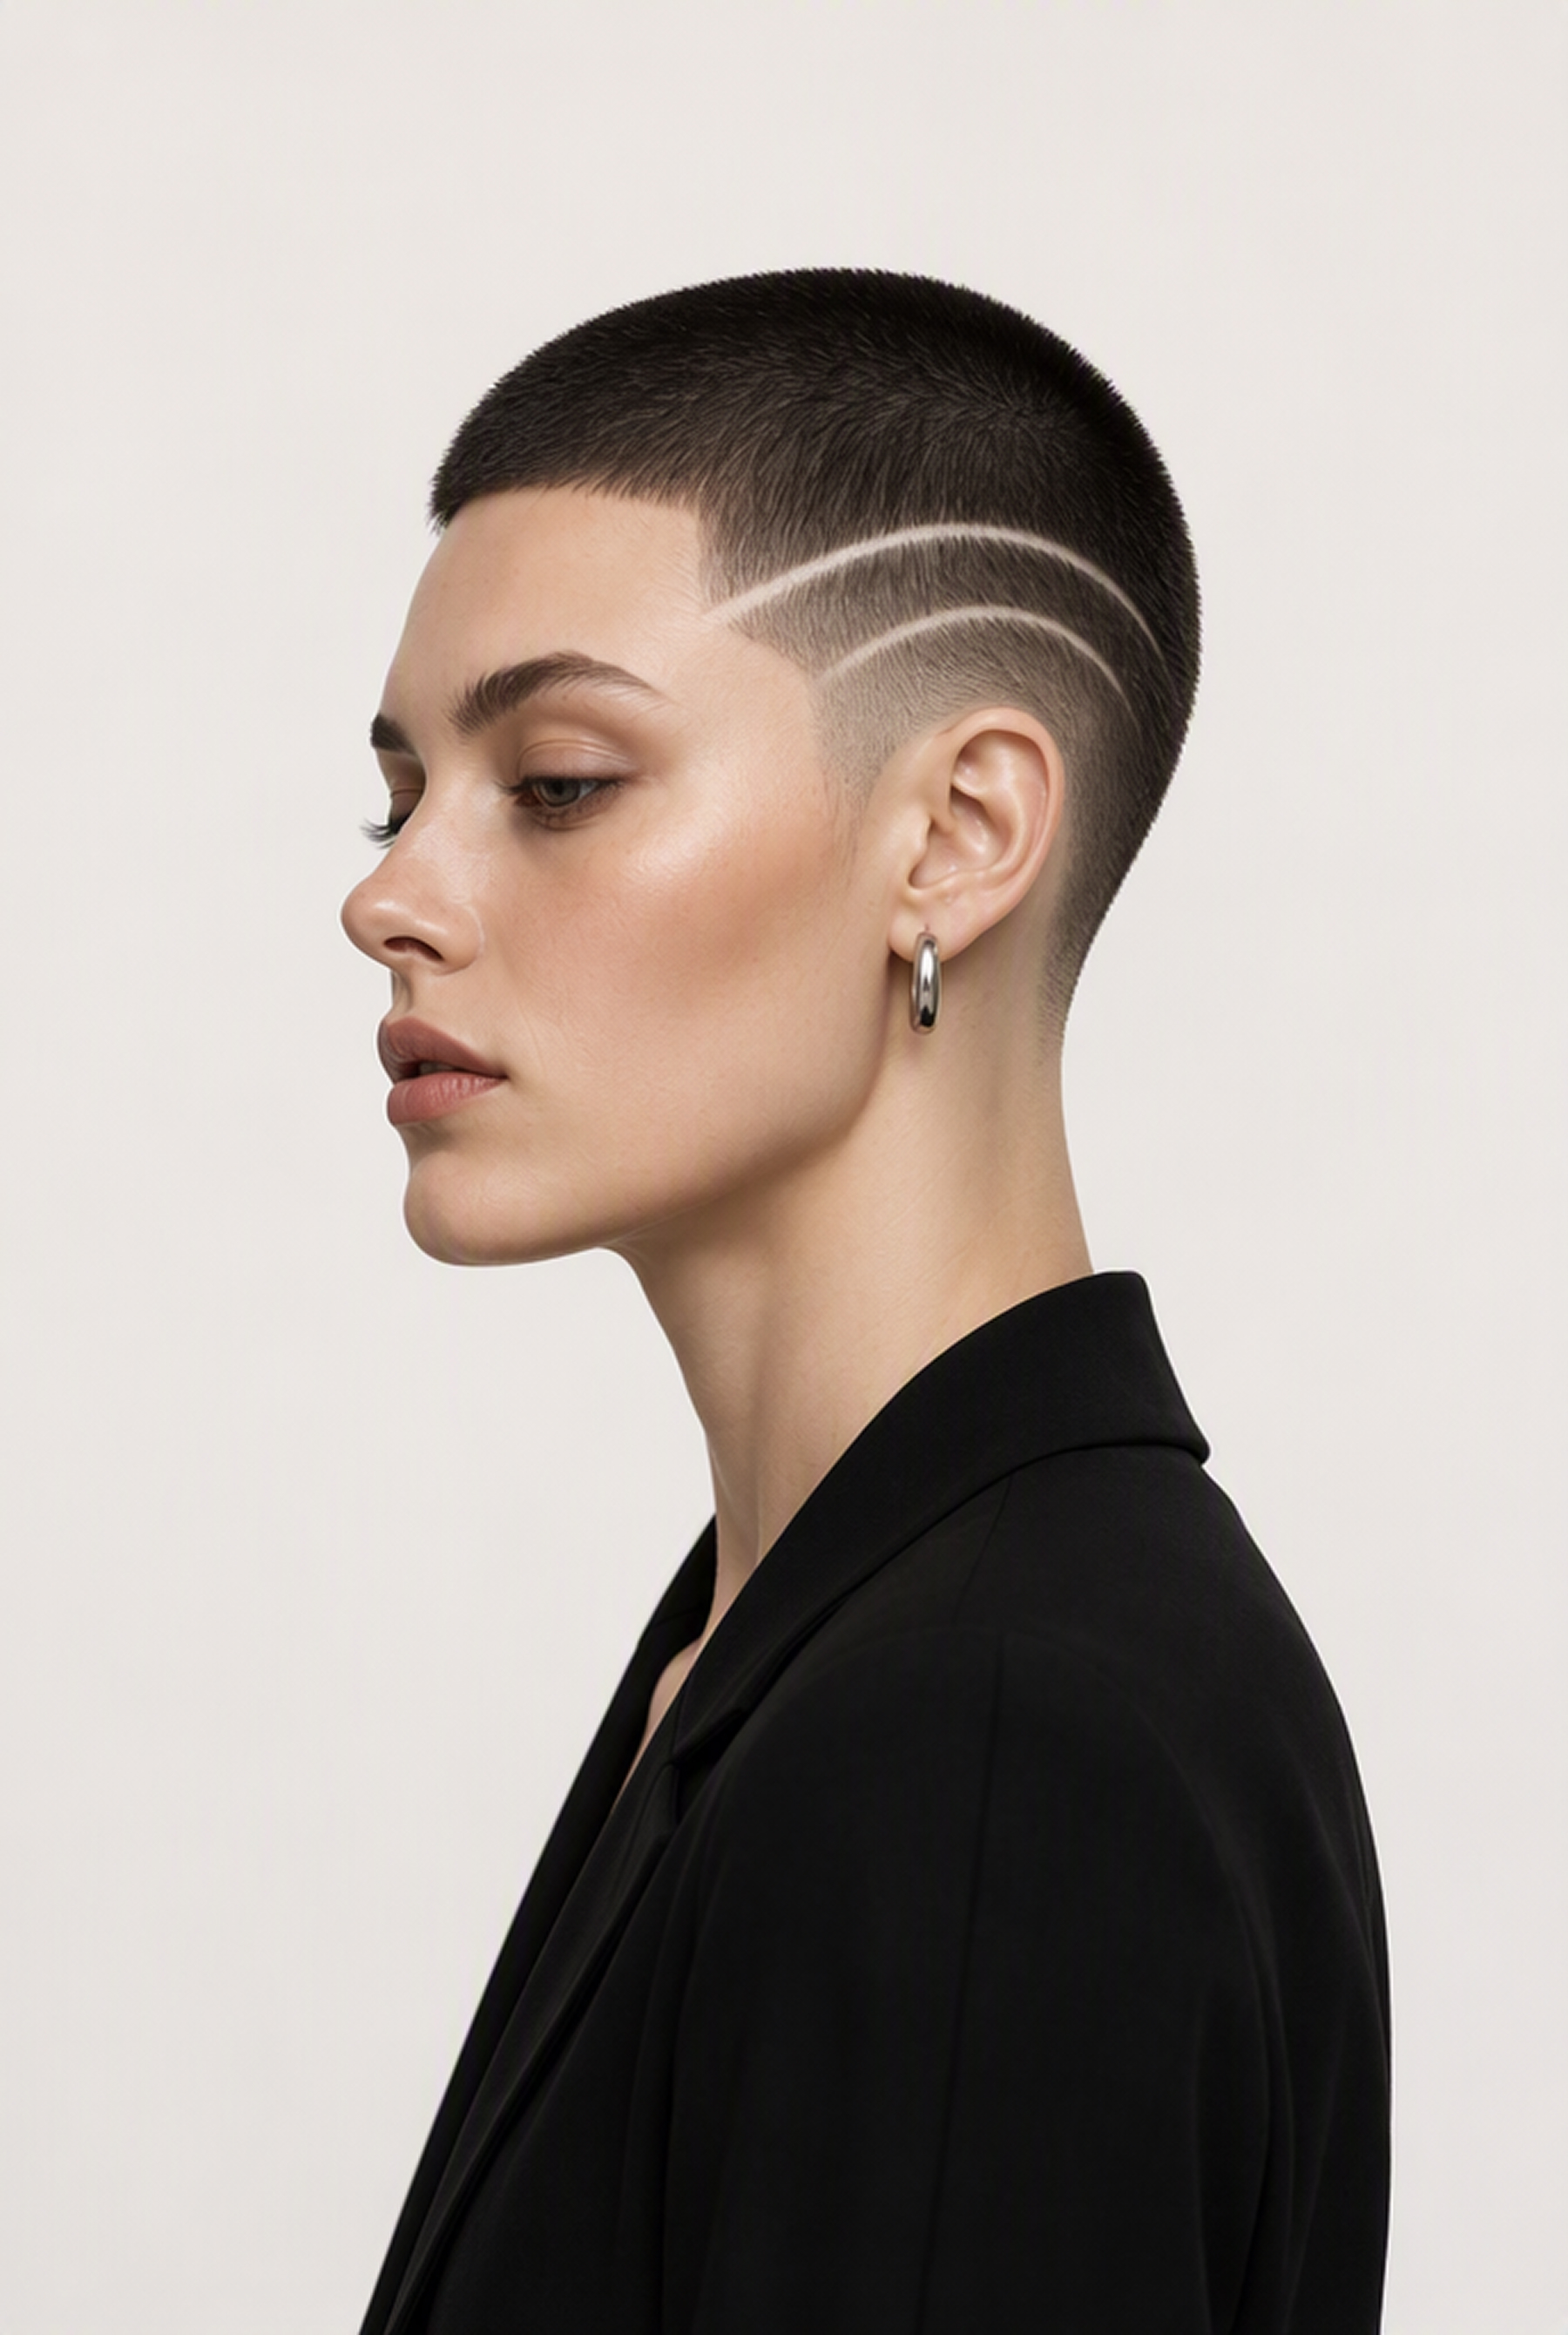
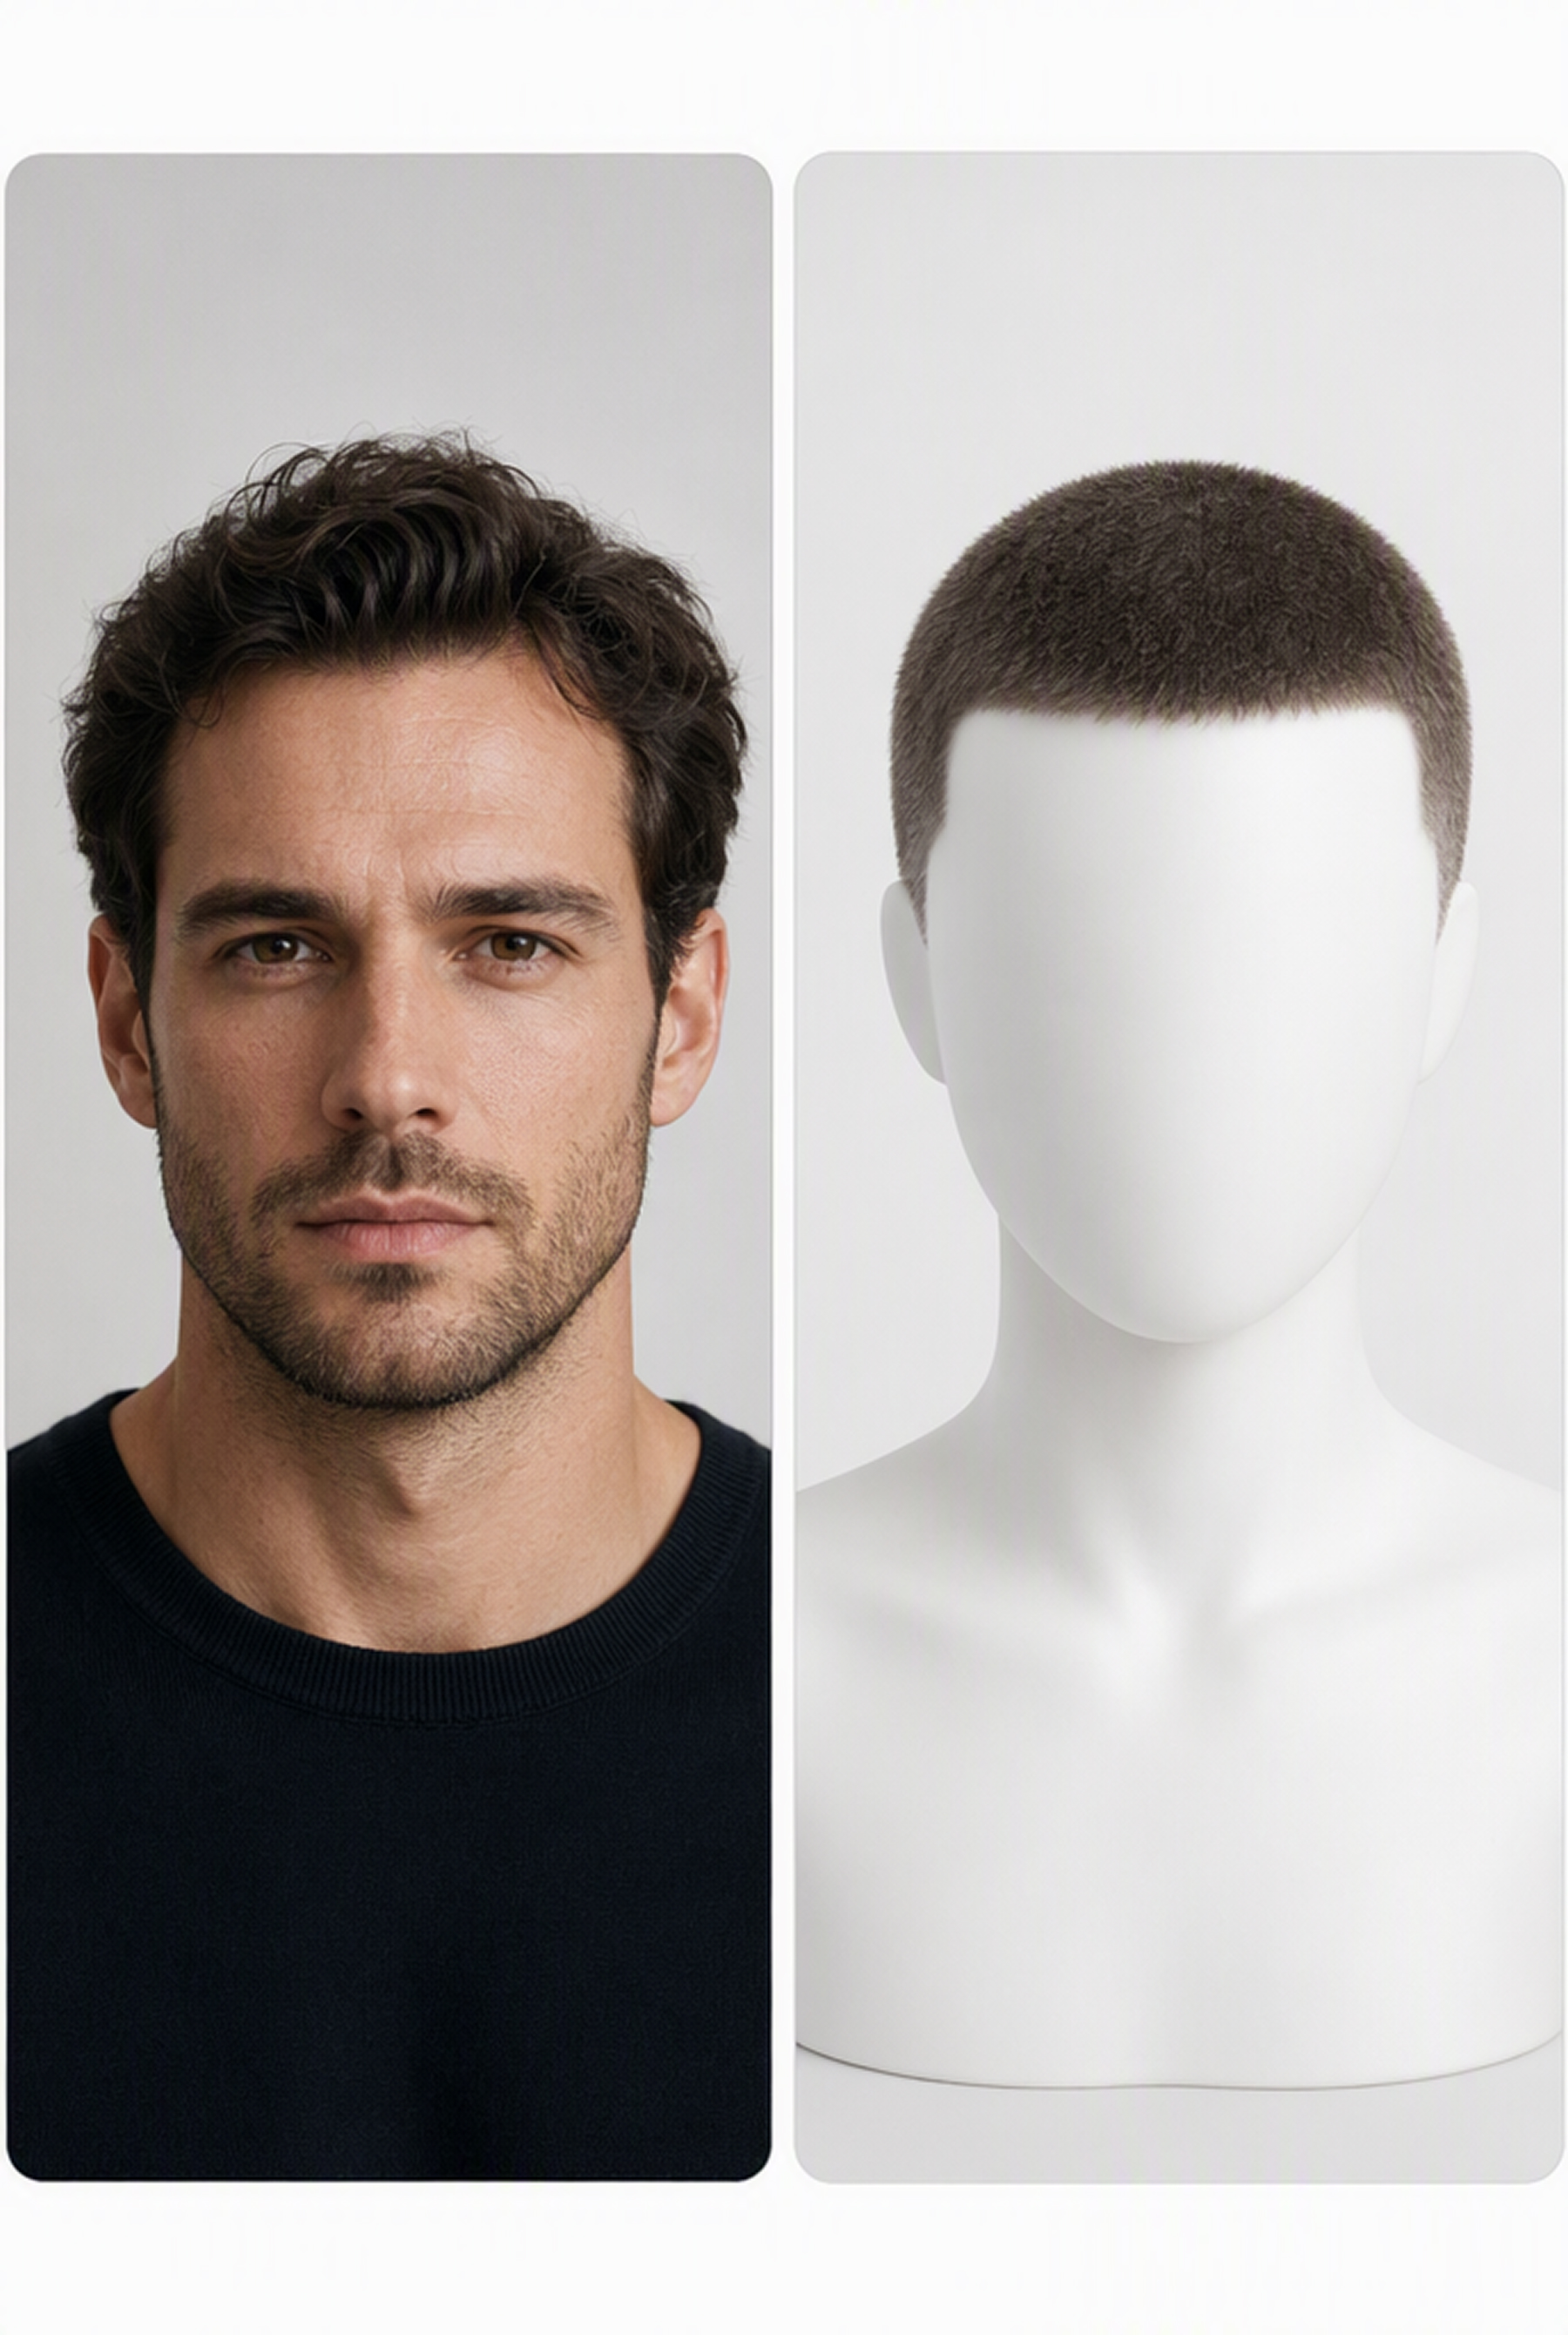
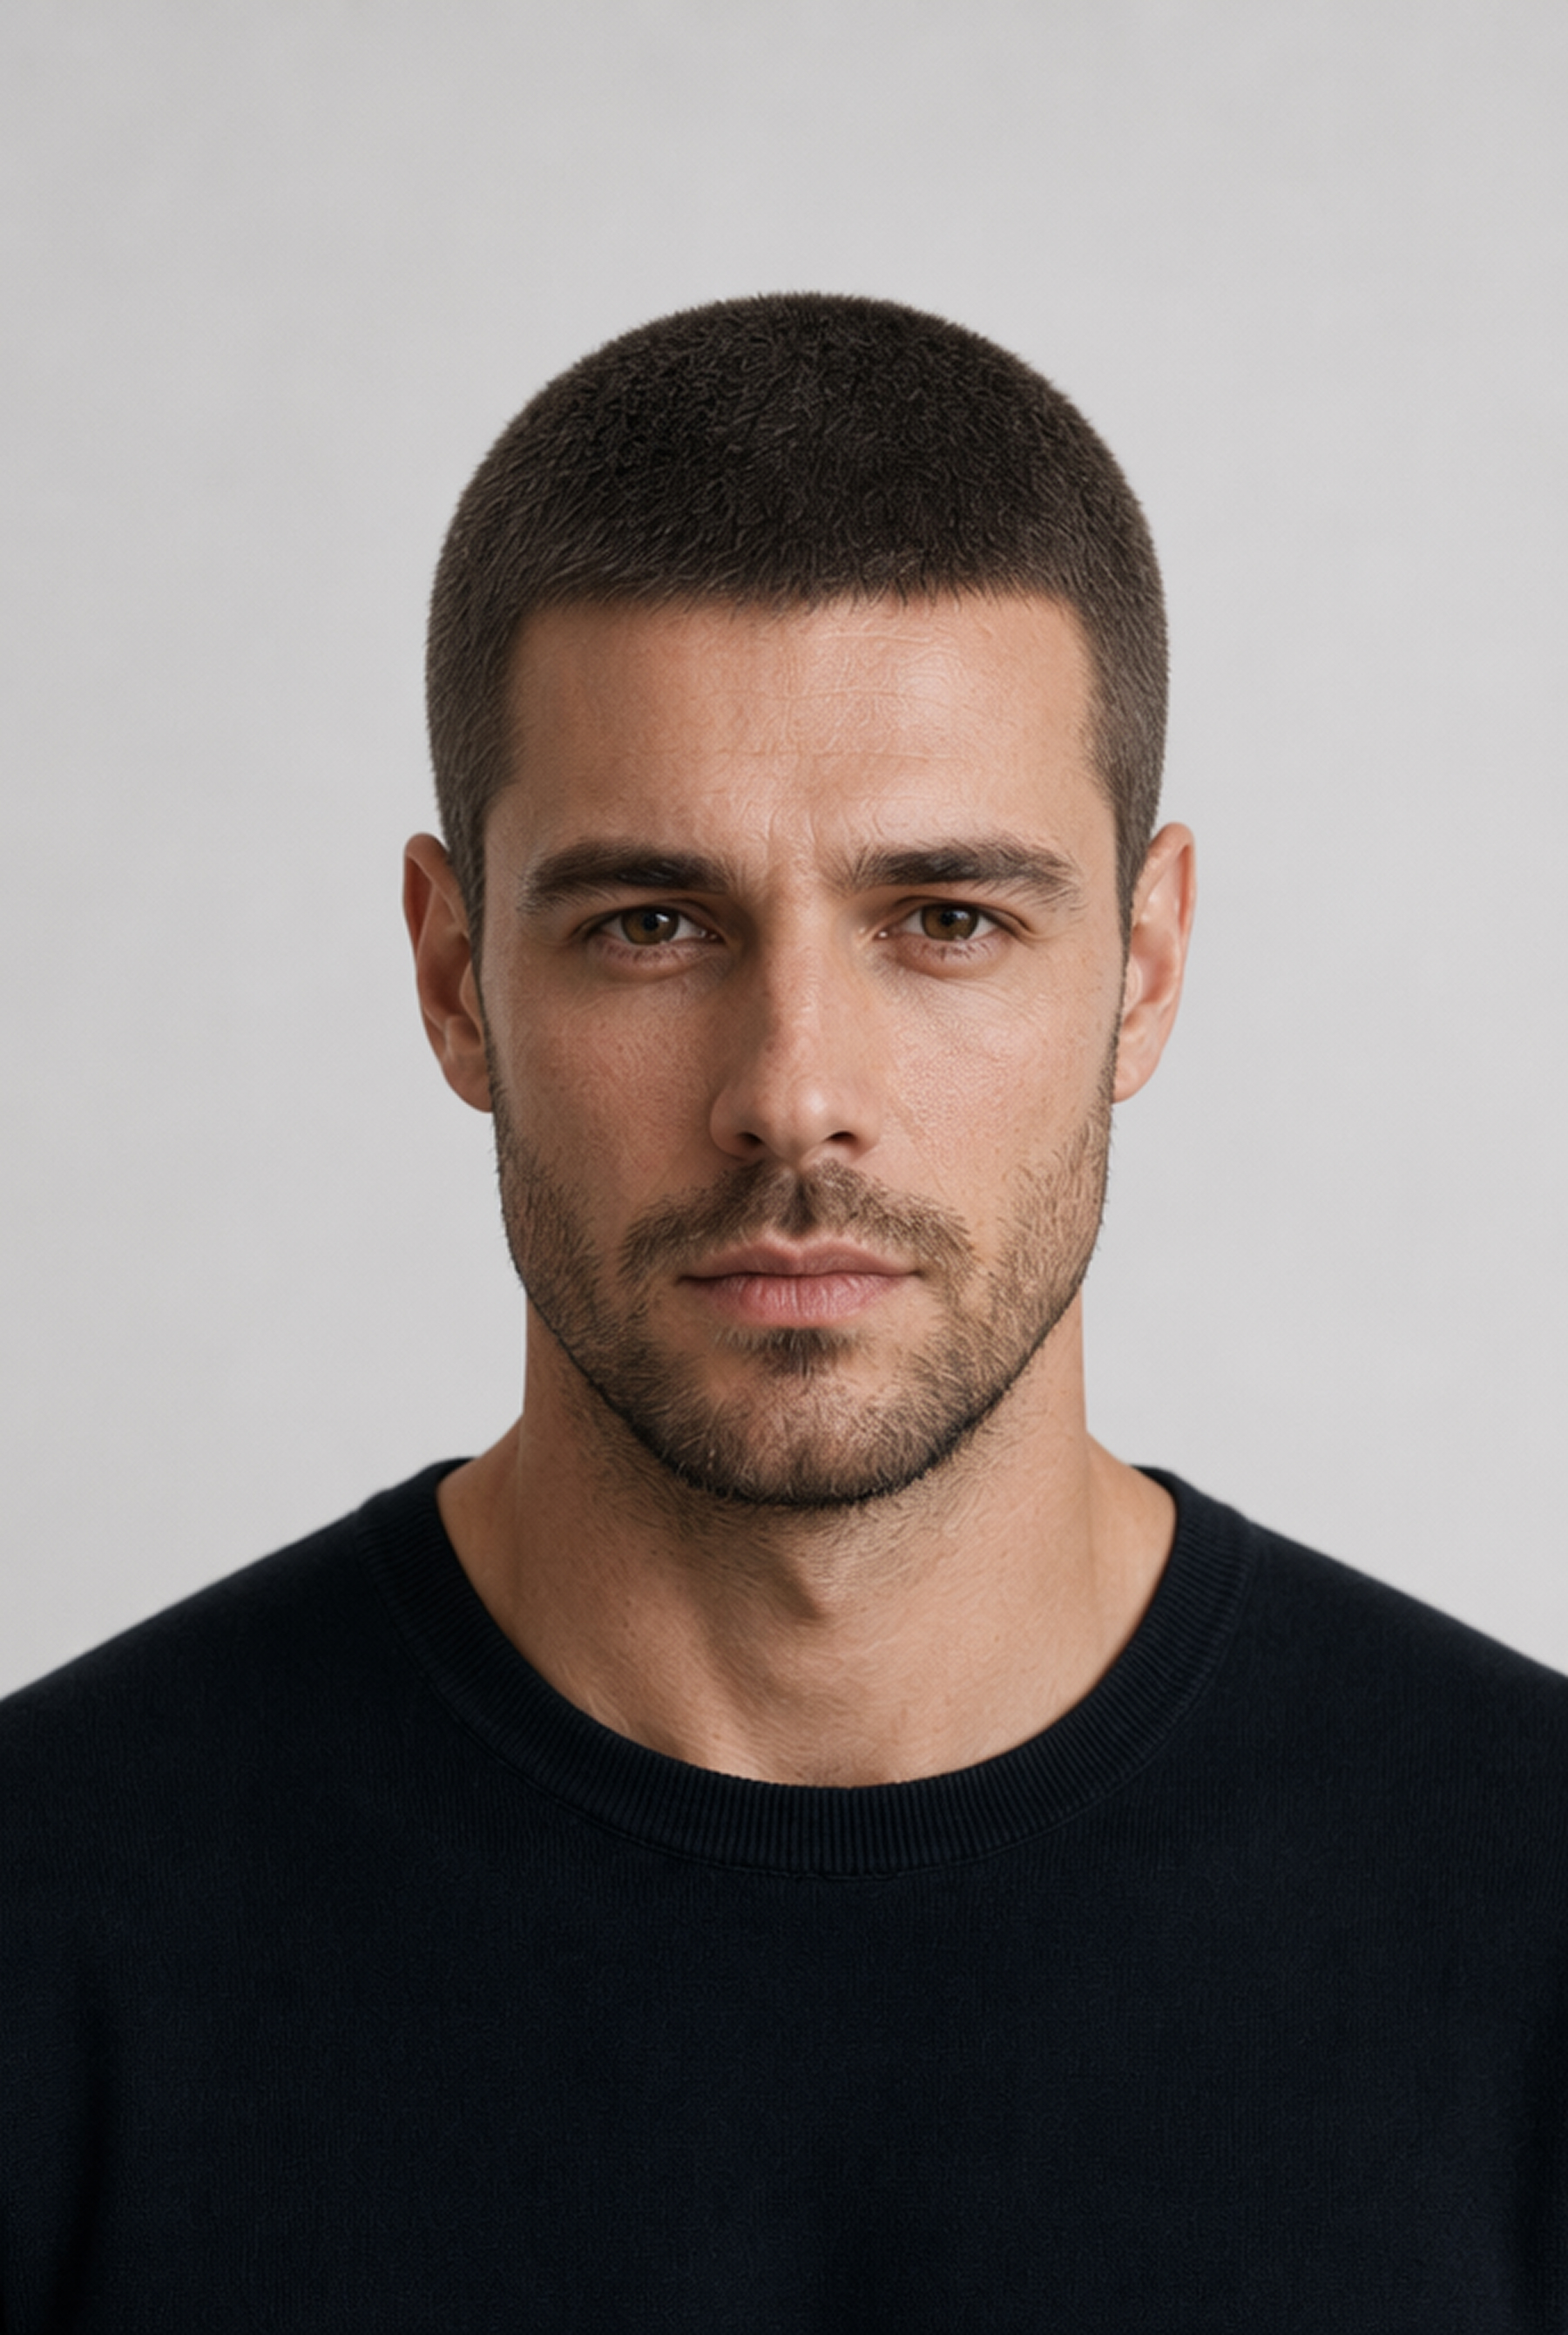
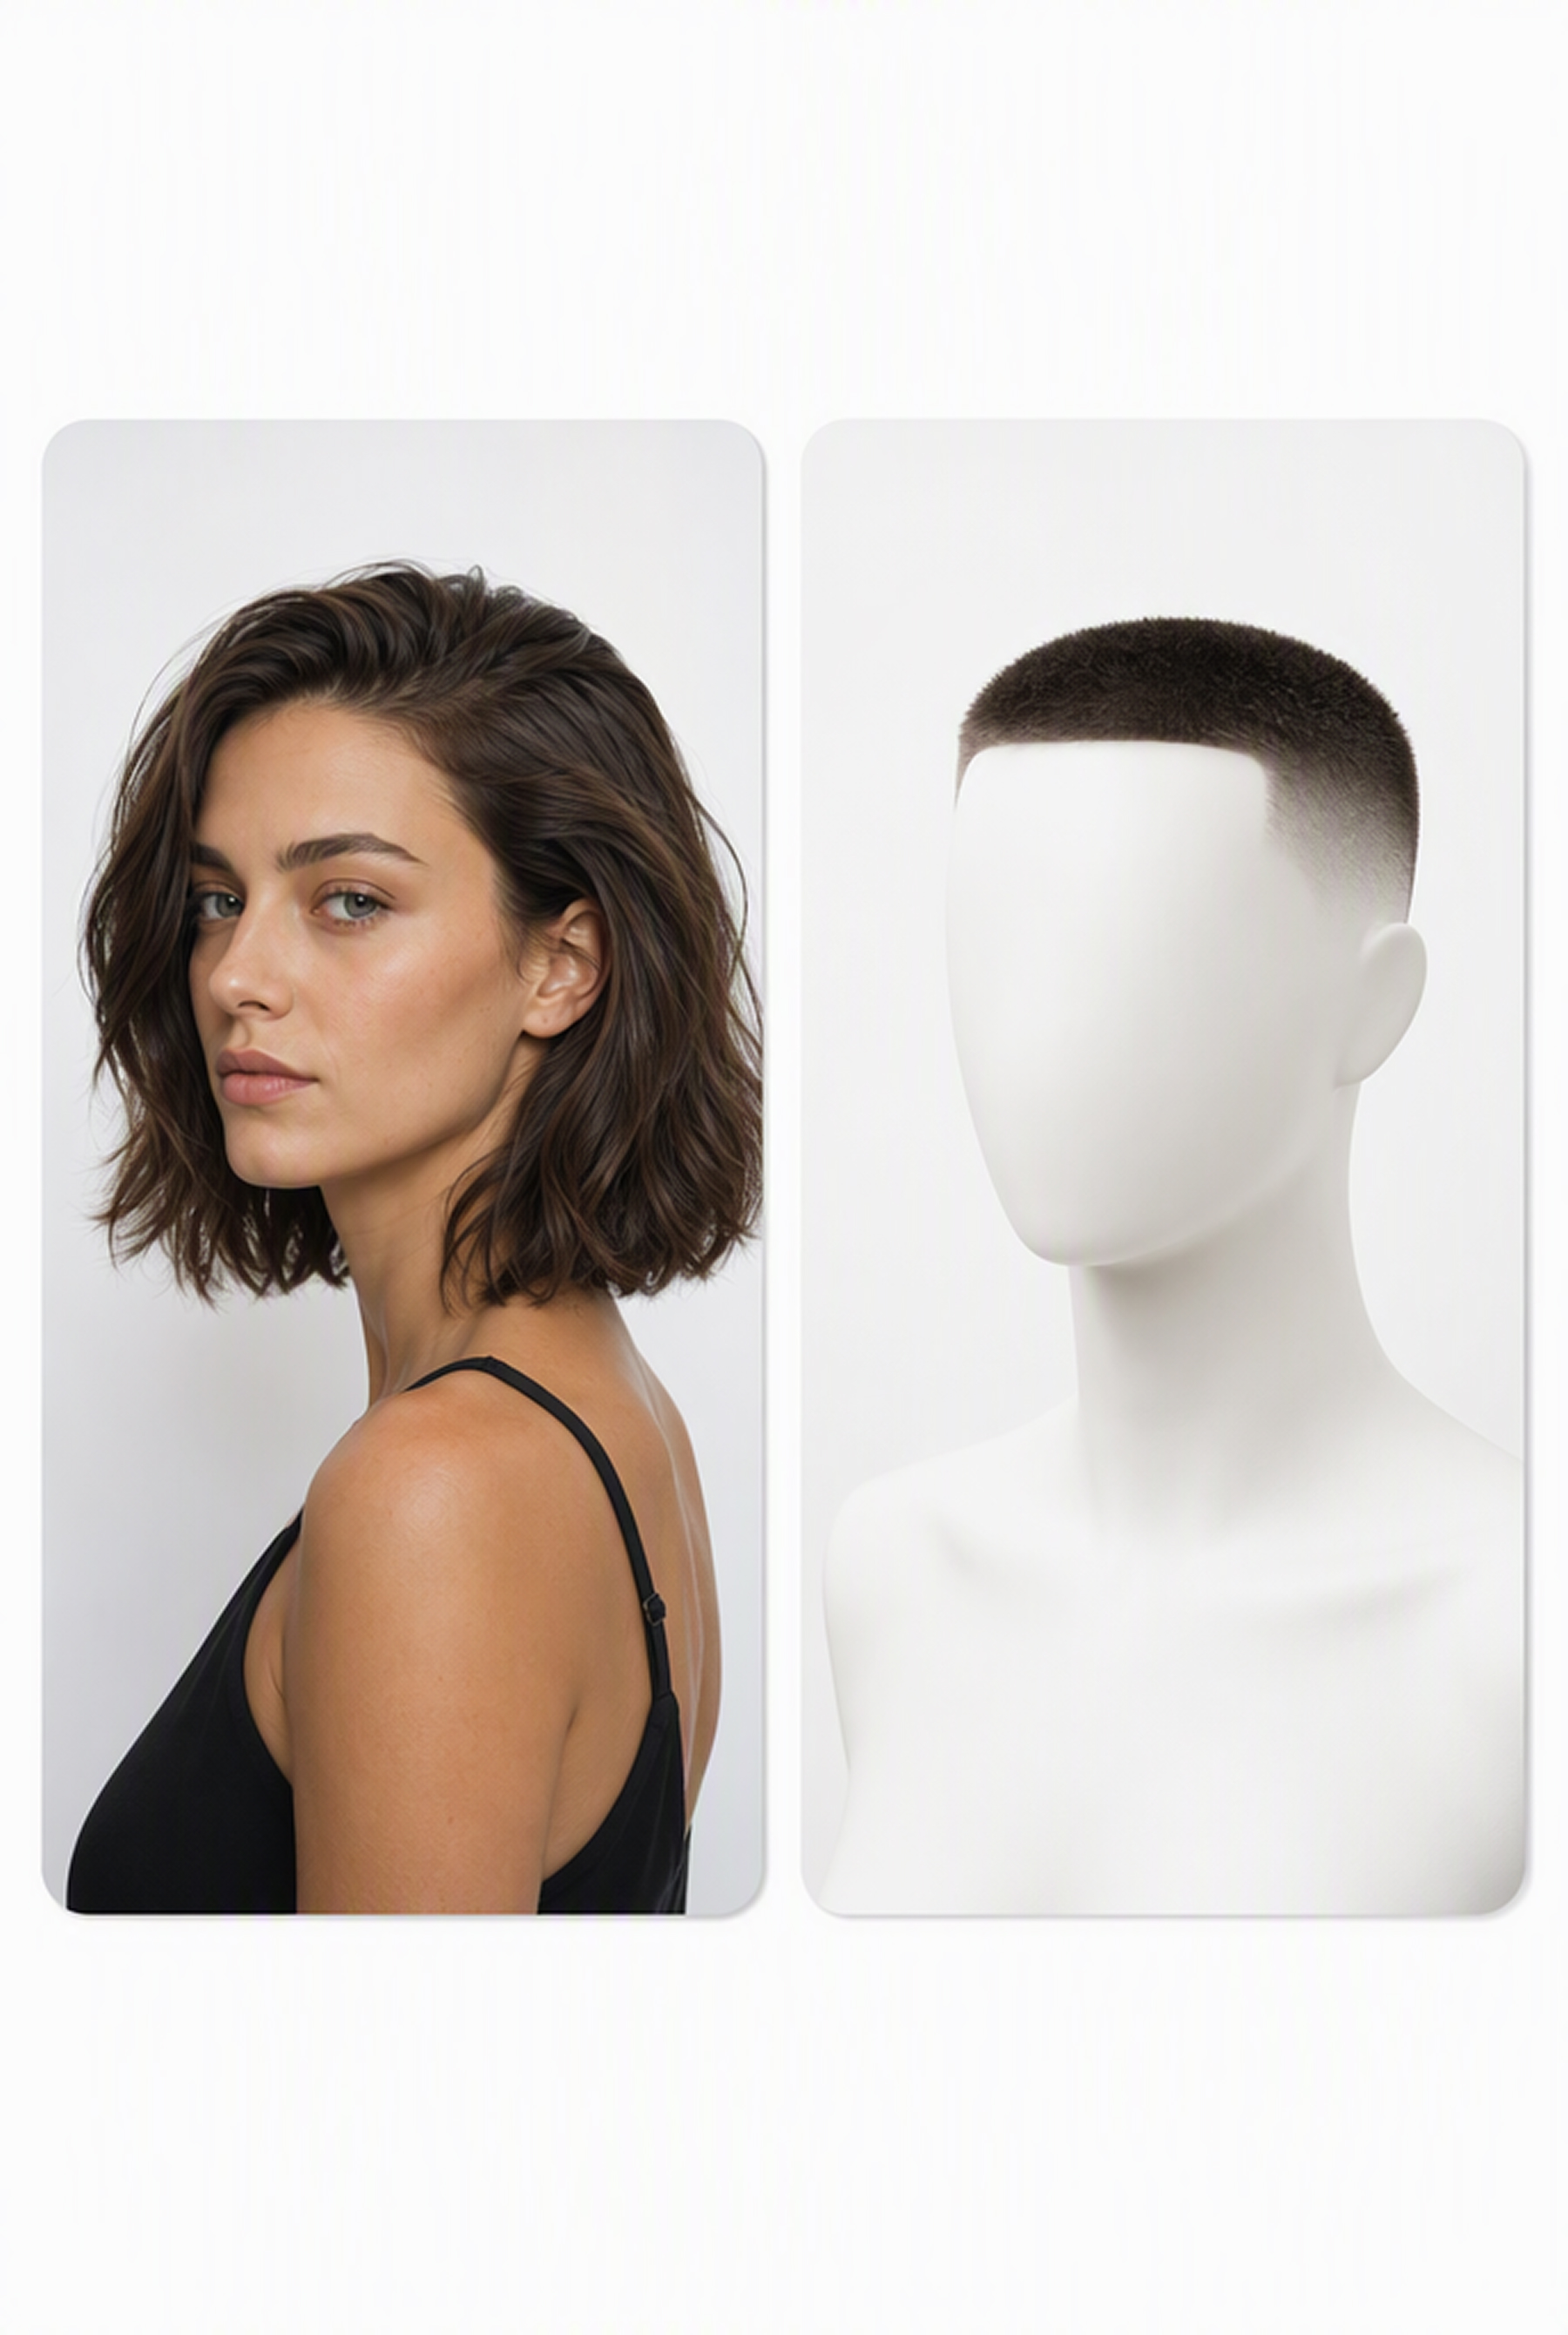
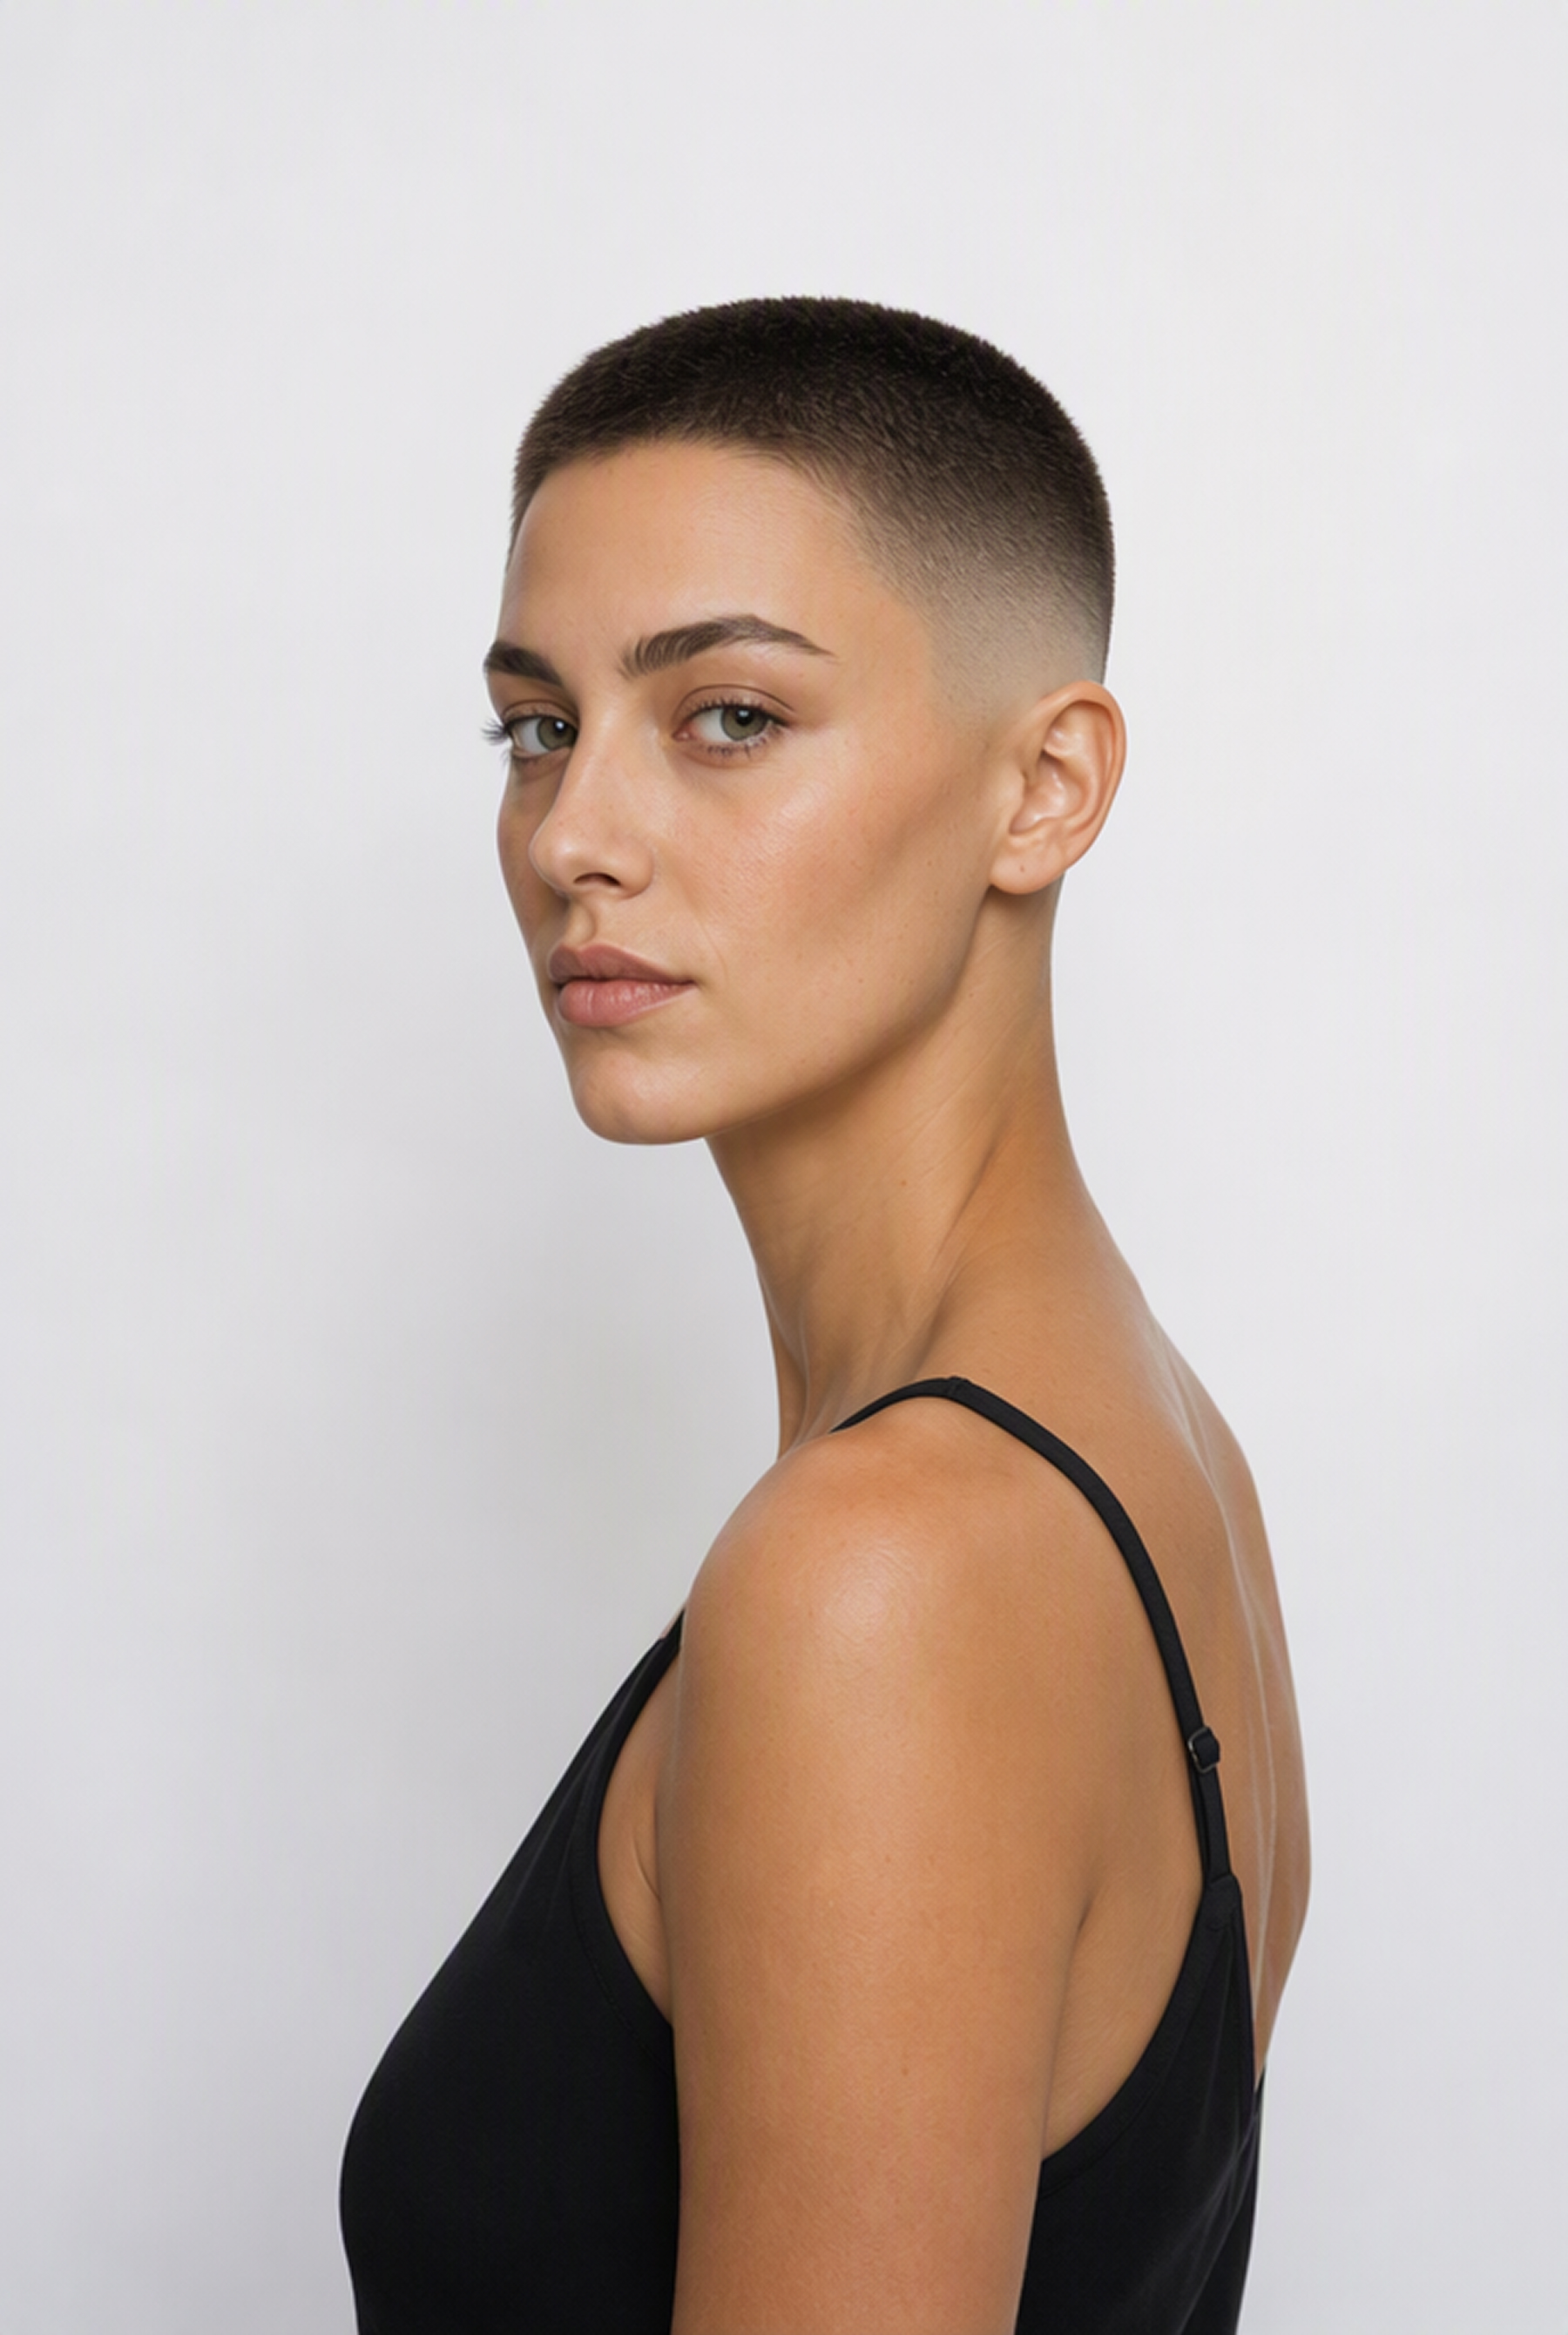
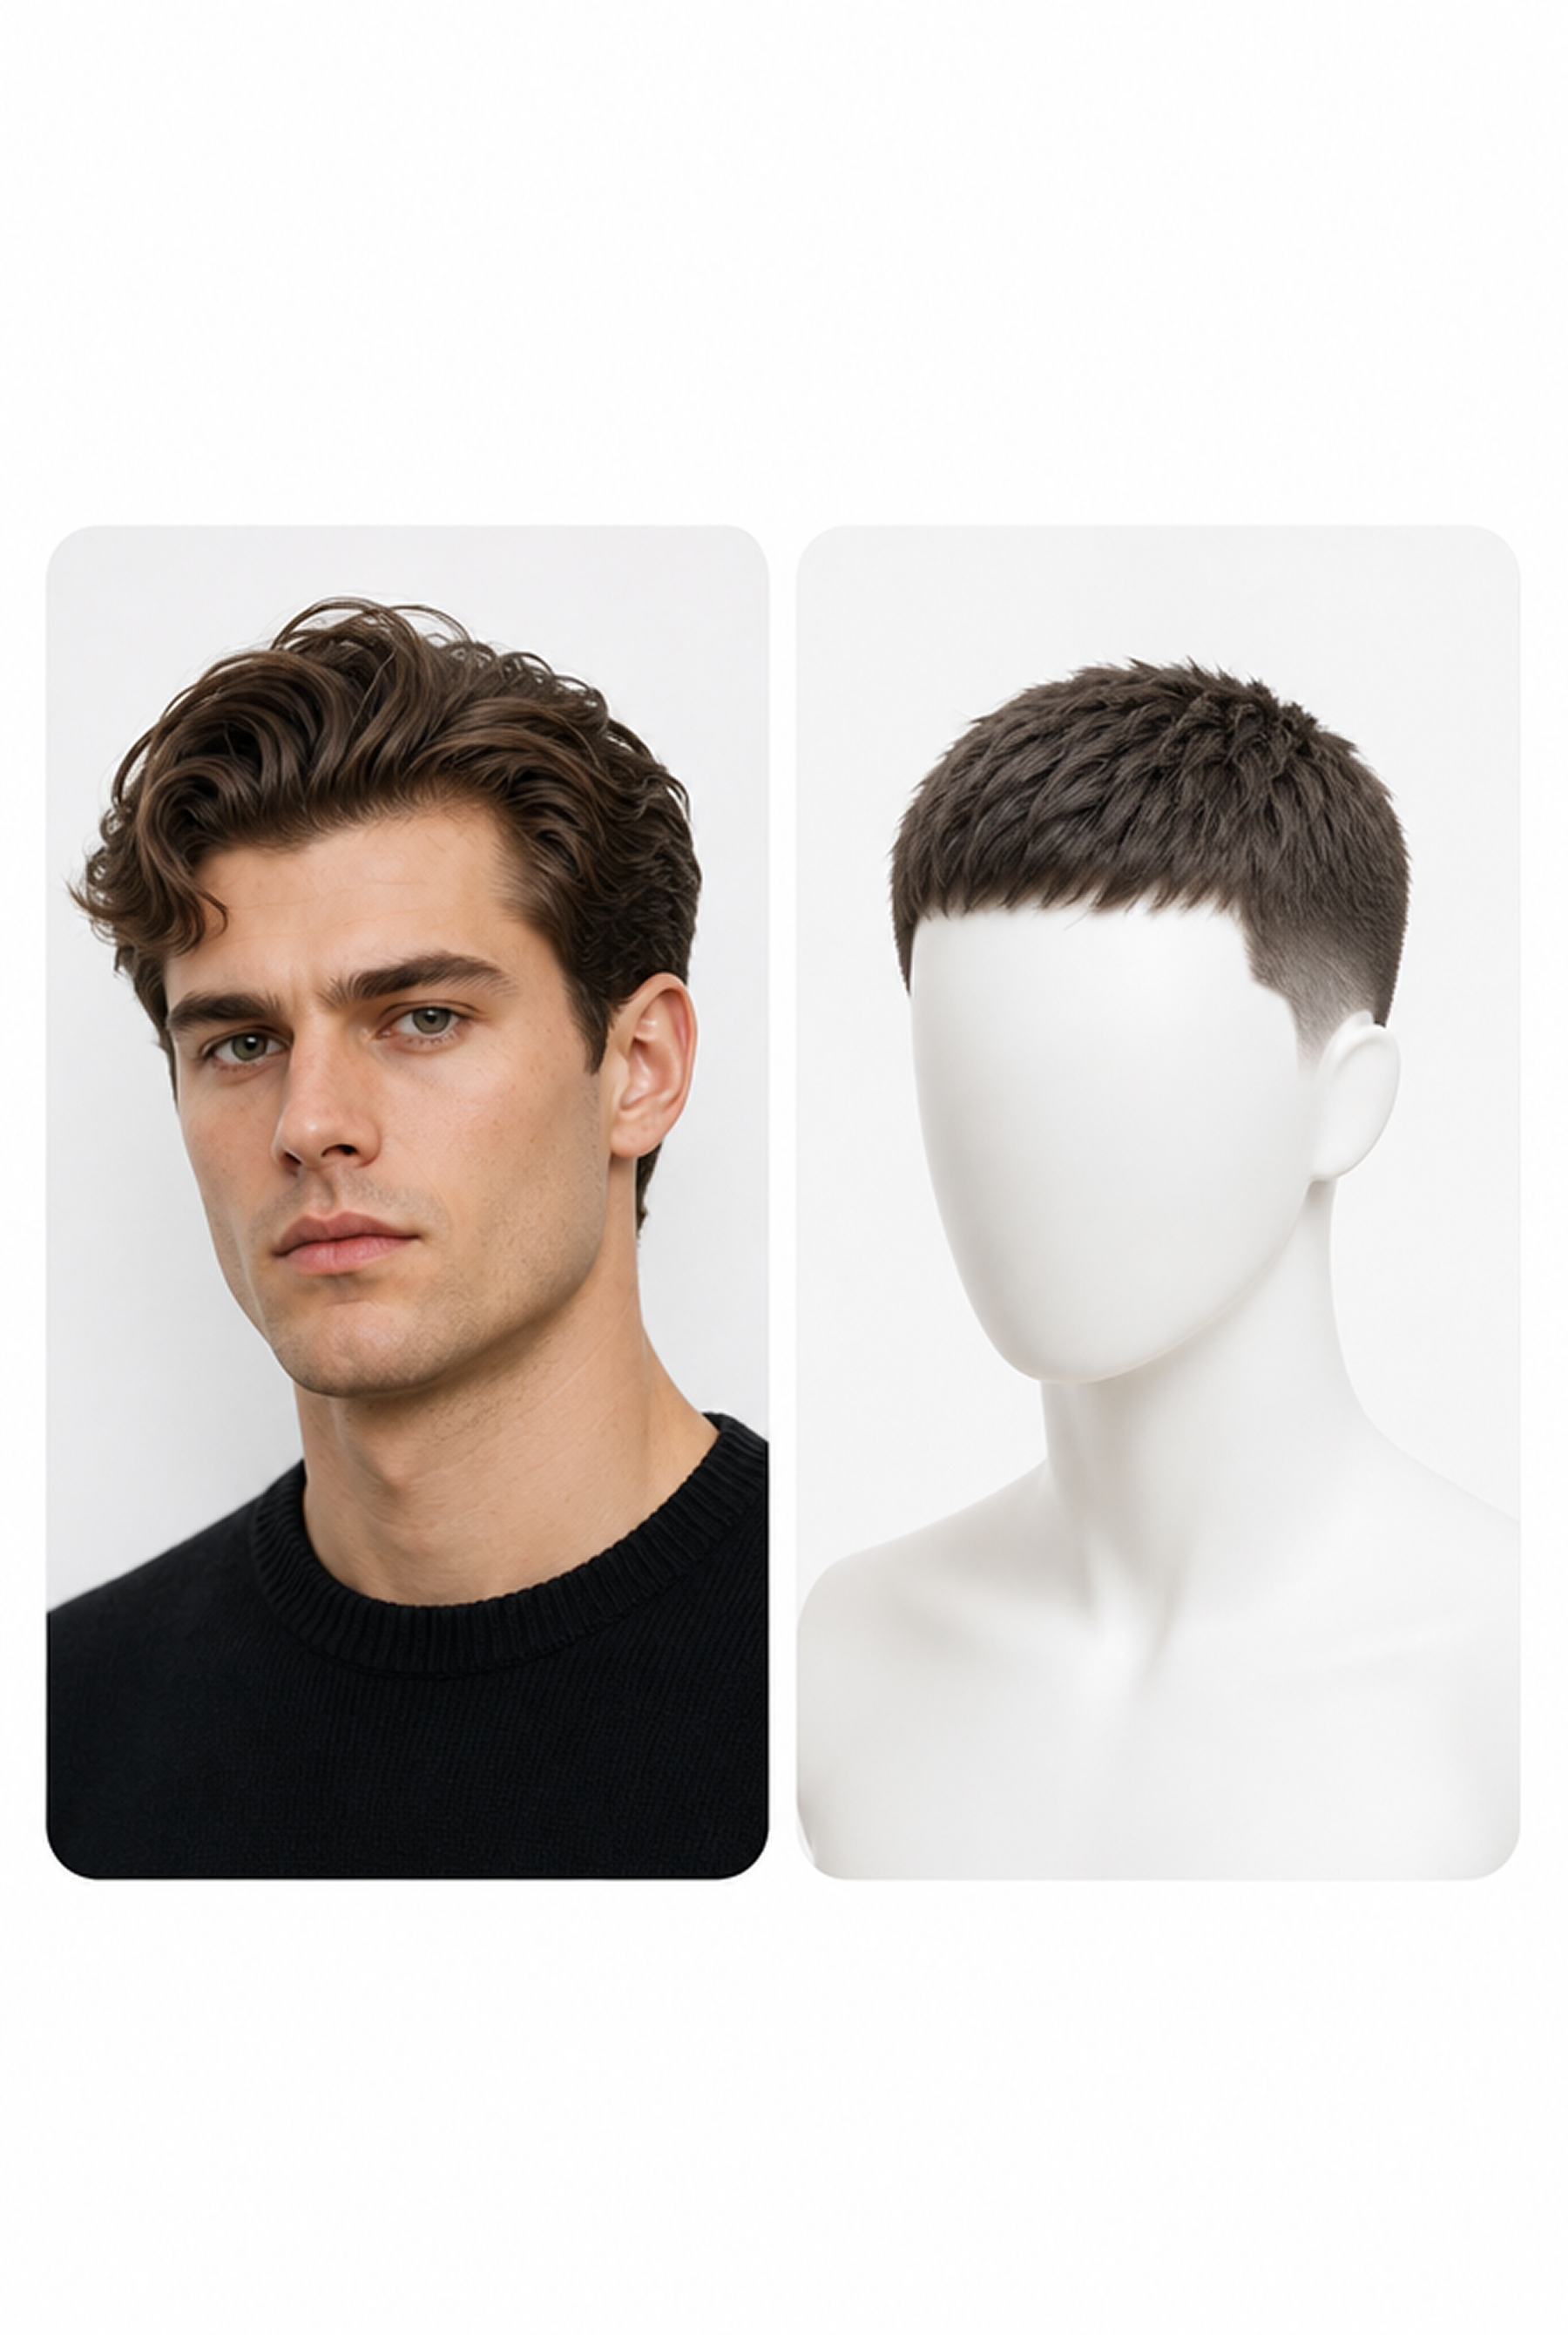
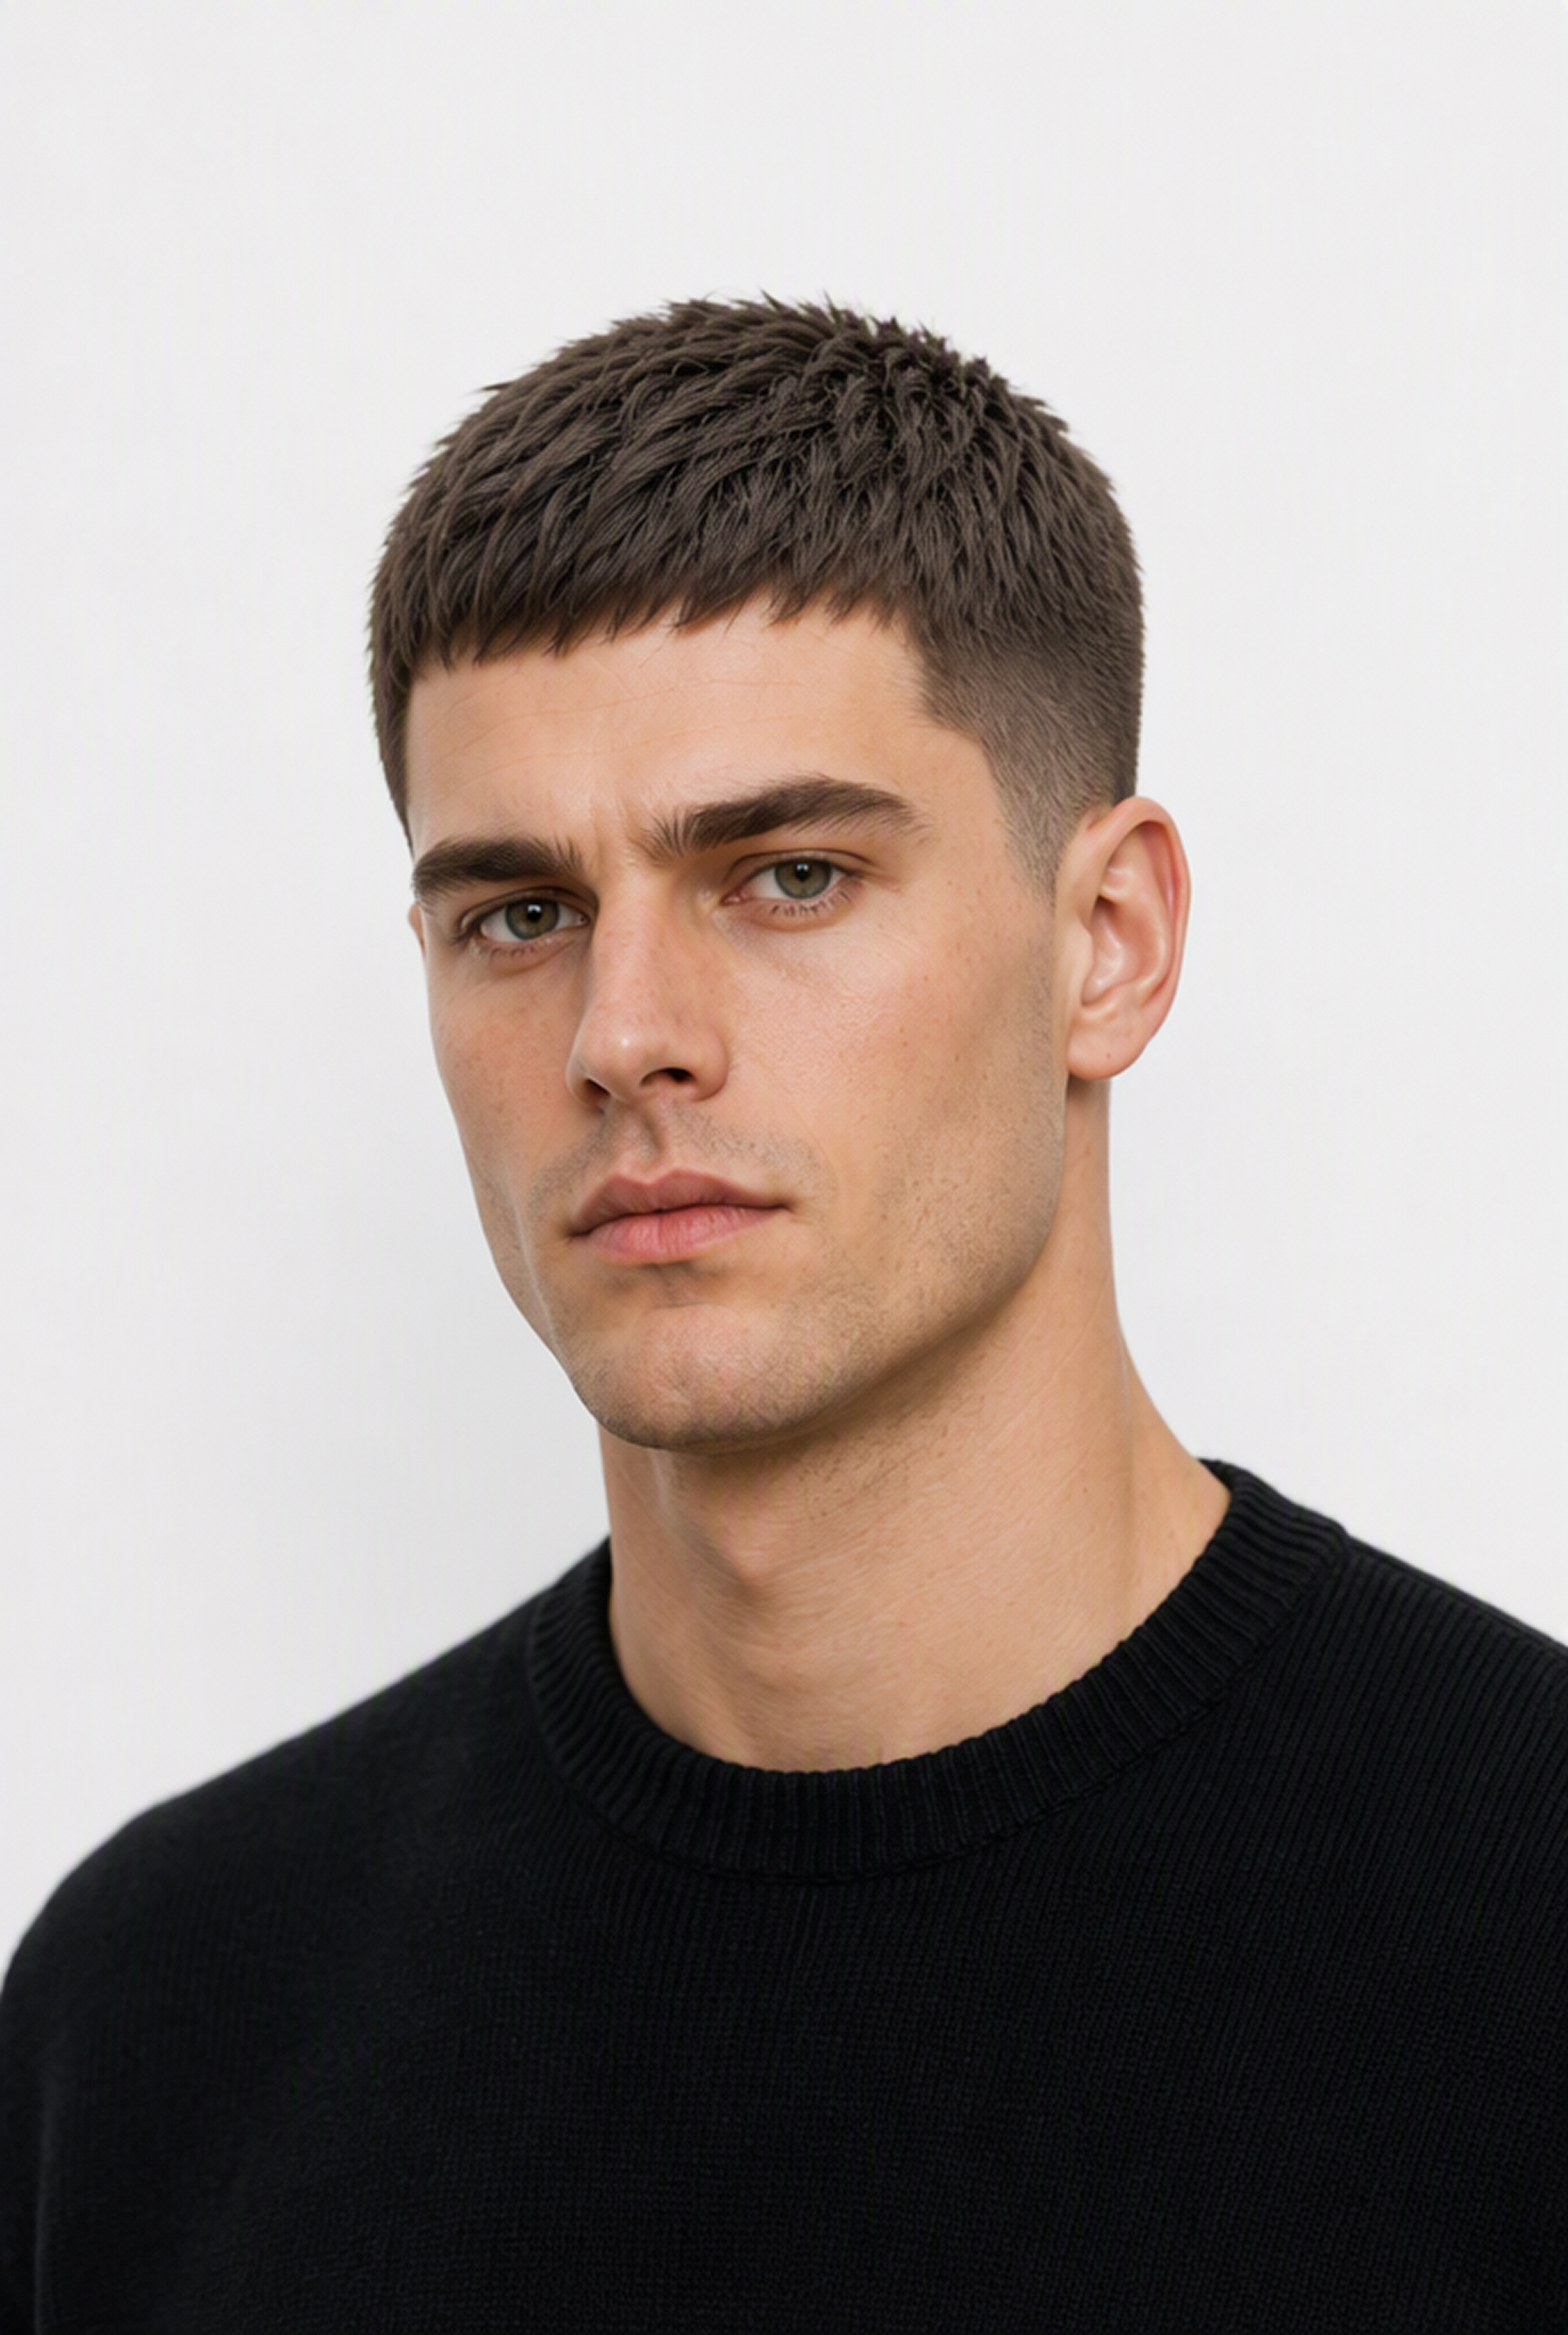
Find Buzz Cut Ideas for Your Portrait
Upload a portrait and a buzz cut reference to create your result, or use these examples as templates if you need inspiration.
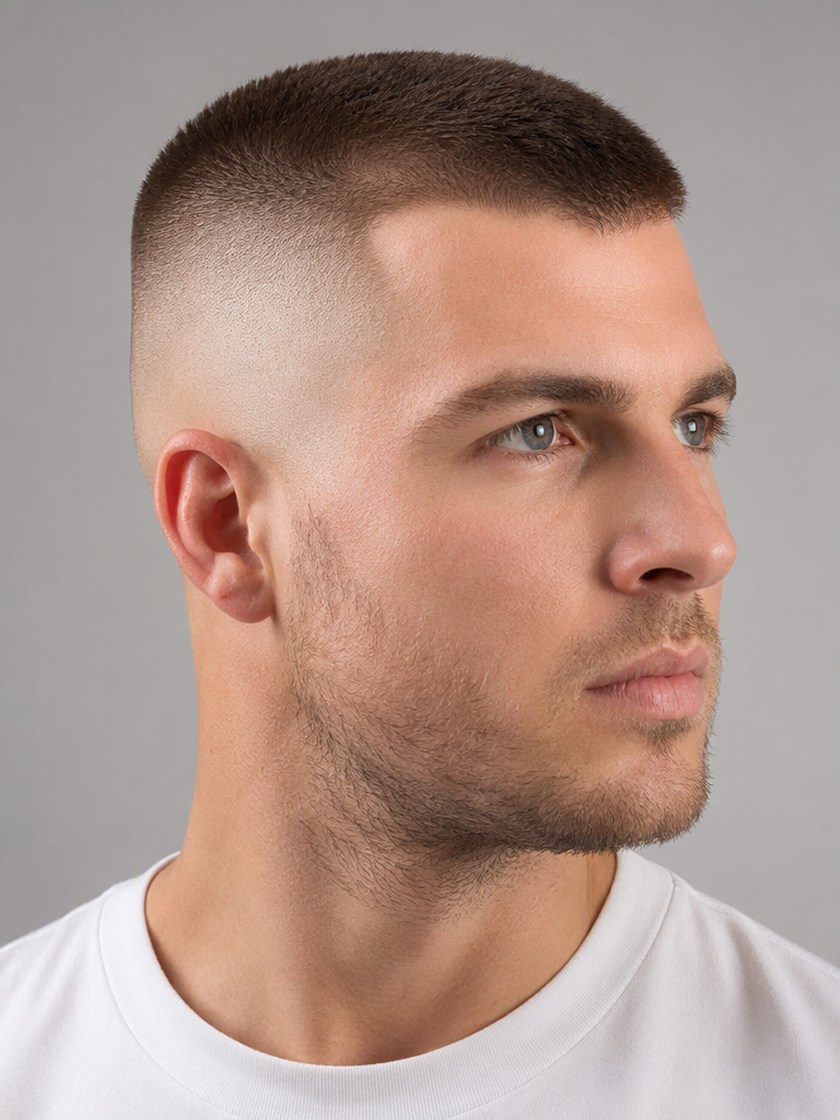
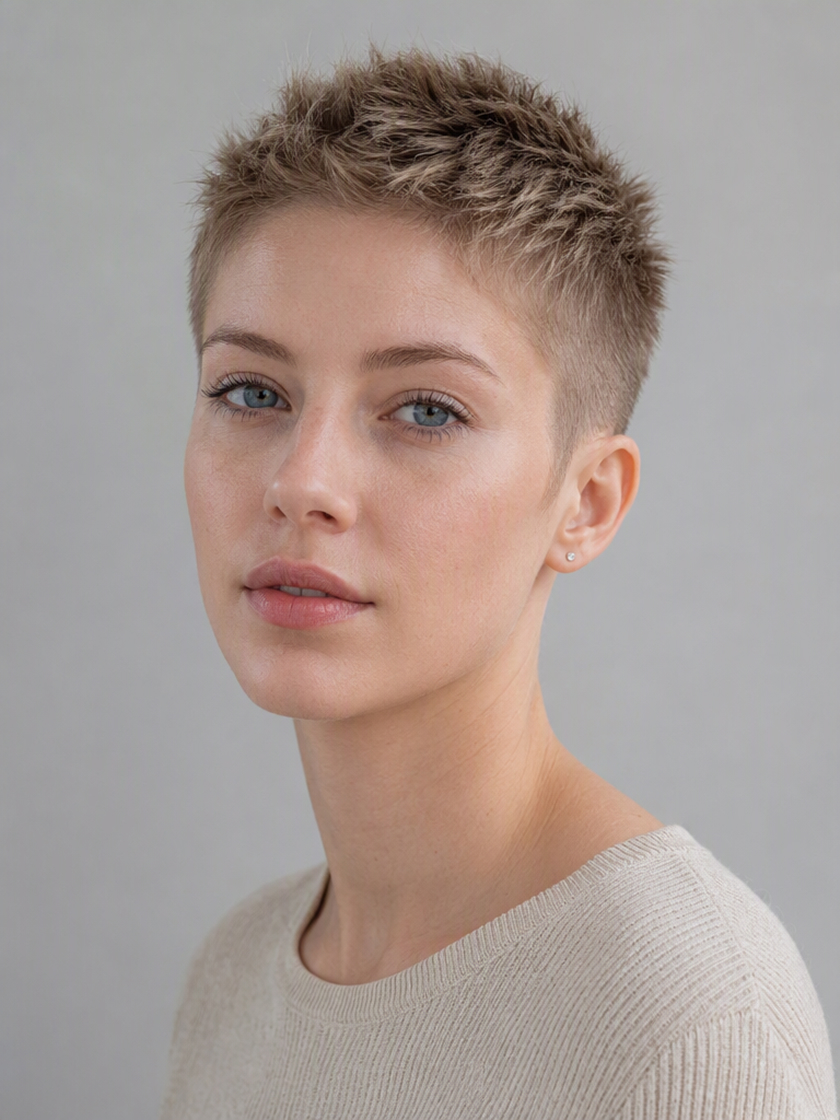
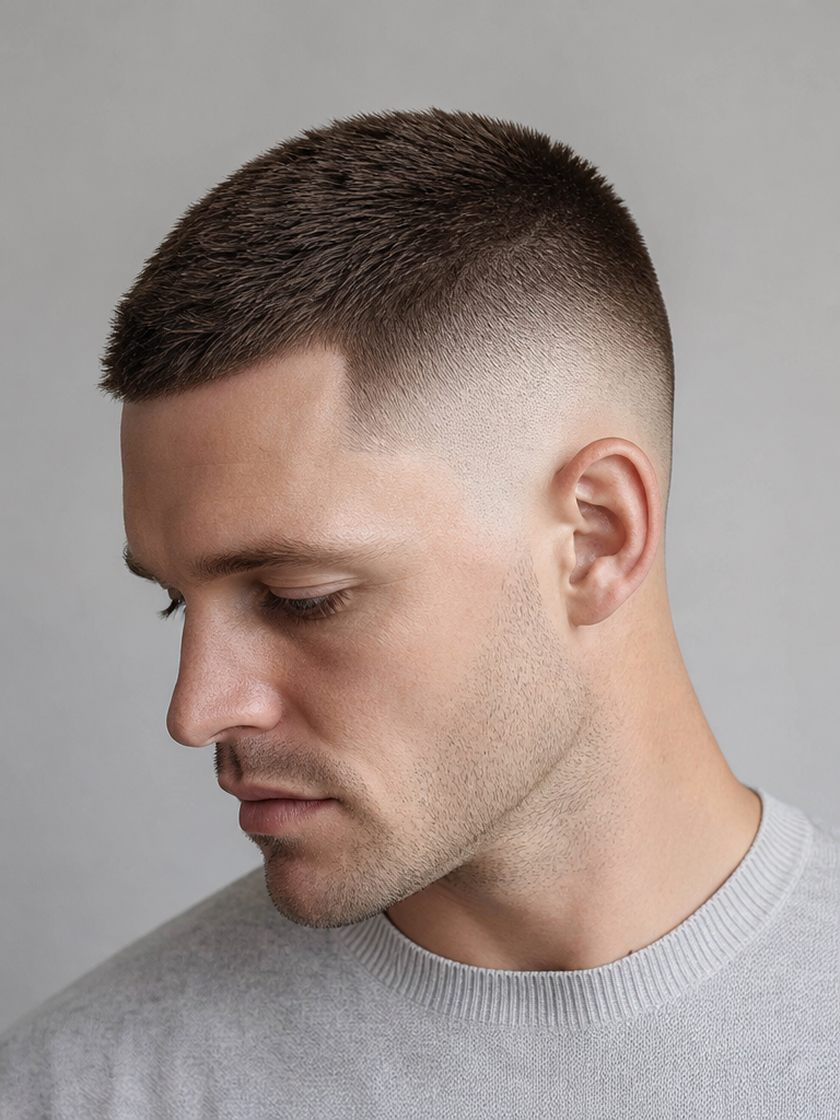
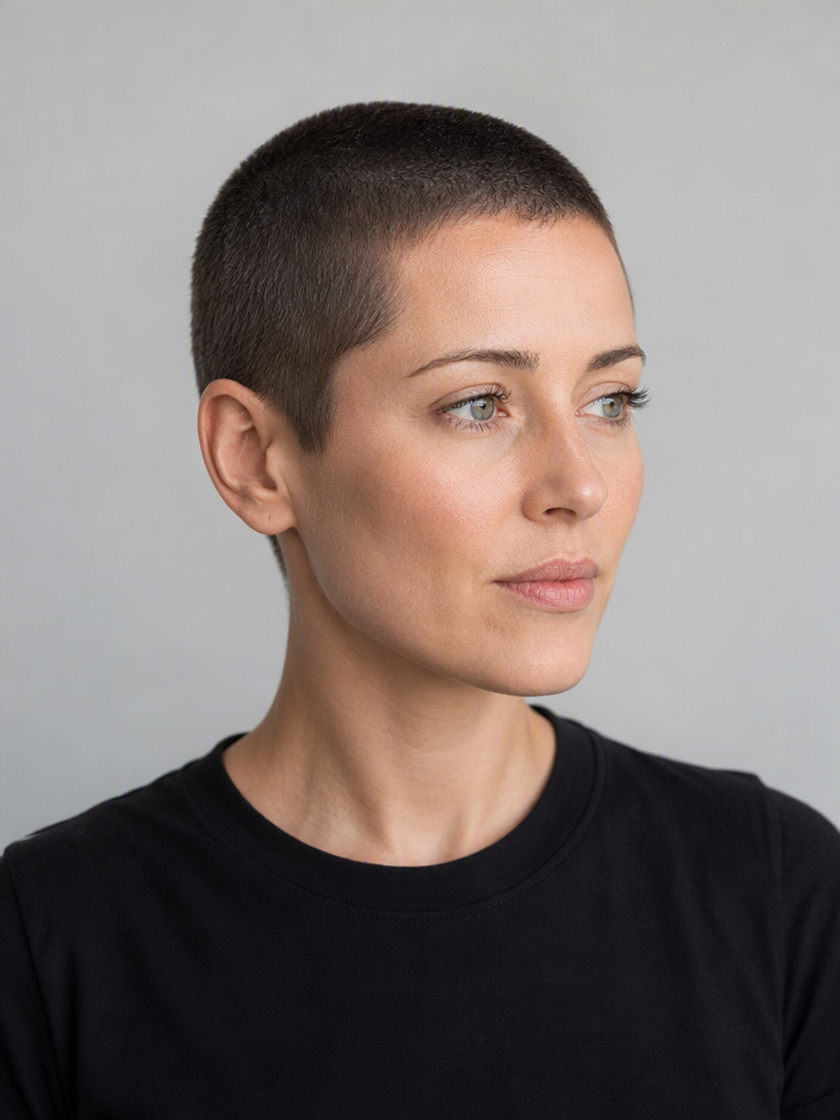
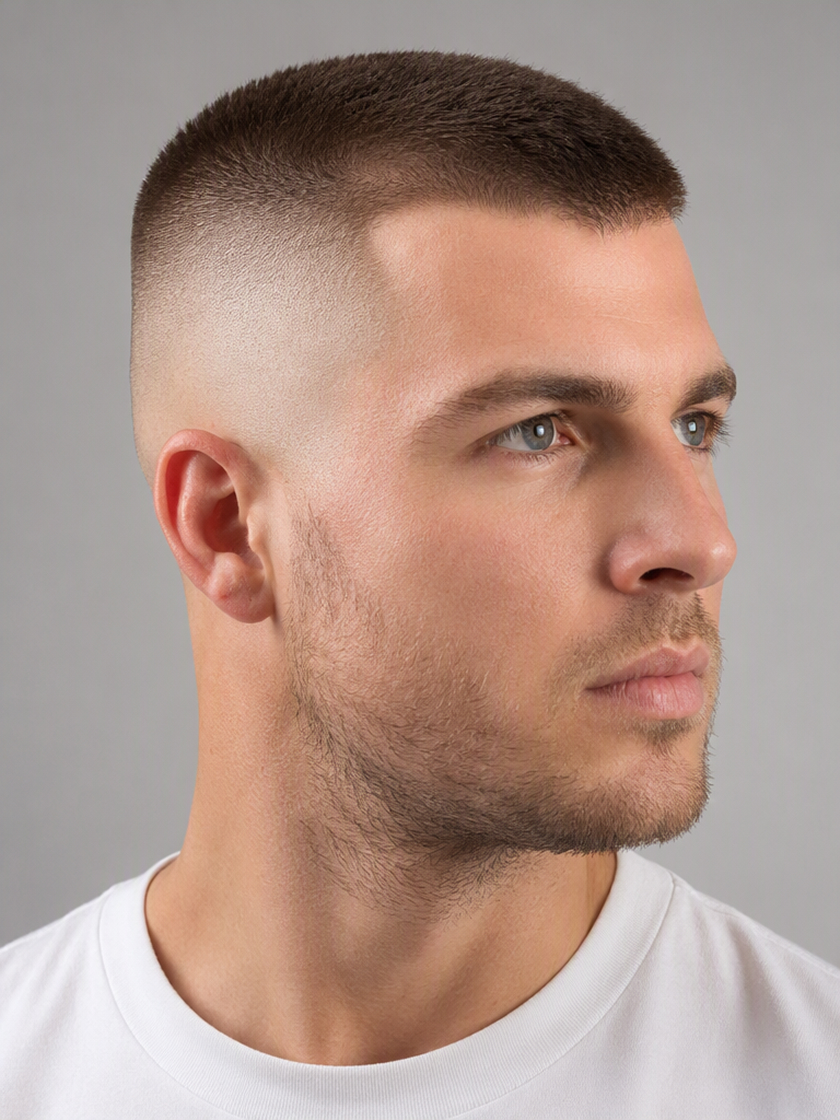 Classic Buzz Cuts
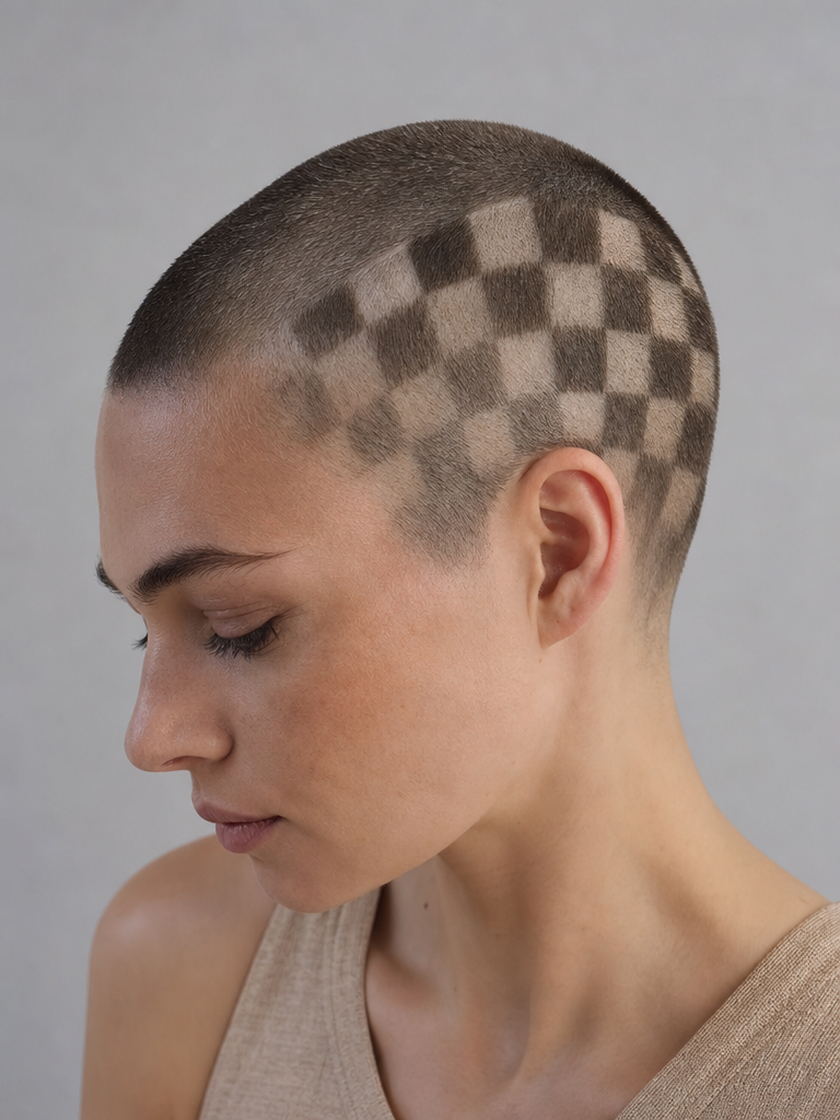 Creative Buzz Cuts
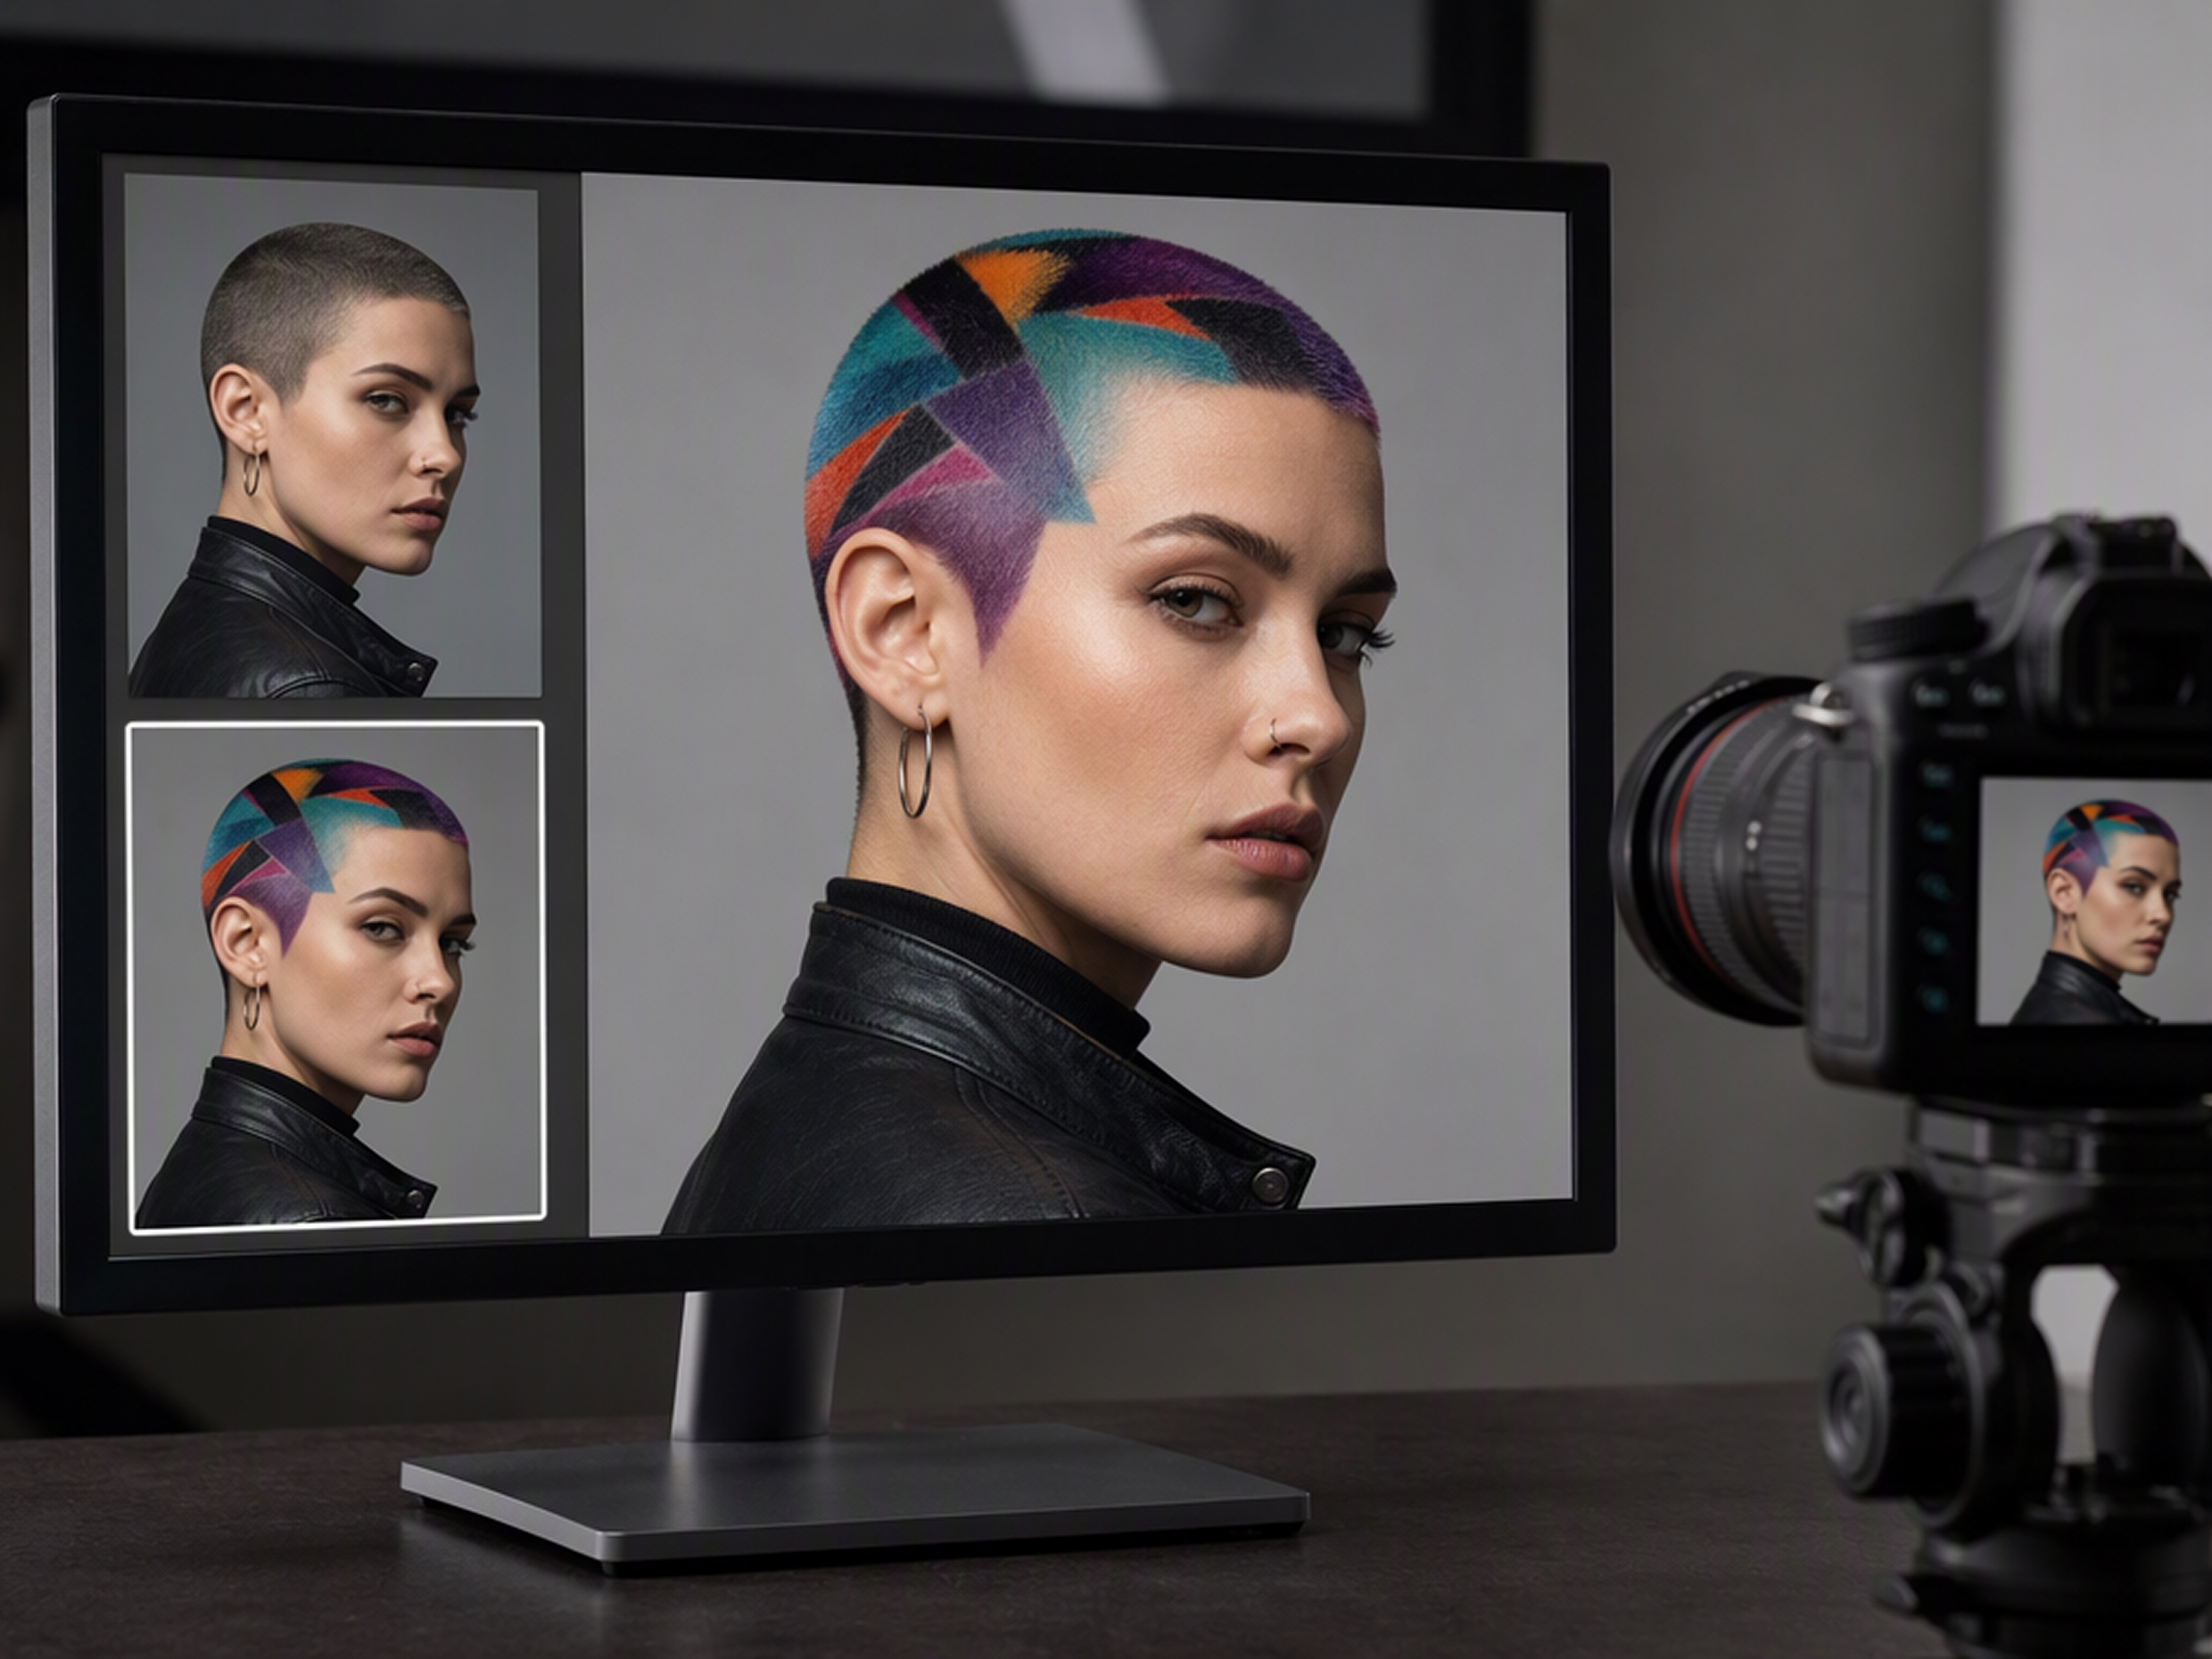
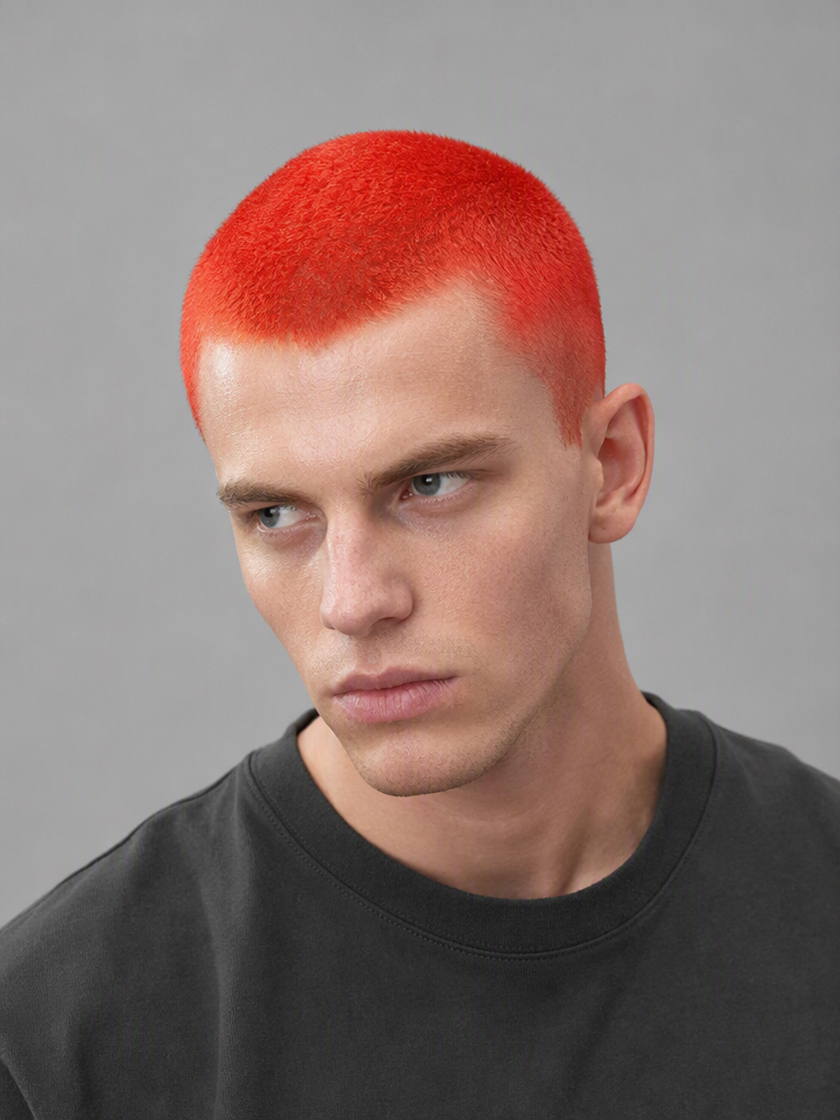 Buzz Cut Color Treatments
Create a Buzz Cut Try-On With AI
Upload a Portrait
Choose a clear, well-lit photo that shows your face, hairline, and current hairstyle.
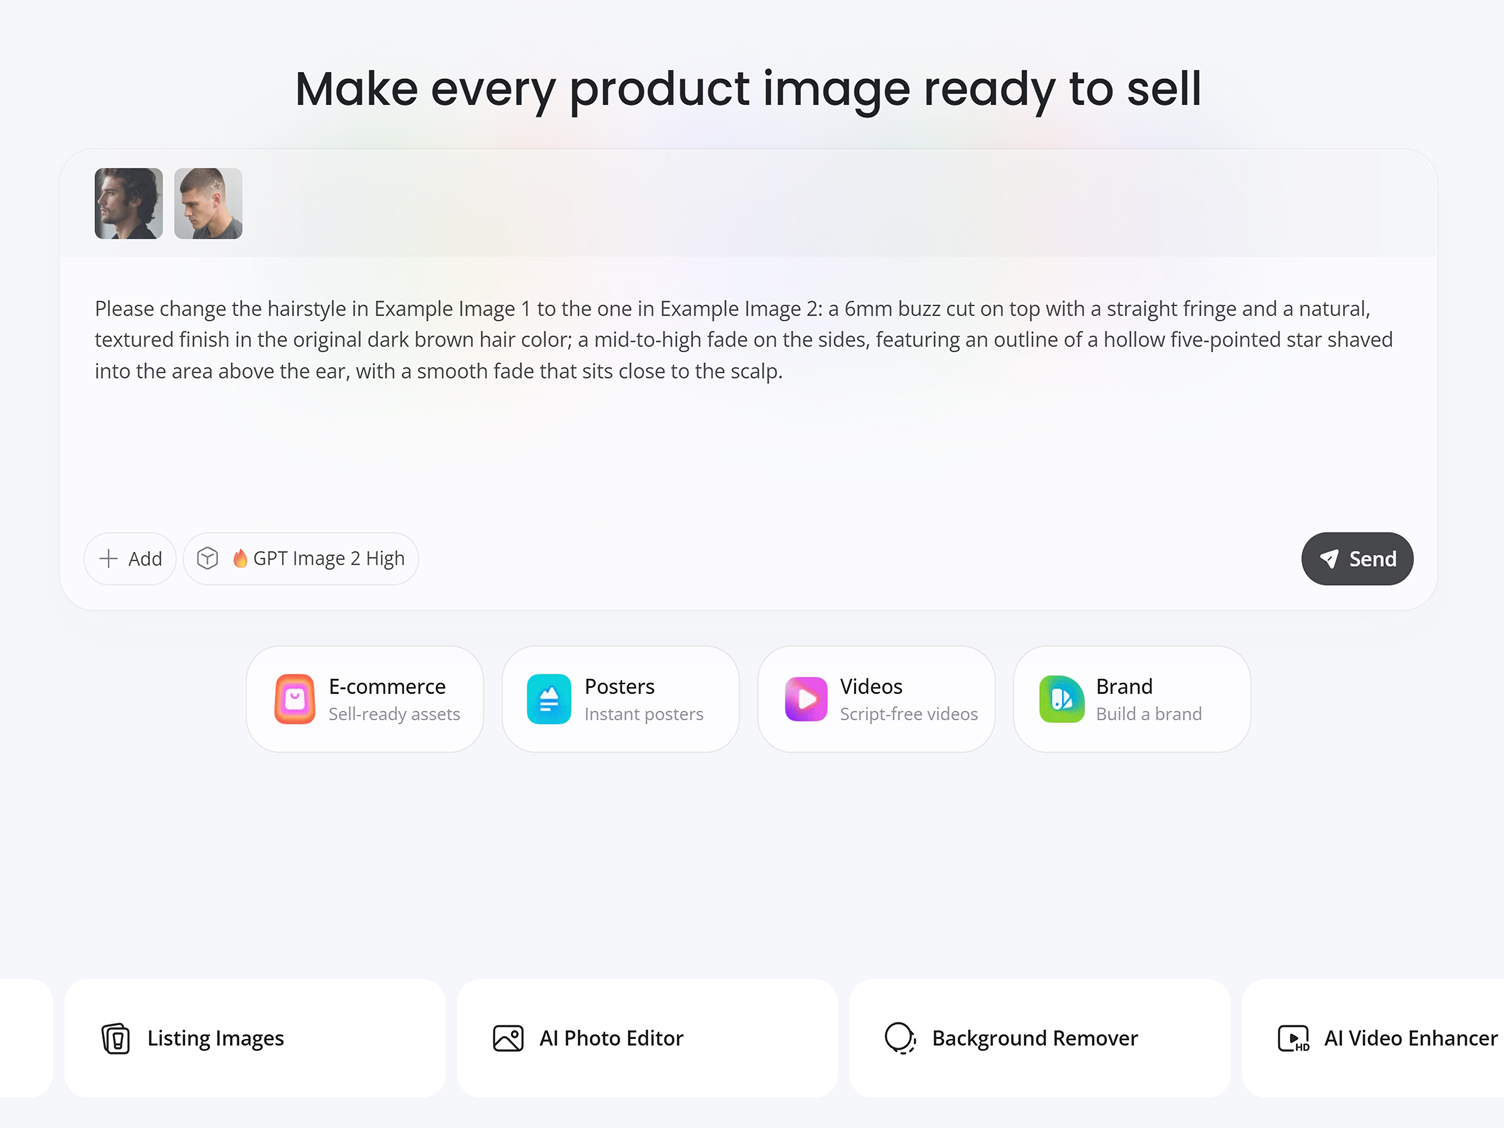
Describe or Add a Reference
Describe the buzz cut you want or upload a reference image to guide its overall shape and finish.
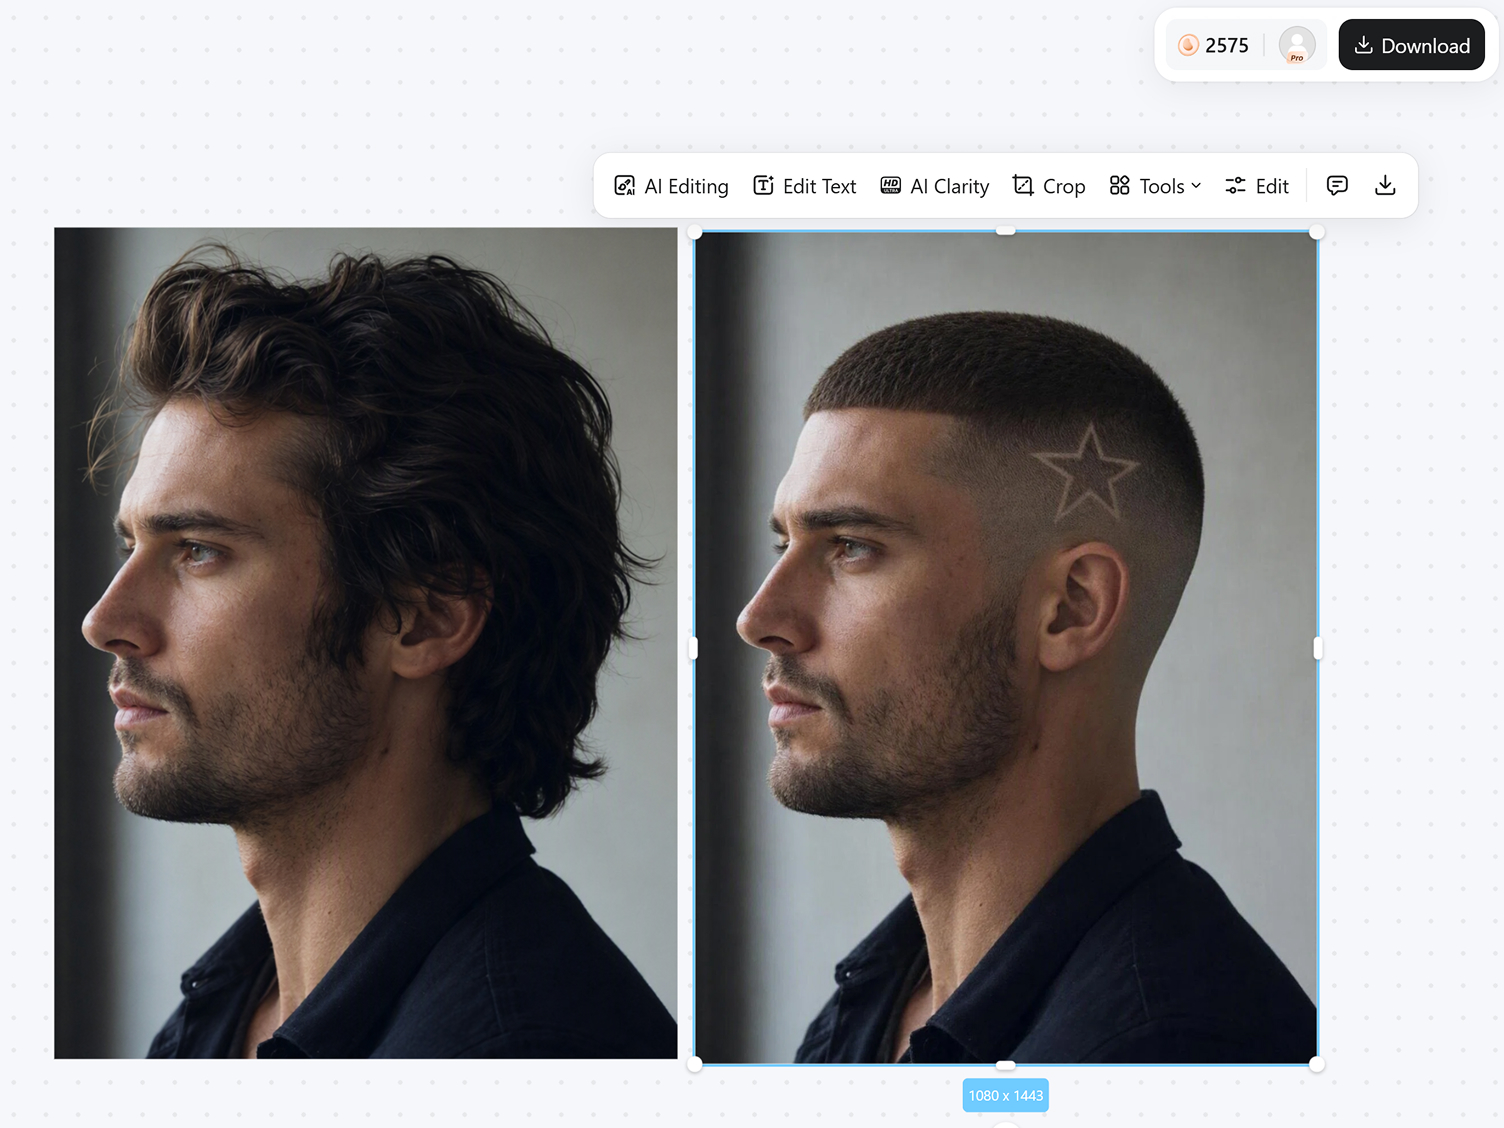
Generate and Review
Generate the try-on, compare it with the original portrait, and revise one detail when needed.
Customize Your Buzz Cut Try-On
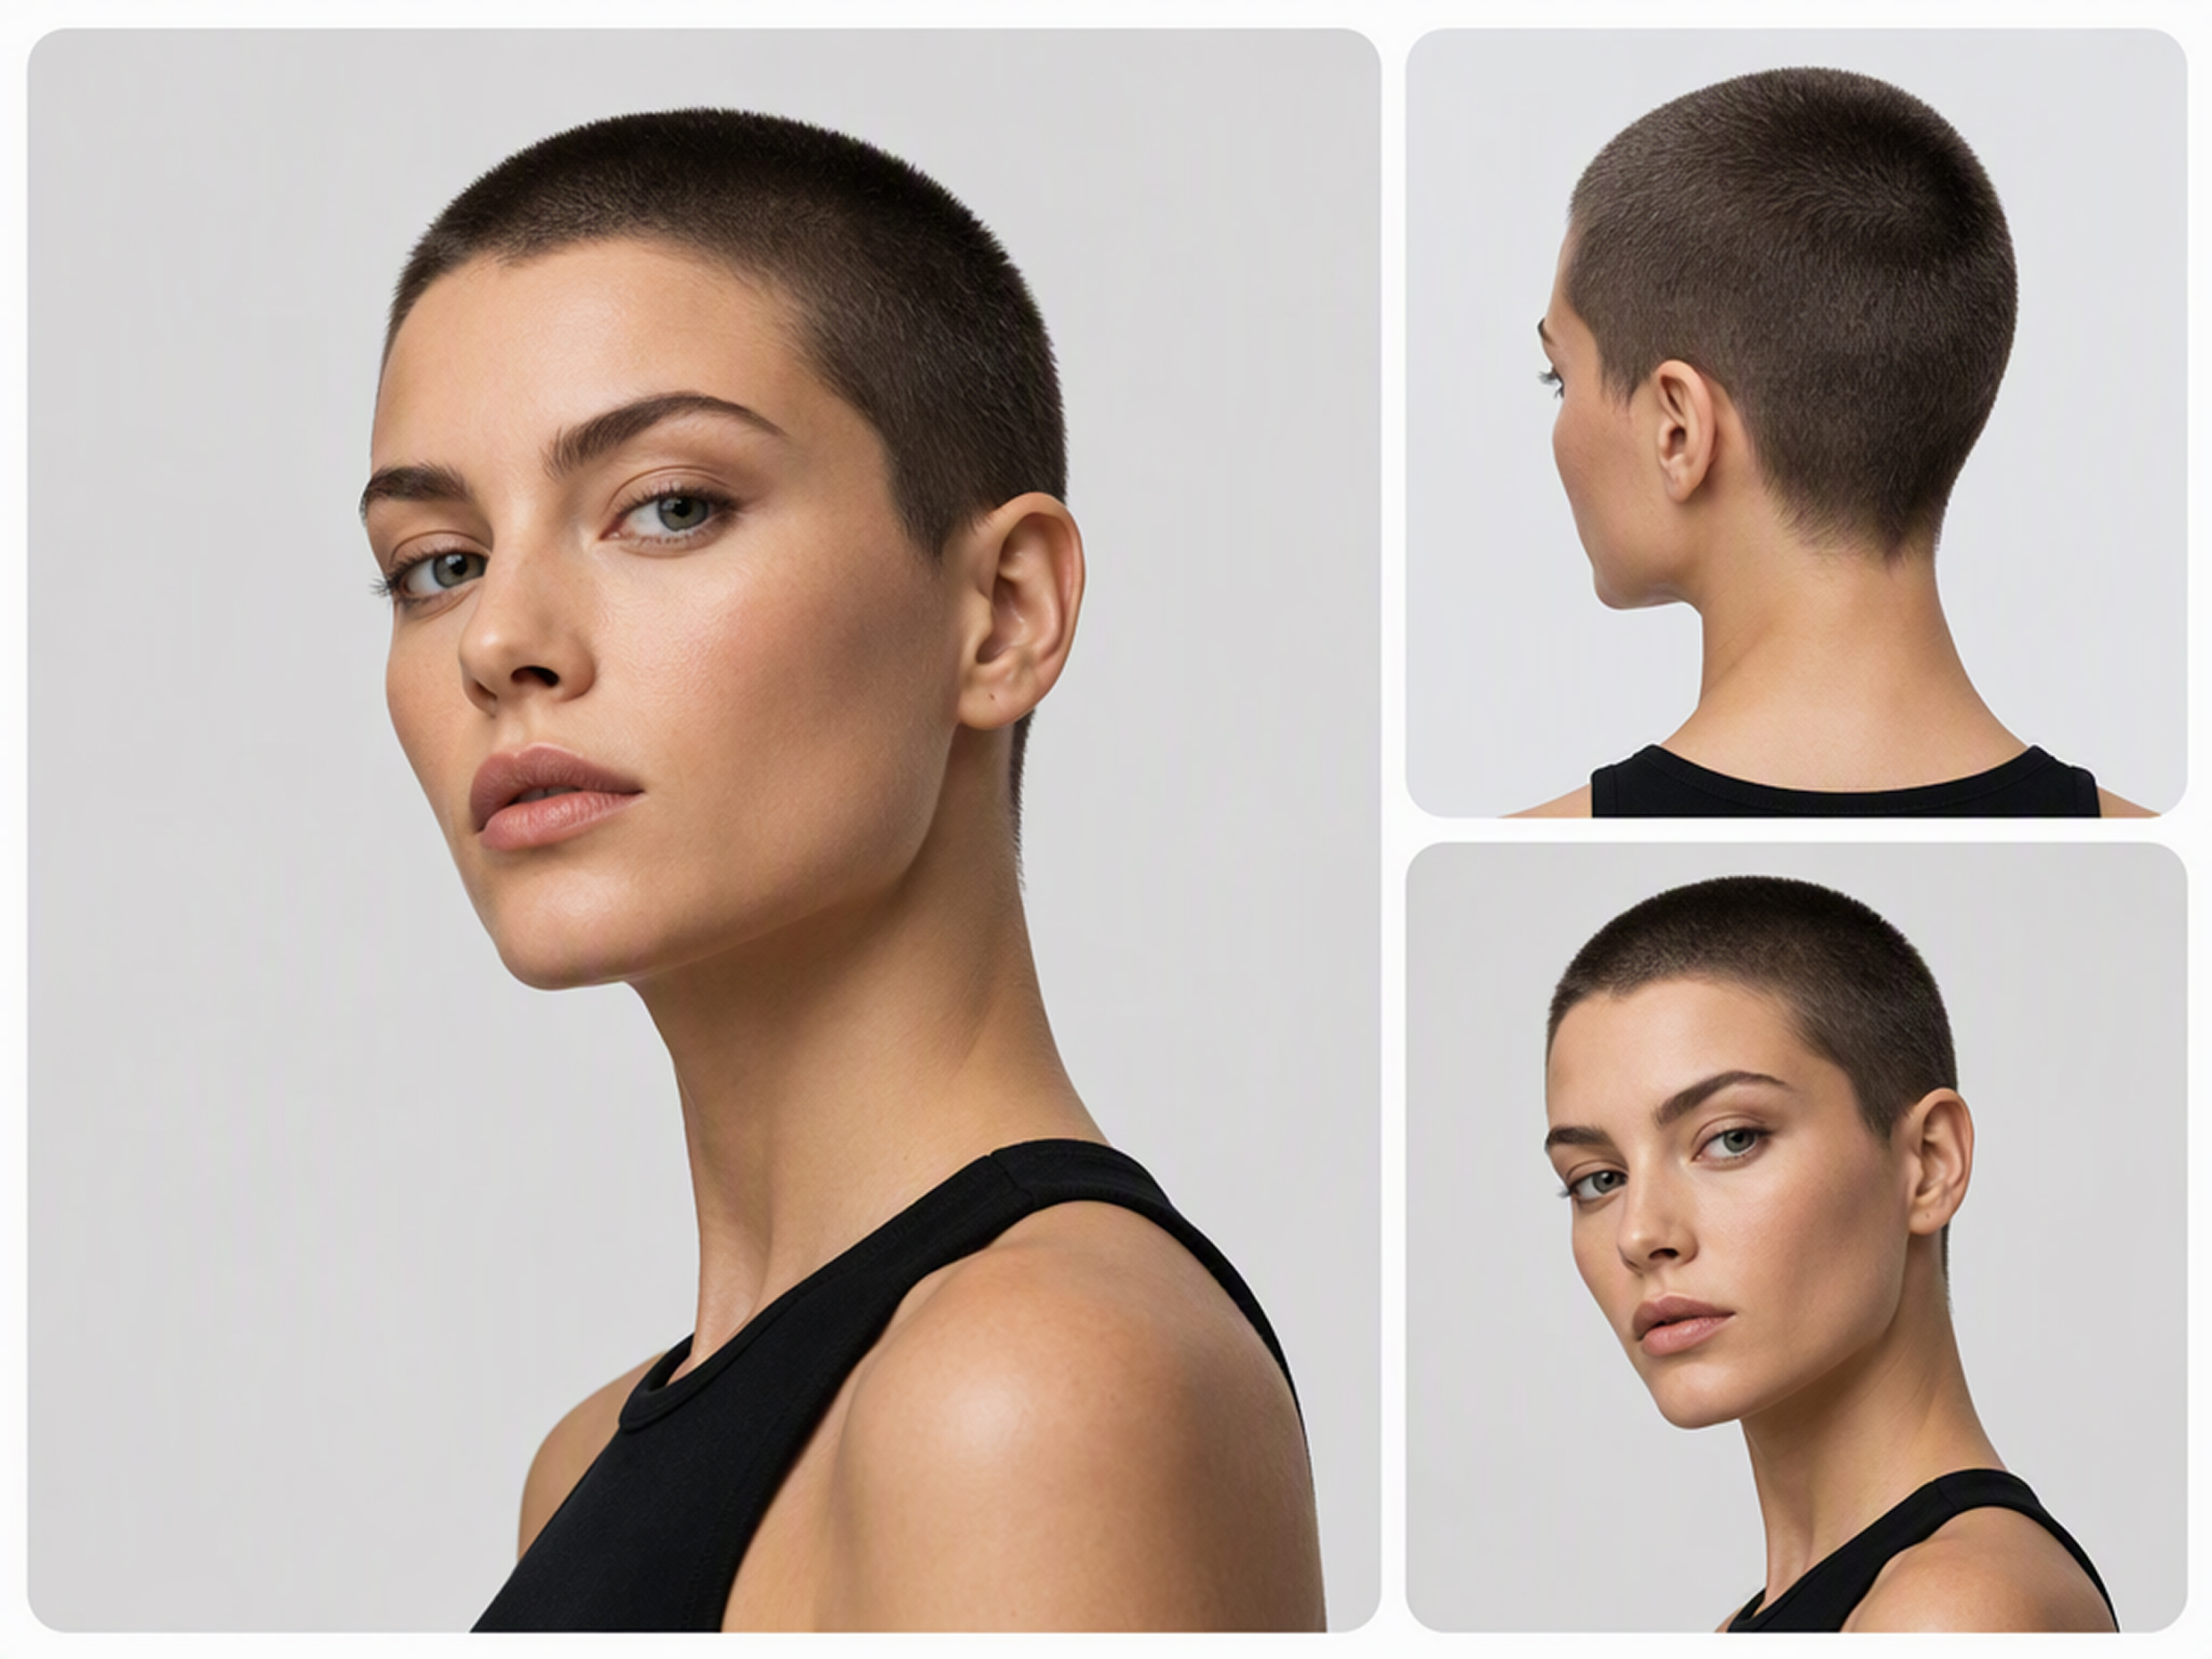
Match the Buzz Cut to a Reference Image
Upload a buzz cut reference to guide the overall shape and proportions instead of starting from a fixed filter preset. Add a short description for details the image does not fully show, so the generated cut follows a more specific idea.
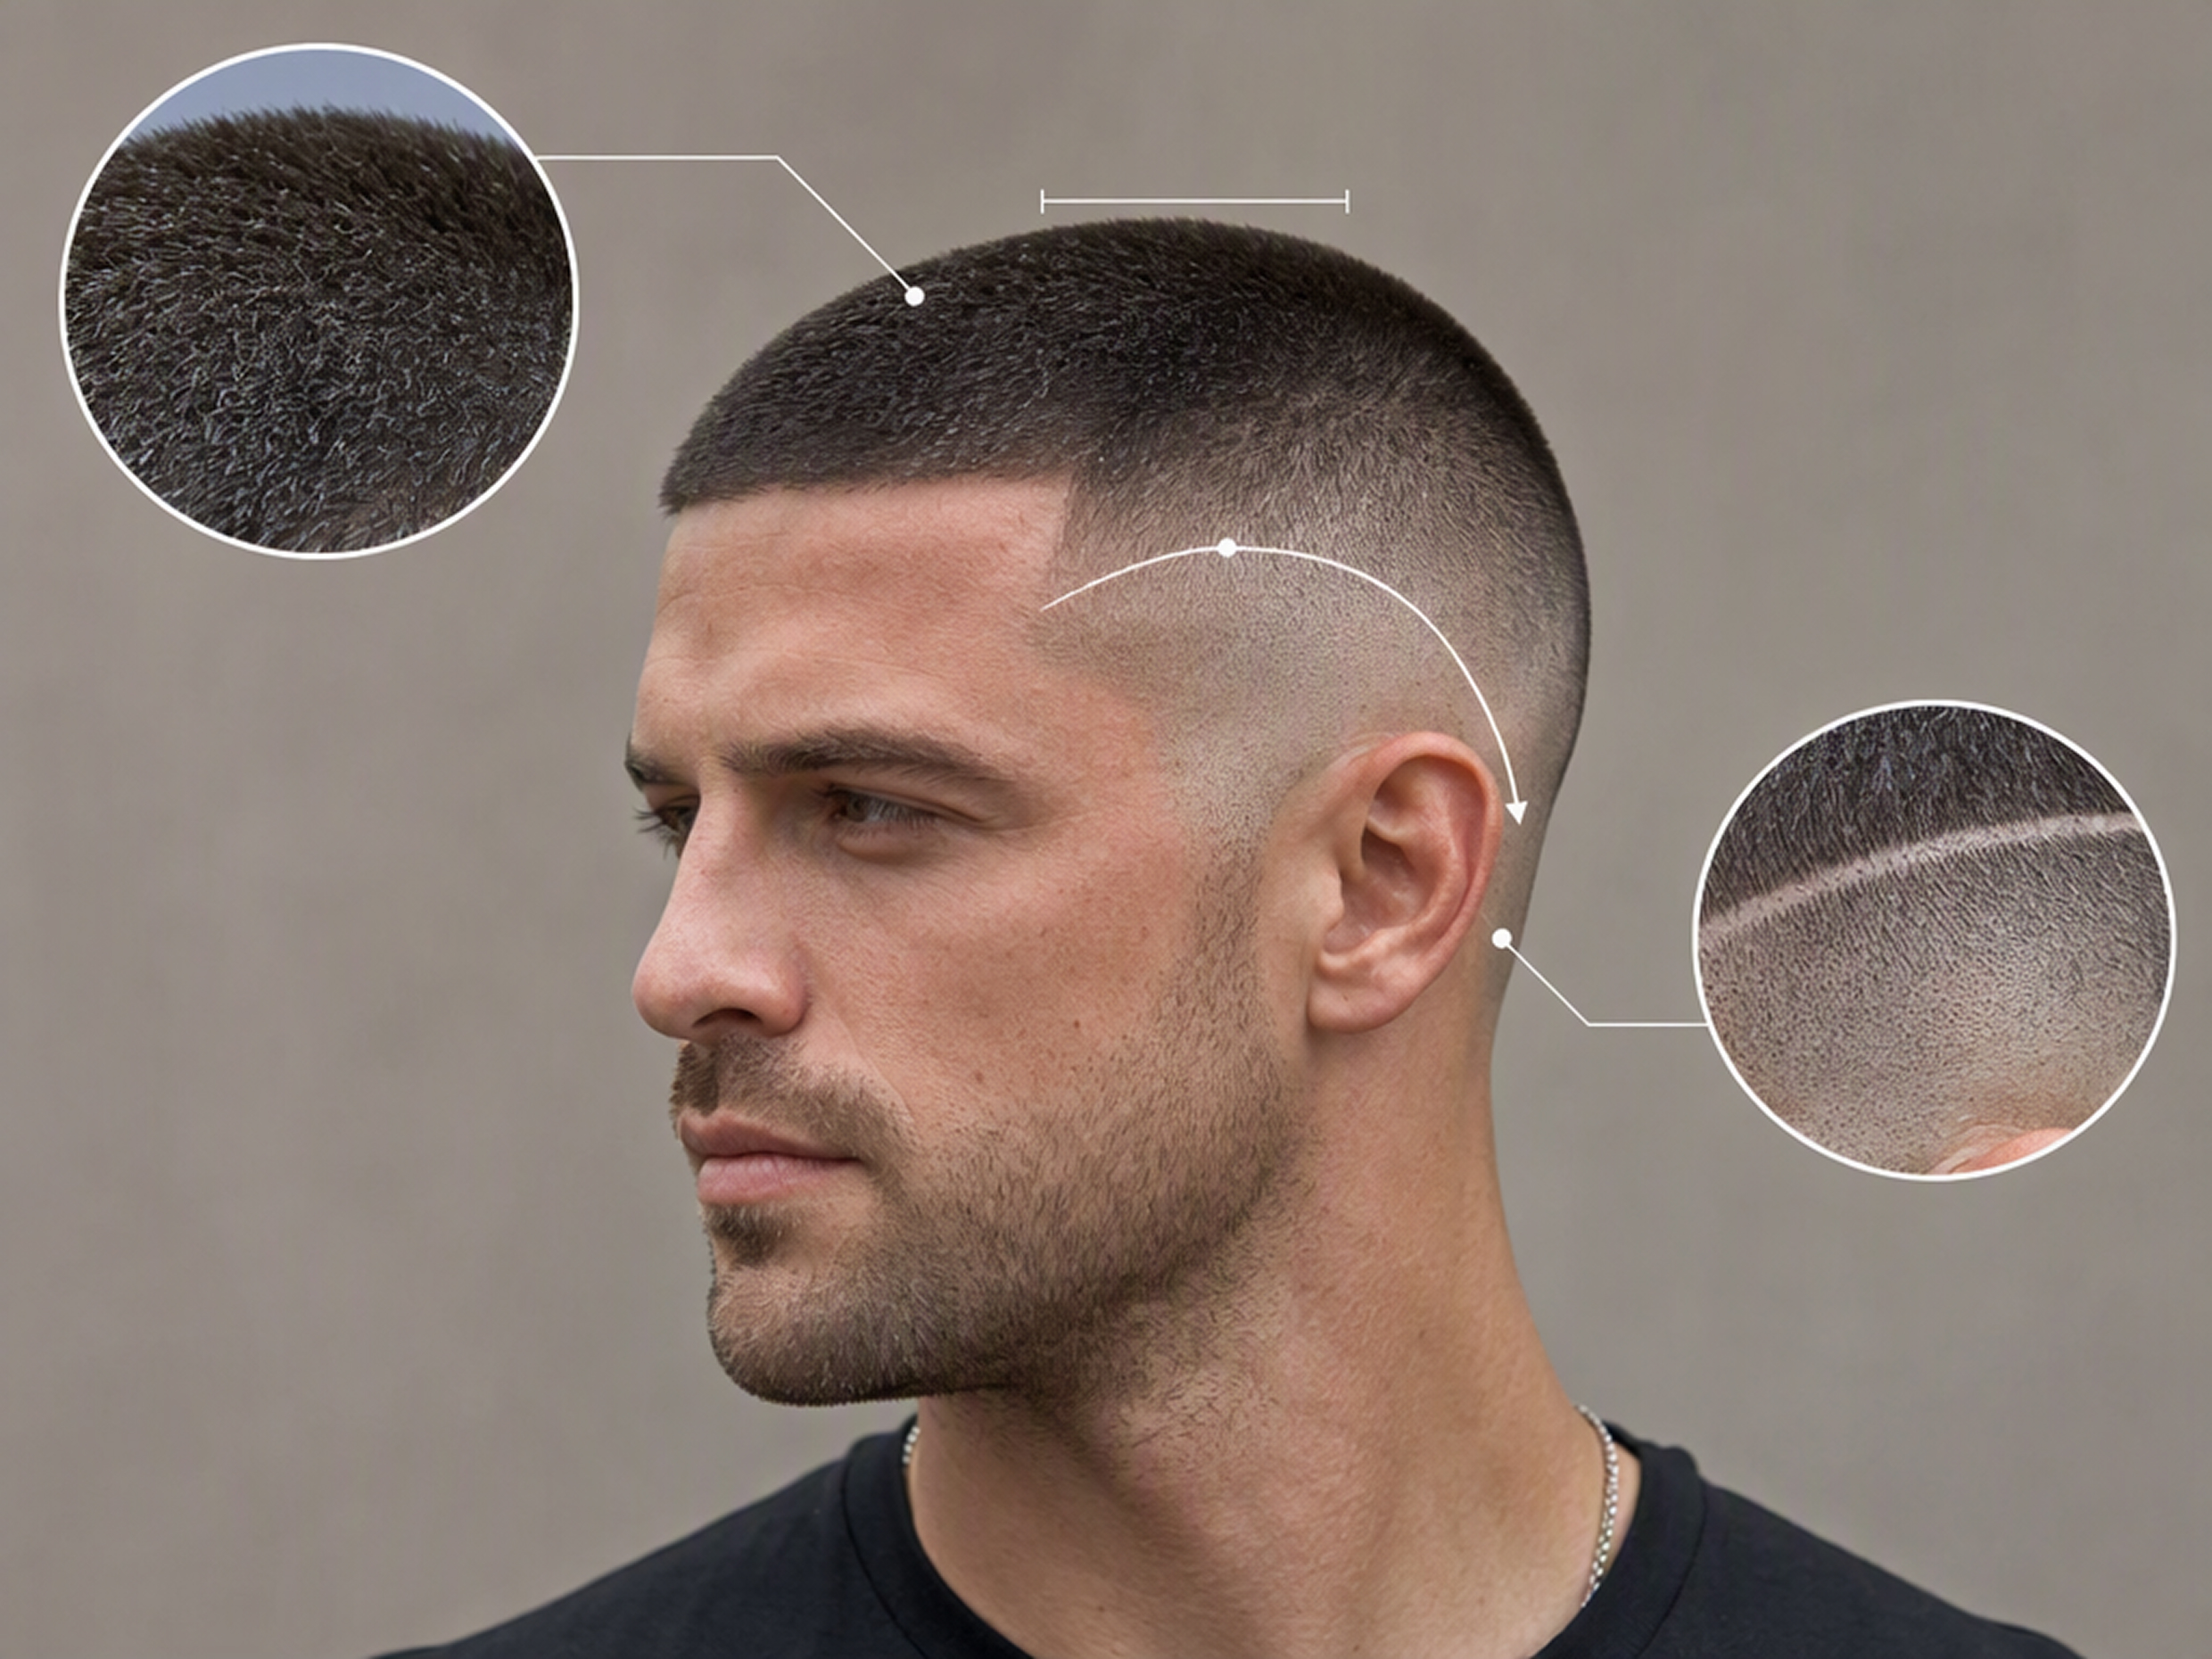
Set the Length, Fade, and Finish
Set the length, fade placement, texture, color, or graphic finish that defines the hairstyle. Revise one detail between generations to produce distinct alternatives while keeping the broader buzz cut concept consistent.
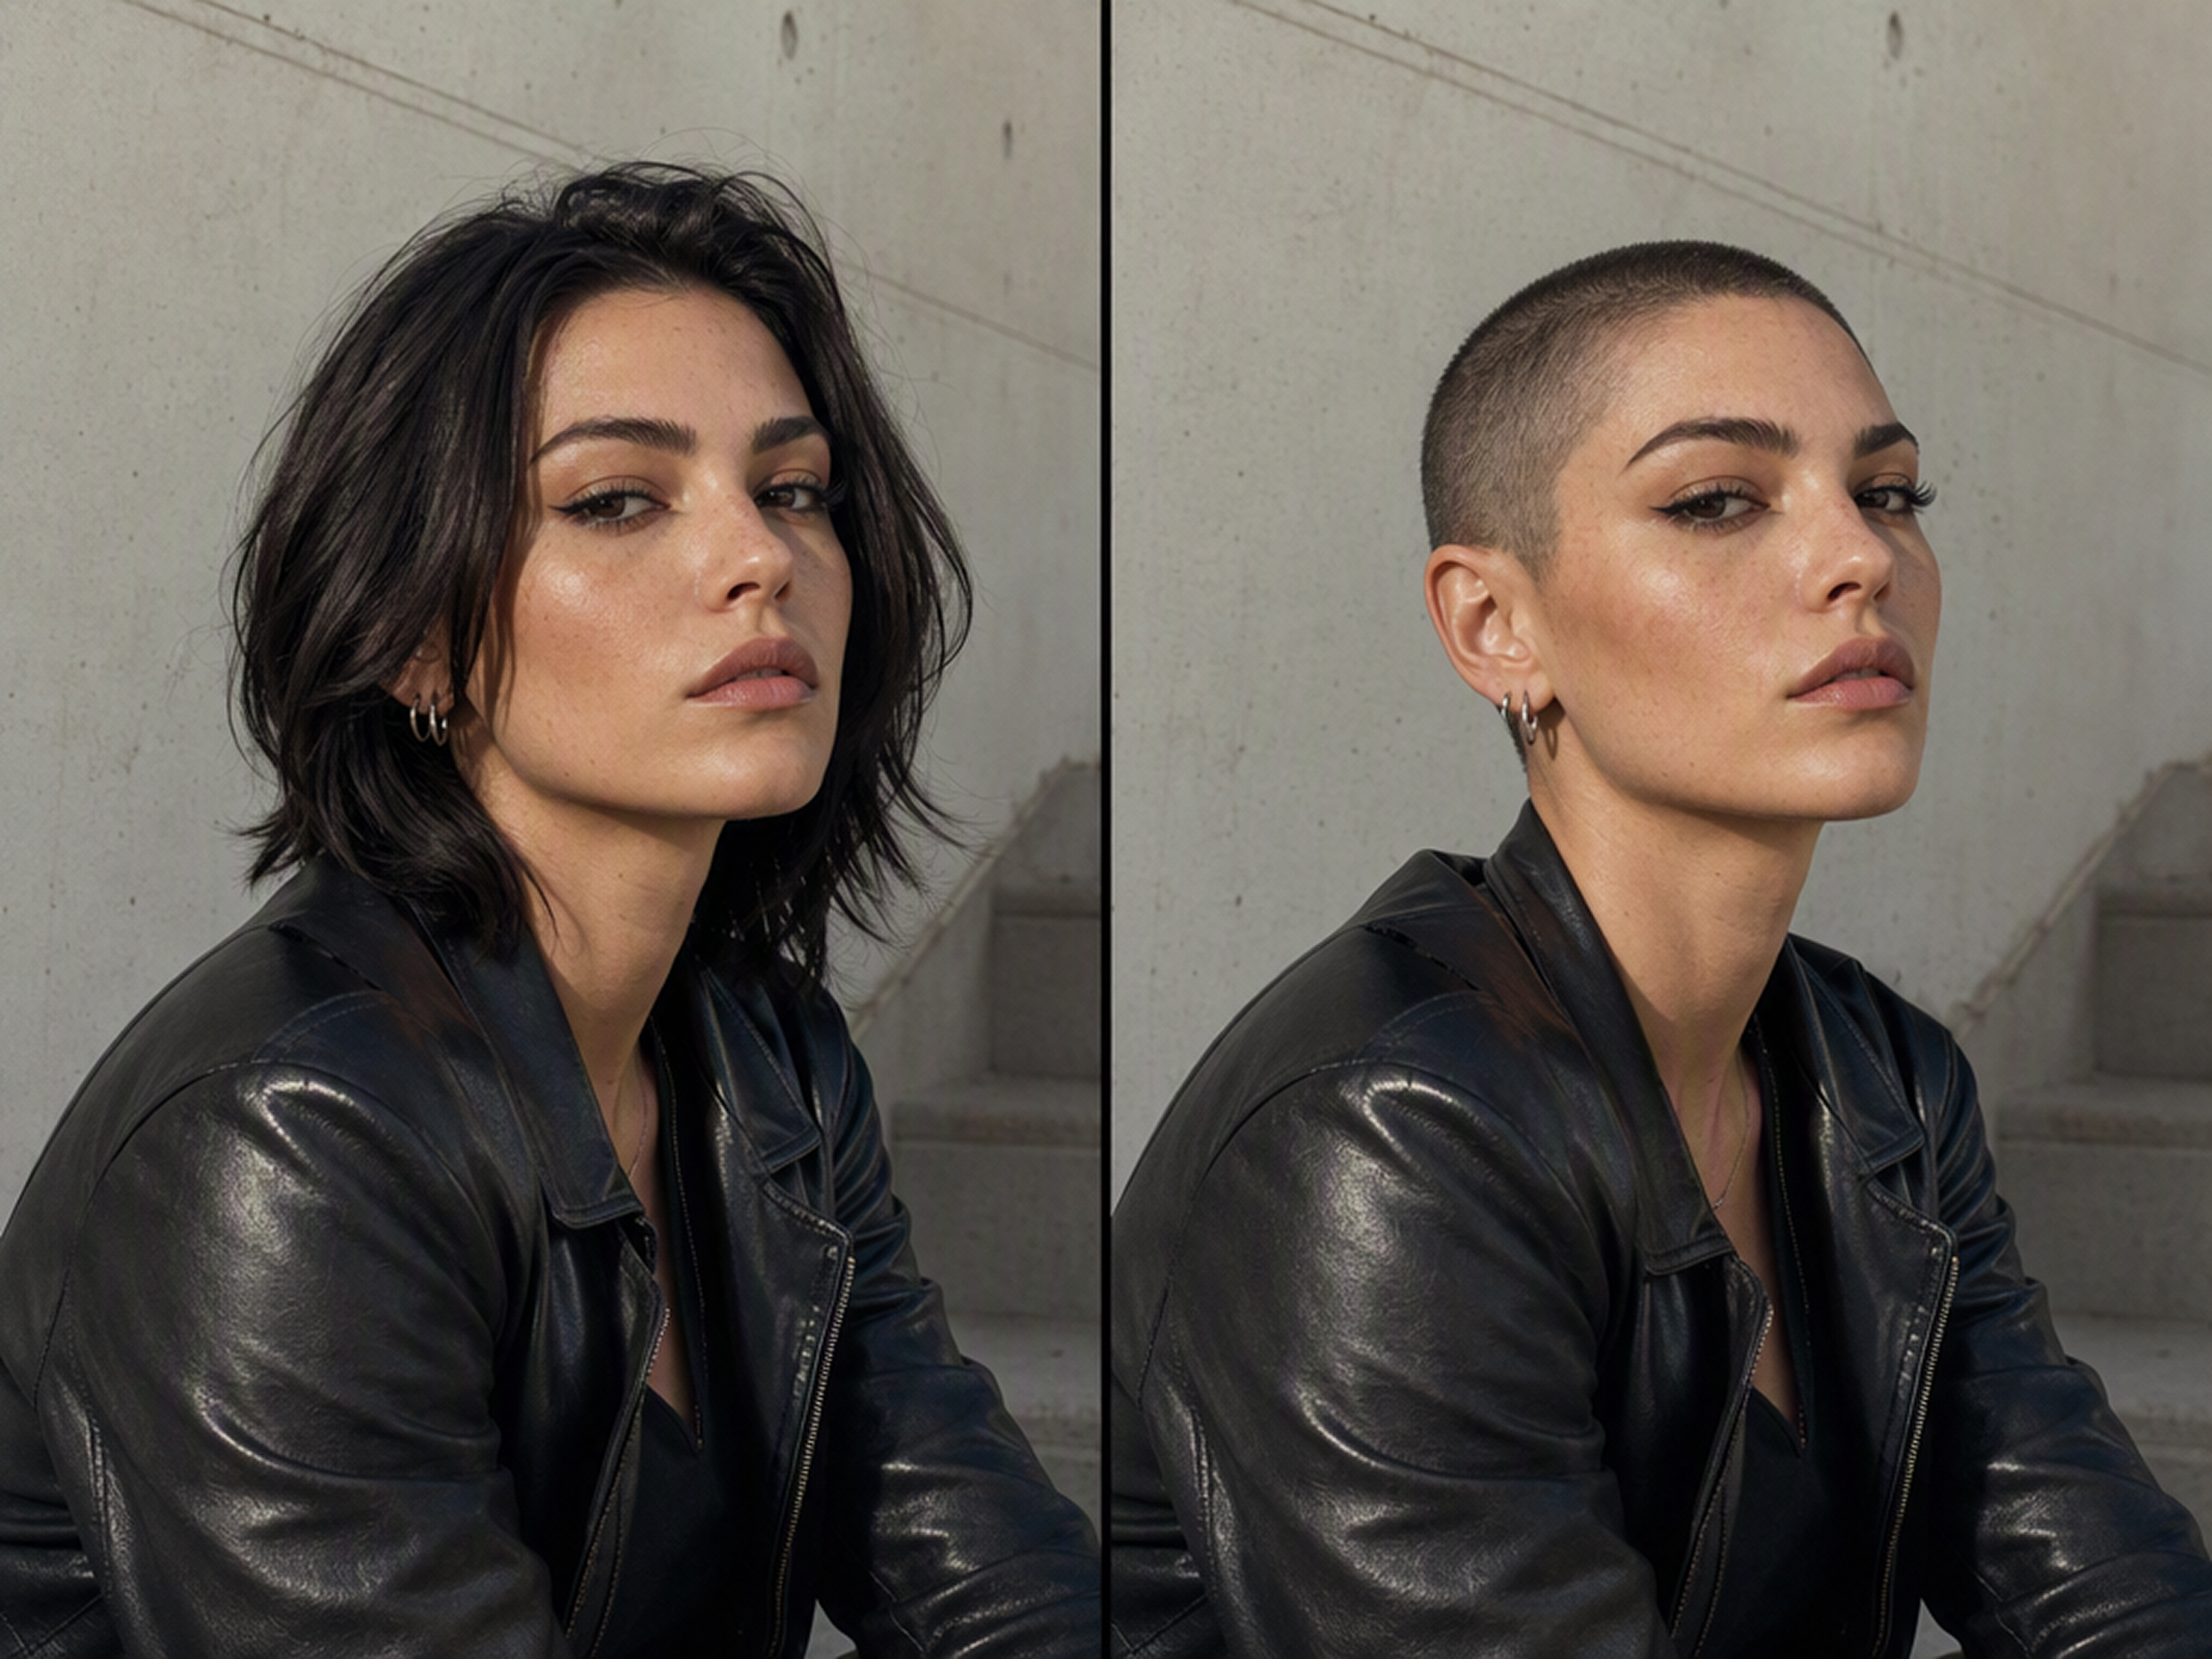
Preserve the Face, Pose, and Setting
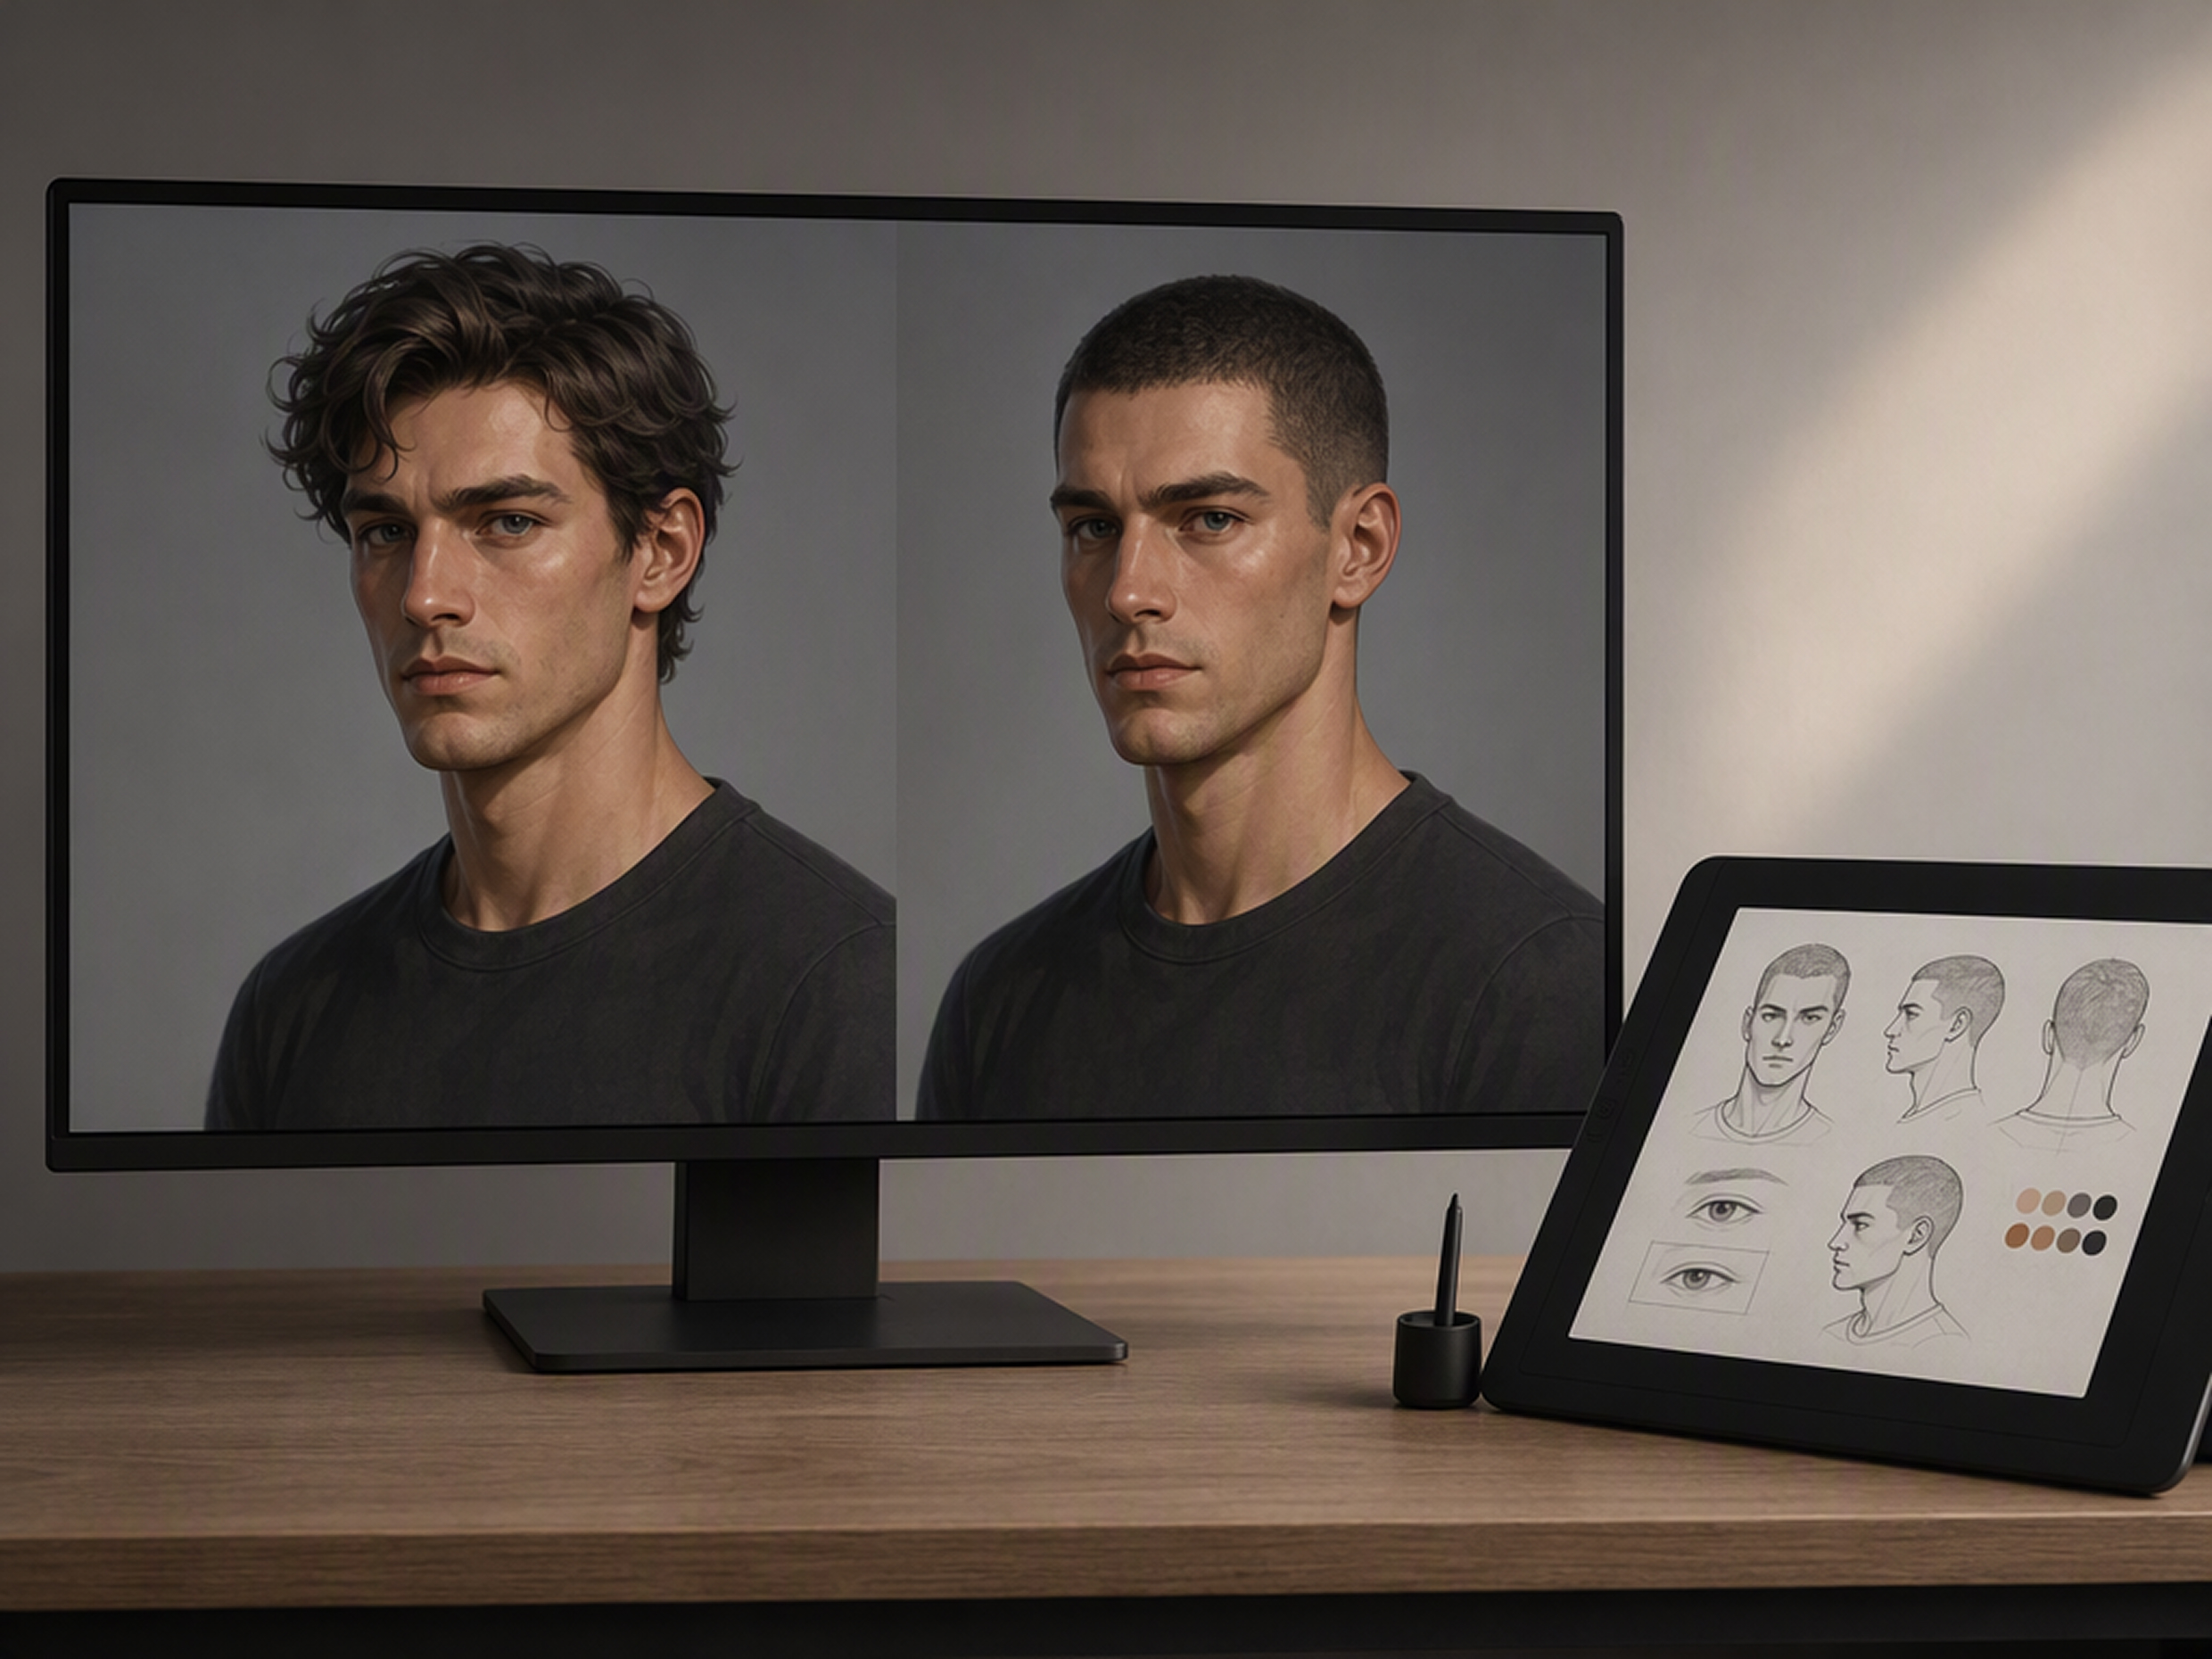
Apply the new hairstyle while maintaining recognizable facial features, expression, pose, lighting, and background. Keeping the rest of the image stable makes the buzz cut the central change instead of rebuilding the whole portrait.
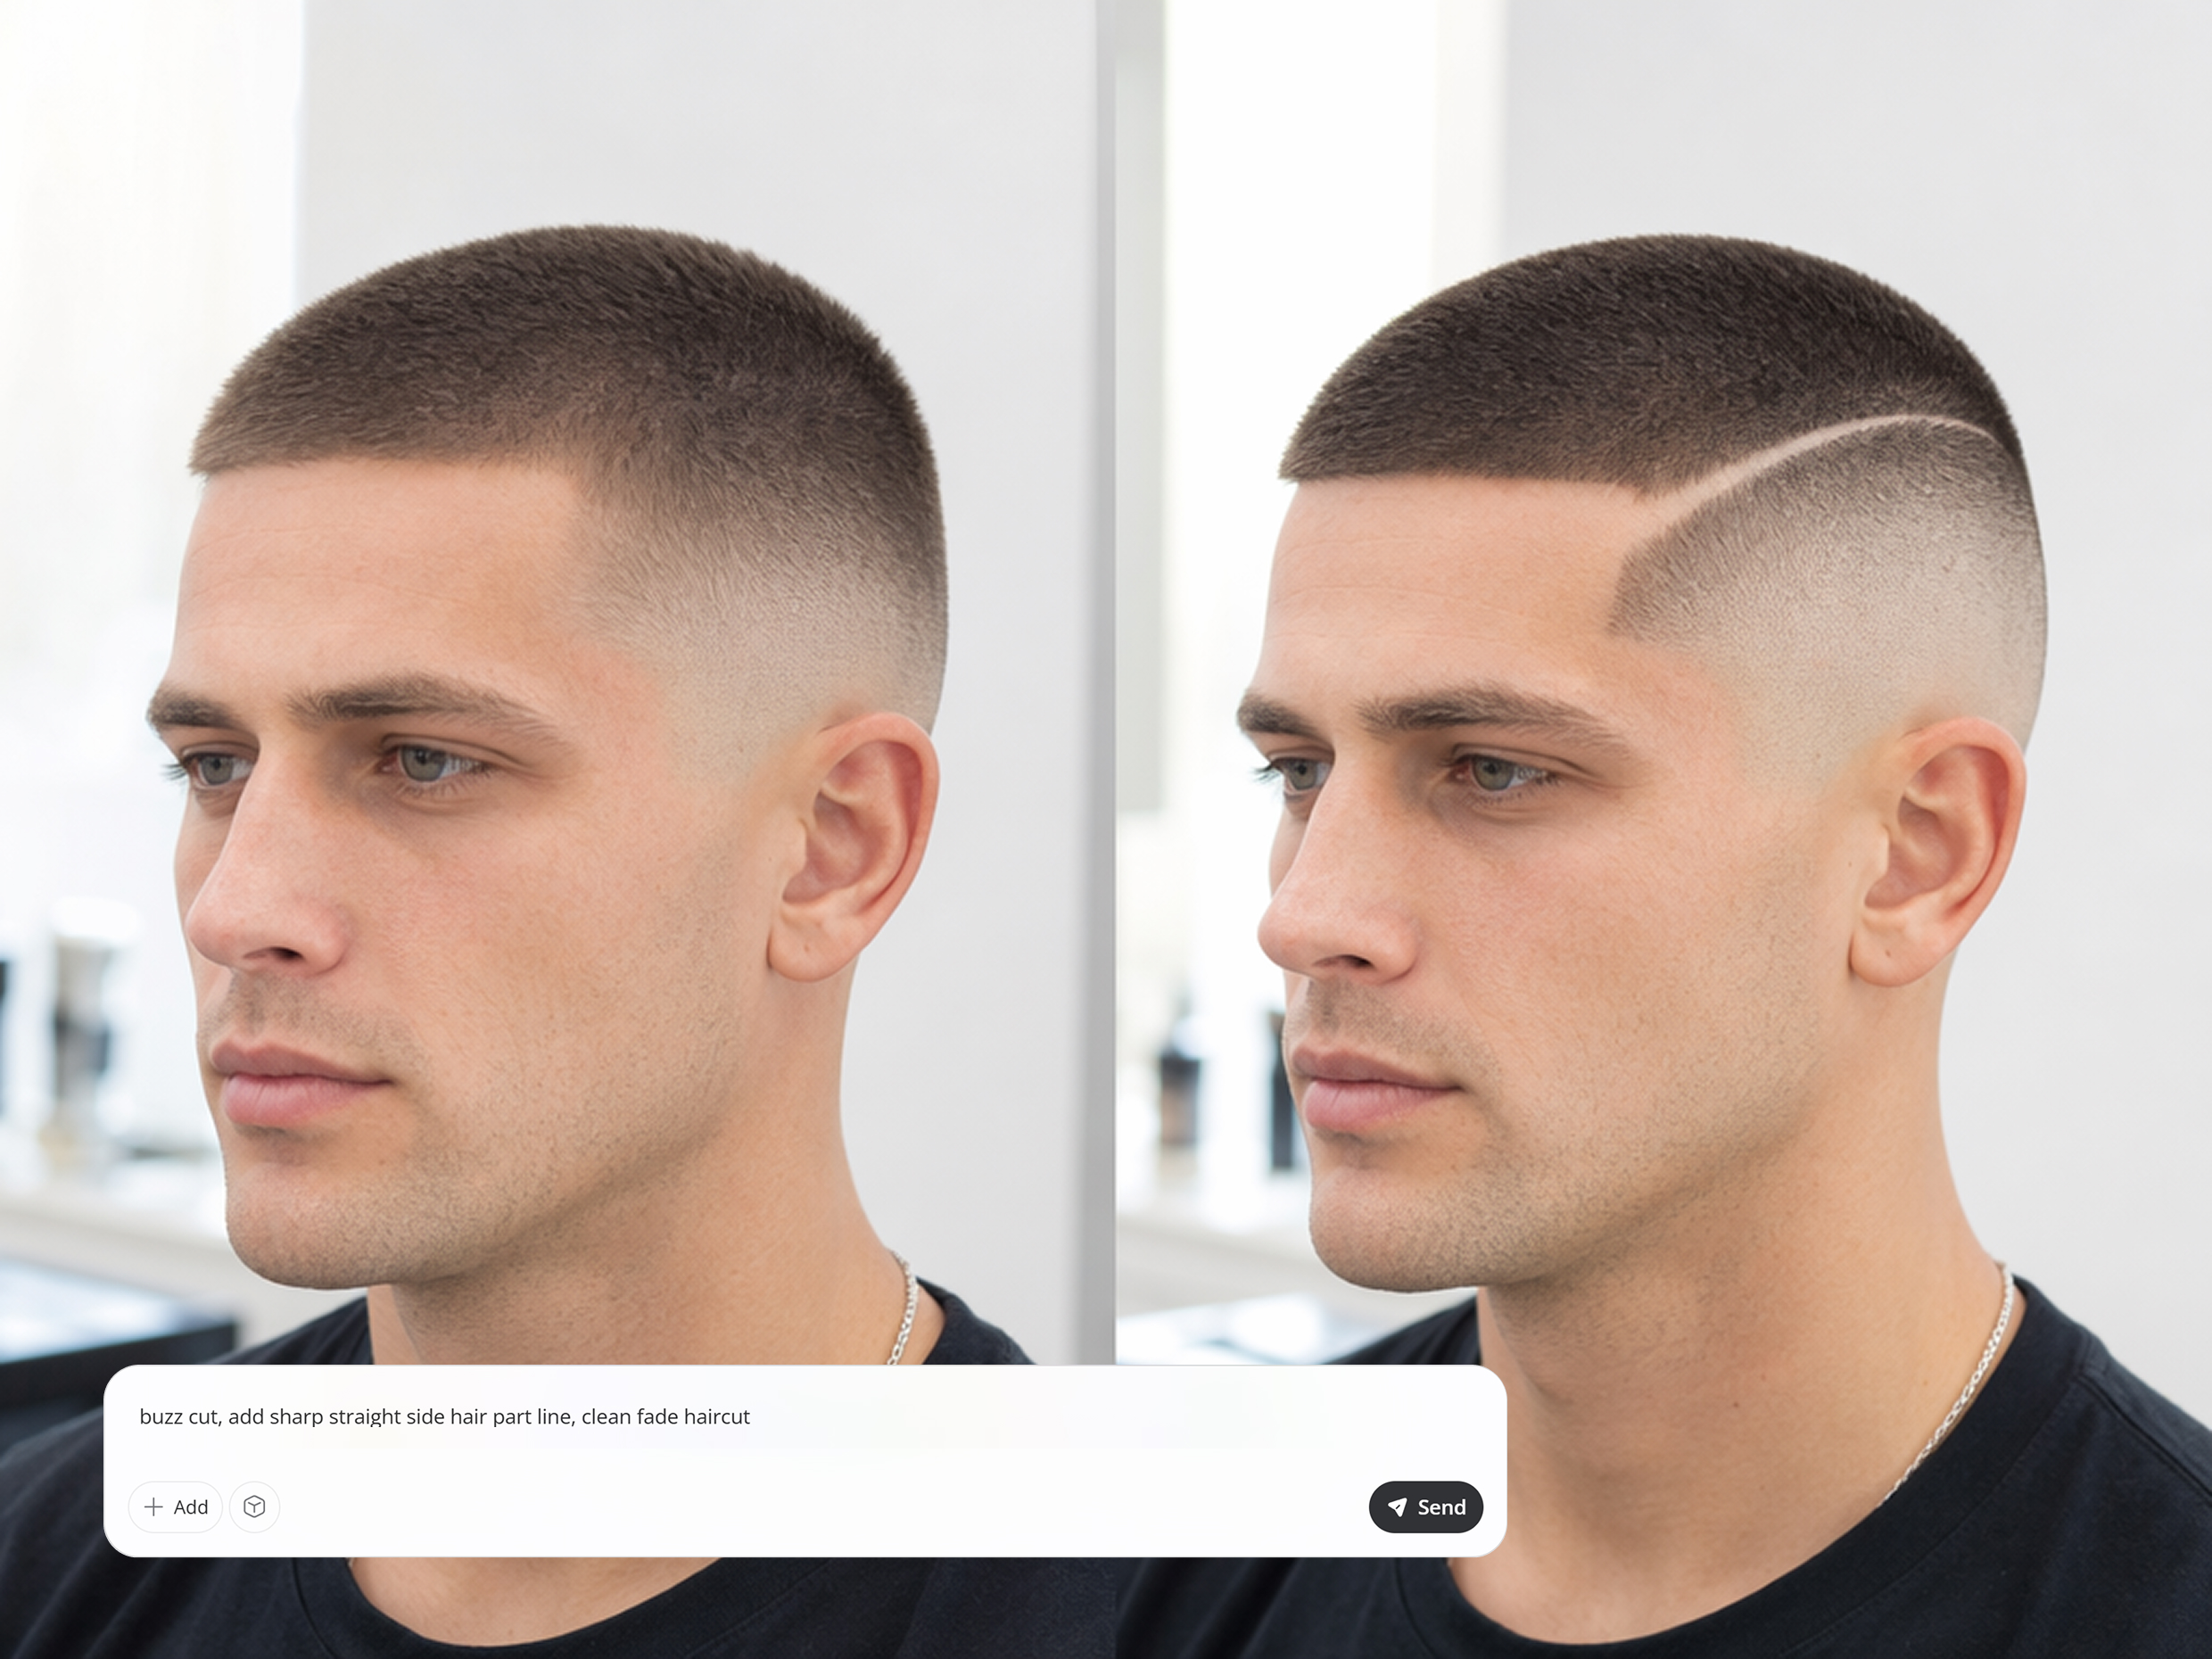
Refine the Buzz Cut in One Workspace
Continue adjusting the selected result in the same workspace after the initial try-on. Improve areas that need attention or develop the image further without repeatedly exporting it and moving between separate editing tools.
Why Choose Designkit for Buzz Cut Try-Ons?
Skip Manual Hair Retouching
Avoid masking and blending hair by hand. Designkit applies the complete buzz cut directly to the portrait.
Work Directly in Your Browser
Create buzz cut try-ons online without installing another app or transferring files between devices.
Go Beyond Fixed Hairstyle Presets
Preset-based tools limit you to their built-in styles. Designkit lets you create a buzz cut based on your own idea or reference.
Buzz Cut Try-Ons for Haircuts and Creative Work
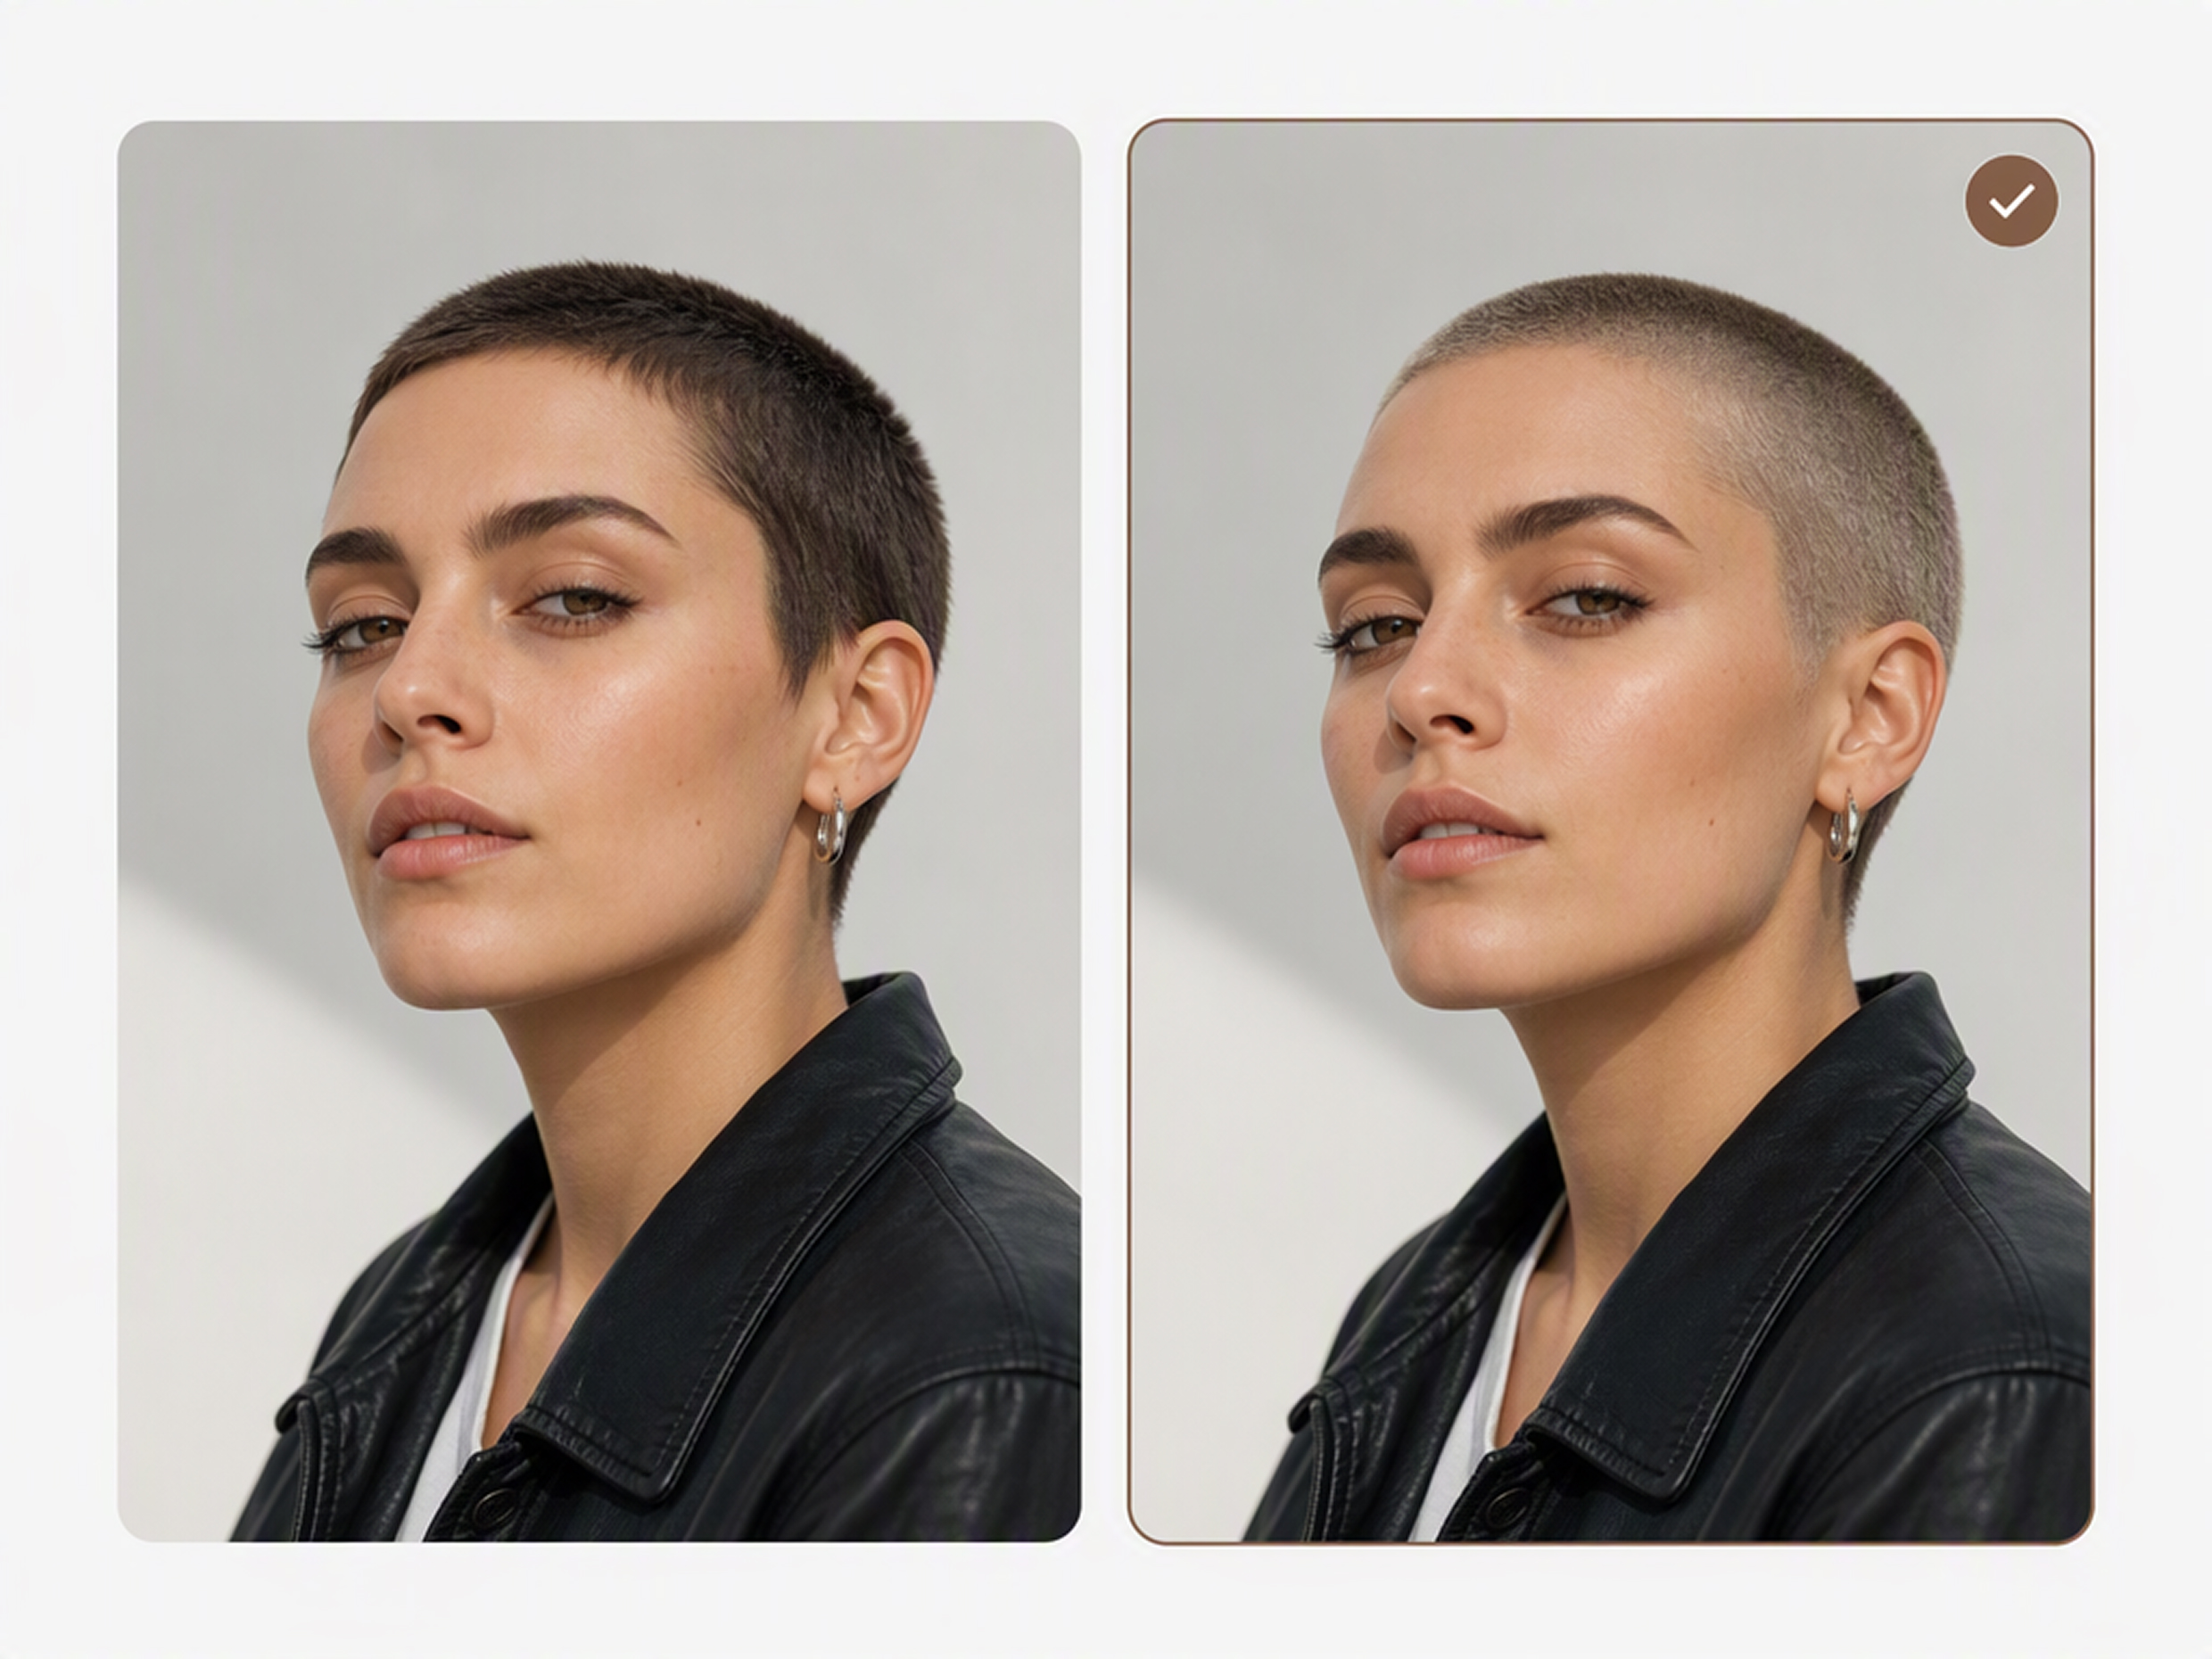
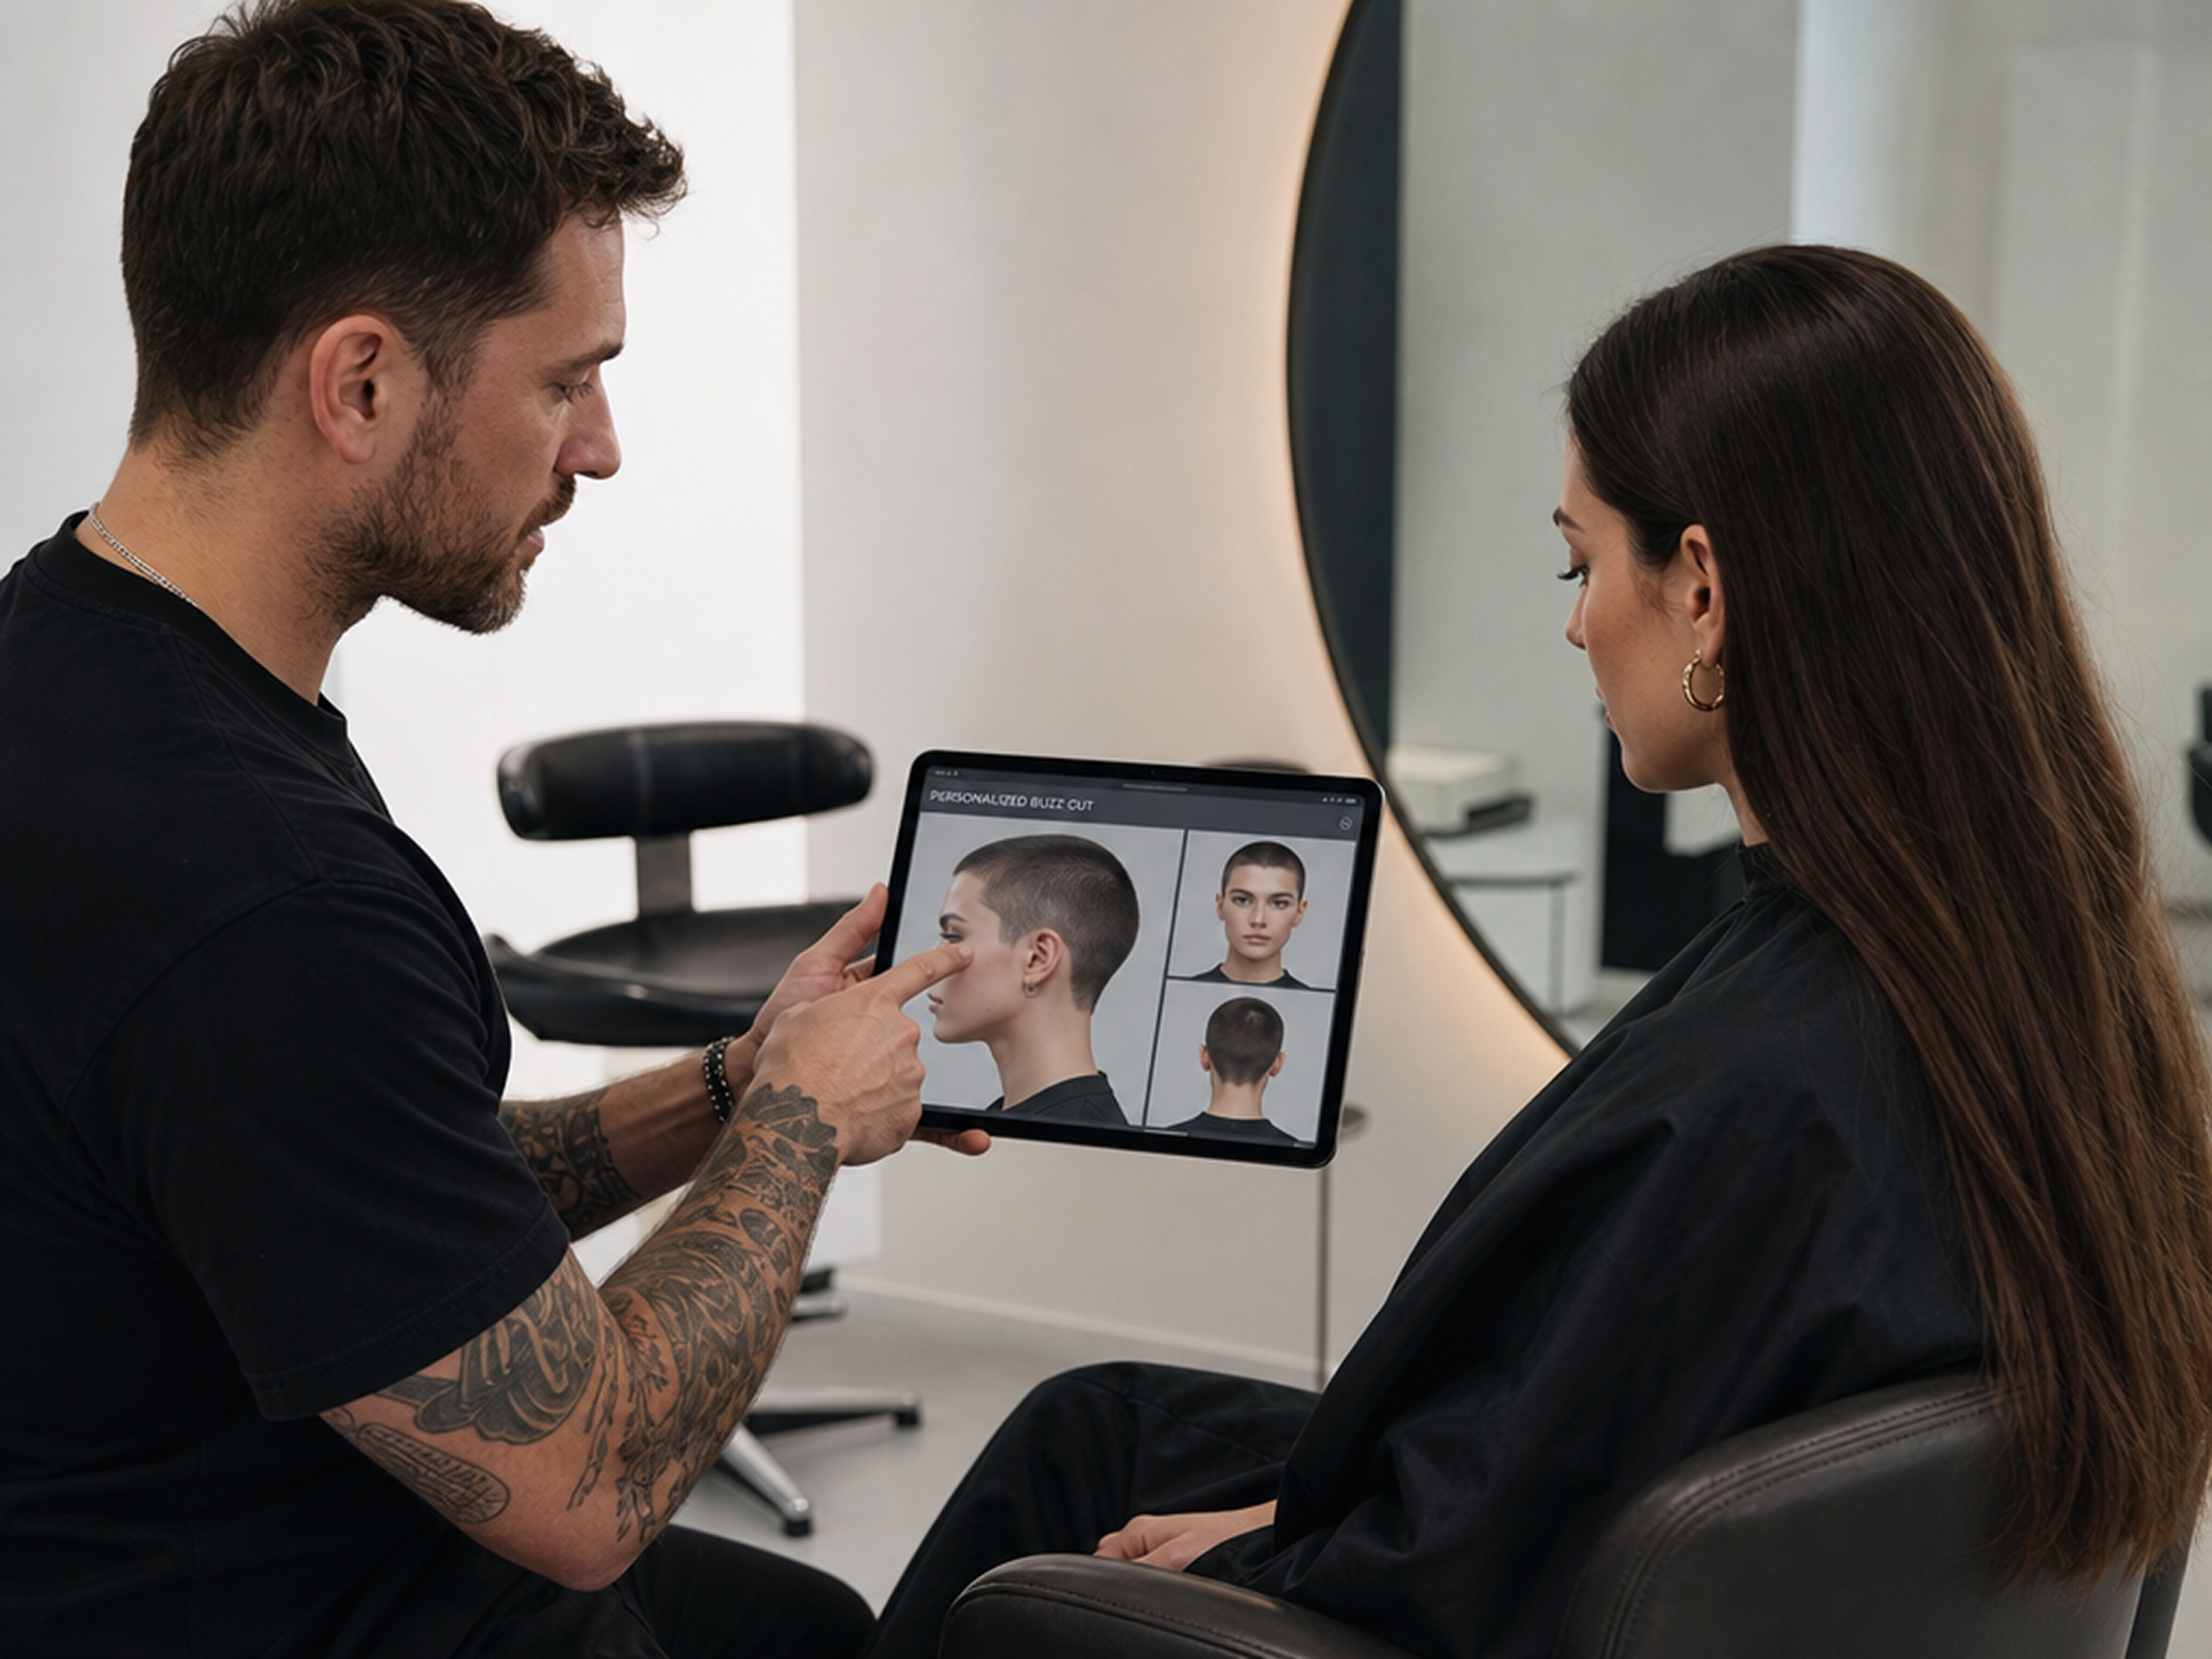
Compare a Shorter Cut Before an Appointment
See how a substantial reduction in length changes the overall balance of your portrait before committing to the haircut. Generate several realistic options on the same photo, then compare their general shape and coverage to identify the direction you feel most comfortable exploring in person.
Virtual Try On Types You Can Create with Designkit
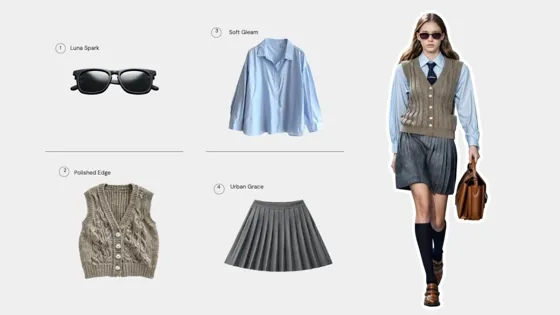
AI Virtual Try-On for Clothing, Shoes & Jewelry
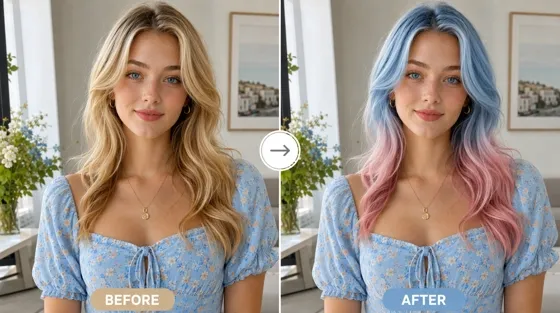
AI Hair Color Changer: Try Hair Colors on Your Photo
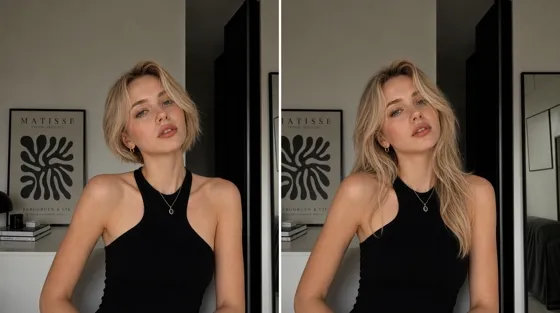
AI Hairstyle Changer: Try Hairstyles on Your Photo
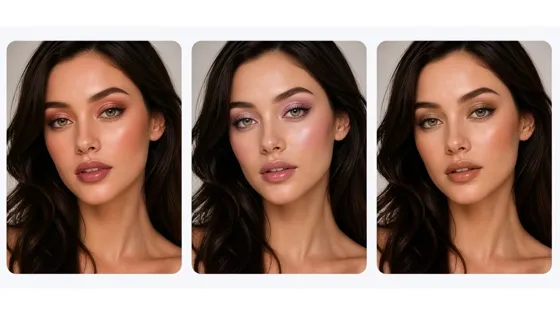
AI Virtual Makeup Try-On from a Photo Online
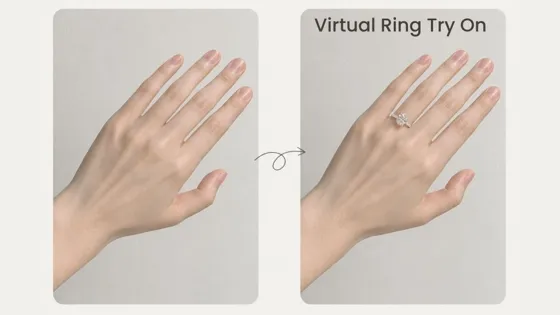
AI Virtual Ring Try-On from a Hand Photo Online
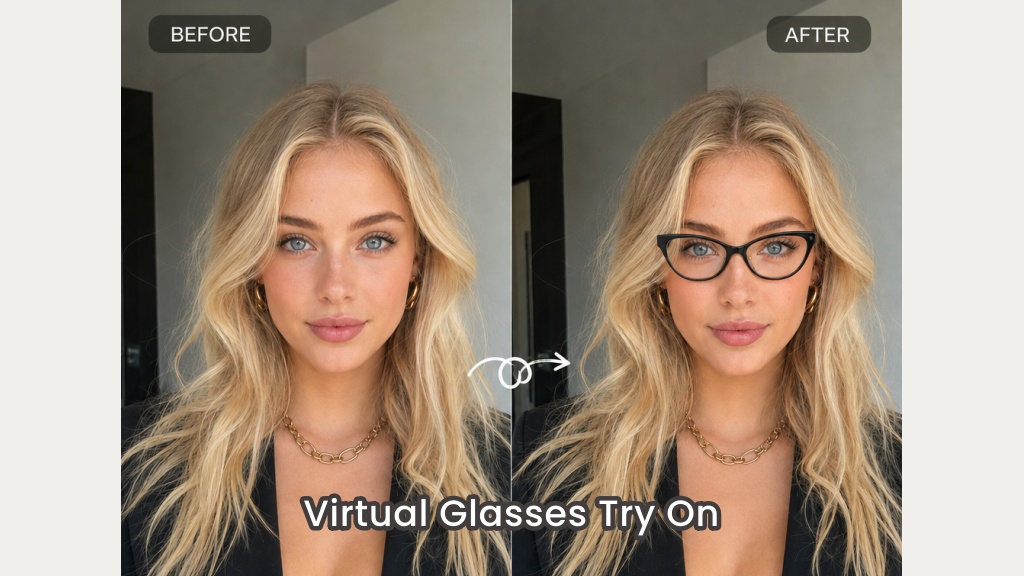
Virtual Glasses Try-On Online from Photo: Preview Any Eyewear with AI
Frequently Asked Questions
What would I look like with a buzz cut?
Can the filter tell me if a buzz cut suits me?
The filter provides a visual try-on rather than rating your appearance. Use the generated results to compare possible styles and decide which direction you prefer.
How realistic is the AI buzz cut filter?
The result depends on the quality and angle of the uploaded photo. A well-lit portrait with a visible hairline provides clearer visual information, but the output remains a generated concept rather than an exact prediction of a real haircut.
Can I try different buzz cut styles and colors?
Yes. You can test classic cuts, creative treatments, and different color ideas. Change one detail between generations when you want the differences to remain easier to compare.
Can I upload a buzz cut reference image?
Yes. Upload a reference to guide the hairstyle’s general shape and finish. You can also add a short description when the reference does not show every detail you want.
Is this a live AR buzz cut simulator?
No. It generates a still try-on from an uploaded photo rather than applying a live filter to a camera feed. Upload another photo when you want to test the cut from a different angle.
See How You Look with a Buzz Cut
Shape the cut with a reference or written details, keep the portrait recognizable, and refine the selected result in the same workspace.

What Users Say About the Buzz Cut Filter
See how users approached unfamiliar haircut terms, photo selection, style categories, and unexpected results.
I finally understood which buzz cut I meant.
I wanted to explore short hair, but the different haircut names meant very little to me at first. Browsing the examples helped me recognize the difference between a conventional shape and a more expressive finish, so I could start with a direction that matched what I had imagined.
A different photo angle revealed much more.
My first result used a front-facing portrait and did not show much around the sides. I tried again with a clear side-angle photo, and the outline around the temple and back became easier to understand. That simple input change made the generated result much more informative.
The categories made browsing feel manageable.
A large mix of hairstyles would have been difficult to sort through all at once. Separating everyday cuts from graphic treatments and color ideas let me focus on one category at a time, compare related examples, and move through the available directions without losing track of my preferences.
The creative examples suggested something unexpected.
I originally planned to use a straightforward buzz cut for a portrait project, but the more graphic examples introduced another possibility. They helped me recognize how much the finish could affect the mood, giving me an idea that I probably would not have described from scratch.
A result I rejected was still useful.
One generated cut worked convincingly within the image but did not match the direction I wanted. Seeing that option on a familiar portrait made the decision much easier. I could remove it from consideration and continue with a clearer understanding of what I wanted to explore next.