
Add a Yellow Background to Your Photo Online
Refresh your photos with a yellow background using Designkit. Replace distractions, explore yellow shades, and create polished visuals for product listings, campaigns, social posts, and portraits.
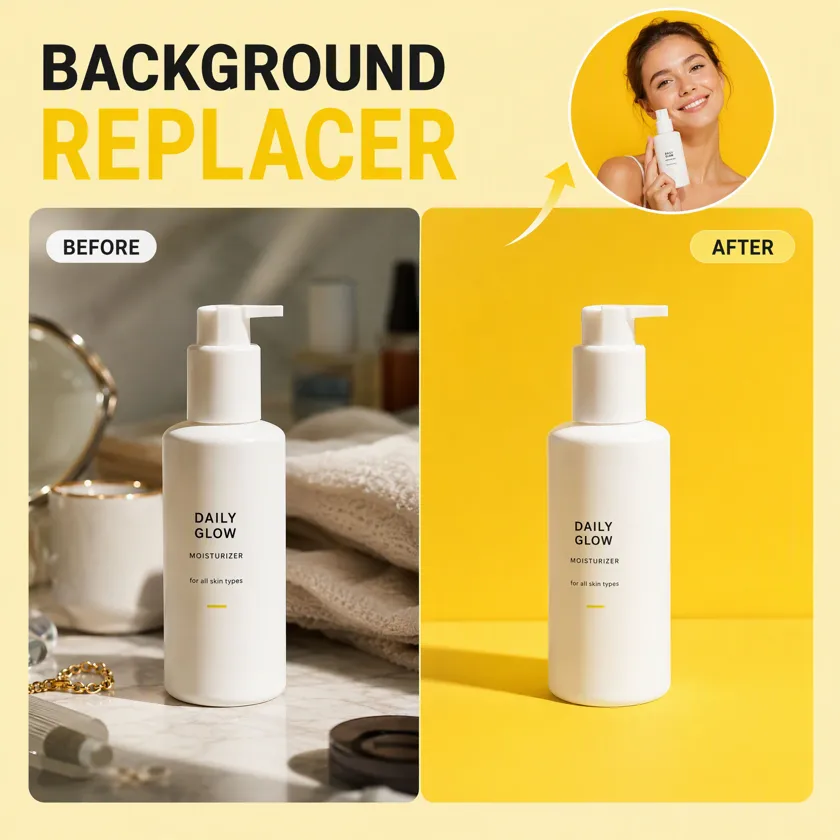
Batch up to 15 photos at once
No picture on hand? Try with one of these:
How to Add a Yellow Background to a Photo with Designkit
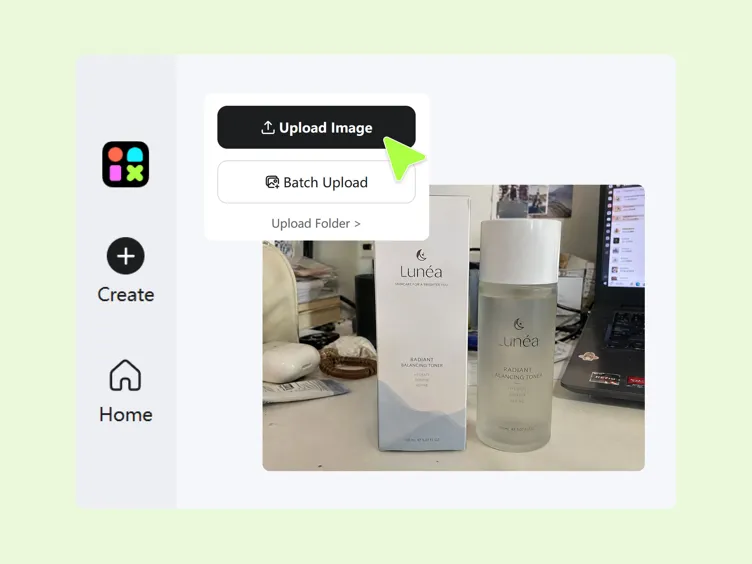
Step 1. Upload Your Photo to Designkit
Open Designkit and upload the product photo, portrait, or other image you want to edit. Choose a clear image where the main subject is easy to distinguish from its surroundings.
Step 2. Choose a Yellow Background
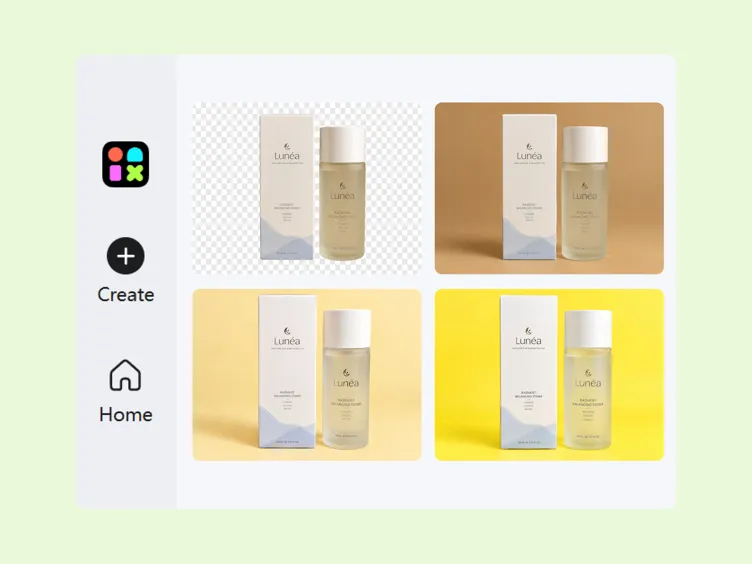
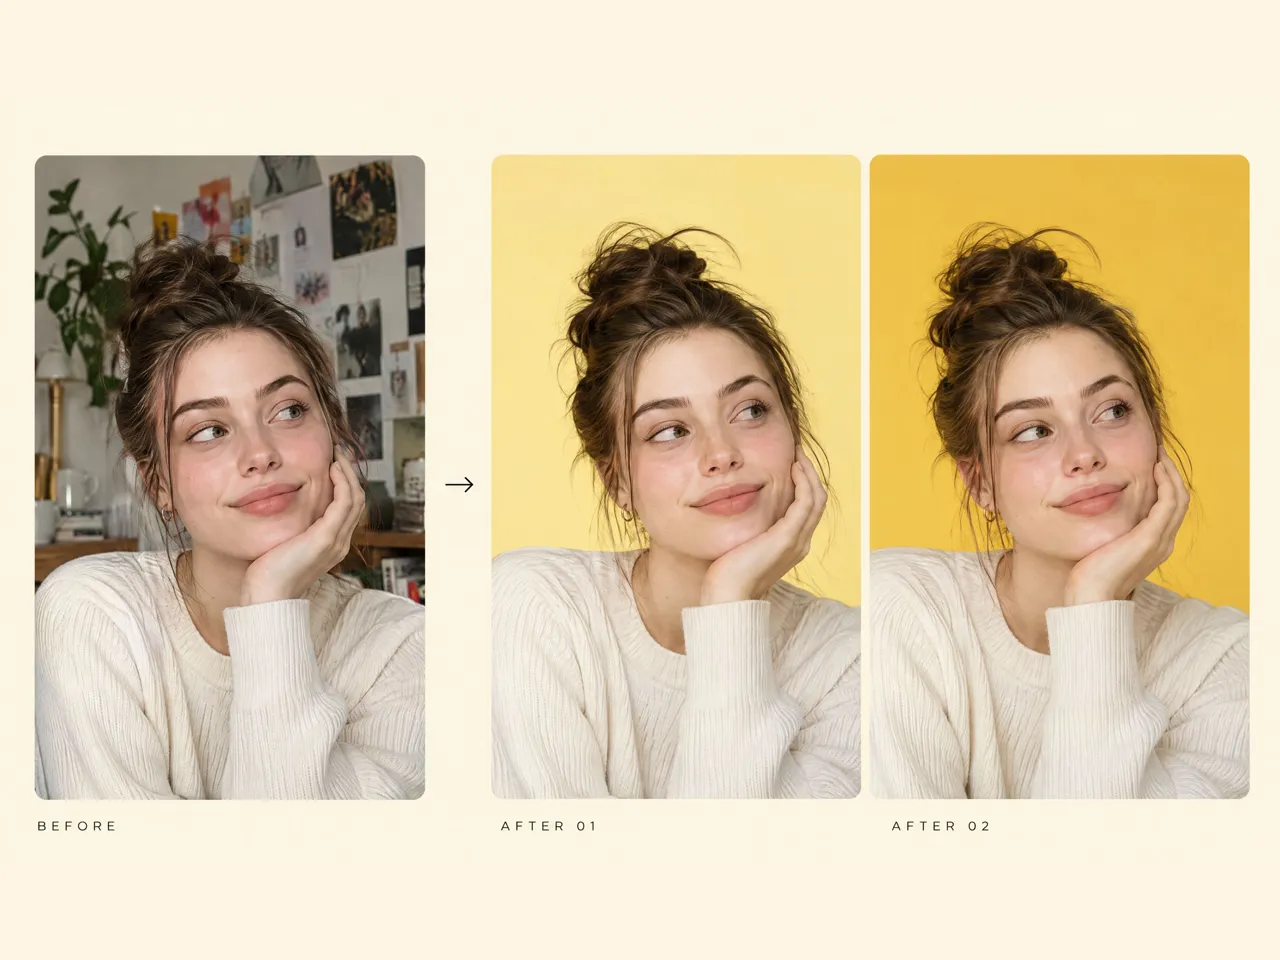
Designkit automatically removes the original background, allowing you to replace it with yellow. Choose a shade that suits the subject, from soft pastel yellow to a bright, saturated tone.
Step 3. Preview and Download Your Image
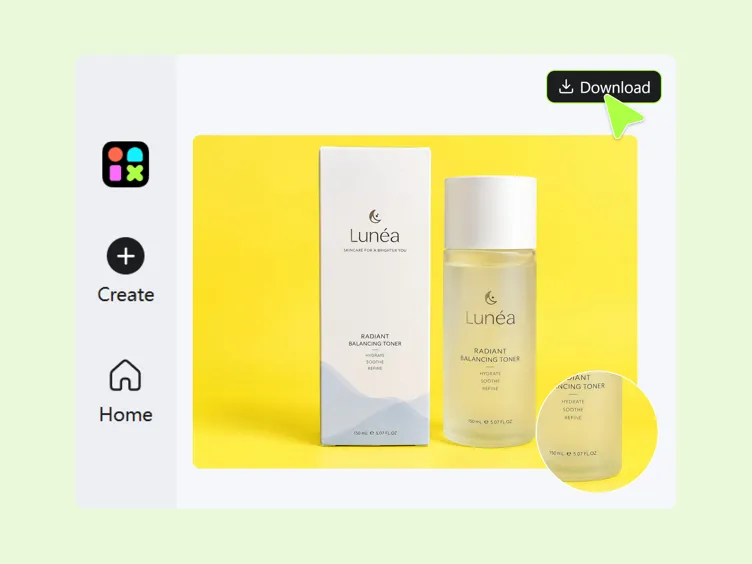
Check the subject's edges, colors, and overall composition against the new background. Make any available adjustments, then download the finished image using Designkit's supported export options.
What Can You Do With Designkit's Yellow Background Editor
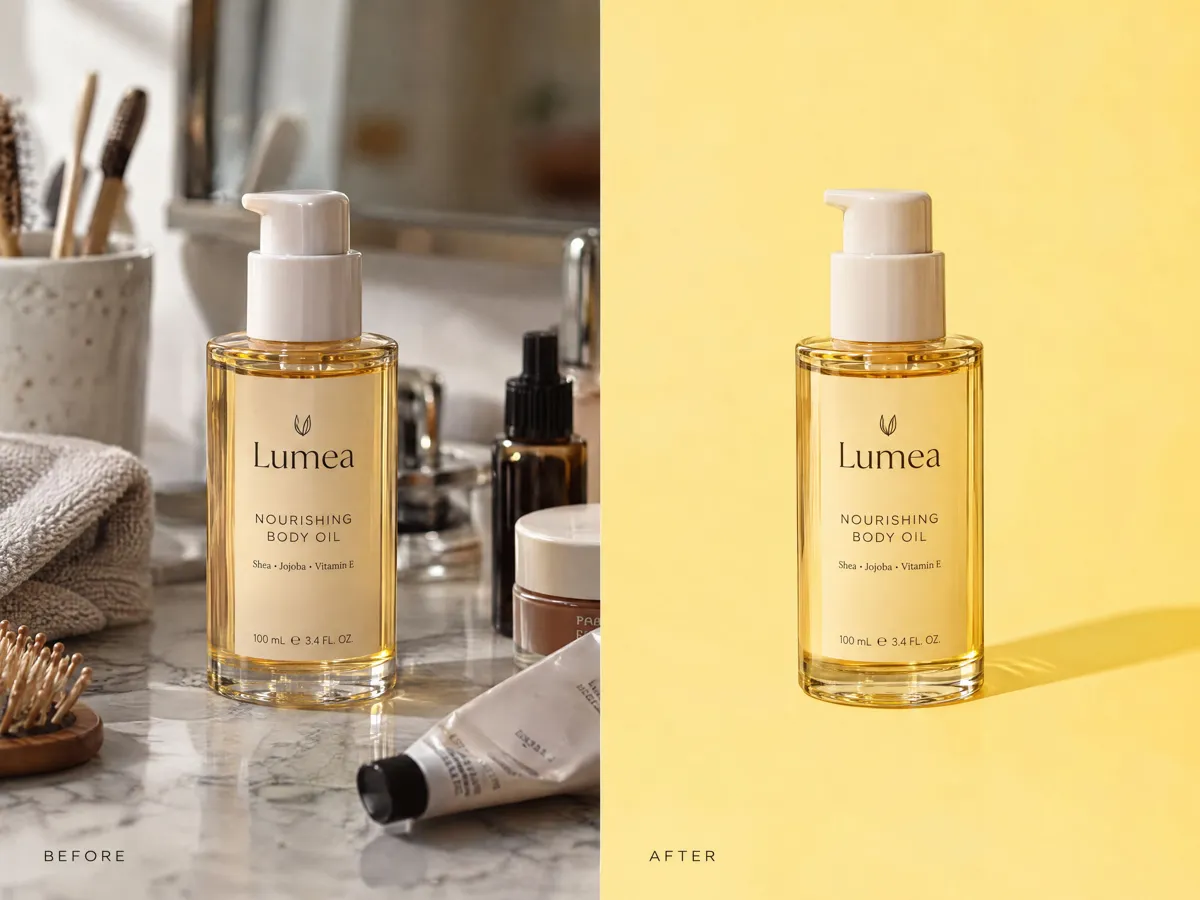
Replace Backgrounds Without Reshooting Products
A distracting backdrop can make a product photo unsuitable for a listing or campaign, but arranging another shoot takes time and money. Use a background remover to separate the product from its original setting, then add a yellow background to the photo. Designkit helps you explore a cleaner presentation while keeping packaging, labels, and product details in focus.
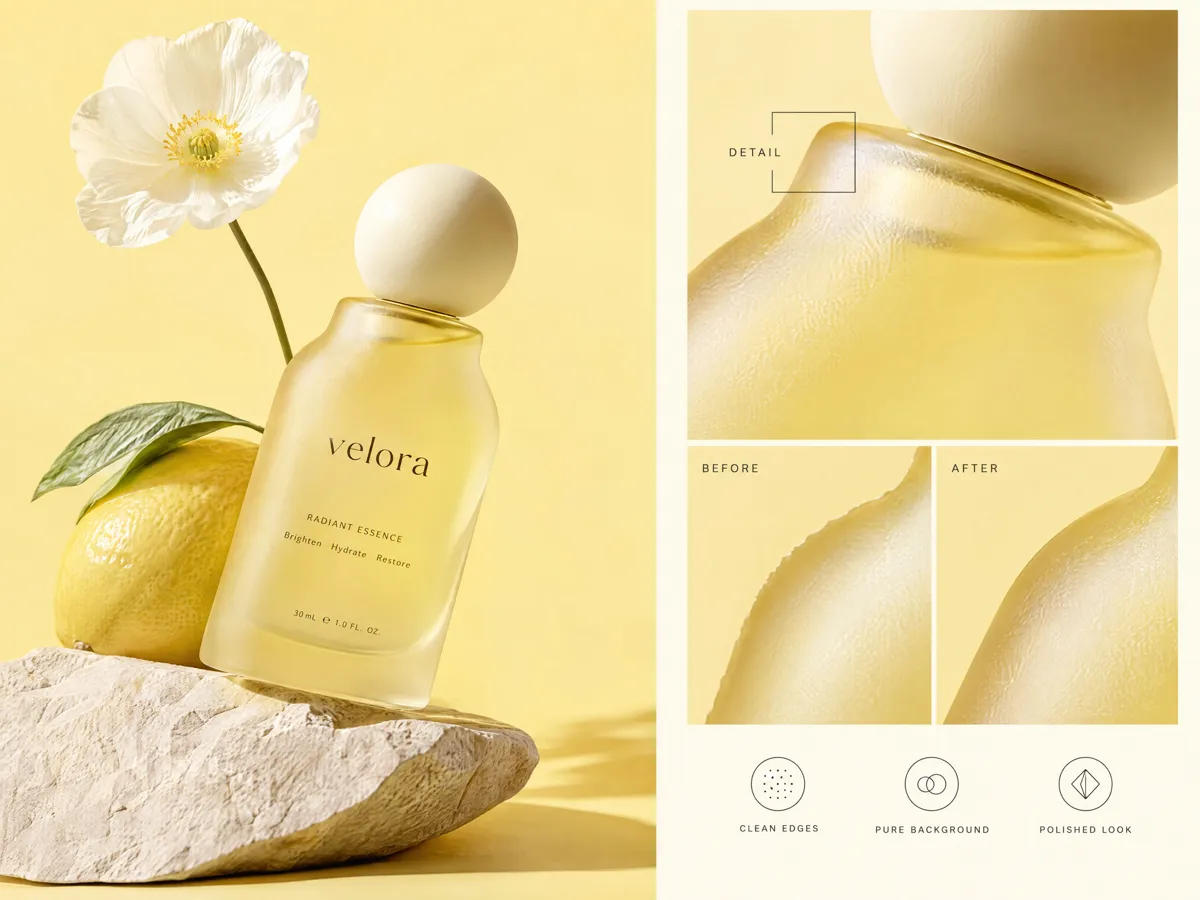
Refine Cutout Edges for Cleaner Results
A yellow background can make leftover pixels, rough edges, or colour spill more noticeable around hair, clothing, and product packaging. After using an AI background changer, inspect the outline and refine areas that look uneven. Designkit's available editing tools can help you prepare a yellow background photo for product listings and promotional creatives without overlooking important subject details.
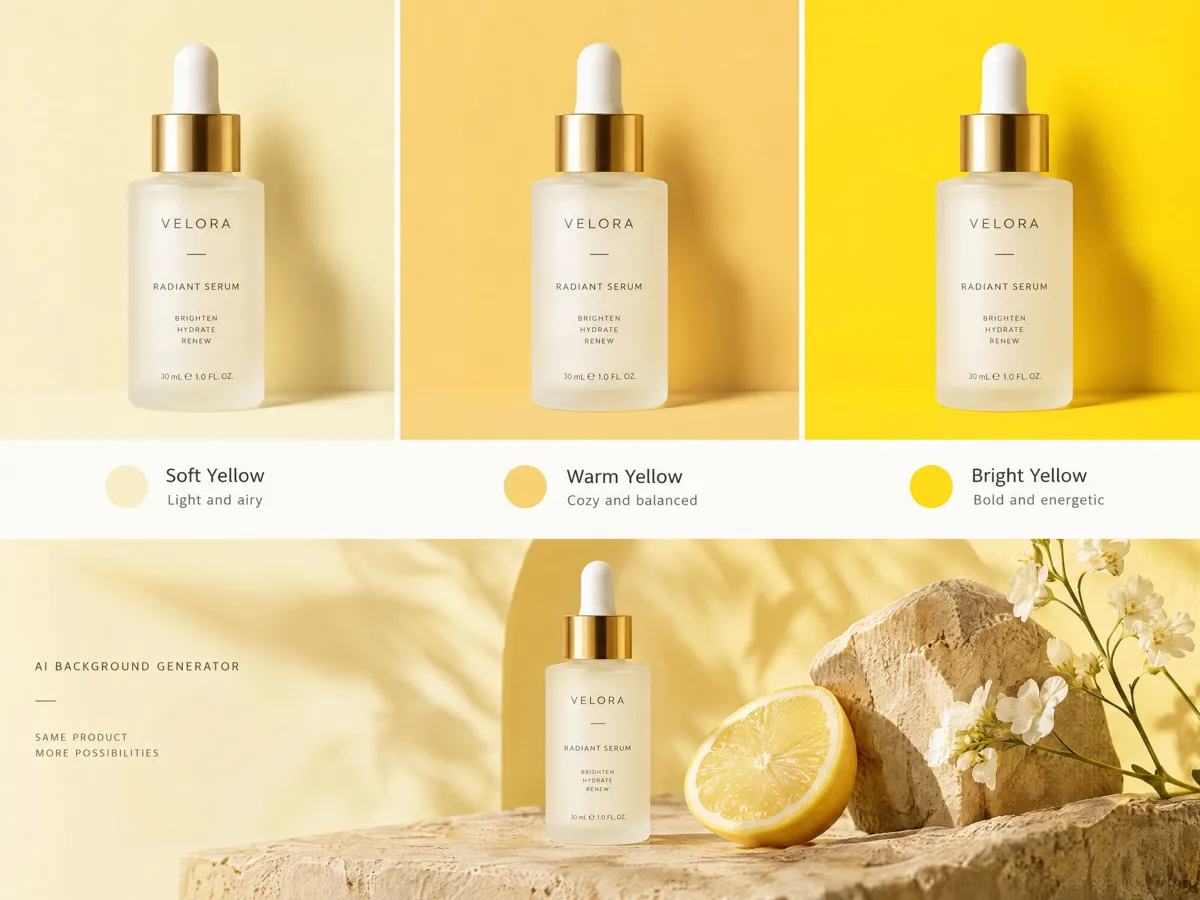
Choose the Right Yellow Shade for Your Image
The wrong shade can reduce contrast or compete with the subject, especially when editing pale packaging, gold accessories, or brightly coloured products. Explore soft yellow, warm golden tones, and vivid shades to find a yellow background for editing that suits your image. Designkit's AI background generator can help you explore visual directions for different creative needs.
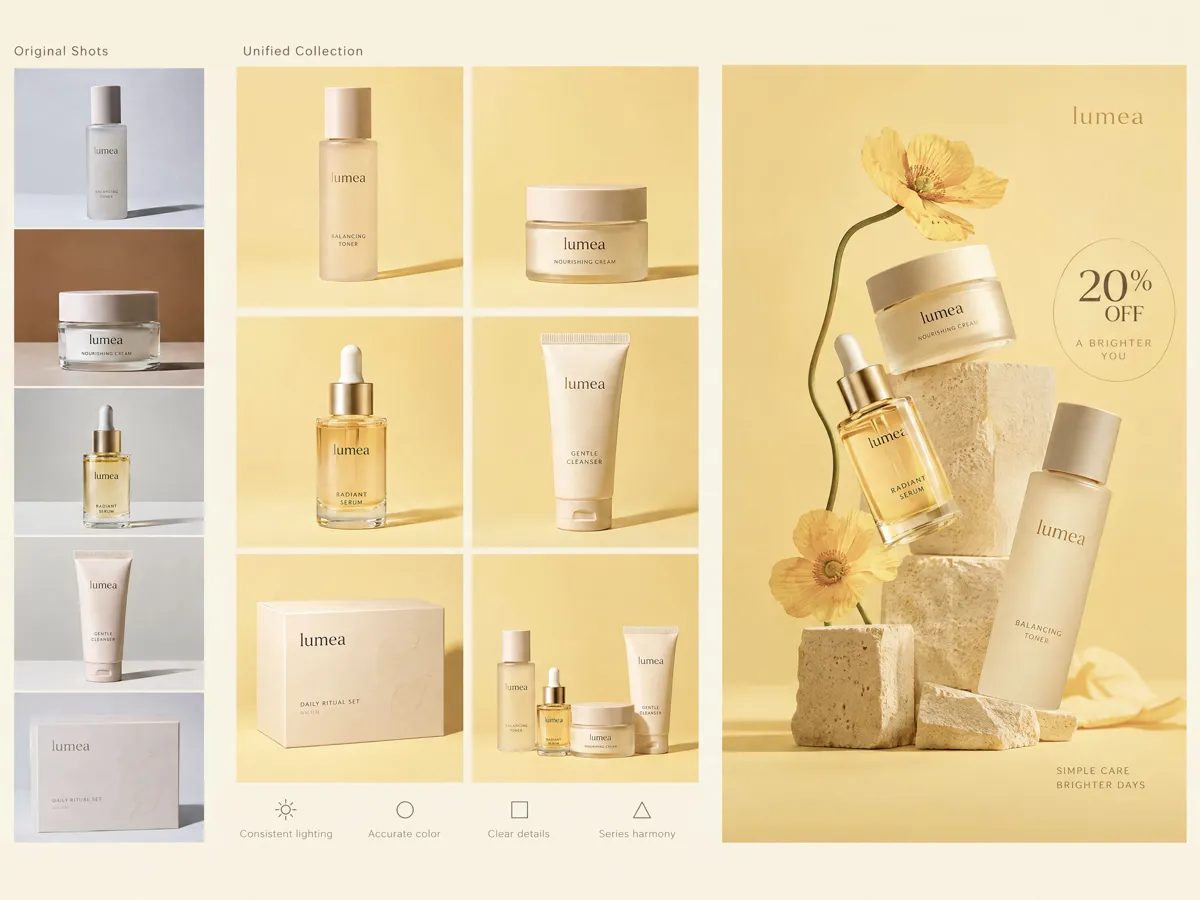
Match Product Images Across Seasonal Campaigns
Product photos with inconsistent backdrops can make a catalog or seasonal promotion look disconnected. Choose a preferred yellow tone and apply a similar visual direction across suitable product images, checking each result for contrast and colour accuracy. Designkit's AI change background workflow can help you explore a consistent yellow background style for campaign assets without rebuilding every scene from scratch.
Where Can You Use Yellow Background Photos
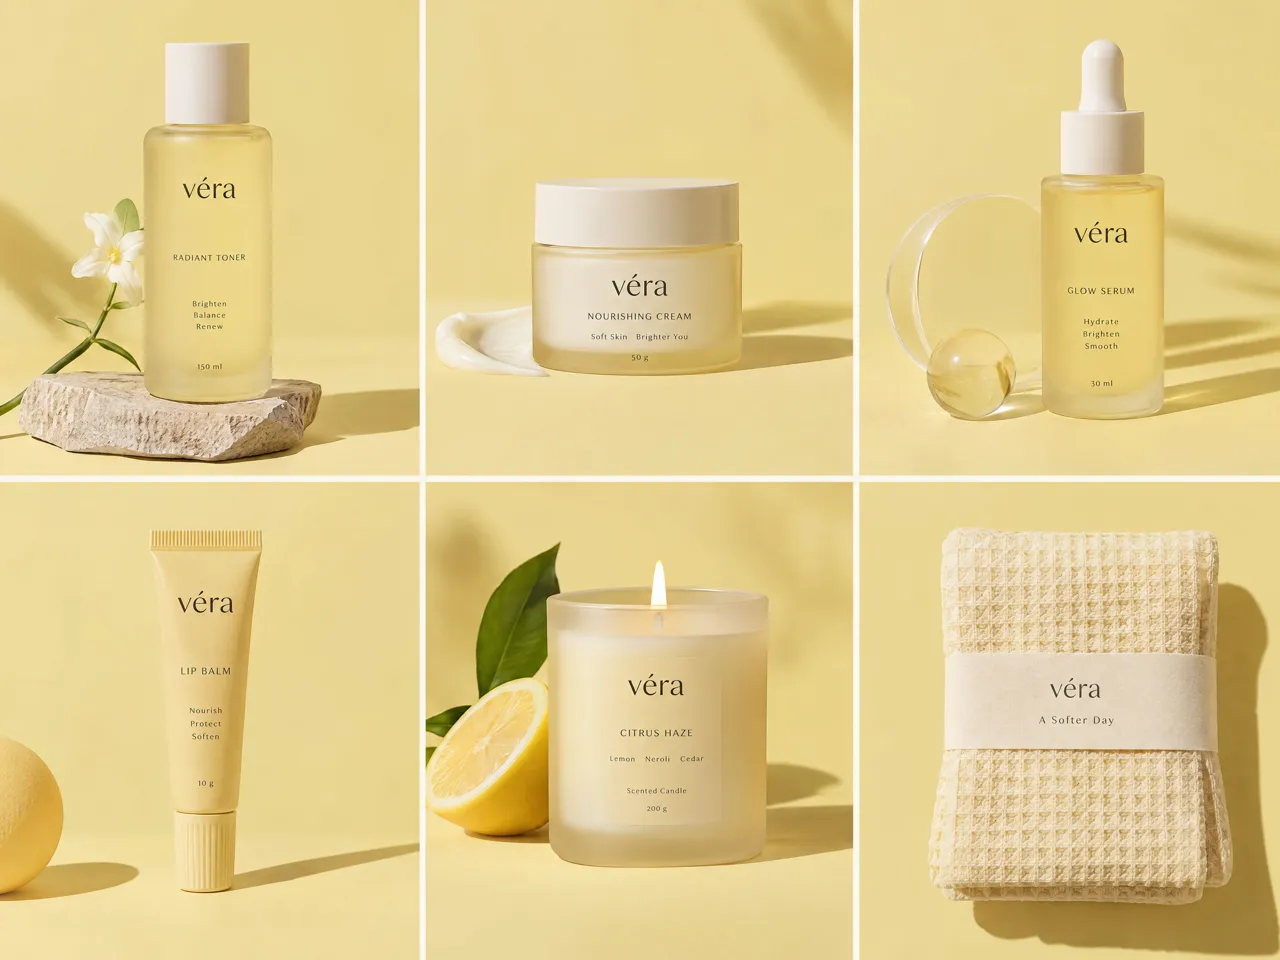
Make Product Listings More Cohesive
Use a yellow background editor to give product photos a consistent look across your online store. Choose shades that complement packaging and product colours, helping listings look coordinated without reshooting every item.
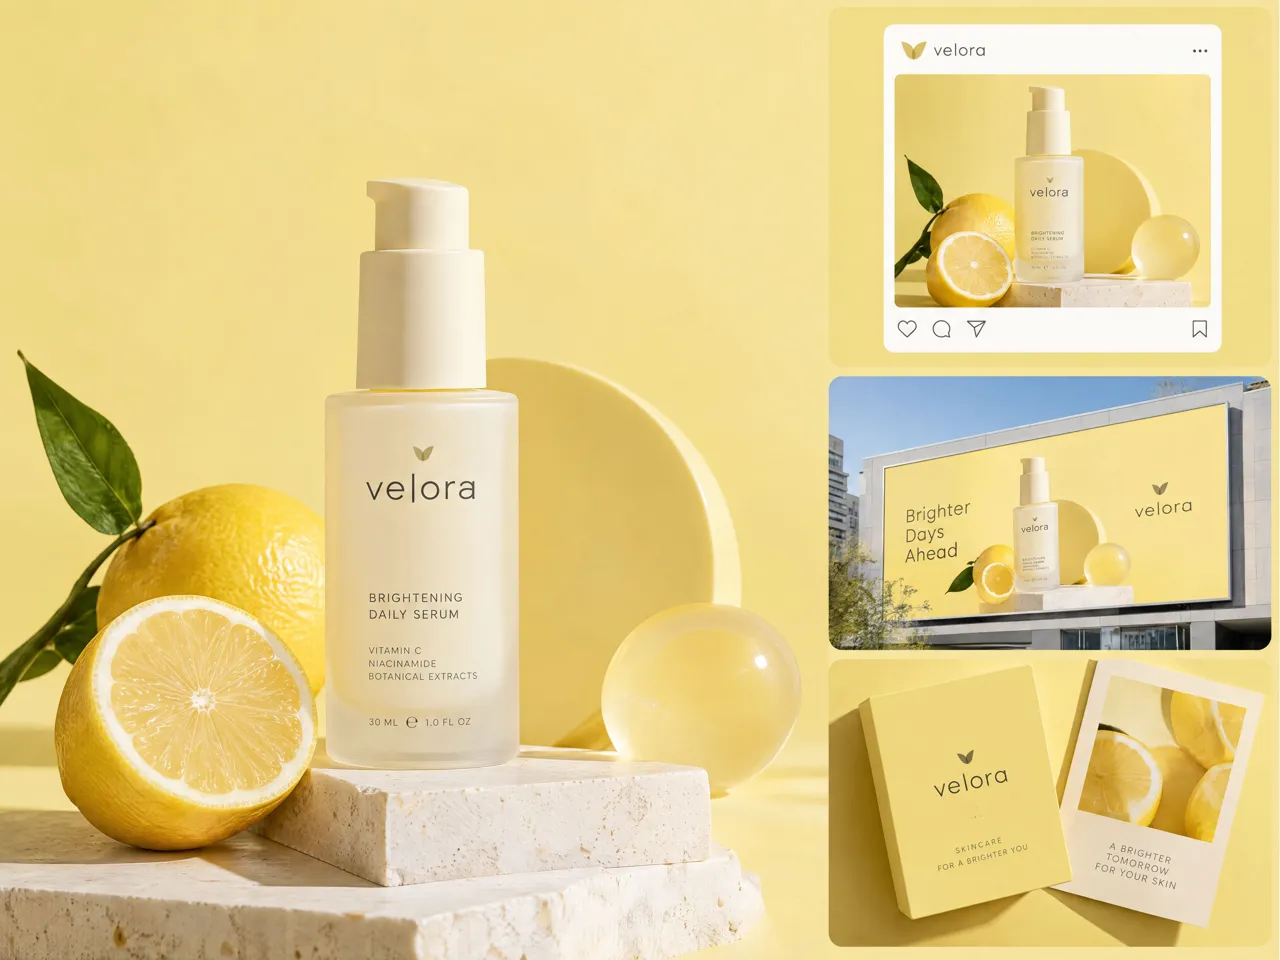
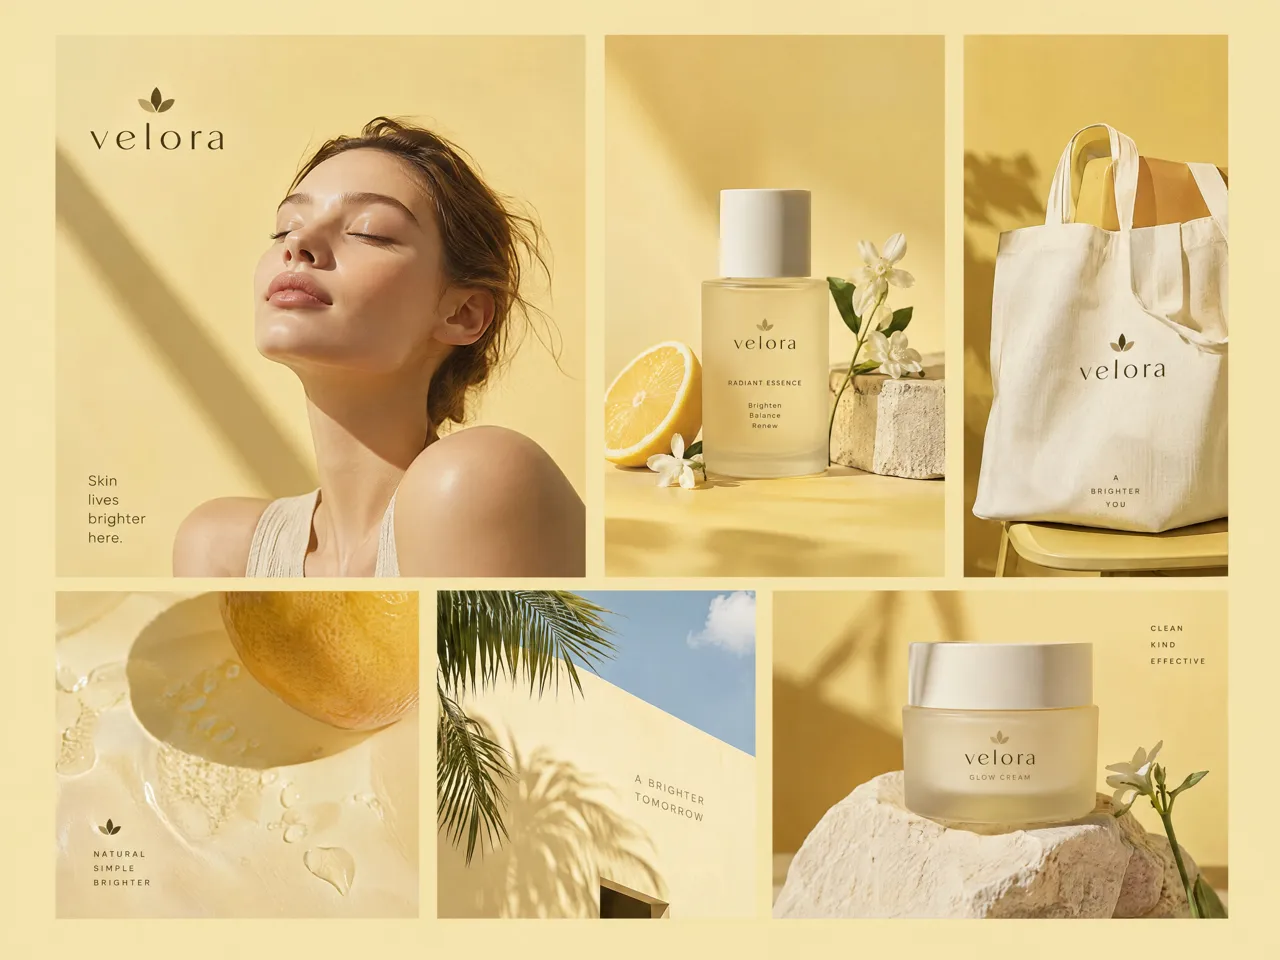
Why Choose Designkit for Yellow Background Editing

Find a Yellow Tone That Suits Your Subject
Choose from soft yellow to vivid golden shades to complement your subject, maintain contrast, and create a yellow background that fits your intended design.
Plan Around Products That Already Contain Yellow
Balance yellow packaging, clothing, or product details against the background by selecting a shade that keeps the subject visible and easy to distinguish.
Build on the Image After the Background Change
Go beyond changing the background with available editing tools for cropping, filters, shadows, and edge refinement to prepare your image for its next use.
More Tools to Finish Your Image
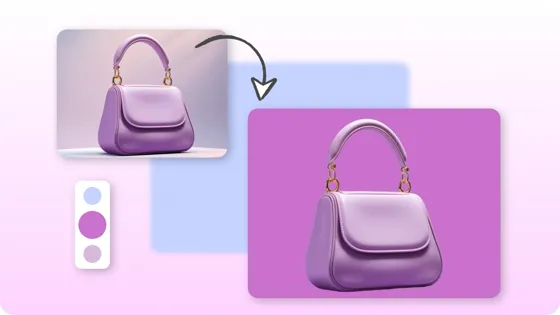
Change Background Color
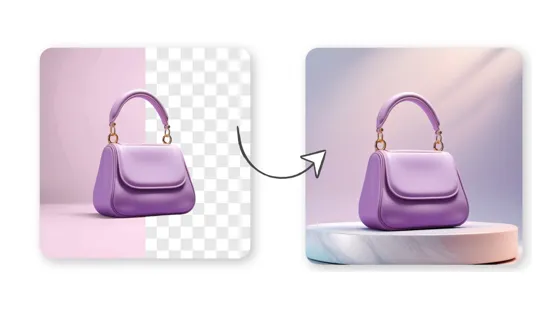
Change Background
AI Background Generator

Product Background HD
Frequently Asked Questions
How do I add a yellow background to a photo?
Can I make the background of an existing photo yellow online?
Yes, you can change an existing photo's background to yellow online without taking another picture. Upload your image to Designkit and use the available background removal and editing tools to replace distracting surroundings with a yellow backdrop.
Will the yellow background look natural on my photo?
A yellow background can look natural when its shade, lighting, and contrast complement the subject. Use Designkit to change the background, then refine edges and adjust the image with available editing tools to reduce visible cutout issues and unwanted colour spill.
Which yellow background shade should I choose?
Choose pale yellow for soft portraits, warm golden yellow for lifestyle visuals, or bright yellow for promotional graphics. Designkit lets you explore background editing options so you can select a shade that complements your subject and matches your intended visual style.
Will a yellow background work for product photography?
Yes, a yellow background can make product photos stand out in online listings, catalogs, and promotional campaigns. With Designkit, you can replace distracting backgrounds and choose a suitable yellow shade while keeping the product's original colours, packaging, and details in focus.
How can I stop a yellow background from blending into my subject?
To prevent a yellow background from blending into your subject, choose a shade with enough contrast against its edges, packaging, or clothing. Designkit's background editing workflow lets you replace the backdrop and refine the cutout using available editing options for a clearer result.
Can I use a yellow background for social media posts?
Yes, yellow background images work well for Instagram posts, product announcements, promotional graphics, and seasonal content. Use Designkit to change your photo's background, select a shade that suits your visual theme, and refine the composition for your intended social media layout.
Try a Yellow Background on Your Photo Free
Create yellow-background visuals with Designkit for product photos, promotions, and portraits. Choose a shade that fits your subject and refine the image before publishing.



How Different Users Use Designkit for Yellow Background Editing
Explore distinct editing situations, from product color concerns to campaign layouts and creative image preparation.
Our Product Photos Finally Feel Like Part of the Same Collection
We photographed our products at different times, so the original backgrounds never really matched. I used Designkit to explore yellow-background versions of our existing photos and bring the catalog closer to one visual style. I still check the packaging, labels, and product colors before publishing, but it gives us a useful starting point without planning another shoot for every item.
We Can Plan the Layout Around the Image
Our campaign graphic needed to fit a product photo, a discount, and a short headline. The original image left very little room for the message, so I explored yellow-background options with more space around the subject using Designkit. It gave our team a clearer visual direction to review before finalizing the campaign.
I Wanted Business Graphics That Felt Connected
We needed new visuals for a service announcement and a seasonal promotion, but I wanted them to feel connected to our existing materials. Designkit gave me a way to explore yellow-background ideas and compare how they worked with our brand colors. The goal was a consistent look without making every graphic feel like a copy of the last one.
The Yellow Theme Works Across Our Posts Without Making Them Repetitive
I wanted a more recognizable visual direction for a series of social posts. With Designkit, I could explore yellow-background treatments for portraits and other content, then review the crop, contrast, and space available for captions. That helped me decide which images fit the series while leaving room for different layouts.
The New Background Gives My Portrait the Tone I Wanted
My original profile photo had a plain indoor background that didn't match the look I wanted. I explored a warm yellow backdrop with Designkit and checked whether my hair, clothing, and skin tones still stood out. I wanted a different visual style while keeping the portrait recognizable.