
Remove Green Backgrounds and Keep Subject Details
Remove green backgrounds from photos with Designkit. Create clean cutouts of products, people, and more, ready for new backgrounds, creative layouts, and marketing visuals.
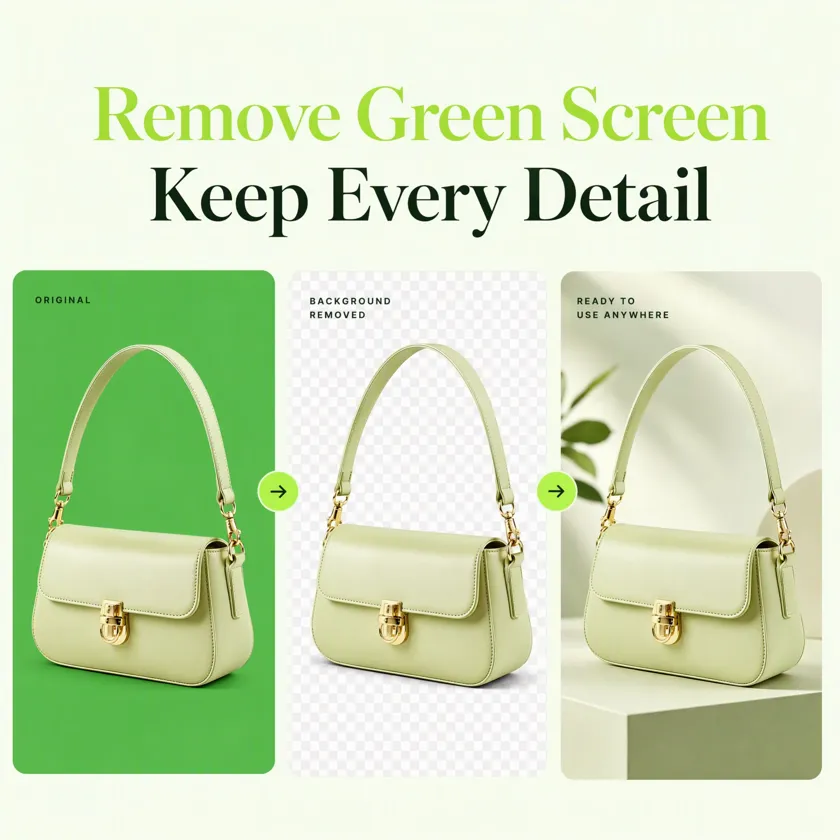
Batch up to 15 photos at once
No picture on hand? Try with one of these:
How to Remove a Green Screen From an Image
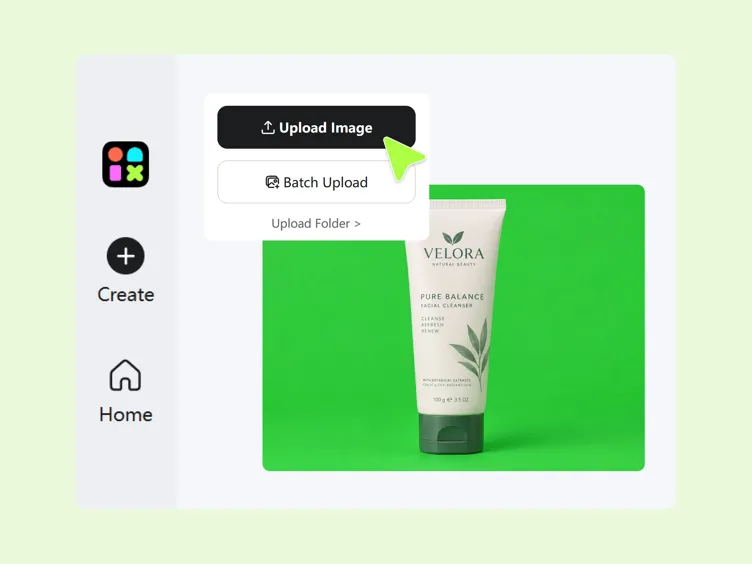
Step 1. Upload Your Image
Sign up for Designkit and open the Image Background Remover. Upload the image you want to process. For best results, choose a photo with a clearly visible subject against a green background.
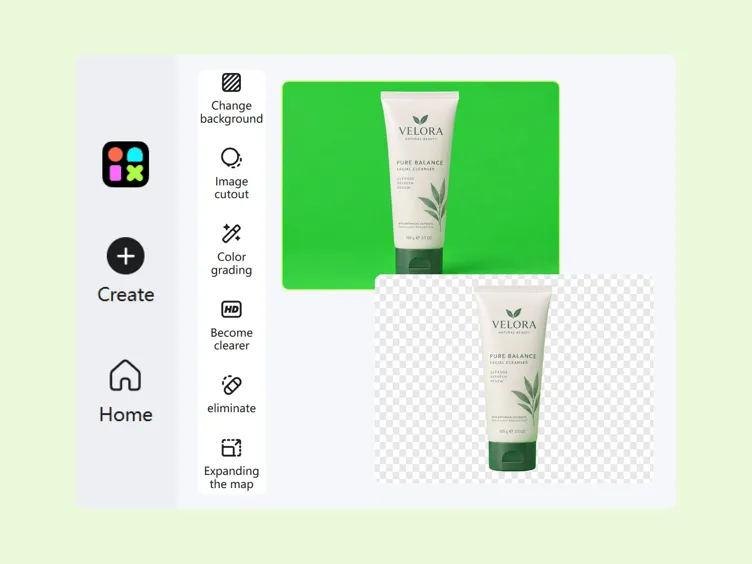
Step 2. Remove the Green Screen and Refine the Cutout
Designkit automatically removes the background, separating your subject from the green screen. For further refinement, crop the image or apply filters as needed. Open Designkit's editing tools to add shadows, control edge softening, or apply an outer glow to improve the subject's appearance.
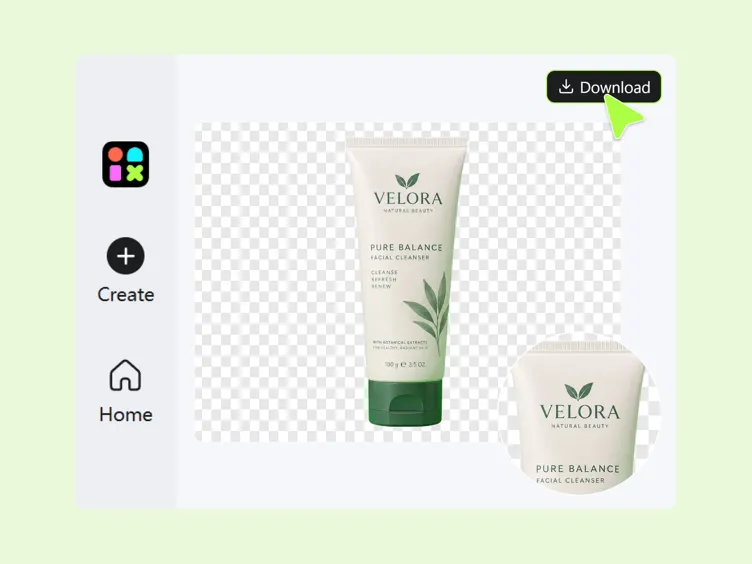
Step 3. Review and Download Your Image
Check the cutout for leftover green pixels, rough edges, or unwanted changes to the subject. Adjust the available editing settings until the result looks right, then download your finished image for use in product photos, portraits, or creative designs.
What You Can Do With Designkit's Green Screen Remover
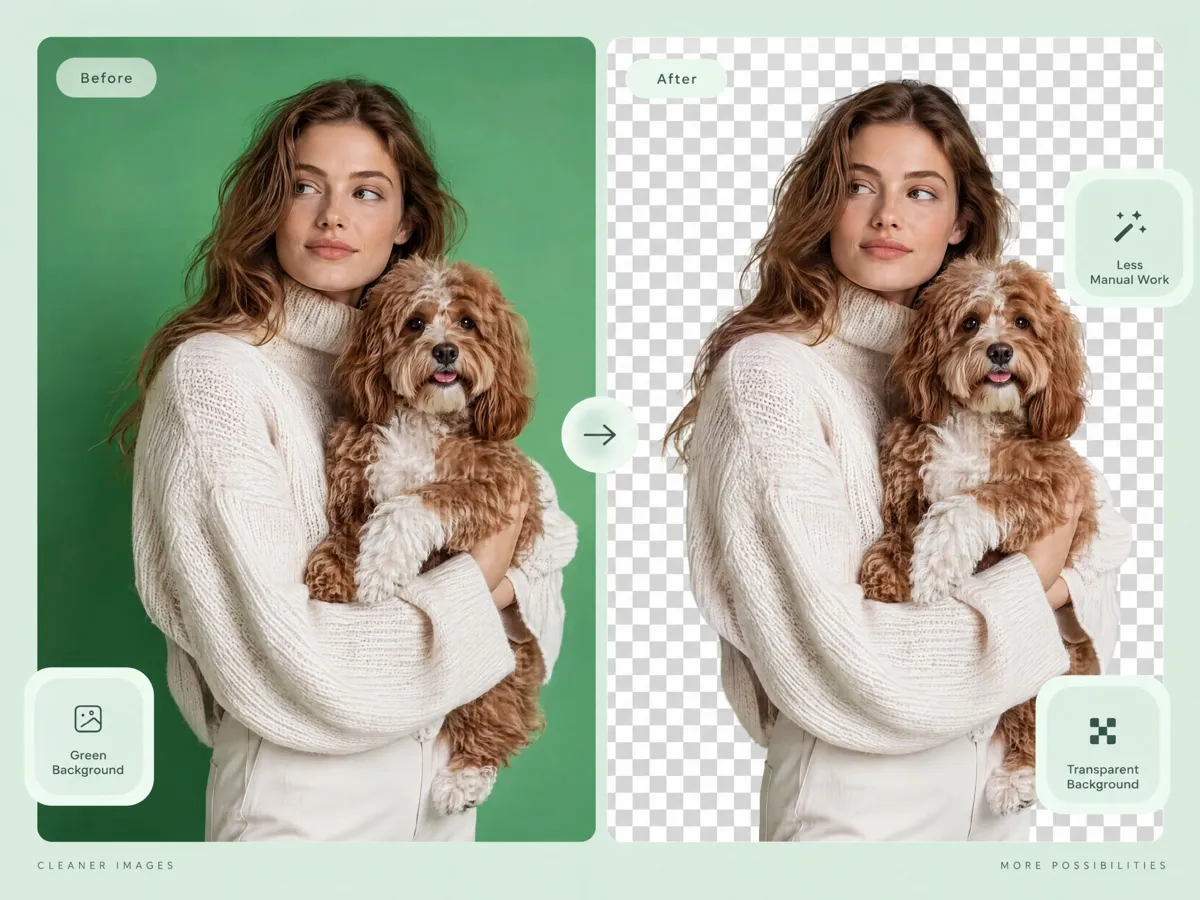
Remove Green Backgrounds Automatically Without Manual Masking
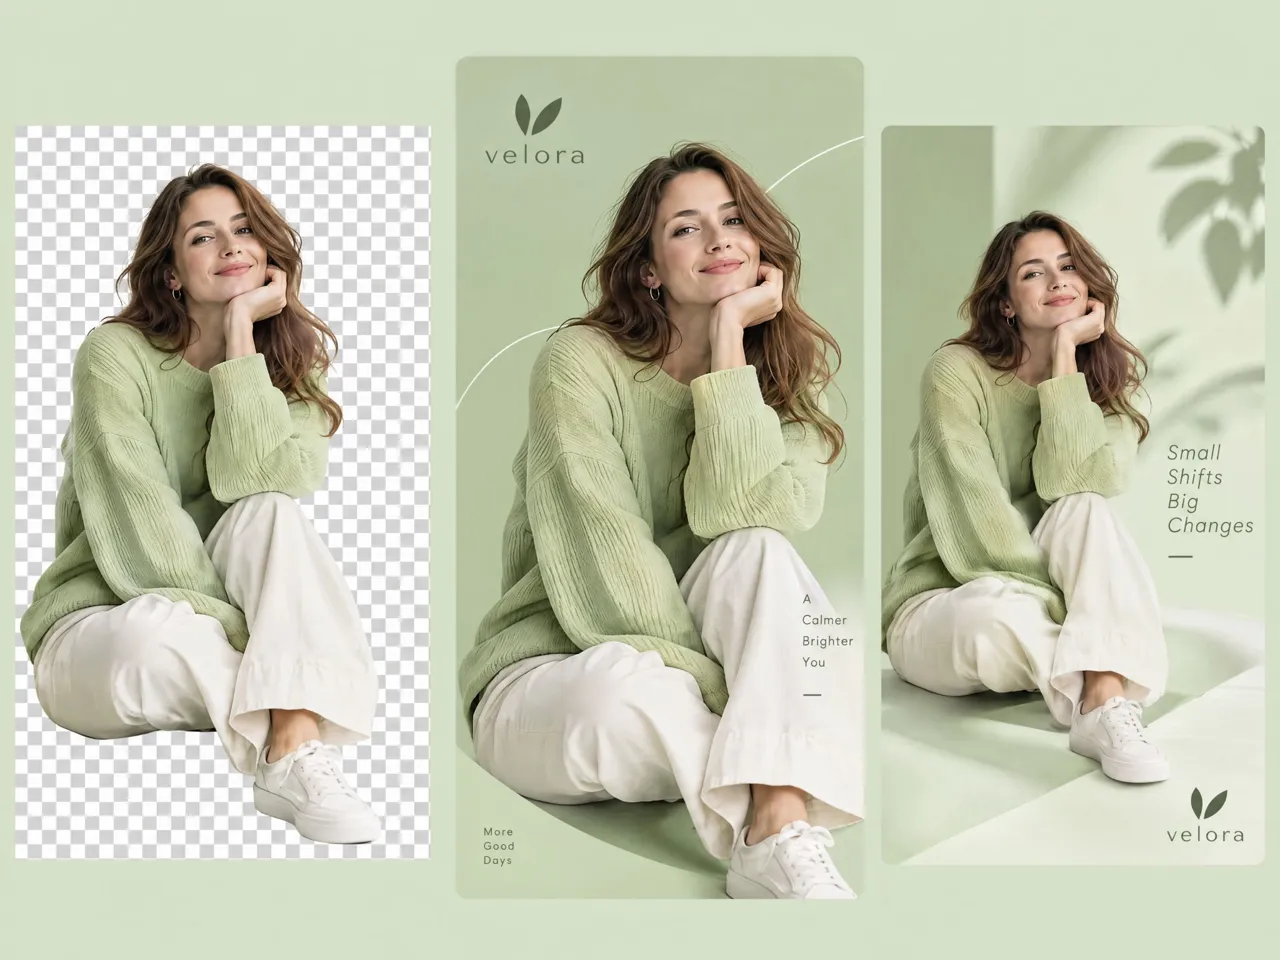
Remove green backgrounds from photos without tracing every edge by hand. Designkit helps you isolate your subject and replace the original backdrop for product images, portraits, and marketing visuals. Whether you're learning how to remove green screen backgrounds or preparing assets for a new campaign, streamline green screen removal without starting each edit from scratch.
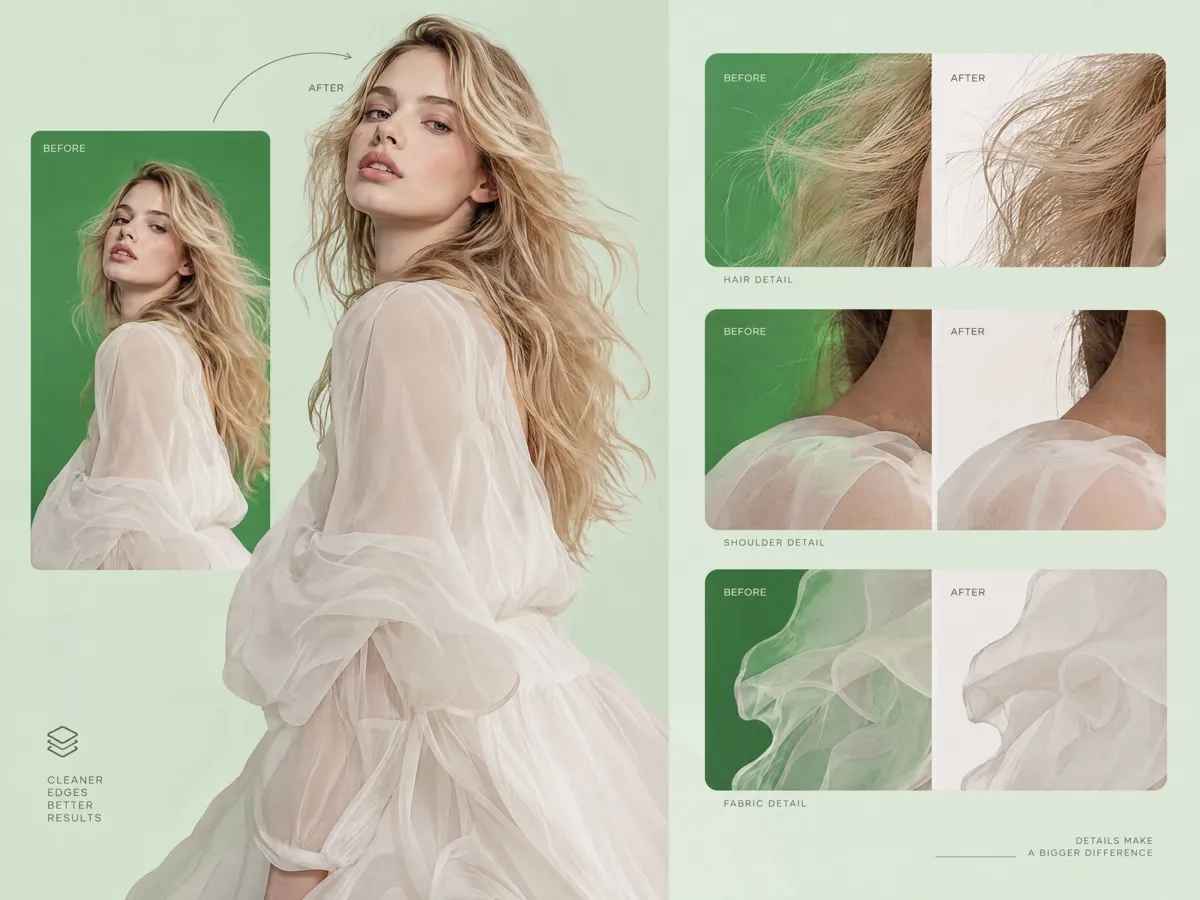
Clean Up Green Fringes Around Hair and Fine Edges
Green spill around hair, clothing, and product outlines can make a cutout look unfinished against a new scene. Use Designkit as a green screen photo editor to review fine edges and refine the subject before exporting. This extra check helps reduce leftover green pixels and distracting outlines, giving your images a cleaner result for layered designs and promotional content.
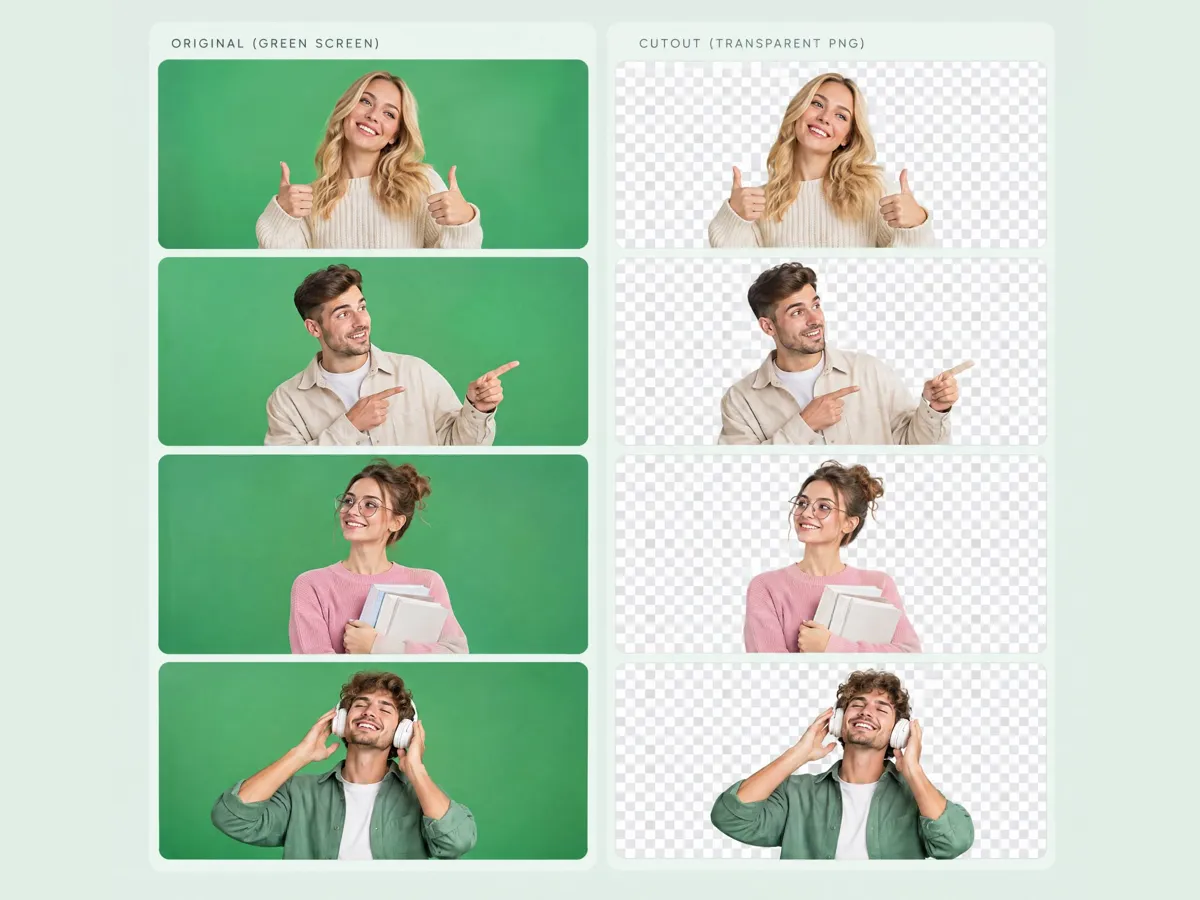
Process a Full Set of Green-Screen Photos Together
When preparing multiple product shots or campaign assets, editing each background separately can slow down production. Designkit's green background remover workflow helps you prepare green-screen images for consistent replacement and reuse across your creative projects. Organize your cutouts around a shared visual style, then review each image to ensure the subject remains clear and suitable for its intended use.

Replace the Green Screen With an AI-Generated Scene
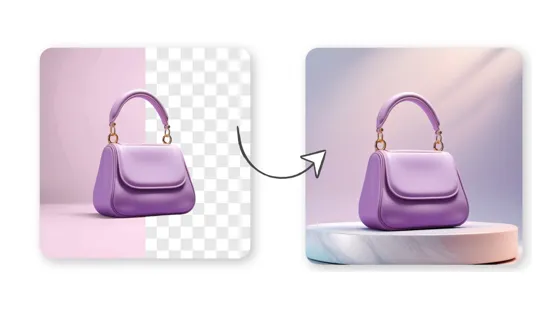
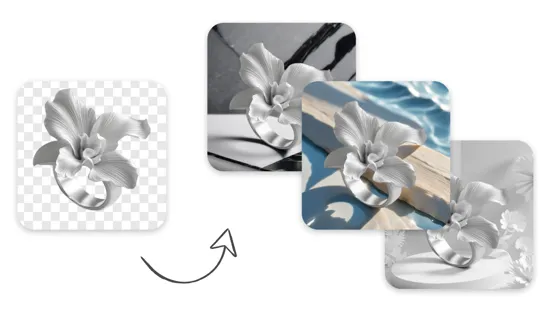
Once the green background is removed, give your subject a setting that better fits your content. Designkit helps you explore new visual directions with its AI background changer, whether you're creating product promotions, social content, or campaign imagery. Use a suitable scene to replace the plain green backdrop and make the final composition feel more relevant to your audience.
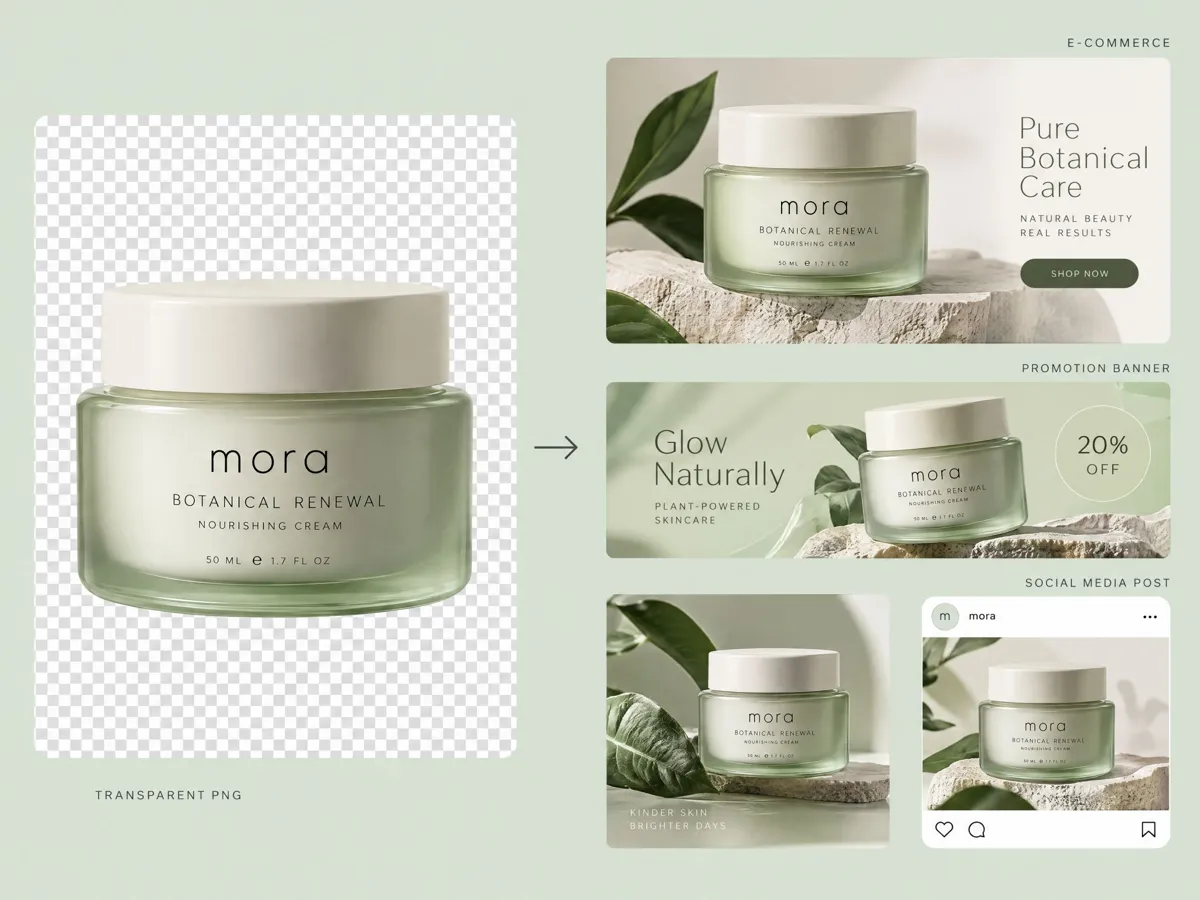
Export Transparent Cutouts Ready for Layered Designs
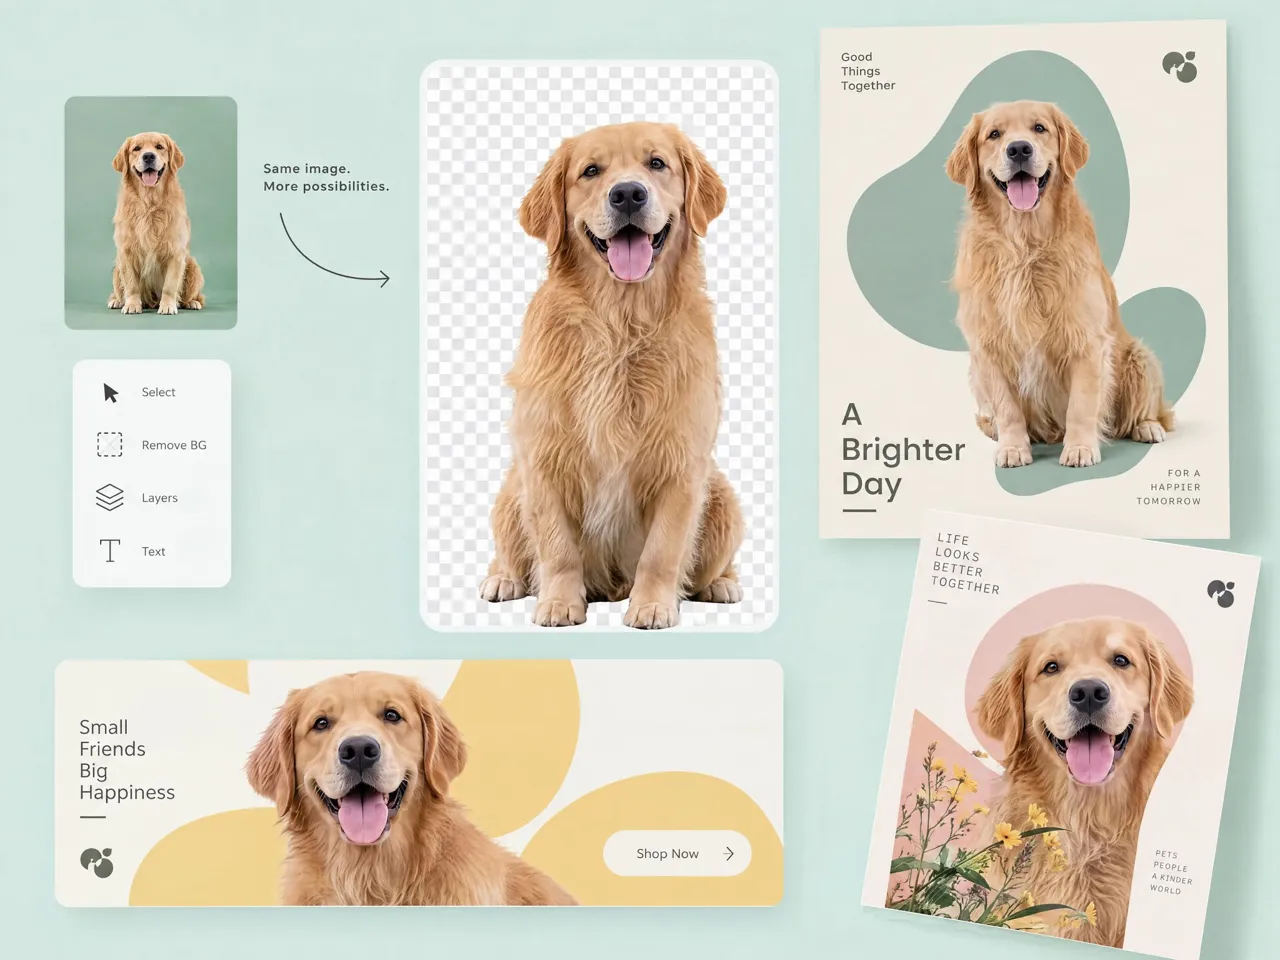
Transparent cutouts let you place a subject over different backgrounds without repeating the removal process. Designkit's background remover helps separate your subject from a green screen so you can reuse the result in product graphics, presentations, and social media layouts. Export with transparency when supported, then check the edges and file format before adding the cutout to your design.
Who Can Use Designkit's Green Screen Remover

Turn Green-Screen Product Shots Into Listing-Ready Images
Remove green backgrounds from product photos to prepare cleaner visuals for online stores. Designkit helps isolate products so you can place them against suitable backdrops for different marketplaces. Combine the cutouts with an AI listing product image workflow to prepare consistent product presentations without repeating the photography process.

Why Choose Designkit for Green Screen Removal

Skip Time-Consuming Manual Masking
Use Designkit to remove green backgrounds with fewer manual steps. Prepare cleaner cutouts for product photos, portraits, and campaign graphics without tracing every edge from scratch.
Reduce the Cost of Routine Image Editing
Reuse existing green-screen photos instead of arranging new shoots for every background change. Designkit helps you adapt visuals for different listings and campaigns while reducing repetitive editing work.

Move From Cutouts to Finished Designs in One Workflow
Remove green backgrounds and prepare subjects for new scenes, product graphics, or social posts. Designkit helps you move from isolated cutouts to reusable creative assets in one workflow.
More Tools to Finish Your Image
Change Background Color
Change Background
AI Background Generator

Product Background HD
Frequently Asked Questions
How do I remove a green screen from an image?
Will the cutout look natural around hair and fine edges?
A natural-looking cutout depends on how well fine details, such as loose hair, clothing edges, and small product features, are preserved during background removal. Designkit helps you separate subjects from green screens, but inspect the result against the intended background to spot green fringes, rough outlines, or missing details before exporting.
Can I remove a green screen from a photo with hair or fine details?
Yes, you can remove a green screen from photos containing hair, clothing, or intricate product details, although these areas may require closer inspection. Designkit helps isolate the main subject and remove the green backdrop. Review fine edges after editing to catch leftover green pixels or details that need refinement.
Can I remove a green screen and keep the background transparent?
Yes, you can keep the background transparent by exporting the cutout in a format that supports transparency, such as PNG. Designkit helps you remove green backgrounds, so subjects can be reused in layered designs, advertisements, and product graphics. Check the export settings to ensure transparency is preserved.
What's the difference between a green screen remover and a chroma key remover?
A green screen remover isolates a subject by removing the green backdrop, while a chroma key remover uses color-based keying to make a selected background color transparent or replace it. Designkit helps you remove green backgrounds from images and prepare cutouts for new scenes, marketing graphics, and reusable creative assets.
Can I remove green screens from images in bulk?
Yes, bulk green screen removal can help when preparing many product photos, portraits, or campaign assets. Instead of editing every image individually, use a supported batch workflow to process multiple files, then review the results for inconsistent edges or leftover green areas. Designkit can help streamline image preparation when bulk processing is available in your workflow.
Turn Green Screen Photos Into Ready-to-Use Cutouts
Remove distracting green backgrounds, refine difficult edges, and prepare your images for product listings, campaign graphics, and social content.



How Designkit Helps Users to Remove Green Screen From Photos
See how users use Designkit to remove green screens from photos and create stunning visuals
Designkit Helps Me Create Cleaner Product Listings With Less Manual Editing
Some of our product photos had green backgrounds that didn't fit our store's visual style. Designkit helped me remove the green screen and prepare cleaner product cutouts for our listings. I spend less time working around distracting backgrounds and can focus on checking product details before publishing.
It Gives My Social Content More Creative Flexibility
I like experimenting with different backgrounds to match the mood of my posts, but a green screen can limit how I use a photo. Designkit helps me separate the subject from the original background, making it easier to build new social graphics. I check the edges around hair and clothing to keep the finished image looking natural.
Designkit Makes It Easier to Keep Our Campaign Visuals on Brand
Our campaign materials often need different backgrounds to match each promotion. With Designkit, I can remove green screens from subject images and place the cutouts into campaign layouts that fit our brand direction.
I Can Build Layered Compositions with Fewer Manual Steps
Designkit helps me isolate the main subject so I can arrange it with other design assets and create a cleaner composition. I still check fine details around the edges, especially when the cutout will sit against a contrasting background.