
AI Beard Filter: Add Facial Hair to Your Photo
Curious about a different facial-hair look? Describe the result you want and generate a personalized version before making any real change.
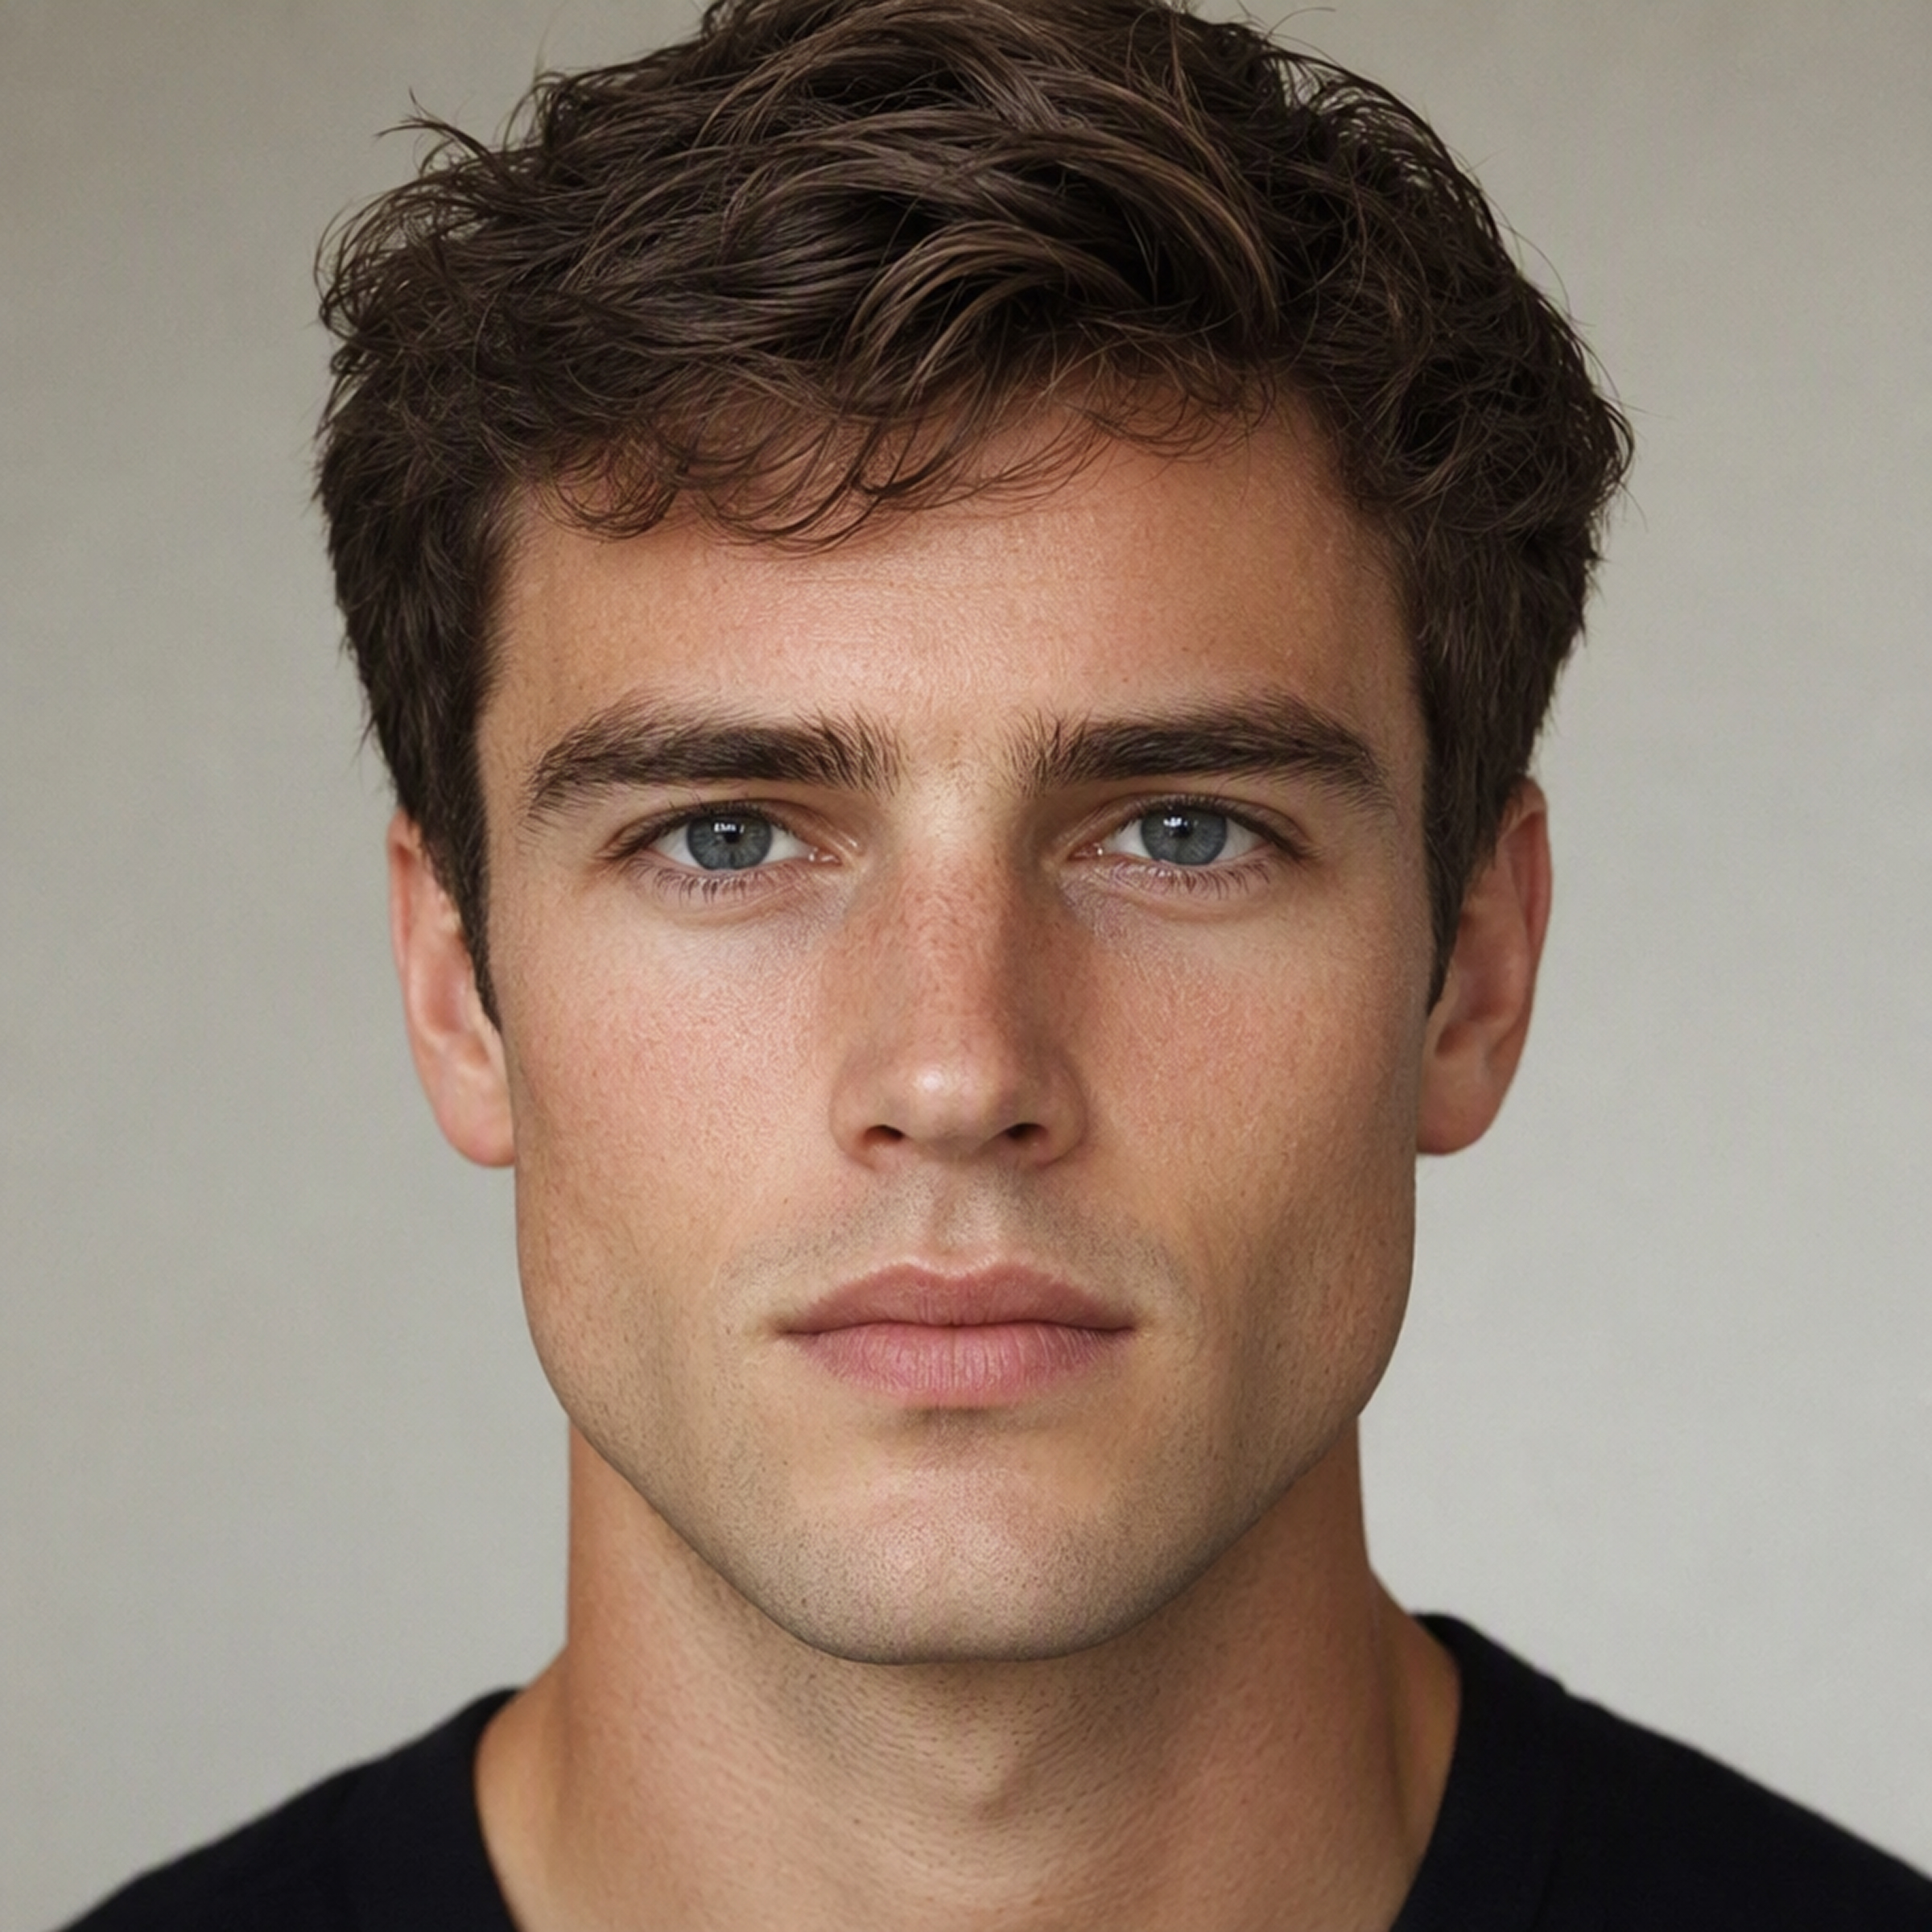
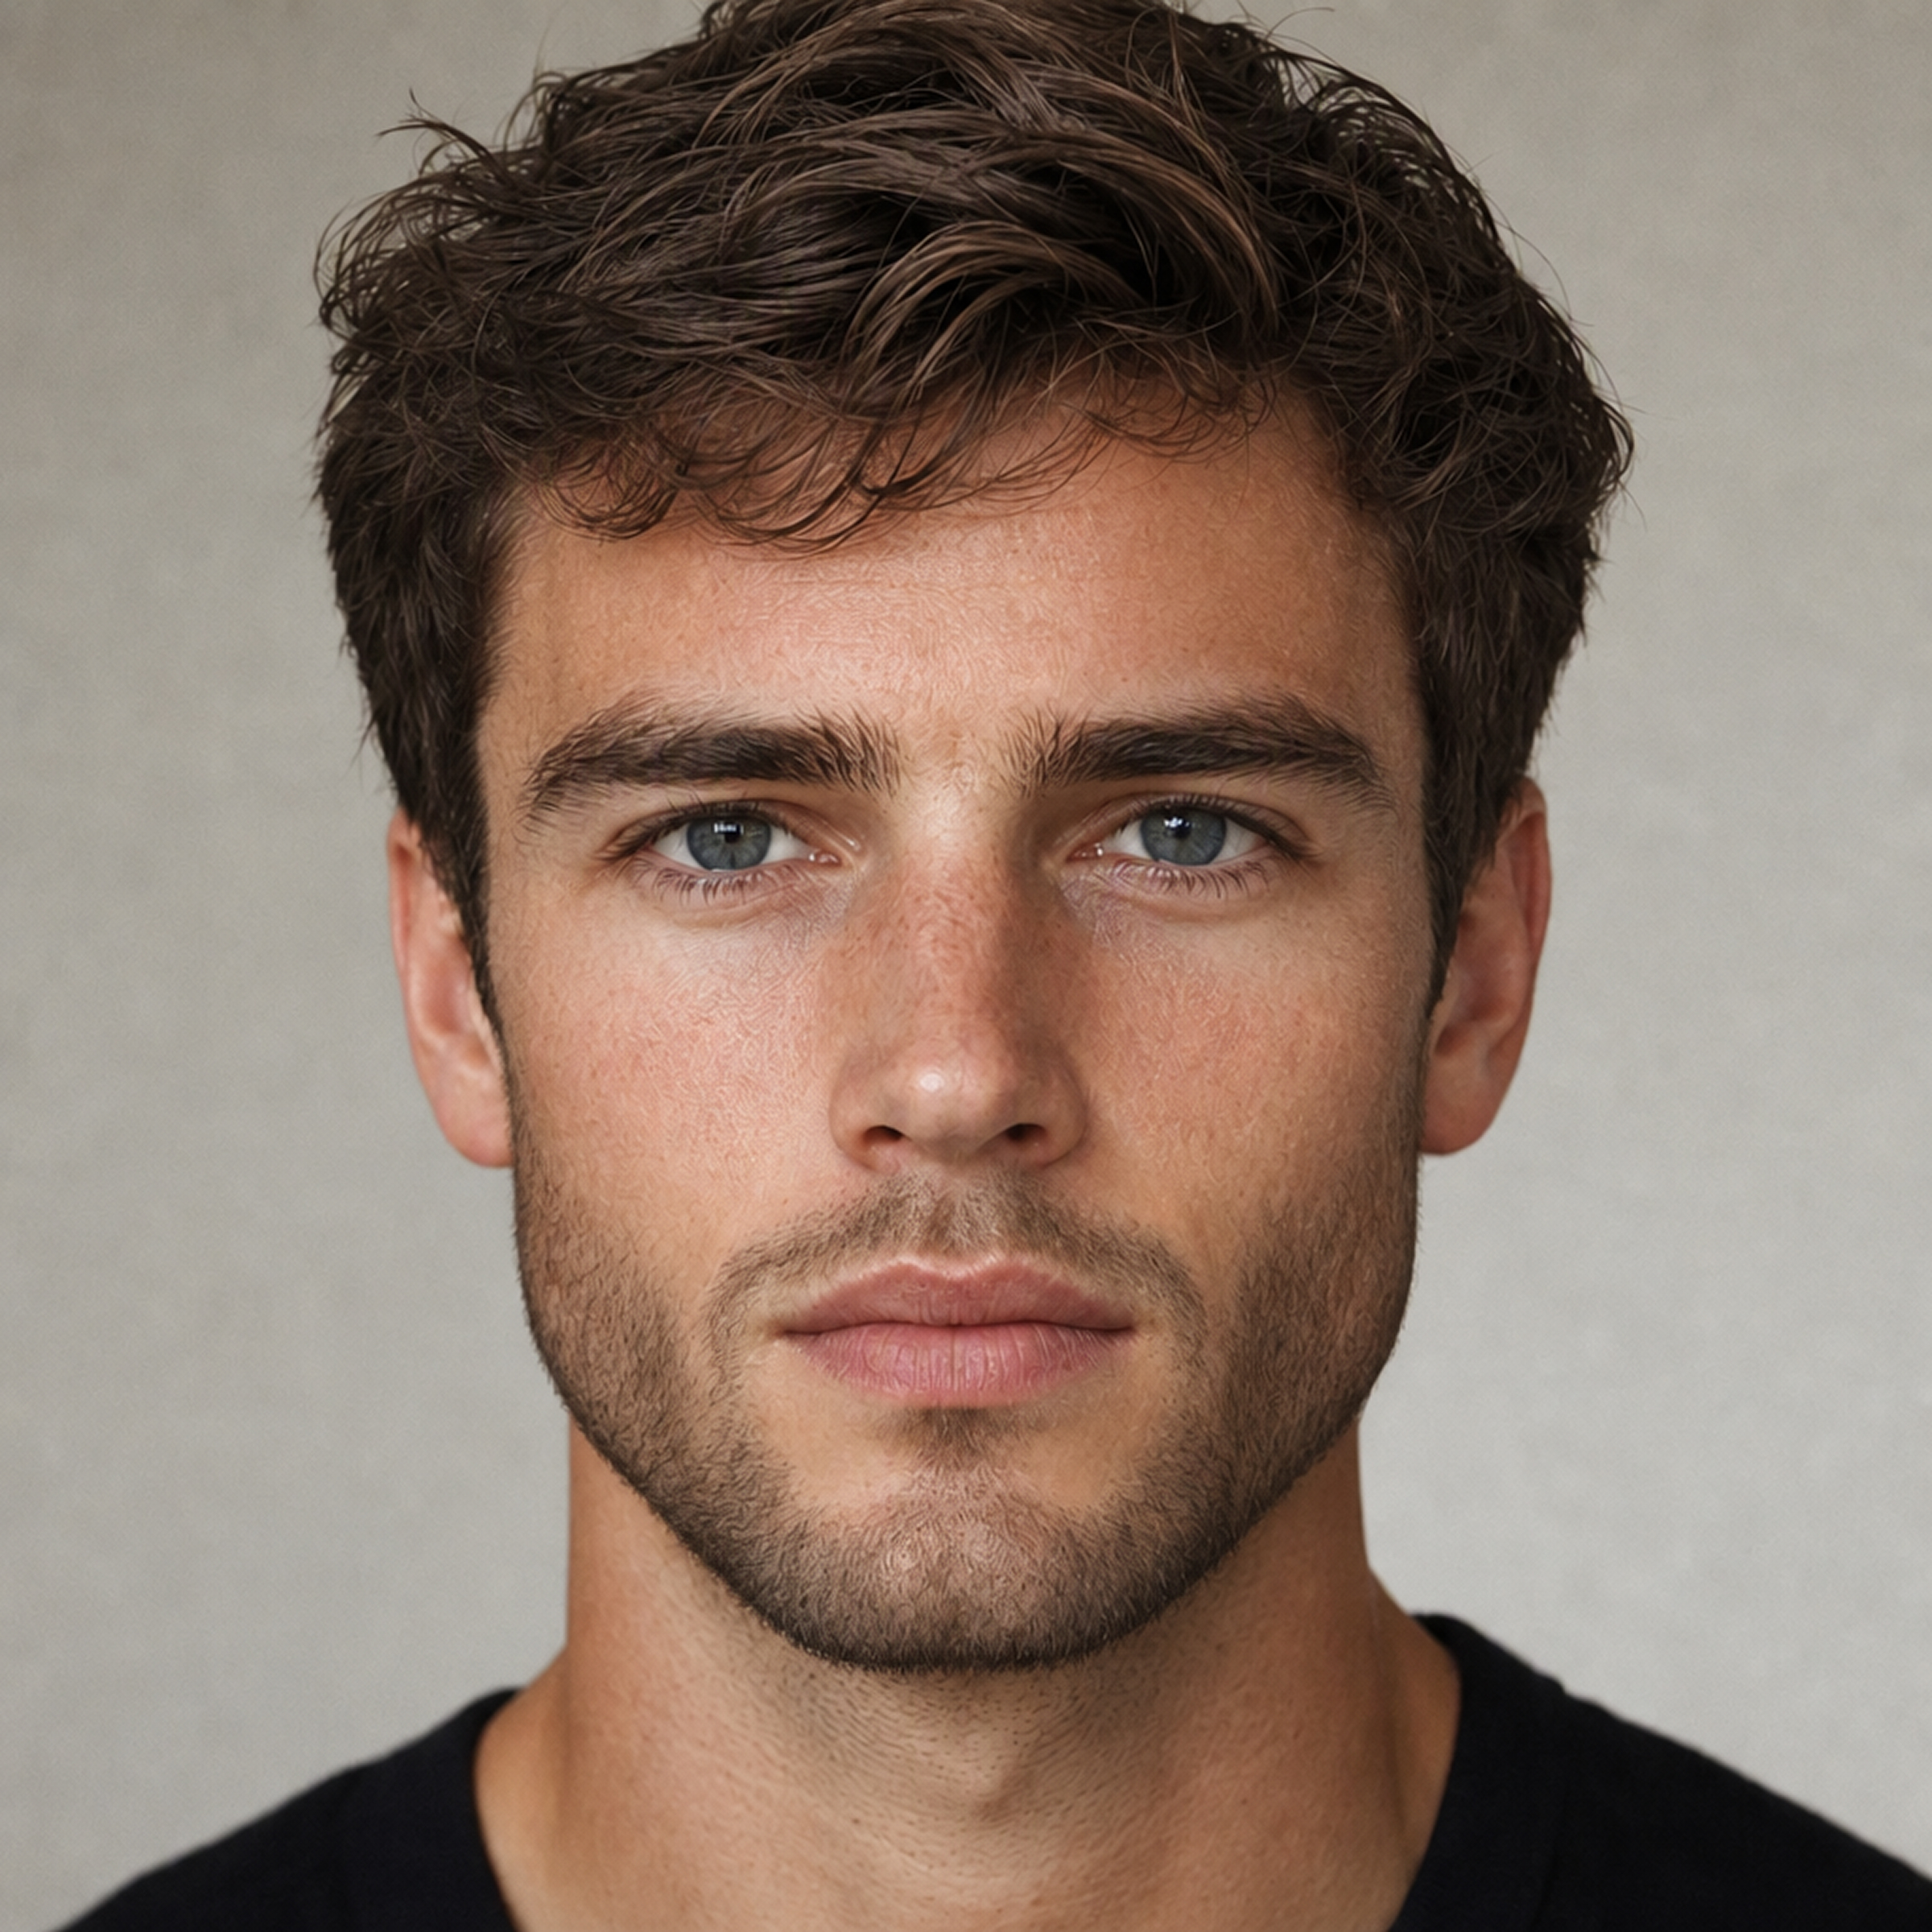
See What You Could Look Like with a Beard
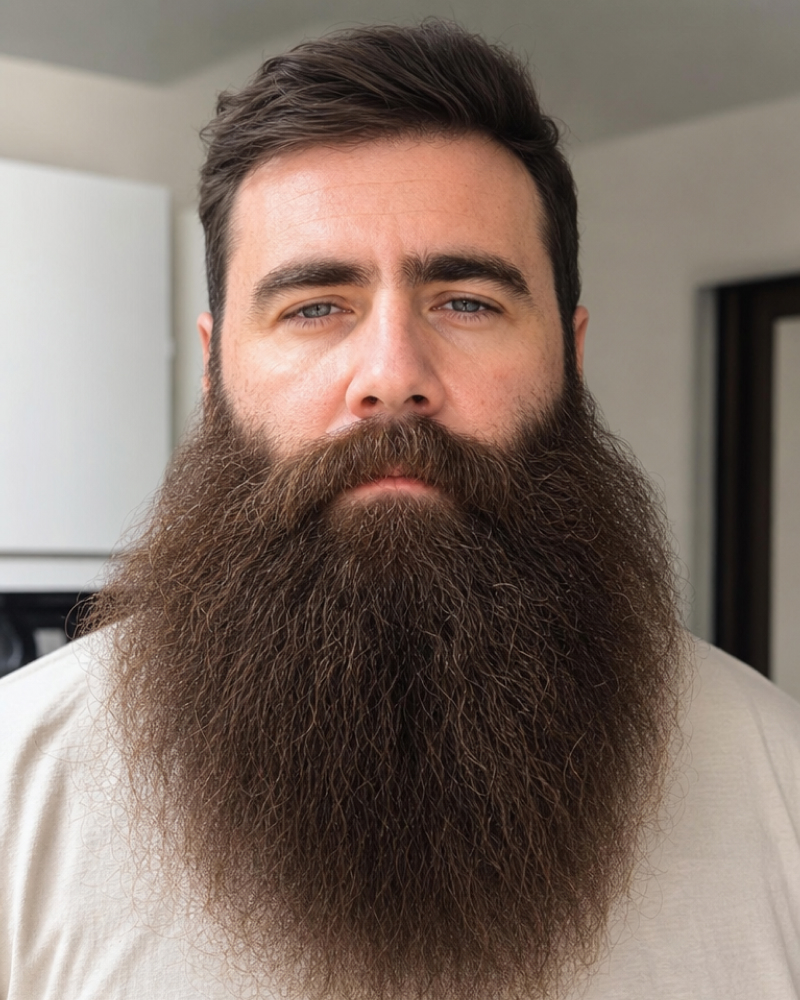
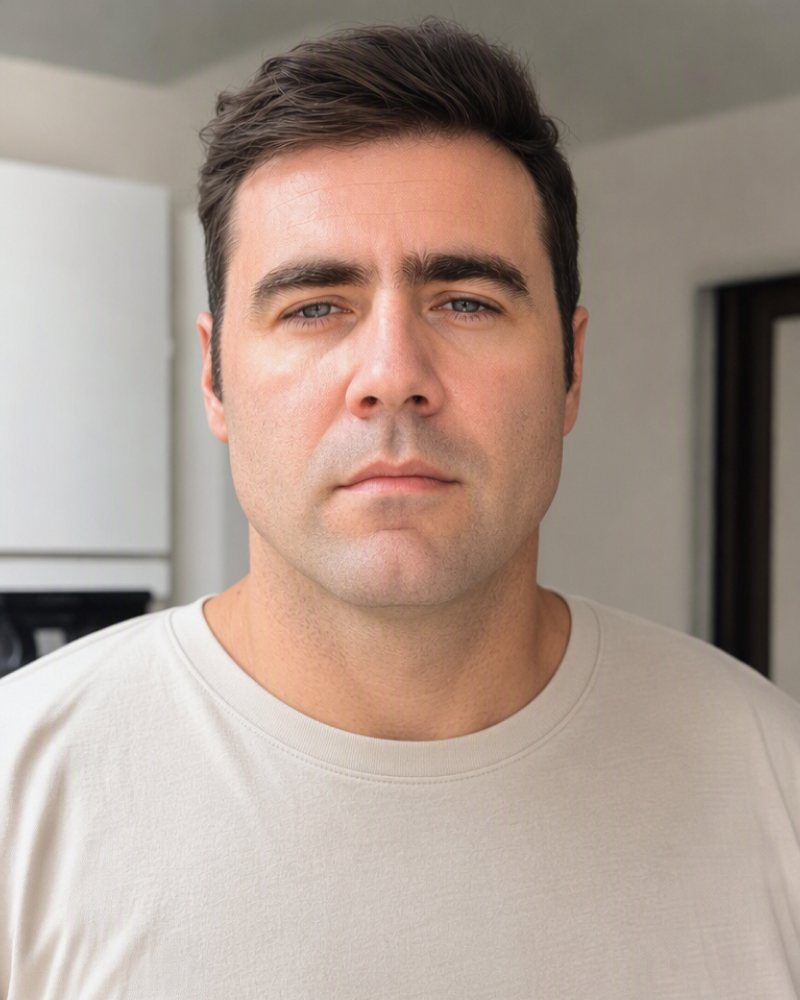
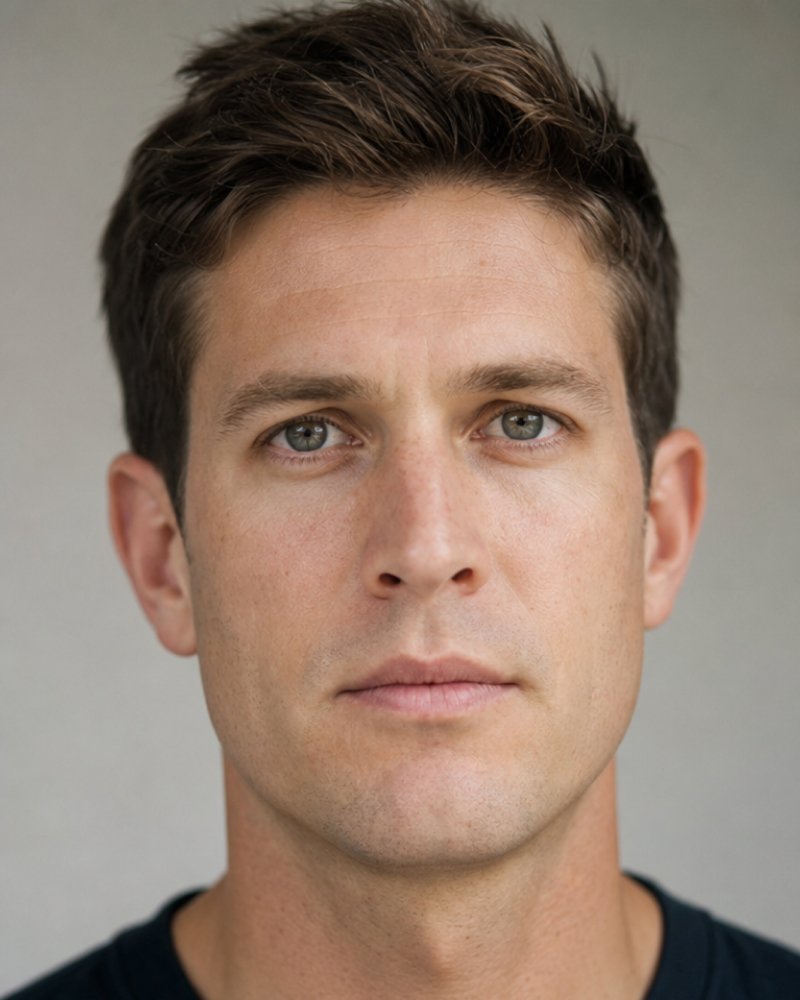
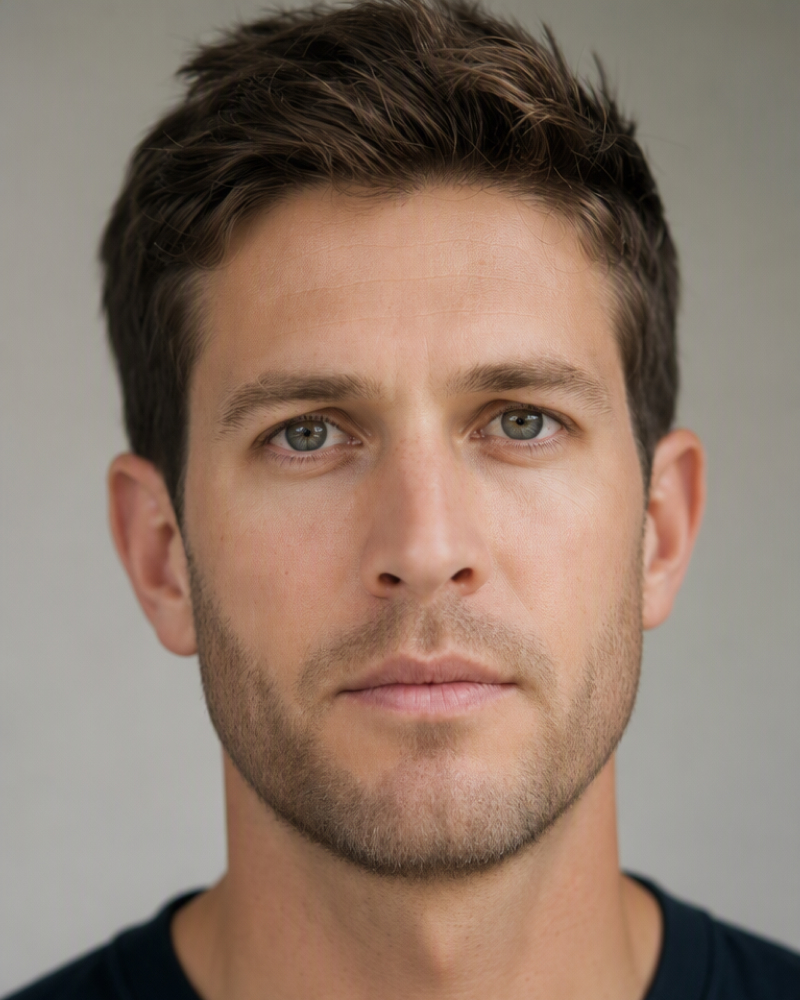
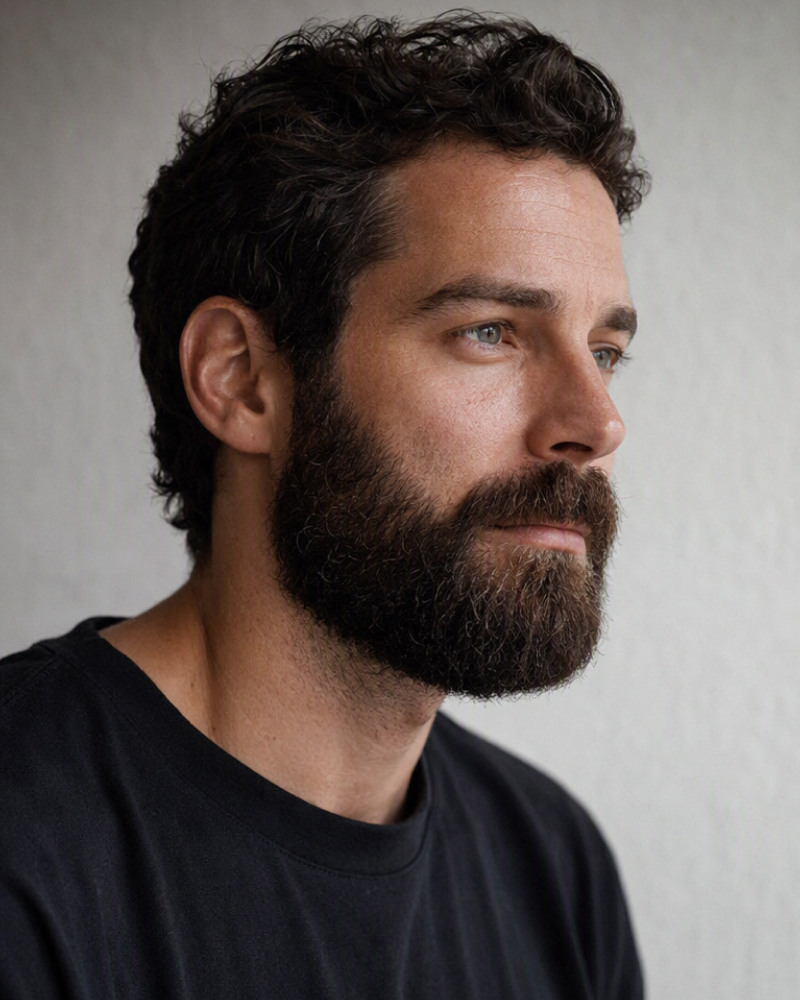
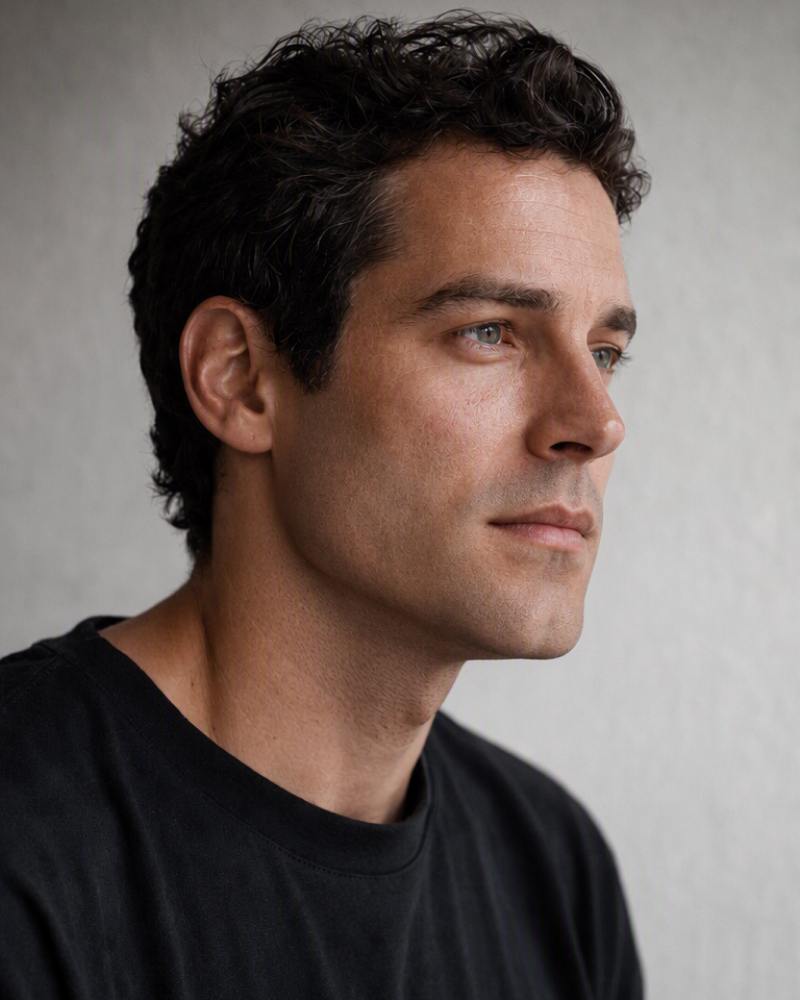
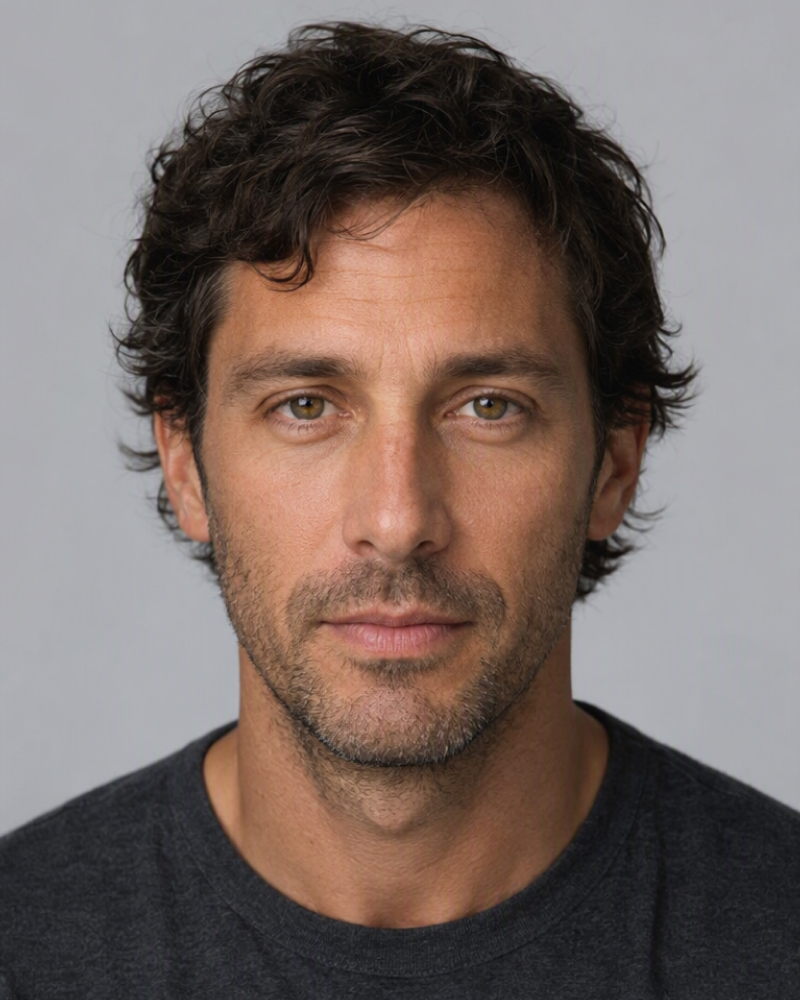
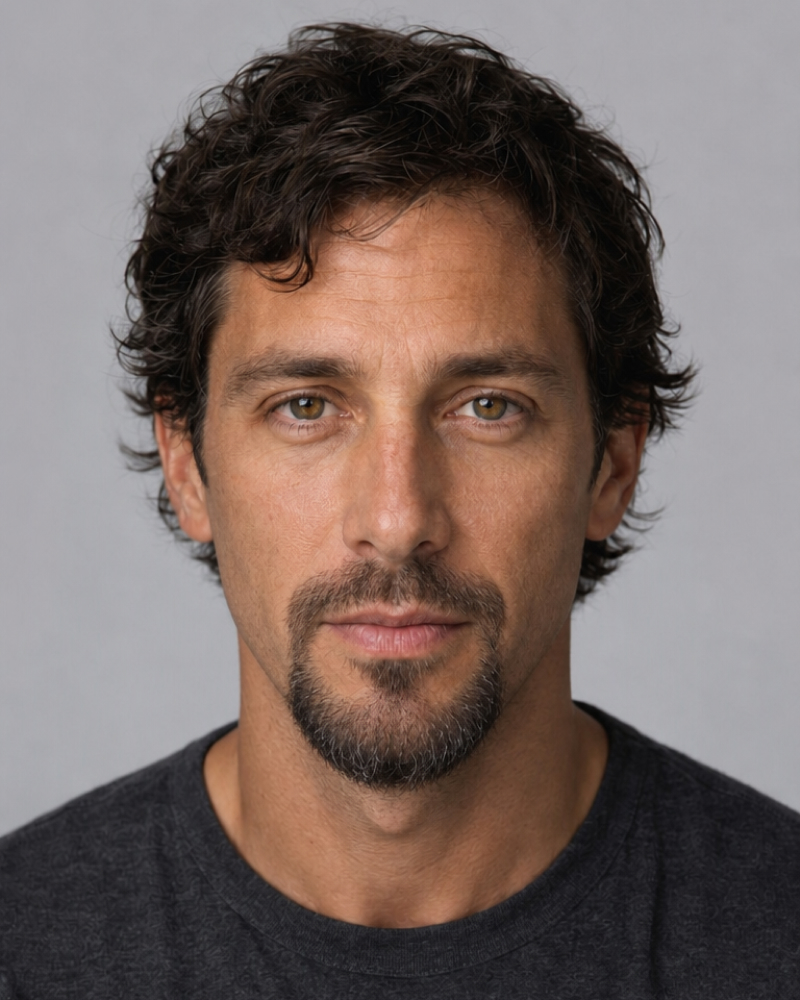
Try a Specific Facial Hair Style
Use these examples as templates. Upload your portrait to match the shape and coverage of a particular facial hair style.
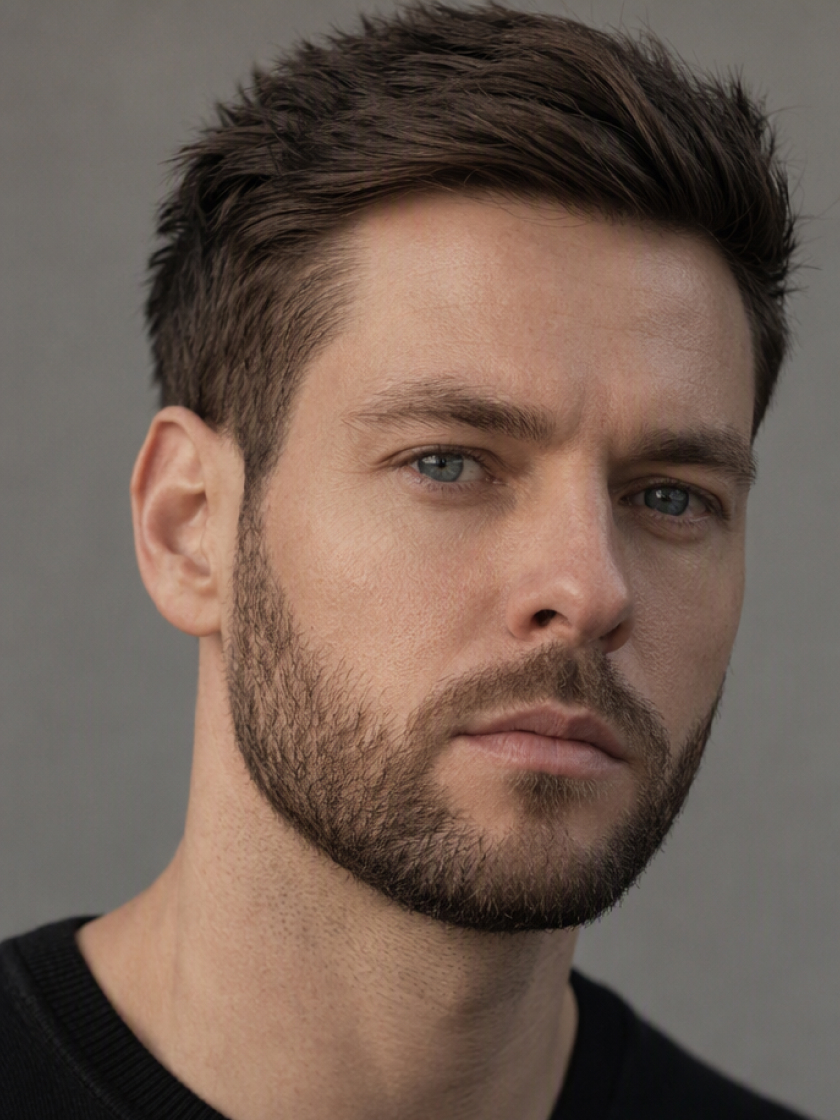
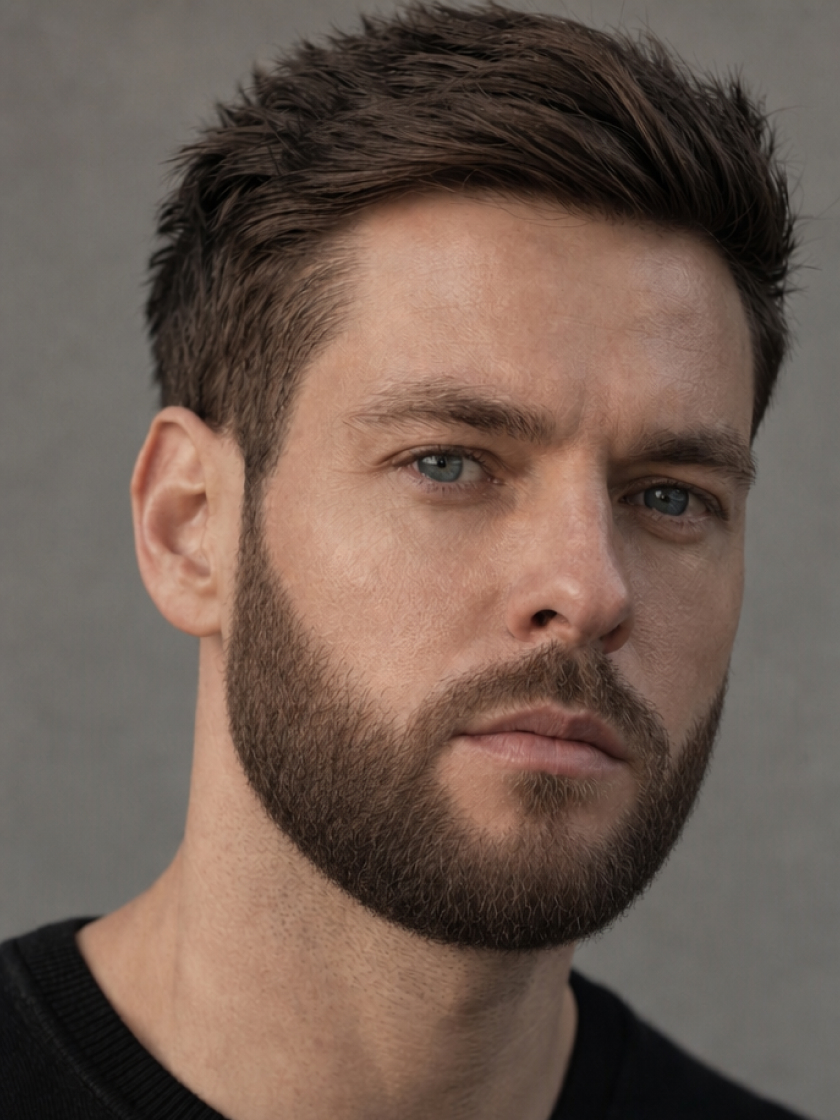
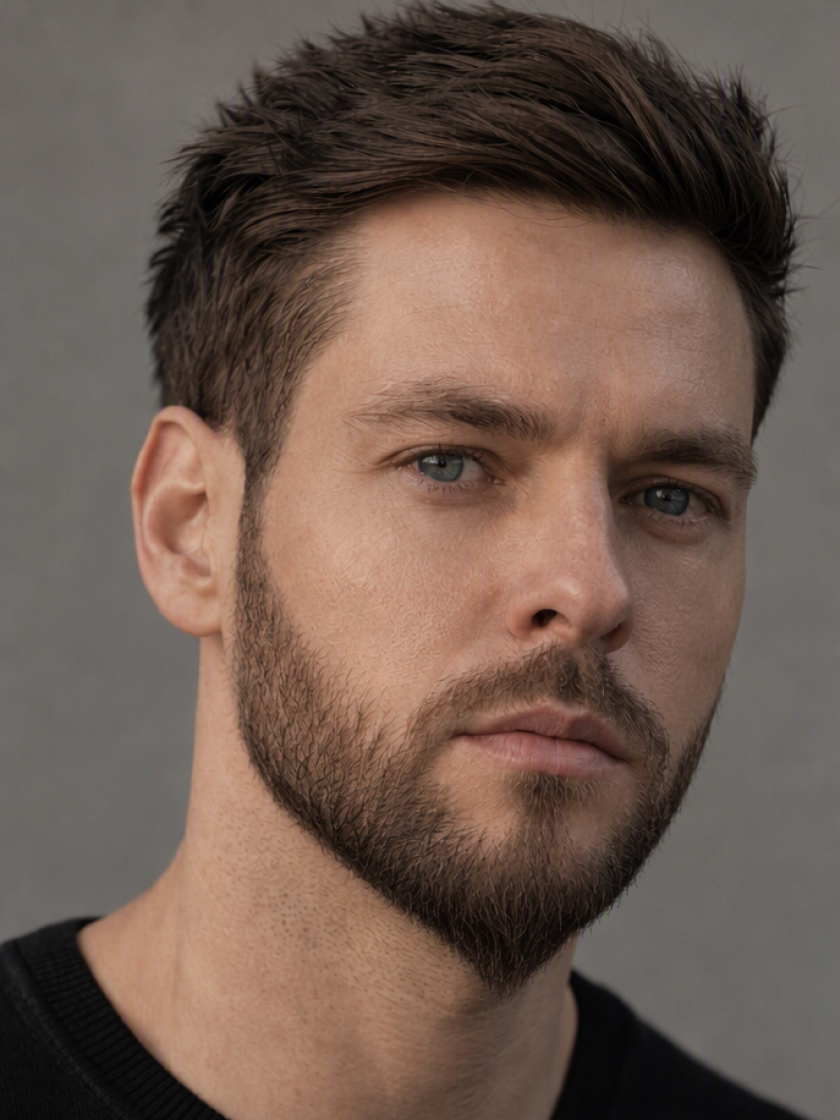
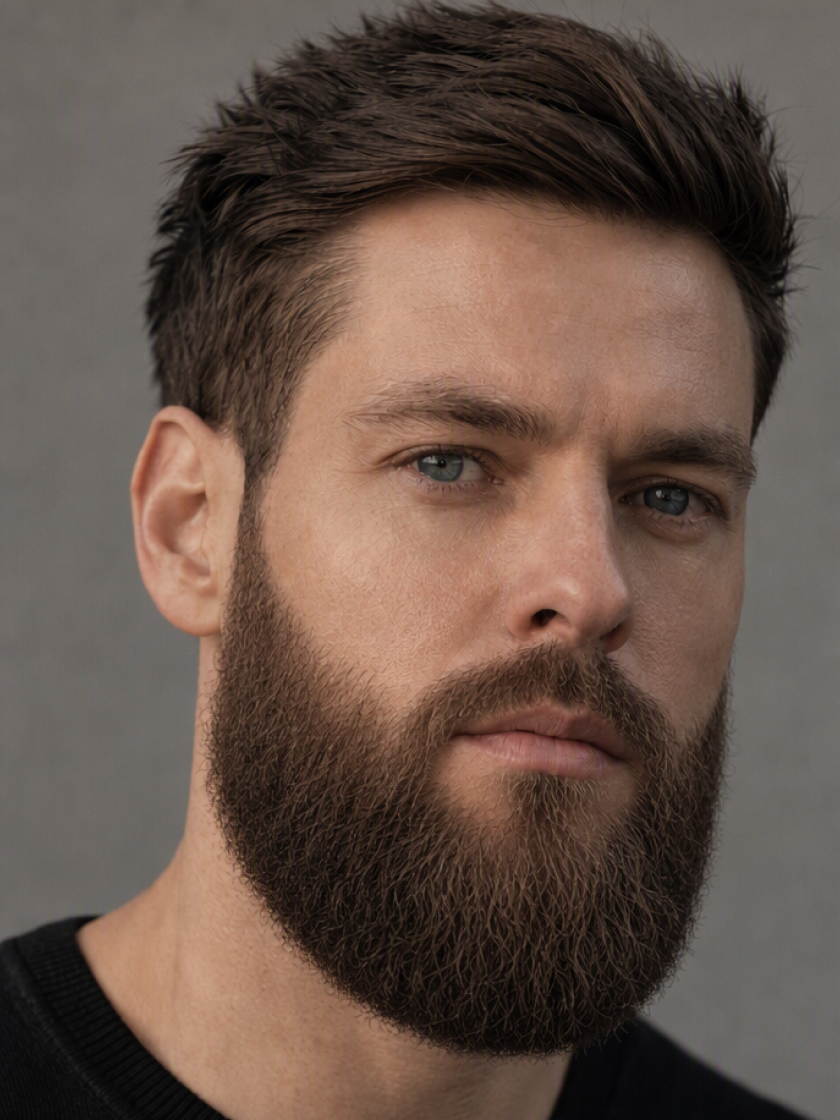
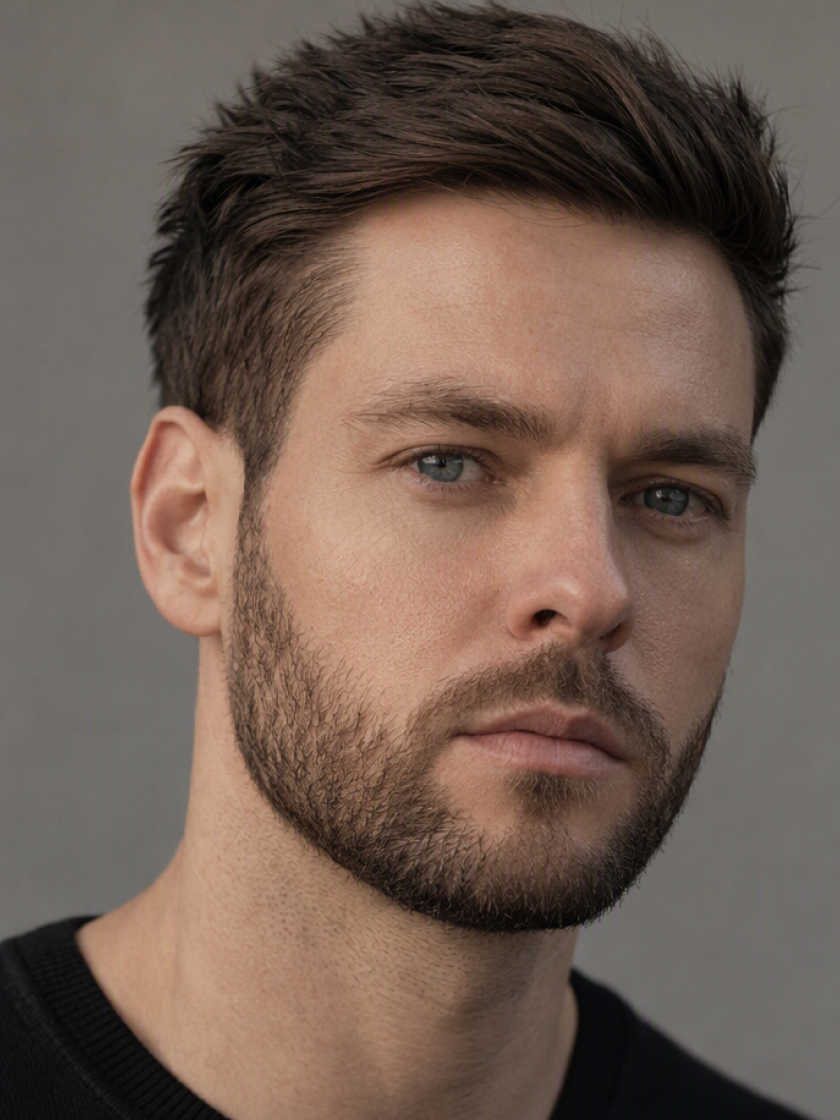 Full Beards
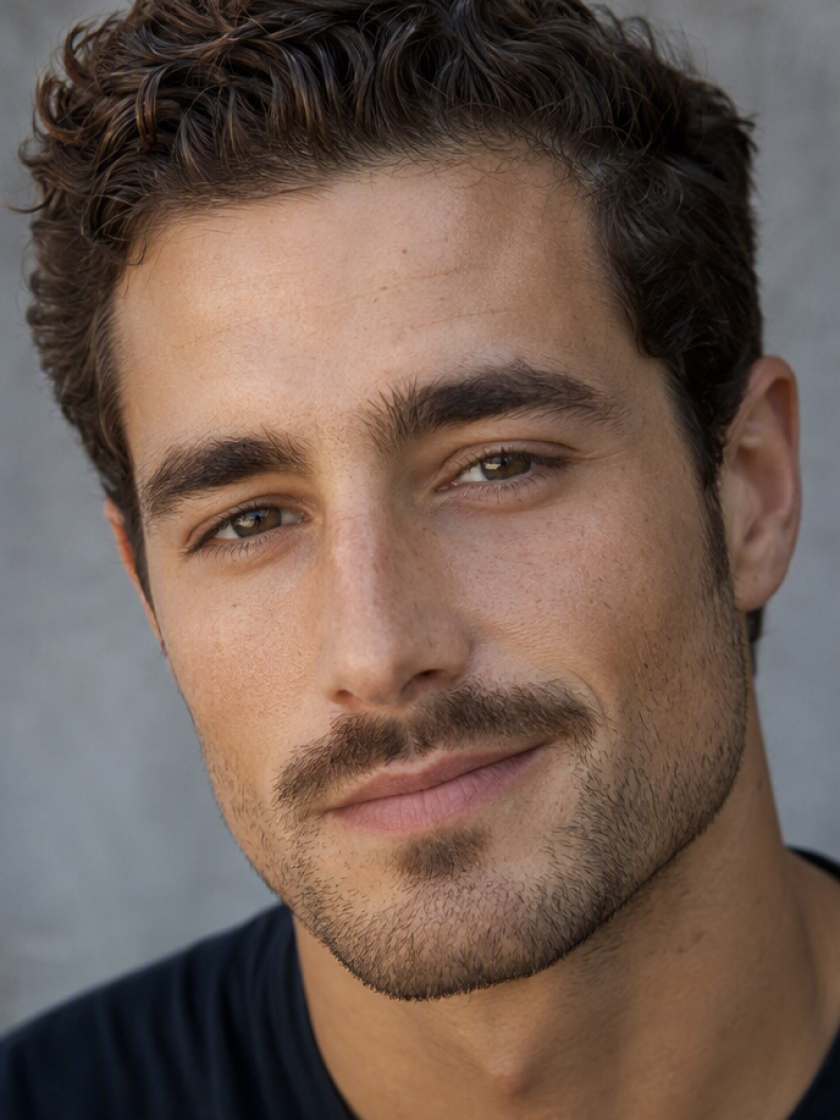 Mustaches
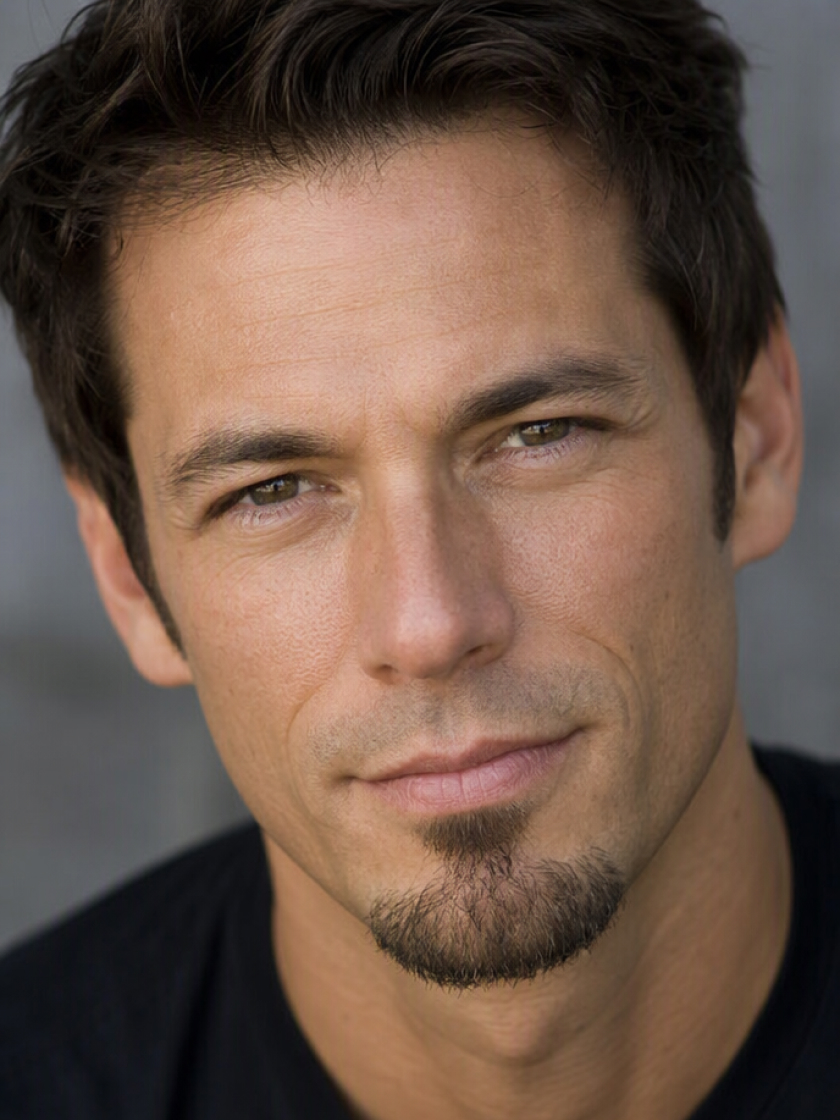 Goatees
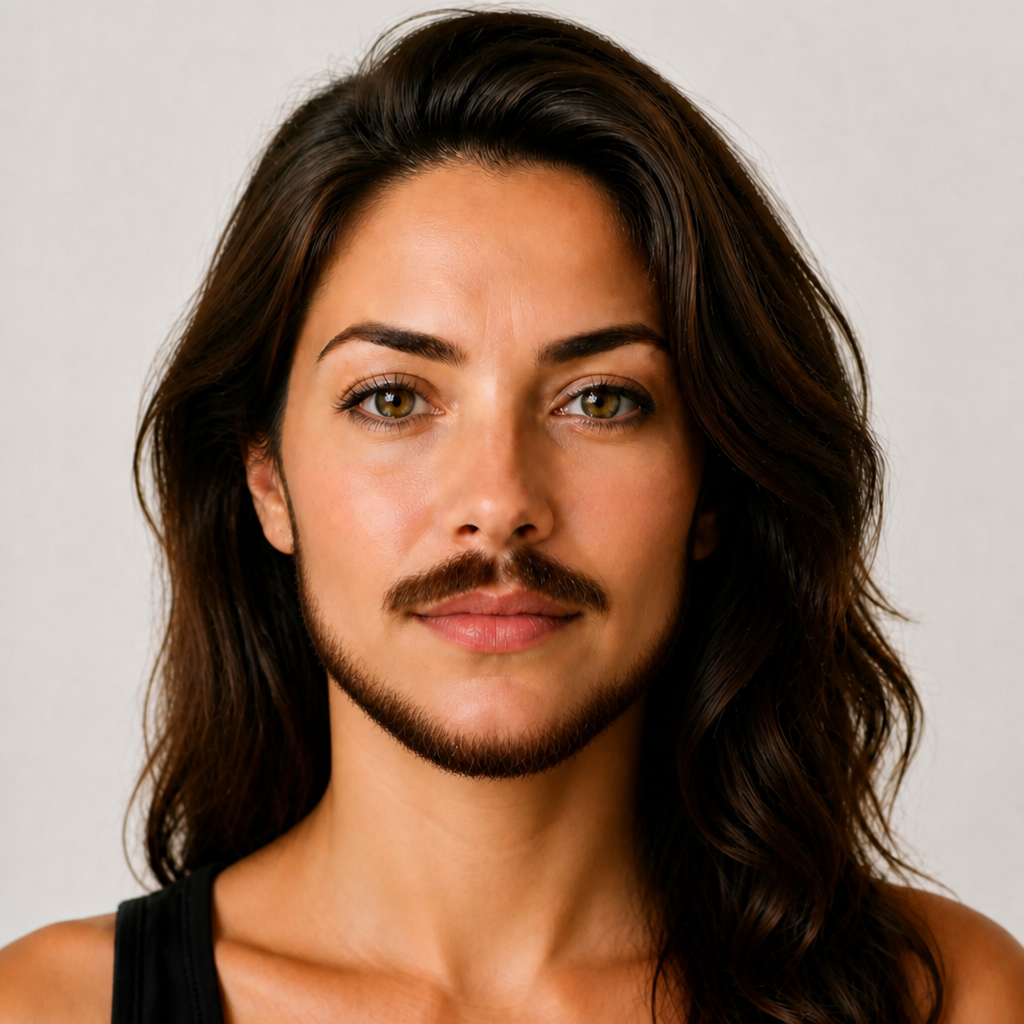 Funny Beards
How to Change Facial Hair in a Photo With AI
Upload a Portrait
Choose a clear photo where the jaw, upper lip, and current facial hair are visible.

Describe Your New Look
State what facial hair should be added, reduced, reshaped, or removed.
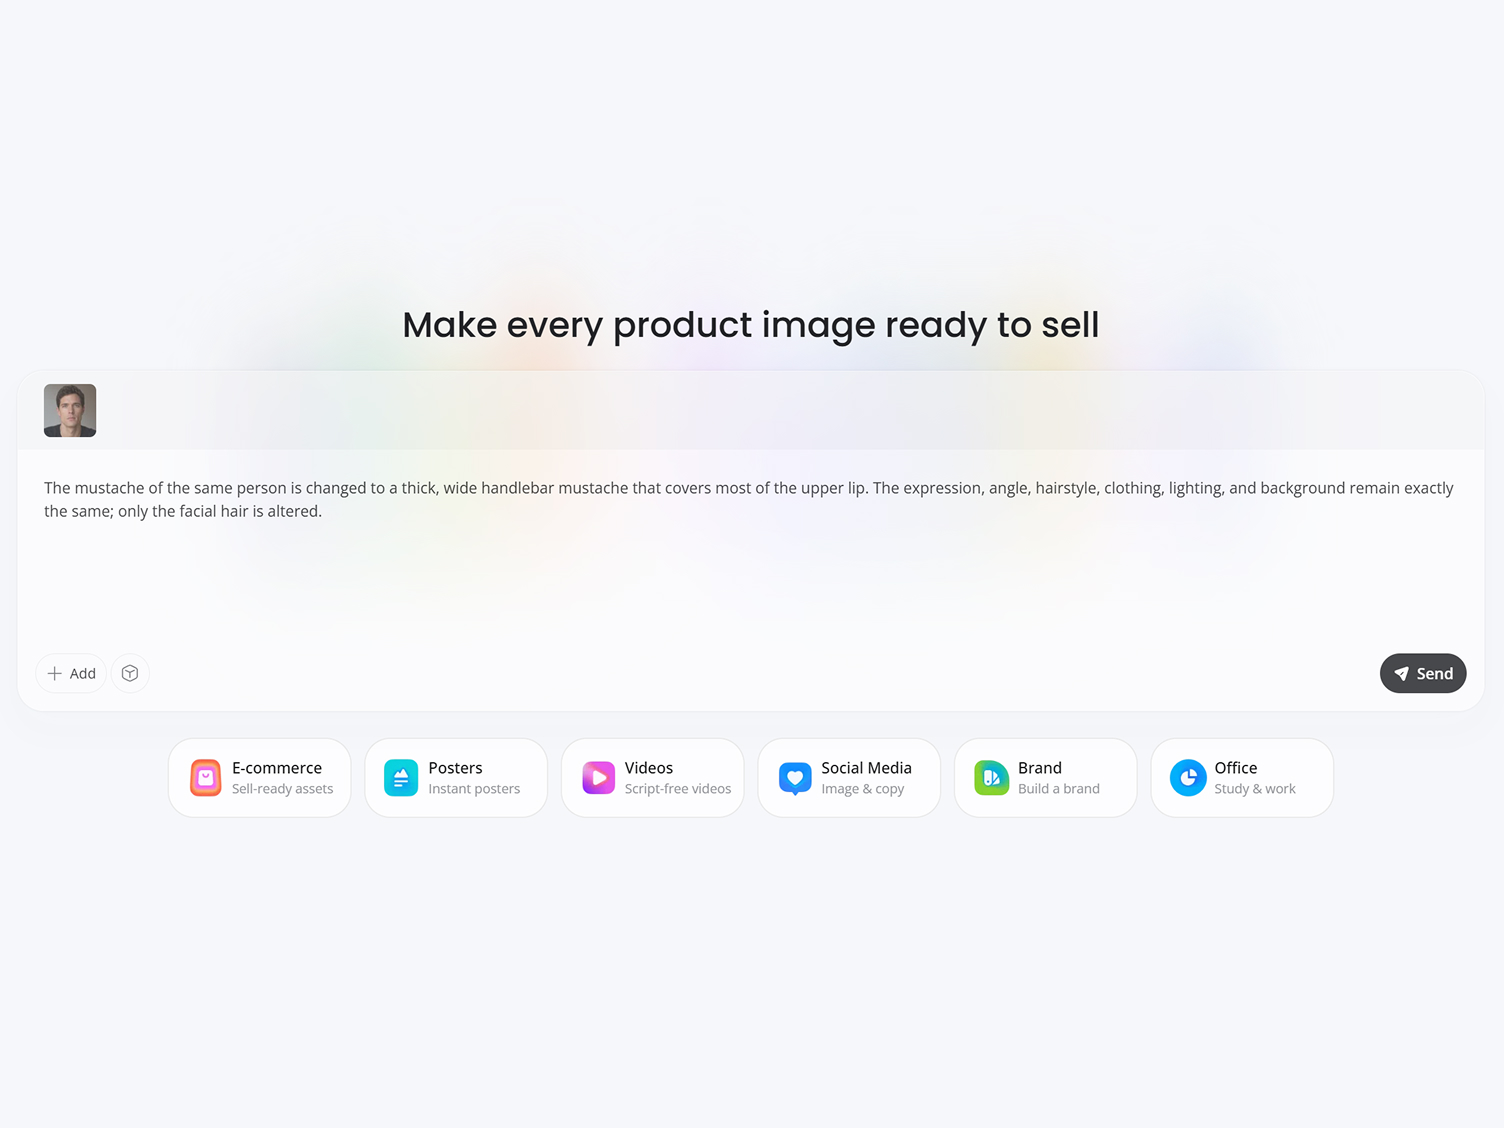
Generate the Edit
Review the updated portrait and revise your instruction if you want another result.
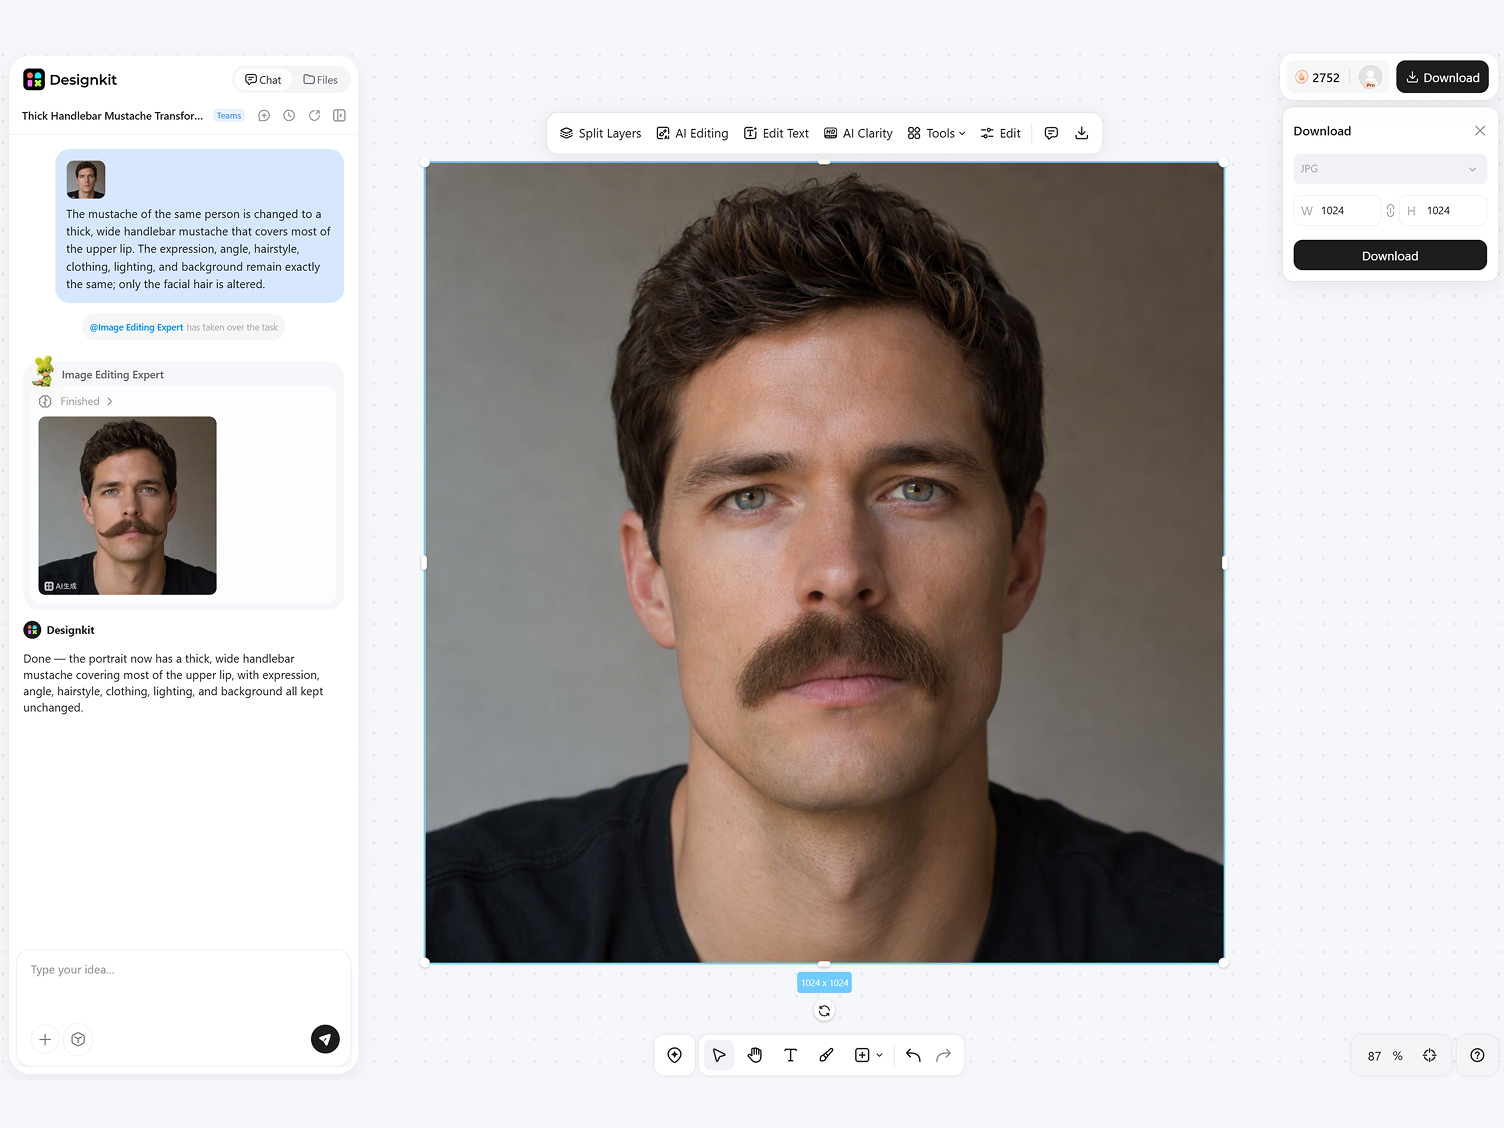
Make the Beard Look Like It Was Always There
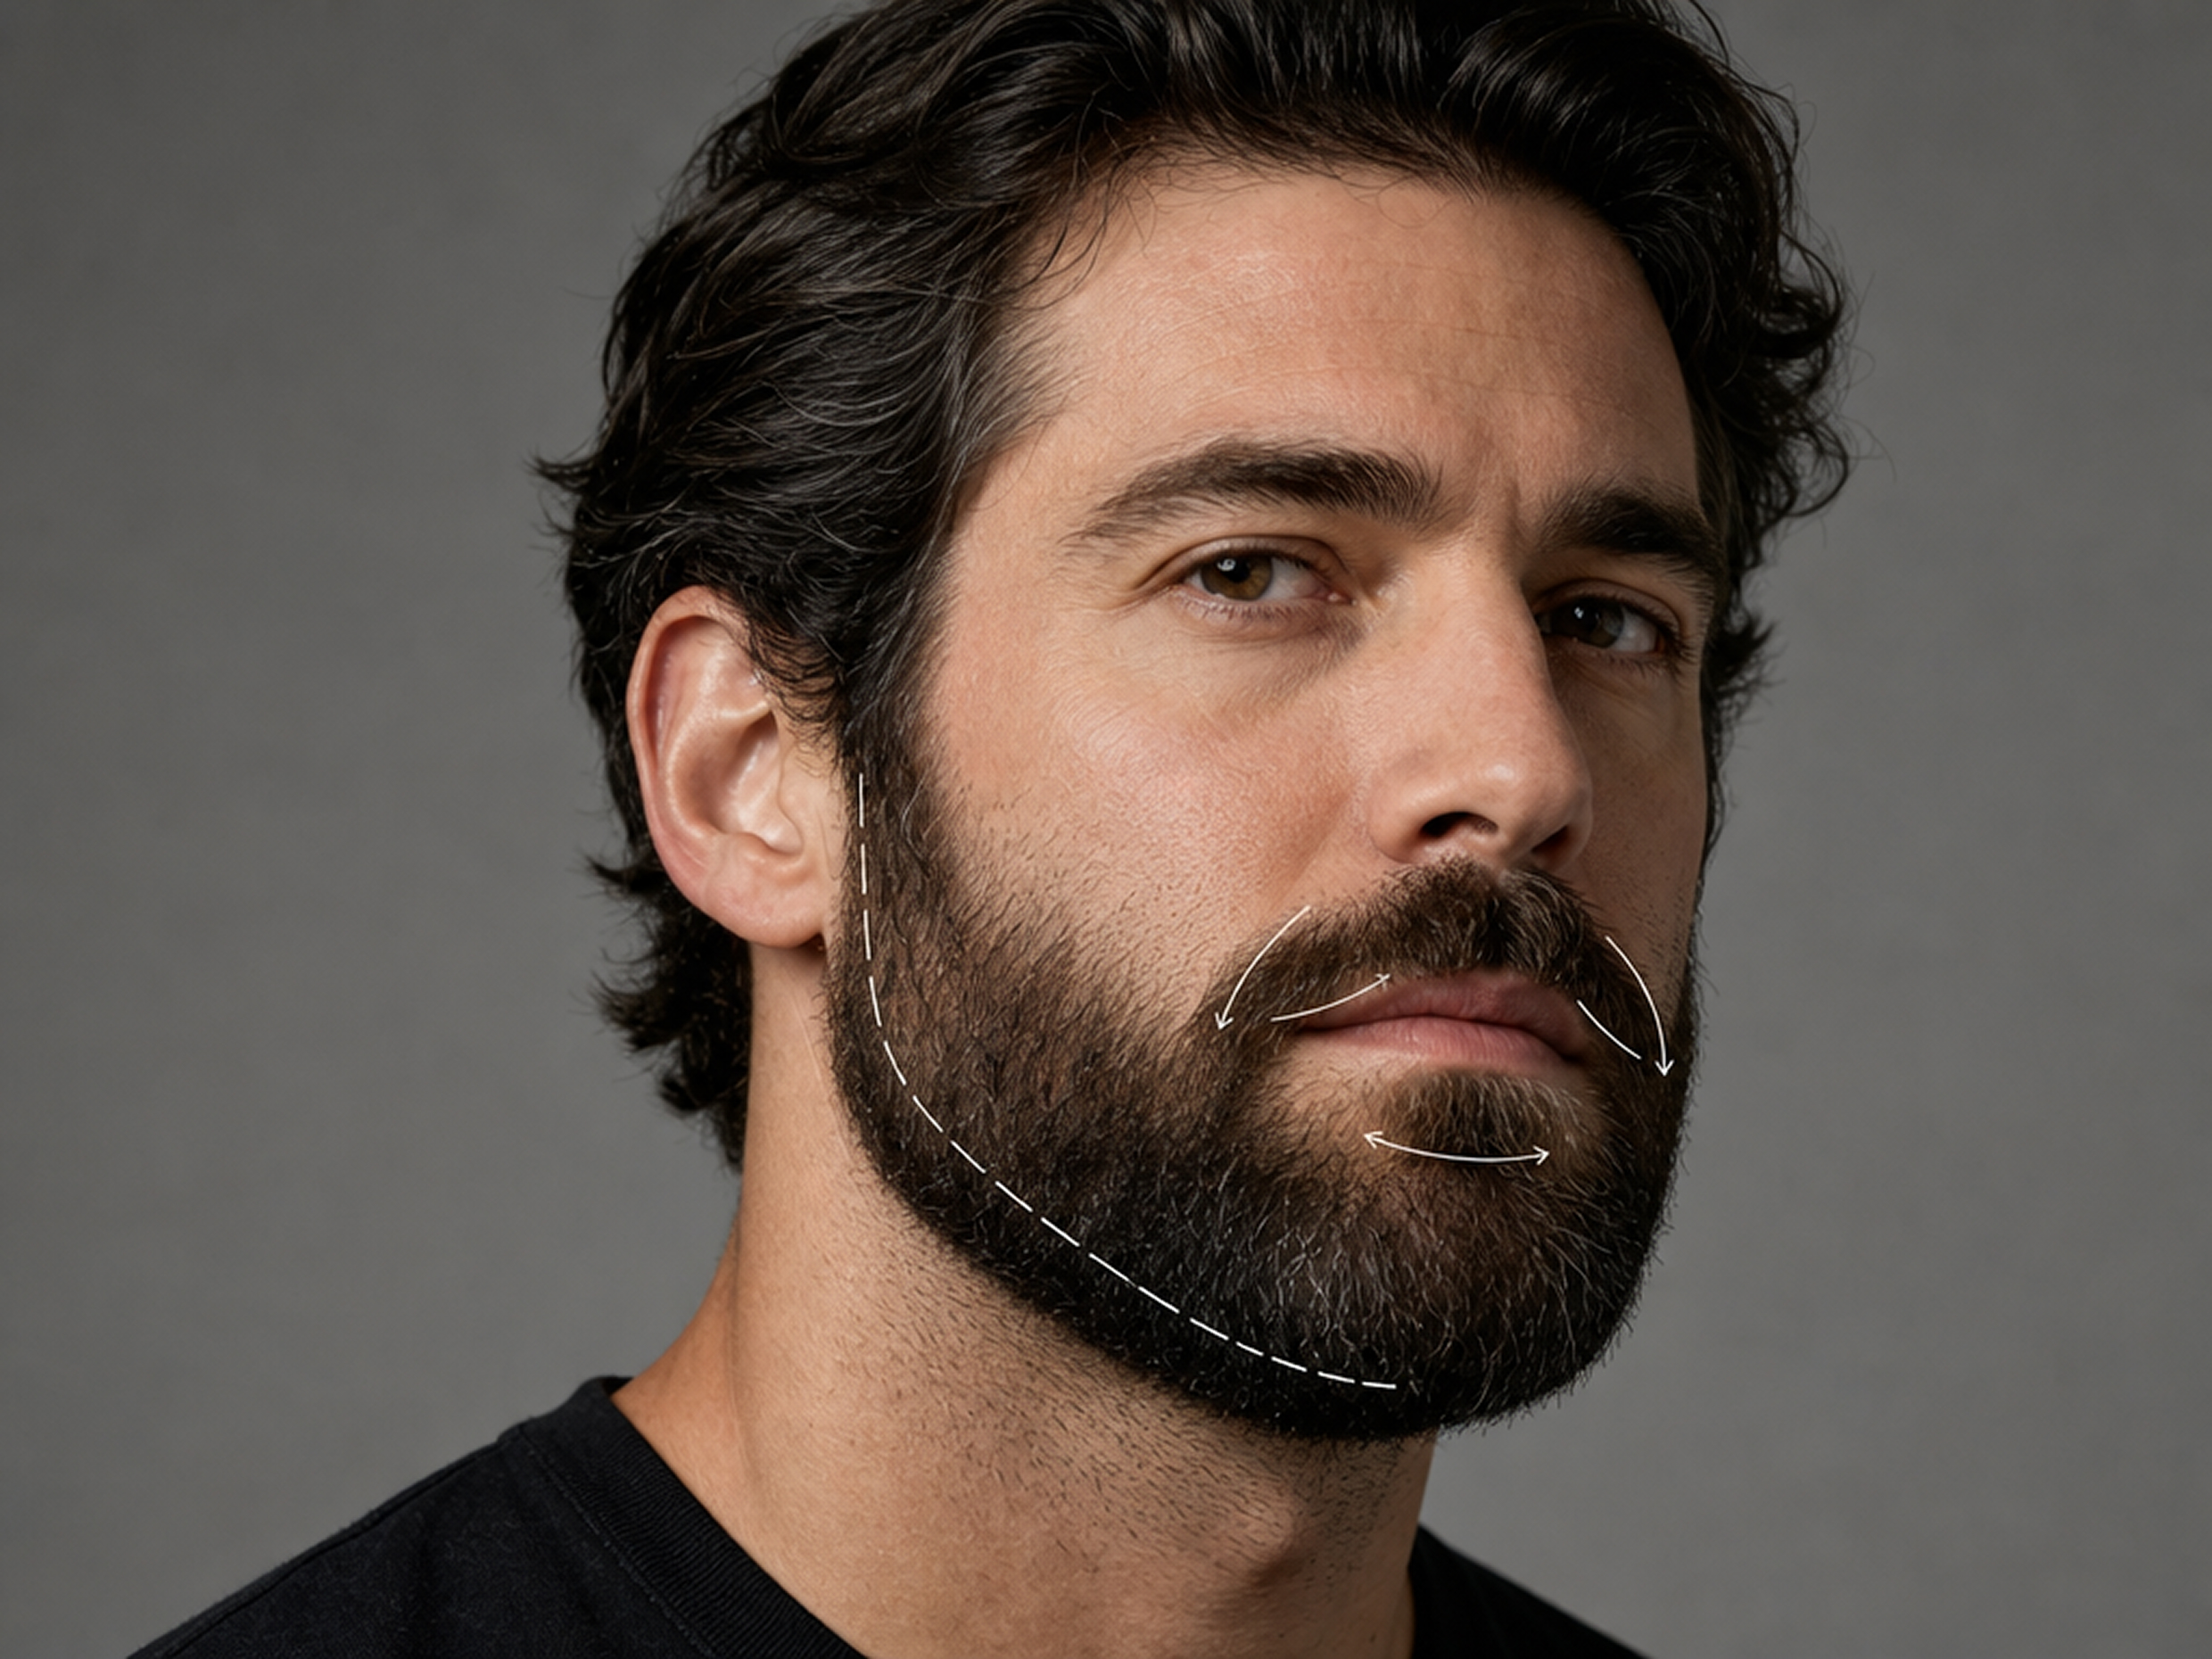
Fit the Beard to the Face Angle and Jawline
Generate facial hair that follows the visible jawline, mouth area, and face angle. The edit draws on the original lighting and color so the new beard sits within the portrait rather than appearing as a flat overlay.
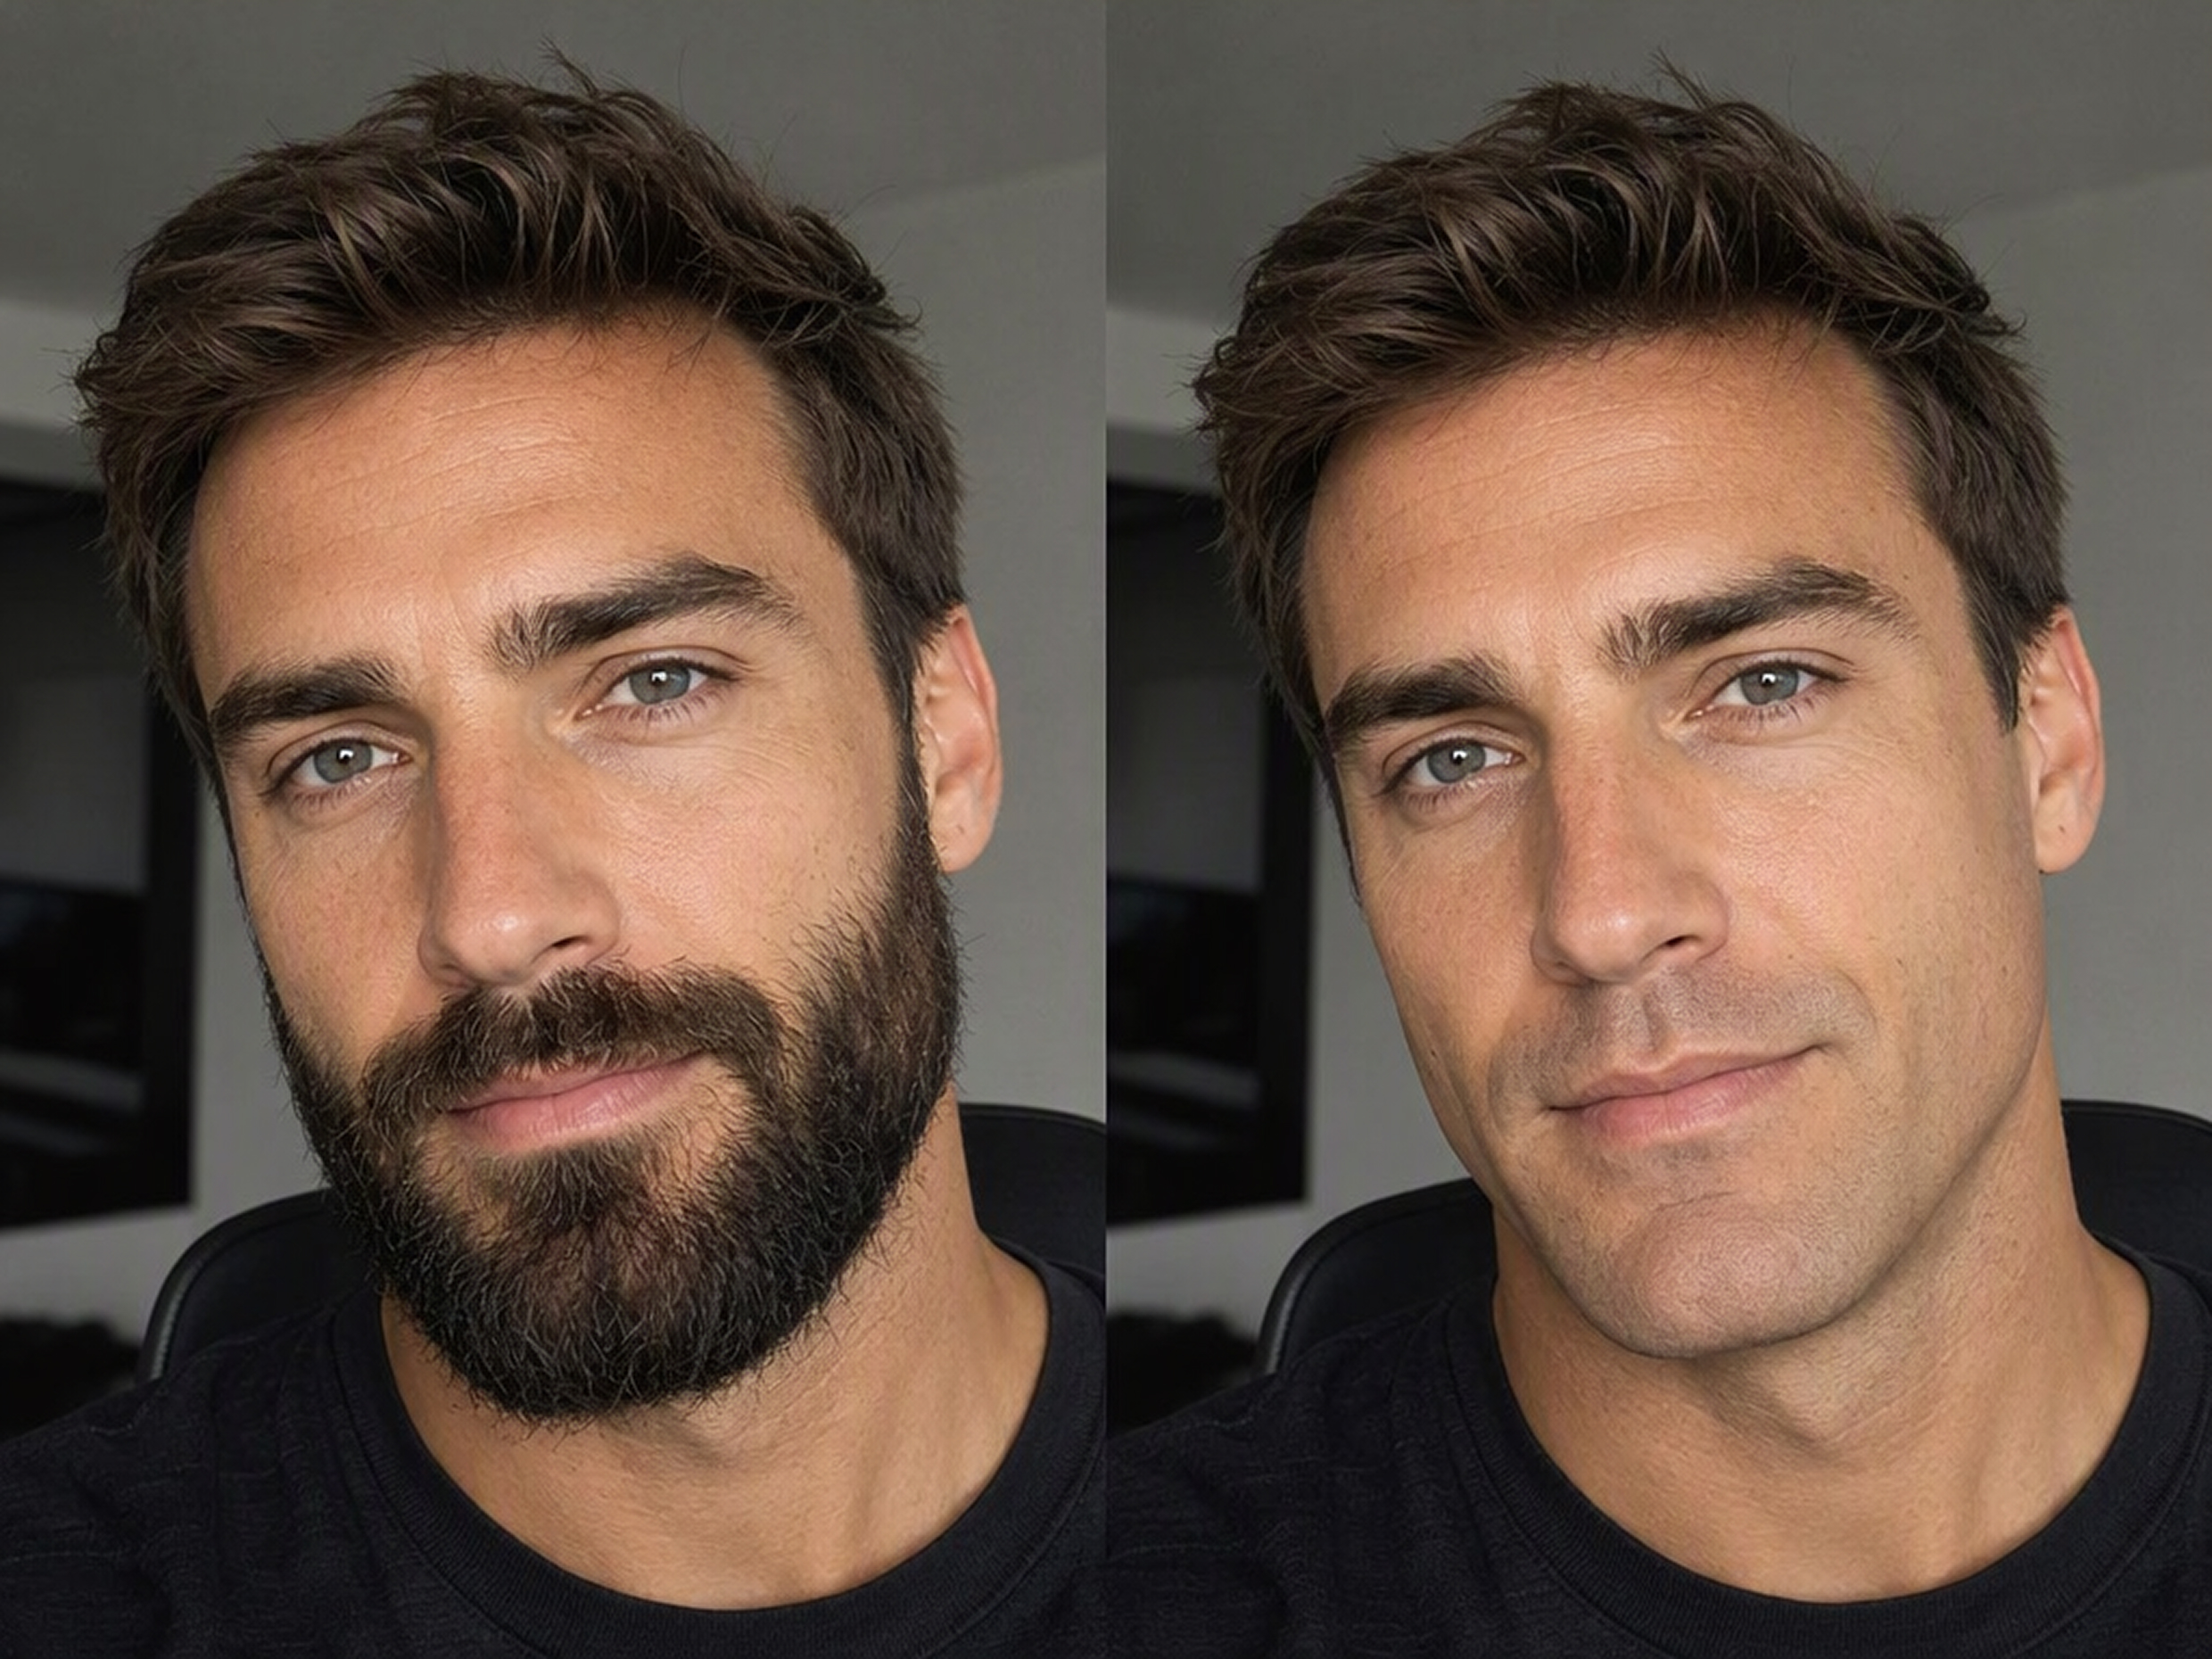
Match the Portrait’s Hair Color and Lighting
Remove an existing beard while reconstructing the area it previously covered. Skin tone and shadow transitions continue across the lower face instead of leaving a blurred or noticeably erased section.
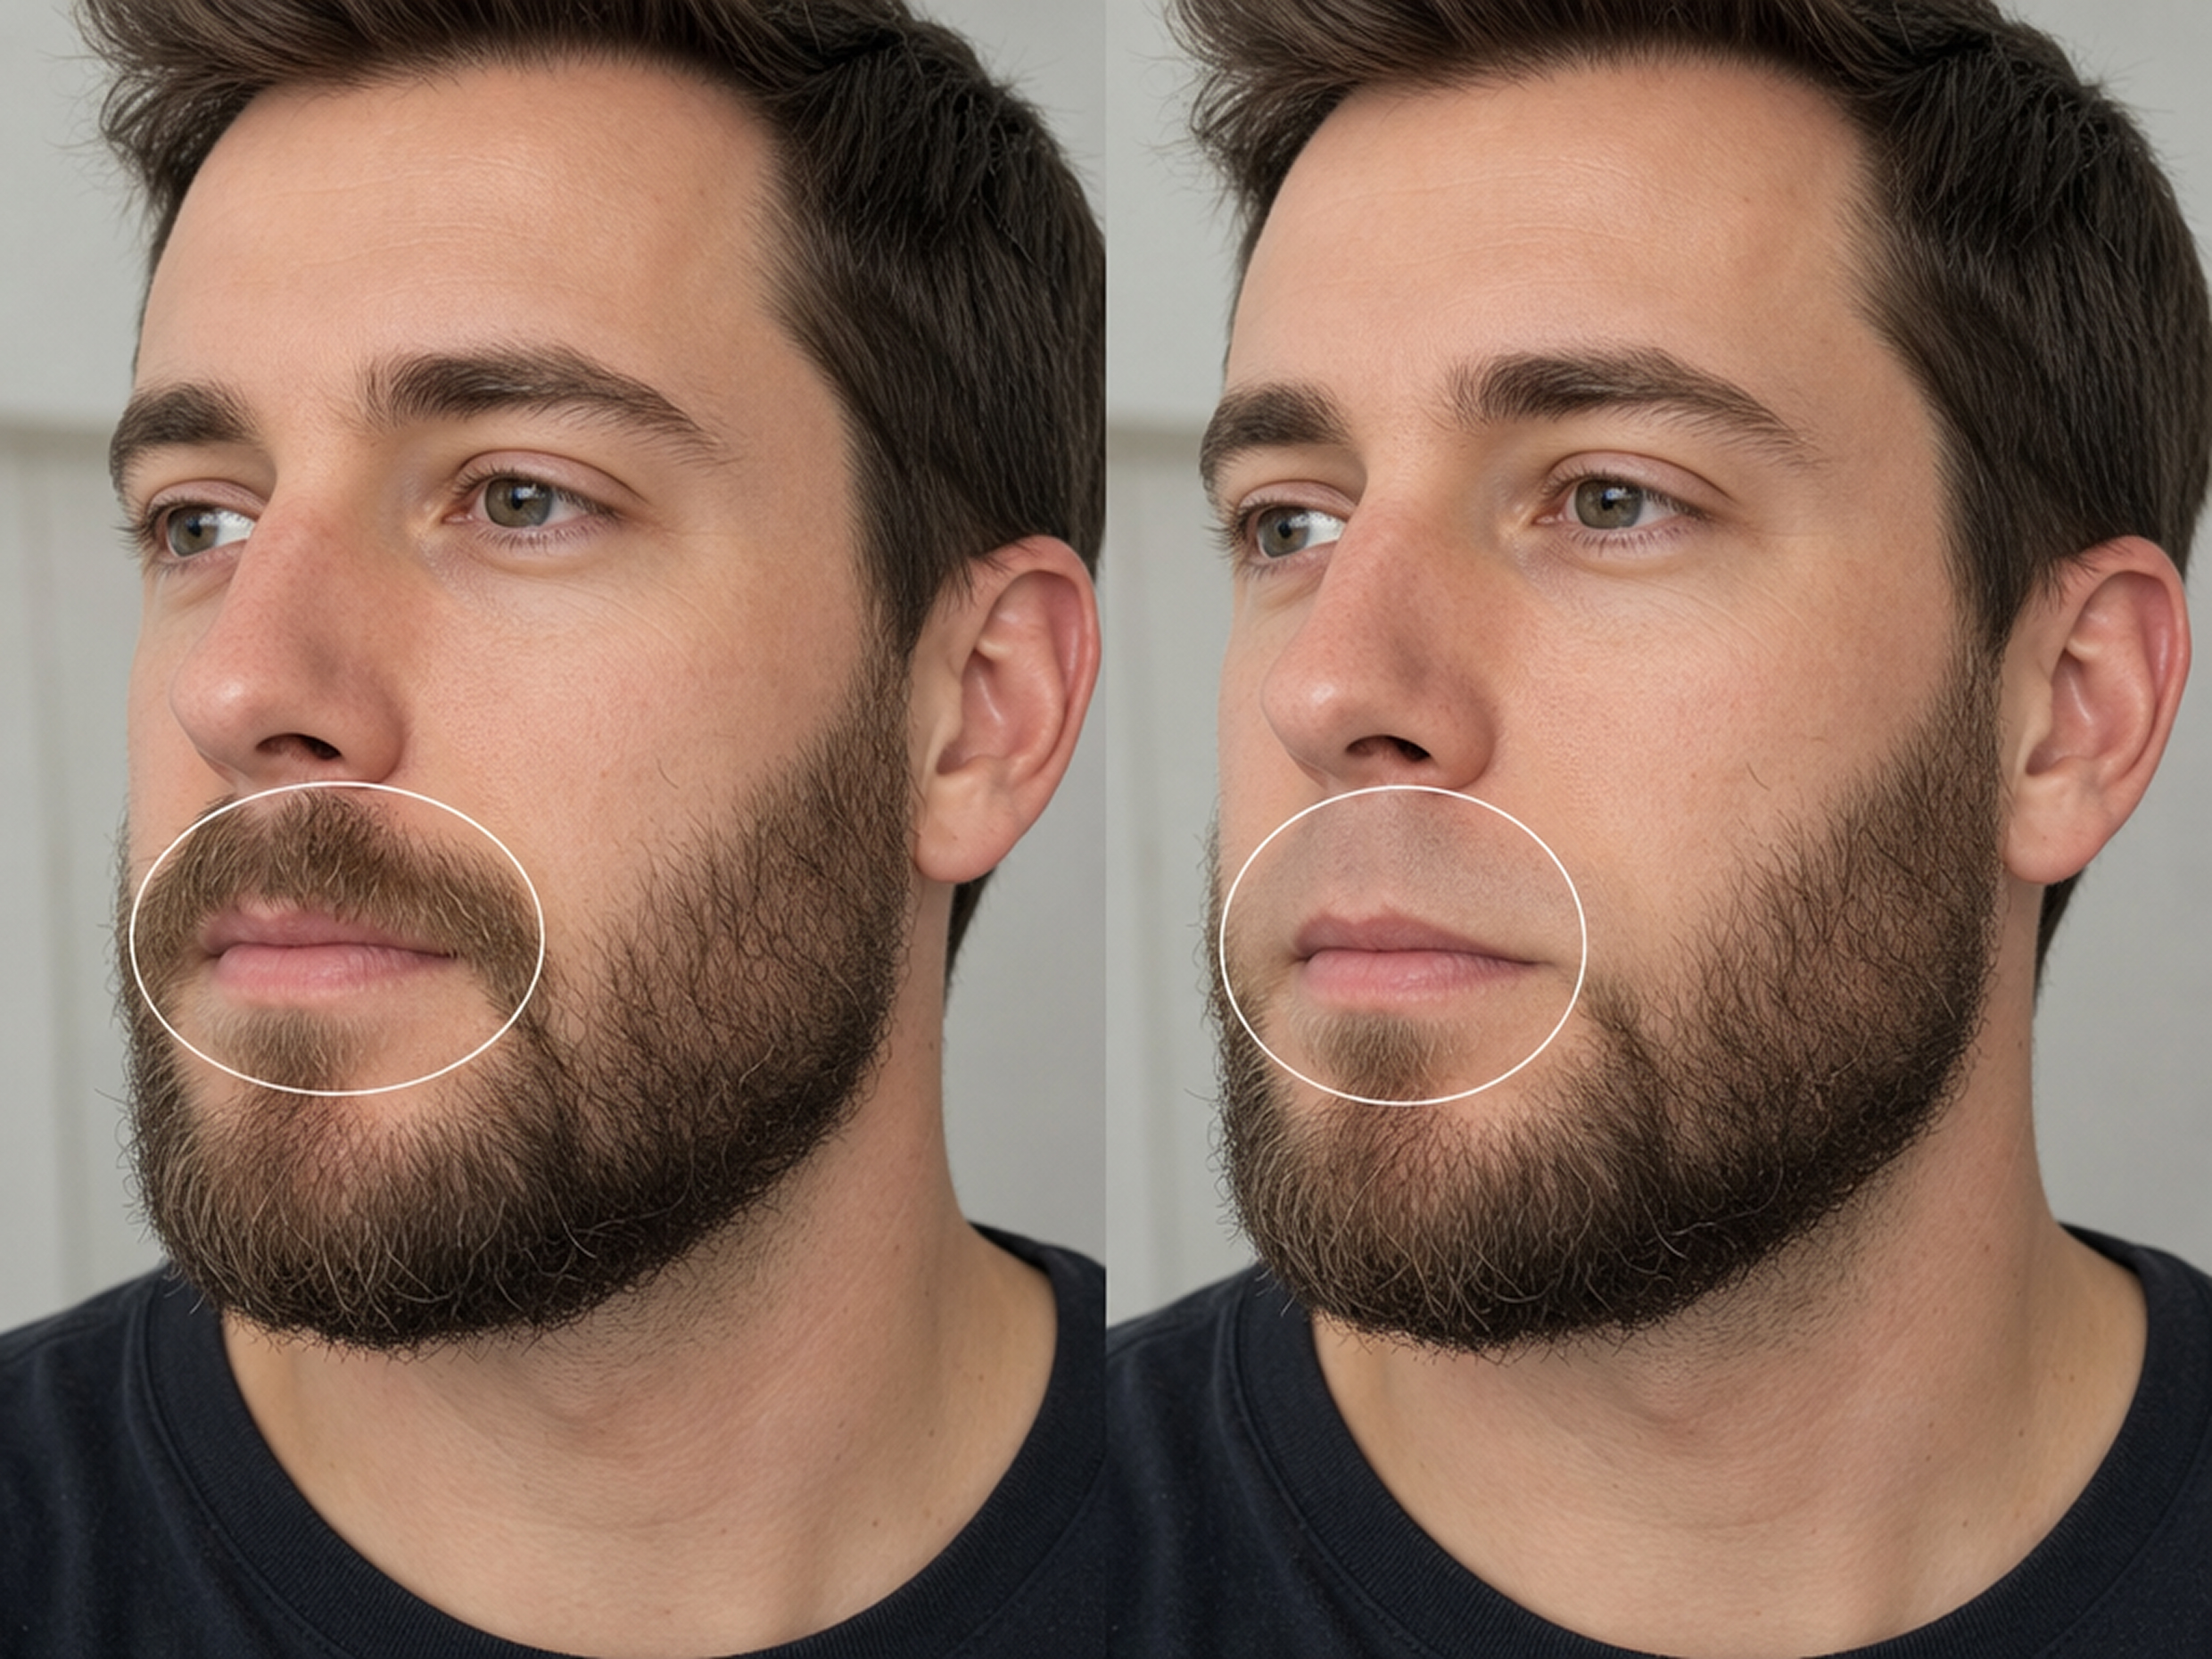
Shape the Length, Fullness, and Coverage
Target a selected area rather than replacing all facial hair at once. A focused instruction can remove a mustache while retaining the beard, keeping the requested change separate from the remaining style.
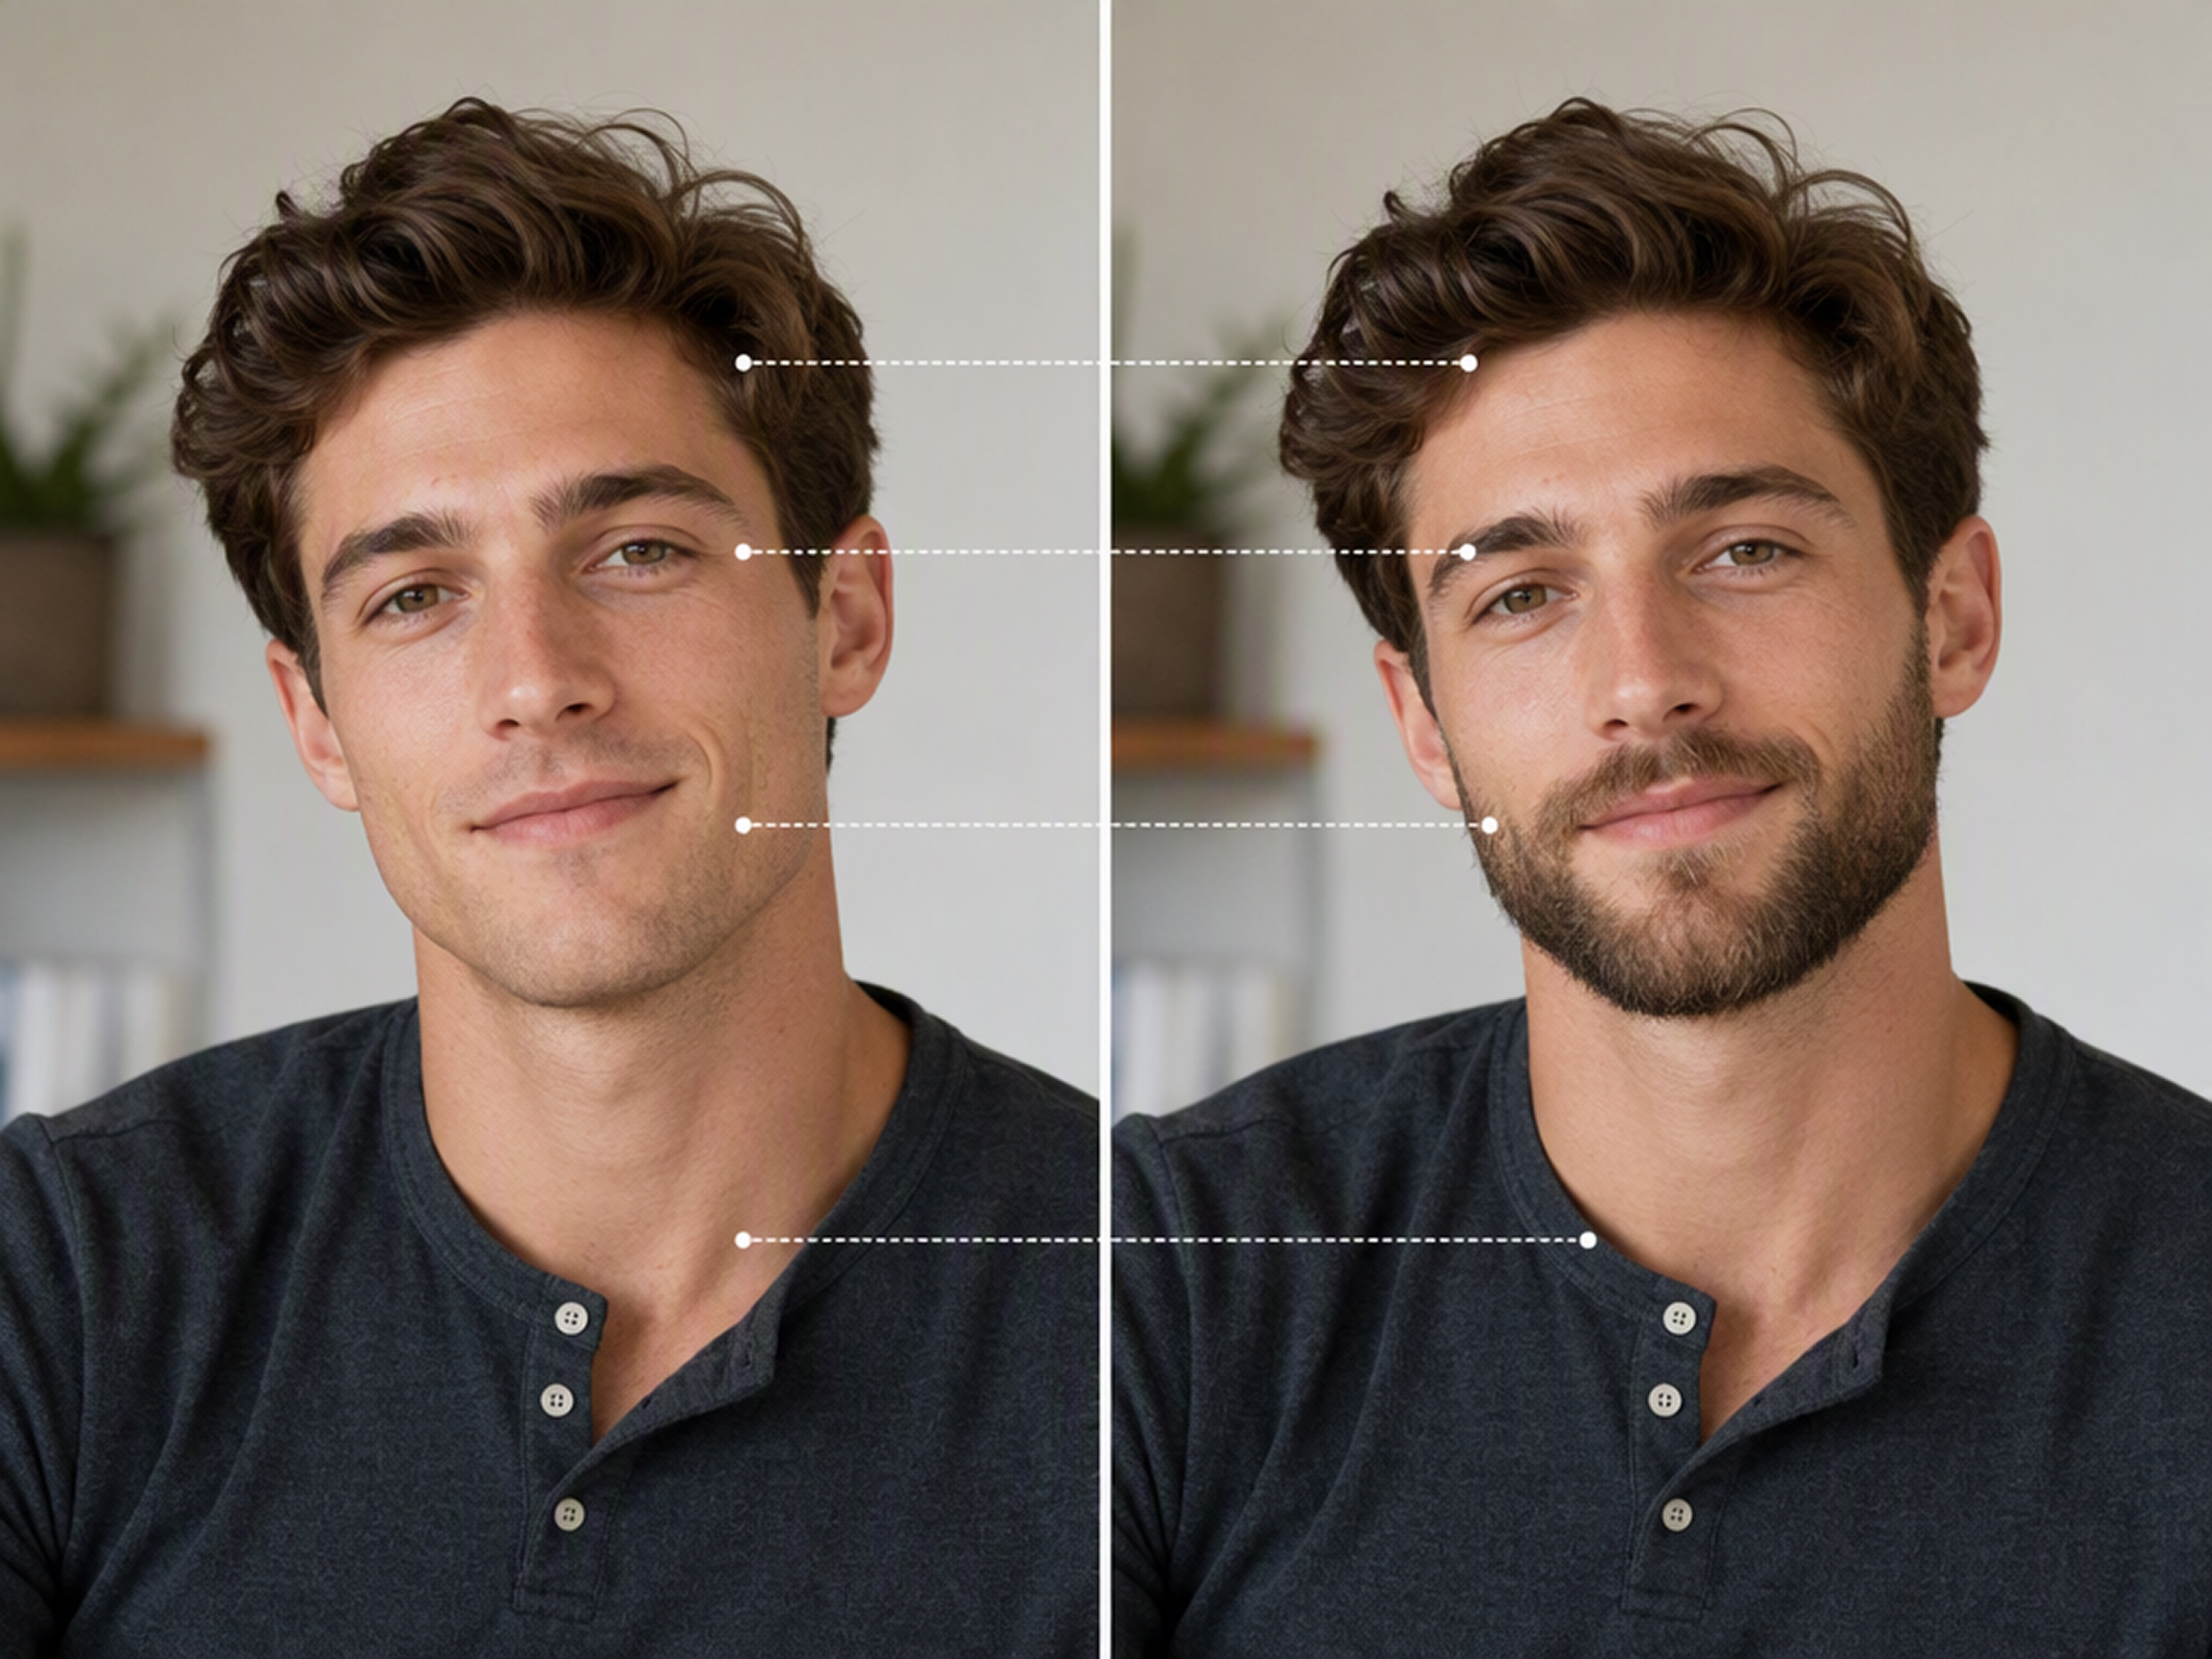
Change the Beard, Leave the Scene Alone
Limit the visible transformation to facial hair while keeping the person’s appearance and surrounding scene connected to the source photo. The result remains recognizable as an edit of the original portrait.
Facial Hair Edits for Personal and Creative Work
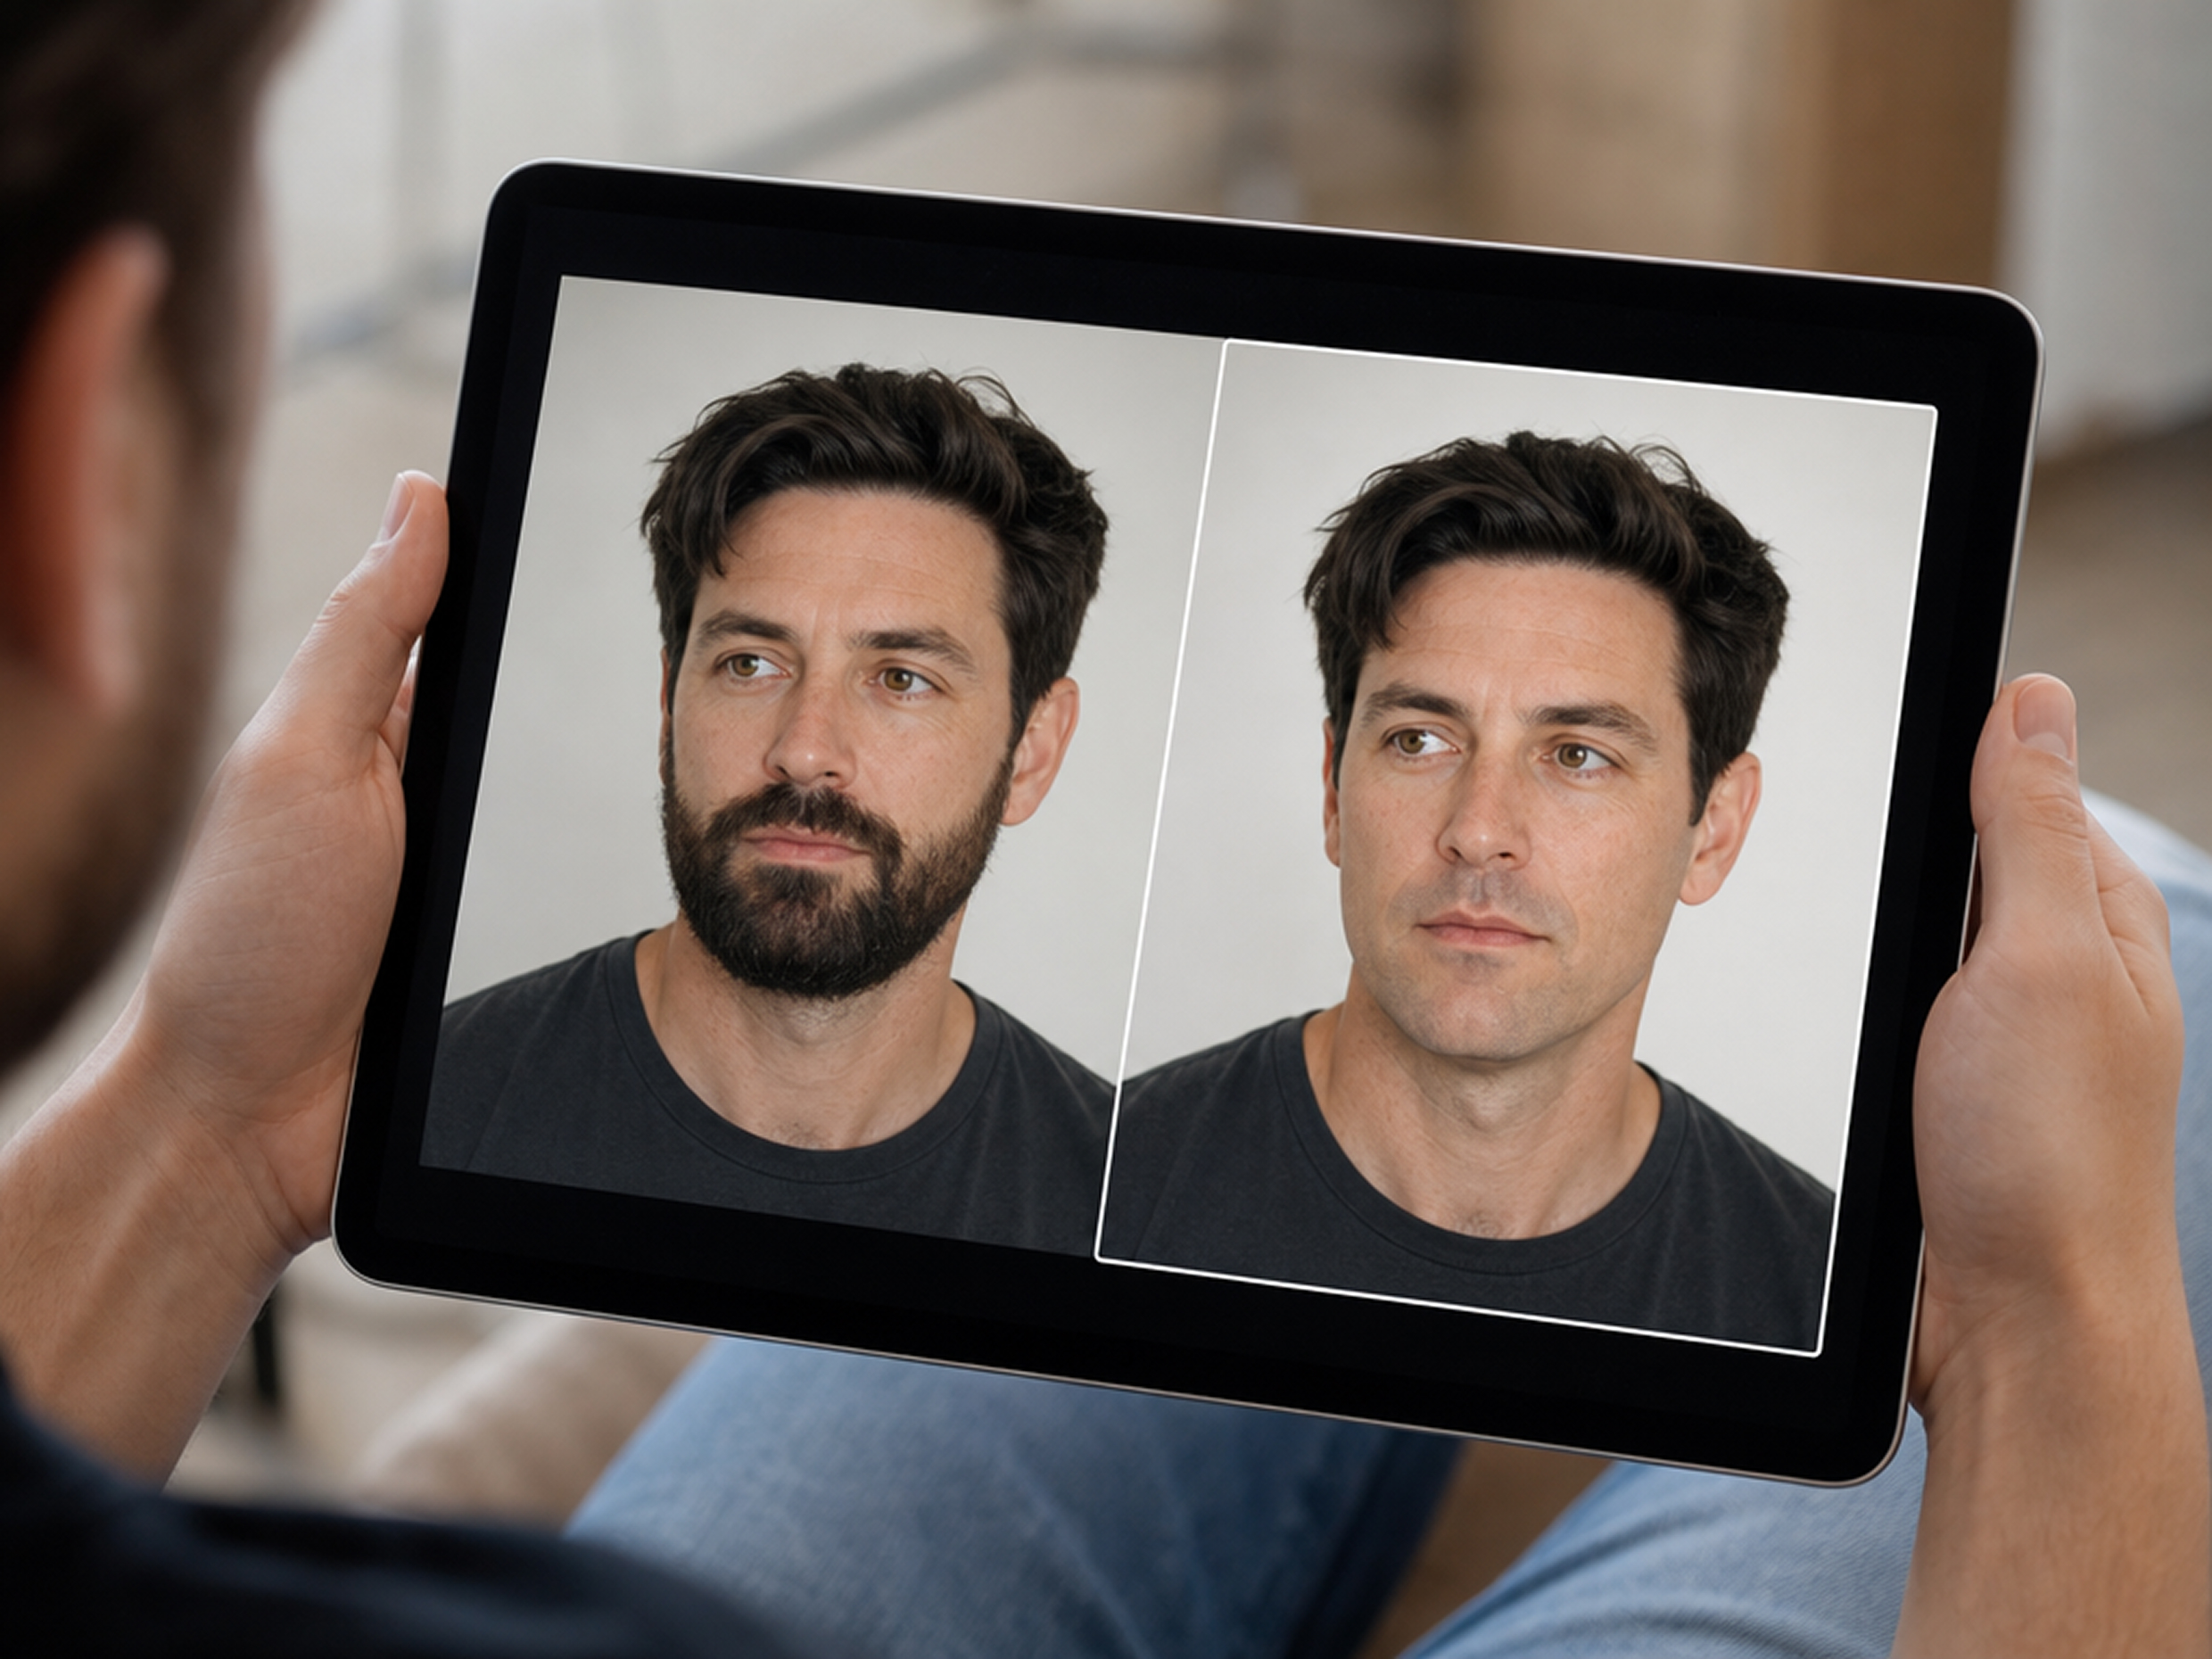
Consider a Different Grooming Direction
Preview how a beard or clean-shaven appearance changes the impression of your portrait before making a real grooming decision. The result provides a personal reference based on your own features rather than another person’s style photo.
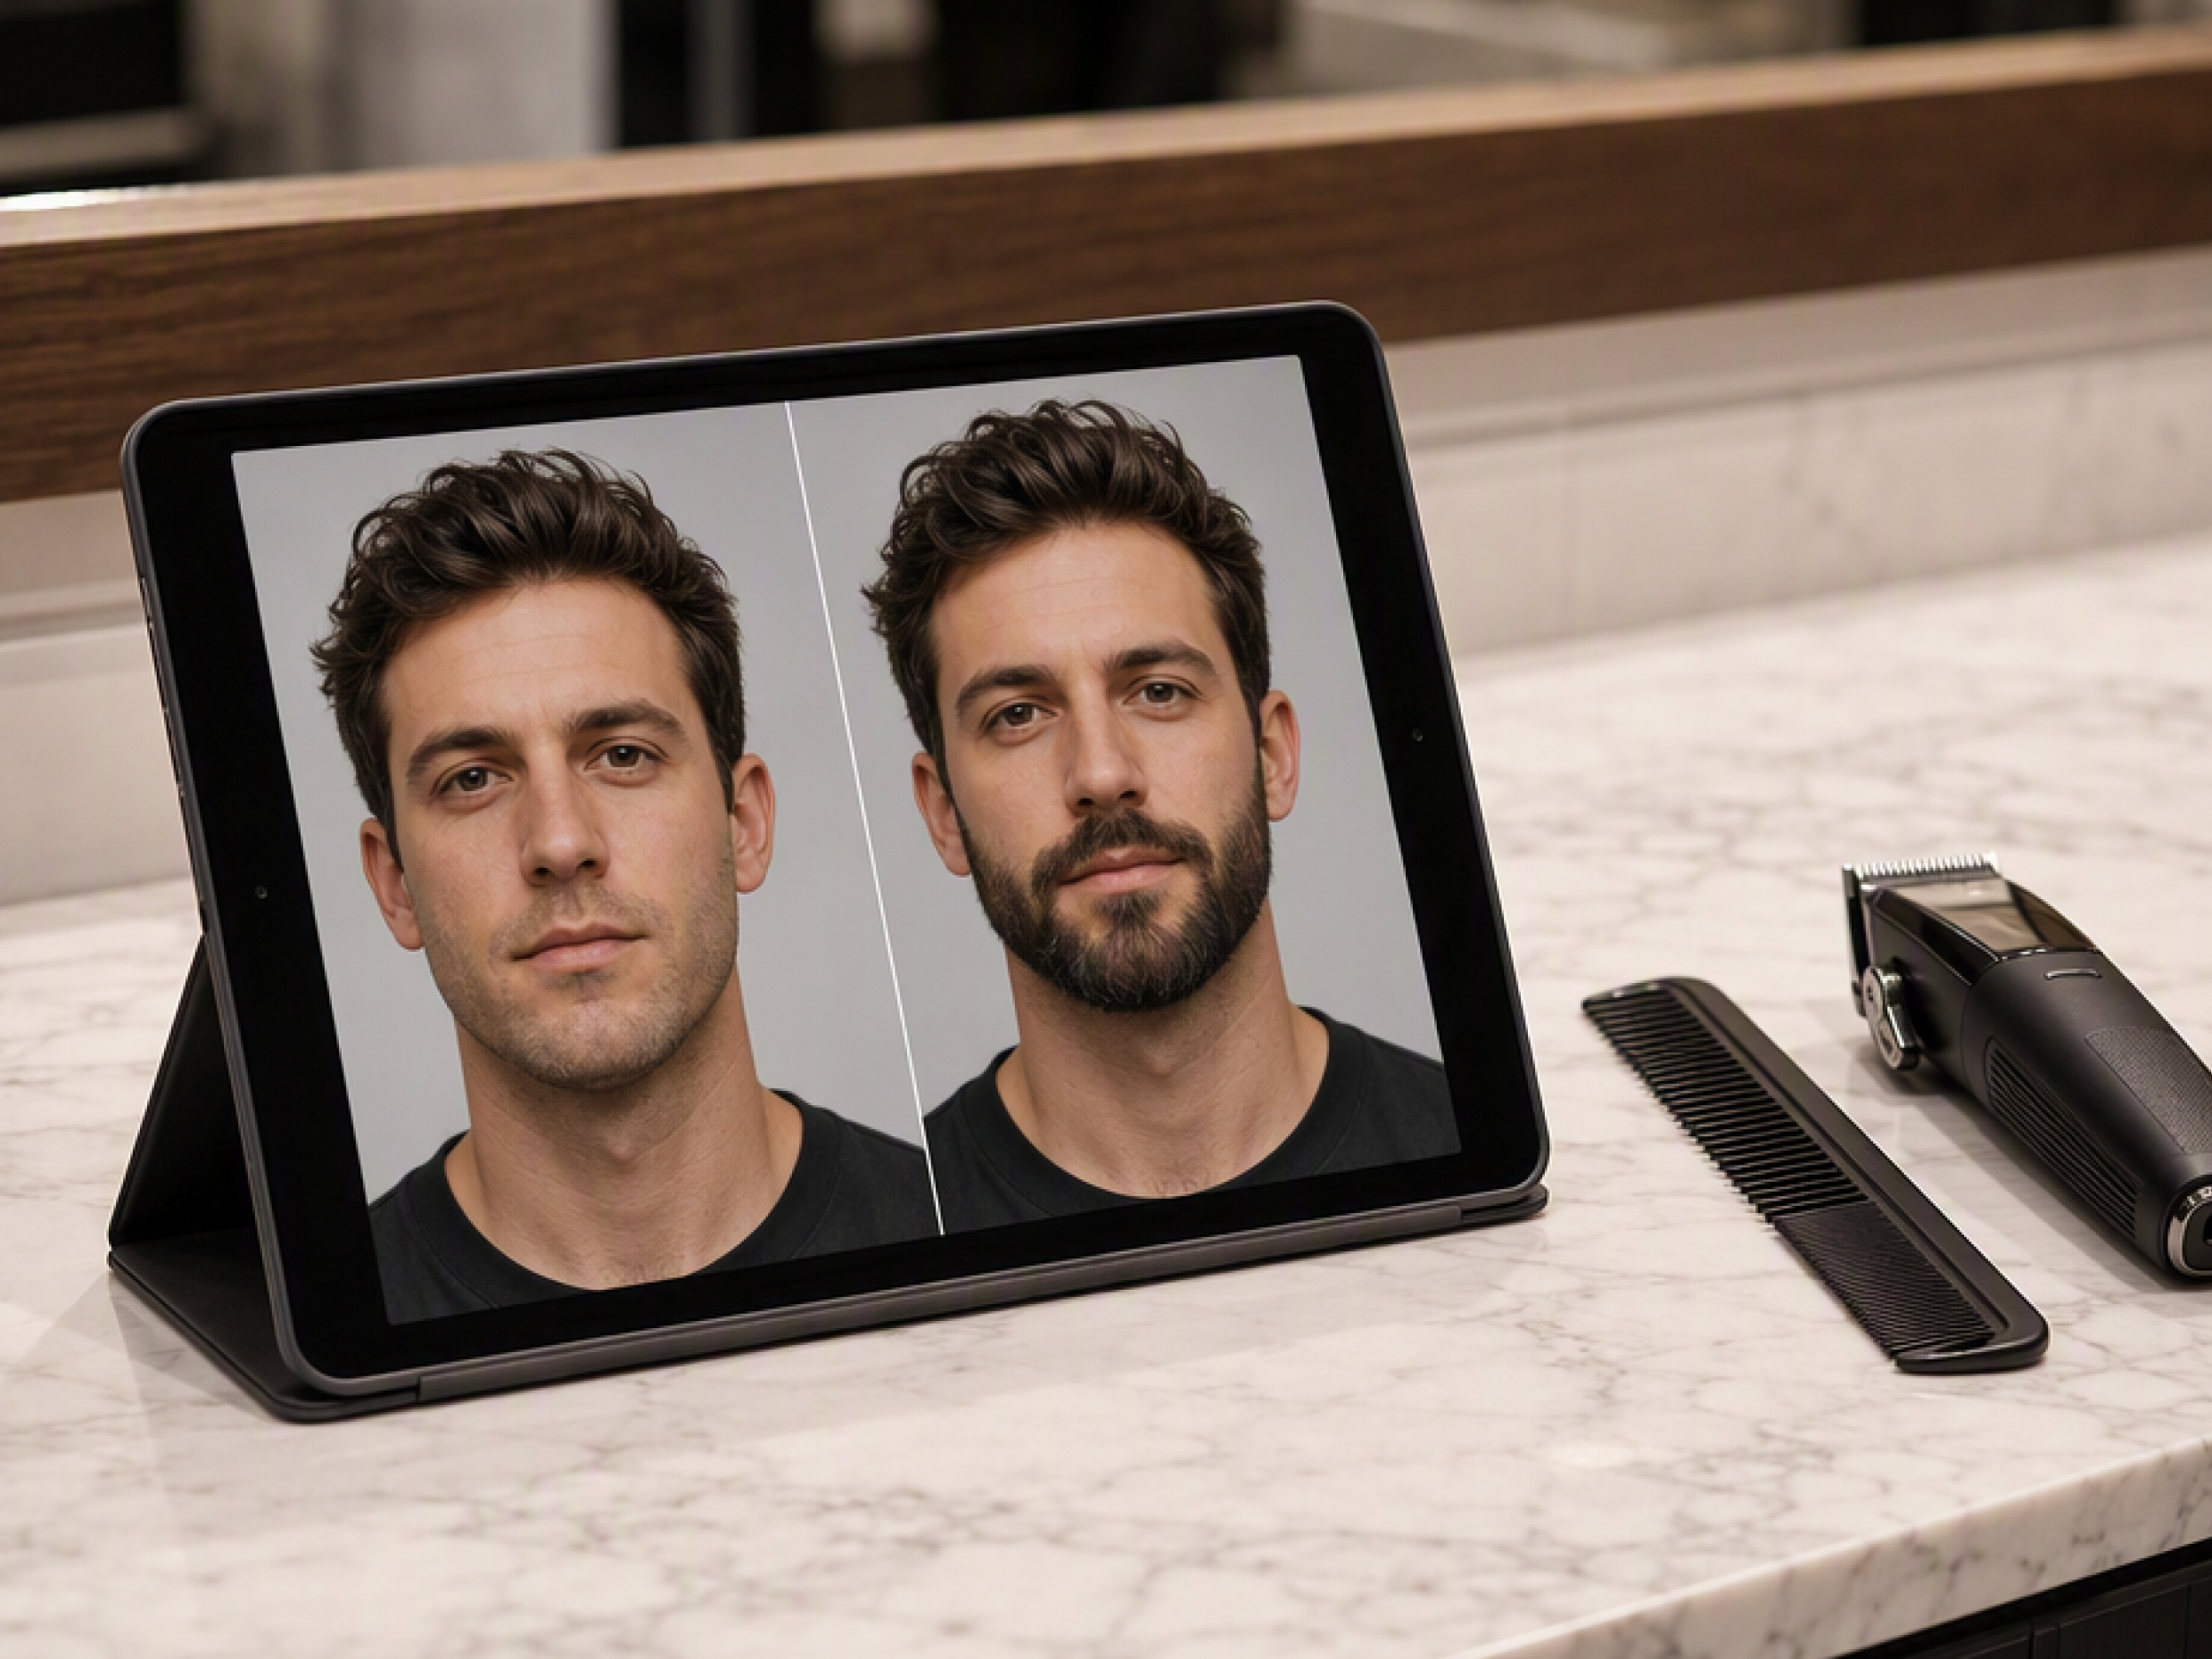
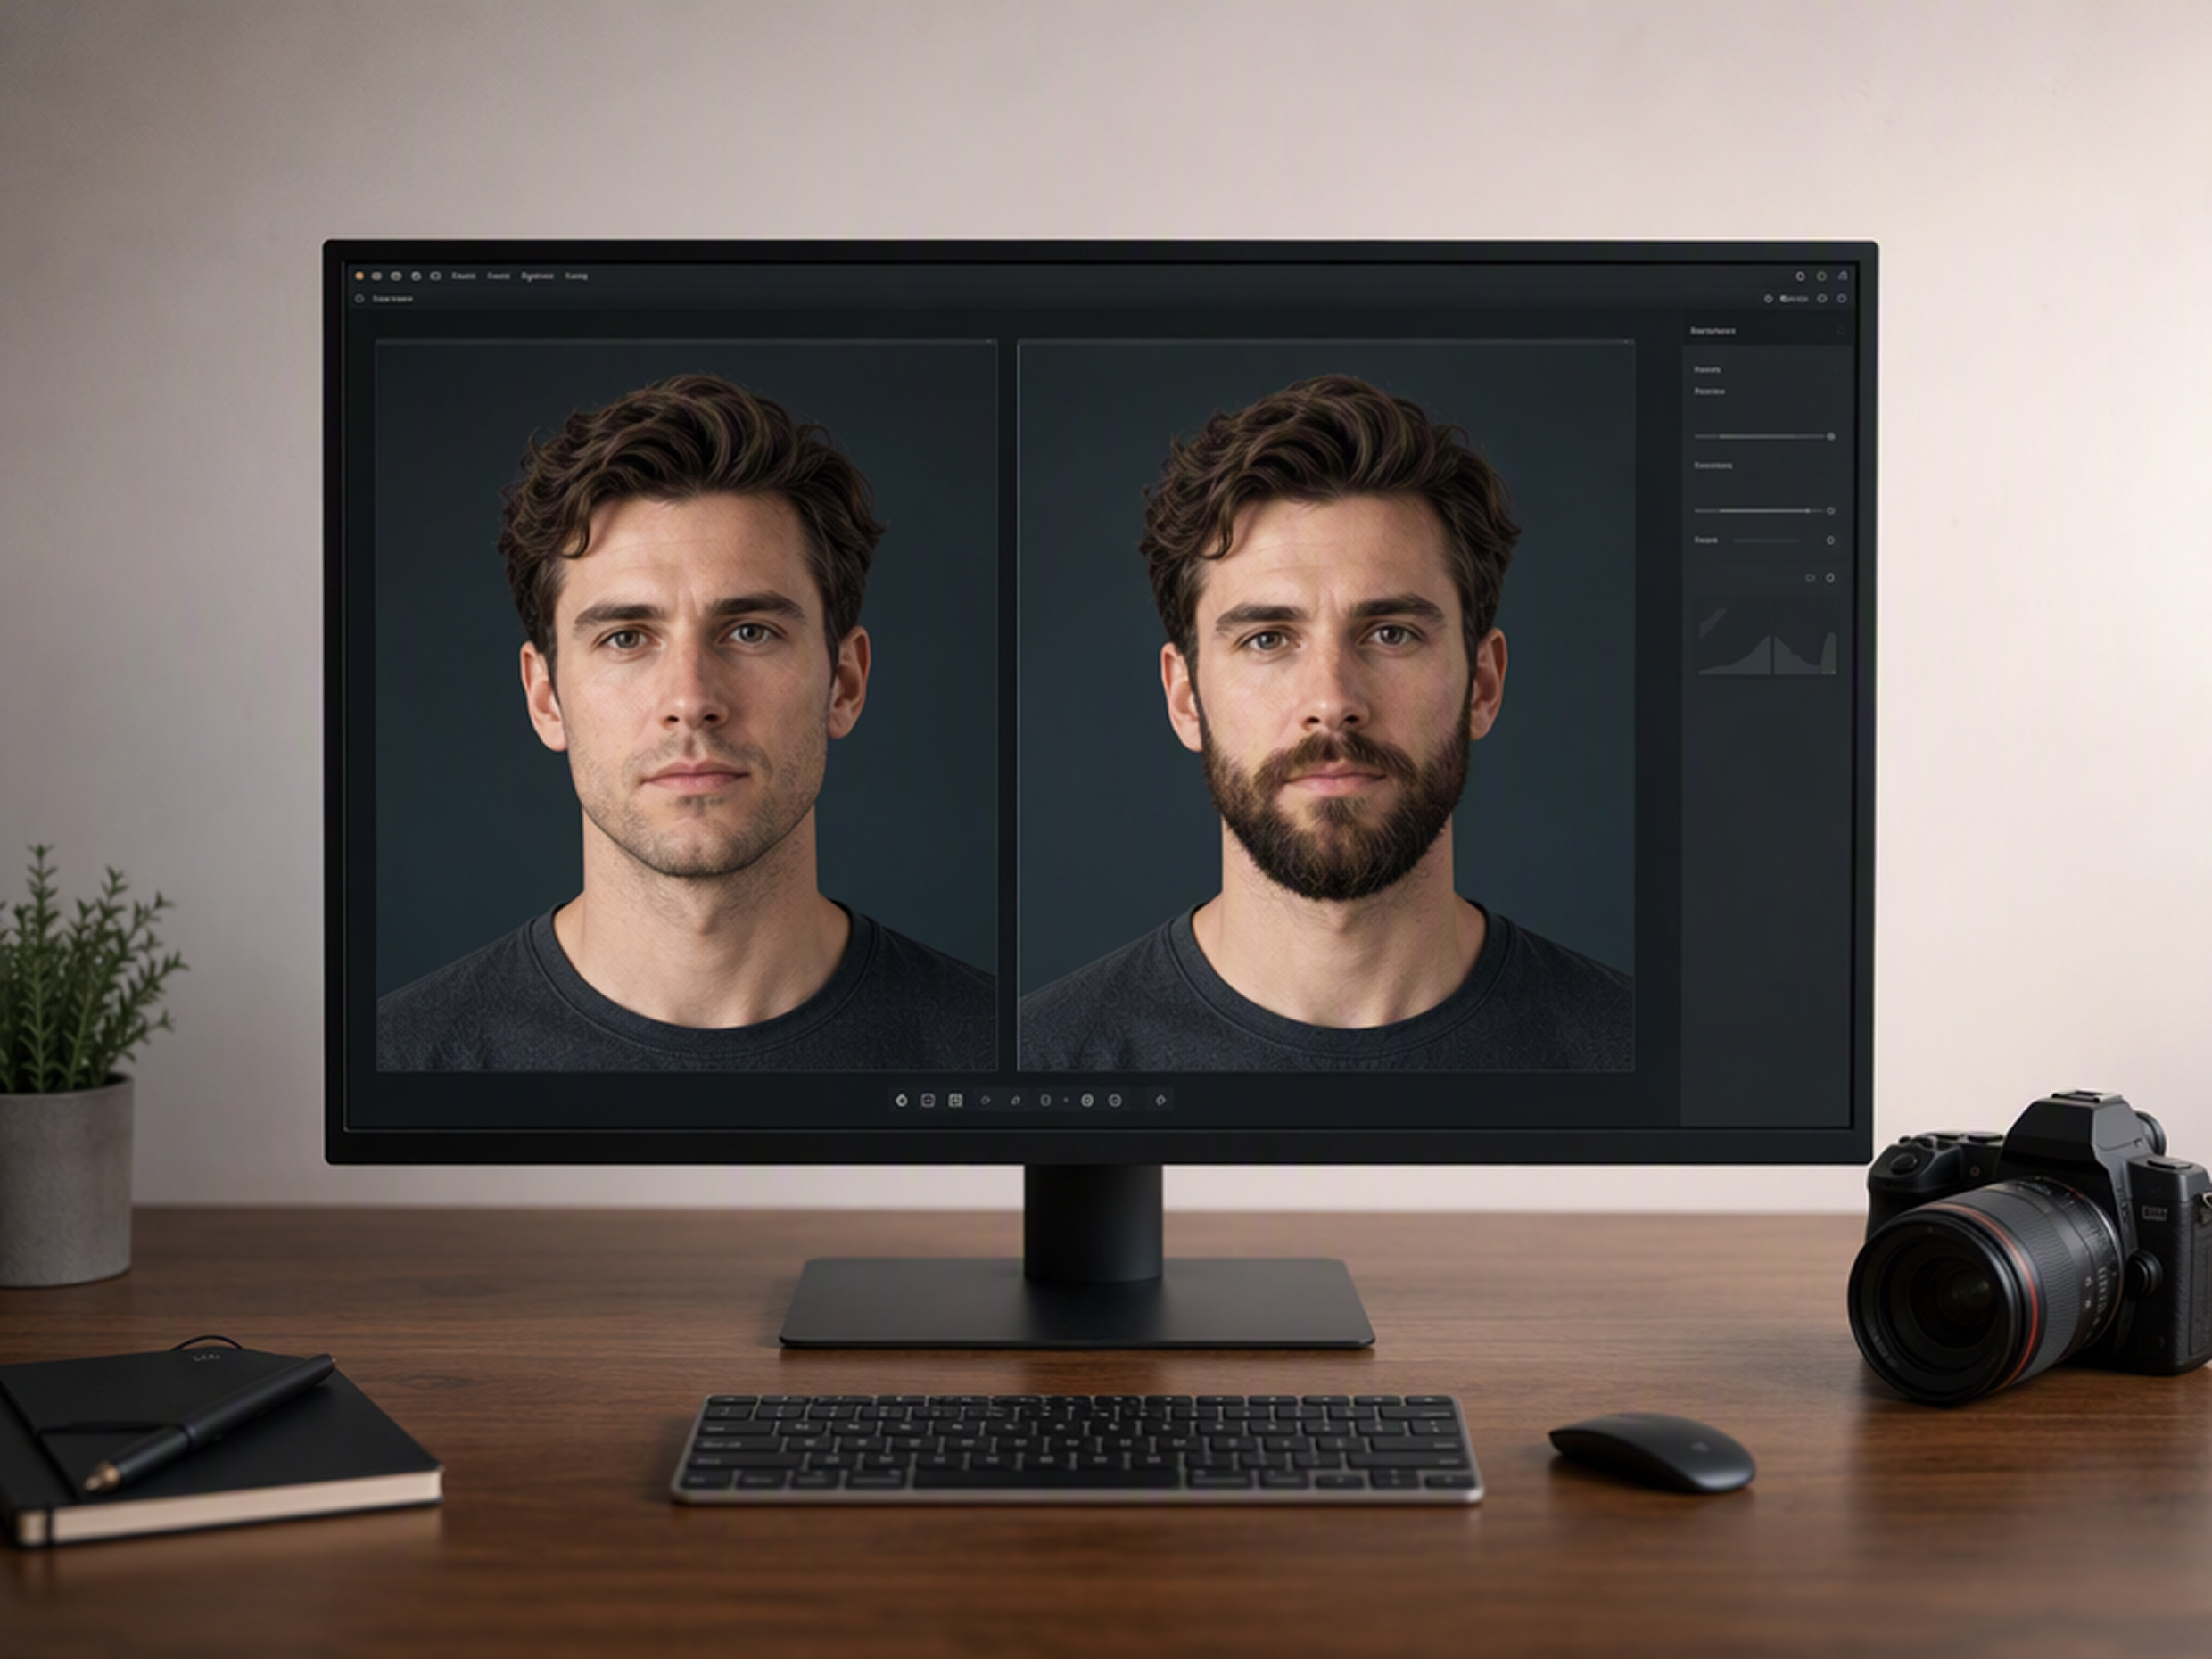
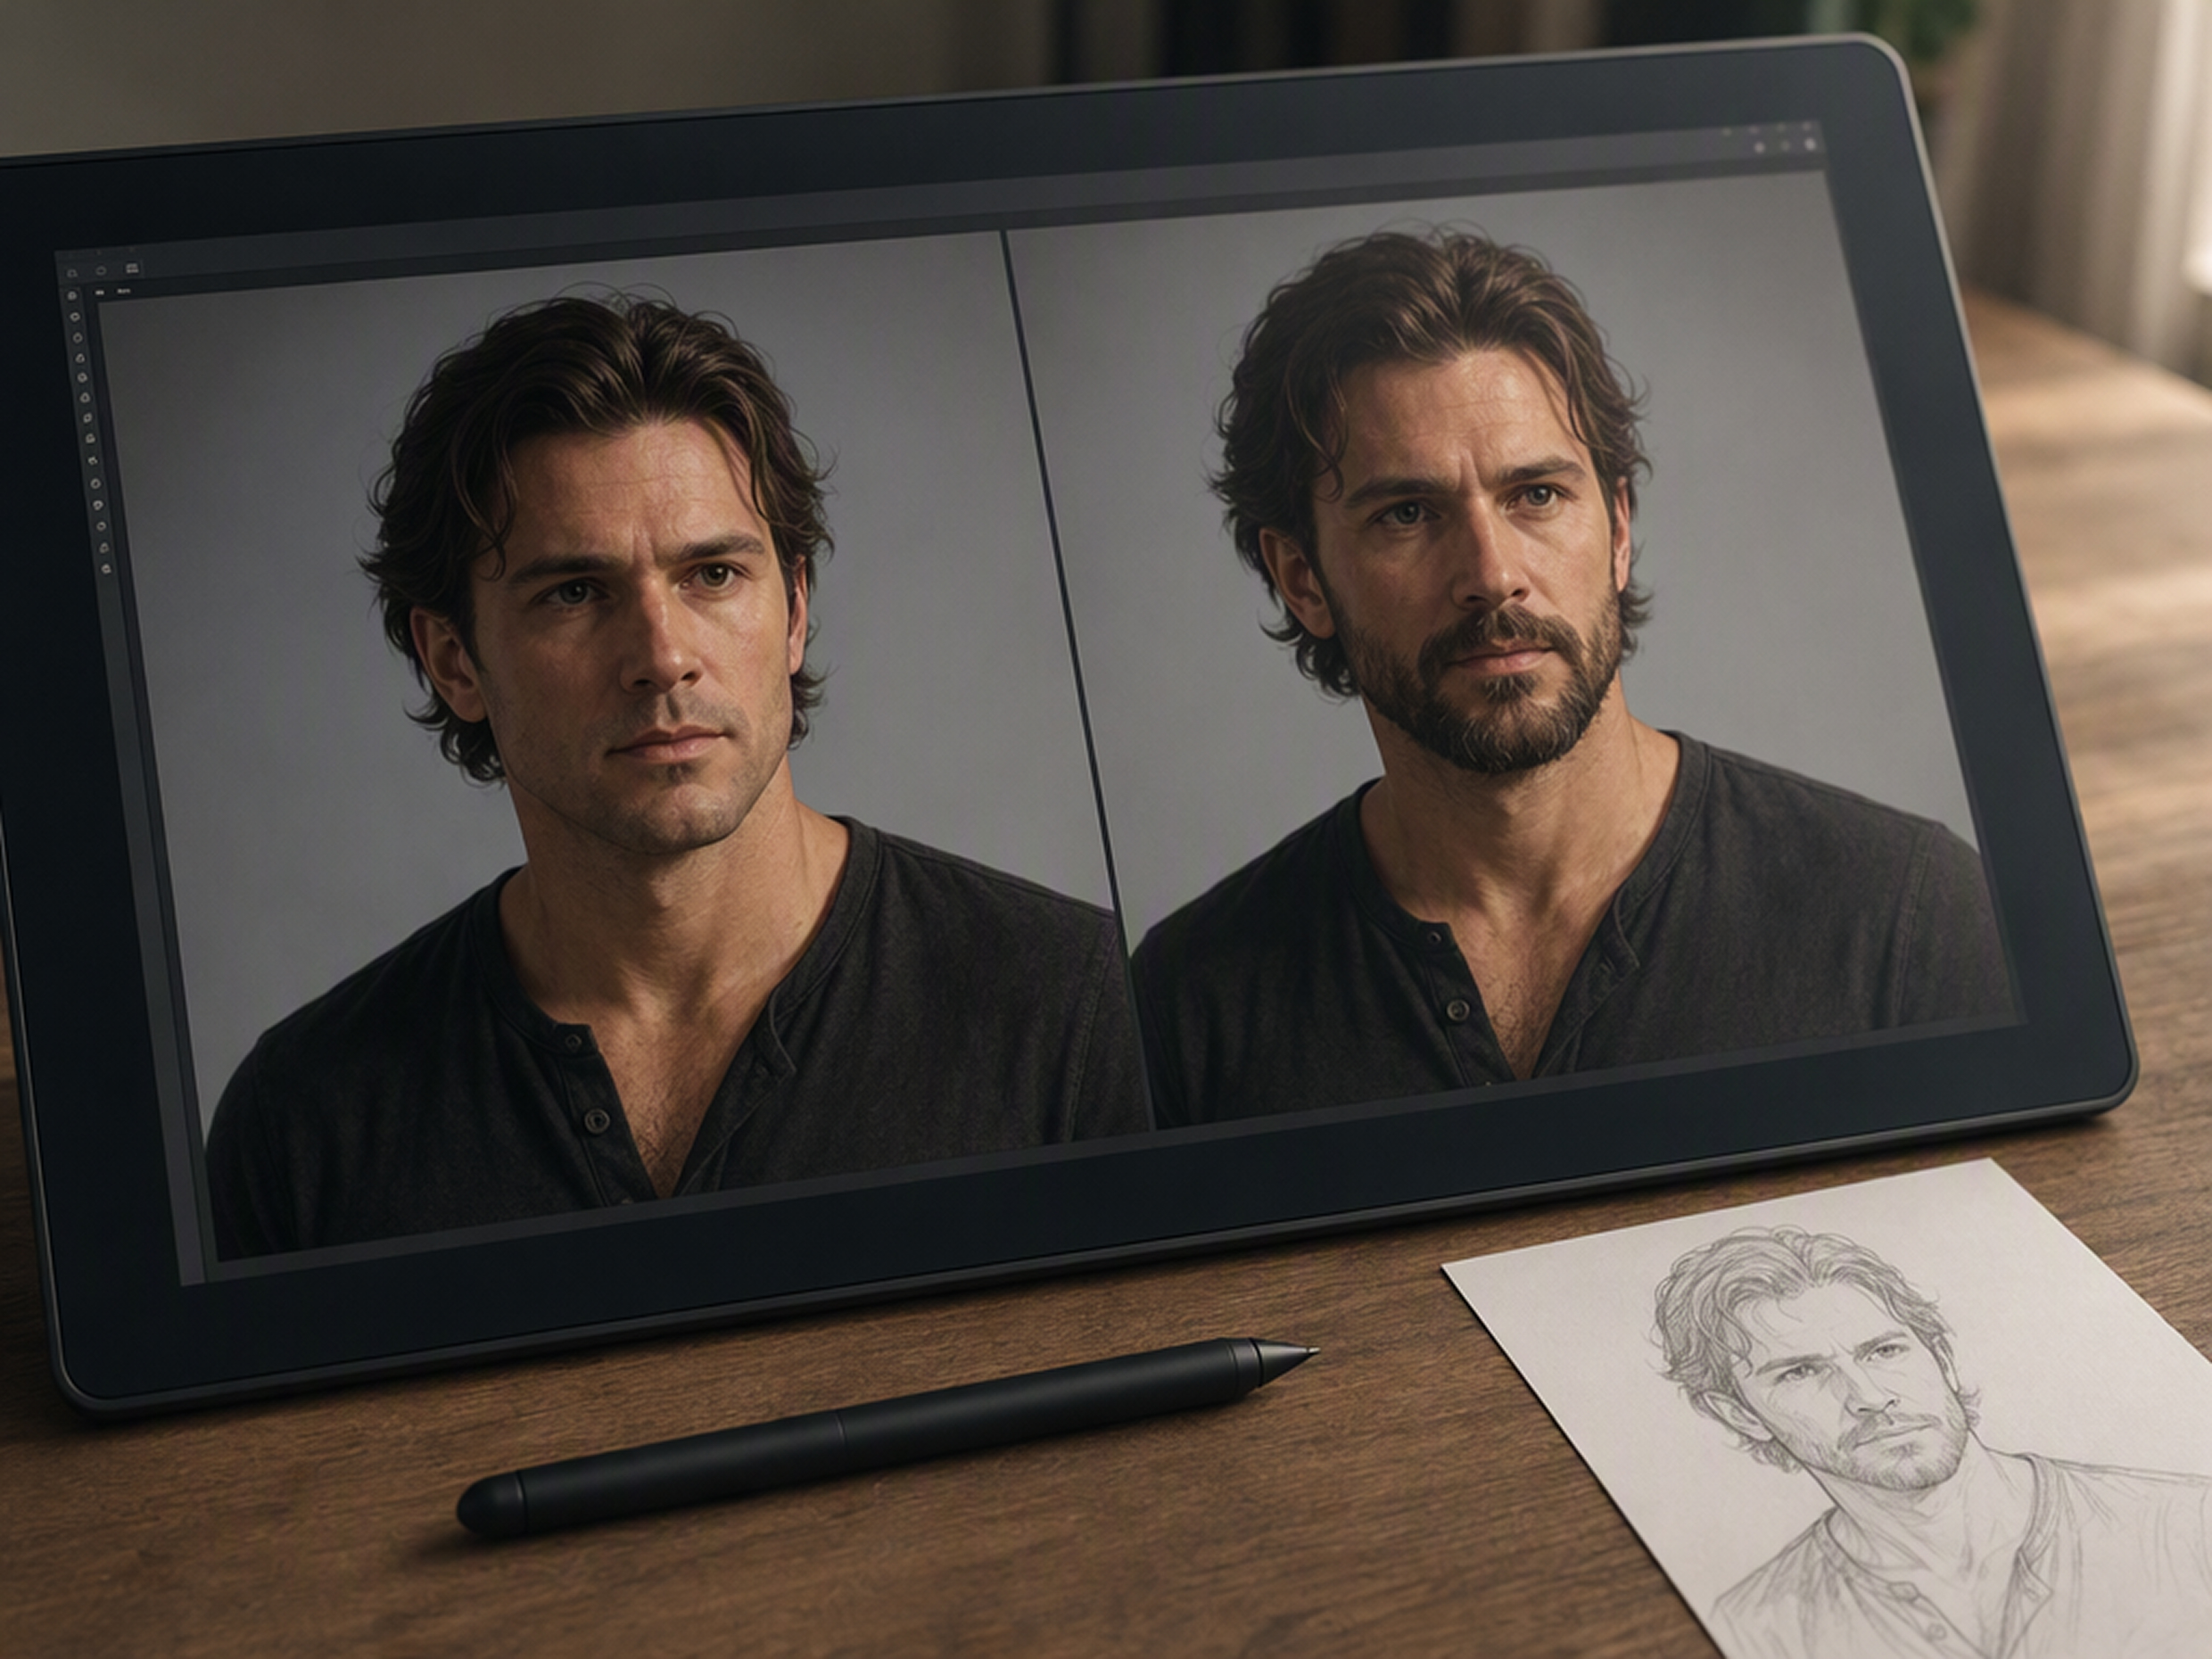
Why Choose Designkit for Beard and Mustache Edits?
Describe More Than a Fixed Preset
Preset beard apps limit you to styles and placements already included in their libraries. Written instructions let you describe a more specific result instead of choosing the nearest available effect.
Skip Layer-by-Layer Manual Retouching
Traditional facial hair editing requires separate masking, blending, and edge cleanup for each version. Designkit generates the requested change as one edit, reducing repeated reconstruction work.
Continue Beyond the Facial Hair Change
A single-purpose beard simulator ends once the filtered portrait is produced. Designkit keeps the result in a broader workspace where the next stage of the image project can continue.
Image Types You Can Create with Designkit
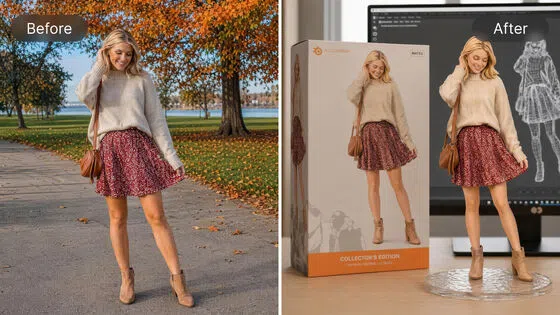
AI Action Figure Generator: Create Toy Figures in Any Style
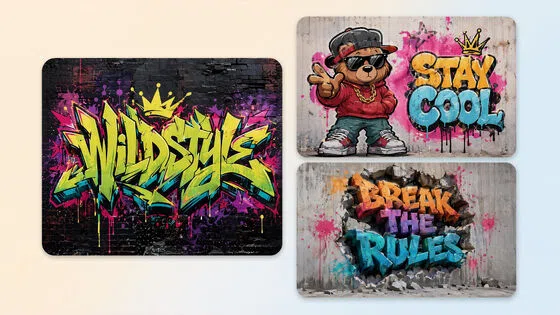
AI Graffiti Generator: Turn Names and Text Into Street Art

AI Girlfriend Generator: Create Your Dreamy Girl from Photo & Text
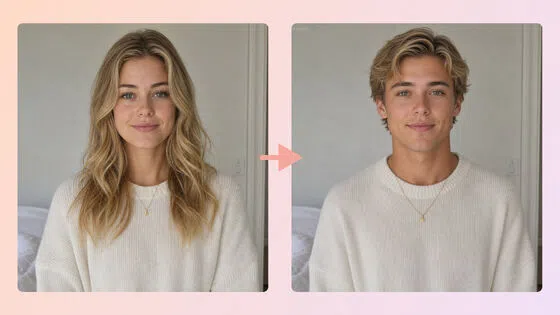
AI Gender Swap: See Your Opposite-Gender Photo Online
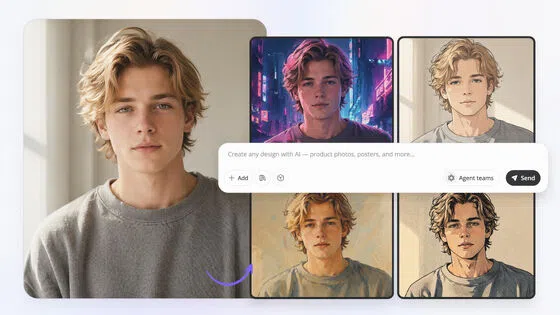
Image to Image AI: Transform Images into New Styles Online
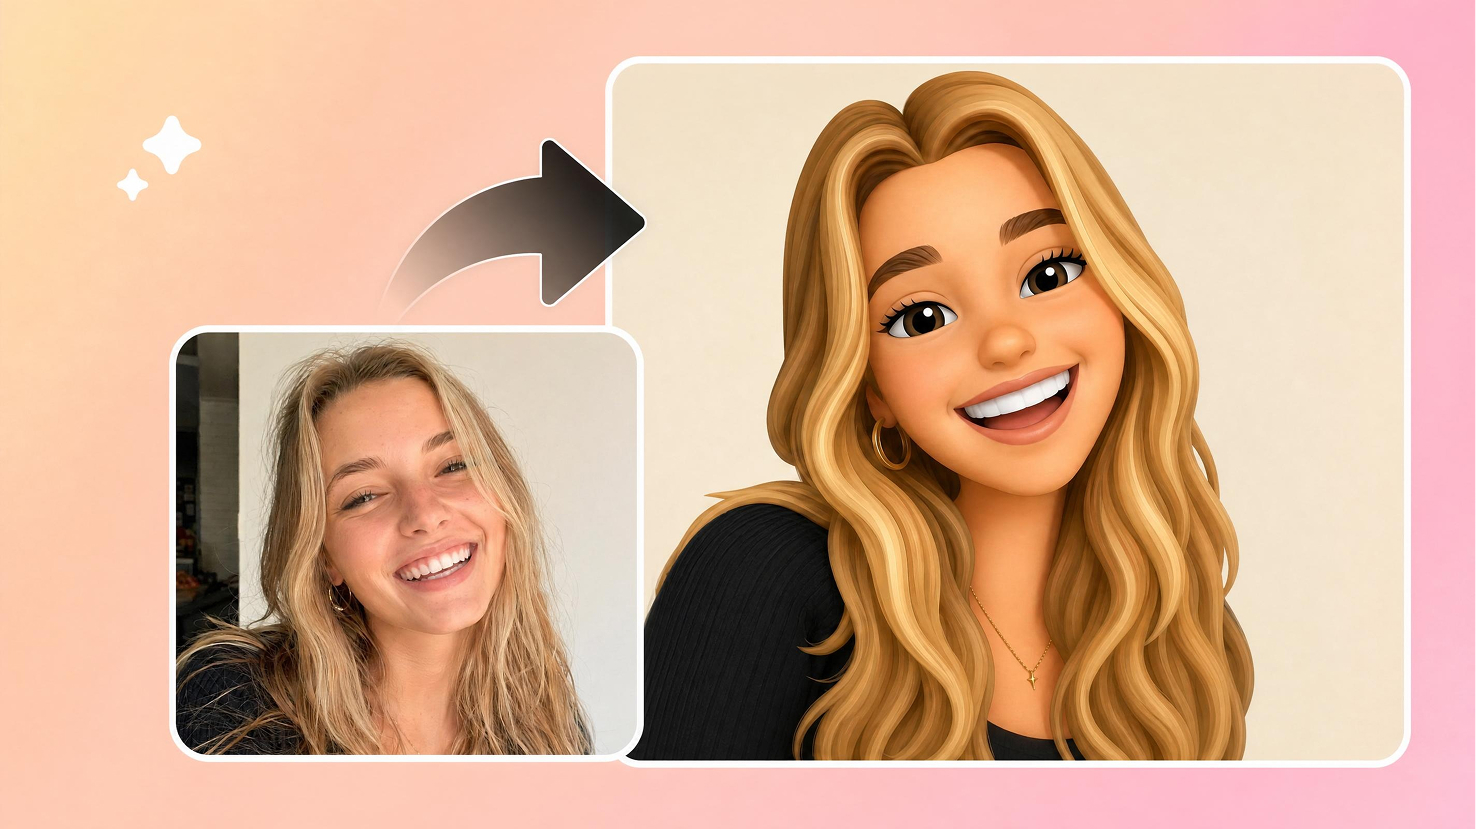
Image to Emoji Converter: Create Custom Emojis from Photos

AI Icon Generator: Make Custom Icon Sets Online

AI Human Generator: Create Realistic AI People Without Photoshoots
MB to KB Converter: Reduce Image Size Without Losing Quality
Image Cropper Online Free: Crop Images to Any Size or Shape
Image Compressor: Shrink JPG & PNG Online Without Extra Blur
Free Signature Generator: Turn Your Name Into Signature PNG
Frequently Asked Questions
What is an AI beard filter?
Will an added beard look natural on my photo?
It can produce a natural-looking result when the face is clear and the requested style is described precisely. The edit follows the visible angle, lighting, and facial contours, although the source photo still affects the result.
Can I create a mustache or goatee instead of a full beard?
Yes. The tool can work as a mustache filter, goatee filter, or broader facial hair filter. Describe the intended location and coverage to guide the edit.
Can I remove only the mustache and keep the beard?
Yes. Specify that the mustache should be removed while the remaining beard stays in place. A clear view of the upper lip supports a more controlled result.
Does the no beard filter show exactly how I will look after shaving?
No. The no beard filter provides a visual simulation rather than an exact prediction. Hidden skin details, beard shadows, and source-image quality can affect the clean-shaven area.
What type of portrait works best with the beard filter?
Use a sharp, well-lit photo with a clearly visible face. Heavy shadows, low resolution, or objects covering the mouth and jaw may make facial hair placement or removal less consistent.
Make the Facial Hair Change You Want to See
Start with your portrait and generate one new version based on a specific beard or clean-shaven request.

What Users Say About the Beard Filter
Users share what they noticed while trying facial hair changes on their own photos.
My first instruction was too broad.
I initially asked for a beard without explaining the shape or coverage. The first result was useful because it showed me which details I had left unclear. Once I specified a shorter length and cleaner cheek area, the next version came much closer to what I had imagined.
It gave an older portrait a more current feel.
I used a clean-shaven photo taken several years ago and requested facial hair closer to what I wear now. The updated version felt more consistent with my current appearance while still looking like the same photograph. It gave me another option for using a portrait I already liked.
A better source photo made a clear difference.
My first image was dim and taken from the side, so the facial hair looked less defined around the jaw. I tried again with a brighter, more direct portrait and could evaluate the result much more easily. It showed me that choosing the right source image was worth the extra minute.
My friends noticed something had changed immediately.
I shared the edited portrait in a group chat without saying what I had changed. Everyone recognized the photo, but they could tell there was something different about my appearance. Their guesses made the image unexpectedly entertaining and gave the conversation a natural starting point.
The expression mattered more than I expected.
I had been concentrating on the beard itself, but the edit made me notice how much the mouth area affected the overall result. My original expression became harder to read with heavier facial hair, so I selected another portrait that communicated the same look more clearly.