
Compress Image Files and Keep Them Clear
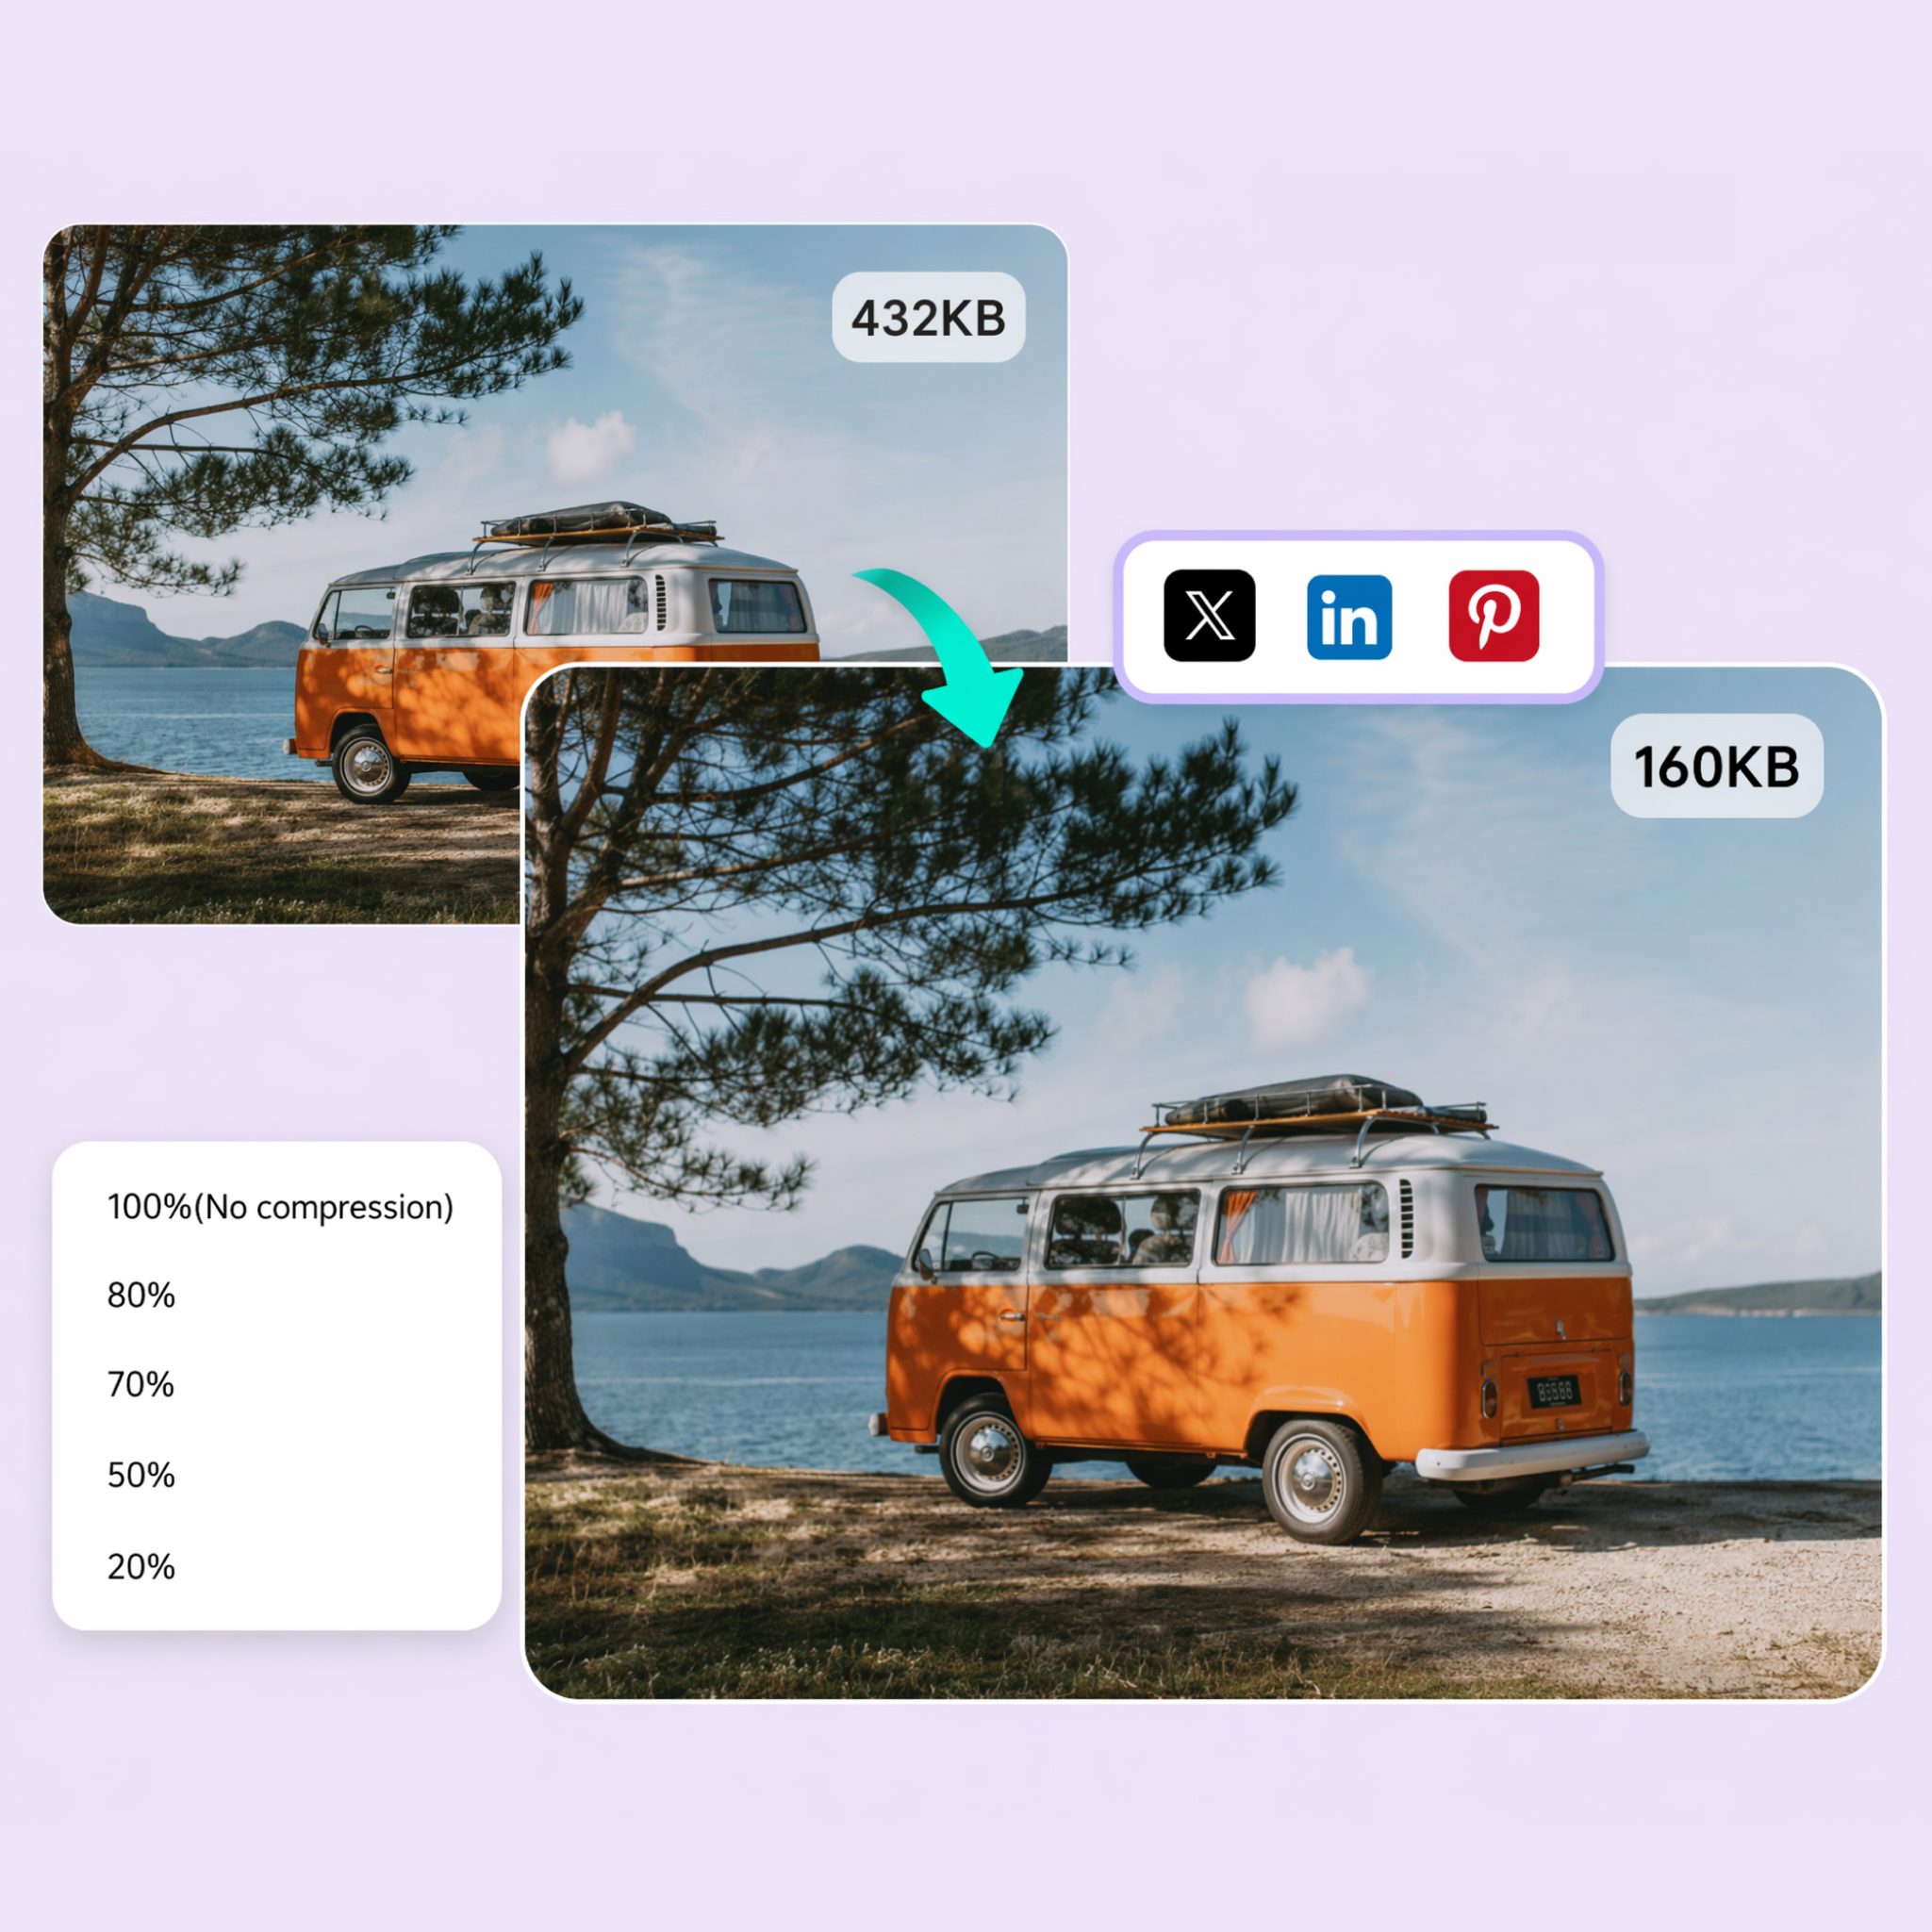
Reduce JPG and PNG size with a simple percentage control. Get lighter files for Shopify, websites, and uploads without a second compression tool.
How to Compress an Image Online in 3 Steps
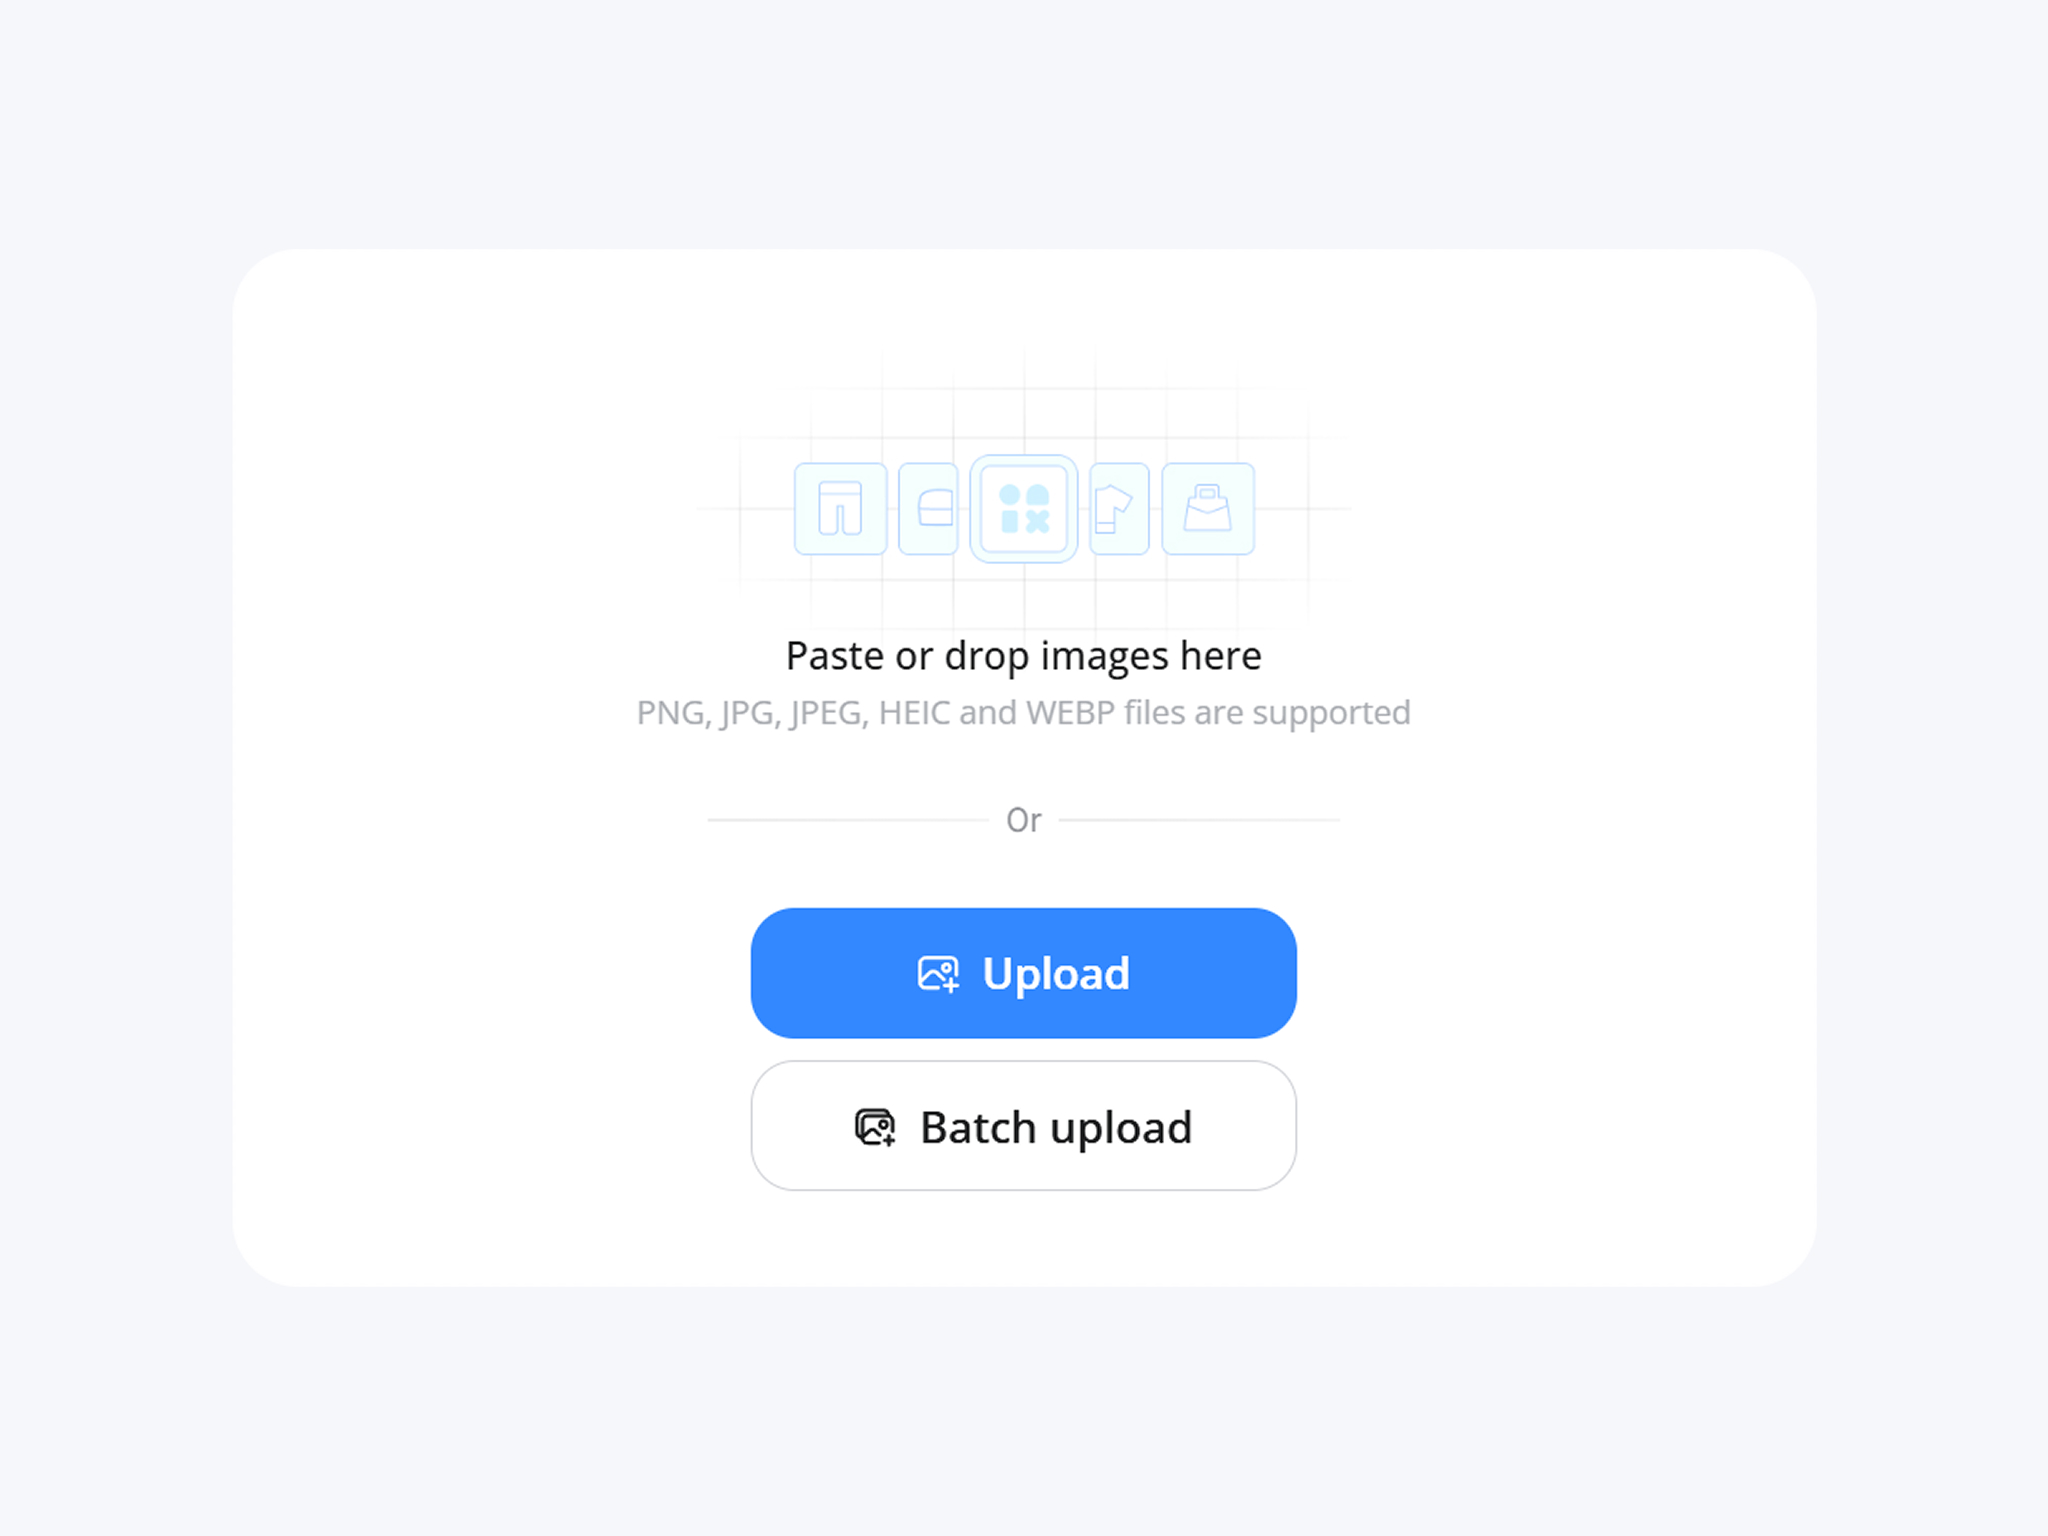
Upload Your JPG or PNG
Drop in the image you want to shrink for a listing, post, or email limit.
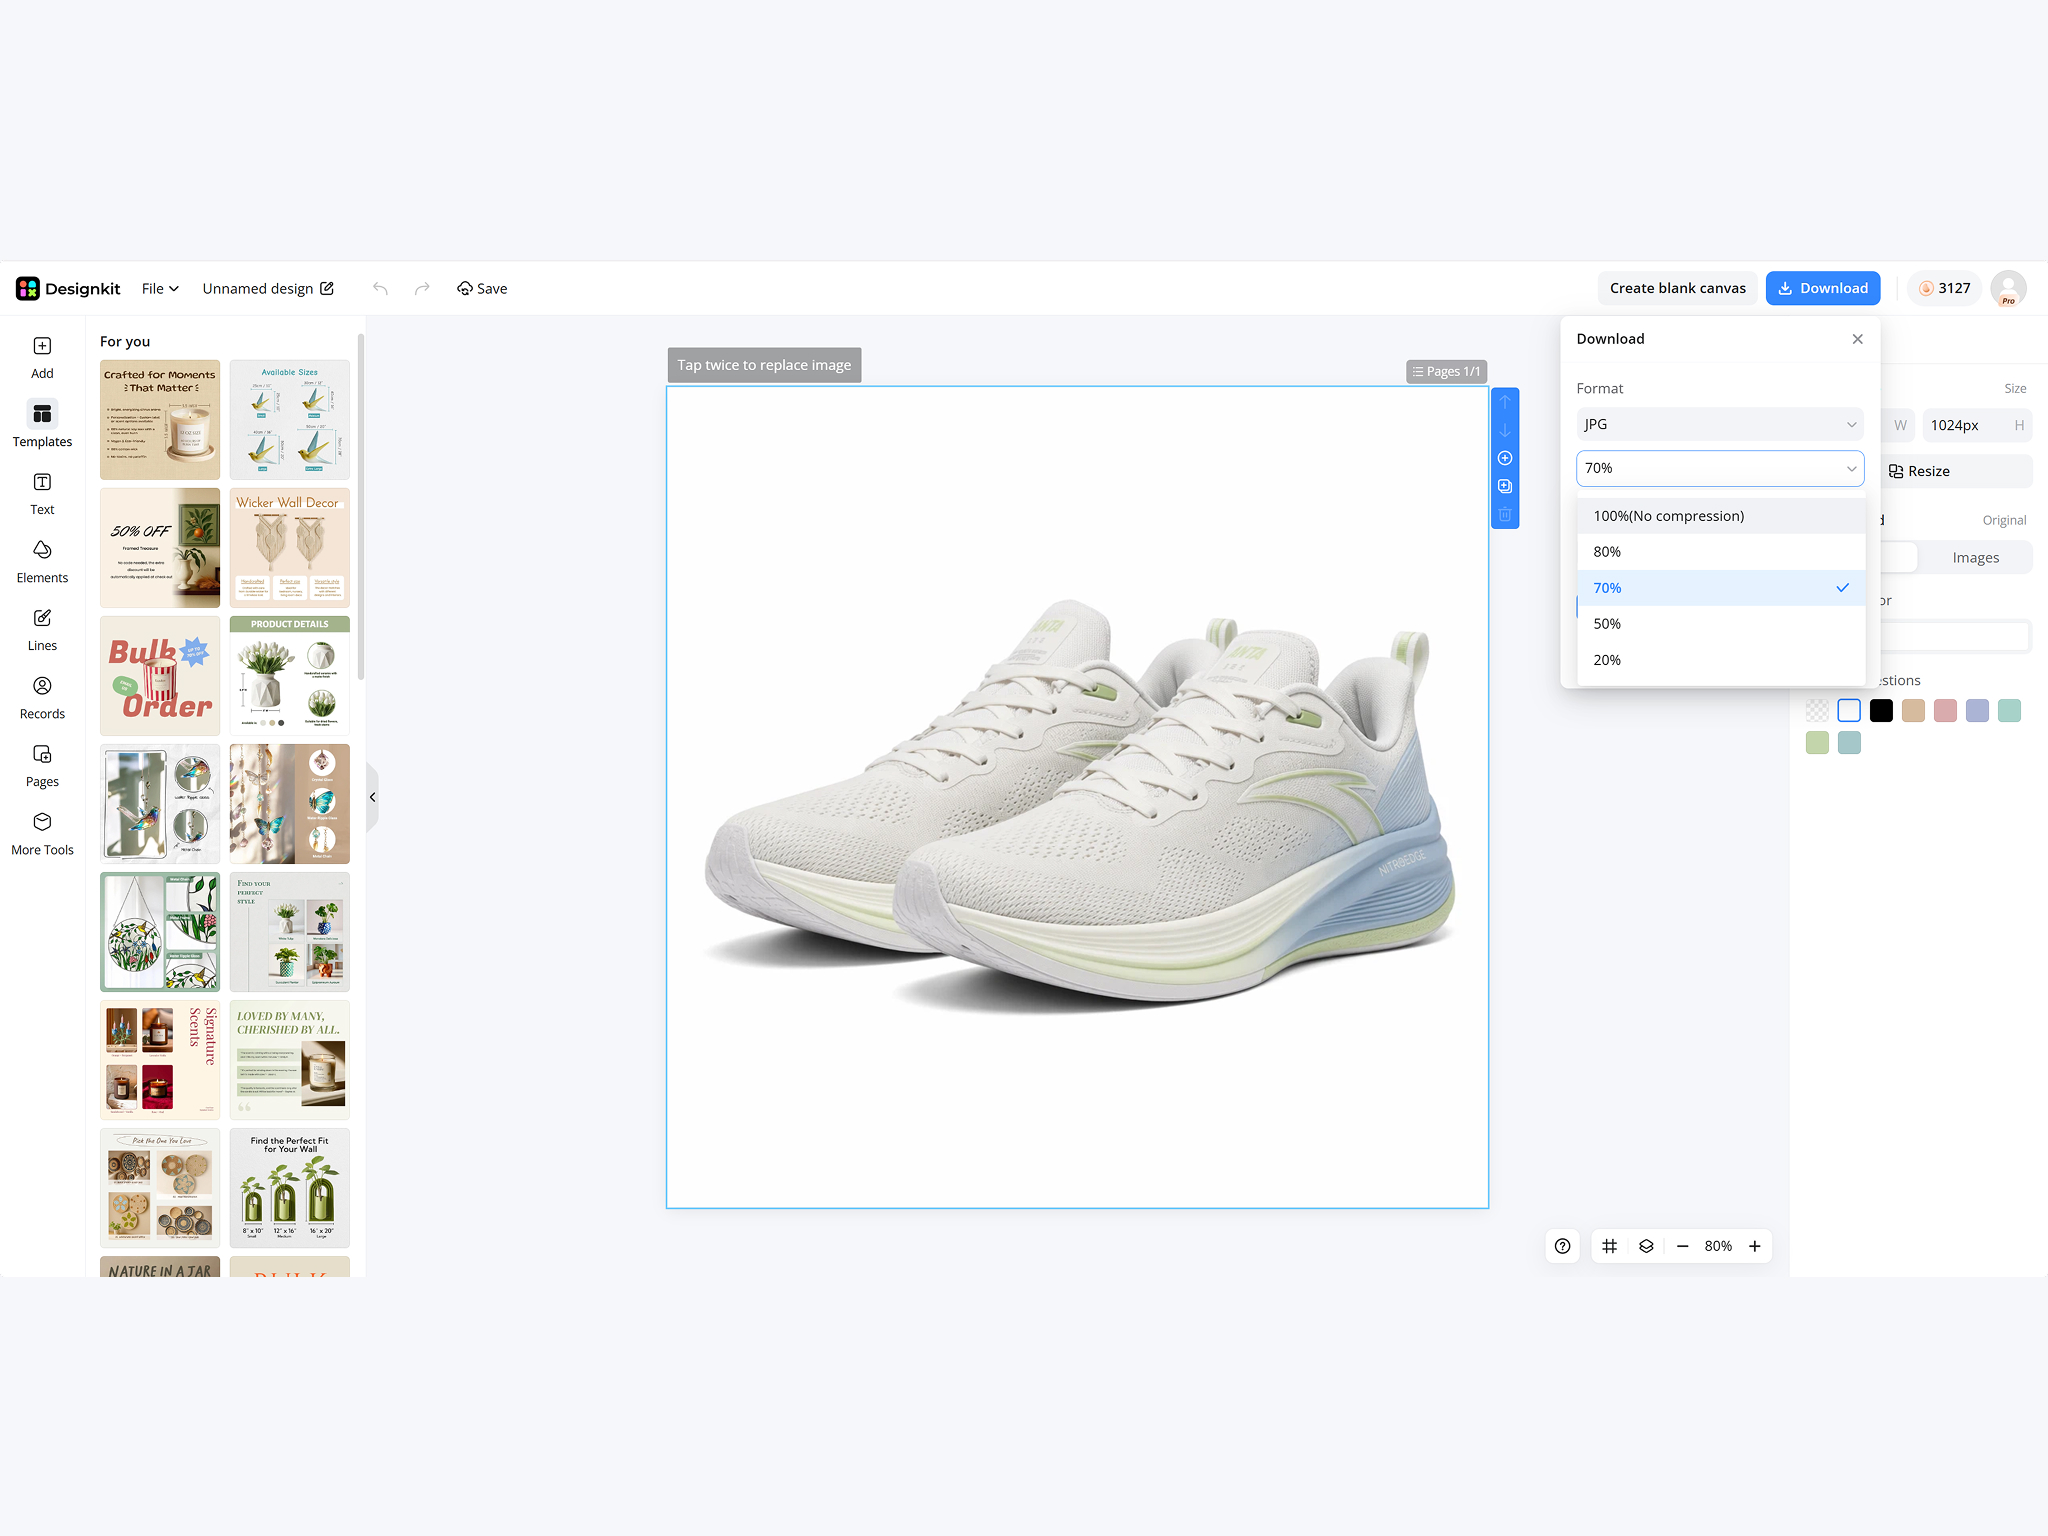
Compress Your Image
Pick a percentage in the download panel to balance file size and visible detail.
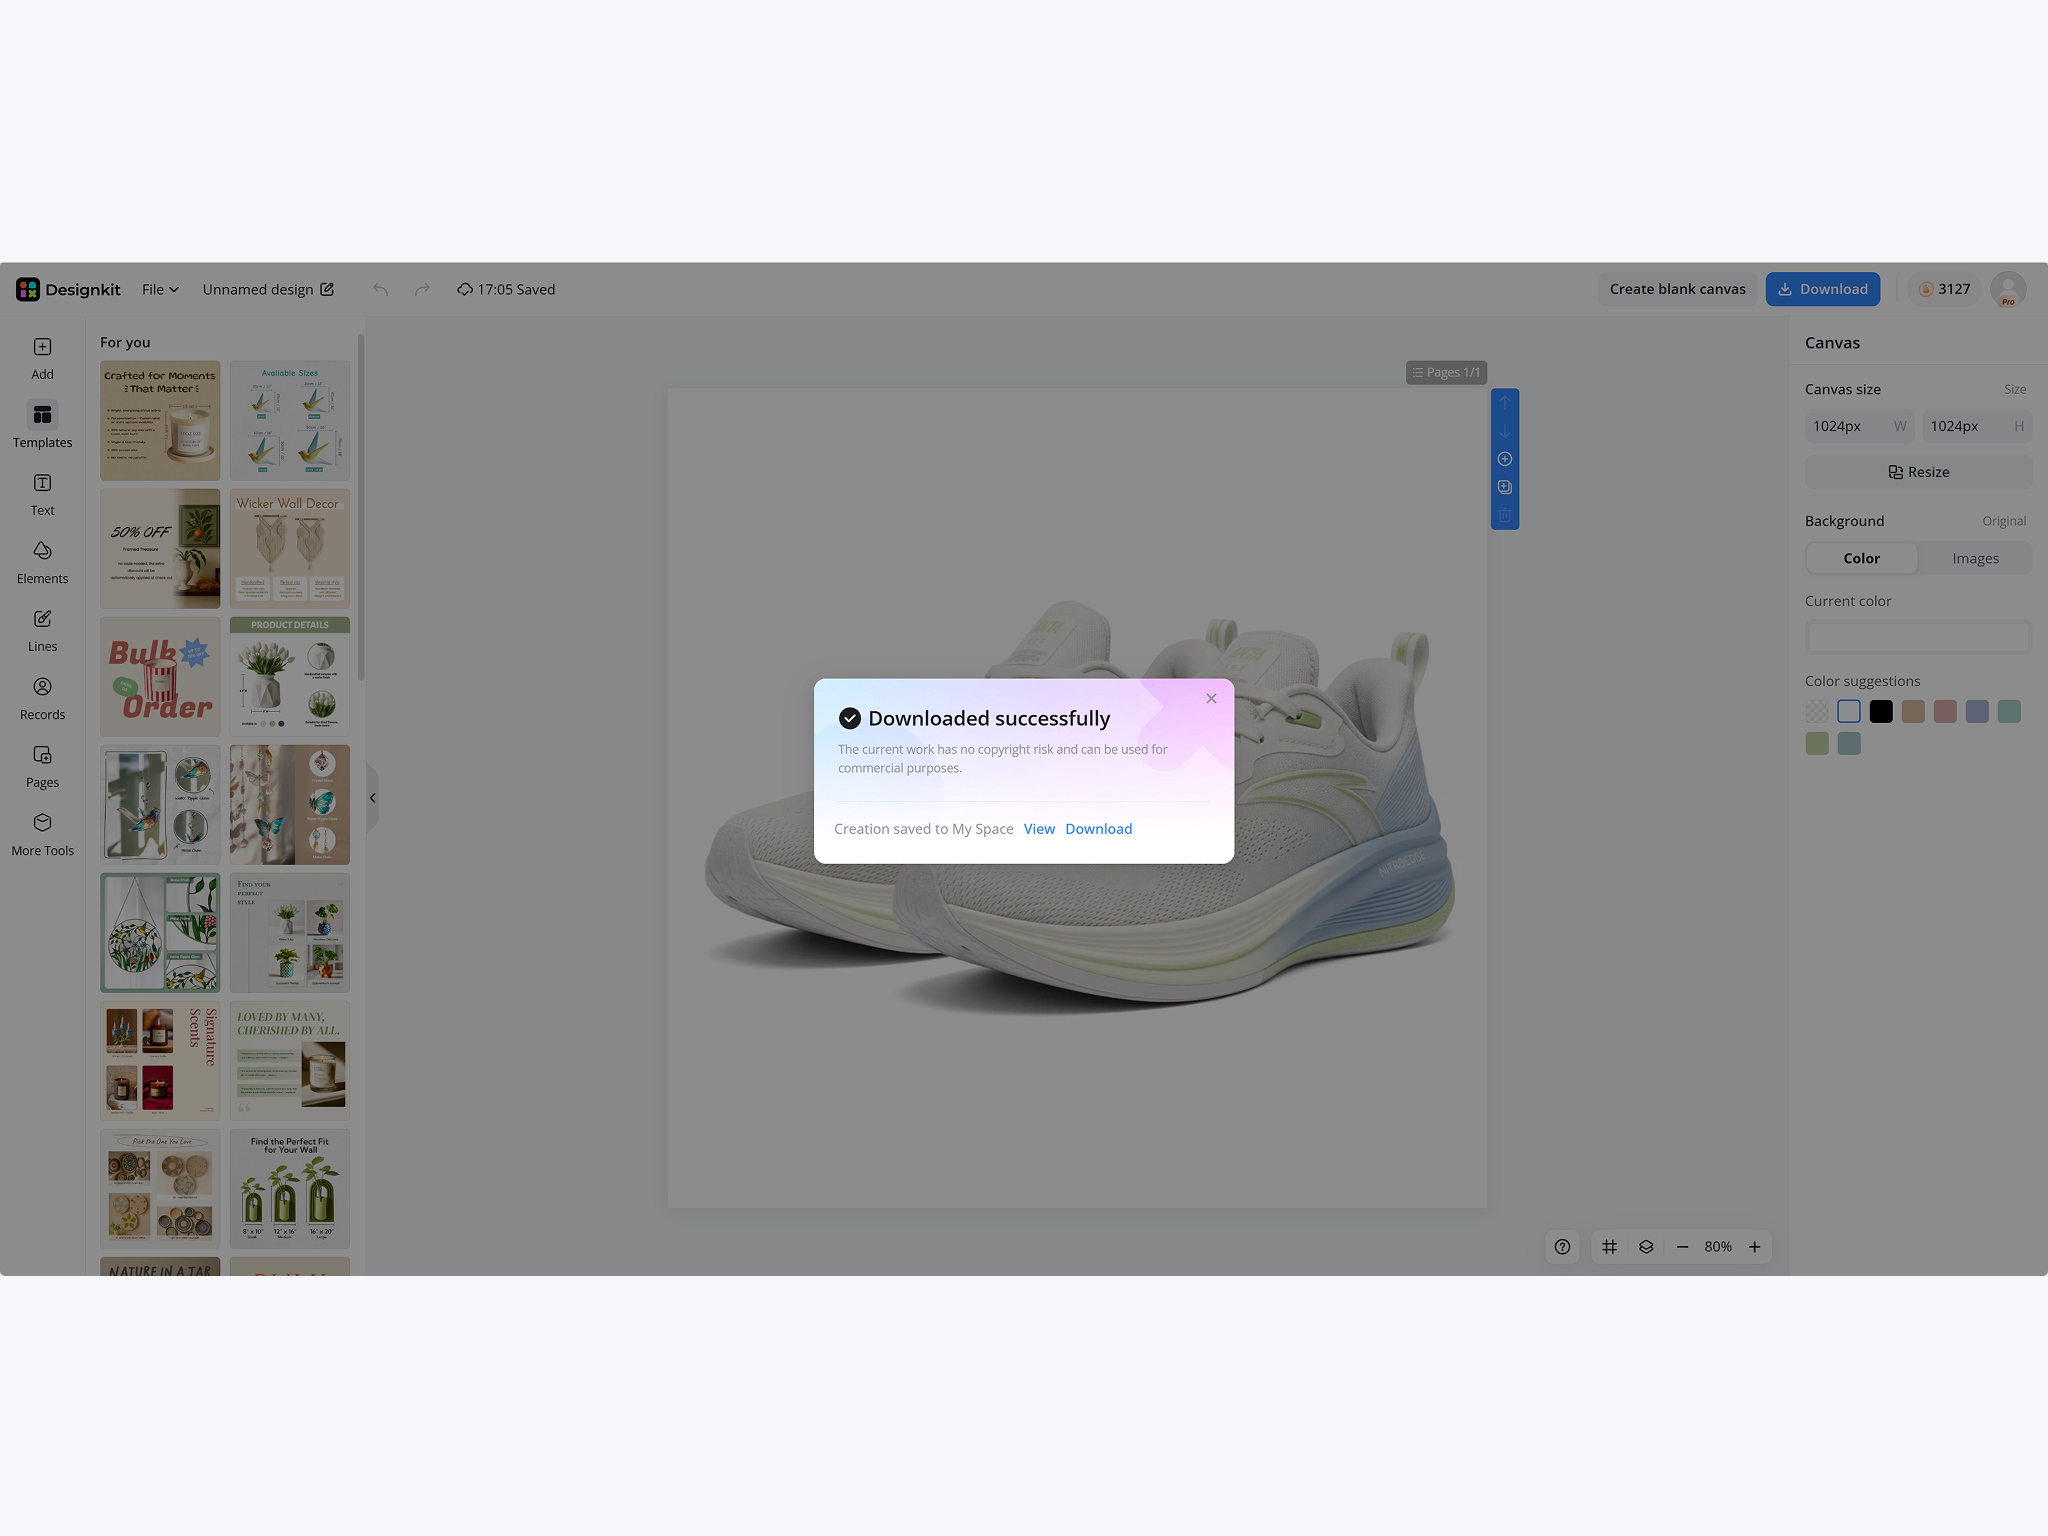
Download the Smaller File
Export the compressed image and use it on websites, ecommerce, or social uploads.
Why Designkit Works as Your Everyday Image Compressor
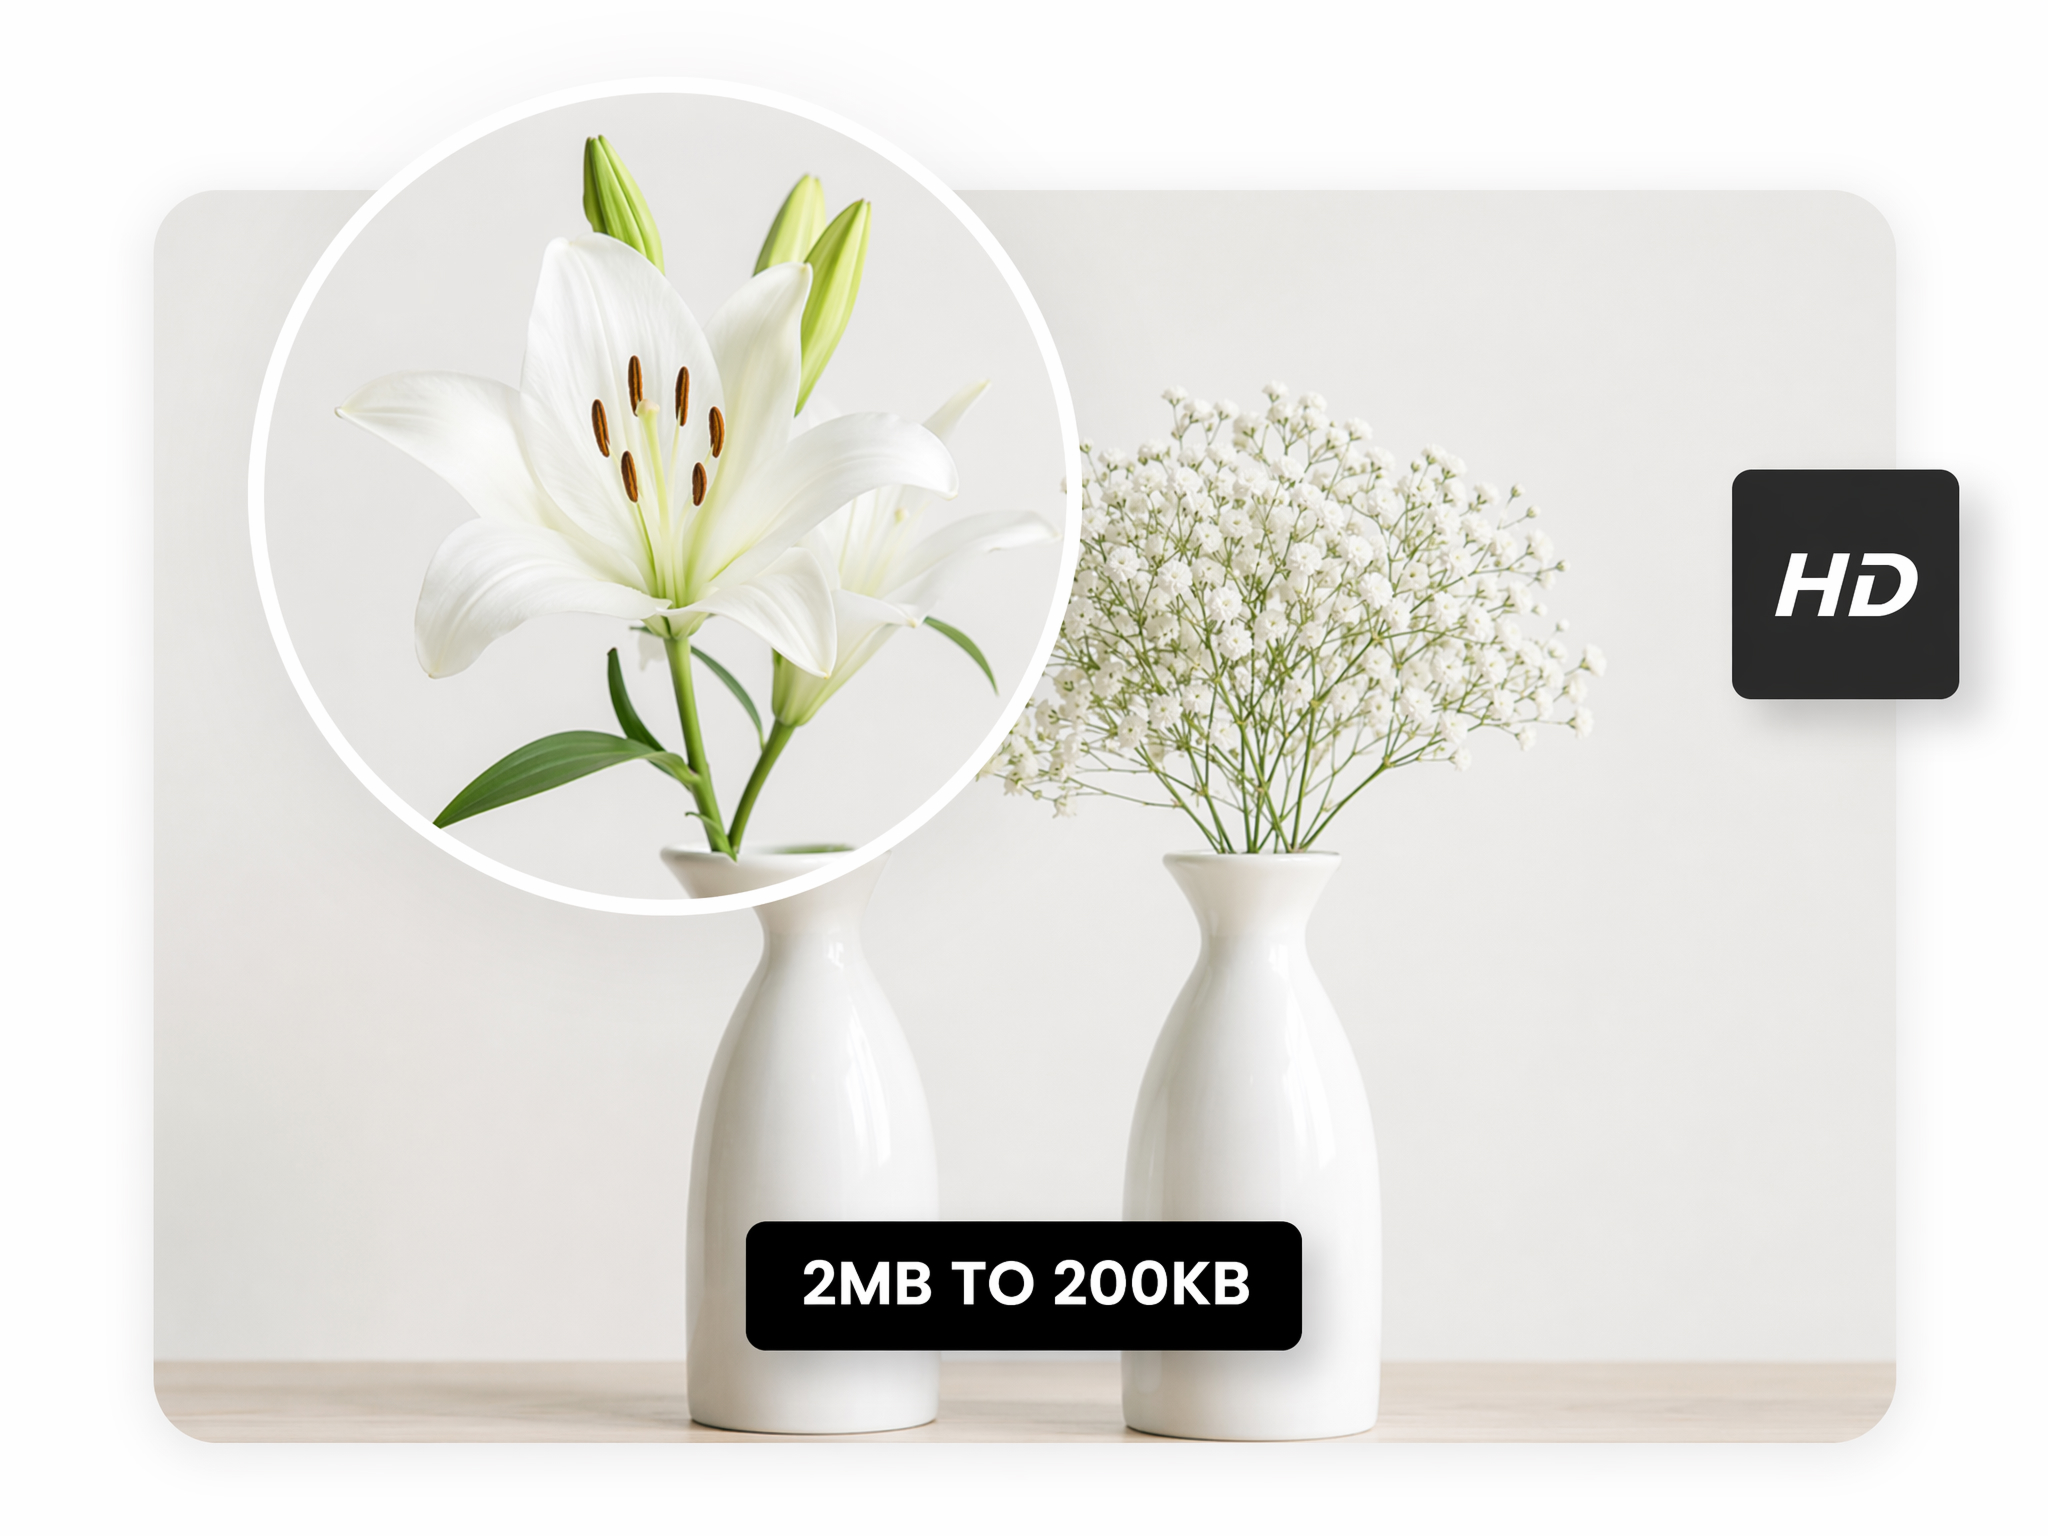
Cut File Size With Controllable Quality
Open your image in the AI photo editor, choose the compression level that fits your needs, and reduce file size while preserving as much image quality as possible.
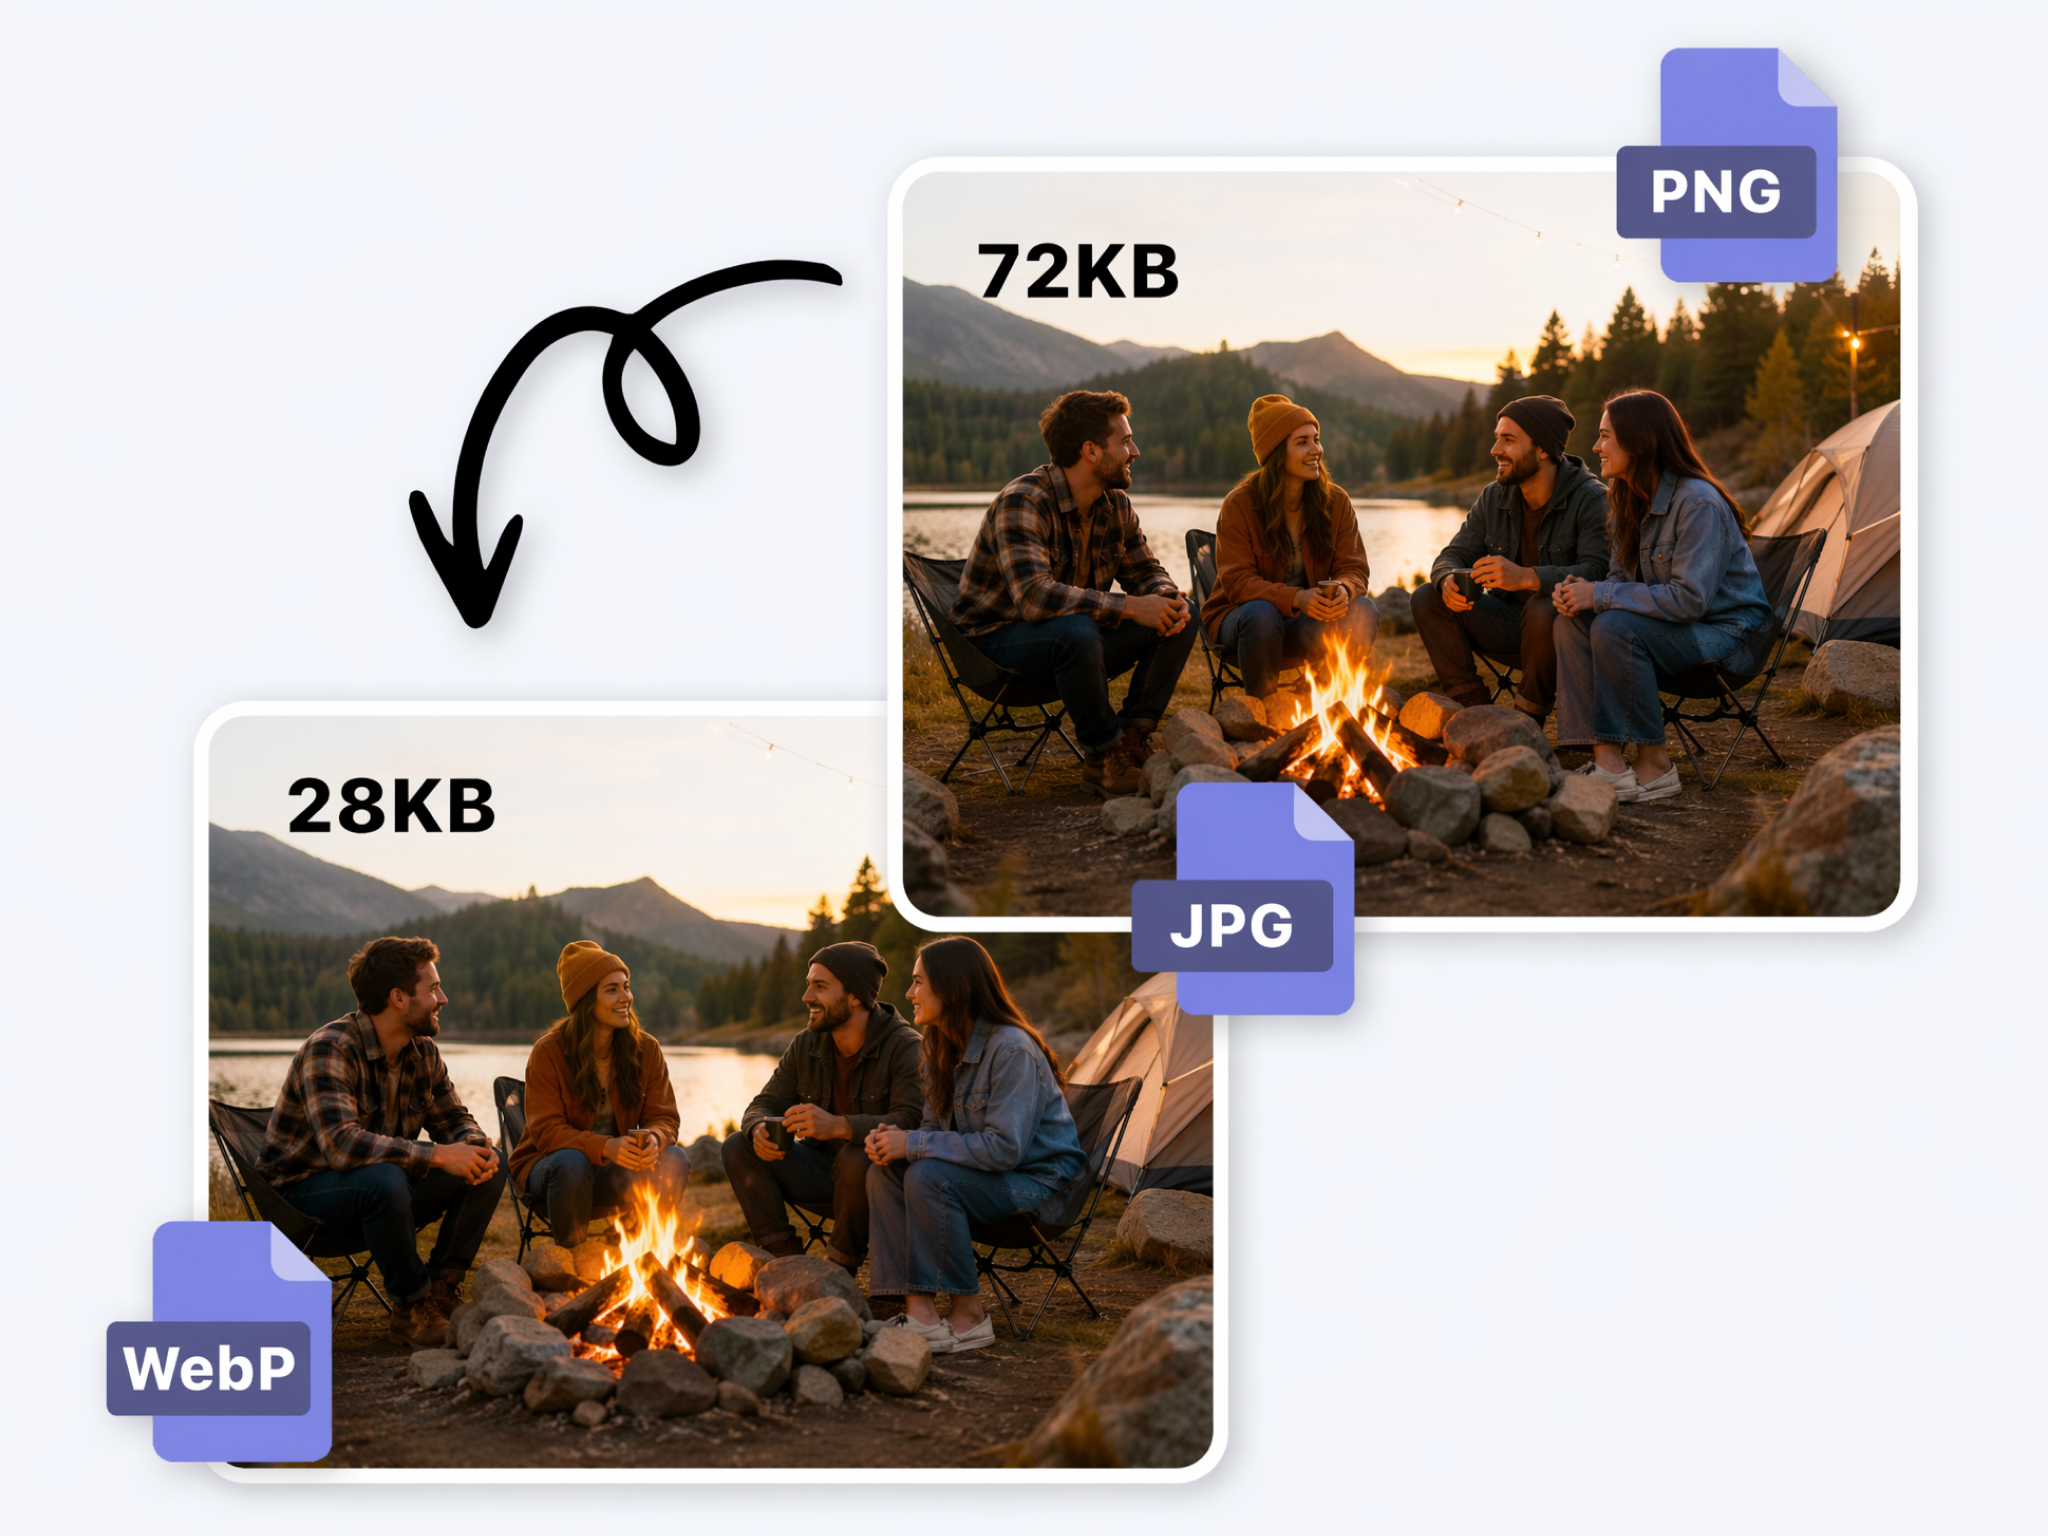
Compress JPG and PNG in One Panel
Compress both JPG and PNG images in the same workspace, so you don't need separate tools for different file formats.
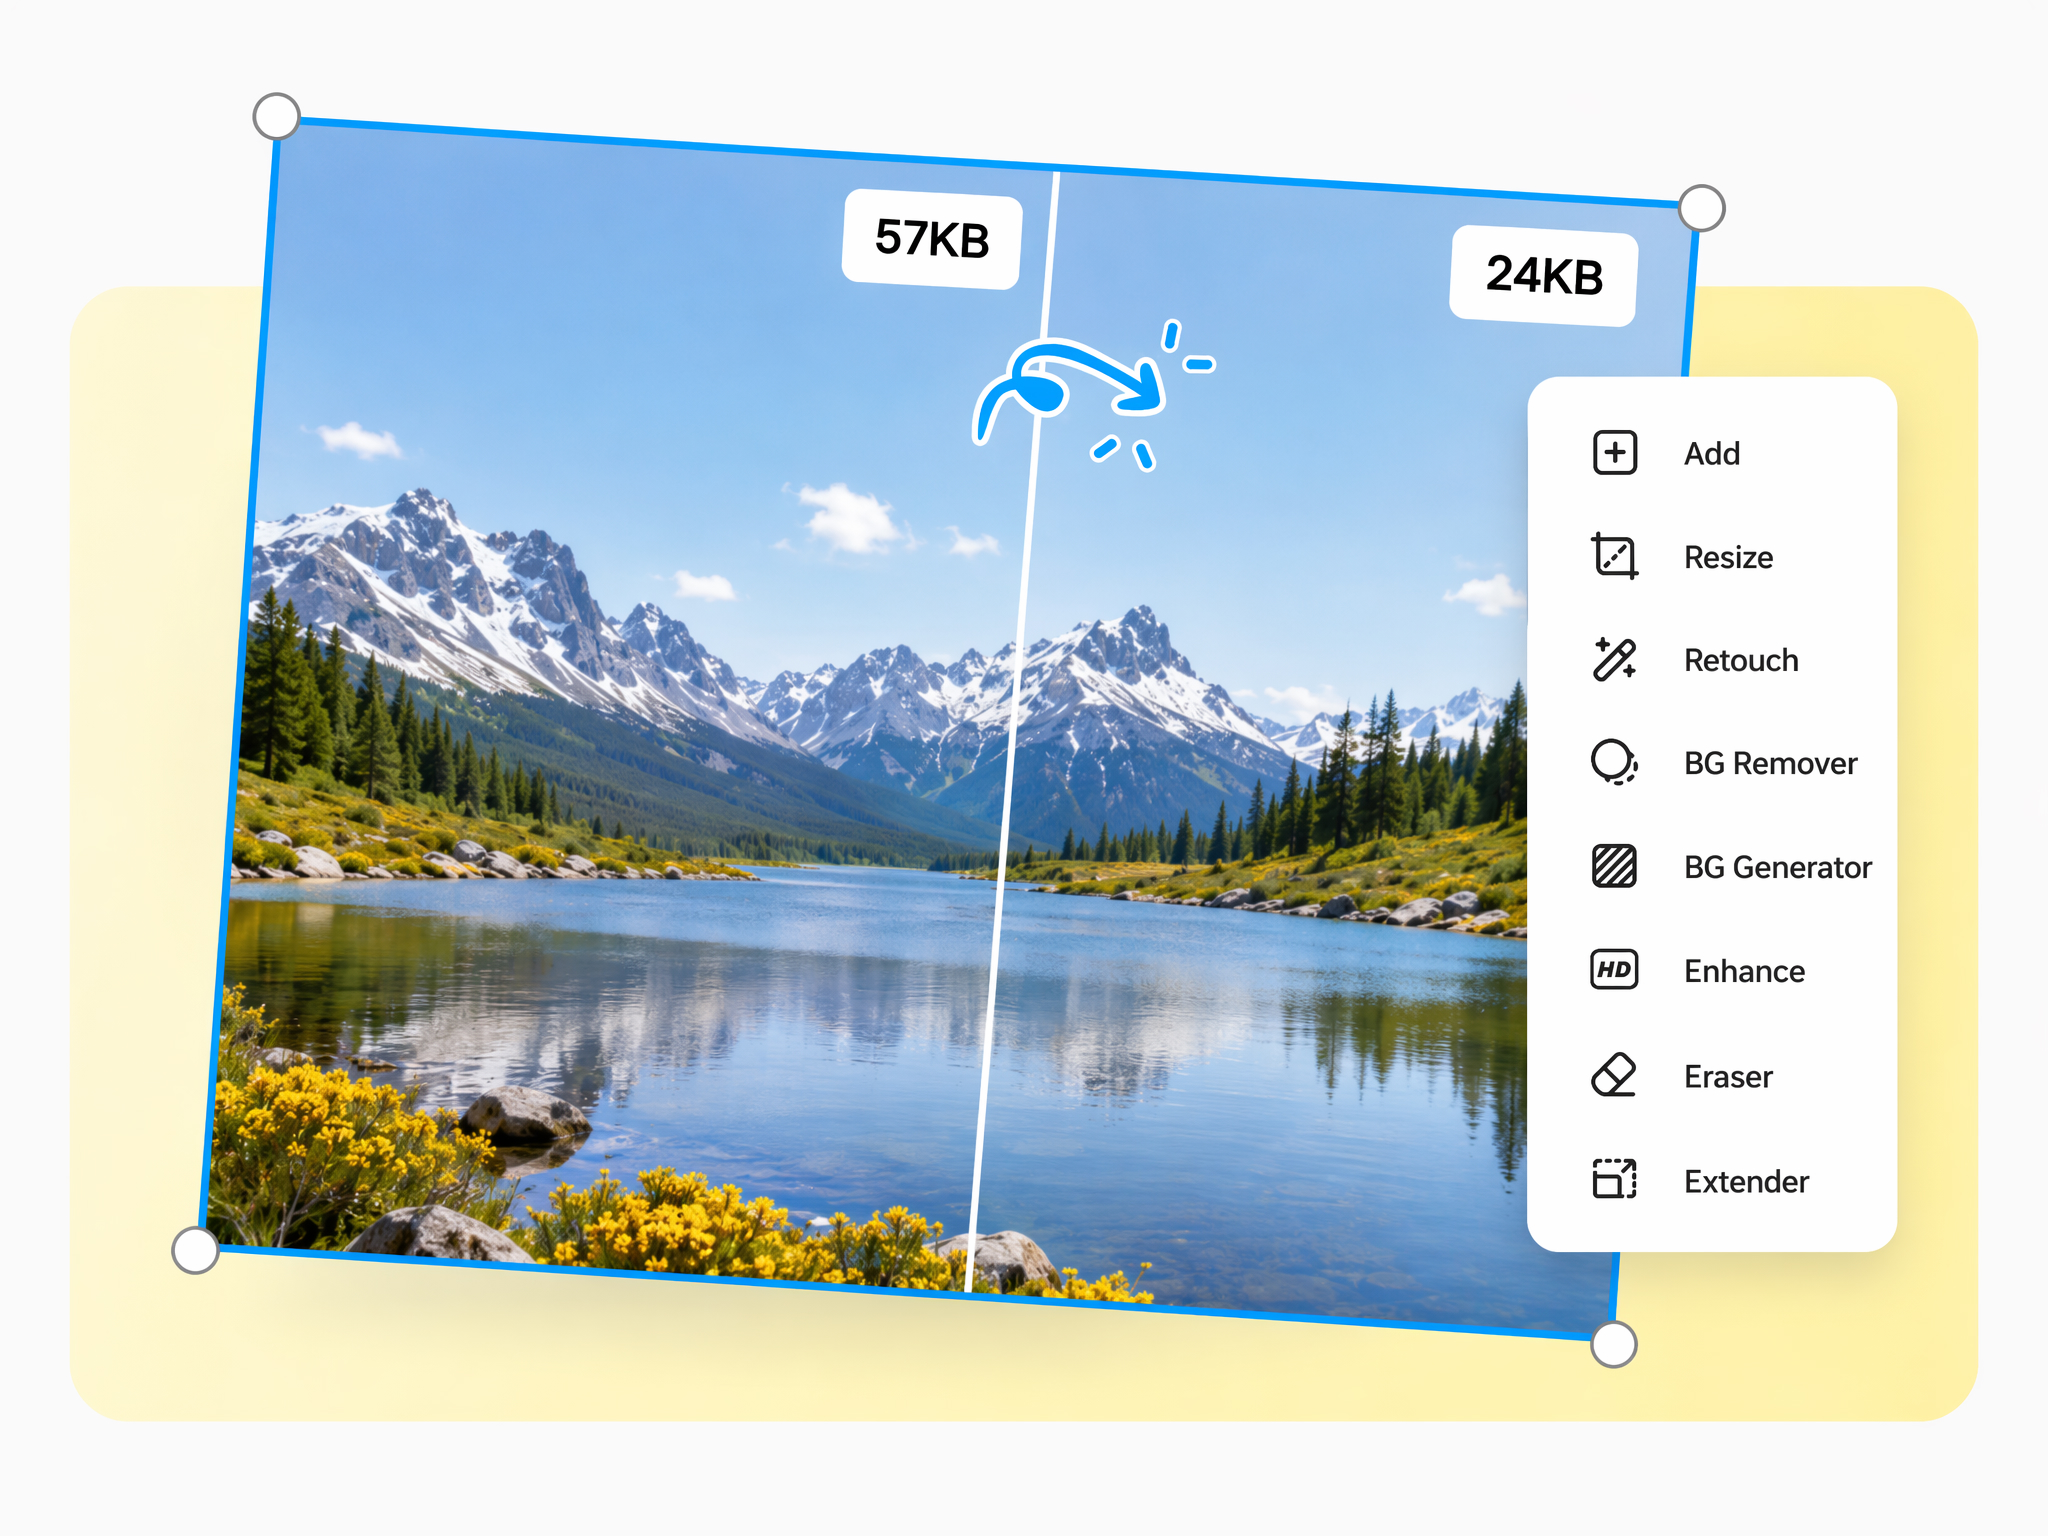
Compress and Keep Editing in One Place
Use image editing to resize or enhance your photo, then compress the finished image without switching to another tool.
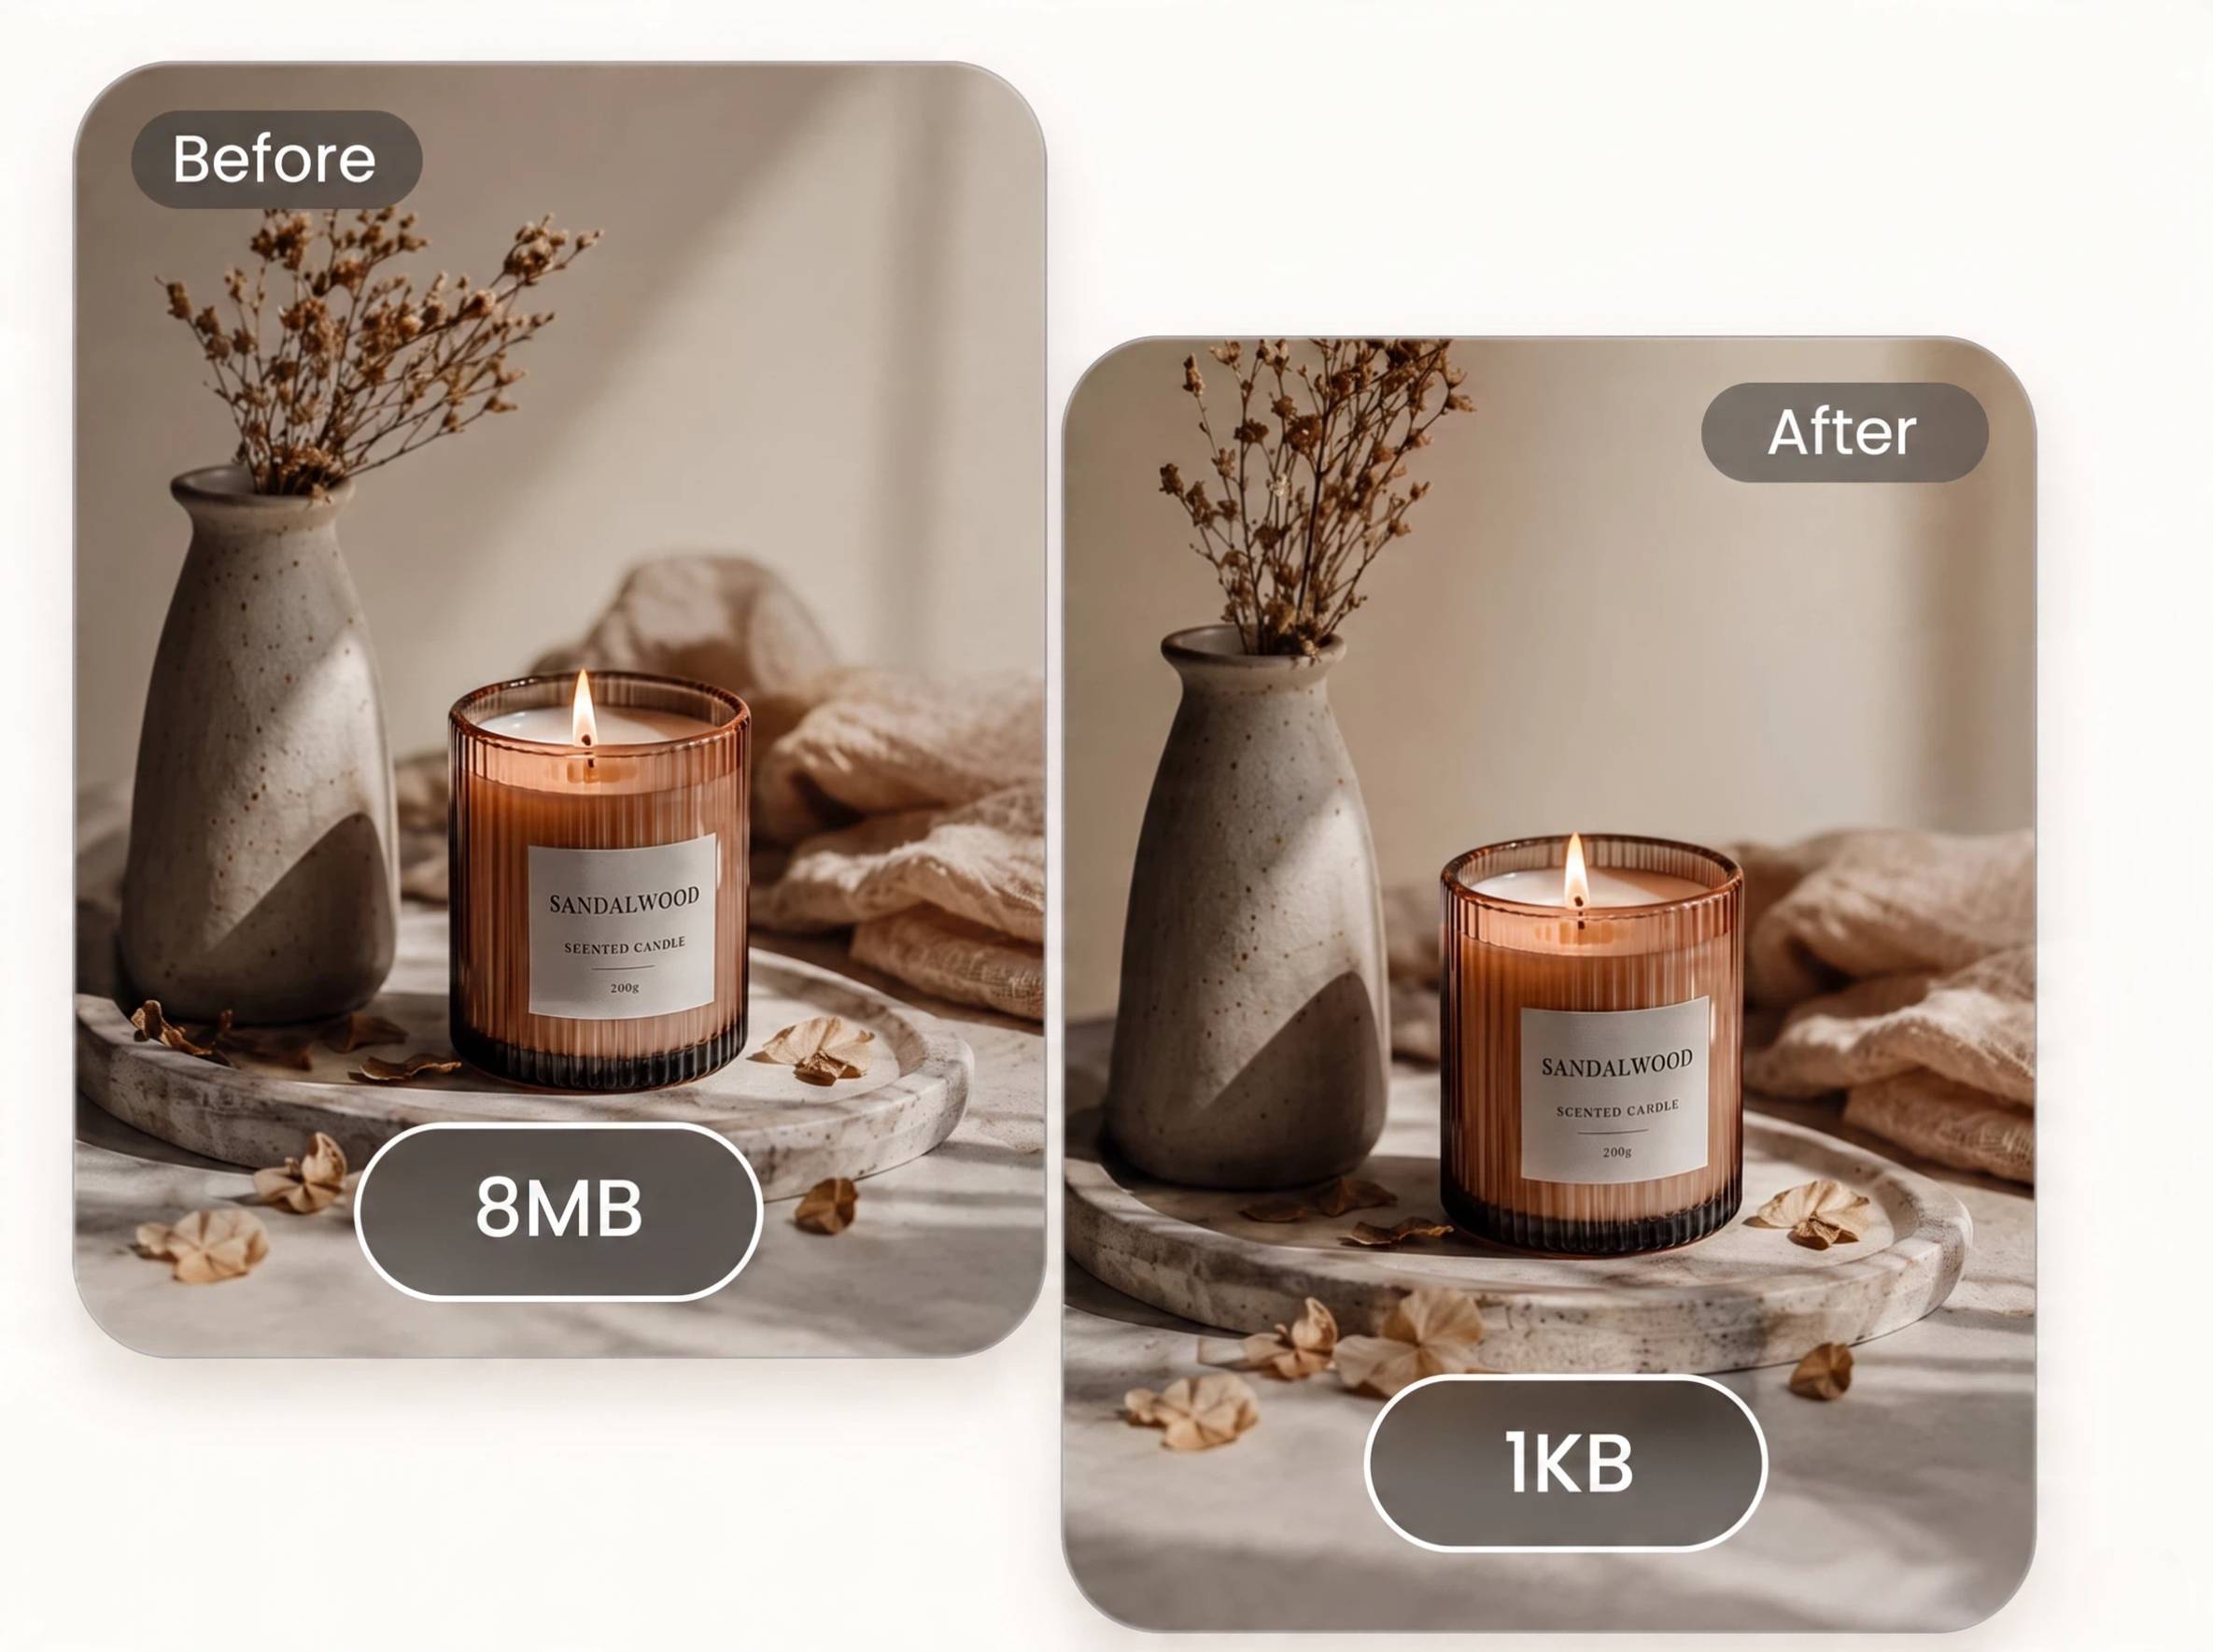
Prep Lighter Images for Shopify and Listings
Compress product photos before uploading them to Shopify, marketplaces, or other websites, making it easier to meet file size requirements while maintaining image quality.
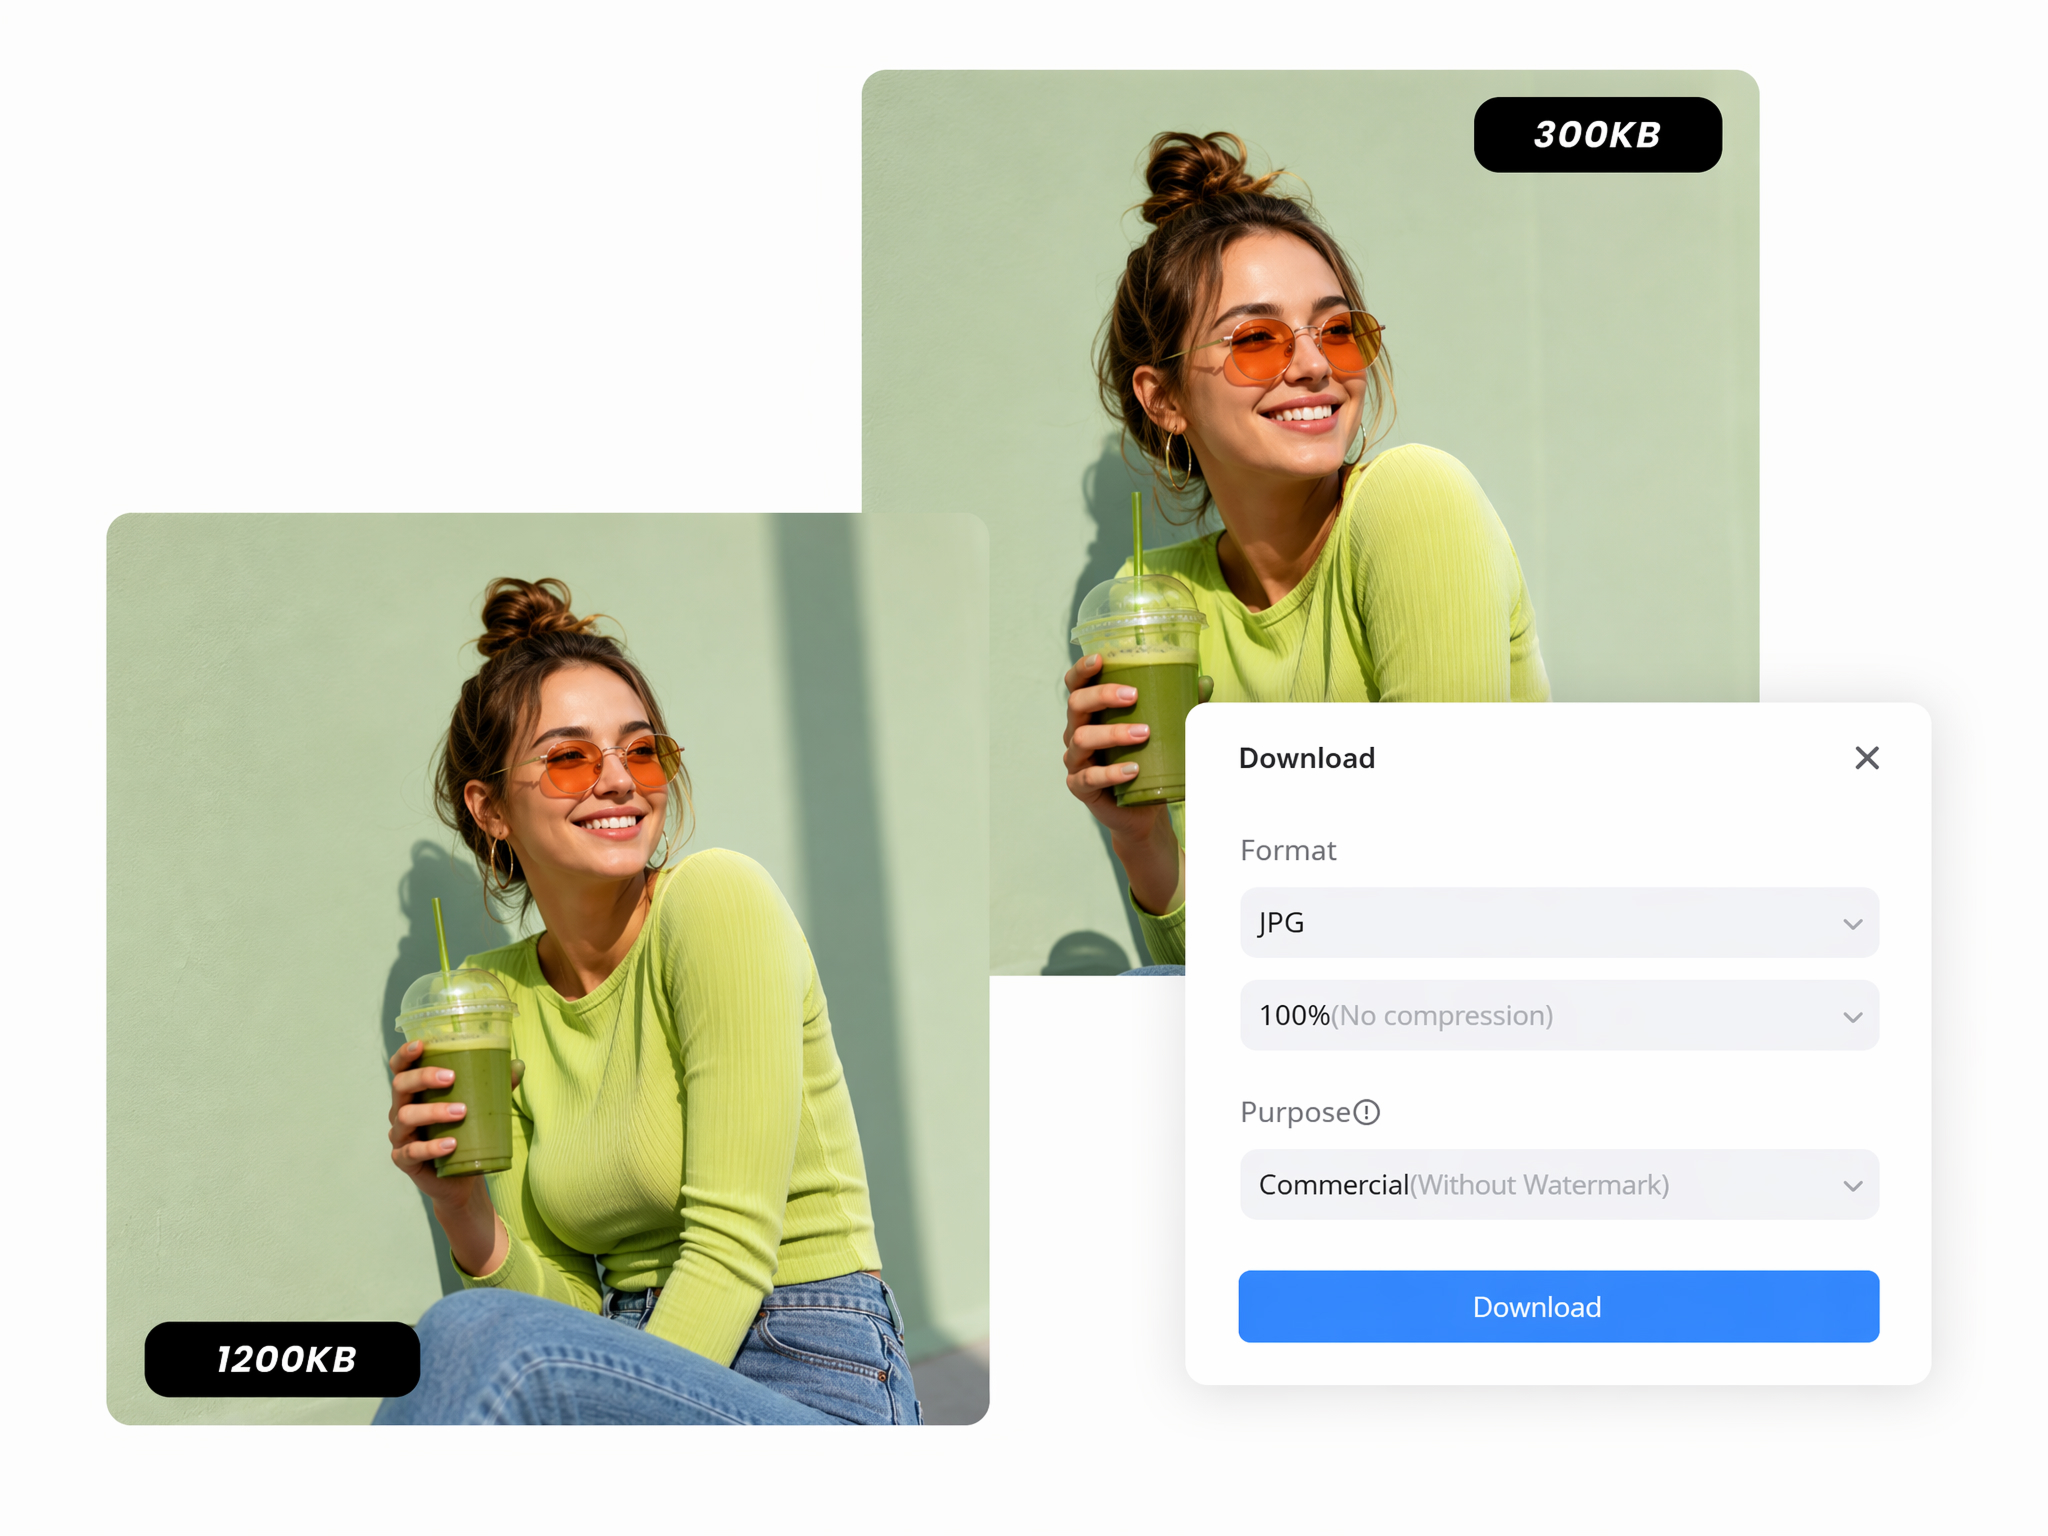
Export Cleaner Files for Email and Forms
Use the batch photo editor to apply the same compression settings across multiple images, helping you prepare email attachments, scanned documents, or product photos more quickly.
Who Uses Designkit's Image Compressor
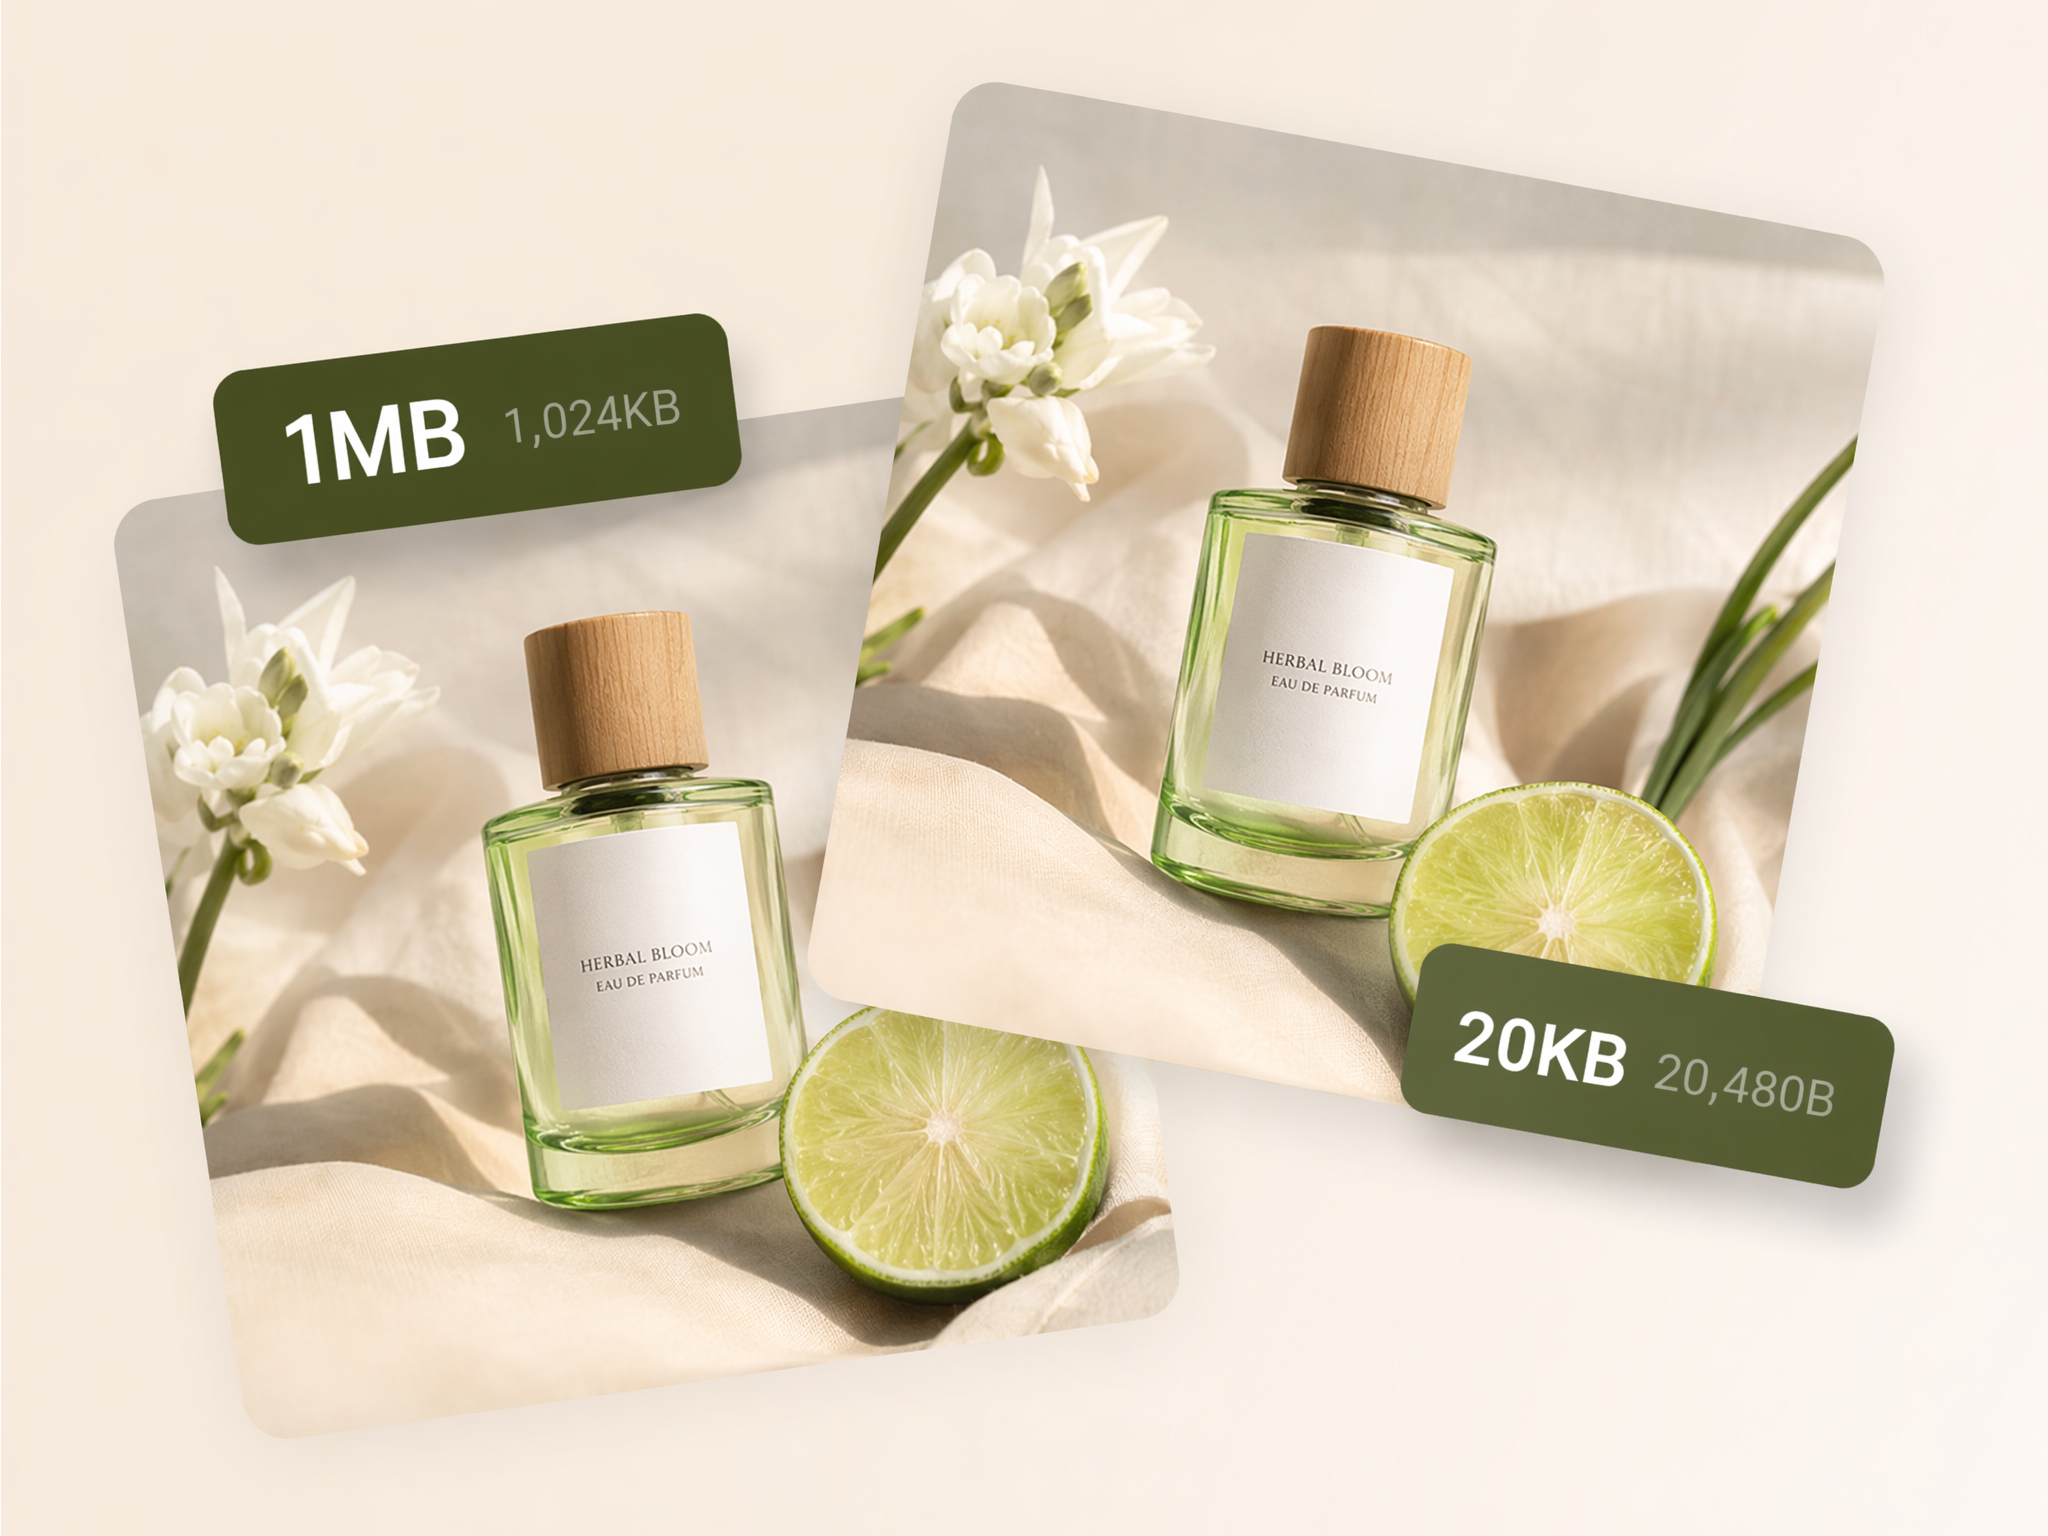
Speed Up Product Listing Pages
Reduce the file size of product photos before uploading them to Amazon, Etsy, Shopify, or other marketplaces to help pages load more efficiently.
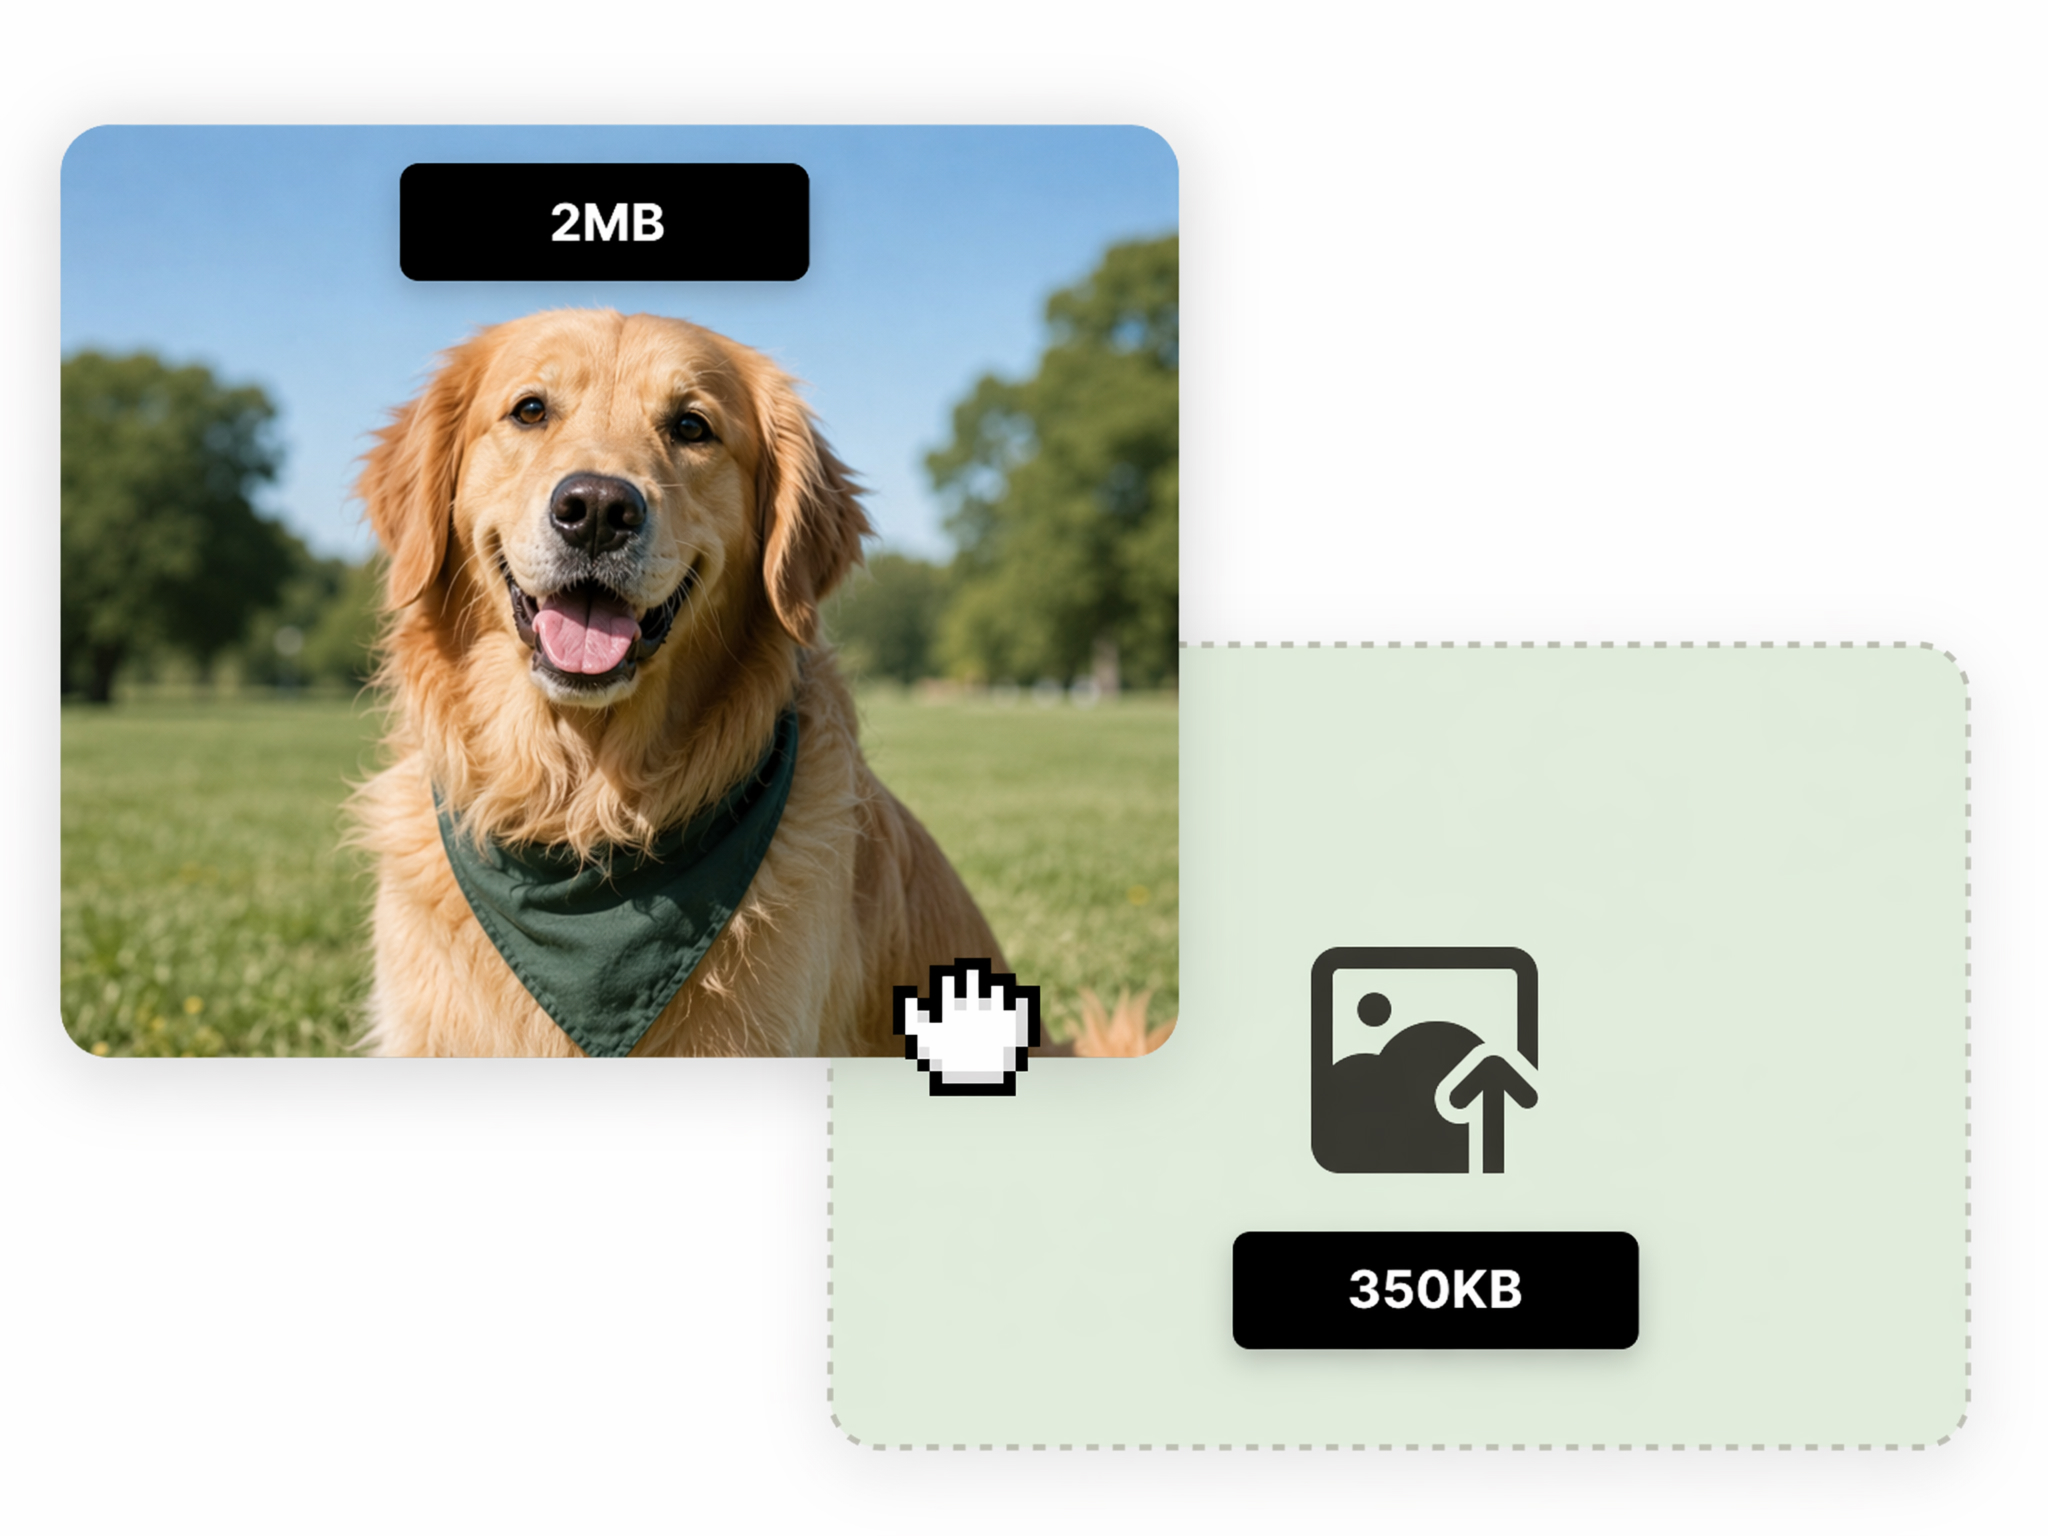
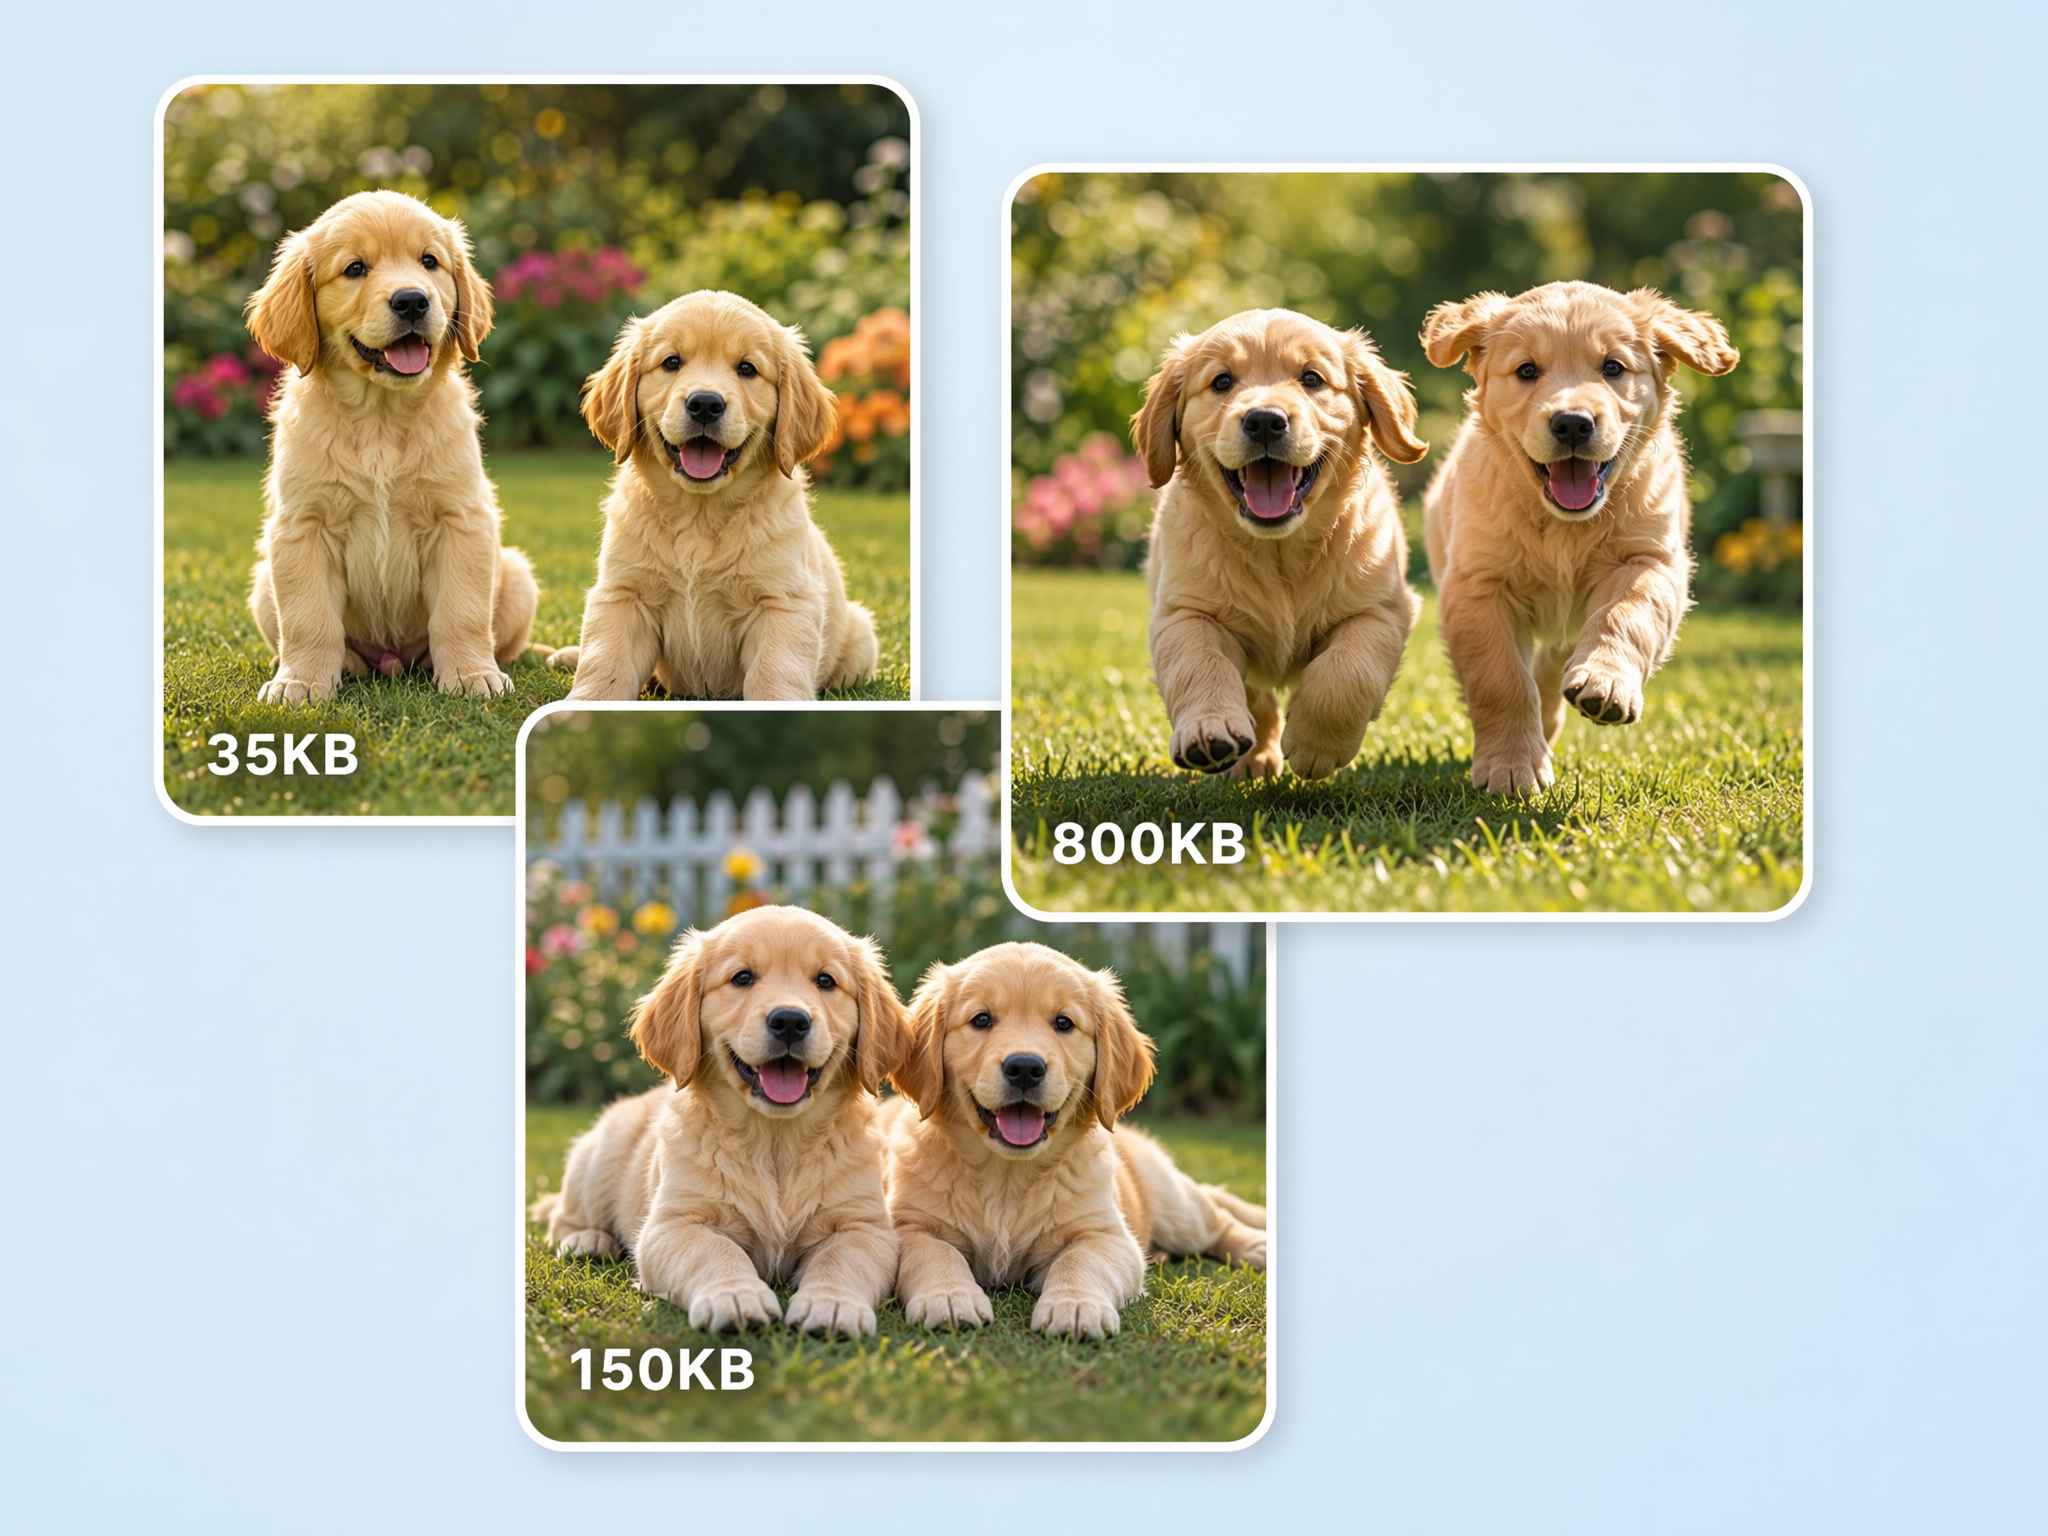

Why Choose Designkit for Image Compression
Predictable Results From a Percentage
Adjust the compression level and preview the balance between file size and image quality before exporting the final image.

No Format Conversion Detour
Reduce the file size of both JPG and PNG images without converting between formats or changing your existing workflow.

Same Setting Across Multiple Files
Reuse the same compression settings for multiple images, helping you process batches more consistently and efficiently.
Compression Plus Edit Tools Together
Resize, enhance, and compress your images in the same workspace without switching between different tools.

Free to Test Before a Paid Plan
New users receive free signup credits, making it easy to test image compression with their own files before choosing a paid plan.

Private Processing for Your Uploads
Your uploaded images are processed to generate the requested output. For details about how files are handled, refer to Designkit's Privacy Policy.
Unlock More Creative Possibilities
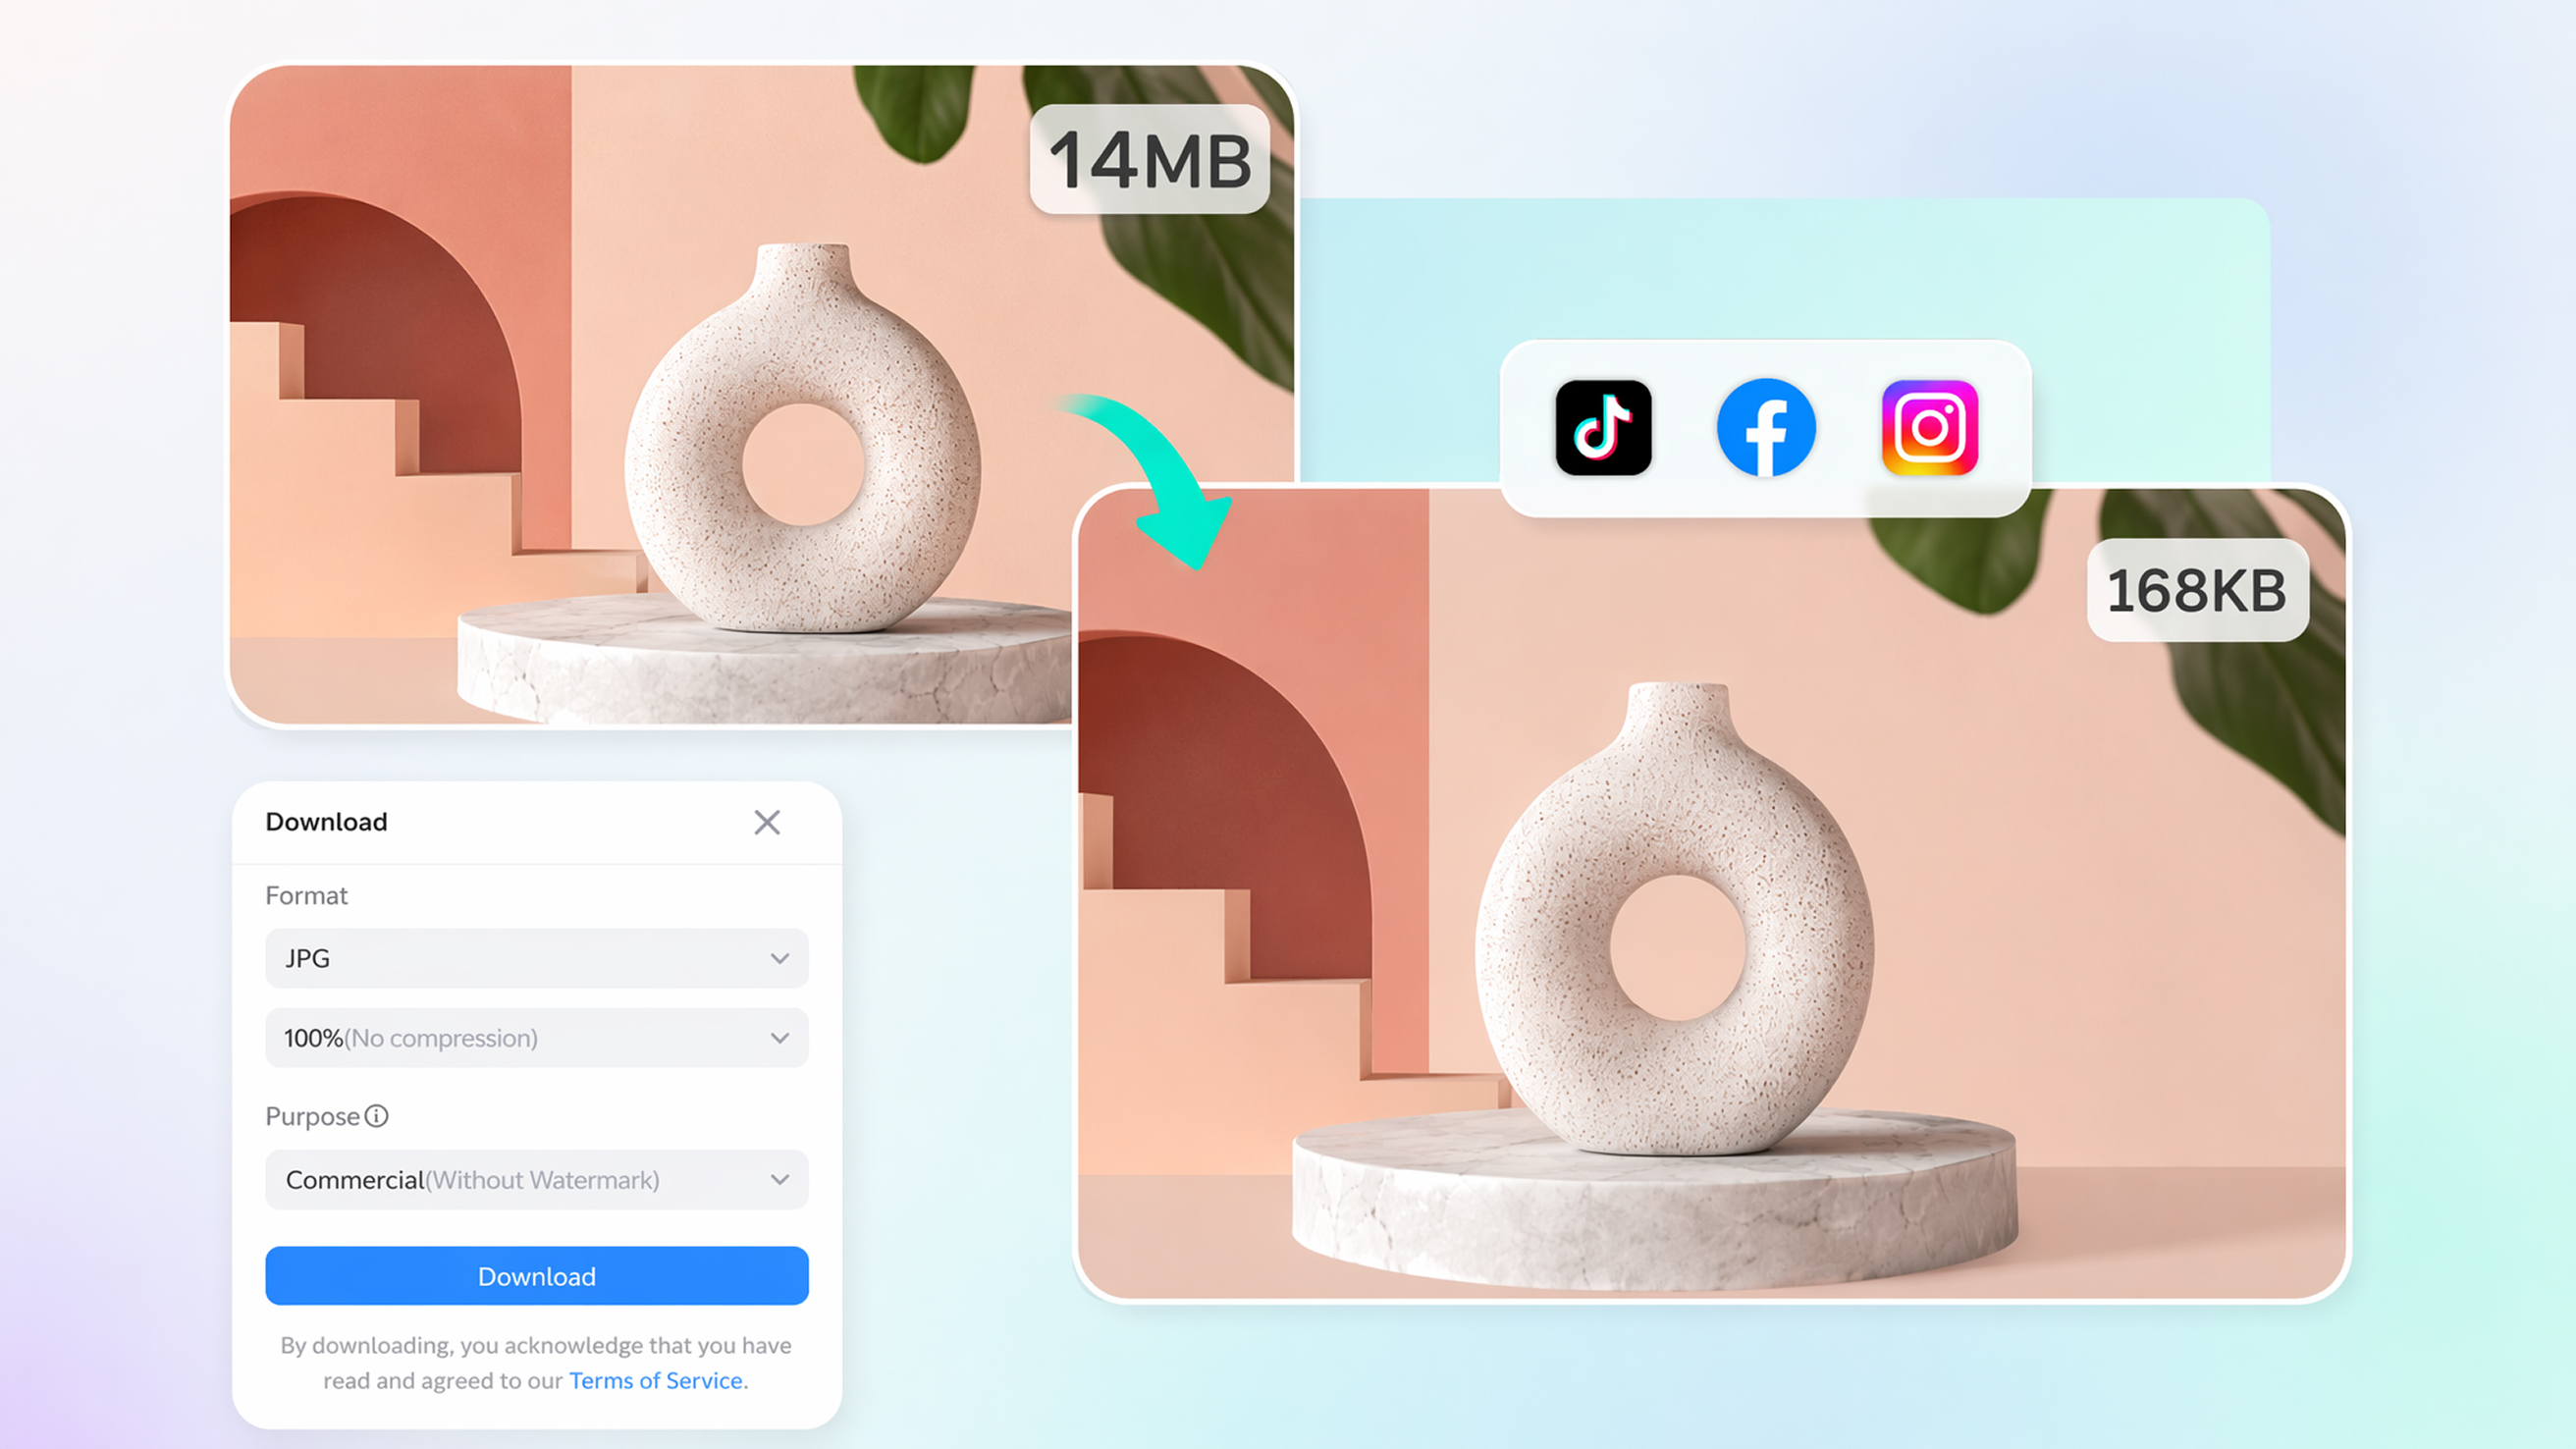
MB to KB Converter
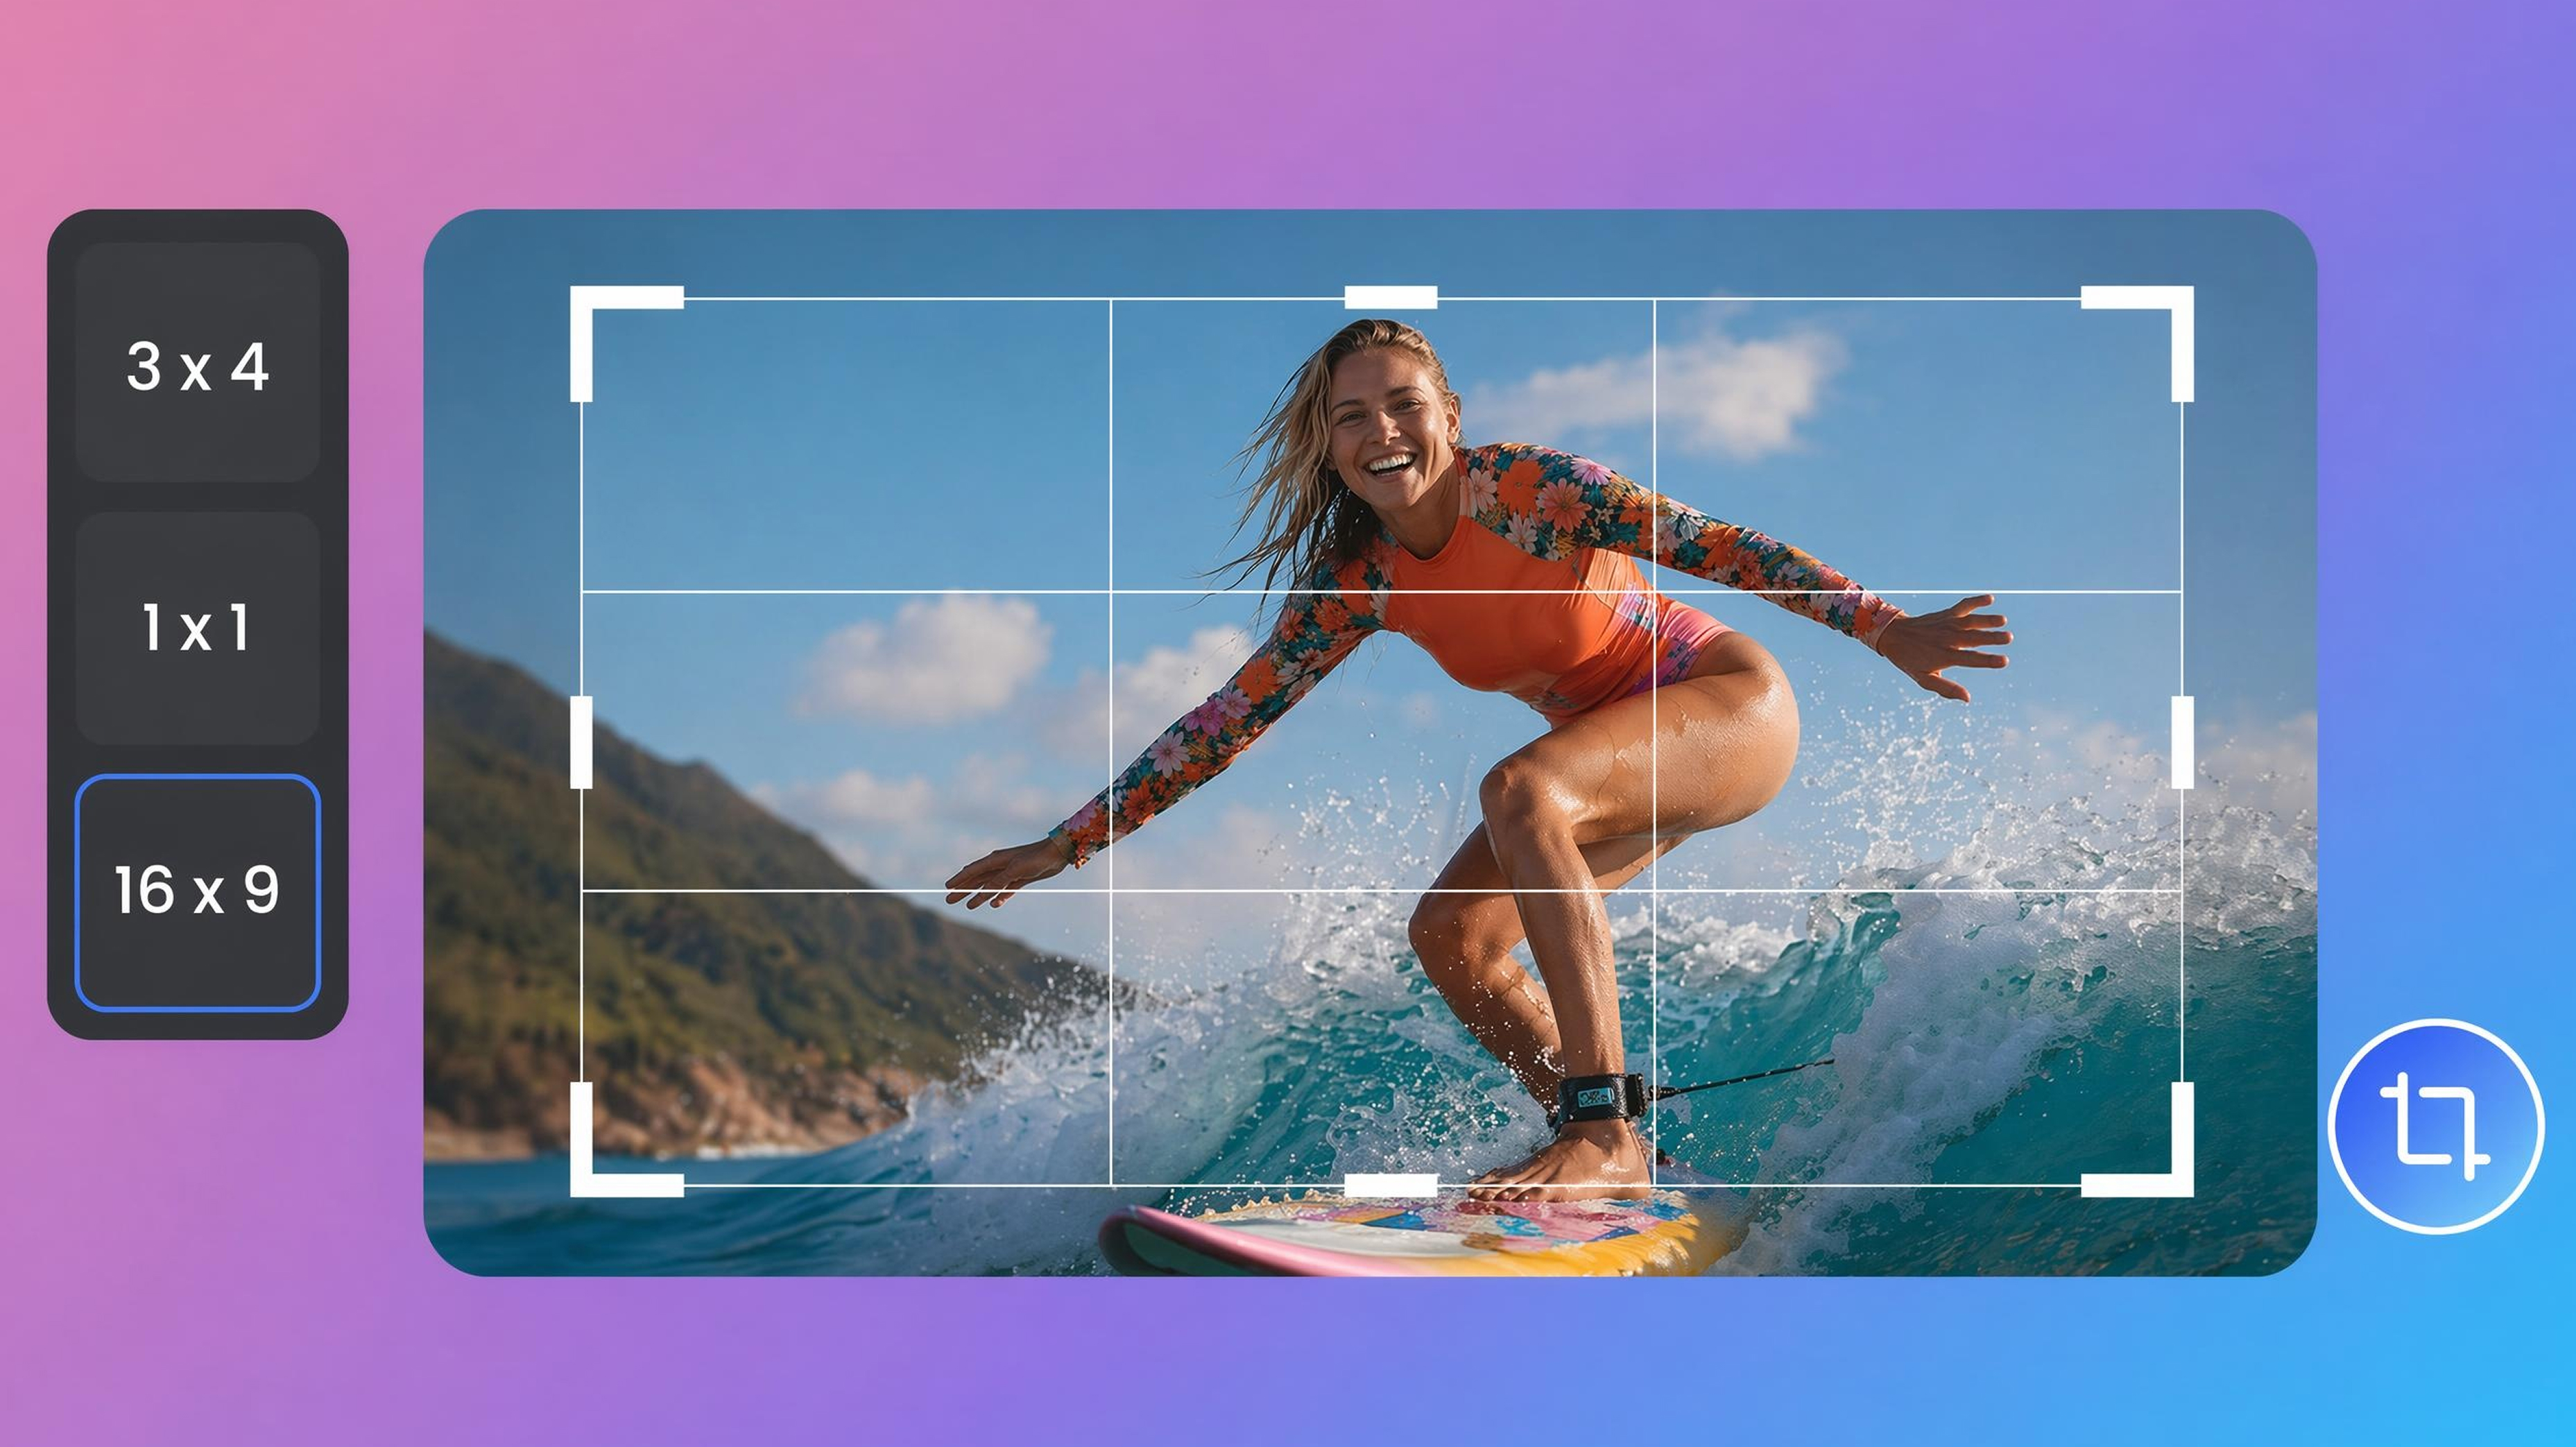
Image Cropper Online
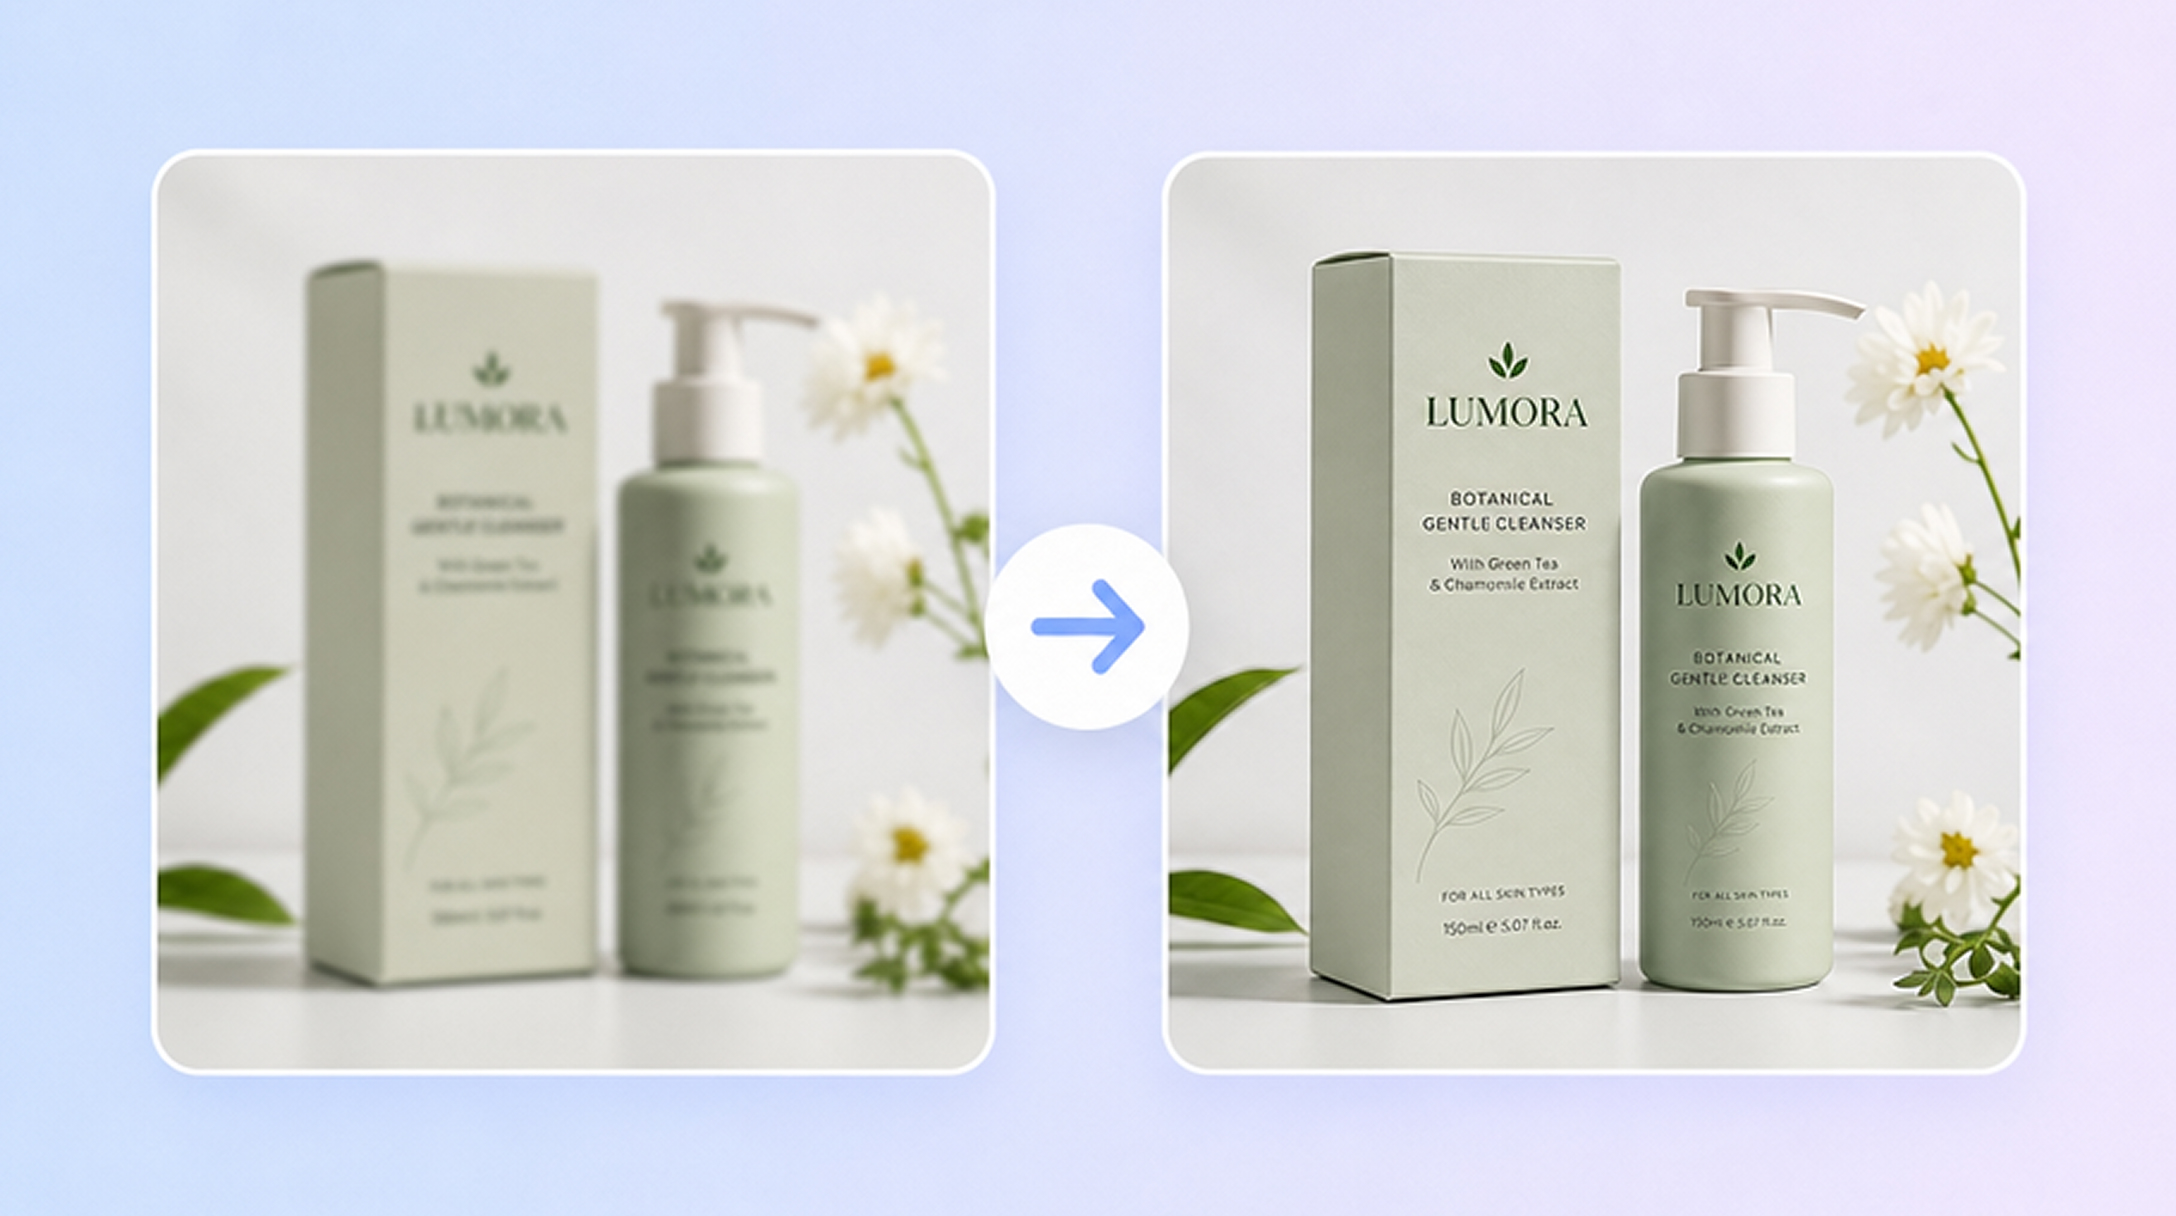
Unblur Image Online

Image Combiner
Frequently Asked Questions
Can I compress an image without losing quality?
Is this a free image compressor?
Yes, new users can sign up for Designkit and use the included free credits to test image compression before deciding whether a paid plan is right for them.
Does this work as a JPG and PNG image compressor?
Yes, upload either a JPG or PNG image, then compress it in the same workspace without converting the file to another format first.
Can I compress an image online without installing anything?
Yes, open Designkit in your browser, upload your image, adjust the compression level, and download the compressed file without installing any software.
How do I compress an image to about 100 KB?
Upload your image, reduce the compression level, then check the exported file size. If it's still larger than 100 KB, lower the quality slightly and export again until you reach your target.
Will compressed images still work for commercial use?
Yes, compressed images can still be used for websites, ecommerce listings, presentations, and other commercial projects. For the best results, choose a compression level that maintains the image quality your project requires.
Is my uploaded image kept private?
Yes, your uploaded image is processed to create the compressed file. For details about how files are stored and handled, refer to Designkit's Privacy Policy.
Compress Your Next Image in Seconds
Upload a JPG or PNG, pick a percentage, and download a smaller file. Start free with signup credits.

What People Compressing Images Actually Say
Check the real experience from our users
Cut Our Product Page Load Time Noticeably
Our product pages felt genuinely slow on mobile, especially during peak traffic hours. Compressing a big batch of listing photos cut the image weight a lot, and those page-speed complaints mostly went away within a week.
Finally Got Under a Visa Application's File Limit
Applicant The visa portal capped photo uploads at 300 KB and my scanned document was over 2 MB. Lowering the percentage got me under the limit on the second try instead of the three failed uploads I'd already wasted an evening on.
Stopped Re-Compressing Twice for Two Formats
I used to run PNGs through one tool and JPGs through another for every client site. Having both formats in one download panel probably saves me twenty minutes on a typical five-page build.
Processed a Client's Whole Shoot in One Sitting
A client sent over a full event folder that needed to be entirely web-ready by the same day. Reusing one compression setting across the whole set got me done well before the actual deadline hit.
Kept My Portfolio Sharp at a Fraction of the Size
I worried compression would make my portfolio work look cheap to prospective clients browsing it. A lighter setting brought the files way down in size and nobody has complained about the quality since.
No More Blocky Screenshots in Client Reports
I'd compressed with a free tool used to come out visibly blocky in printed reports. Starting from a higher percentage here kept text and UI edges clean enough that nobody asked why the images looked rough. FAQs