
AI Clothes Changer to Swap Outfits in Photos
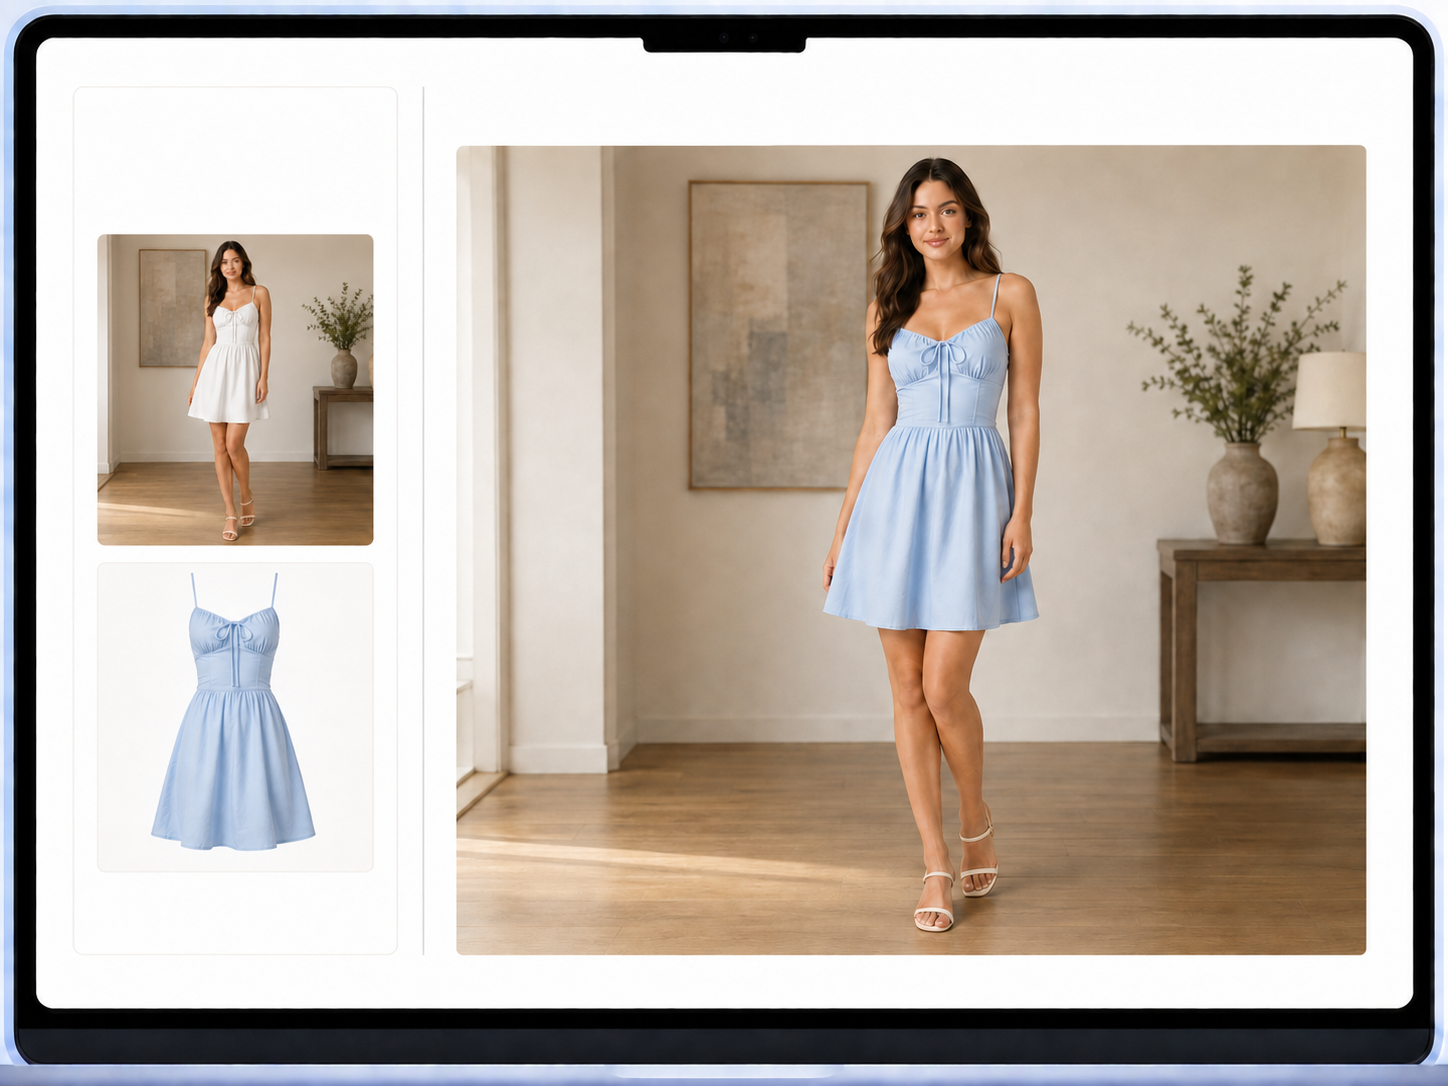
Add a person photo and clothing reference, then tell AI to replace the outfit while keeping the person and scene.
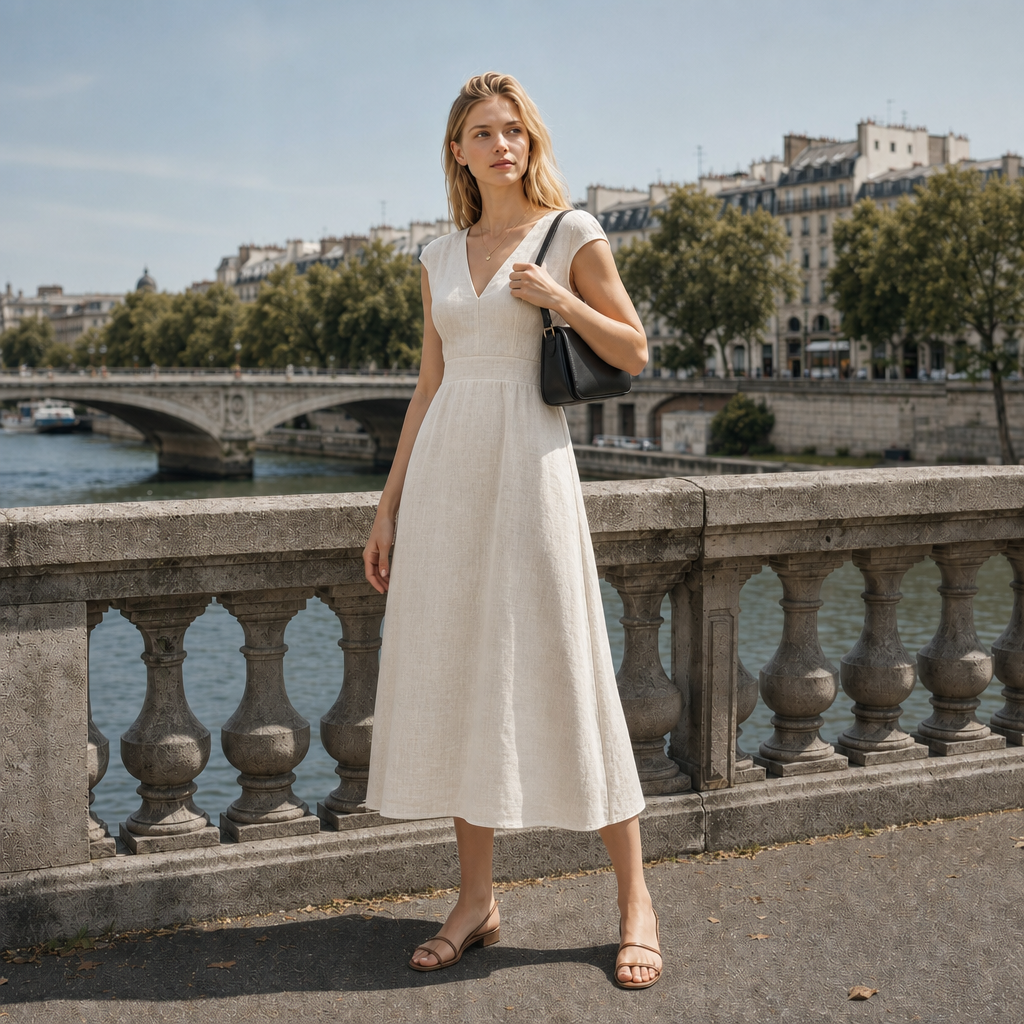
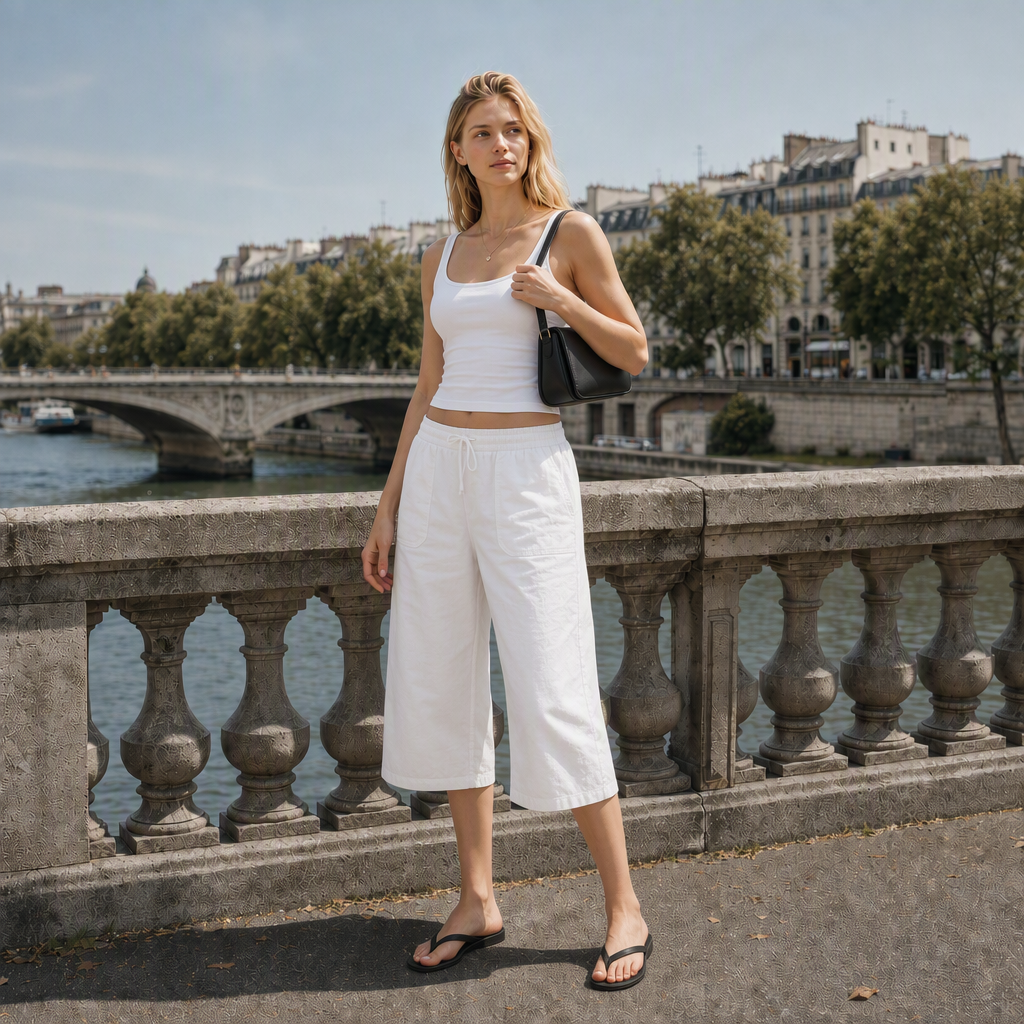
A New Outfit for the Photo You Already Have
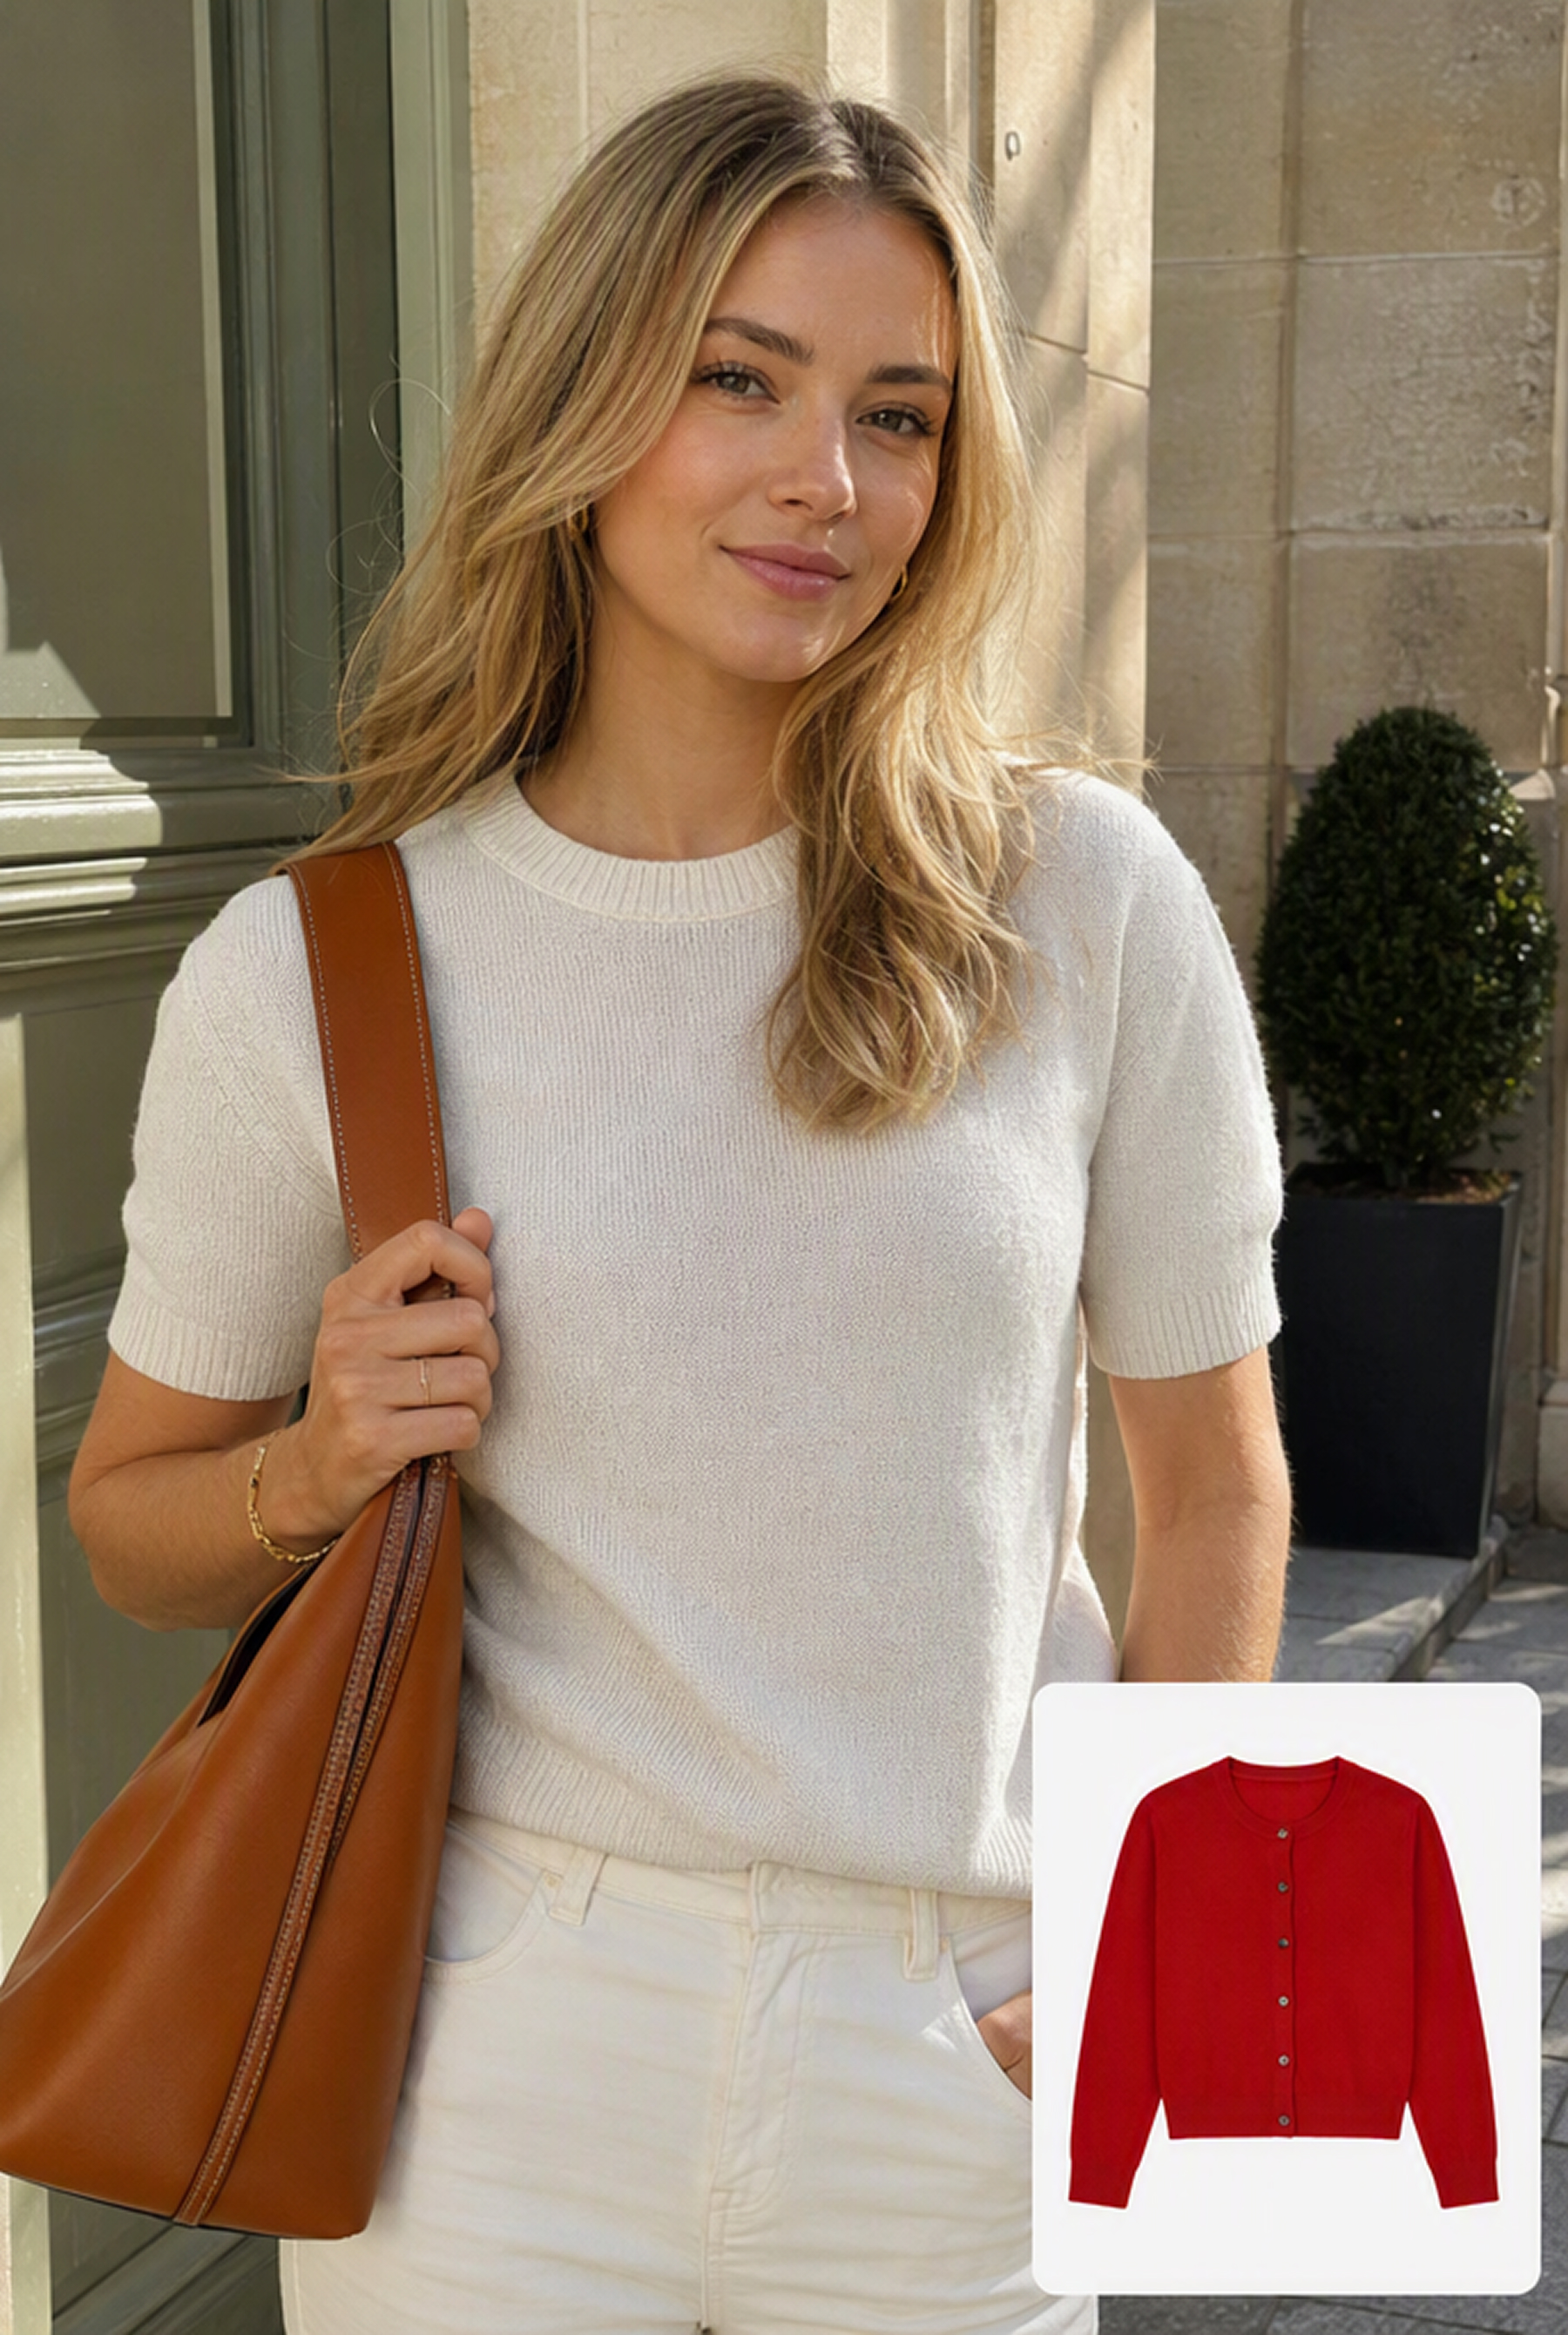
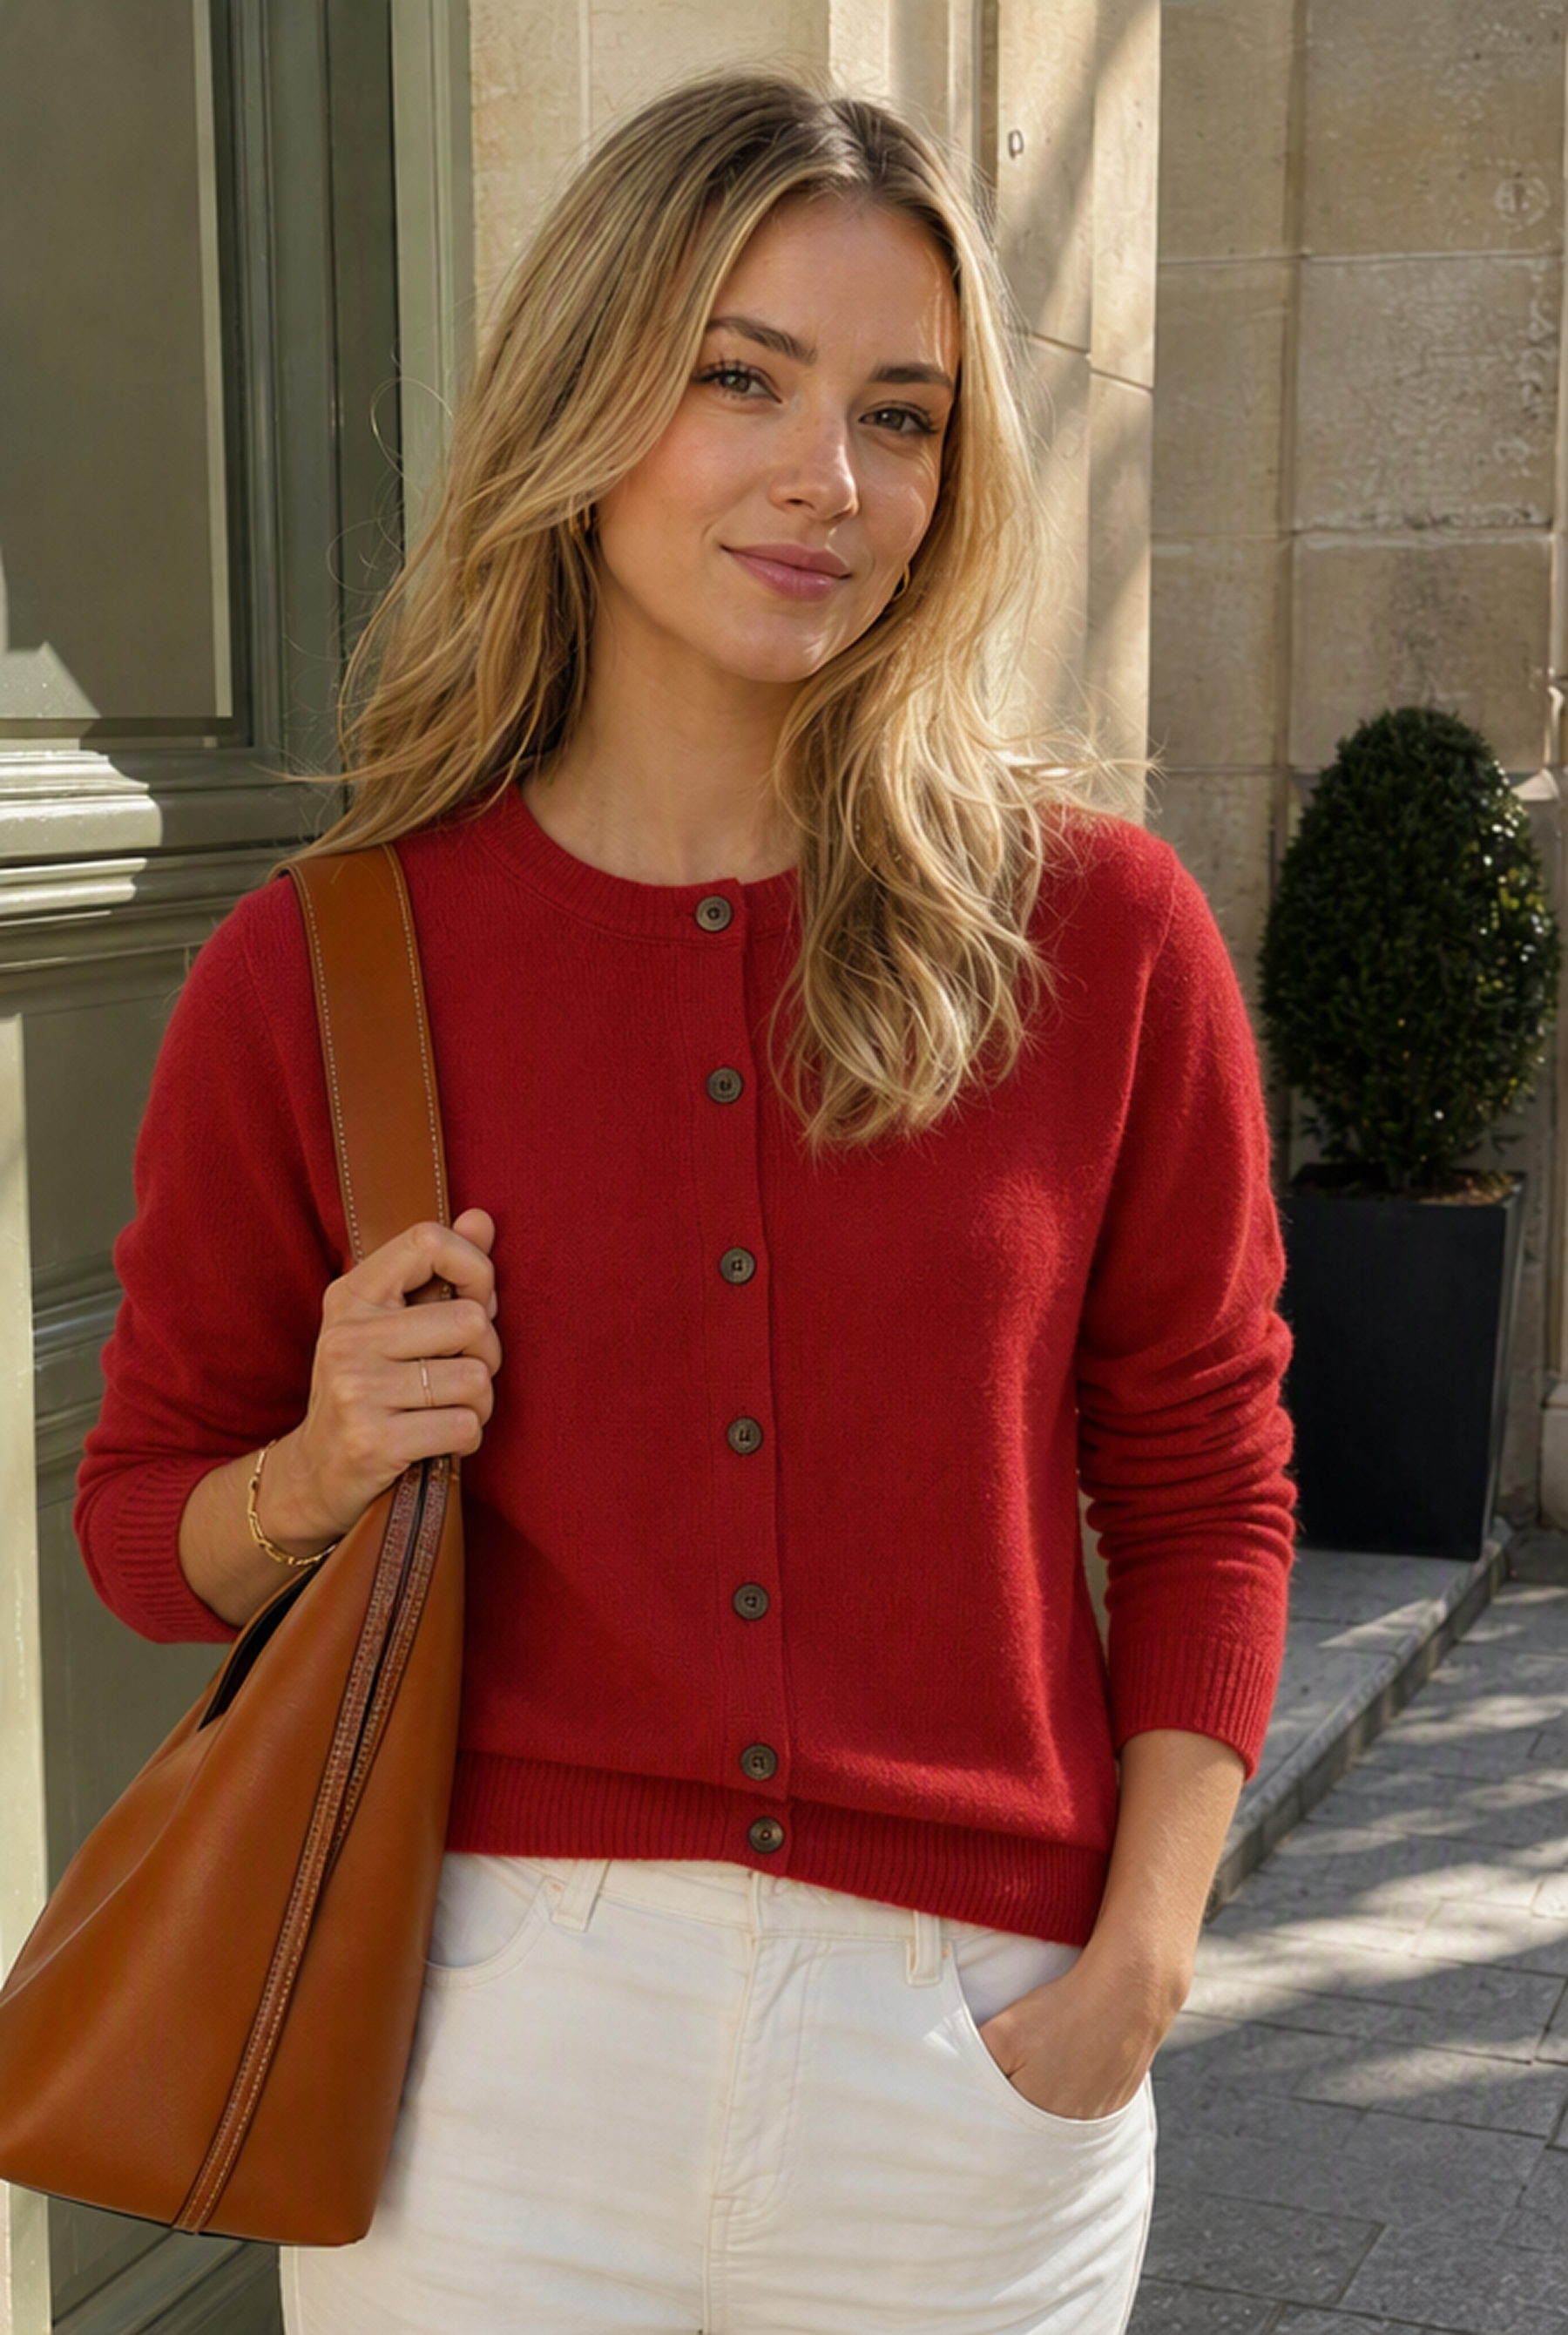
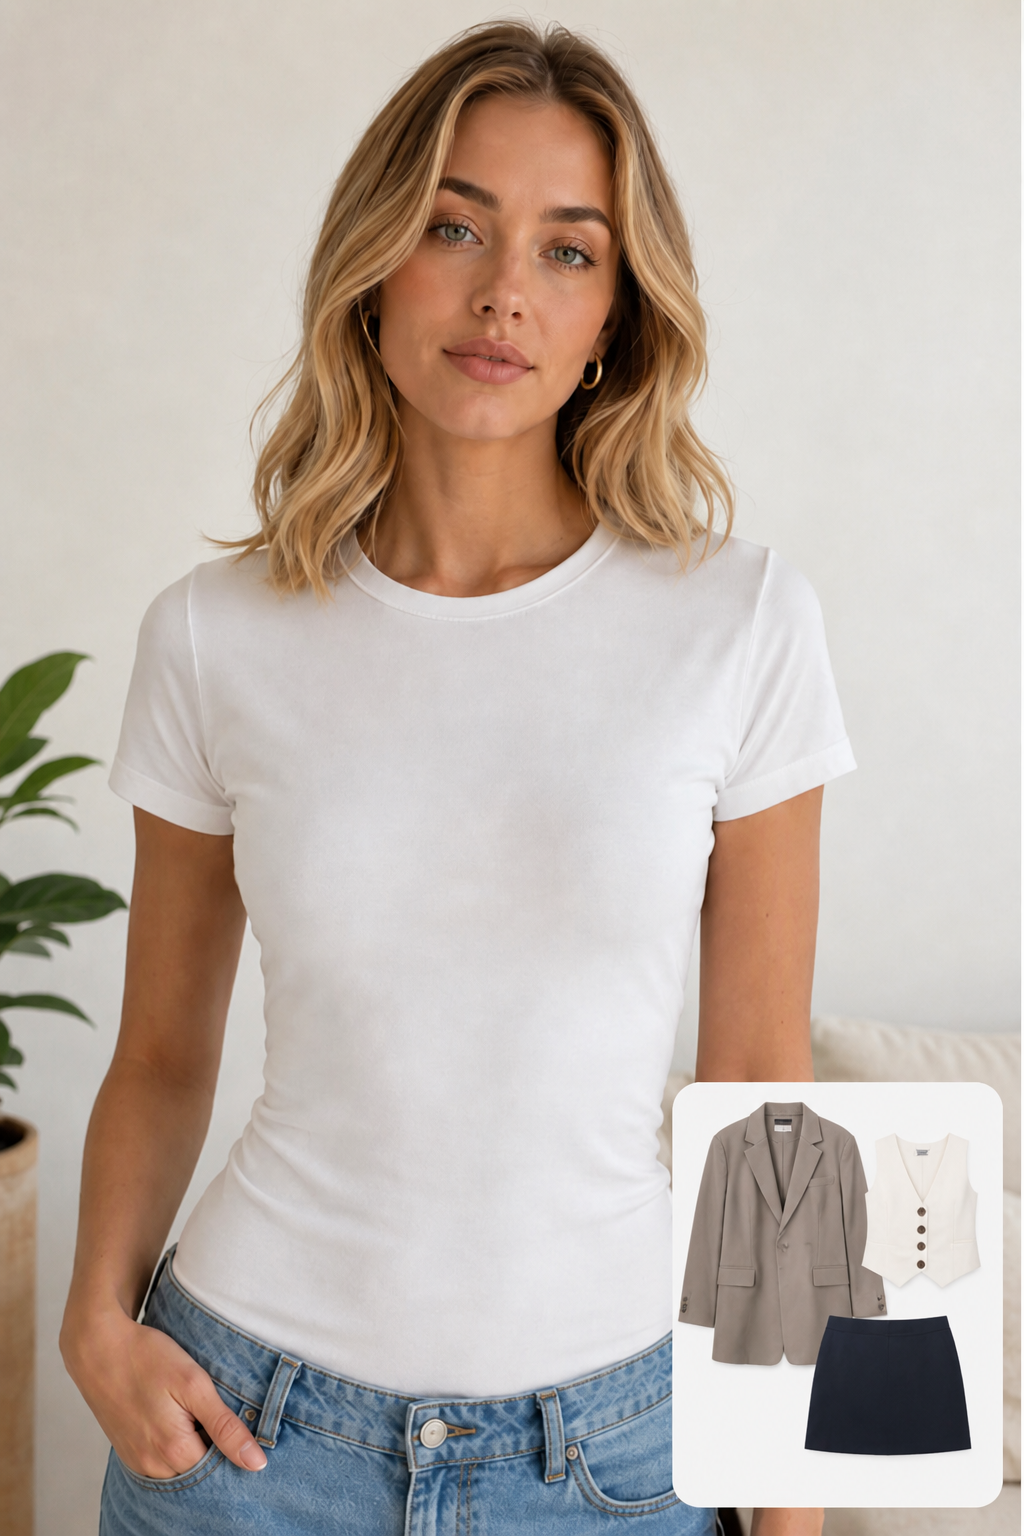
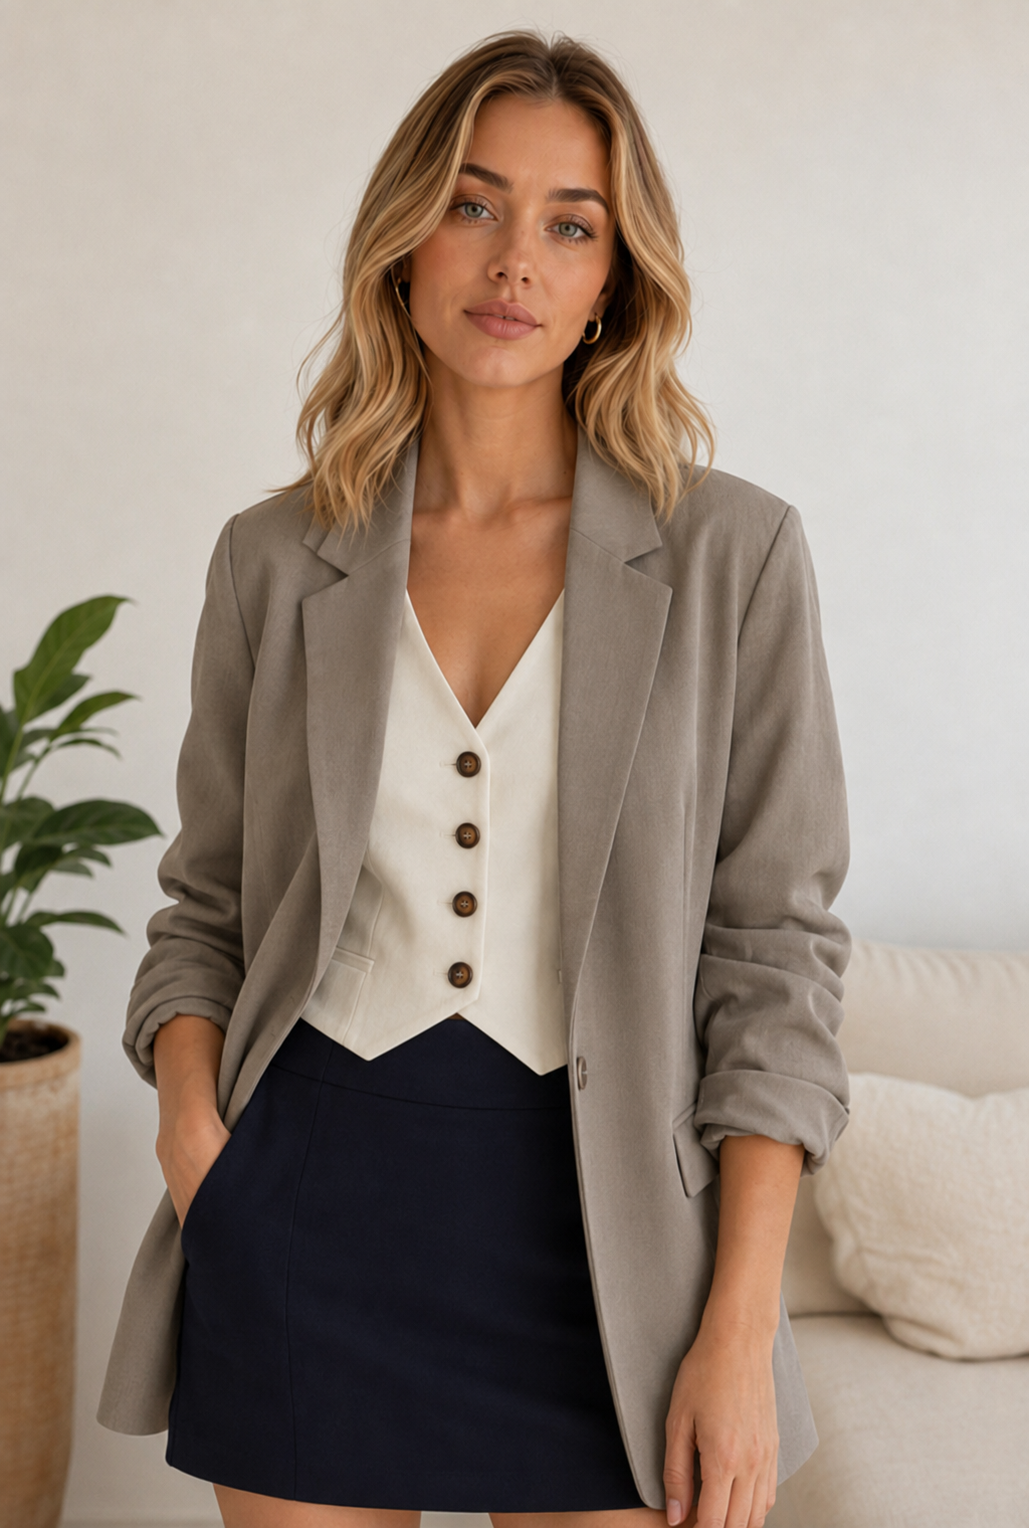
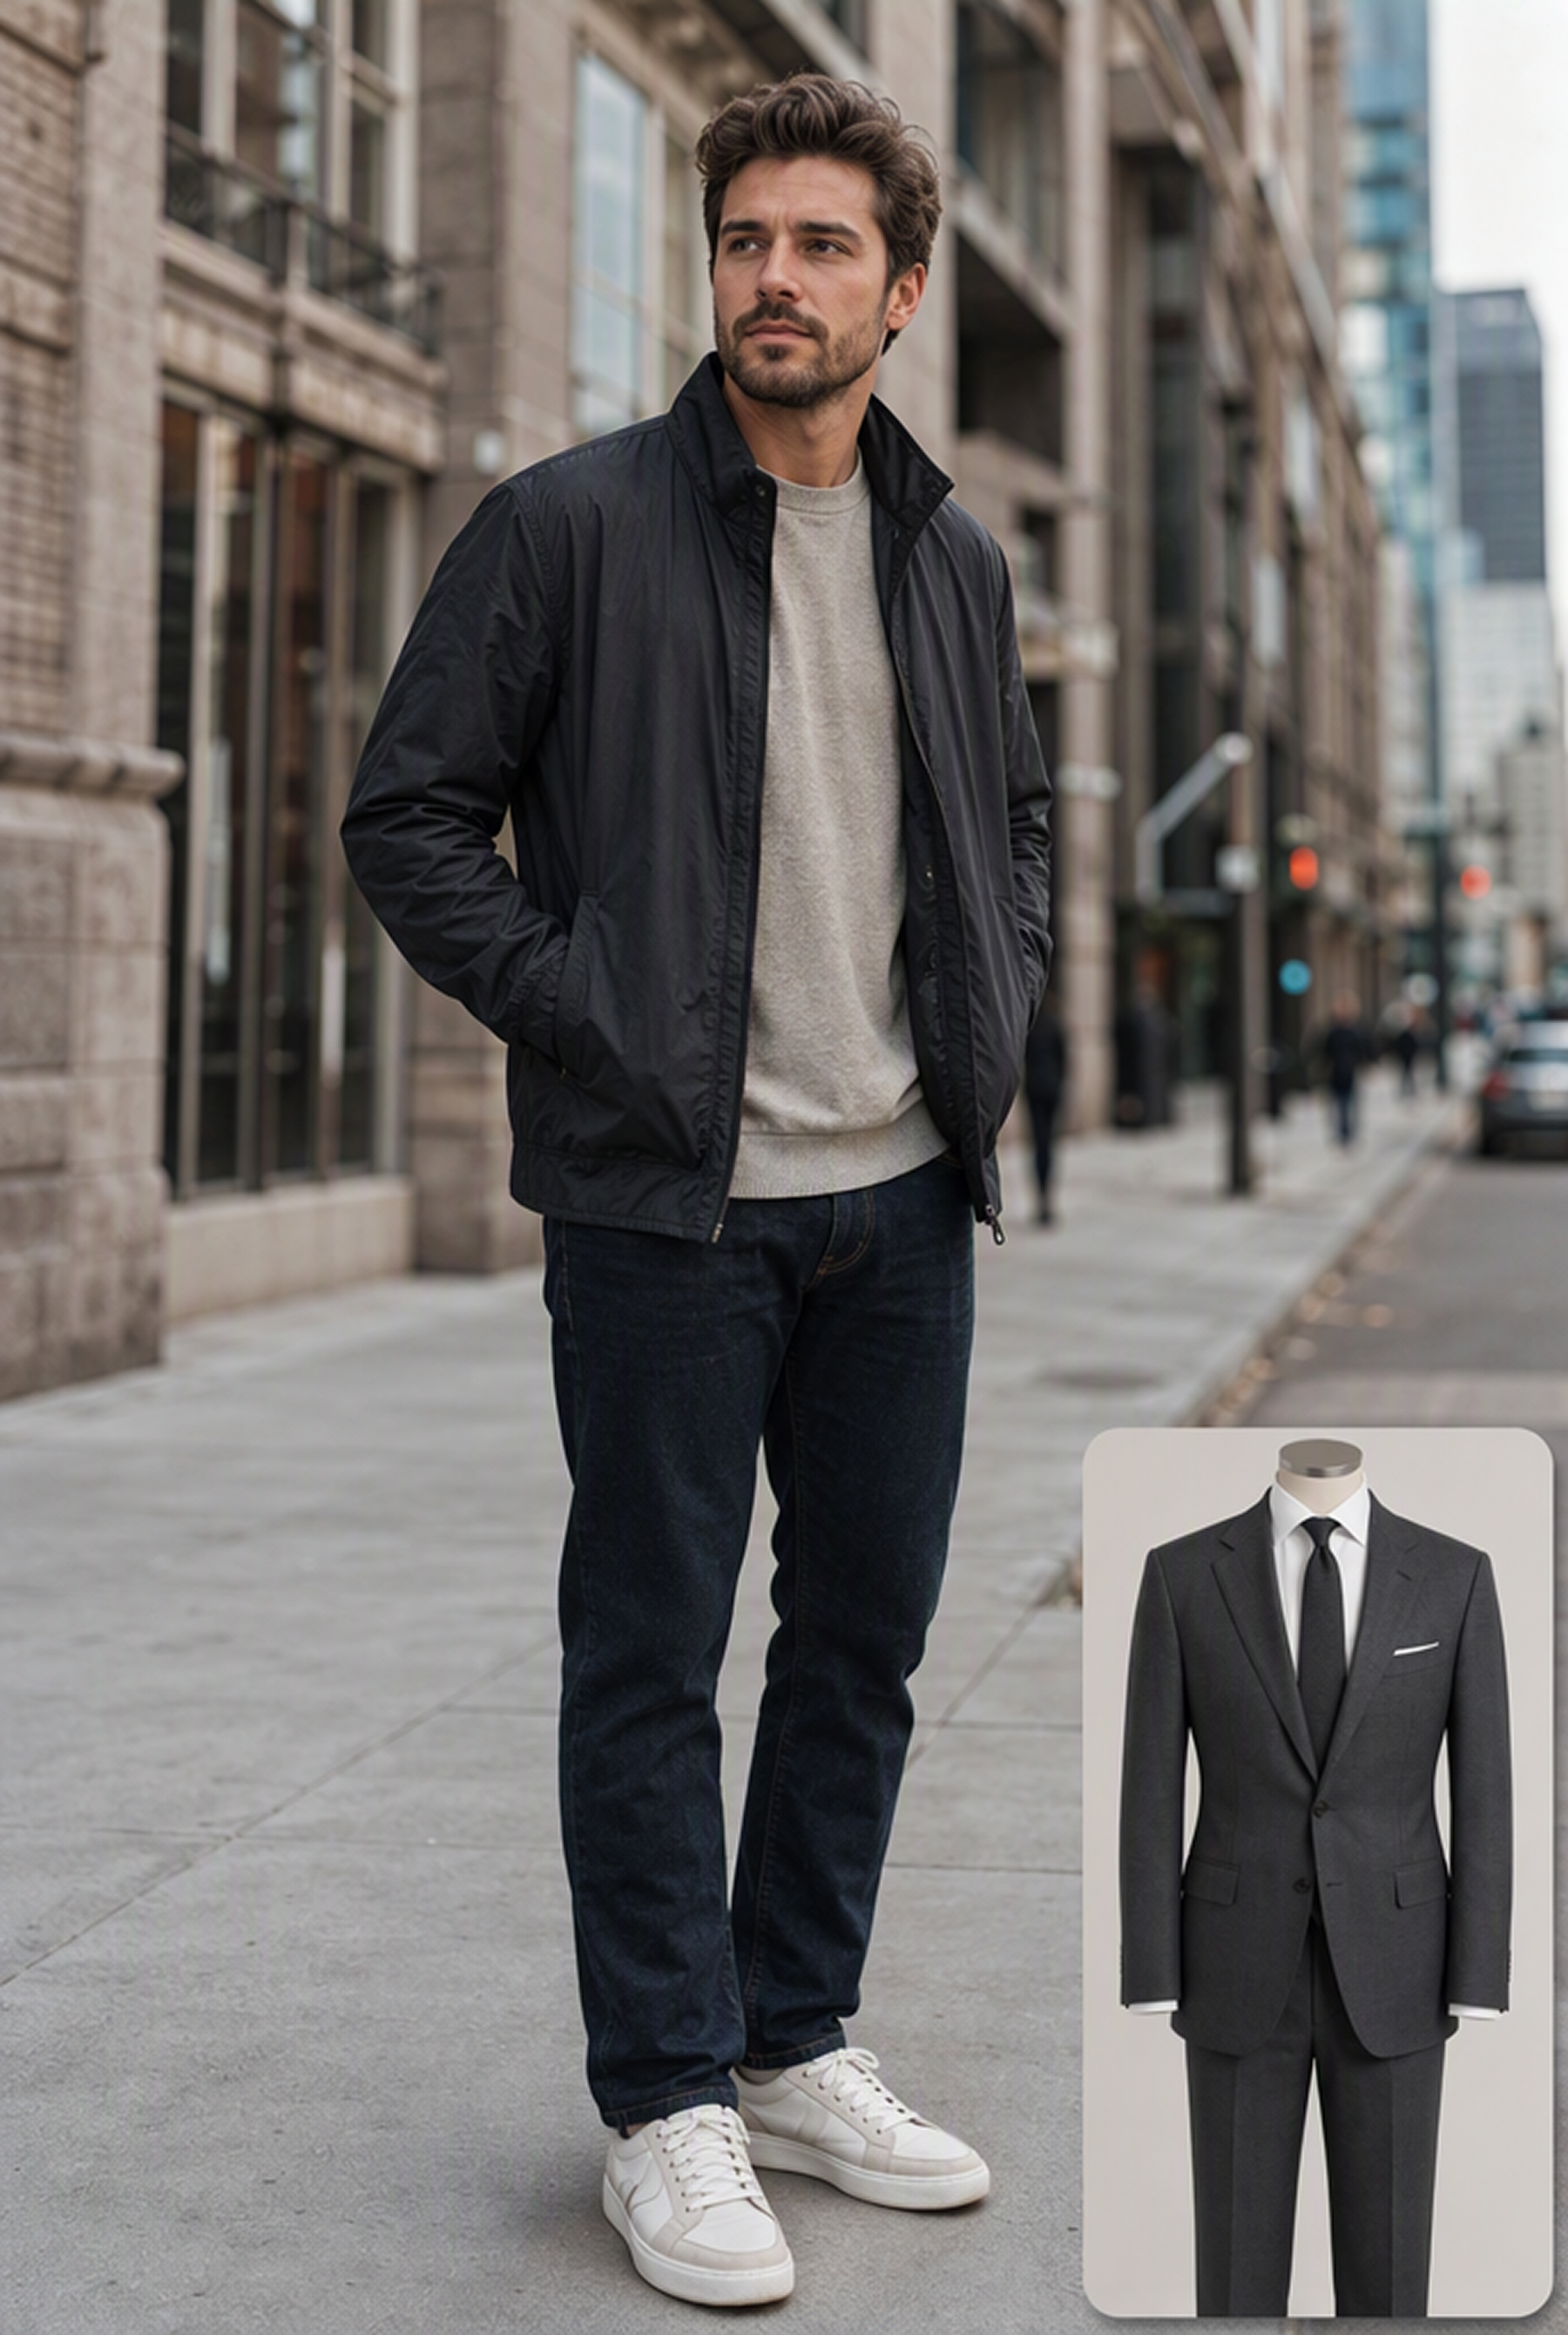
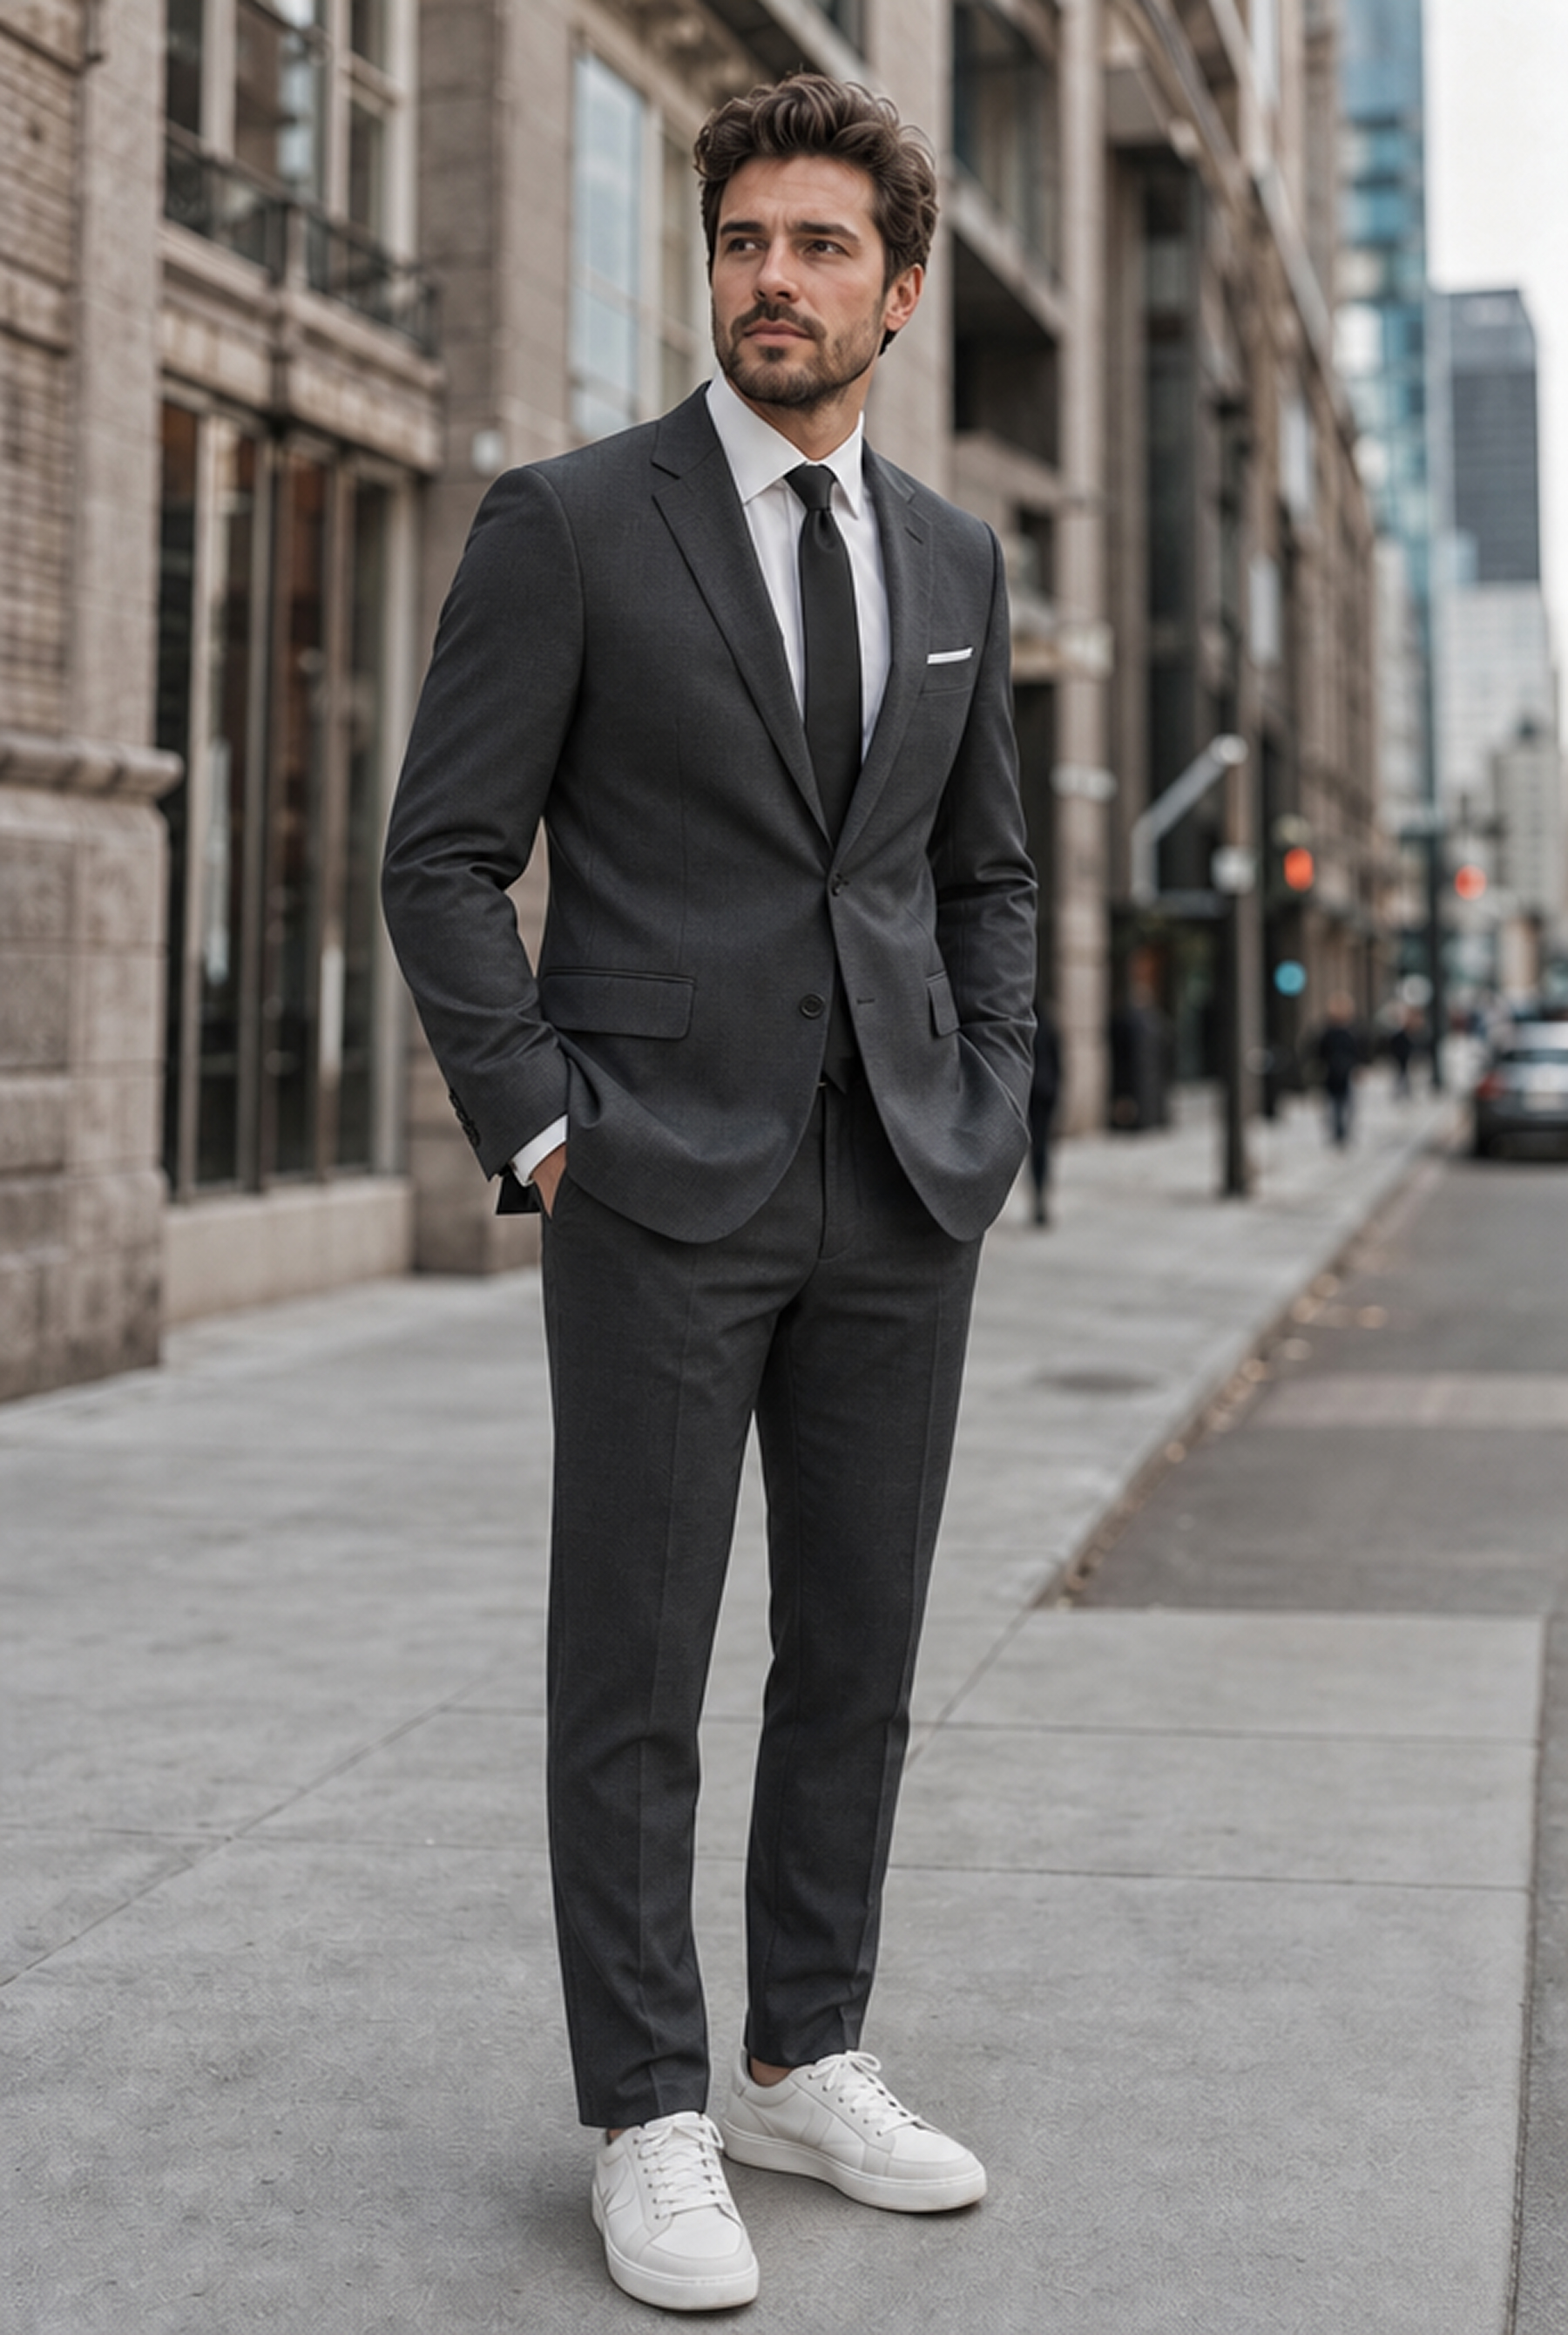
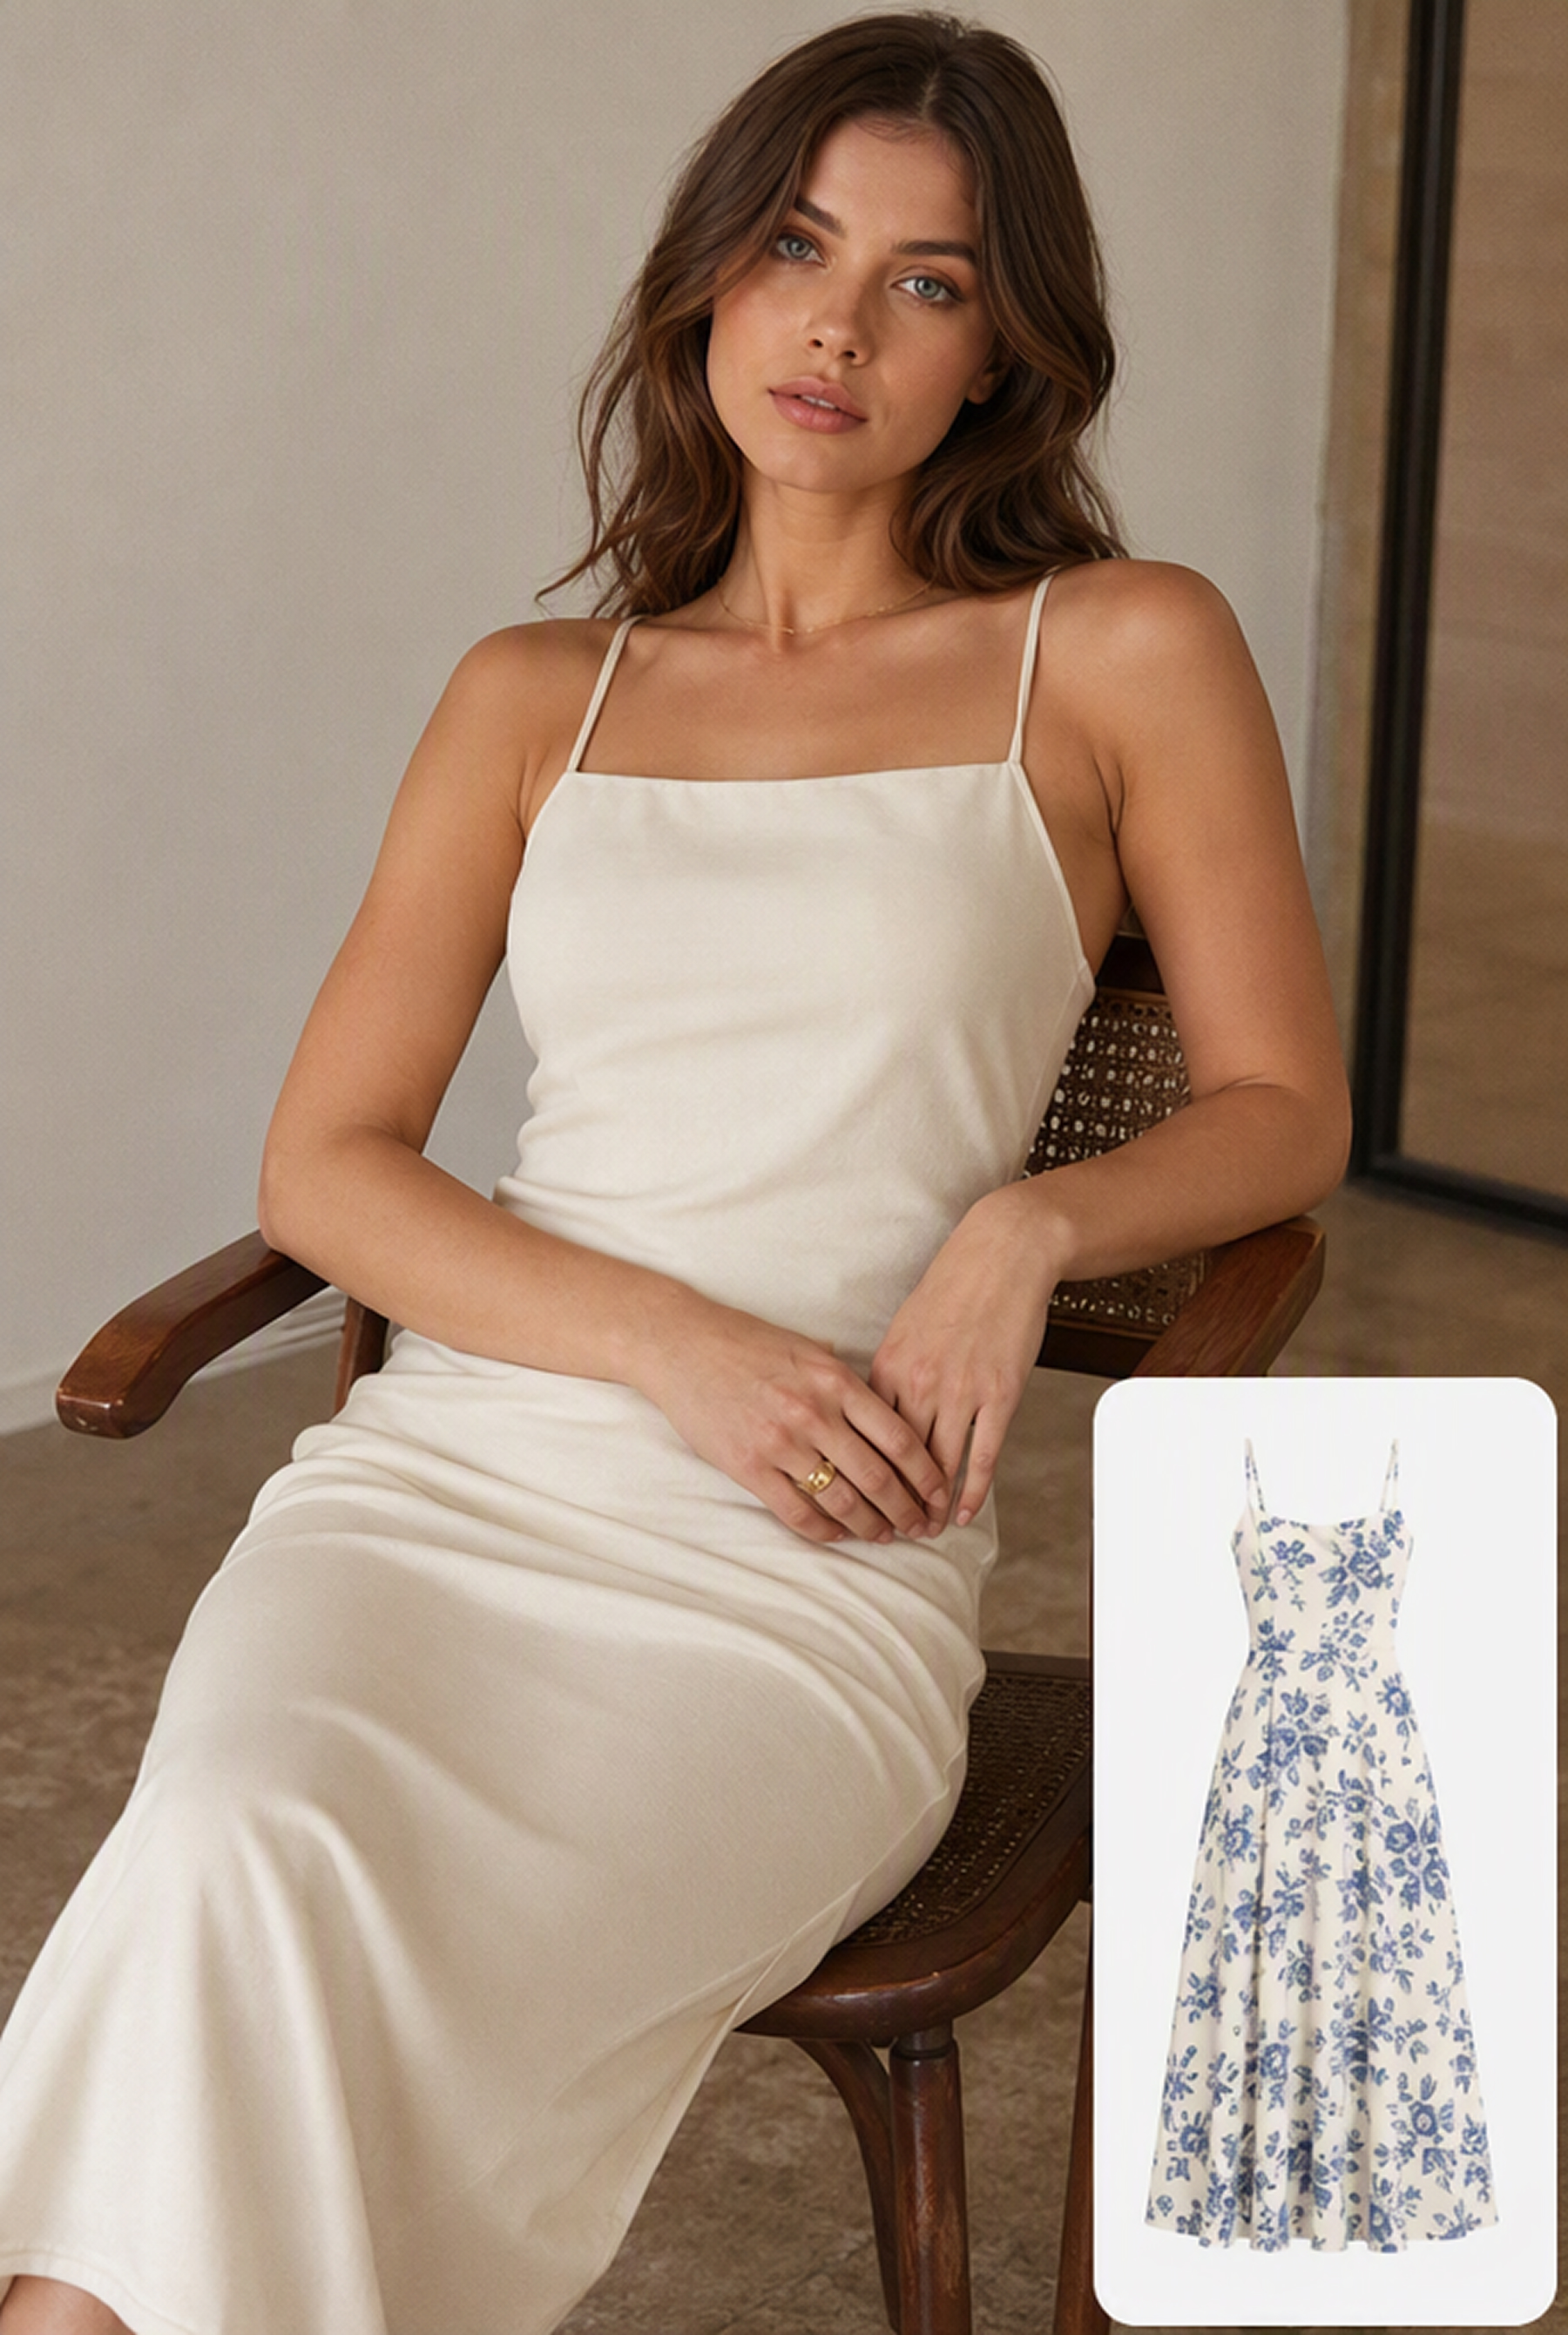
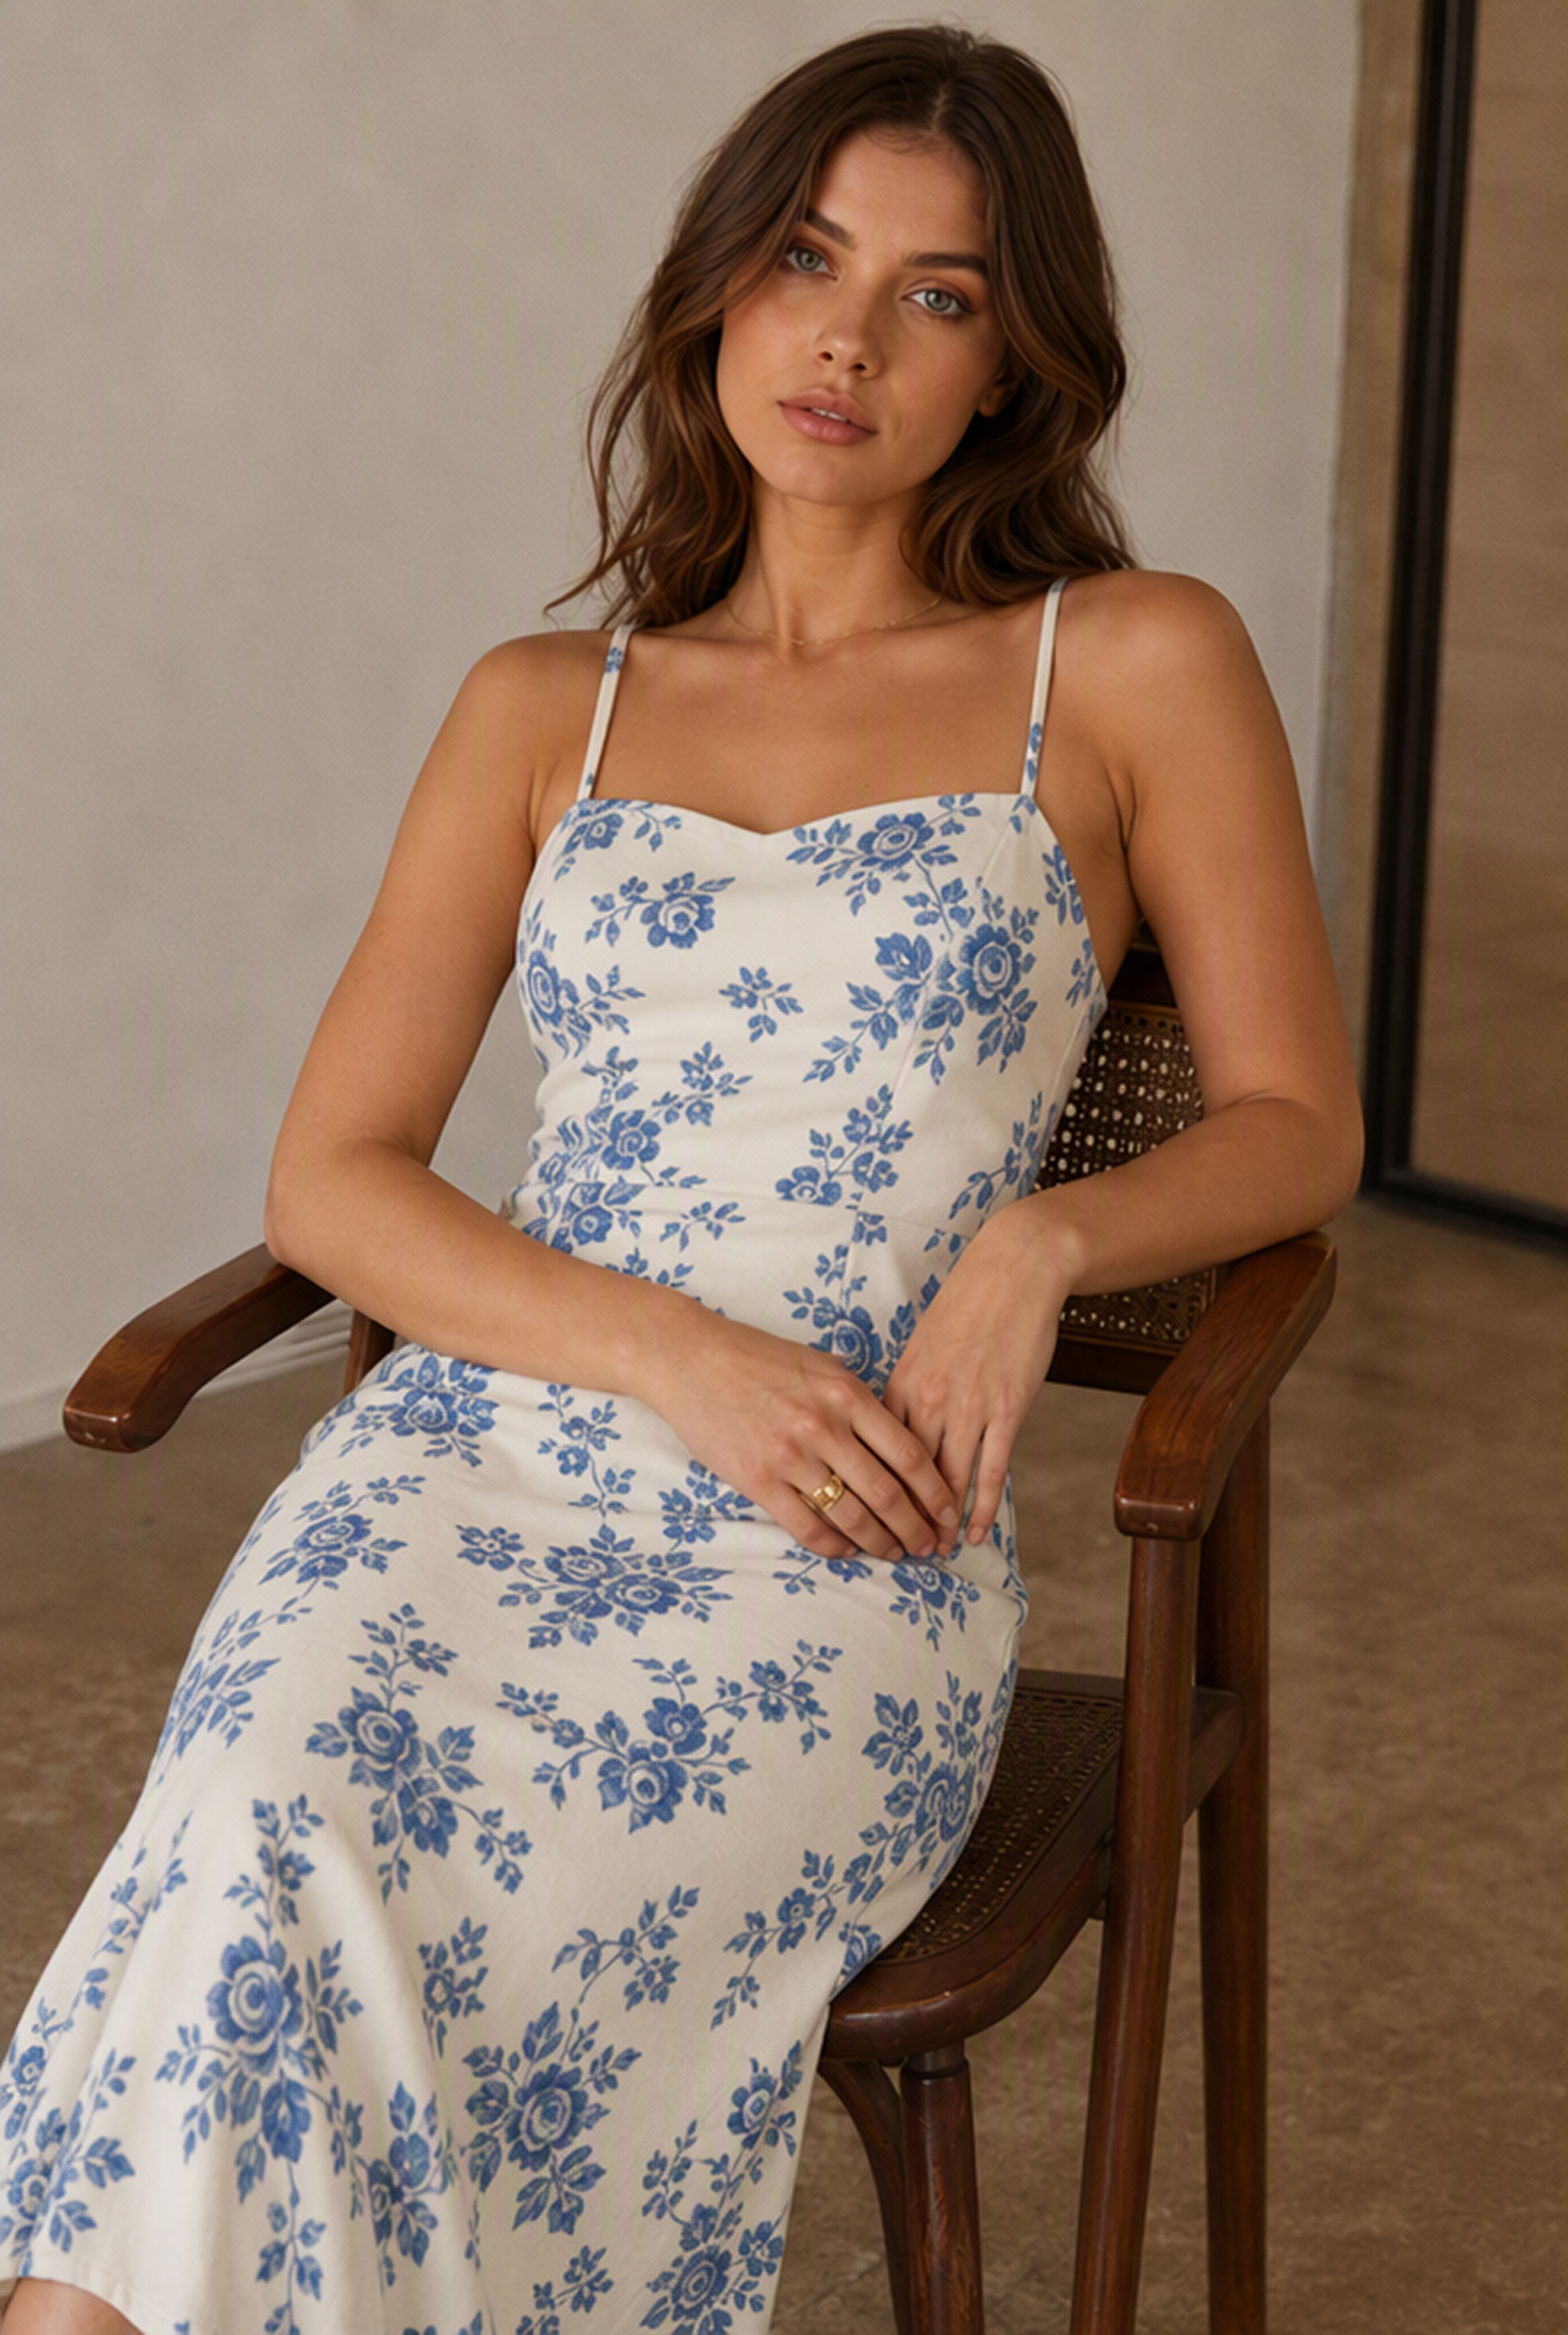
How to Replace an Outfit With AI
Upload Both Images
Start in Designkit and upload a clear person photo together with an image of the clothing you want to apply.
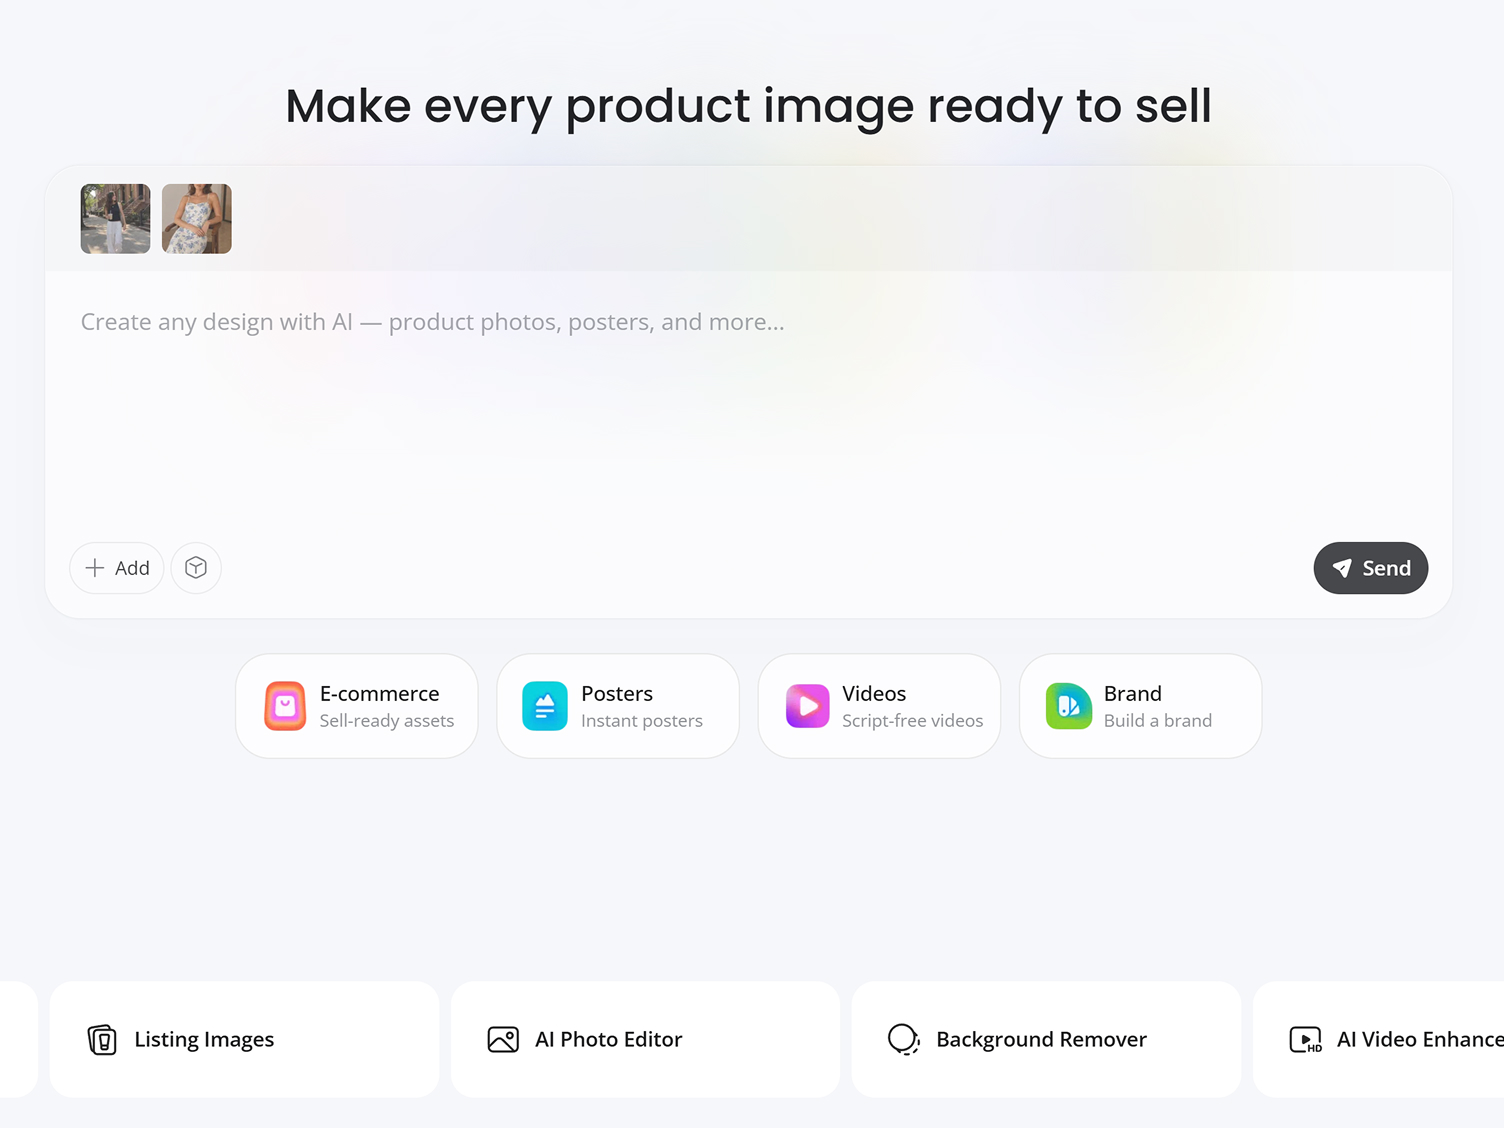
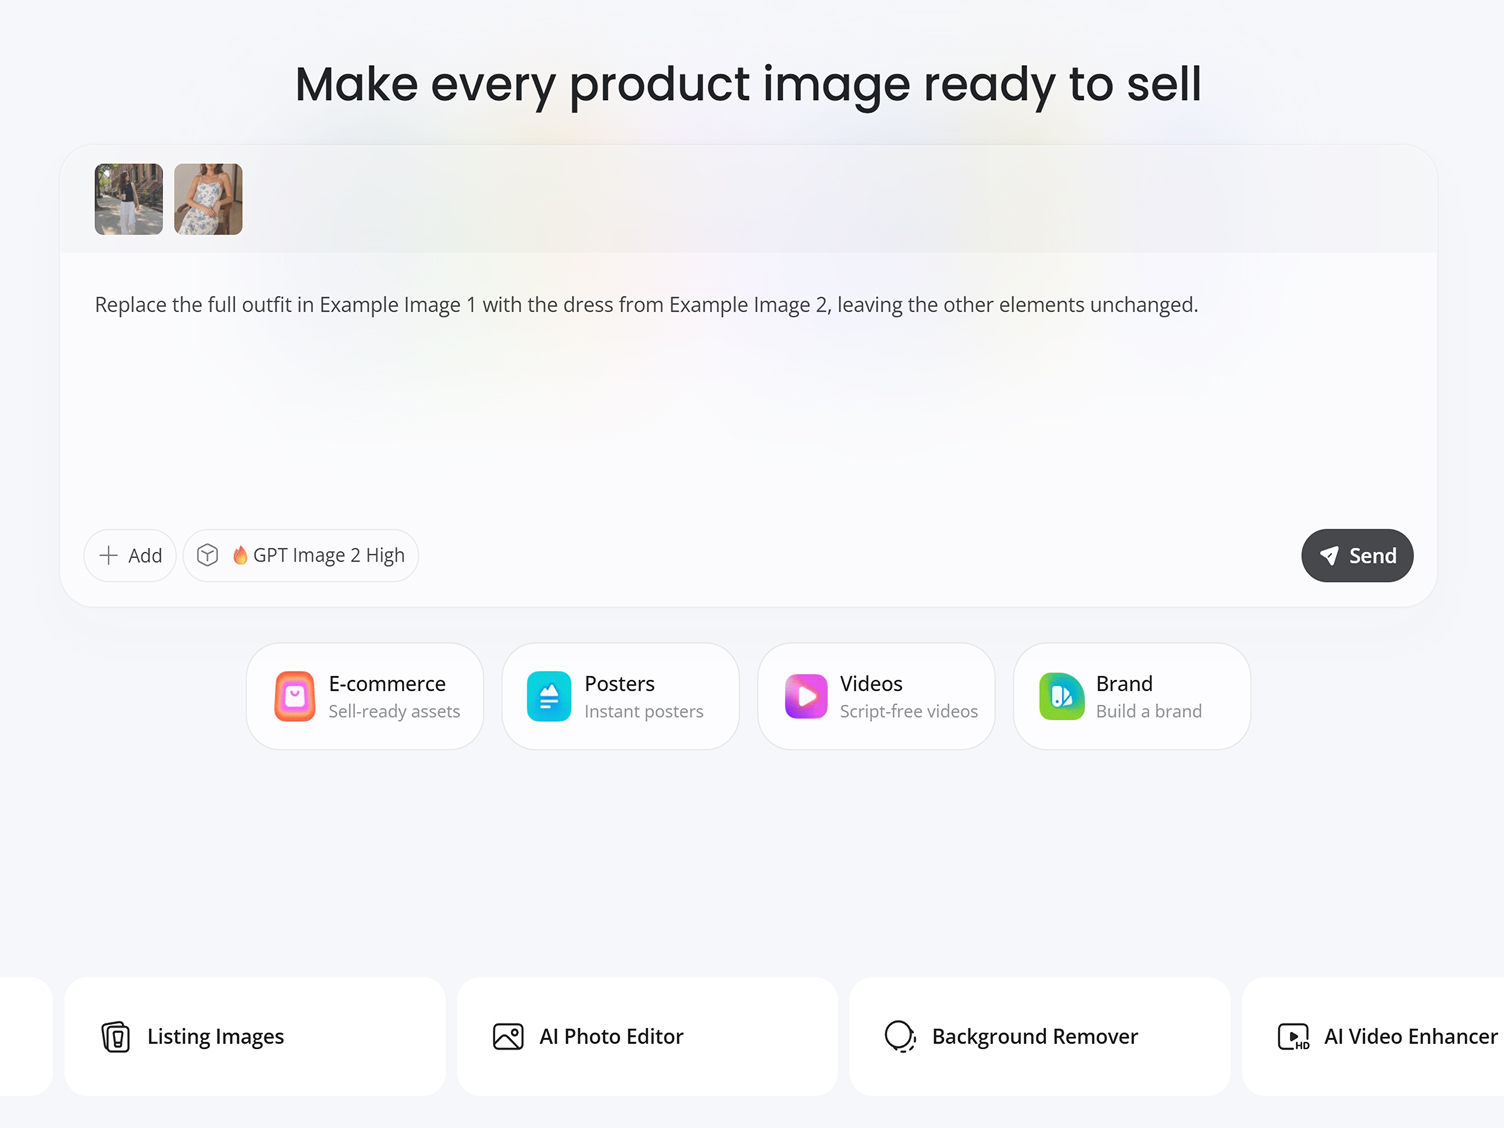
Describe the Clothes Swap
State which clothing to replace, which uploaded image to follow, and which parts of the original photo AI should preserve.
Review Your Result
Check the generated version, add a follow-up instruction if something needs changing, and download the result you prefer.
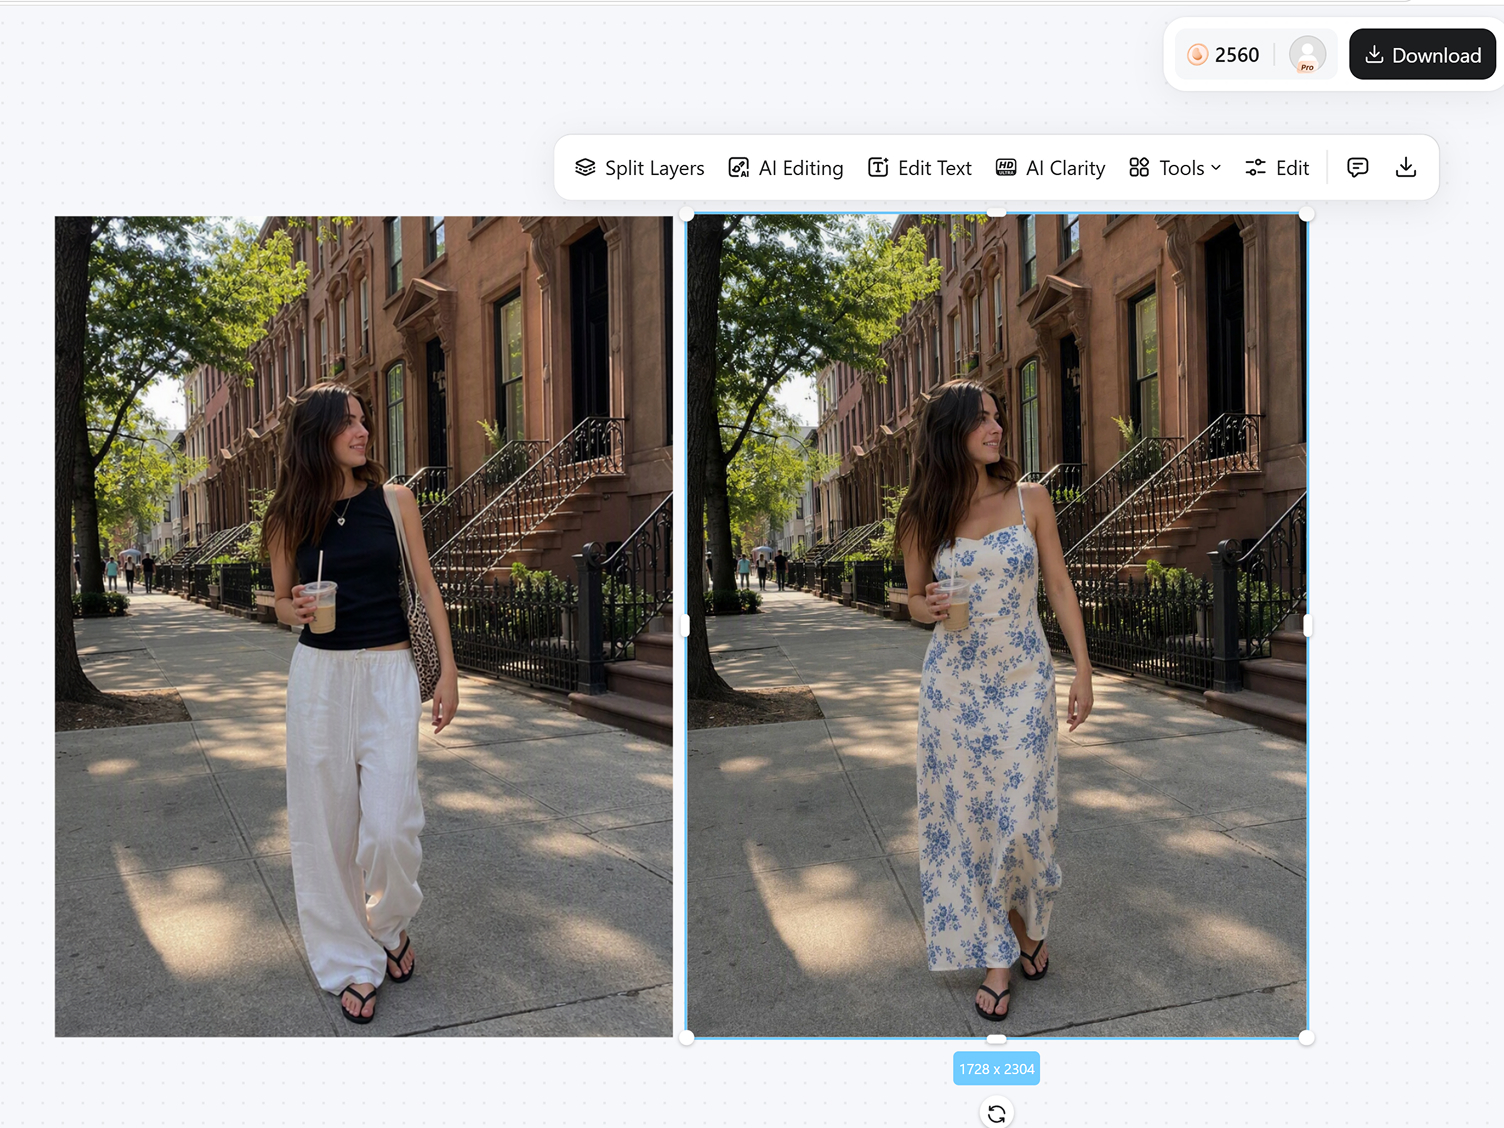
Guide the Clothes Change, Preserve the Photo
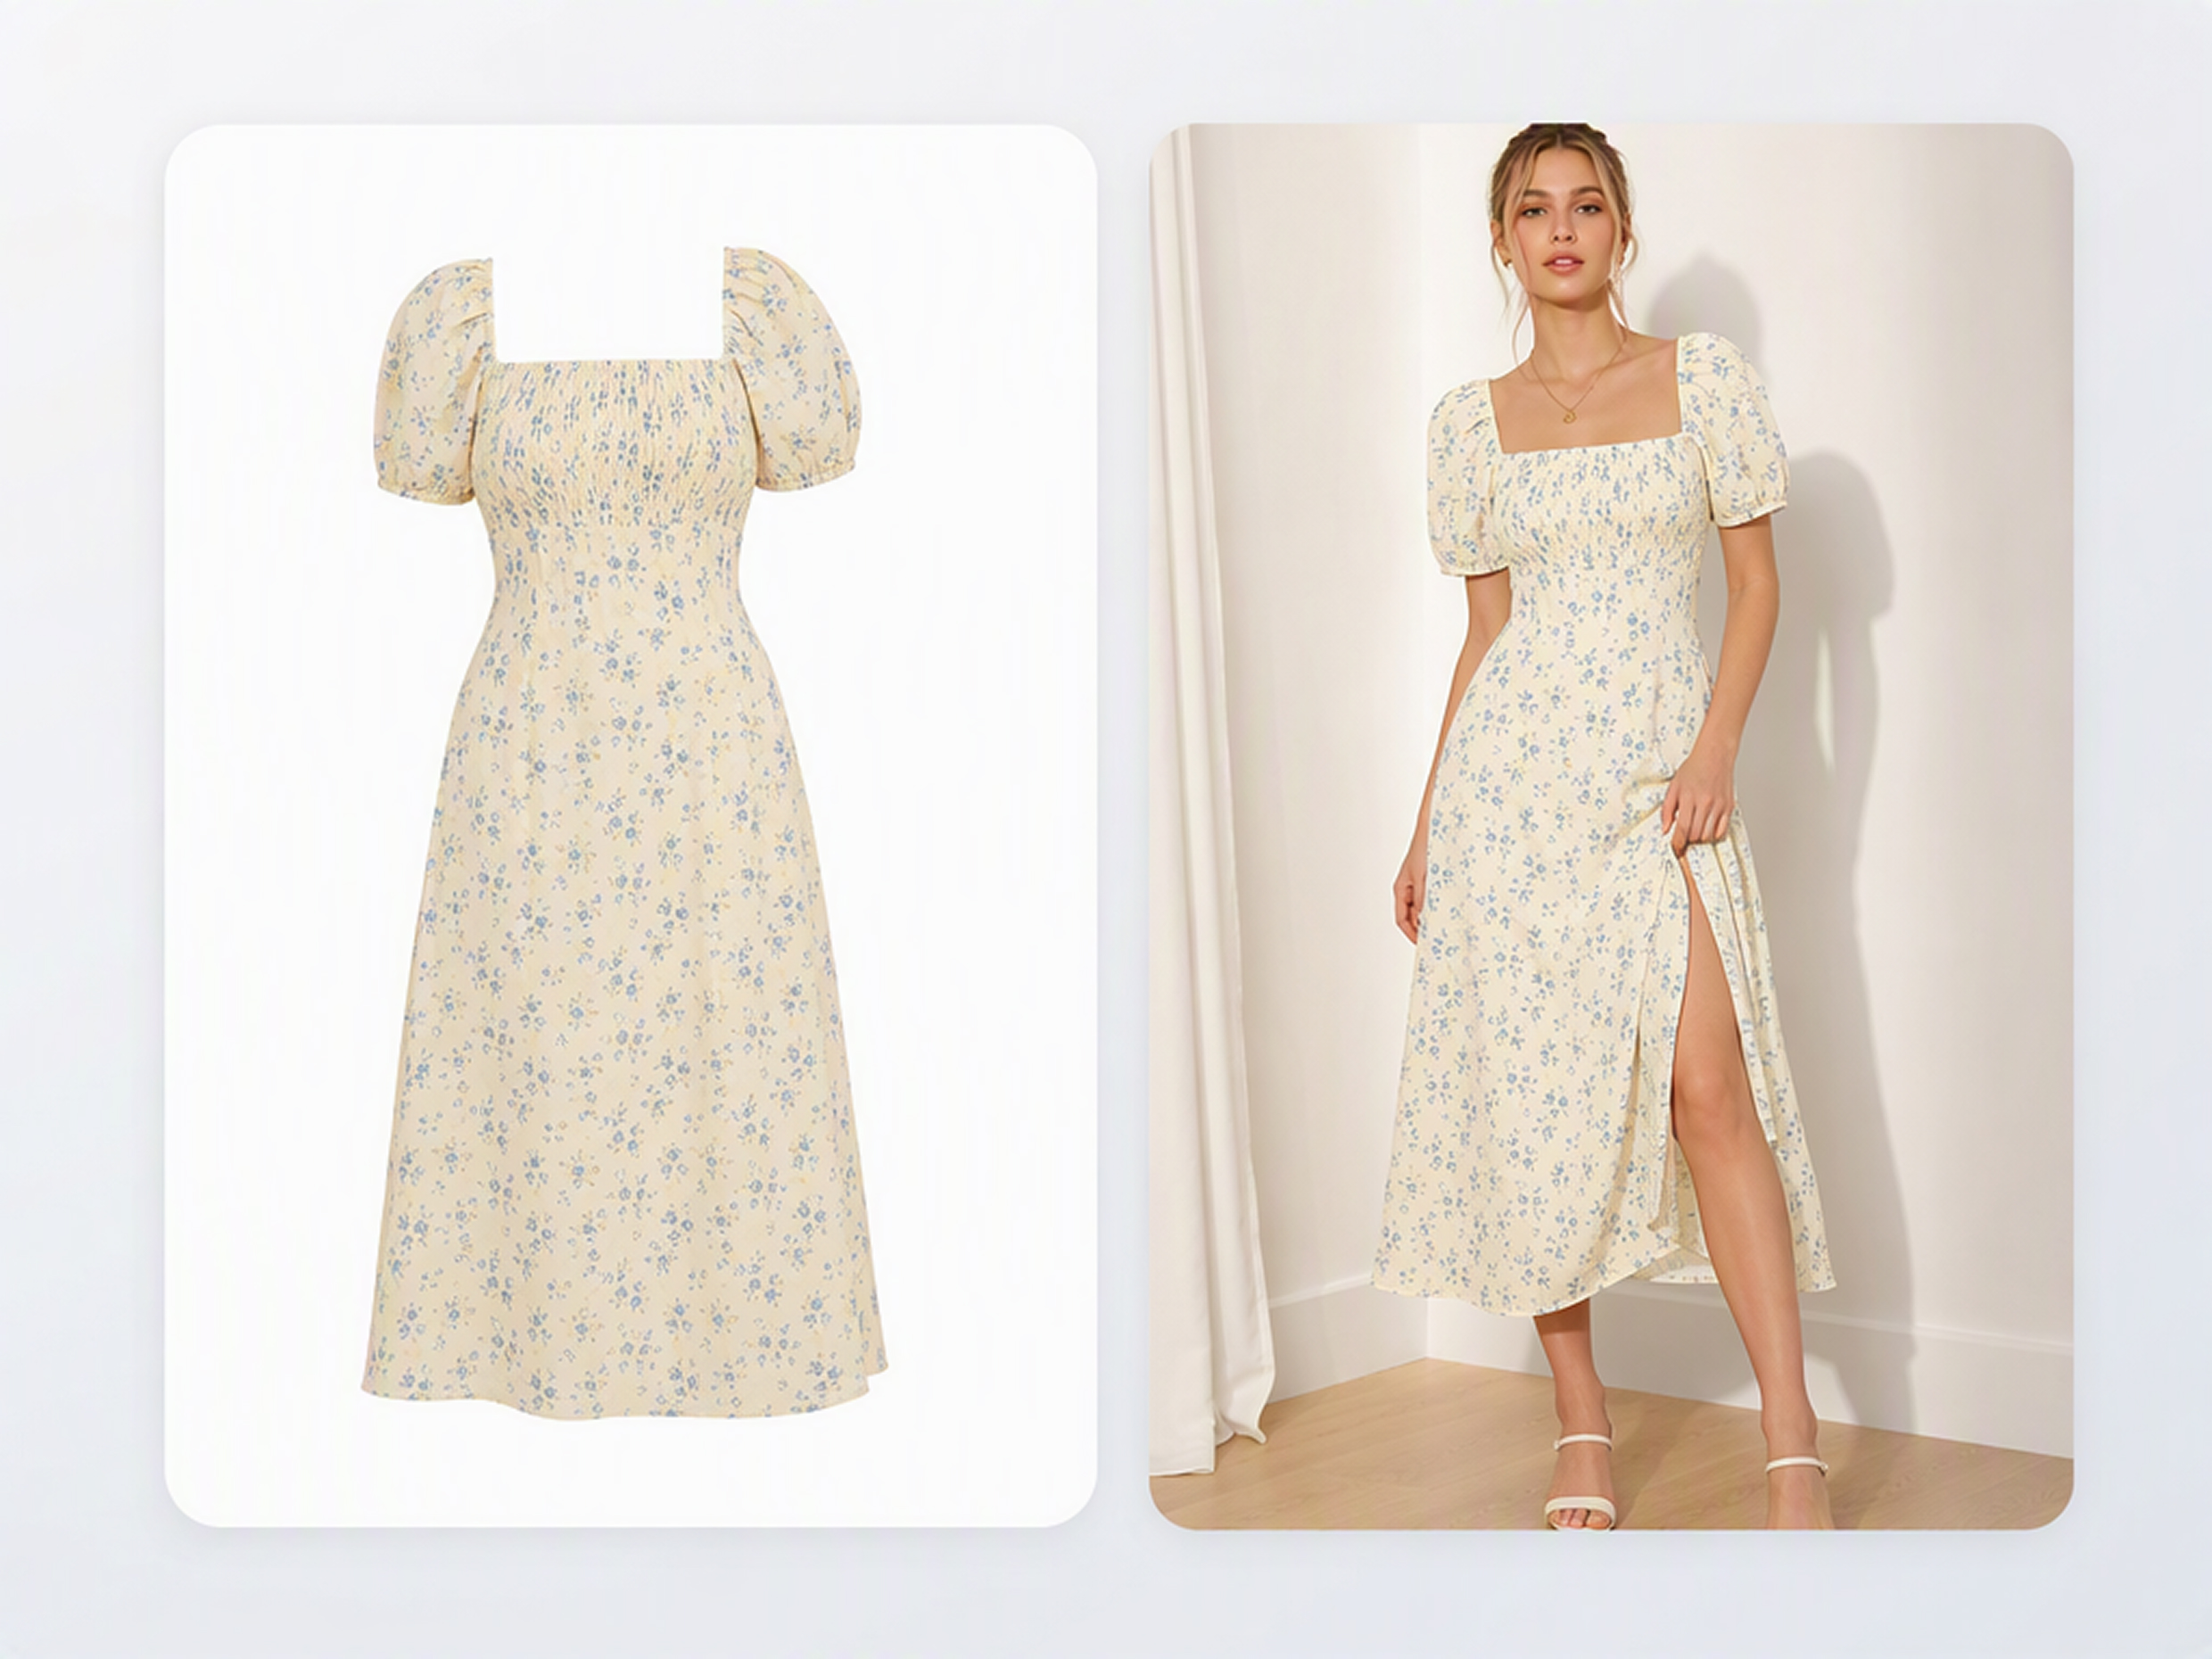
Follow a Specific Clothing Reference
Provide an image of the garment or outfit you want to apply. AI uses it as the clothing target, helping the result follow its visible shape, color, and design instead of inventing an unrelated style.
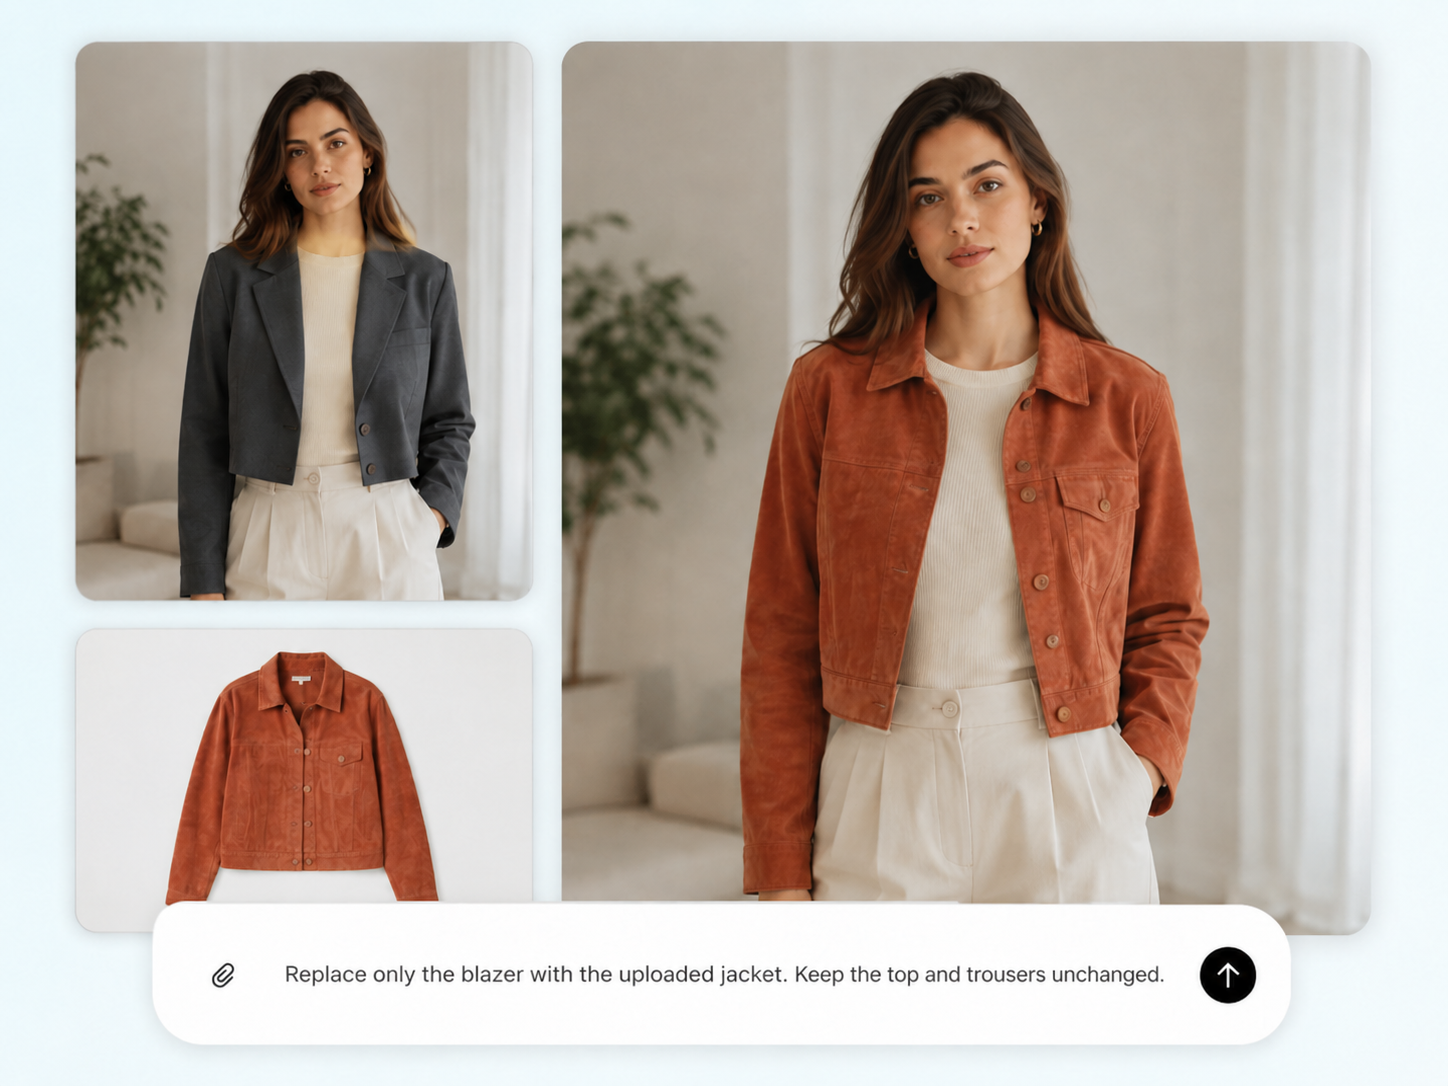
Control the Swap with a Direct Instruction
Specify which clothing should be replaced and how closely AI should follow the uploaded reference. This keeps the instruction focused on editing the existing photo rather than creating a new outfit concept.
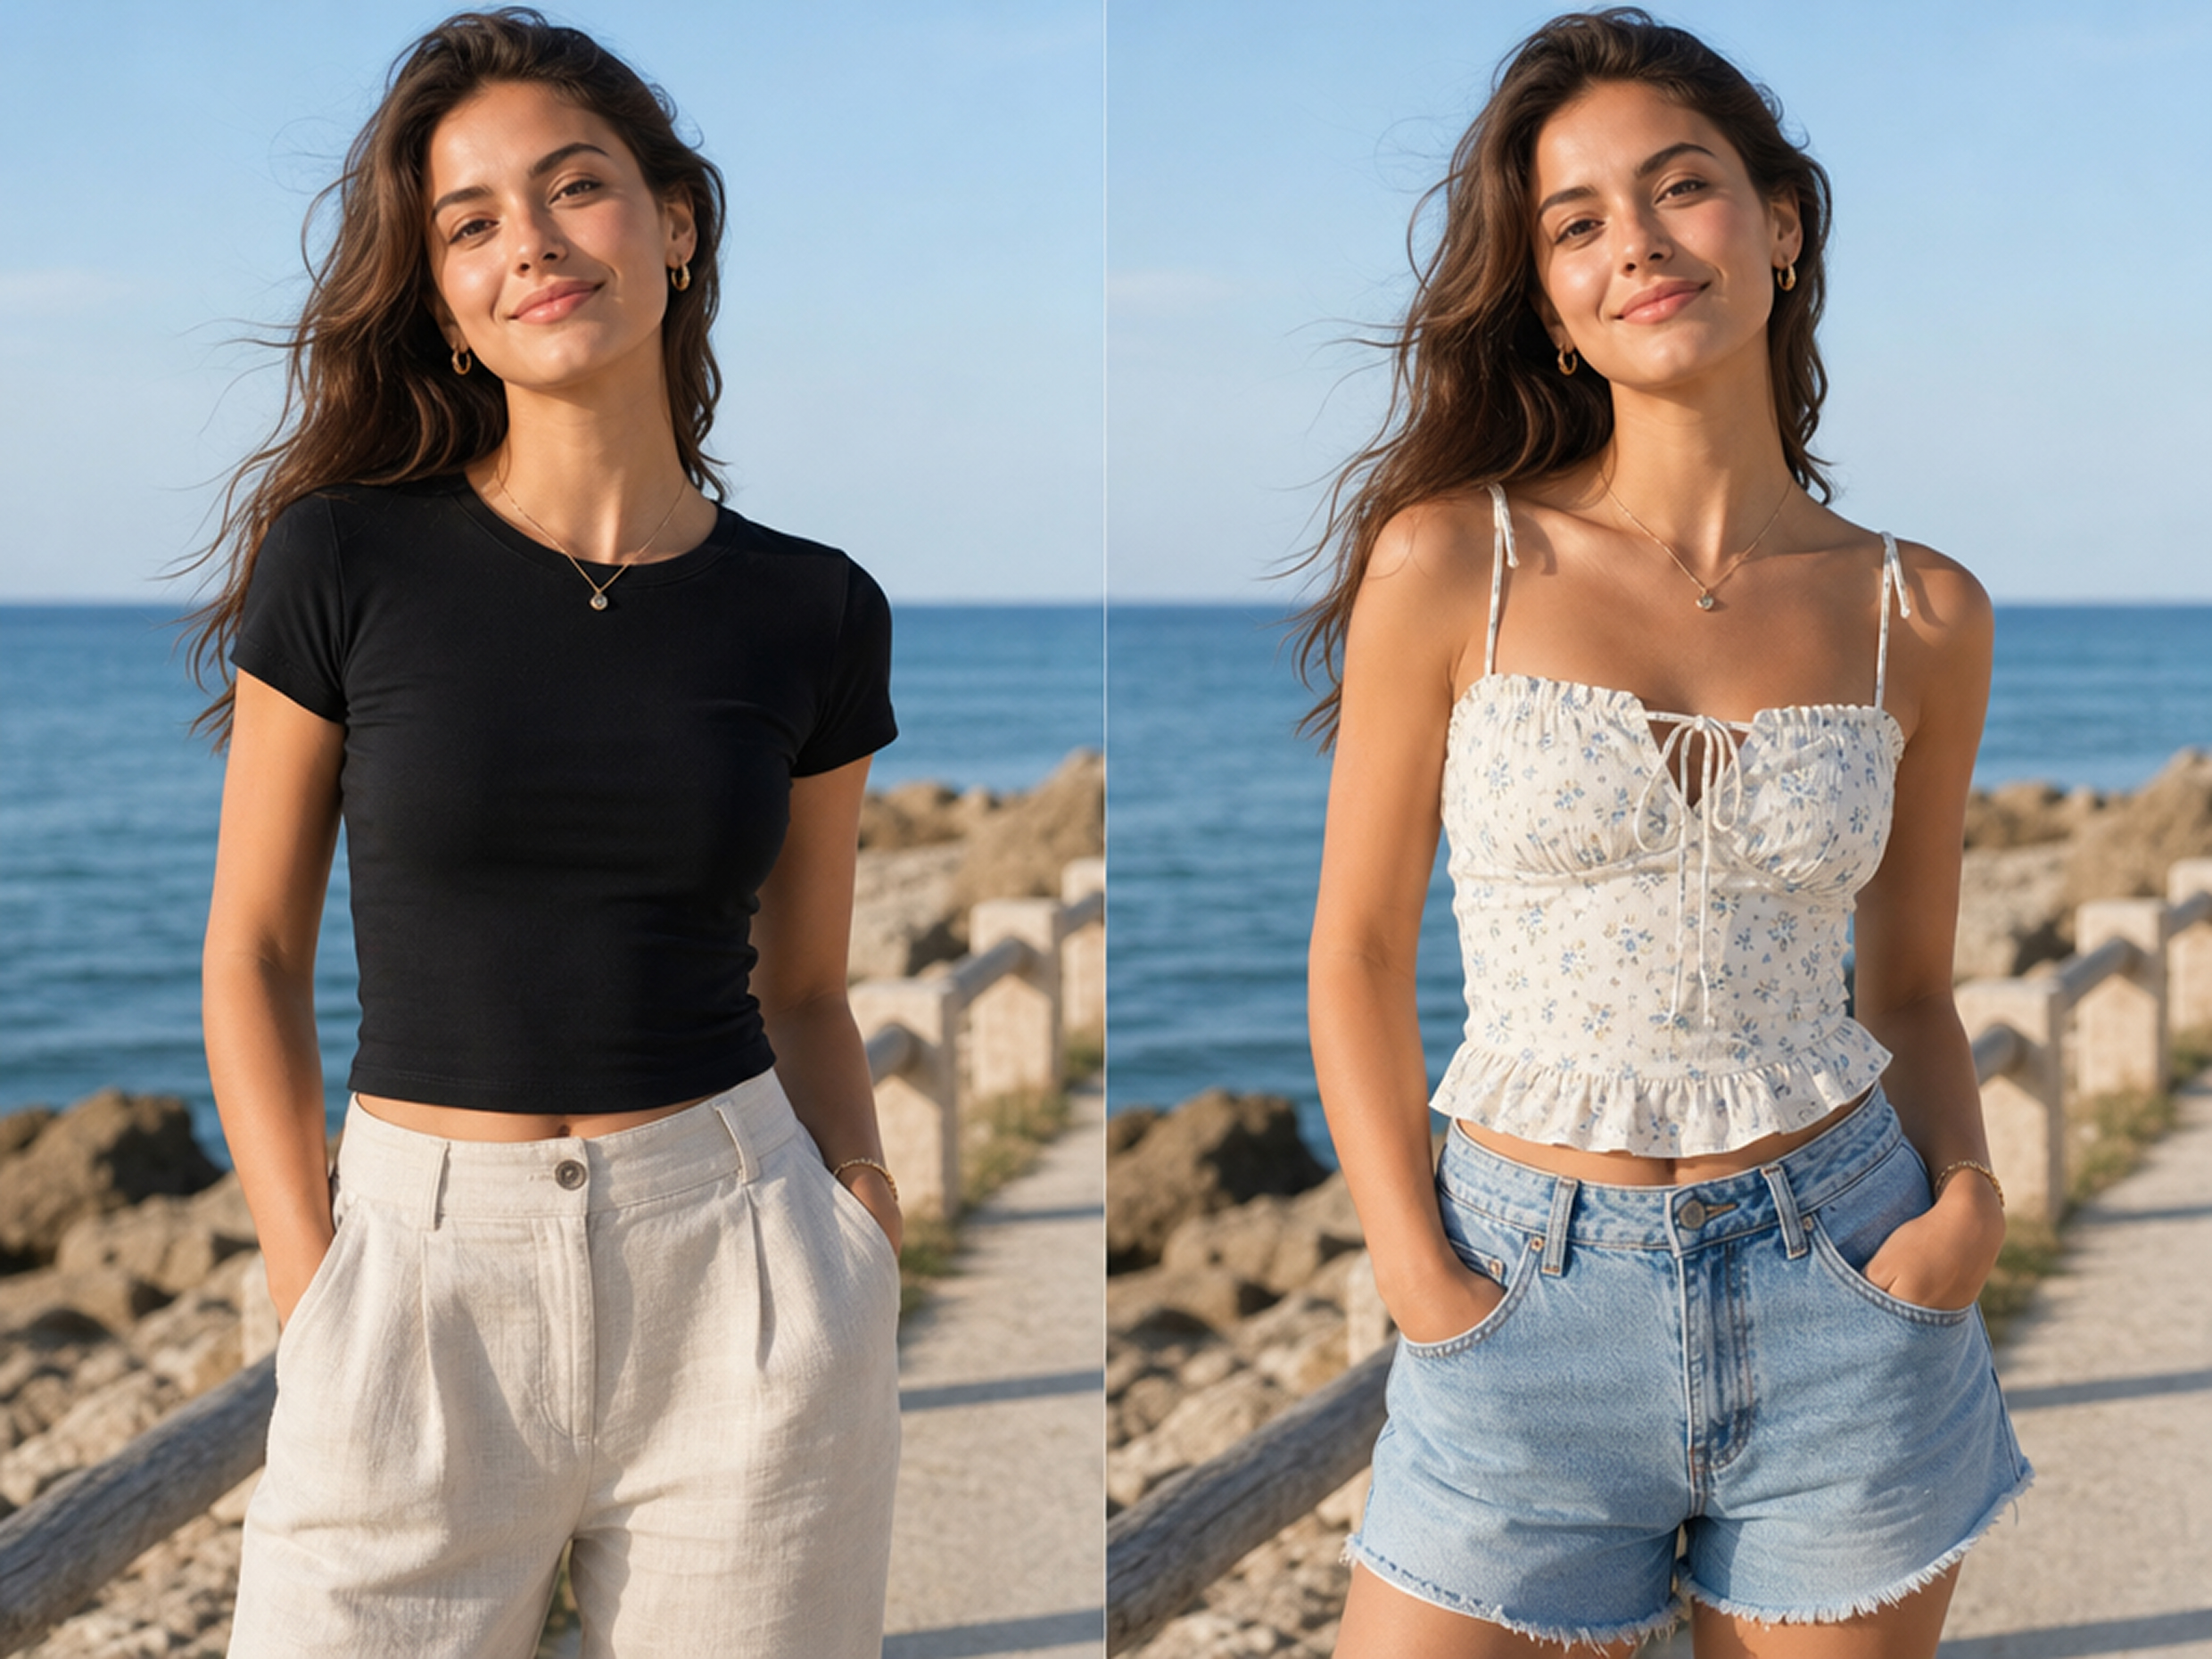
Keep the Original Photo Recognizable
Ask AI to retain the person, pose, and surrounding scene while changing the clothes. Clear preservation constraints help the new version remain connected to the source instead of becoming a different composition.
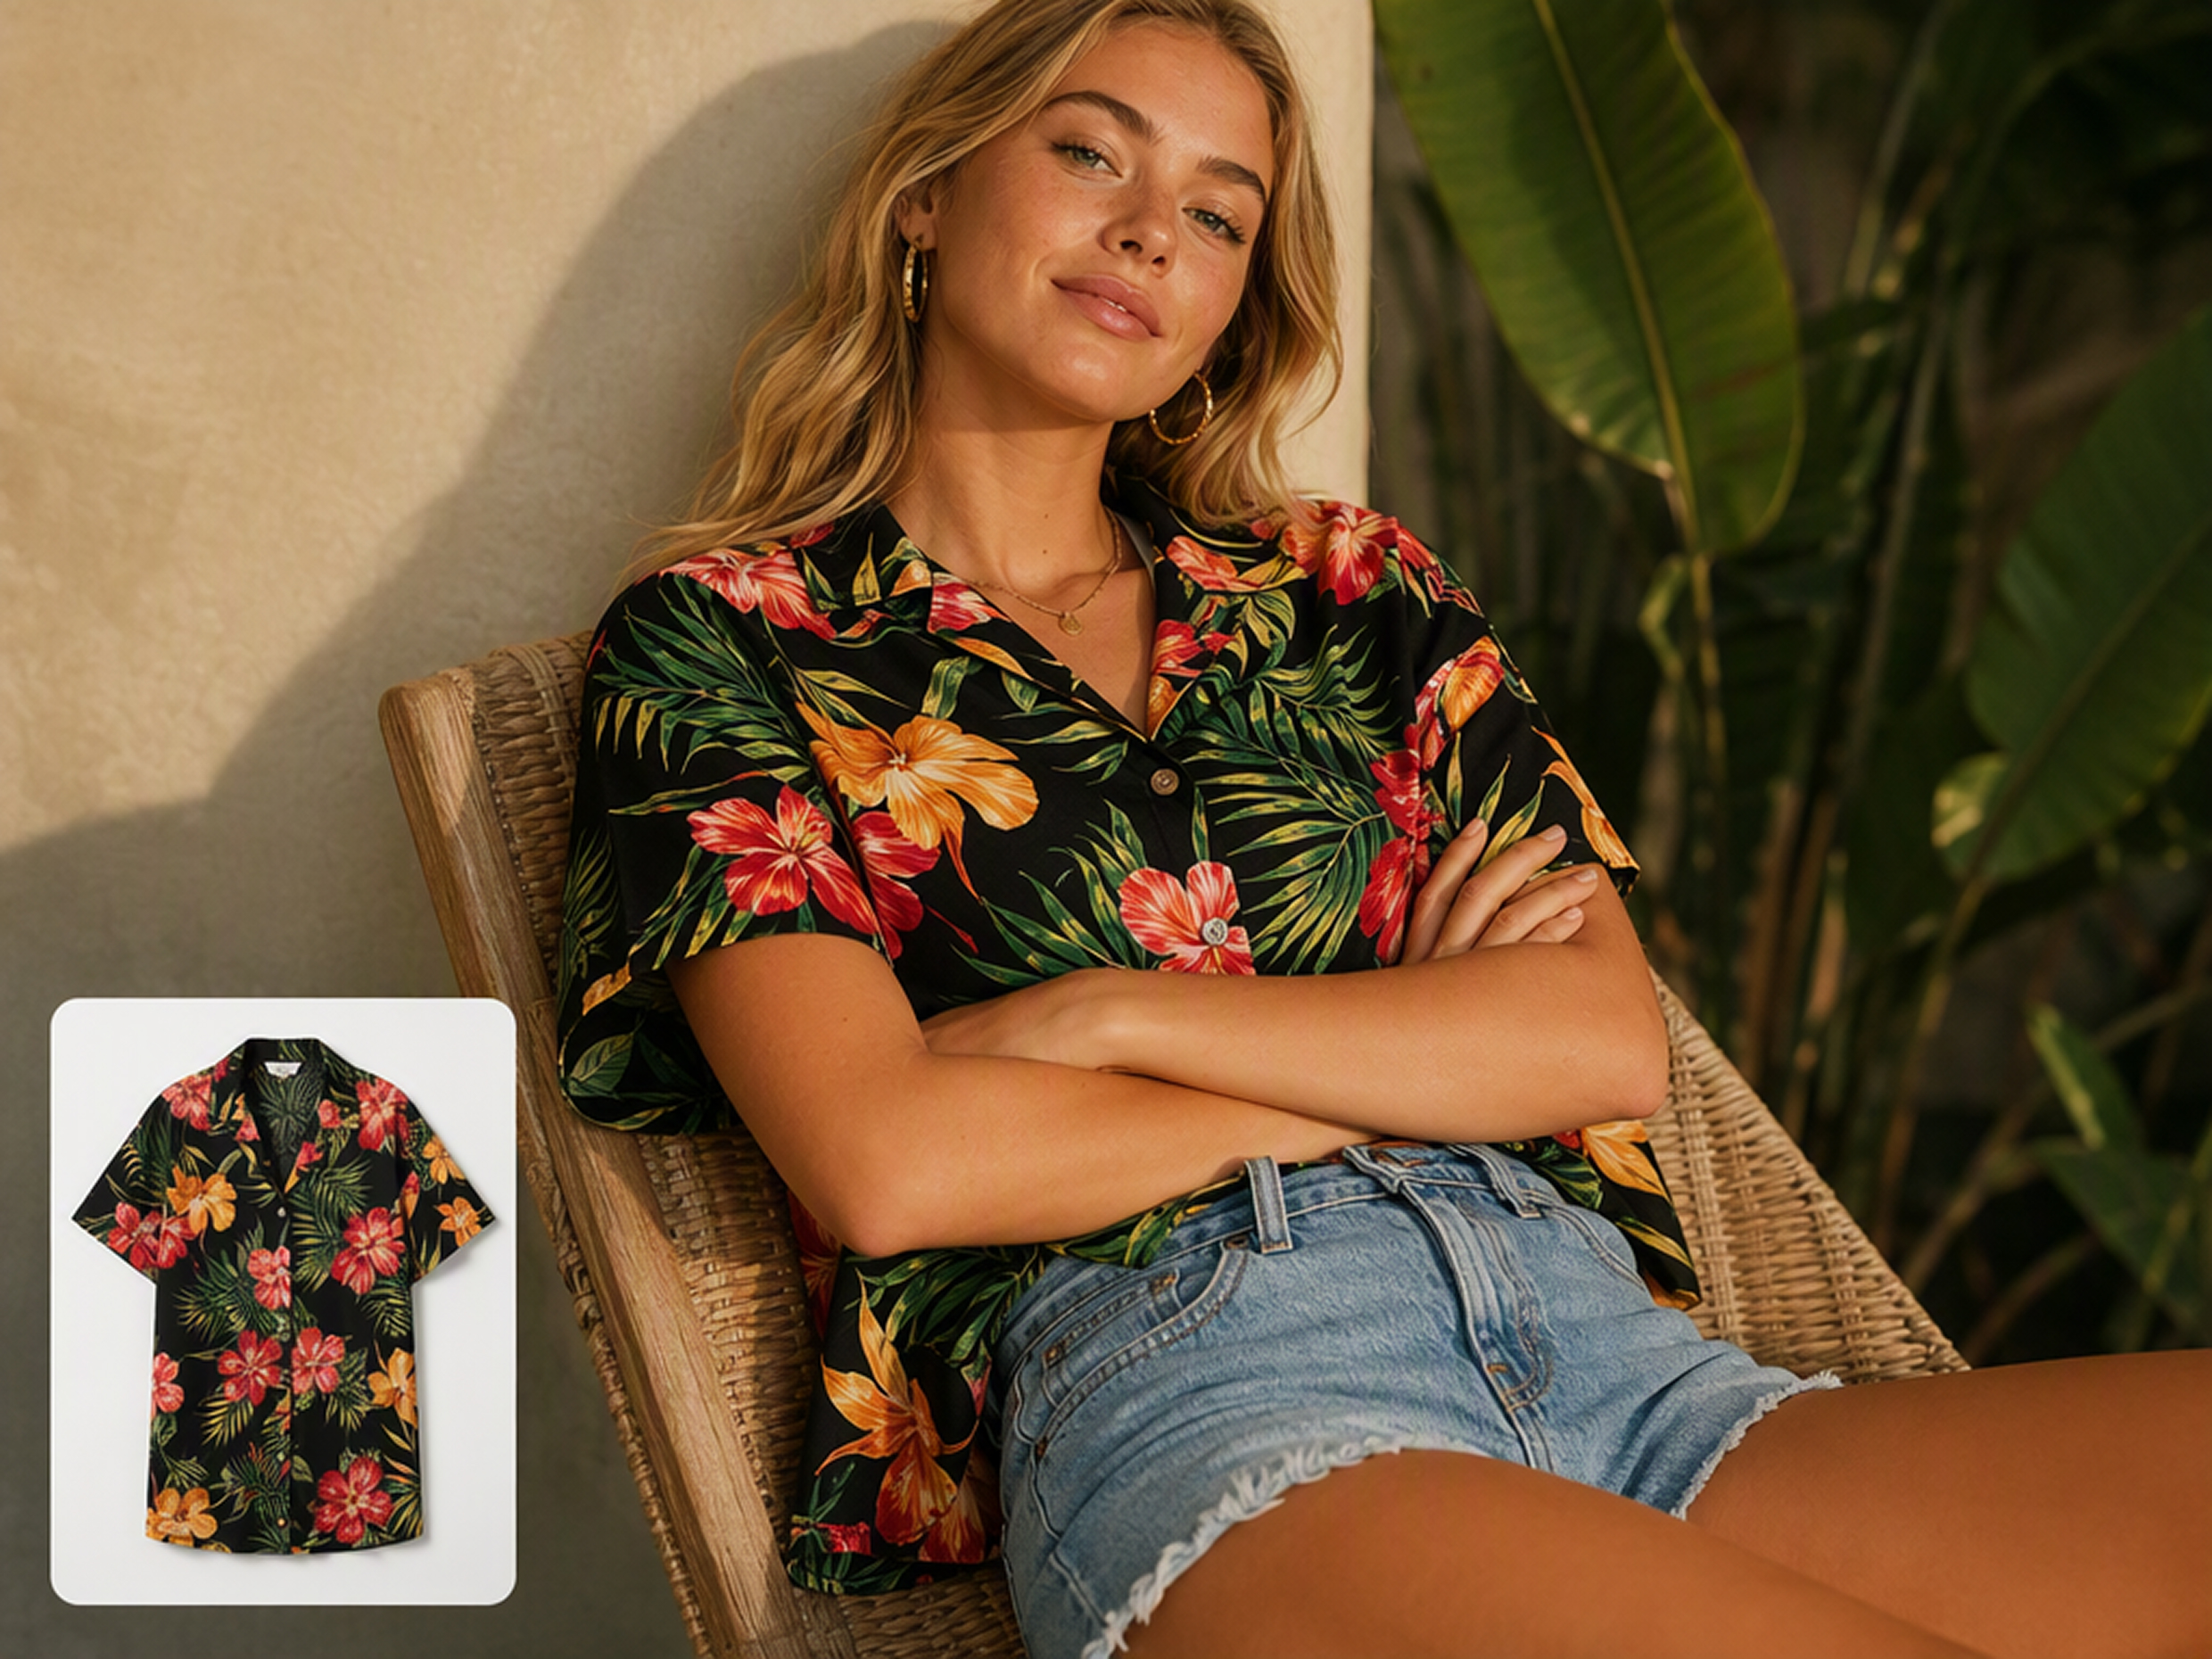
Match the Clothing to the Existing Pose
AI interprets the pose and visible overlaps in the source photo when applying the clothing reference. This helps the replacement follow the existing composition, including natural coverage and garment placement.
AI Clothes Changer for Every Fashion Scenario
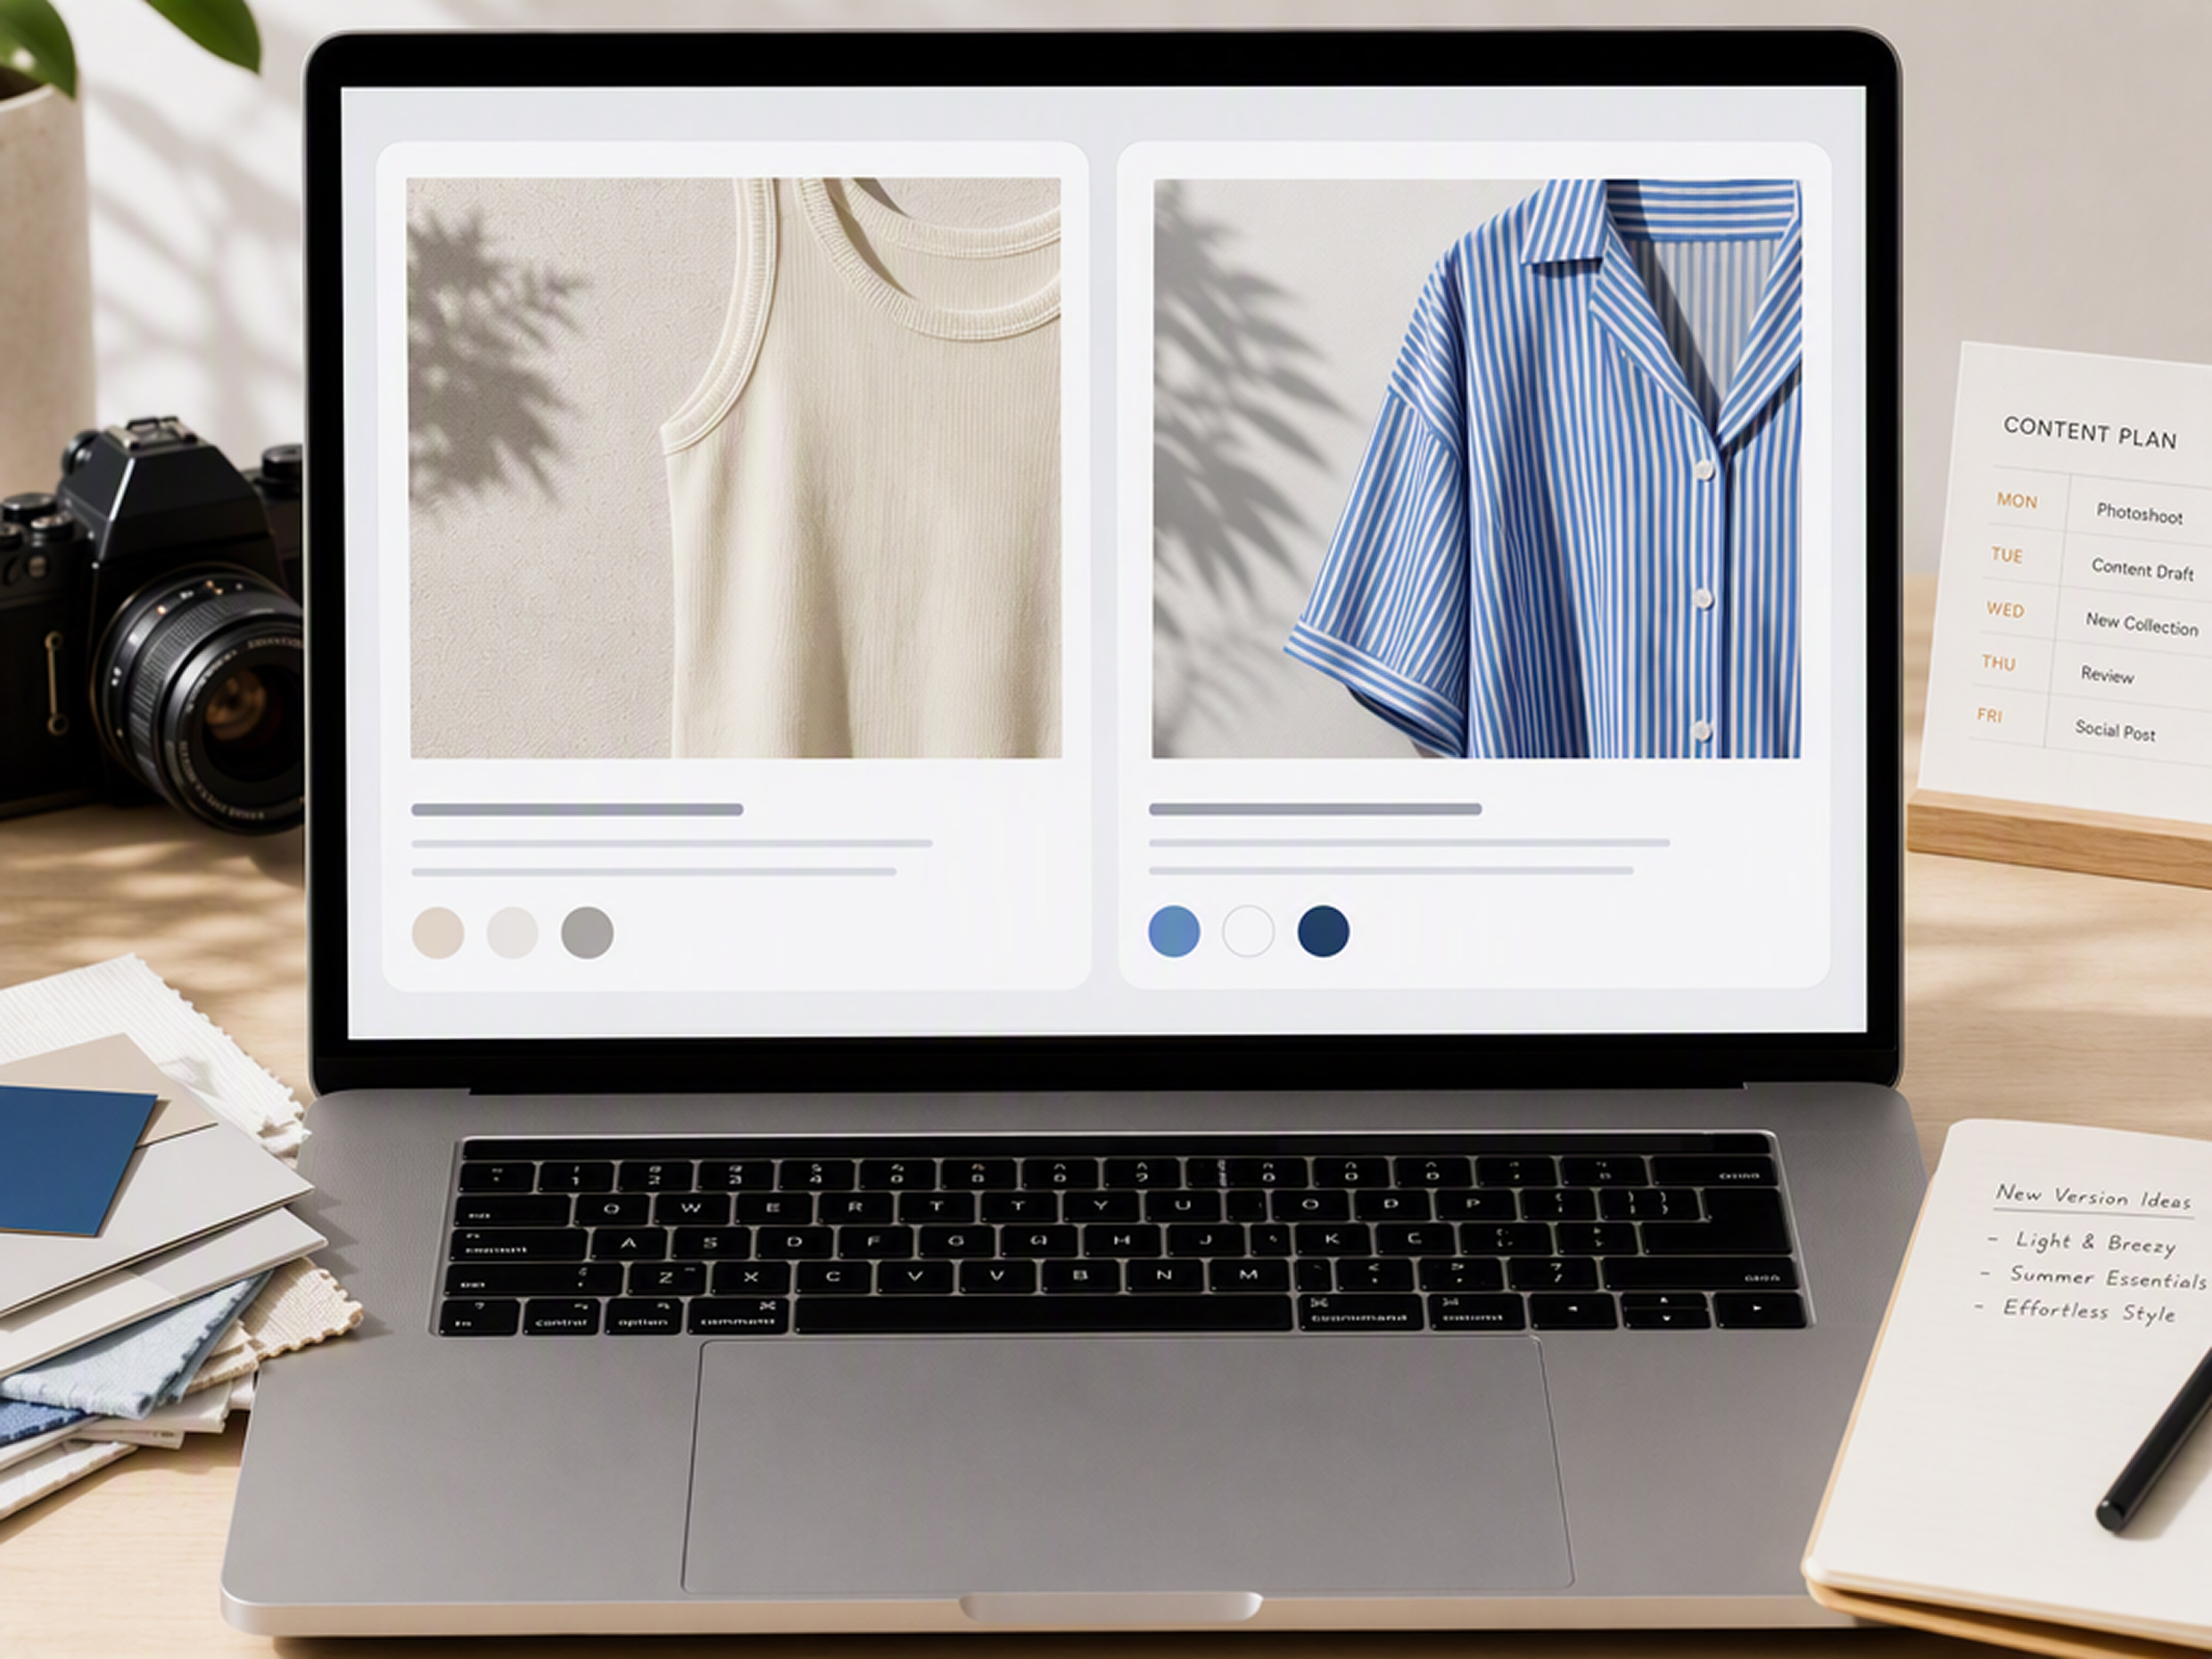
Refresh a Strong Portrait for New Content
Reuse a portrait that already suits your content while changing only its clothing direction. The edited version gives you another visual option for a new post or themed series, extending the value of a strong source image.
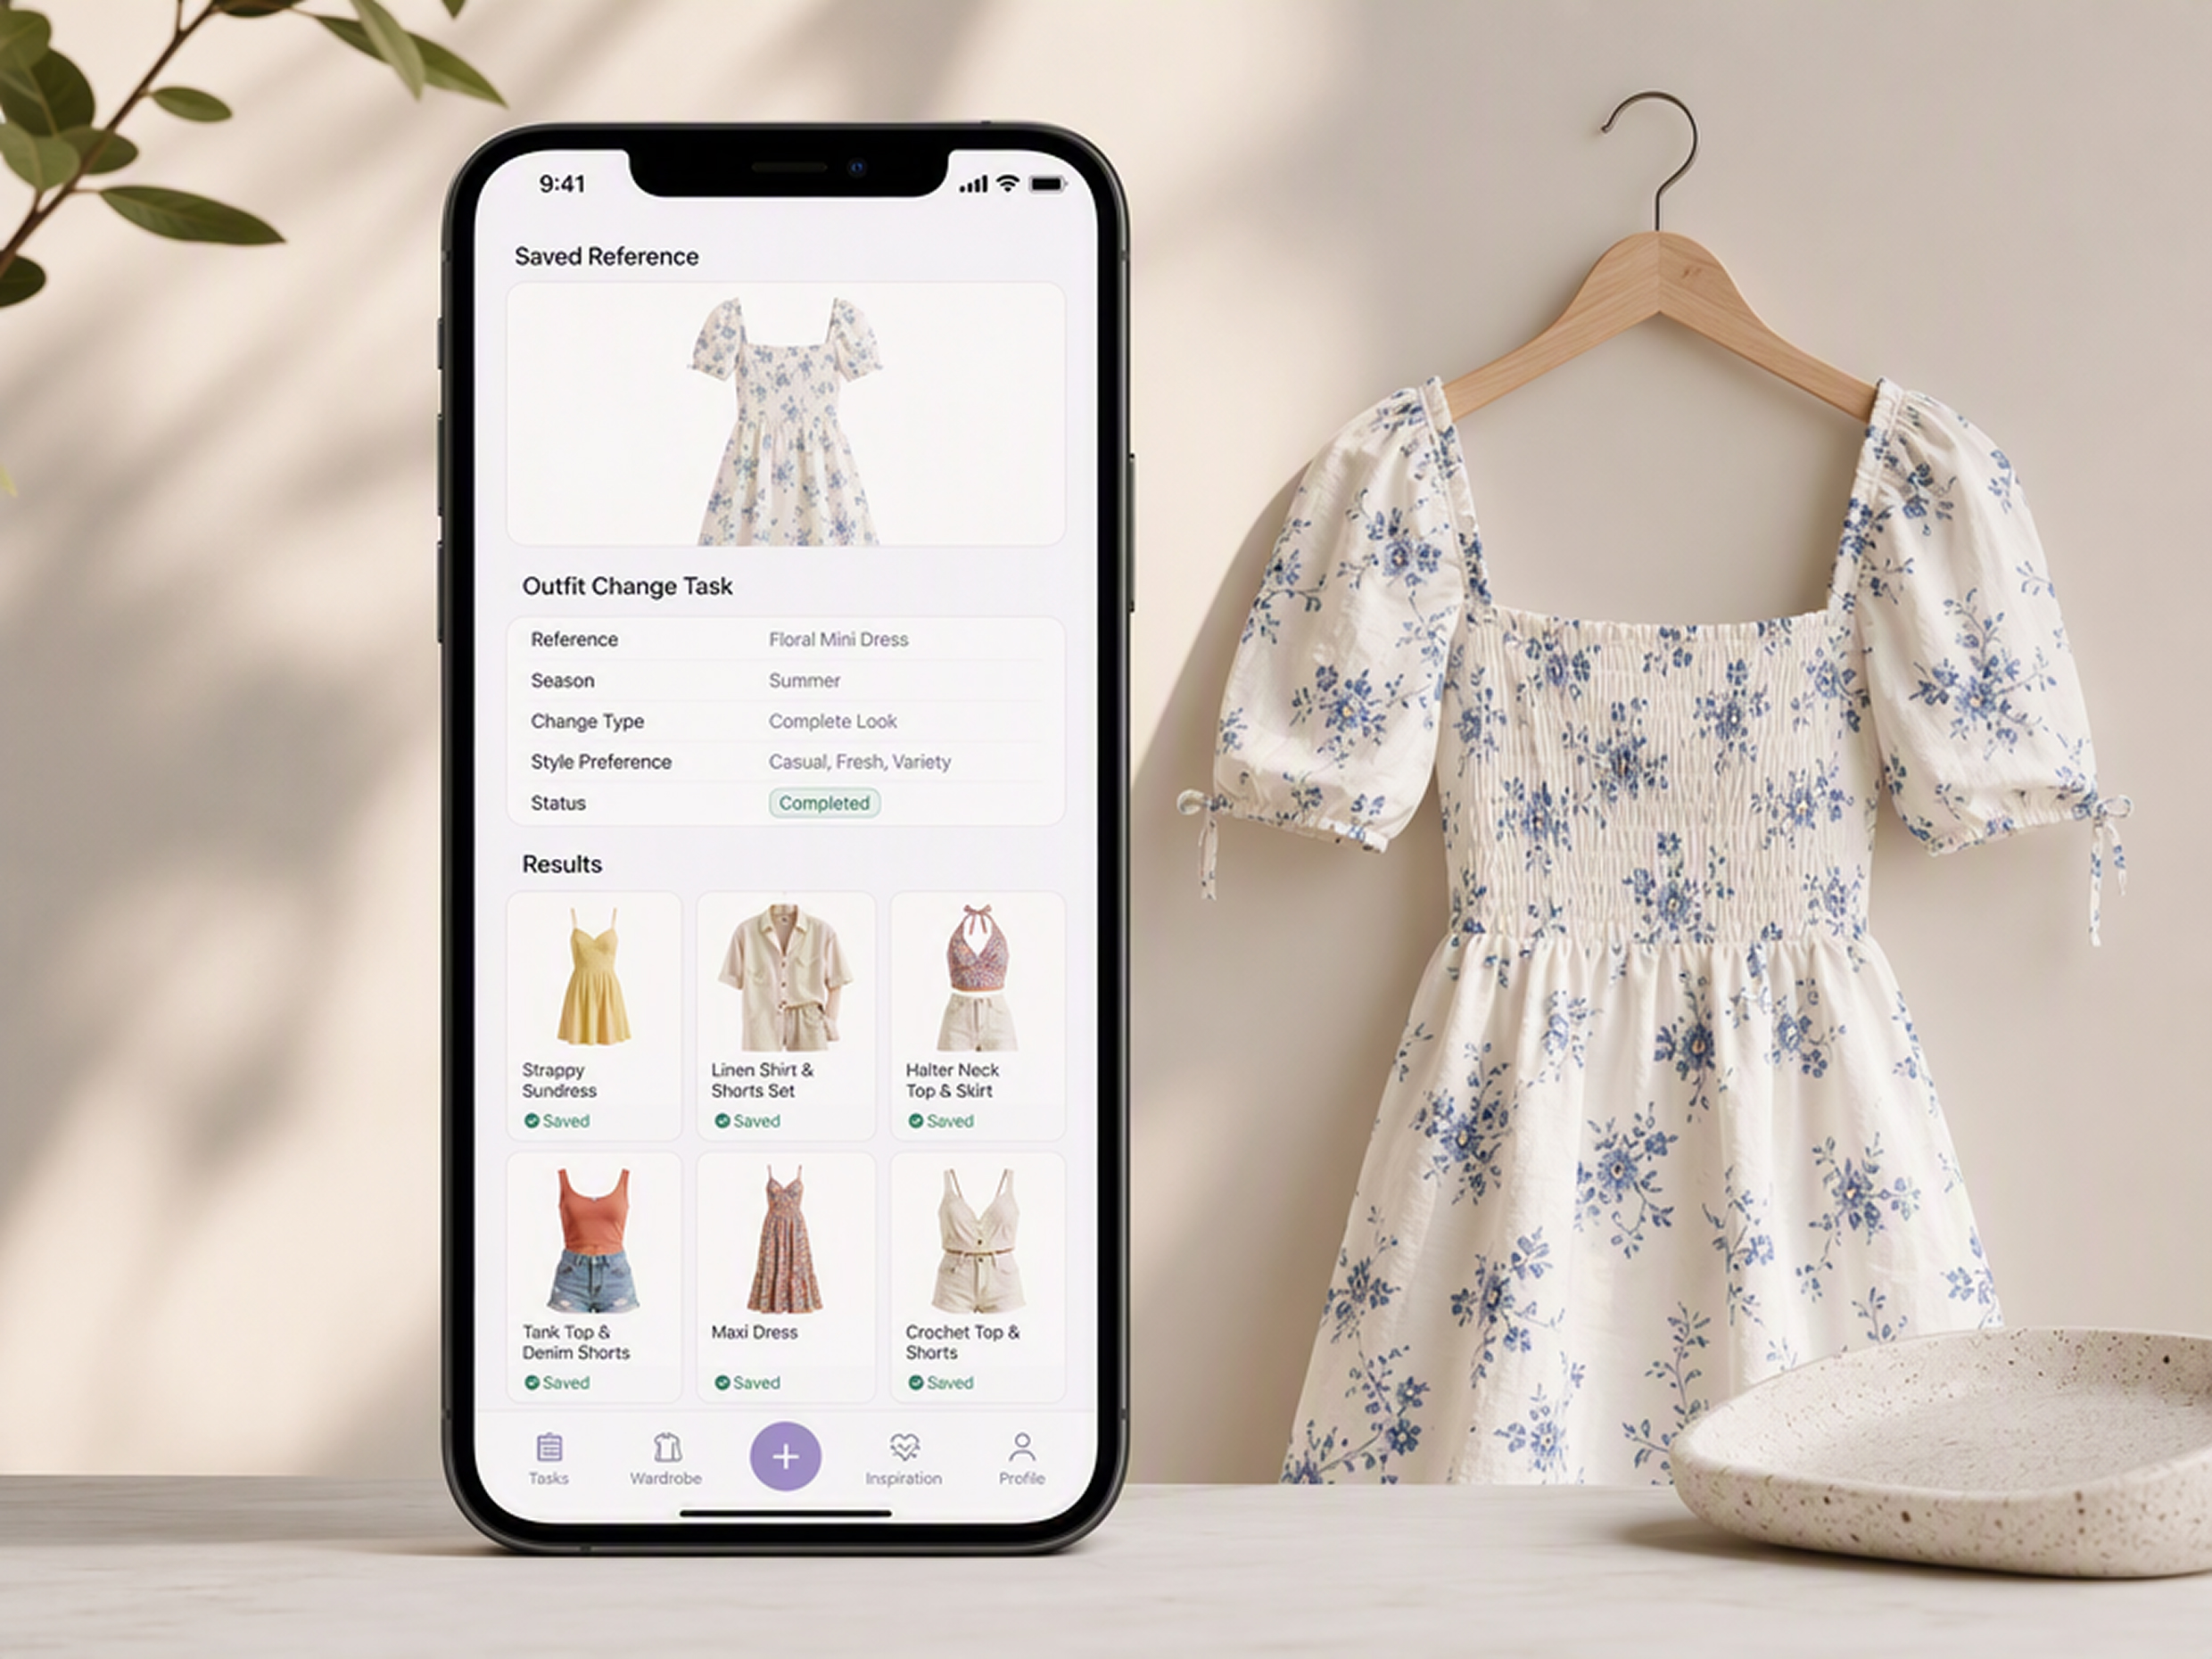
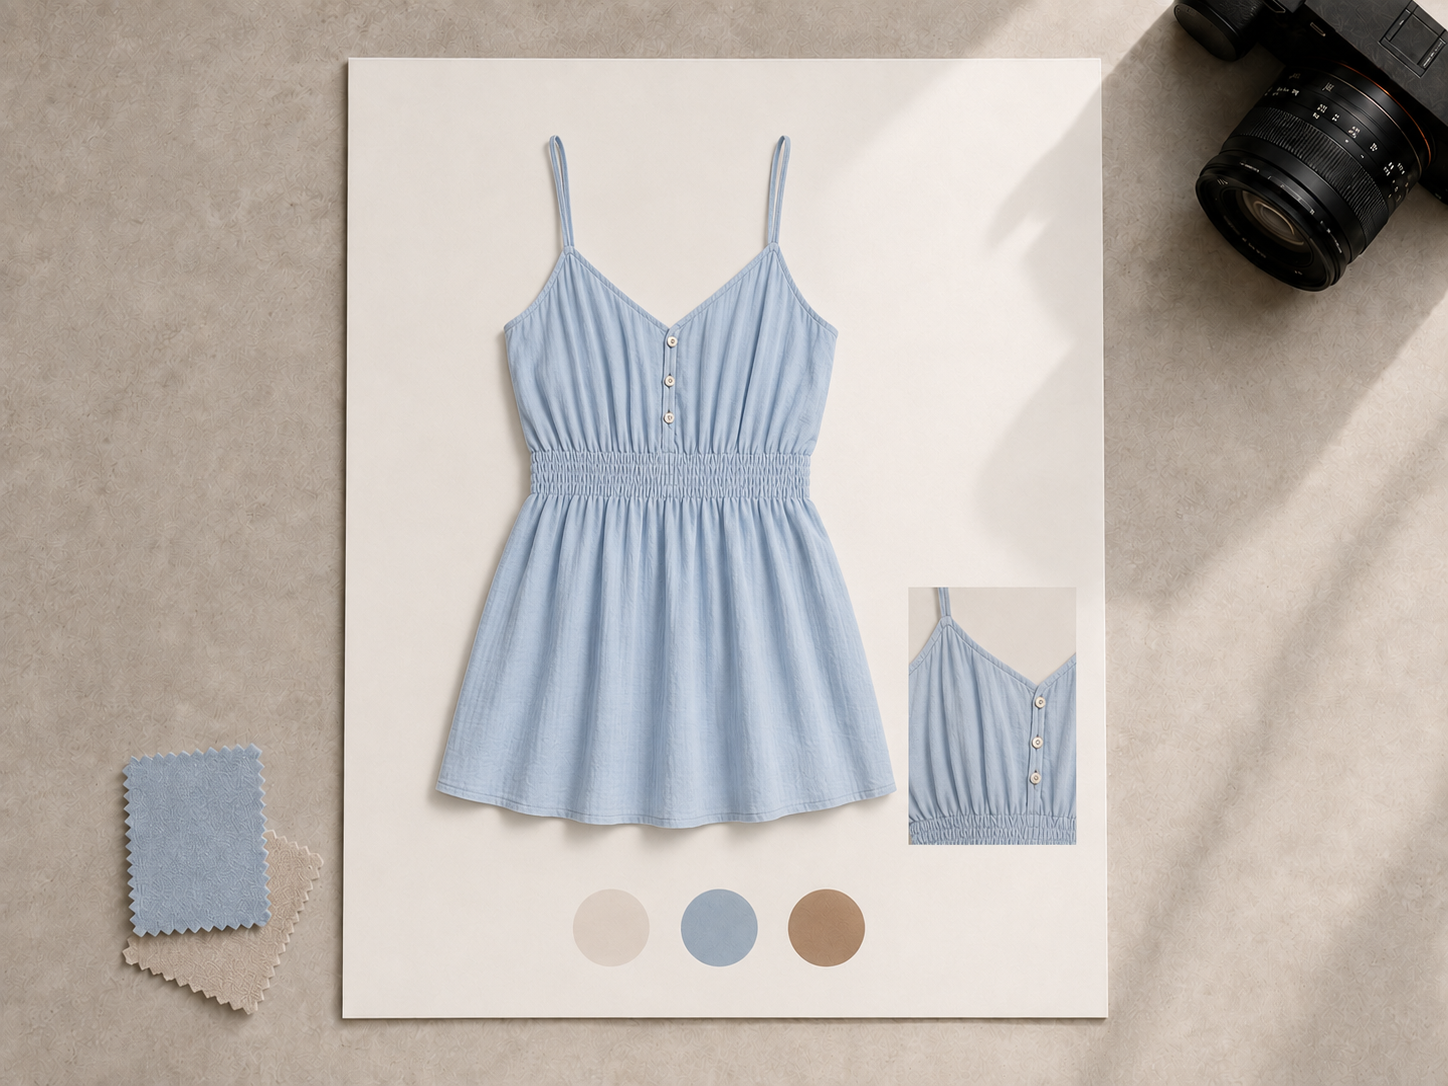
Why Choose Designkit for Clothes Swaps
Use Clothing Beyond Preset Catalogs
Preset tools limit you to their wardrobe. Designkit lets you upload the clothing reference you want to use.
No Manual Clothing Compositing
Manual swaps require cutting, reshaping, and blending. Designkit handles both images and the instruction in one request.

Keep Editing in One AI Workspace
Single-purpose tools stop after the swap. Designkit lets you continue adjusting the result in the same workspace.
Unlock More Creative Possibilities
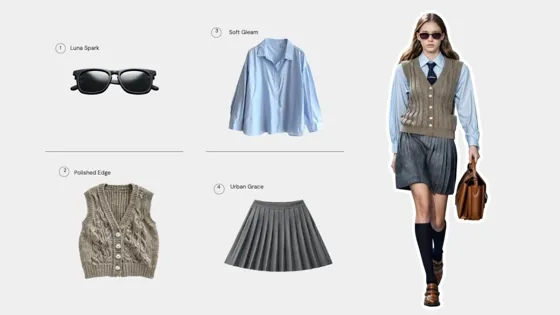
AI Virtual Try-On for Clothing, Shoes & Jewelry
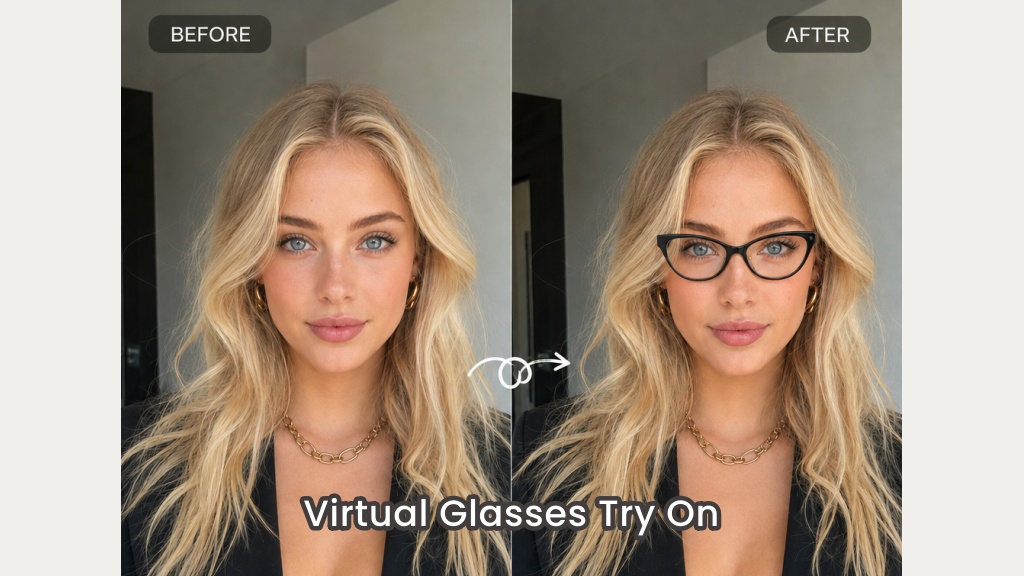
Virtual Glasses Try-On Online from Photo: Preview Any Eyewear with AI
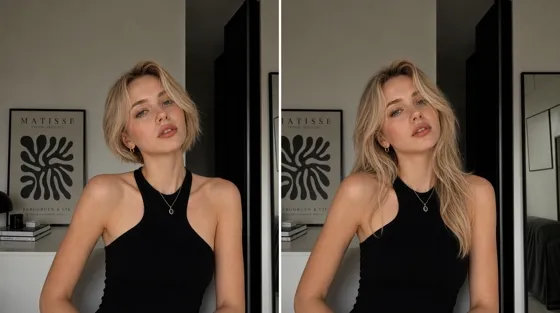
AI Hairstyle Changer: Try Hairstyles on Your Photo
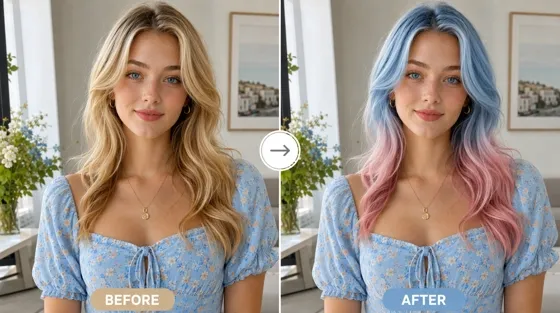
AI Hair Color Changer: Try Hair Colors on Your Photo
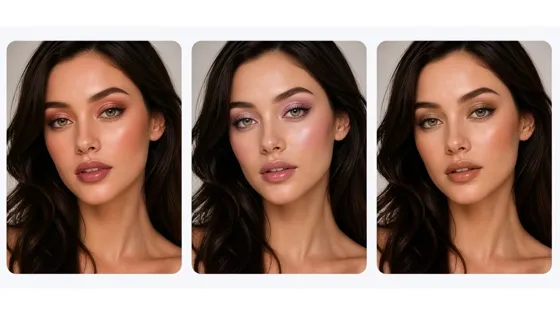
AI Virtual Makeup Try-On from a Photo Online
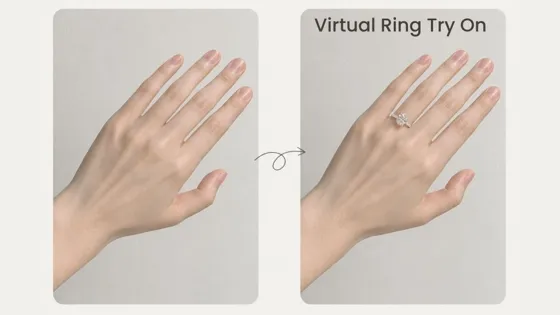
AI Virtual Ring Try-On from a Hand Photo Online
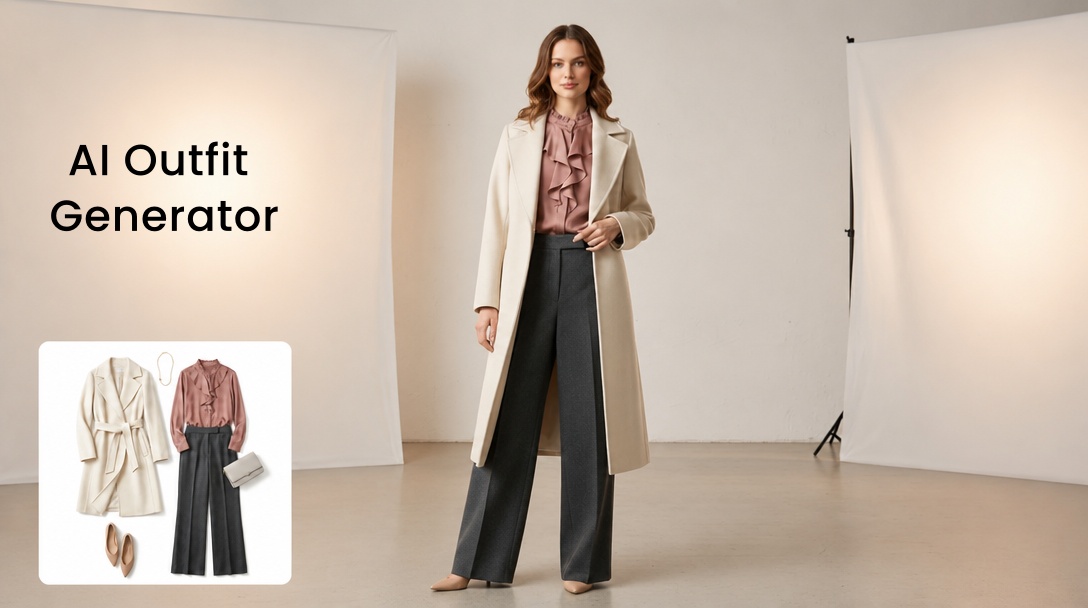
Free AI Outfit Generator Online: Swap Clothing & Styles Online in One Click
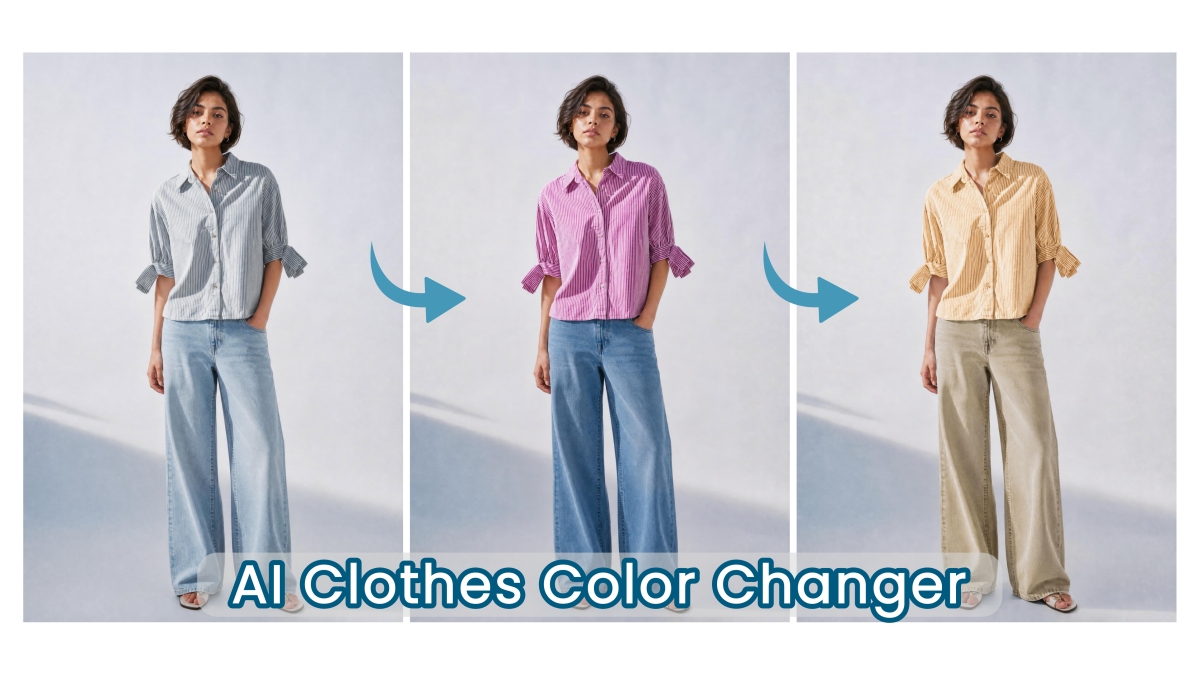
AI Clothes Color Changer for E-commerce
Frequently Asked Questions
How do I change clothes in Designkit?
Why do I need a clothes-change instruction?
The instruction tells AI how the two uploaded images should be used. Identify the clothing to replace, point to the clothing reference, and state what should remain in the original photo. Treat it as an editing instruction, not a creative brief for generating a new outfit.
Which photos work best for an AI clothes swap?
Use a clear person photo with the clothing area visible and a well-lit reference image that shows the target garment. Heavy blur, extreme angles, layered clothing, or large obstructions can make placement and detail reproduction less reliable.
Will Designkit preserve every pattern and fabric detail?
AI can retain recognizable colors, shapes, and visible design elements, but small text, logos, complex prints, and fine material details may change. Review the generated image closely when exact product representation matters.
Can I use any clothing or person photo?
Use images you own or have permission to edit. You should also have the necessary rights to the clothing image, logo, artwork, or other protected material shown in the reference before publishing the result.
How is this different from an Outfit Generator or virtual try-on?
The AI Clothes Changer applies a specific clothing reference to an existing person photo using an editing instruction. An Outfit Generator uses a creative brief to produce a new complete look, while virtual try-on is generally intended as a shopping preview. AI results should not be treated as an exact sizing or fit prediction.
Keep the Photo, Change the Clothes
Add your photo and a specific clothing reference, then tell AI what to replace and what should remain.

What Users Say About the AI Clothes Changer
See how people used clothing references and follow-up instructions to shape useful photo edits.
The second request was much more precise.
I started with an instruction that was too broad, so the first image changed more than I expected. I then named the uploaded clothing image and stated what should stay the same. The follow-up result was much closer to the edit I originally had in mind.
I could reuse a photo I already liked.
The expression and framing in my original portrait already worked, but the outfit did not suit the new post I was preparing. Changing the clothes gave the image a different purpose while keeping the part of the photo that made me want to use it again.
Comparing two clothing ideas felt more useful.
I applied two different clothing references to the same source image. Seeing both options on one familiar portrait made the contrast easier to understand, since I was not distracted by different poses or settings while deciding which direction worked better.
It gave our team something concrete to discuss.
Written wardrobe notes were producing different interpretations across the team. Once we placed the proposed outfit on the subject photo, the conversation became more specific. We could point to the image and agree on what to keep or reconsider before the shoot.
It was quicker than preparing a rough composite.
I needed an early concept image, not a finished product photograph. Uploading the person photo and garment reference gave me a practical starting point for review. I still checked the clothing details carefully, but I did not have to assemble a manual mockup first.