
Redimensionador de imagens gratuito para redimensionar imagens online
Insira dimensões personalizadas ou escolha uma proporção predefinida. Redimensione fotos online mantendo o enquadramento nítido e equilibrado.
Sem imagem? Tente uma destas:


Como redimensionar uma imagem online
Fazer upload de uma imagem
Faça o upload de um arquivo JPG, PNG ou outro formato de imagem suportado. Selecione Upload em lote quando precisar redimensionar várias imagens.
Definir o tamanho e o enquadramento
Insira a largura e a altura em Dimensões. Mantenha ou libere a proporção e escolha entre Livre, Original, Ajustar à borda ou uma proporção predefinida.
Confirmar e baixar
Ajuste a imagem dentro do quadro e clique em
Confirmar. Selecione Baixar, escolha JPG ou PNG e salve a imagem nas dimensões exibidas.
Redimensione imagens com controle preciso de tamanho e formato
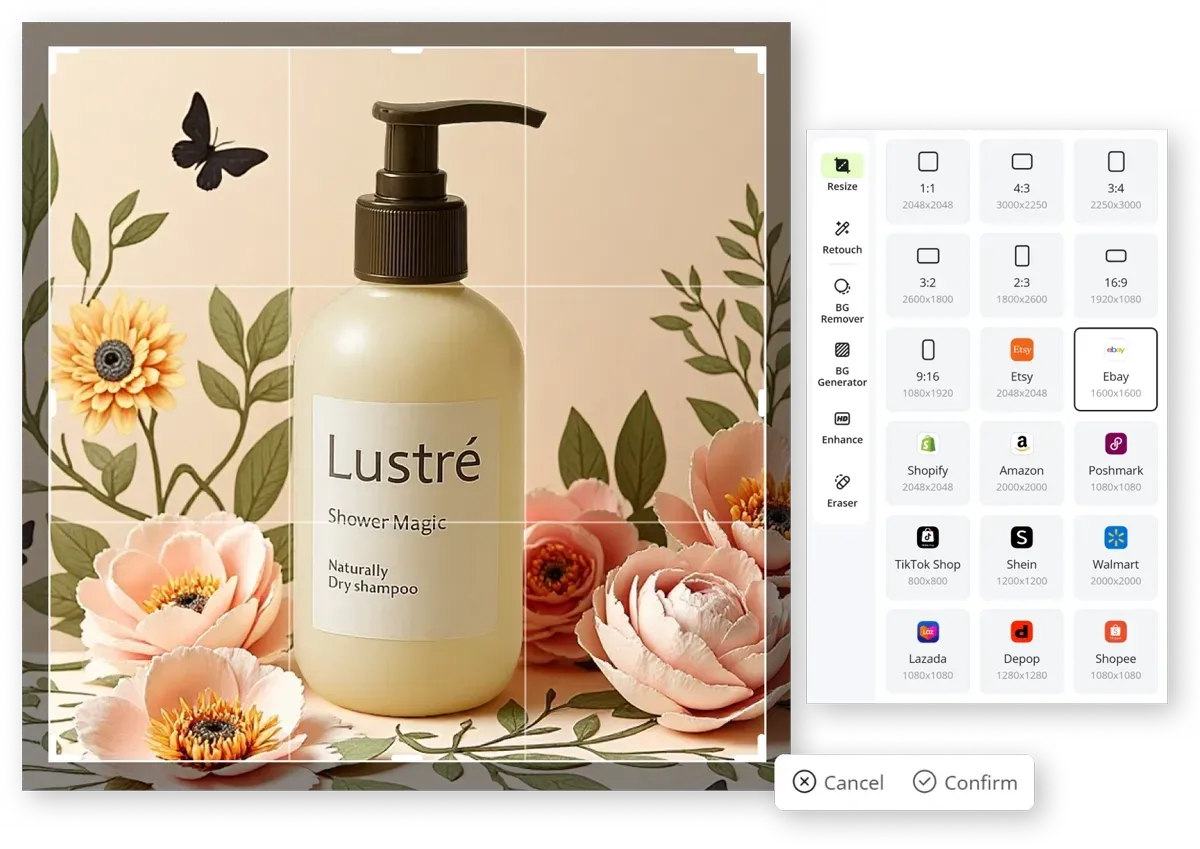
Defina as dimensões exatas da imagem
Insira uma largura e altura personalizadas em Dimensões e use o ícone de cadeado entre os campos para preservar as proporções originais ou editar cada valor separadamente. O alterador de dimensões de imagem oferece controle preciso em pixels quando uma predefinição não for compatível com o layout necessário.
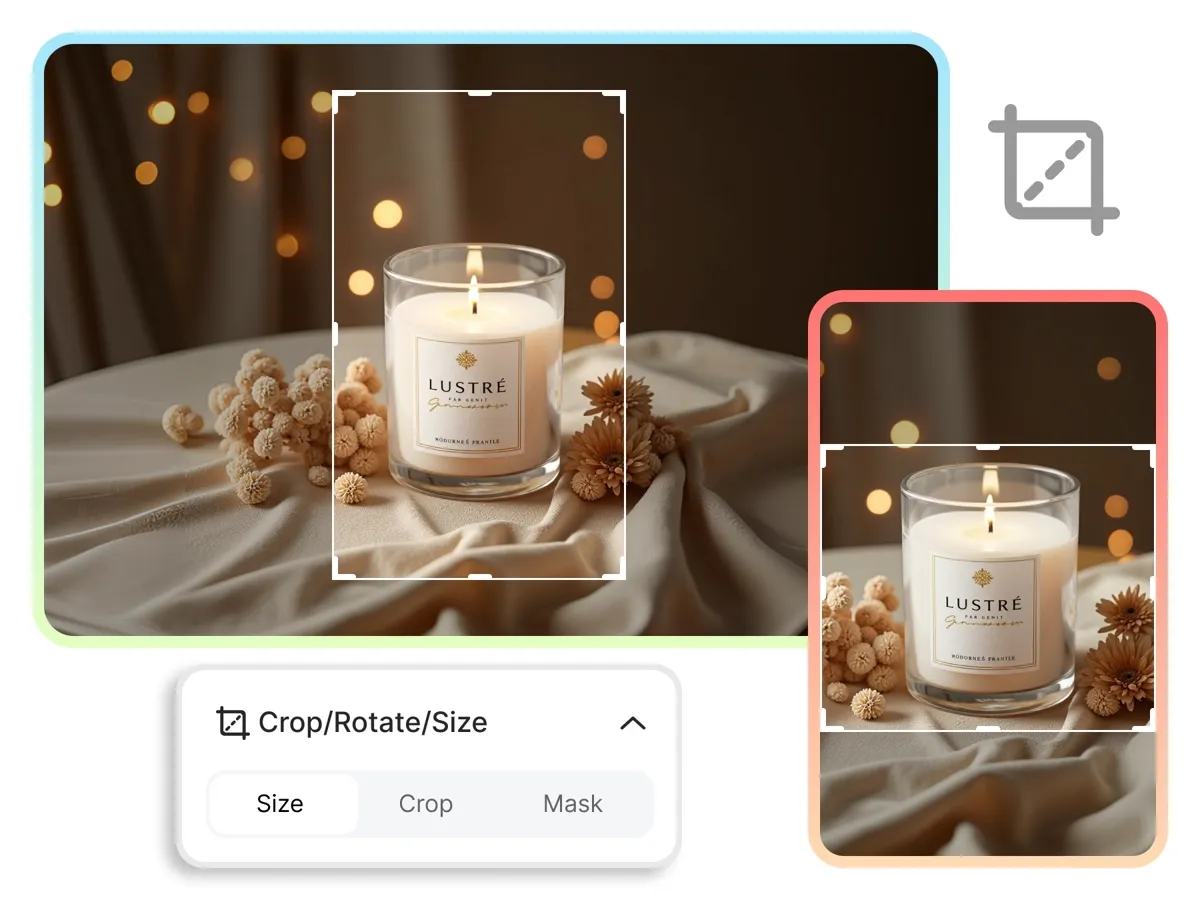
Ajuste a proporção da imagem
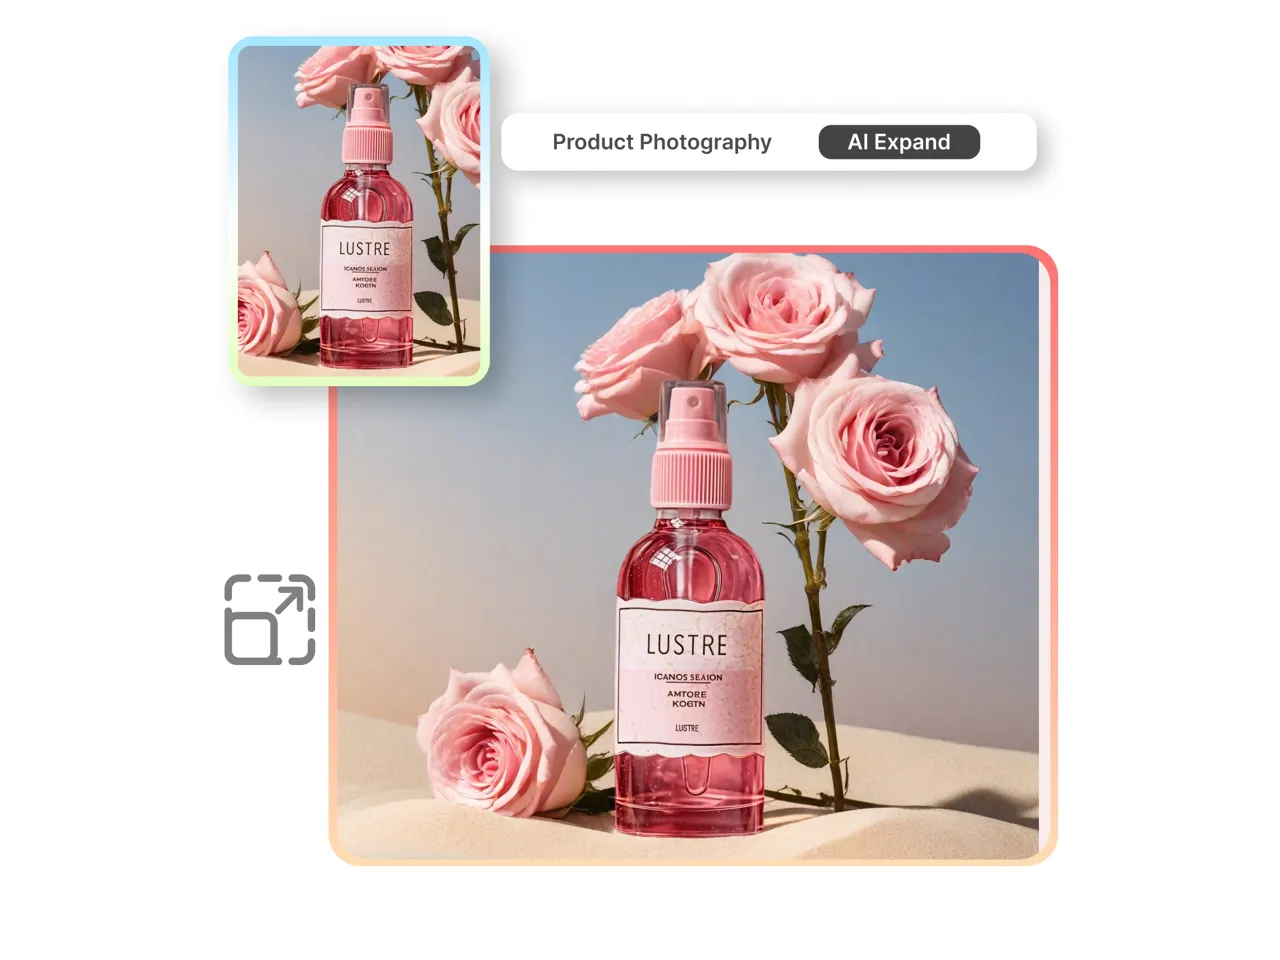
Escolha entre Livre, Original, Ajustar à borda ou uma proporção predefinida para alterar o formato da imagem. O alterador de proporção atualiza a área de recorte na tela, permitindo que você reposicione a imagem antes de confirmar. Isso oferece mais controle sobre como o elemento principal se encaixa dentro do quadro selecionado.
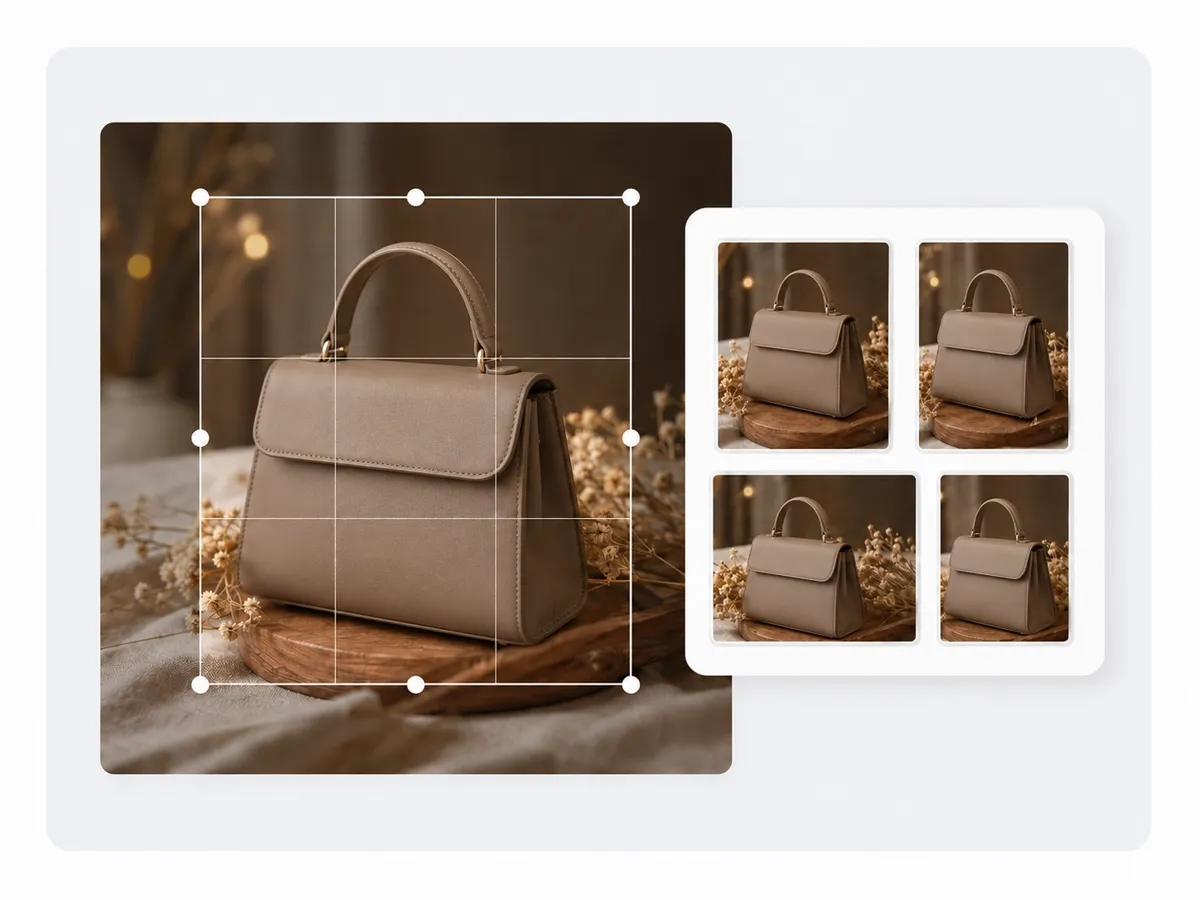
Processe várias imagens em uma única sessão
Selecione Upload em lote quando vários arquivos precisarem ser redimensionados em uma única sessão. O redimensionador de imagens em lote mantém os arquivos juntos no mesmo fluxo de trabalho, para que você possa percorrer o grupo sem retornar à página de upload para cada imagem. Cada arquivo ainda pode ser conferido antes de ser baixado.
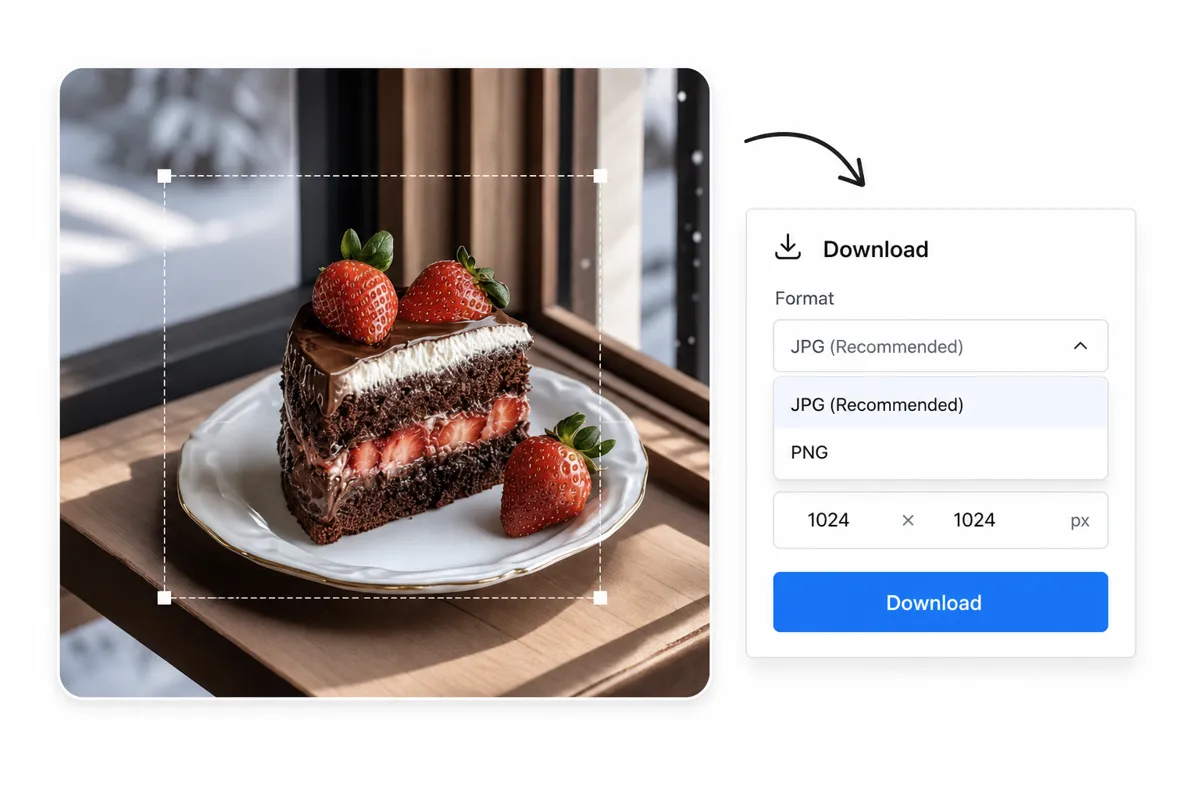
Baixe no formato JPG ou PNG
Clique em Baixar após confirmar o redimensionamento, selecione JPG ou PNG e confira as dimensões de saída exibidas no painel. O formato JPG produz um arquivo de imagem padrão menor, enquanto o PNG mantém a qualidade da imagem sem perdas e suporta fundos transparentes. Isso combina o redimensionamento e a escolha do formato em uma única etapa de exportação.
Utilize o redimensionador de imagem em diferentes tarefas de conteúdo
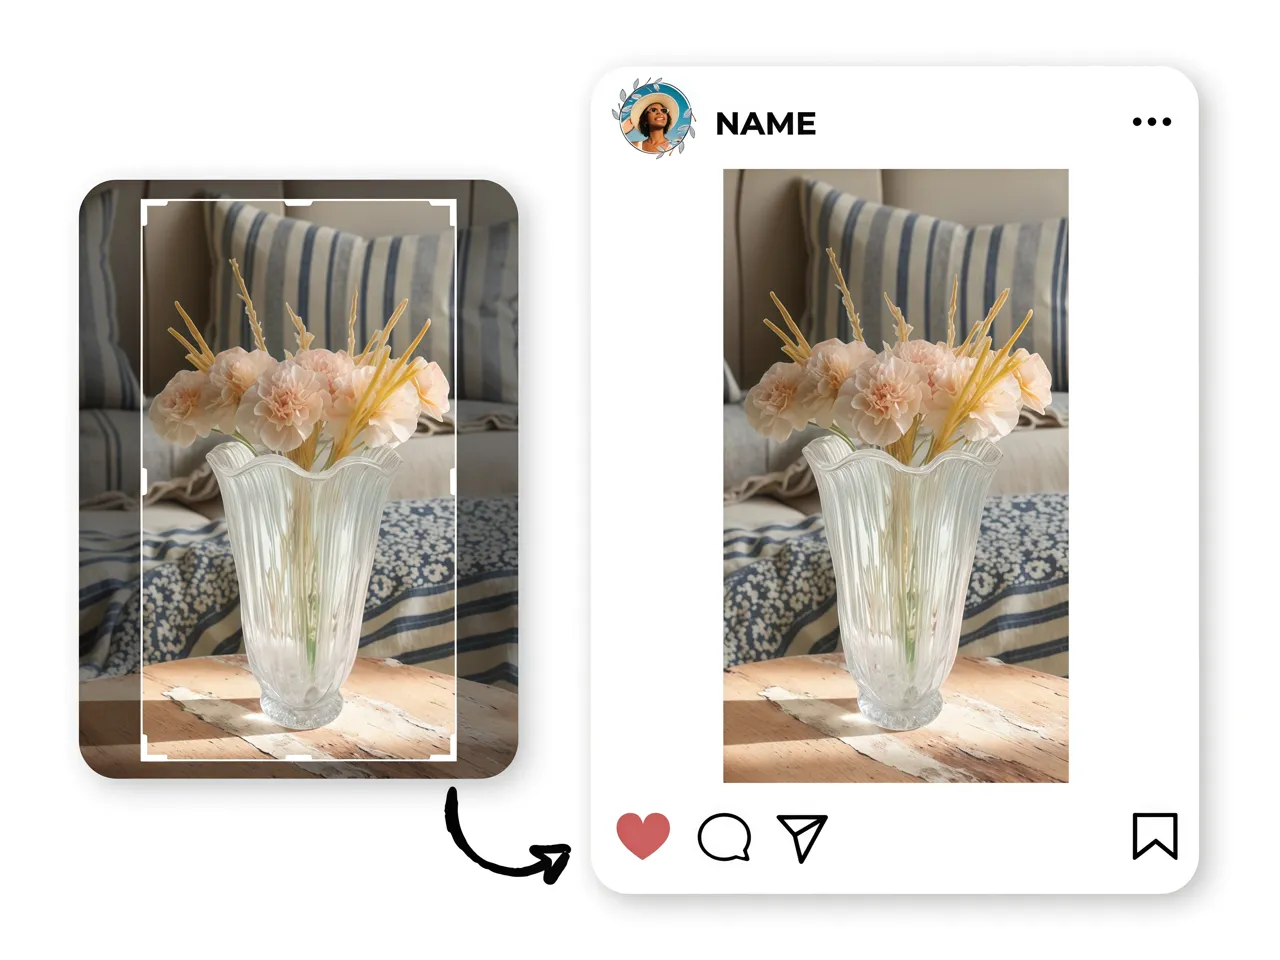
Prepare imagens para plataformas sociais
As equipes de redes sociais podem preparar novas versões da mesma imagem original para cada canal, mantendo o assunto principal facilmente reconhecível. Uma foto pode ser redimensionada para o Instagram, verificada em relação ao layout selecionado e reutilizada em um cronograma de publicações sem a necessidade de refazer o design sempre que o formato exigido mudar.
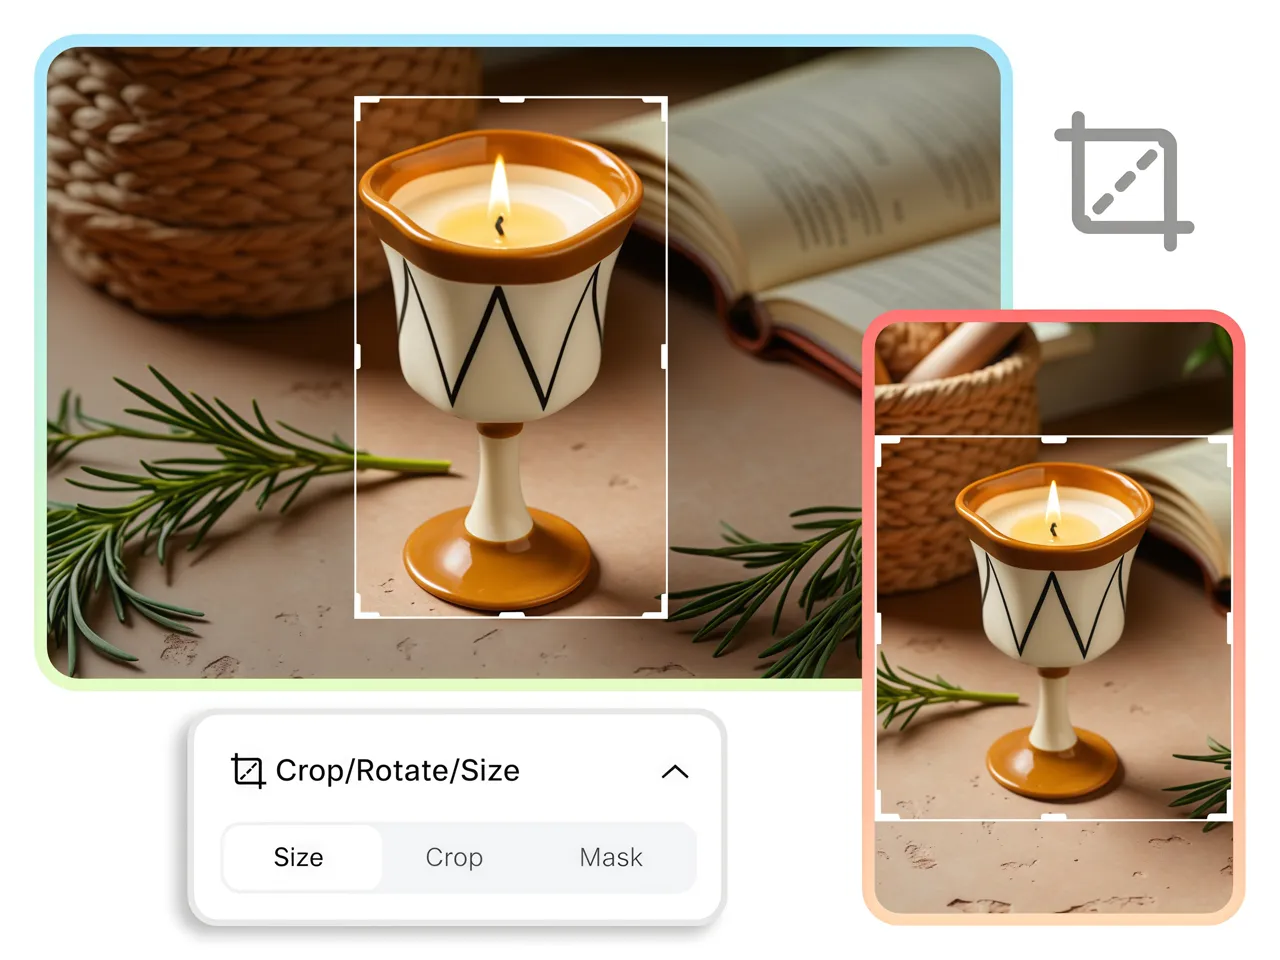
Por que escolher o Designkit como seu redimensionador de imagem online

Trabalhe diretamente no seu navegador
Redimensione imagens online sem precisar instalar nenhum software. Faça o upload, ajuste e baixe o arquivo finalizado em uma única área de trabalho.

Continue editando depois de redimensionar
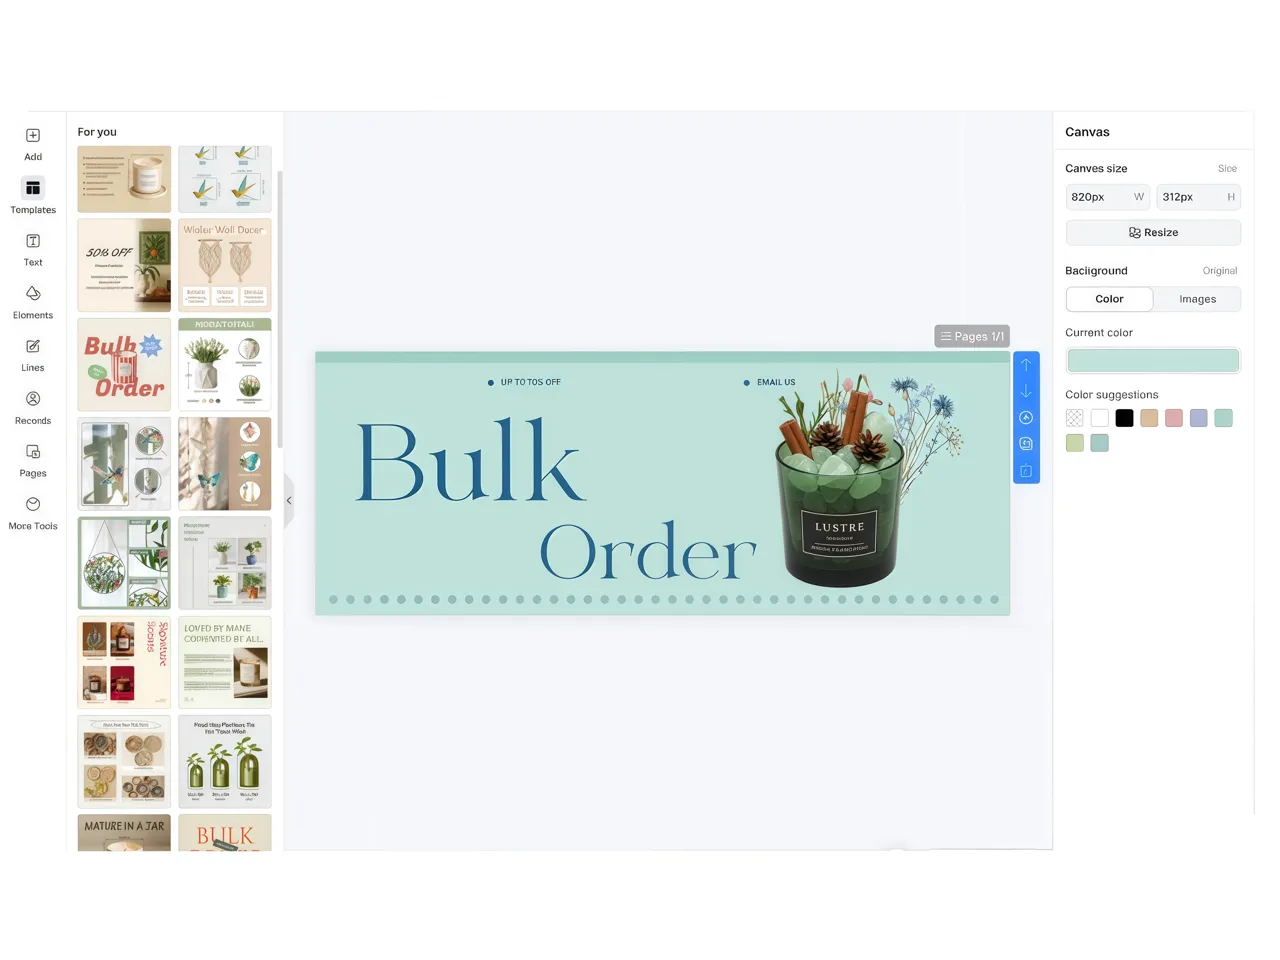
Continue editando após definir o tamanho. Refine a imagem na mesma área de trabalho em vez de mover um arquivo inacabado entre ferramentas.

Confirme antes de aplicar
Revise cada recorte ou proporção na tela. Escolha Confirmar para aplicar a alteração ou Cancelar para manter o resultado anterior.
Perguntas frequentes
O Designkit é um redimensionador de imagens gratuito?
Posso redimensionar uma imagem sem perder a qualidade?
Sim. O Designkit mantém as proporções da imagem e os detalhes visíveis durante o redimensionamento. Ampliar uma imagem original pequena pode reduzir a nitidez, pois o redimensionamento não recria os detalhes que já faltam nela.
Posso redimensionar arquivos PNG e JPG?
Sim. Você pode redimensionar arquivos PNG, JPG e JPEG. Escolha o formato PNG caso precise de transparência ou JPG para um arquivo de imagem padrão e menor.
Posso redimensionar imagens em lote?
Sim. Selecione Upload em lote para adicionar vários arquivos e processá-los no mesmo fluxo de trabalho. Cada imagem pode ser revisada antes do download.
Posso redimensionar fotos de produtos para a Amazon ou Etsy?
Sim. Insira as dimensões exigidas pela plataforma do marketplace e verifique as especificações de imagem mais recentes antes de exportar os arquivos.
Qual resolução devo usar para impressão?
A resolução necessária depende do tamanho de impressão físico. Uma densidade de 300 PPI é comumente usada, mas você deve confirmar as especificações com a gráfica.
Redimensione cada imagem para as dimensões corretas
Defina o tamanho, ajuste a proporção e baixe um arquivo JPG ou PNG adequado ao seu local final.



Como os usuários trabalham com o redimensionador de imagem do Designkit
Veja como diferentes equipes usam as dimensões personalizadas, proporções predefinidas e o redimensionamento em lote em seus fluxos normais de trabalho de imagem.
Menos correções durante as transferências de catálogos
Durante as atualizações do catálogo, nosso maior problema não era redimensionar uma foto, mas verificar se todo um grupo de produtos seguia as mesmas regras de apresentação. Manter os arquivos em um único fluxo de trabalho facilitou essa revisão. Agora, entregamos as imagens à equipe de listagens com menos correções de tamanho retornando durante o controle de qualidade final.
Menos idas e vindas no conteúdo de redes sociais
As imagens para redes sociais costumavam passar por várias exportações até que a composição funcionasse para cada local de exibição. Ter a possibilidade de revisar o recorte antes de confirmar reduziu essas idas e vindas. Passo mais tempo conferindo o próprio conteúdo e menos tempo criando arquivos levemente diferentes apenas para testar o layout antes da publicação.
Ativos transparentes continuam sendo reutilizáveis
Trabalhamos com recortes de produtos que precisam continuar reutilizáveis após o redimensionamento. A exportação em PNG nos permite manter o fundo transparente, para que o mesmo ativo possa ser transferido para outro layout posteriormente. Isso tem sido mais útil do que simplesmente obter um arquivo menor, pois preserva as formas de usar a imagem em projetos futuros.
Tamanhos exatos reduzem as revisões dos clientes
Os briefings dos meus clientes geralmente incluem dimensões exatas em pixels, e pequenos erros podem acarretar em mais uma rodada de revisão. Inserir os valores diretamente me dá um controle mais claro antes da entrega. Ver o tamanho de saída no download garante uma conferência final e ajuda a evitar correções básicas de tamanho na entrega definitiva.
Menos trocas de arquivos entre ferramentas
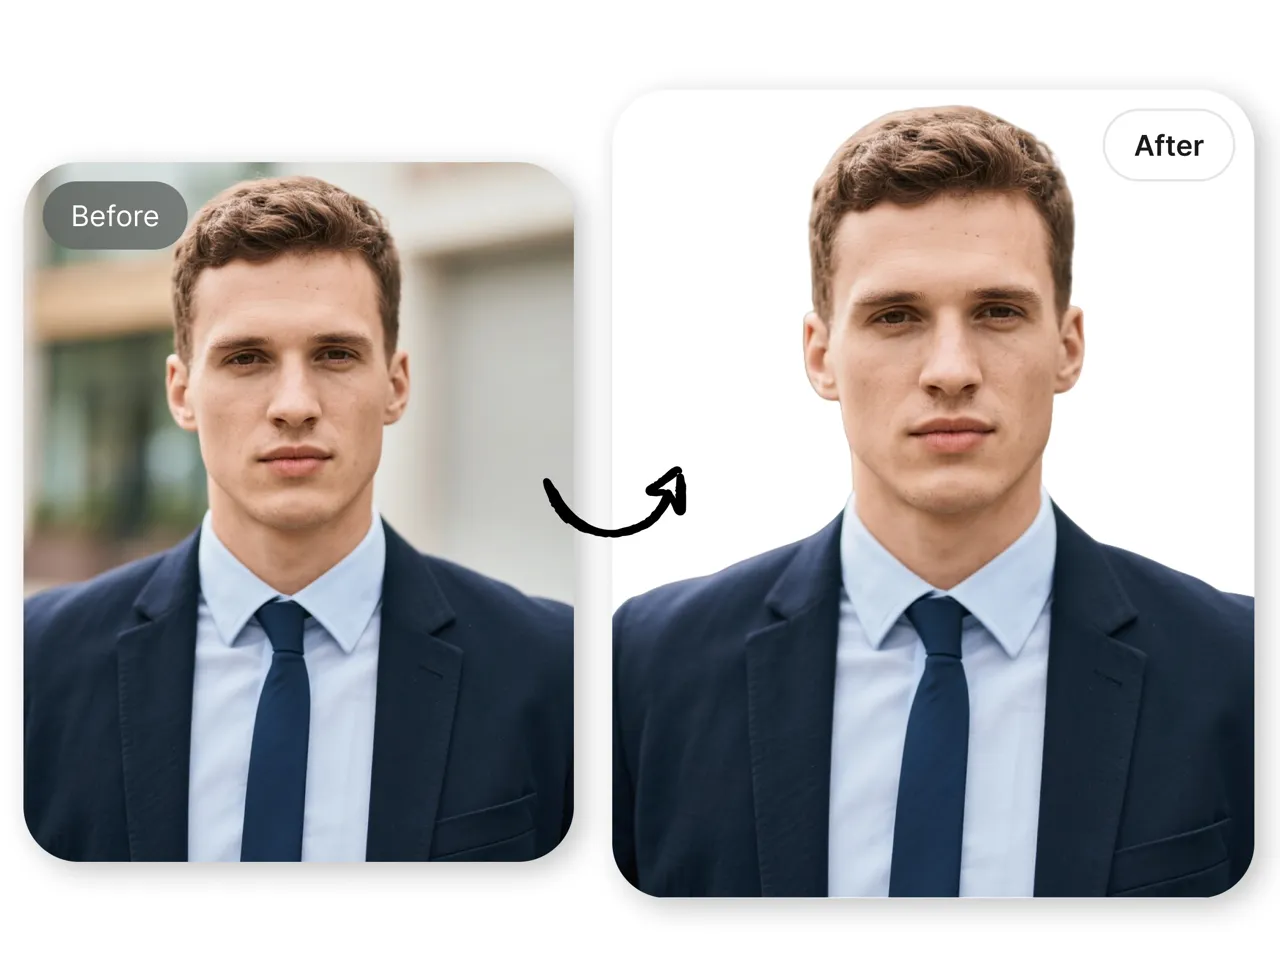
O redimensionamento geralmente é apenas uma parte do nosso processo de preparação de imagens. Ainda podemos precisar limpar o fundo ou melhorar a nitidez antes da publicação. Manter essas tarefas no mesmo editor reduziu as trocas de arquivos e facilitou a identificação de qual versão é realmente a versão final pela equipe.